Home>Gardening Basics>Tools and Equipment>How To Measure Drip Irrigation Tubing
Tools and Equipment
How To Measure Drip Irrigation Tubing
Modified: January 22, 2024
Learn how to measure drip irrigation tubing using the right tools and equipment. Ensure maximum efficiency and accuracy in your irrigation system installation.
(Many of the links in this article redirect to a specific reviewed product. Your purchase of these products through affiliate links helps to generate commission for Chicagolandgardening.com, at no extra cost. Learn more)
Table of Contents
Introduction
Drip irrigation is a popular and efficient method of watering plants, widely used in agricultural and gardening applications. One essential component of a drip irrigation system is the drip irrigation tubing, which delivers water directly to the plant roots, minimizing water waste and maximizing efficiency. Properly measuring the drip irrigation tubing is crucial for ensuring accurate water distribution and preventing leaks or inadequate water supply to plants. In this article, we will explore the importance of measuring drip irrigation tubing and guide you through the process of measuring it accurately.
Measuring drip irrigation tubing is essential because it allows you to determine the length of tubing needed to cover your garden or agricultural area effectively. By accurately measuring the tubing, you can ensure that you have the right amount of material for your project, avoiding any wastage or shortage. Additionally, proper measurements help in determining the layout and configuration of your drip irrigation system, enabling you to plan the placement of emitters, valves, and other components more effectively.
Using the correct tools for measuring drip irrigation tubing is crucial for accuracy and efficiency. The most commonly used tools for this task include a measuring tape or ruler and a marking tool, such as a pen or marker. You may also find it helpful to have a pair of scissors or a tubing cutter on hand to cut the tubing to the desired length. These tools are readily available at most hardware or gardening stores and are relatively inexpensive.
What is Drip Irrigation Tubing?
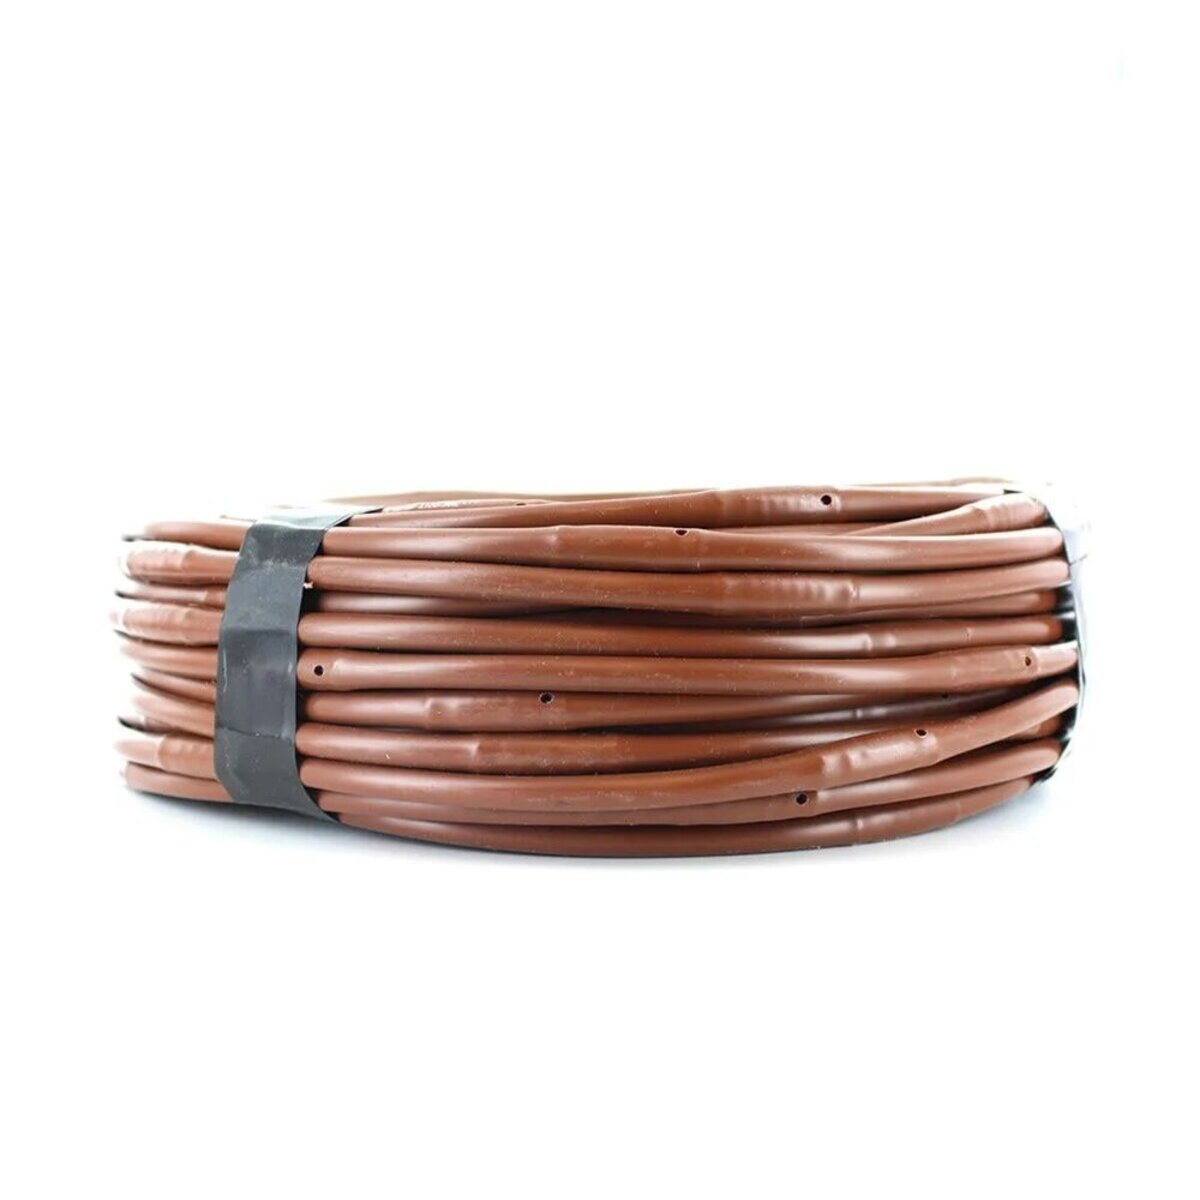
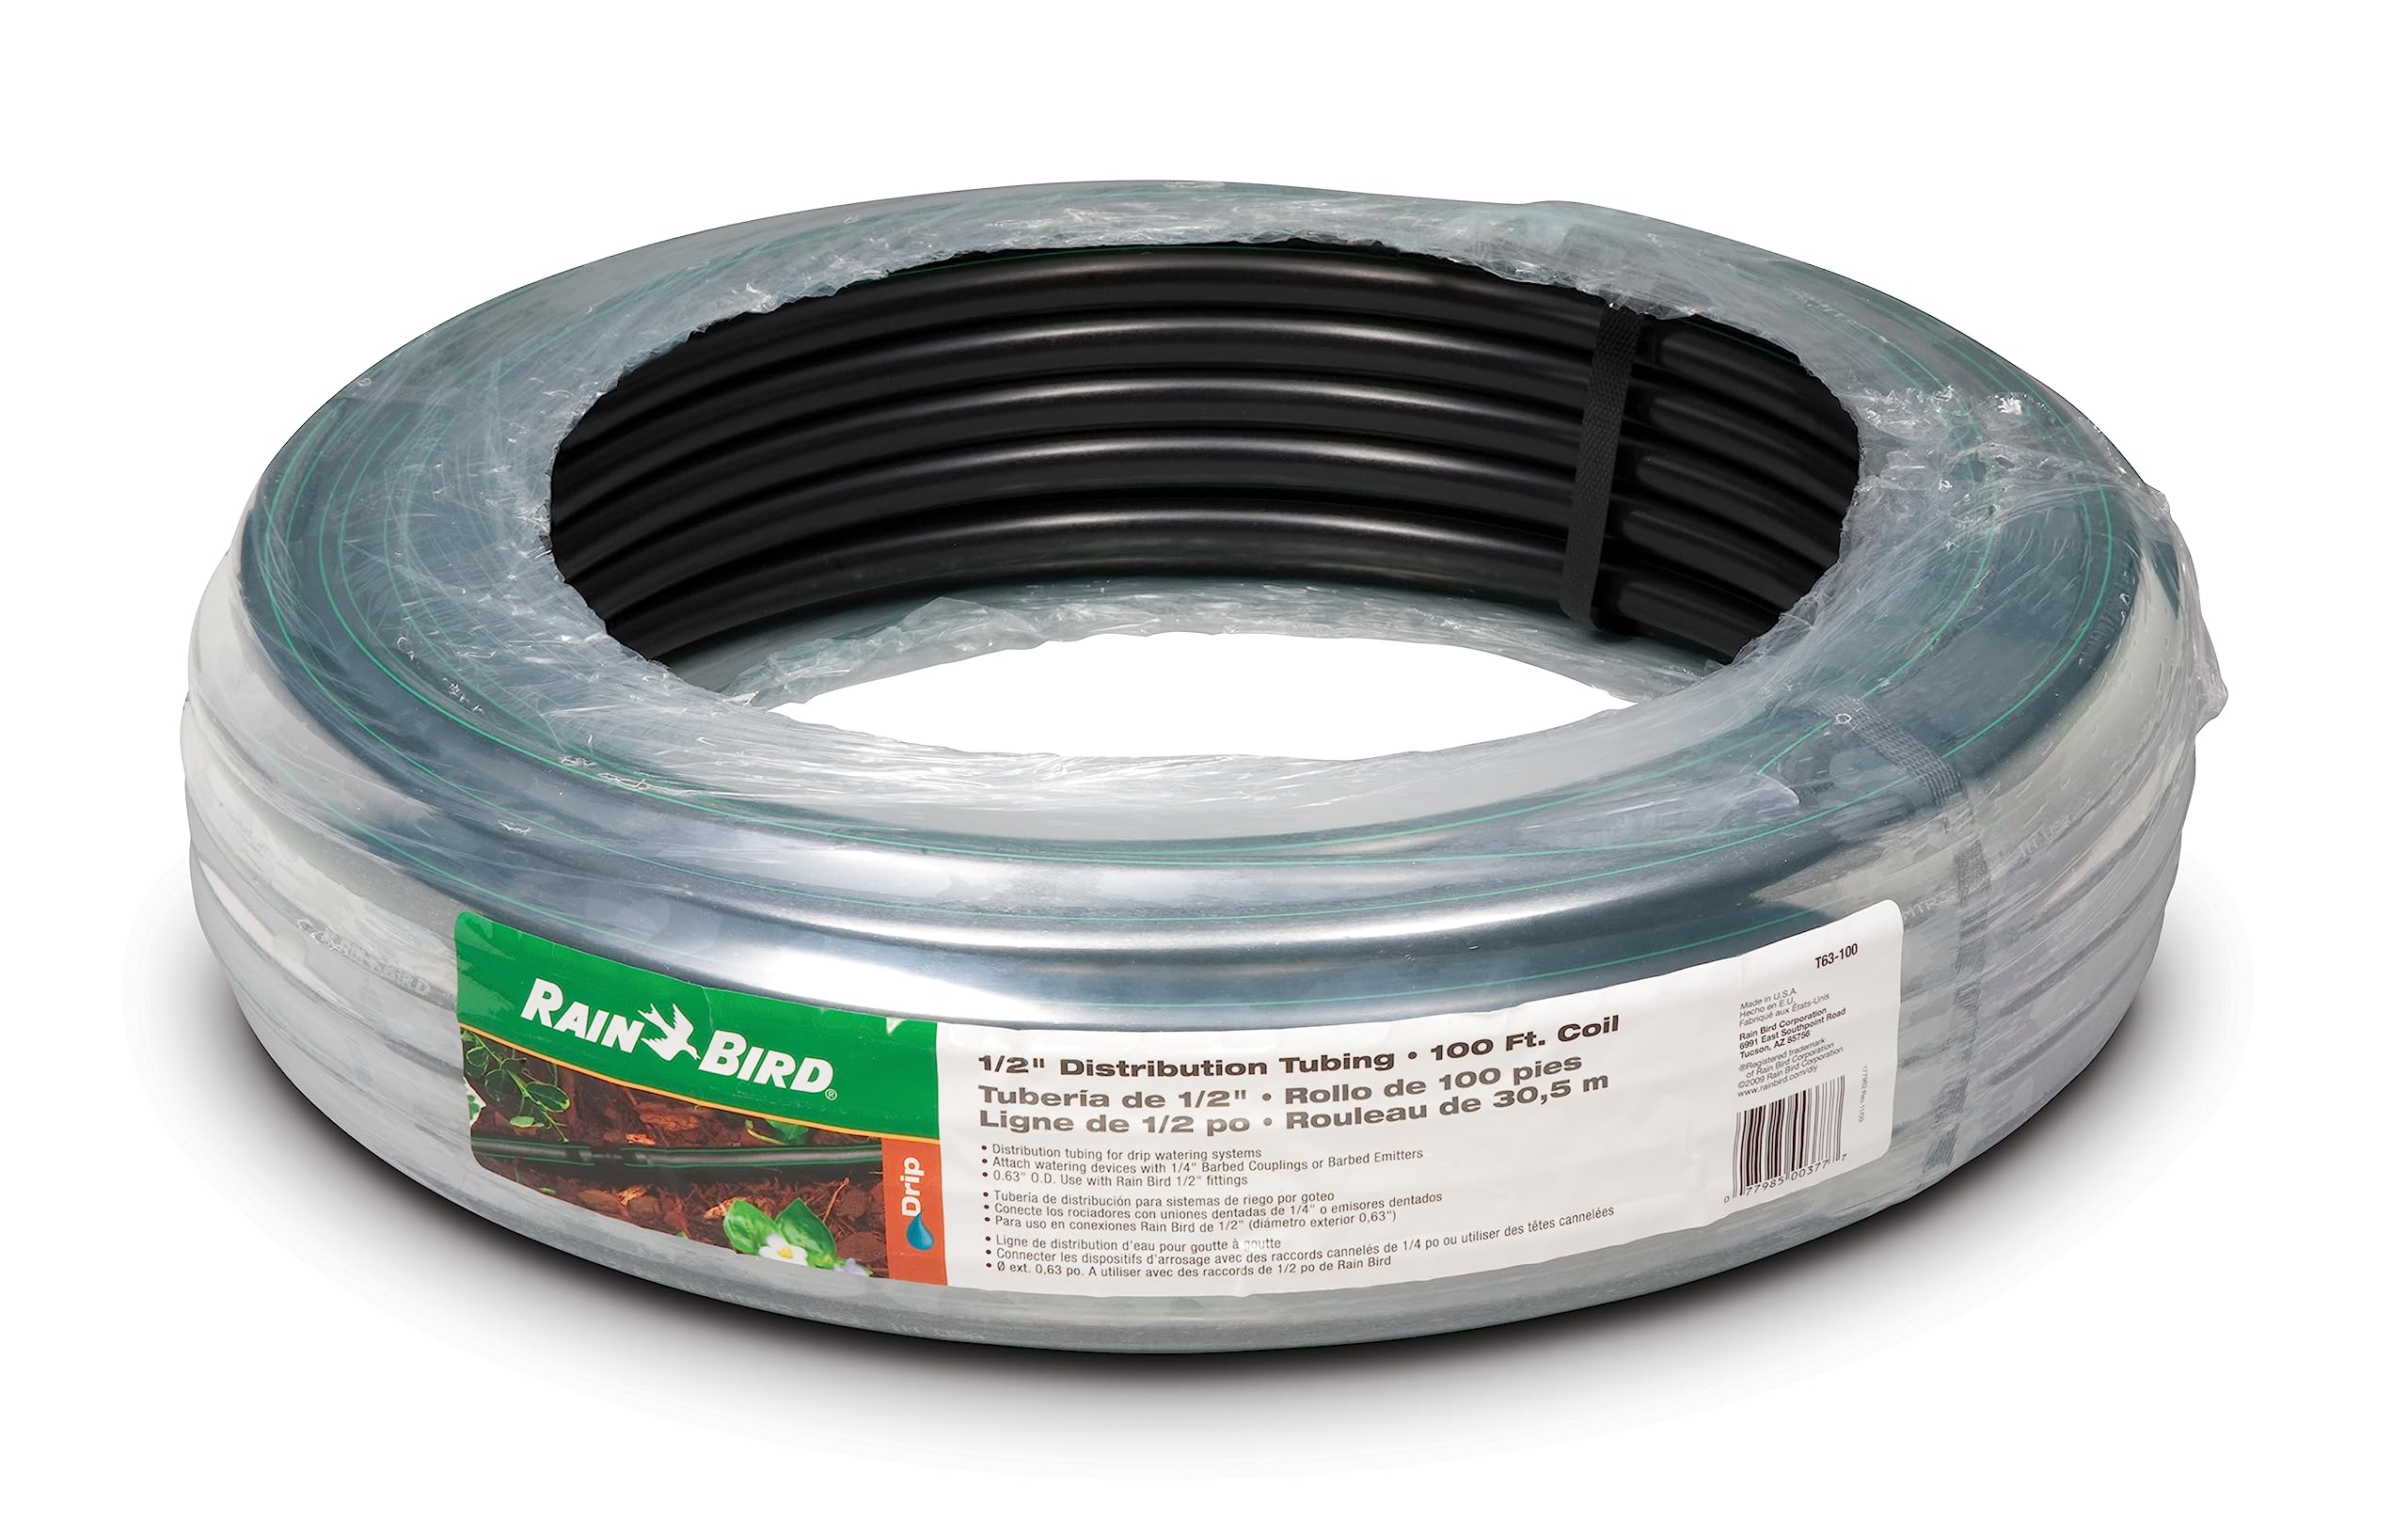
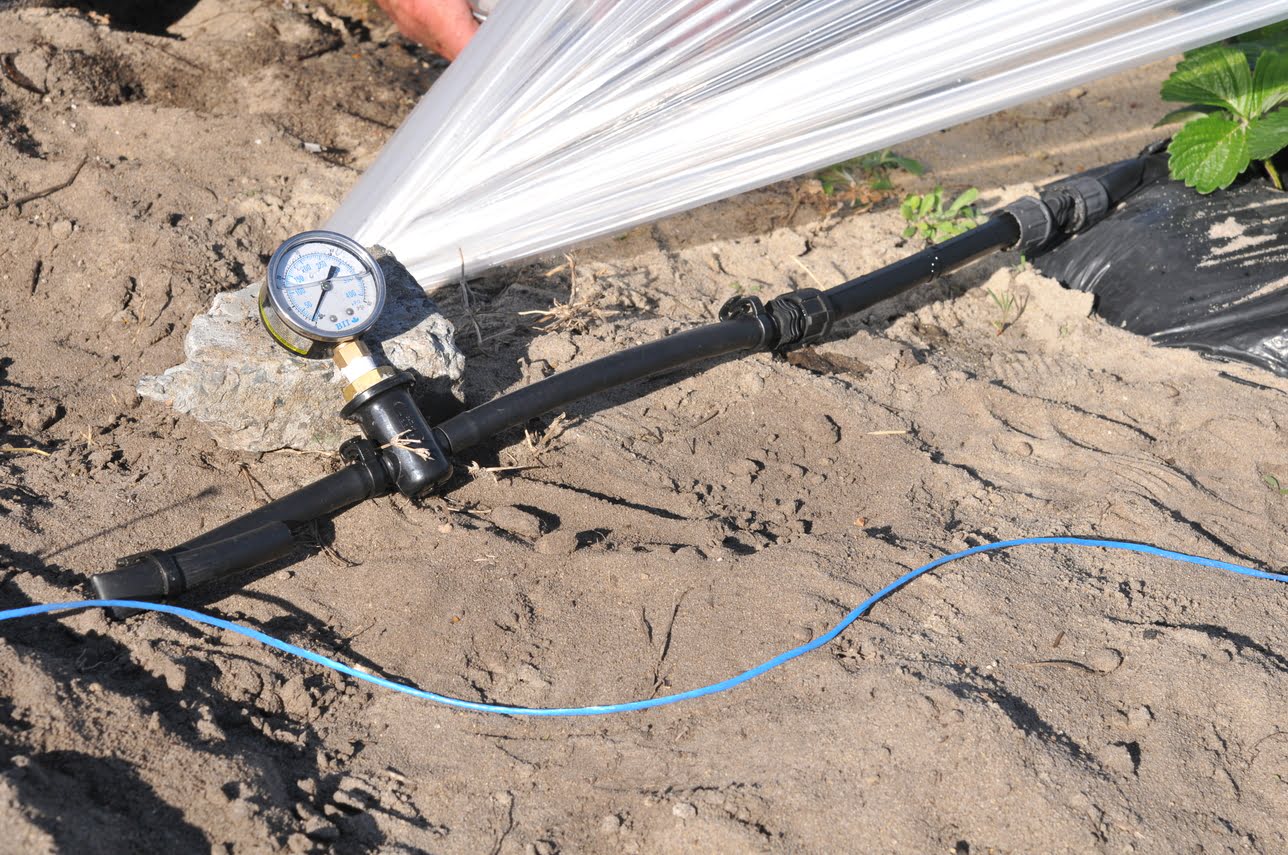
Drip irrigation tubing, also known as drip line or drip hose, is a flexible hose made from durable materials such as polyethylene or PVC. It is specifically designed to deliver water directly to the roots of plants, providing them with a controlled and efficient water supply. The tubing is equipped with evenly spaced emitters or drippers, which release water in a slow and steady manner, mimicking the natural process of rainfall.
These emitters ensure that the water is distributed evenly along the length of the tubing, allowing for precise watering of individual plants or rows of crops. The size and spacing of the emitters can vary depending on the specific needs of your plants or the type of crop you are growing. This flexibility allows drip irrigation systems to be tailored to the requirements of different plant species and soil types, resulting in optimal water usage and improved plant health.
Drip irrigation tubing is available in various sizes, typically ranging from ½ inch to 1 inch in diameter. The choice of tubing size depends on factors such as the water flow rate required, the size of the area being irrigated, and the water pressure available. Smaller diameter tubing is suitable for smaller garden beds or areas with lower water requirements, while larger diameter tubing is suitable for larger agricultural fields or areas with higher water demand.
One of the key advantages of using drip irrigation tubing is its ability to conserve water. Unlike traditional sprinkler systems, which can lead to significant water loss due to evaporation and runoff, drip irrigation delivers water directly to the plant roots, minimizing wastage. Additionally, the slow and steady release of water from the emitters allows for better absorption and reduced water runoff, further increasing water efficiency.
Overall, drip irrigation tubing plays a crucial role in optimizing water usage, promoting plant growth, and achieving sustainable irrigation practices. Its versatility and efficiency make it a popular choice for both home gardeners and commercial growers who are looking to conserve water and achieve healthier, thriving plants.
Why is Measuring Drip Irrigation Tubing Important?
Accurate measurement of drip irrigation tubing is essential for several reasons. Firstly, measuring the tubing ensures that you have the precise length required to cover your garden or agricultural area effectively. This helps avoid wastage and ensures efficient water distribution to all plants.
Proper measurement is also crucial for determining the layout and configuration of your drip irrigation system. By knowing the exact length of the tubing, you can plan the placement of emitters, valves, and connectors more effectively. This helps in achieving uniform coverage and maximizing the effectiveness of the system in delivering water to the plant roots.
In addition, accurate measurement is vital for calculating the amount of tubing needed for your project. By knowing the precise length, you can avoid underestimating and running out of tubing or overestimating and purchasing more than needed. This not only helps you stay within budget but also minimizes waste and unnecessary expenses.
Another important reason for measuring drip irrigation tubing is the prevention of leaks and water pressure issues. If the tubing is not accurately measured and properly fitted, it can result in leaks or inadequate water supply to certain plants. This can lead to uneven watering, plant stress, and decreased productivity. By measuring the tubing accurately and ensuring proper connections, you can minimize the risk of such issues and create a more efficient and effective drip irrigation system.
Measuring drip irrigation tubing is also important when it comes to maintenance and repair. If you encounter any issues with your system, knowing the exact length of the tubing can help in troubleshooting and locating the problem area. It allows for easier identification and replacement of damaged or faulty sections, saving you time and effort in fixing the system.
In summary, measuring drip irrigation tubing is crucial for achieving efficient water distribution, proper system layout, accurate material estimation, prevention of leaks, and effective maintenance. By taking the time to measure the tubing accurately, you can ensure the success of your drip irrigation system and enjoy the many benefits it offers for your plants and garden.
Tools and Materials Needed for Measuring Drip Irrigation Tubing
Measuring drip irrigation tubing requires a few essential tools and materials to ensure accurate measurements and a successful installation. Here is a list of the tools you will need:
- Measuring Tape or Ruler: A measuring tape or ruler is the primary tool needed for measuring the length of the drip irrigation tubing. It is important to choose a measuring tape or ruler with clear markings for precise measurements.
- Marking Tool: You will also need a marking tool, such as a pen or marker, to make clear and visible marks on the tubing. This will help you cut the tubing accurately to the desired length.
- Tubing Cutter or Scissors: A tubing cutter or sharp scissors are necessary to cut the drip irrigation tubing to the desired length. Ensure that the cutter or scissors are sharp to achieve clean and precise cuts.
- Optional: Additional tools such as a level or straight edge can be helpful for aligning the tubing or ensuring level placement.
In addition to the tools, you will also need the following materials for measuring drip irrigation tubing:
- Drip Irrigation Tubing: Of course, you will need the drip irrigation tubing itself. Choose a suitable size and material that meets your watering needs and is compatible with your system.
- Connectors and Fittings: Depending on the layout and design of your drip irrigation system, you may require connectors and fittings to join the tubing sections together or connect them to water sources and emitters. Make sure to select high-quality connectors and fittings that ensure a secure and leak-free connection.
- Emitters or Drippers: If your drip irrigation tubing doesn’t come with built-in emitters or drippers, you will need to purchase and install them at the desired intervals. These emitters control the water flow and ensure proper water distribution to your plants.
- Supports and Stakes: Depending on your garden or agricultural setup, you may need supports or stakes to hold the tubing in place and prevent it from shifting or sagging.
By having the necessary tools and materials ready, you can approach the task of measuring drip irrigation tubing with ease and ensure accurate measurements for a successful installation. Remember to double-check your measurements and take your time to ensure precise cuts and connections.
Steps to Measure Drip Irrigation Tubing
Measuring drip irrigation tubing accurately is crucial for proper installation and efficient water distribution. Follow these simple steps to measure the tubing effectively:
- Plan your Layout: Before measuring the tubing, plan the layout of your drip irrigation system. Determine the areas that need watering, the placement of plants, and the locations of water sources and emitters.
- Measure from Water Source: Start by measuring the distance from the water source to the first planting area. Use a measuring tape or ruler to get an accurate measurement.
- Add Length for Lateral Spacing: If you are using lateral lines or multiple rows, add additional lengths to account for the lateral spacing between rows of plants. Ensure that each plant receives adequate water coverage.
- Measure Around Obstacles: If your garden or agricultural area has obstacles such as trees, flower beds, or fences, measure the tubing around these obstacles. Take into account any additional length required to reach all the plants.
- Continue Measuring: Measure the length needed for each row or section of plants. Ensure that you account for the spacing between plants and adjust the length accordingly.
- Make Clear Marks: Use a marking tool, such as a pen or marker, to make clear marks on the tubing at the desired length. Double-check your measurements before marking to avoid mistakes.
- Cut the Tubing: Using a tubing cutter or sharp scissors, cut the drip irrigation tubing at the marked locations. Ensure that the cut is clean and smooth for a proper connection.
- Connect the Tubing: Connect the cut sections of tubing using connectors and fittings, ensuring a secure and leak-free connection. Follow the manufacturer’s instructions for proper installation.
- Test for Leaks: Once the tubing is connected, test the system for any leaks or water pressure issues. Fix any leaks or adjustments as needed.
- Secure the Tubing: Use supports or stakes to secure the tubing in place, preventing it from shifting or sagging. This will ensure proper water distribution to your plants.
By following these steps, you can accurately measure your drip irrigation tubing, ensuring that each plant receives the right amount of water and your system functions efficiently. Take your time during the measuring and cutting process to avoid any errors or miscalculations.
Tips and Tricks for Accurate Measurement
Measuring drip irrigation tubing accurately is essential for the success of your irrigation system. Here are some useful tips and tricks to ensure precise measurements:
- Use a Measuring Tape: A measuring tape provides more accurate measurements compared to a ruler. The flexibility and ease of use of a measuring tape allow you to measure the tubing along curves and obstacles more effectively.
- Measure Twice, Cut Once: Double-check your measurements before cutting the tubing. It’s better to be safe than sorry, so take the time to verify your measurements and avoid unnecessary rework.
- Consider Expansion: Take into account any expansion or contraction of the tubing due to temperature changes. When measuring, consider the possible expansion or contraction and make adjustments to ensure proper fit and coverage.
- Account for Slopes: If your garden or agricultural area has slopes, make sure to measure the tubing with the slope in mind. Adjust the length accordingly to provide adequate water coverage to all plants.
- Keep Spare Tubing: It’s always a good idea to keep some extra tubing on hand for any unexpected repairs or modifications. Having spare tubing allows you to quickly replace damaged sections without disrupting the entire system.
- Label the Tubing: To keep track of the tubing lengths and locations, label each section with a marker or tape. This will help during installation, maintenance, and future troubleshooting.
- Consider Future Expansion: If you plan to expand your garden or add more plants in the future, consider installing slightly longer tubing to accommodate those additions. This will save you time and effort in the long run.
- Consult a Professional: If you are unsure about measuring drip irrigation tubing or need assistance with a complex installation, it’s always a good idea to consult a professional. They can provide expert advice and ensure accurate measurements for optimal system performance.
By incorporating these tips and tricks into your measurement process, you can ensure accurate and efficient installation of your drip irrigation system. Remember to plan ahead, double-check your measurements, and make adjustments when necessary. With proper measurement, your plants will receive the precise amount of water they need for healthy growth and higher yields.
Conclusion
Measuring drip irrigation tubing accurately is vital for the success of your irrigation system. By following the steps outlined in this article and using the necessary tools and materials, you can ensure proper water distribution and efficient watering for your plants. Accurate measurement allows you to determine the right amount of tubing needed, plan the layout of your system effectively, and prevent leaks or inadequate water supply.
Remember to consider factors such as lateral spacing, obstacles, and plant spacing when measuring the tubing. Double-check your measurements and make clean cuts to ensure proper connections. It is also important to test the system for leaks and make any necessary adjustments before securing the tubing in place.
Utilizing the tips and tricks provided here, such as using a measuring tape, labeling the tubing, and considering future expansion, will further enhance your measurement process and the overall functionality of your drip irrigation system.
Accurate measurement of drip irrigation tubing not only saves water but also promotes healthier plant growth, higher yields, and reduced maintenance. It allows for precise water distribution to the root zone, minimizing water waste and ensuring optimal plant health.
With the knowledge gained in this article, you are now equipped to measure drip irrigation tubing confidently. Whether you are a home gardener or a commercial grower, taking the time to measure the tubing accurately will pay off in the long run, ensuring the efficiency, sustainability, and success of your drip irrigation system.