Home>Gardening News and Trends>Latest News>How To Plant Palm Trees
Latest News
How To Plant Palm Trees
Modified: January 22, 2024
Discover the Latest News on How To Plant Palm Trees. Step-by-step guide and expert tips to help you successfully grow and maintain your own palm trees at home.
(Many of the links in this article redirect to a specific reviewed product. Your purchase of these products through affiliate links helps to generate commission for Chicagolandgardening.com, at no extra cost. Learn more)
Table of Contents
Introduction
Imagine sitting in your backyard, enjoying a tropical paradise with lush greenery and beautiful palm trees swaying gently in the breeze. Palm trees add a touch of elegance and a sense of tranquility to any landscape. If you’ve ever dreamed of having your own palm oasis, now is the perfect time to make that dream a reality.
Planting palm trees may seem like a daunting task, but with the right knowledge and preparation, it can be a rewarding and enjoyable experience. Whether you’re planting a single palm tree or creating an entire palm grove, this step-by-step guide will provide you with all the information you need to successfully plant and care for palm trees.
Before we dive into the details, it’s important to note that there are many different species of palm trees, each with its own specific requirements and characteristics. Some palm trees are more suitable for tropical climates, while others can thrive in more temperate regions.
Throughout this guide, we will provide general guidelines that apply to most palm tree species. However, it’s crucial to research the specific requirements of the palm tree you choose to ensure you provide it with the ideal growing conditions.
So, whether you’re looking to add a touch of the tropics to your backyard or create a stunning landscape feature, let’s get started on the journey of planting and caring for palm trees. Follow these steps, and before you know it, you’ll have your very own slice of paradise!
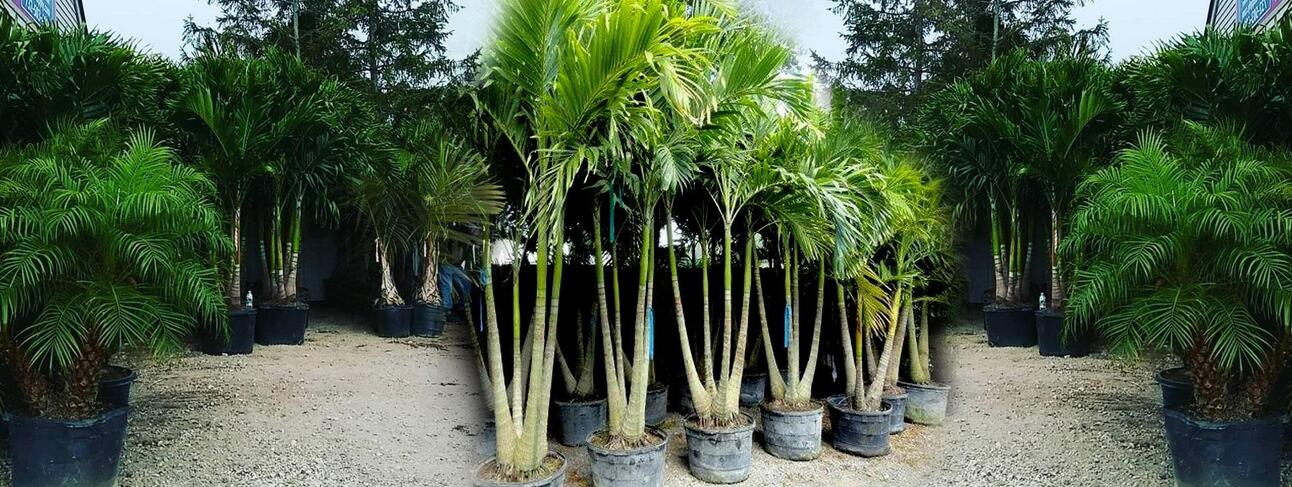
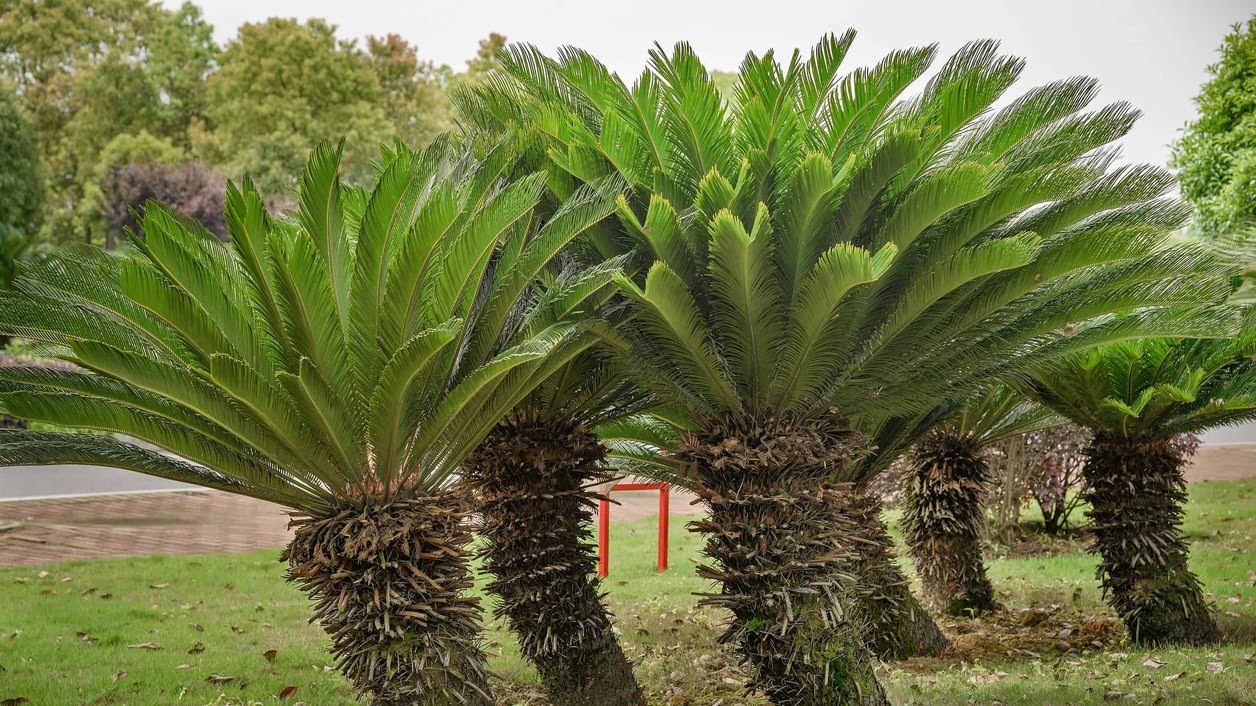
Step 1: Choosing the right palm tree
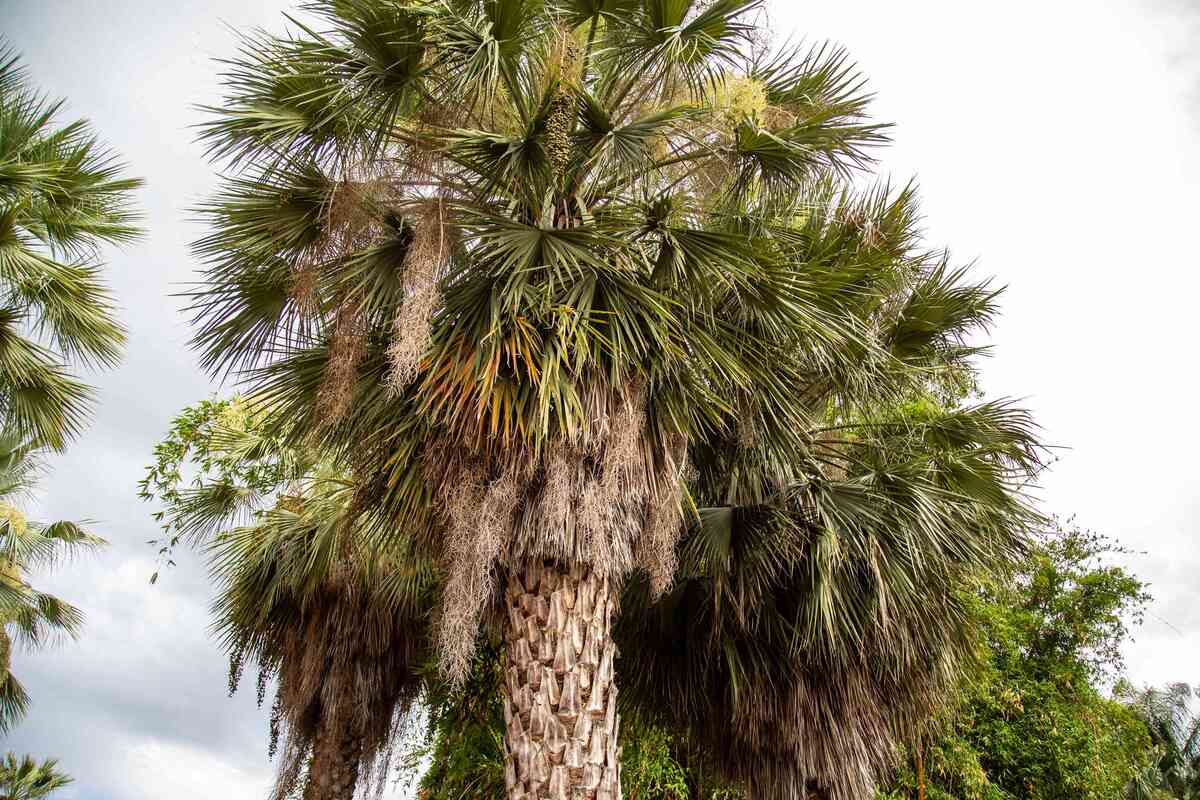
Choosing the right palm tree is the first and most crucial step in the planting process. Palm trees come in a wide variety of sizes, shapes, and colors, so it’s important to select a palm tree that is well-suited to your climate and personal preferences.
Here are some factors to consider when choosing a palm tree:
- Climate: Different palm tree species have different temperature and humidity requirements. Research the specific climate conditions that the palm tree can tolerate before making your selection. This will ensure that the palm tree will thrive in your area.
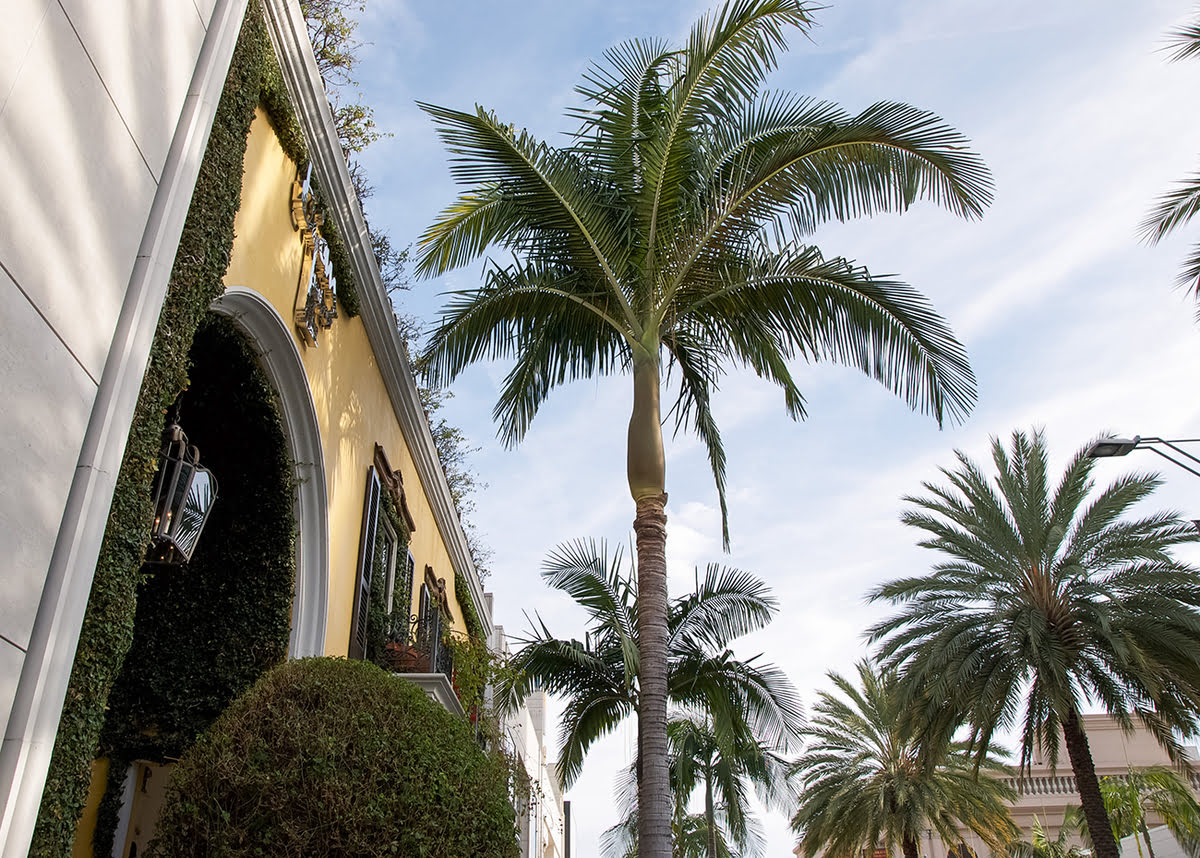
- Size: Consider the available space in your landscape and the eventual size of the palm tree. Some palm trees can grow quite tall, while others stay smaller and more compact. Make sure to choose a palm tree that fits well within your outdoor space.
- Growth rate: Palm trees have varying growth rates. Some species can grow several feet per year, while others have slower growth. If you’re looking for a quick-growing palm tree, choose a species with a faster growth rate. However, keep in mind that faster-growing palm trees may also require more frequent maintenance.
- Appearance: Palm trees can vary greatly in their appearance, with variations in leaf shape, color, and texture. Consider the overall aesthetic you’re aiming for in your landscape and choose a palm tree that complements it.
- Maintenance: Some palm trees require more regular maintenance than others. Consider your ability and willingness to provide the necessary care, such as pruning, fertilizing, and watering, to keep your palm tree healthy and thriving.
Once you’ve considered these factors, it’s time to research specific palm tree species that match your criteria. Consult with local nurseries or horticultural experts to gain insights into the best palm trees for your climate and growing conditions.
Remember, choosing the right palm tree is essential to ensure its long-term health and beauty. Take your time, do your research, and select a palm tree that will bring joy to your landscape for years to come.
Step 2: Preparing the planting site
Preparing the planting site is a crucial step in ensuring the success and healthy growth of your palm tree. By creating the right conditions for your palm tree to thrive, you set the foundation for its long-term health and beauty.
Here are the key steps to prepare the planting site:
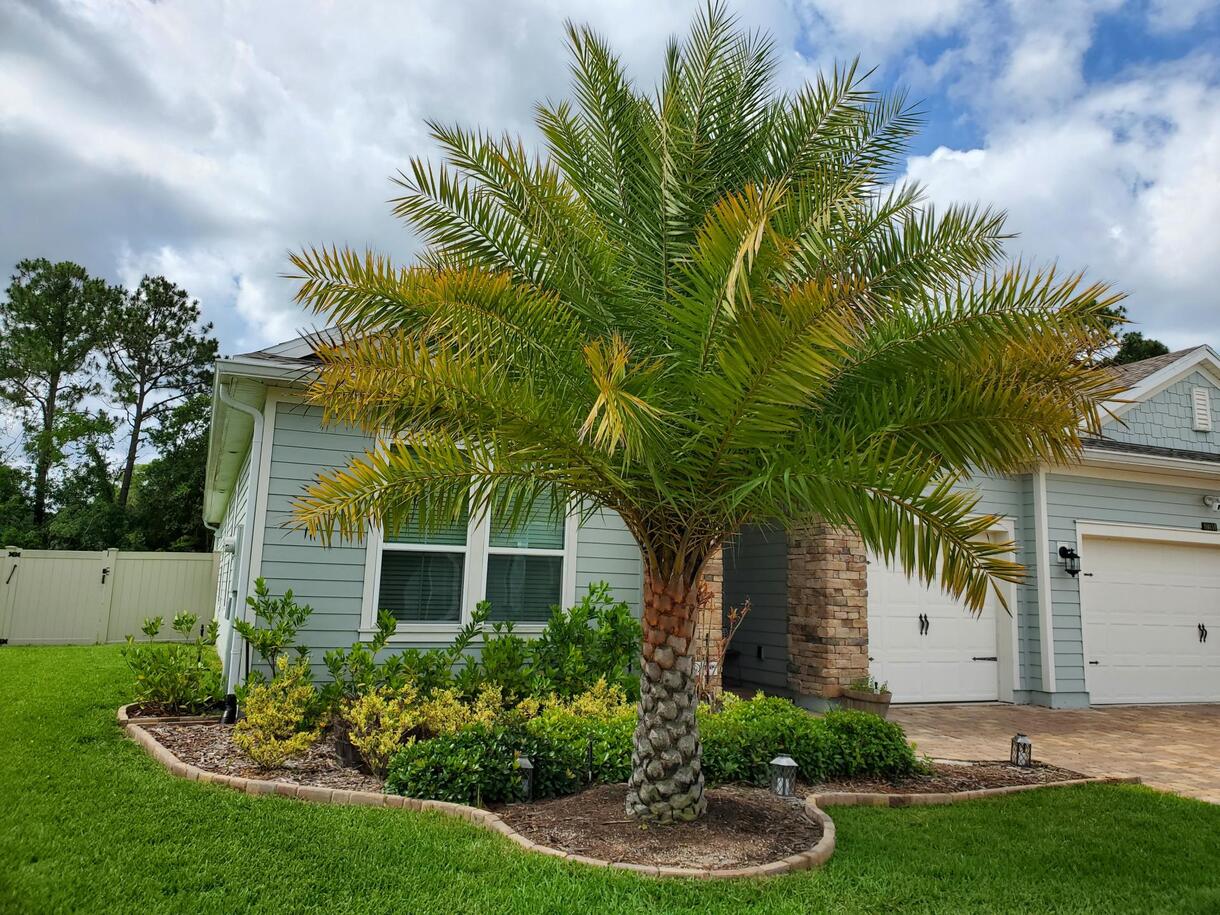
- Choose the right location: Select a spot in your landscape that receives adequate sunlight for your palm tree species. Most palm trees prefer full sun, but some species can tolerate partial shade. Make sure the location provides enough space for the palm tree to grow and spread its roots without being obstructed by nearby structures or plants.
- Clear the area: Remove any existing vegetation, weeds, or debris from the planting site. This ensures that the palm tree has access to nutrients and reduces competition for resources. It also prevents the growth of weeds that can hinder the palm tree’s growth and affect its overall health.
- Test the soil: Conduct a soil test to assess the quality and composition of the soil. Palm trees thrive in well-draining soil with a slightly acidic to neutral pH level. If your soil is heavy clay or has poor drainage, consider amending it with organic matter, such as compost or peat moss, to improve its structure and drainage capabilities.
- Prepare the soil: Dig a hole that is wide and deep enough to accommodate the palm tree’s root ball. The size of the hole will depend on the size of the palm tree you are planting. Loosen the soil in the hole and break up any clumps to create a loose and friable planting bed. This will encourage proper root growth and allow for optimal nutrient absorption.
- Consider adding soil amendments: Depending on the results of your soil test, you may need to add soil amendments to provide ideal growing conditions for your palm tree. Consult with a local horticultural expert or nursery for recommendations on the appropriate amendments, such as organic matter, sand, or perlite, to improve soil structure, drainage, and fertility.
- Install drainage if needed: If your planting site has persistent drainage issues, consider installing a drainage system to prevent waterlogging. This can be achieved by creating a layer of rocks or gravel at the bottom of the planting hole or by installing underground drainage pipes.
By following these steps and preparing the planting site properly, you are setting the stage for a healthy and thriving palm tree. The next step is to dig the hole and plant the palm tree, which we will cover in the next section.
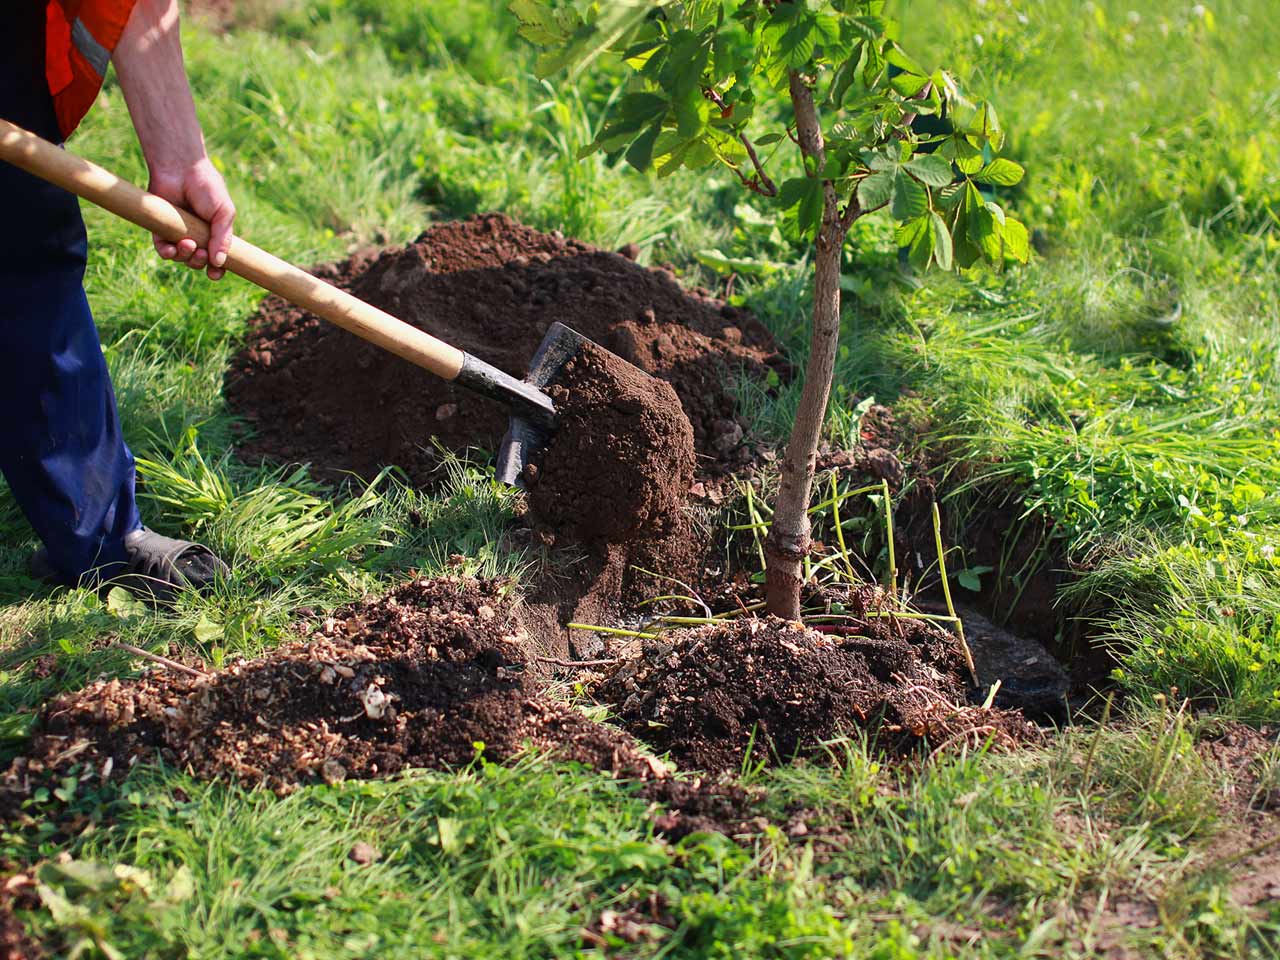
Step 3: Digging the hole
Now that you have prepared the planting site, it’s time to dig the hole for your palm tree. Properly digging the hole ensures that the palm tree’s root system has enough space to grow and establish itself in its new environment.
Follow these steps to dig the hole:
- Measure the root ball: Measure the diameter and depth of the palm tree’s root ball. The hole you dig should be slightly wider and about the same depth as the root ball. This will allow the roots to spread out and establish themselves more easily.
- Mark the perimeter: Use stakes or spray paint to mark the perimeter of the hole on the ground. This will serve as a visual guide and ensure that you dig the hole in the correct location and size.
- Start digging: Begin digging the hole by removing the topsoil and setting it aside. As you dig, create a gentle slope from the center of the hole towards the edges. This will promote water drainage and prevent water from pooling around the palm tree’s base.
- Check the depth: As you dig, periodically check the depth of the hole using a measuring tape or a stake. The hole should be deep enough for the palm tree’s root ball to be level with or slightly above the surrounding ground. Adjust the depth as needed to ensure proper planting height.
- Break up the sides: Once you’ve reached the desired depth, use a garden fork or shovel to break up the sides of the hole. This creates a rough texture that enables the roots to penetrate and establish themselves more easily.
- Remove any debris: Take a moment to remove any rocks, clumps of soil, or other debris from the bottom of the hole. This ensures that the palm tree’s roots will have a clear and unobstructed path for growth.
Remember to take breaks as needed during the digging process. Digging a hole for a palm tree can be physically demanding, and it’s important to pace yourself and avoid overexertion.
Now that you have successfully dug the hole, it’s time to move on to the next step – planting the palm tree.
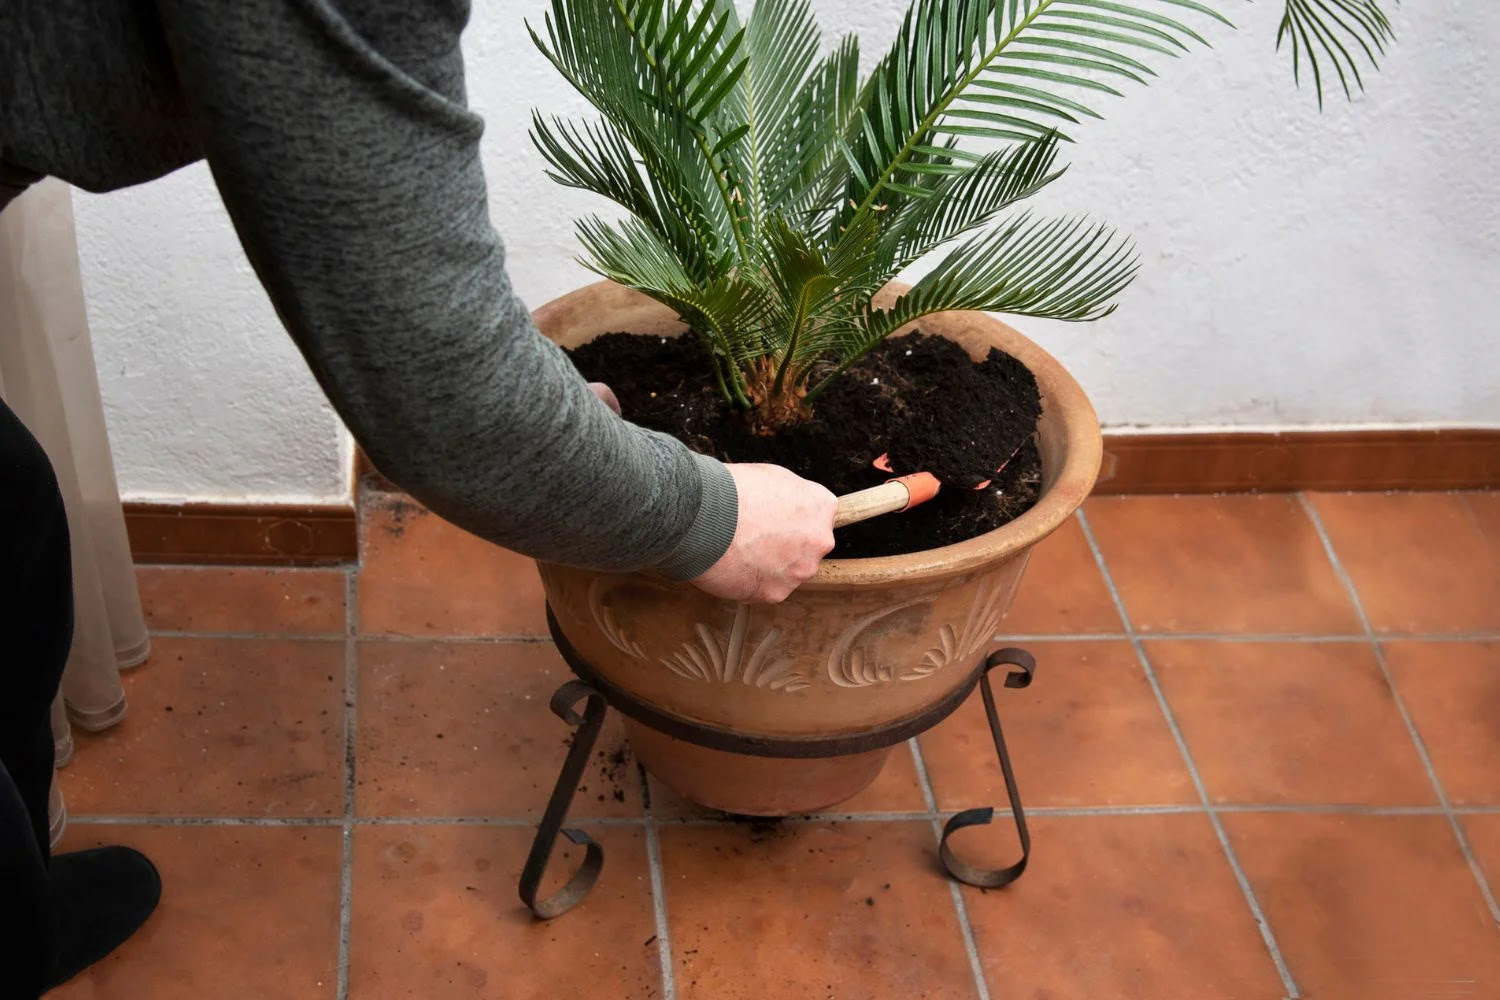
Step 4: Planting the palm tree
With the hole prepared, it’s time to plant the palm tree and give it a new home in your landscape. Proper planting techniques are crucial to ensure the palm tree’s roots are well-positioned and have the best chance of thriving.
Here are the steps to plant the palm tree:
- Remove the palm tree from its container: Carefully remove the palm tree from its container by gently tapping the sides or squeezing the container. If necessary, use a knife to loosen any stubborn roots that may be clinging to the container walls. Avoid pulling on the trunk as this can cause damage.
- Position the palm tree in the hole: Place the palm tree’s root ball into the center of the hole. Make sure the trunk is straight and upright. Adjust the depth as needed so that the top of the root ball is level or slightly above the surrounding ground.
- Backfill the hole: Begin filling the hole with the soil that was set aside earlier. As you backfill, gently firm the soil around the root ball to eliminate air pockets. Avoid compacting the soil too tightly, as this can hinder root growth and drainage.
- Add water: After backfilling the hole halfway, add water to settle the soil and ensure good soil-to-root contact. Allow the water to slowly soak into the soil before continuing to backfill. This helps remove any air pockets and gives the palm tree a good start.
- Continue backfilling: Once the water has been absorbed, continue backfilling the hole until it is completely filled. Gently firm the soil around the palm tree’s base to provide stability.
- Create a watering basin: Form a small ring-shaped basin around the palm tree’s base to help retain water during irrigation. This will direct water towards the root zone for optimal absorption.
It’s important not to plant the palm tree too deeply, as this can lead to suffocation of the roots. The majority of the roots should be in the top 12-18 inches of soil, with the root collar (the area where the trunk meets the roots) slightly above ground level.
Keep in mind that the specific planting instructions may vary depending on the palm tree species and its unique requirements. Be sure to research and follow the guidelines specific to your chosen palm tree.
Now that the palm tree is planted, it’s time to move on to the next step – backfilling the hole.
Step 5: Backfilling the hole
After planting the palm tree, it’s important to properly backfill the hole to provide support and ensure the palm tree’s long-term health and stability. Backfilling involves filling the hole with soil while taking care not to damage the roots or trunk of the palm tree.
Here are the steps to backfill the hole:
- Use the excavated soil: Start by using the soil that was set aside during the digging process to backfill the hole. This soil is familiar to the palm tree and will help it acclimate to its new environment more easily.
- Backfill in stages: Backfill the hole in stages, adding a few inches of soil at a time. Gently firm the soil around the root ball as you go to eliminate air pockets and provide stability. Avoid compacting the soil too tightly, as this can hinder root growth and drainage.
- Water periodically: As you backfill the hole, periodically water the soil to help settle it and promote good soil-to-root contact. This will help the palm tree establish its roots and reduce transplant shock.
- Avoid piling soil against the trunk: Be cautious not to pile excessive soil against the trunk of the palm tree. This can lead to moisture buildup and potential rot or disease. Proper soil level should leave the palm tree’s root flare (the area where the trunk widens at the base) slightly above ground level.
- Monitor for settling: After backfilling, monitor the soil level around the palm tree for settling. If the soil sinks or settles significantly, add more soil as needed to maintain the proper level. It’s important to ensure the roots are adequately covered, but not overly buried.
- Apply mulch: Once the hole is backfilled, apply a layer of organic mulch around the palm tree’s base. Mulch helps conserve moisture, suppress weeds, and maintain a more consistent soil temperature. Keep the mulch a few inches away from the trunk to prevent moisture buildup and potential rot.
Remember to water the palm tree thoroughly after backfilling and mulching. This helps settle the soil and provides initial hydration to support root growth. Ongoing watering and proper irrigation practices will be covered in the next step, watering and mulching.
With the hole properly backfilled, your palm tree is one step closer to establishing itself in its new home. Proceed to the next step, watering and mulching, to ensure the palm tree receives the necessary care and attention.
Step 6: Watering and mulching
Proper watering and mulching are essential for the health and vitality of your newly planted palm tree. These practices help to maintain adequate moisture levels, reduce weed growth, and protect the roots from extreme temperature fluctuations.
Follow these guidelines for watering and mulching your palm tree:
- Establish a watering schedule: Initially, water your palm tree deeply immediately after planting to settle the soil. After that, water the palm tree regularly, providing enough water to saturate the root zone. The frequency of watering will depend on several factors, including the climate, soil type, and palm tree species. Generally, palms require regular watering, especially during dry periods, but be cautious not to overwater, as this can lead to root rot. Monitor the soil moisture and adjust the watering schedule accordingly.
- Water deeply and thoroughly: When watering, ensure that the water reaches the full depth of the root ball. Use a slow and steady stream or drip irrigation to allow the water to penetrate deeply into the soil. This encourages the palm tree’s roots to grow deeply, promoting stability and overall health.
- Apply mulch around the base: Spread a layer of organic mulch around the base of the palm tree, leaving a gap between the mulch and the trunk. Mulch helps to retain moisture in the soil, regulate soil temperature, and suppress the growth of weeds. Apply a layer of mulch 2 to 4 inches deep. Suitable mulch options include wood chips, shredded bark, or pine straw.
- Monitor soil moisture: Regularly check the soil moisture around the palm tree by inserting your finger or a moisture meter into the soil. This will help you determine when it’s time to water. The soil should be moist but not waterlogged.
- Adjust watering during different seasons: As the seasons change, adjust your watering schedule accordingly. During the hot summer months, palms may require more frequent watering to withstand the heat. In cooler seasons, reduce the frequency of watering to avoid over saturation.
- Water deeply before freezing temperatures: Before the arrival of freezing temperatures in colder climates, water your palm tree deeply to help insulate the roots and protect them from damage caused by freezing temperatures.
Remember to observe the specific moisture requirements of your palm tree species. Some palm trees may have different water needs, and it’s important to research and understand the specific requirements for the palm tree species you have planted.
By following proper watering and mulching practices, you’ll provide the necessary moisture, insulation, and weed control that will promote the overall health and growth of your palm tree.
Step 7: Staking the palm tree
Staking a palm tree is an optional step, but it can be beneficial in certain situations to provide additional support and stability during the initial stages of growth. Staking helps prevent the palm tree from swaying excessively in windy conditions and allows the roots to establish themselves firmly.
Here are the steps to stake a palm tree:
- Assess the need for staking: Determine if your palm tree requires staking by considering its size, growth rate, and exposure to wind. Young palm trees with a smaller trunk diameter and those planted in areas prone to strong winds may benefit from staking.
- Choose the right stakes: Select strong and durable stakes that can support the palm tree adequately. Bamboo or wooden stakes are commonly used, and they should be approximately two-thirds the height of the palm tree.
- Place the stakes: Drive the stakes into the ground on opposite sides of the palm tree, ensuring they are positioned outside the root ball. The stakes should be angled slightly away from the trunk to provide stability against strong winds. Ideally, they should be placed about 1 to 2 feet away from the trunk.
- Attach the tree ties: Securely attach flexible tree ties or straps to the stakes. Avoid using materials that can damage or girdle the trunk, such as wire or rope. Allow some flexibility in the ties to allow for natural movement and growth of the palm tree.
- Secure the palm tree: Gently and carefully secure the palm tree to the stakes using the ties, ensuring that it is sufficiently supported but not overly constricted. Avoid tying the palm tree too tightly, as this can restrict its movement and hinder proper growth.
- Monitor and adjust: Regularly inspect the stakes and ties to ensure they remain secure and do not cause any damage to the palm tree. As the palm tree grows and establishes itself, you may need to adjust or remove the stakes and ties to allow for natural movement and development.
It’s important to note that staking should be temporary and gradually phased out as the palm tree becomes more established. Leaving the stakes in place for too long can hinder the natural strength and stability of the palm tree’s trunk and root system.
Remember, not all palm trees require staking, so it’s crucial to assess the specific needs of your palm tree before proceeding with this step. Consulting with a horticultural expert or nursery can provide valuable guidance on whether staking is necessary for your specific palm tree species and growing conditions.
By properly staking your palm tree, you provide additional support during its early growth stages and increase the chances of a healthy and well-established palm. Now let’s move on to the final step – caring for the palm tree.
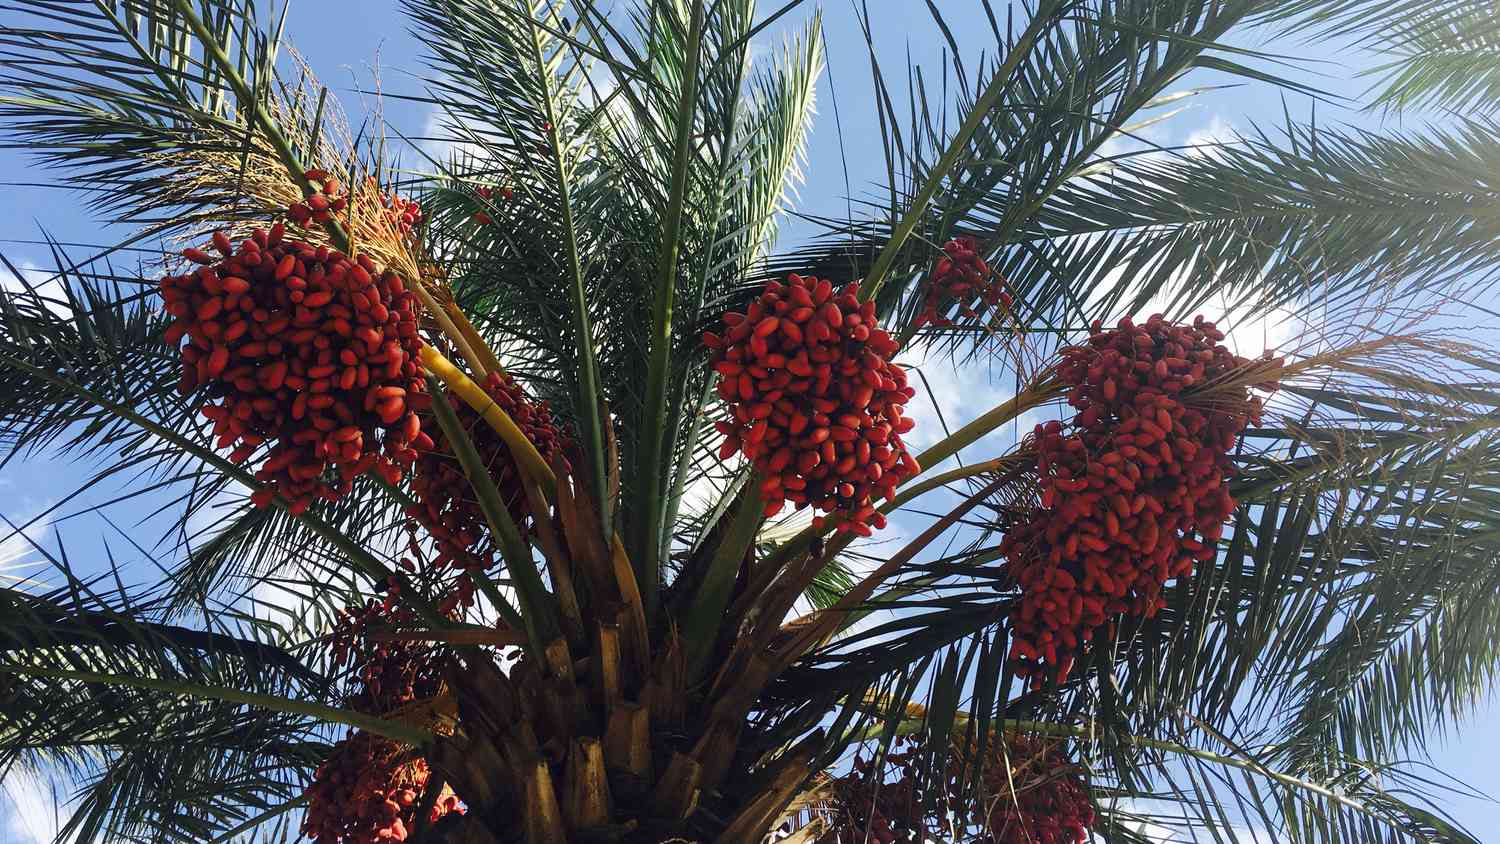
Step 8: Caring for the palm tree
Once you have planted your palm tree and taken the necessary steps to establish it, ongoing care is essential to ensure its long-term health and beauty. By providing the proper care, you can help your palm tree flourish and enjoy its presence in your landscape for years to come.
Here are some important aspects to consider when caring for your palm tree:
- Watering: Maintain a regular watering schedule to keep the soil around the palm tree consistently moist. While the exact frequency will depend on factors like climate and soil type, aim to water deeply and infrequently rather than shallowly and frequently. This encourages the development of a strong root system.
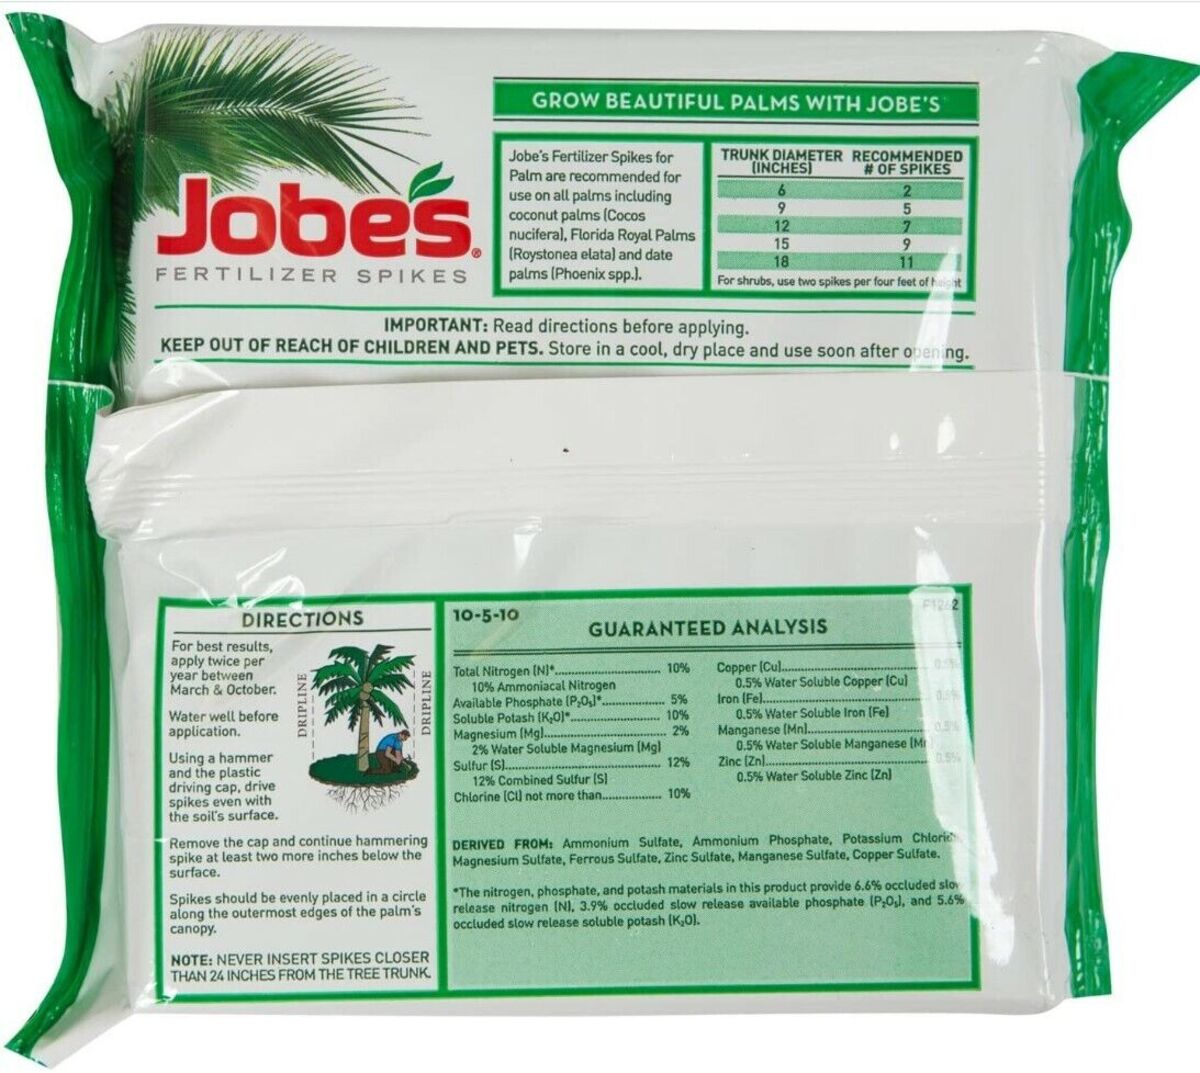
- Fertilizing: Palm trees benefit from regular fertilization to ensure they receive the necessary nutrients for optimal growth. Use a balanced palm tree fertilizer, following the instructions on the package. Apply the fertilizer evenly around the root zone, and avoid applying it directly on the trunk or leaves.
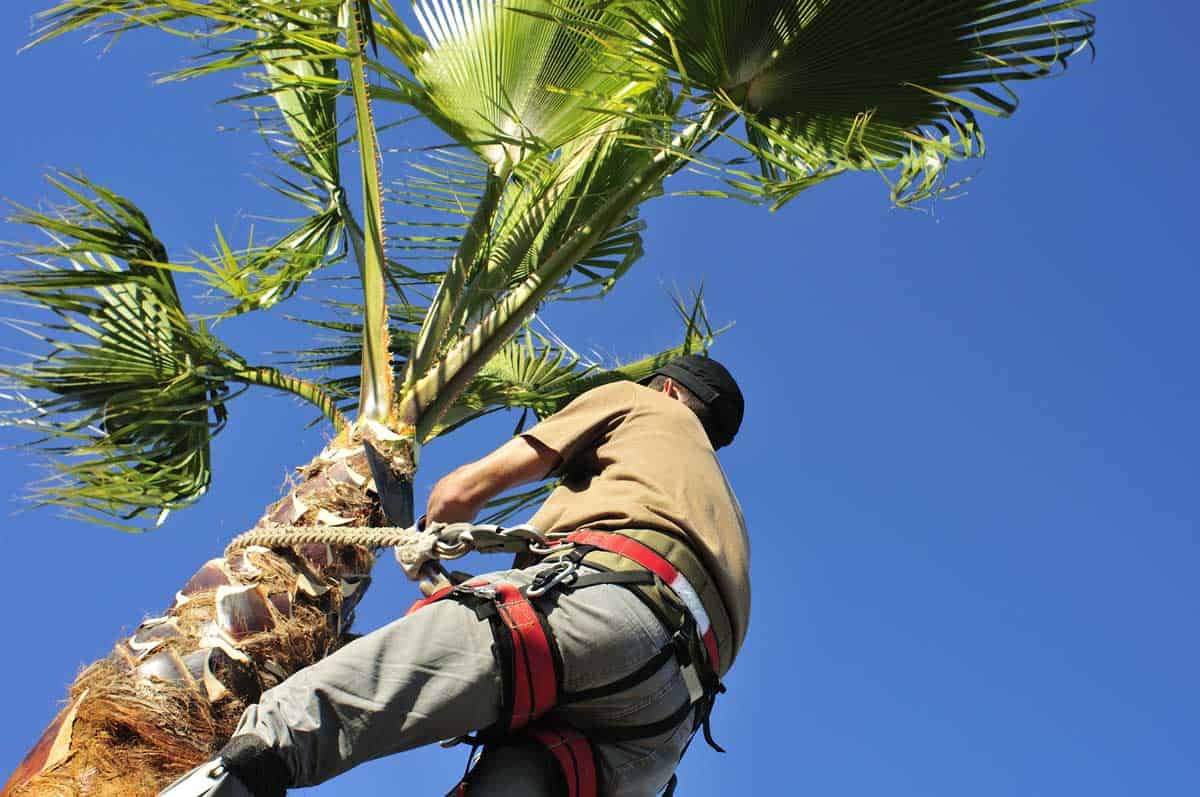
- Pruning: Trim away any dead, damaged, or yellowing fronds (leaves) on the palm tree. This promotes overall tree health and aesthetics. Avoid over-pruning, as removing too many healthy fronds can weaken the palm tree.
- Pest and disease control: Regularly inspect your palm tree for signs of pests, such as mealybugs, scales, or spider mites. Treat any infestations promptly using appropriate insecticides or seek professional help if needed. Additionally, be aware of common palm tree diseases in your area and take preventive measures, such as avoiding overwatering and providing proper air circulation.
- Protection from cold weather: If you live in a region with occasional frost or cold temperatures, consider providing protection to your palm tree during the colder months. Covering your palm tree with a frost cloth or blanket can help insulate it from freezing temperatures and prevent damage.
- Regular inspections: Keep a close eye on your palm tree and regularly inspect it for any signs of distress, including discoloration, wilting, or stunted growth. Promptly address any issues to prevent further damage or decline.
- Professional consultation: If you’re unsure about any aspect of caring for your palm tree or if you notice unusual symptoms, consulting with a professional arborist or horticulturist can provide valuable guidance and ensure proper care.
Remember, each palm tree species may have unique care requirements, so it’s important to research the specific needs of your palm tree and adapt your care routine accordingly.
With proper care and attention, your palm tree will continue to grow and thrive, adding beauty and a touch of the tropics to your landscape for many years to come.
Conclusion
Planting and caring for palm trees can be a rewarding and enjoyable experience, allowing you to bring a touch of the tropics to your landscape. By following the steps outlined in this guide, you can create an ideal environment for your palm tree to thrive and flourish.
Choosing the right palm tree, preparing the planting site, digging the hole, and properly planting the palm tree are essential initial steps that provide a strong foundation for its growth. Backfilling the hole, watering, mulching, staking (if necessary), and ongoing care all contribute to the long-term health and beauty of your palm tree.
It’s important to remember that each palm tree species may have unique requirements, so it’s crucial to research and understand the specific needs of your chosen palm tree. Consult with local nurseries or horticultural experts to gain insights and guidance tailored to your climate and growing conditions.
By providing the appropriate care, including regular watering, fertilizing, pruning, and pest control, you can ensure that your palm tree remains healthy and vibrant. Pay attention to any signs of distress, promptly addressing them to prevent further damage or decline.
Remember, growing palm trees requires patience and ongoing maintenance. But with time and attention, you can enjoy the beauty and elegance of these iconic trees in your own backyard. So go ahead, plant that palm tree, and create your very own tropical oasis!