Home>Types of Gardening>Edible Gardening>When To Plant Squash Seedlings Outside

Edible Gardening
When To Plant Squash Seedlings Outside
Modified: February 9, 2024
Learn when to plant squash seedlings outside and ensure a bountiful harvest with our expert tips. Perfect for edible gardening enthusiasts!
(Many of the links in this article redirect to a specific reviewed product. Your purchase of these products through affiliate links helps to generate commission for Chicagolandgardening.com, at no extra cost. Learn more)
Table of Contents
- Introduction
- Importance of Planting Squash Seedlings Outside
- Factors to Consider Before Planting Squash Seedlings Outside
- Ideal Time for Planting Squash Seedlings Outside
- How to Prepare the Soil for Squash Seedlings
- Steps to Plant Squash Seedlings Outside
- Care and Maintenance of Squash Seedlings
- Common Problems and How to Address Them
- Harvesting Squash from the Planted Seedlings
- Conclusion
Introduction
Welcome to the world of edible gardening! If you have ever dreamed of harvesting your own fresh and delicious vegetables, then edible gardening is the perfect hobby for you. One vegetable that is both versatile and rewarding to grow is squash. Whether it’s zucchini, yellow squash, or butternut squash, these vibrant and flavorful vegetables can be a delightful addition to your garden and your plate.
Planting squash seedlings outside is an important step towards achieving a successful harvest. It allows the seedlings to thrive in their natural environment, soak up the sun, and interact with beneficial insects and pollinators. However, to ensure the best results, there are certain factors to consider and steps to follow.
In this article, we will explore the importance of planting squash seedlings outside, discuss the ideal time for planting, guide you through the process of preparing the soil, planting the seedlings, and caring for them until harvest. So, put on your gardening gloves and let’s dive into the world of edible gardening!
Importance of Planting Squash Seedlings Outside
Planting squash seedlings outside is crucial for their healthy development and maximum yield. While it may be tempting to keep the seedlings indoors or in a greenhouse, transplanting them to an outdoor garden offers numerous benefits that cannot be replicated indoors.
First and foremost, squash plants are sun-loving. By exposing them to natural sunlight, you provide them with the energy they need for photosynthesis, promoting strong growth and robust fruit production. Indoor conditions, even with artificial lighting, cannot mimic the intensity and spectrum of natural sunlight.
Furthermore, planting squash seedlings outside exposes them to beneficial insects and pollinators. Bees, butterflies, and other pollinators play a vital role in fertilizing the flowers of squash plants, leading to the formation of fruit. These insects are more likely to visit your garden when the squash plants are outdoors, enhancing the chances of a successful harvest.
Another advantage of planting squash seedlings outside is the opportunity for air circulation. Outdoor conditions allow for better airflow, which helps prevent the development of fungal diseases that thrive in damp and stagnant environments. Improved air circulation also strengthens the plants’ stems and leaves, making them more resistant to wind and rain damage.
Additionally, by planting seedlings outside, you are exposing them to the fluctuating weather conditions that the plants will eventually face during the growing season. This exposure helps the seedlings develop resilience and adaptability, preparing them for potential stressors such as temperature changes, wind, and rainfall variations.
Finally, planting squash seedlings outside allows for efficient use of garden space. As squash plants require ample room for their sprawling growth habit, it can be challenging to accommodate them indoors or in smaller containers for an extended period. Transplanting them outside ensures they have the space they need to flourish and prevents overcrowding.
In summary, planting squash seedlings outside is essential for their overall health and productivity. From providing ample sunlight and exposure to pollinators to enhancing air circulation and promoting adaptability, outdoor gardening offers countless benefits. So, don’t hesitate to take your squash seedlings outdoors and watch them thrive in their natural environment.
Factors to Consider Before Planting Squash Seedlings Outside
Before you take the plunge and transplant your squash seedlings into the great outdoors, there are several important factors to consider. Taking these factors into account will help ensure the success of your squash plants and increase the likelihood of a bountiful harvest.
1. Temperature: Squash plants thrive in warm weather, so it’s crucial to wait until the threat of frost has passed before planting your seedlings outside. Ideally, the soil temperature should be around 60°F (15°C) or higher for optimal growth. Monitoring the local weather patterns and consulting a gardening calendar can help you determine the best time to transplant your seedlings.
2. Soil Condition: Squash plants prefer well-draining soil that is rich in organic matter. Before planting, assess the soil in your garden and make any necessary amendments. Improve soil drainage by adding compost or perlite, and adjust the pH level if needed. Conduct a soil test to determine nutrient deficiencies and make appropriate fertilizer adjustments to ensure your squash plants have the nutrients they need.
3. Available Space: Squash plants have a sprawling growth habit, so it’s important to allocate enough space for them to spread out. Depending on the variety, each plant can take up several square feet of garden space. Plan your garden layout accordingly, taking into consideration the recommended spacing guidelines for the specific squash variety you are growing.
4. Companion Plants: Consider companion planting to maximize the health and productivity of your squash plants. Some plants, such as marigolds and nasturtiums, can help deter pests and attract beneficial insects. On the other hand, certain plants, like potatoes, are not ideal companions for squash and can compete for resources. Do some research and plan your garden layout to take advantage of beneficial companion plants.
5. Pest and Disease Management: Identify common pests and diseases that affect squash plants in your region. Take proactive measures to prevent and manage these issues, such as using organic pest control methods, practicing crop rotation, and regularly inspecting your plants for signs of trouble.
6. Watering and Irrigation: Adequate water is crucial for the healthy growth of squash plants. Before planting, ensure that your garden has a reliable water source and a suitable irrigation system in place. Monitor soil moisture levels and adjust watering accordingly, aiming for consistent moisture without overwatering.
By considering these factors before planting your squash seedlings outside, you can set the stage for a successful growing season. Taking the time to prepare adequately will help your squash plants thrive and reward you with a plentiful harvest.
Ideal Time for Planting Squash Seedlings Outside
Timing is crucial when it comes to planting squash seedlings outside. Properly assessing the weather conditions and choosing the right time to transplant your seedlings can significantly impact their growth and overall success. While the ideal time may vary depending on your location and climate, there are some general guidelines to follow.
1. Frost Danger: Squash plants are highly sensitive to frost, so it is essential to wait until the risk of frost has passed before planting seedlings outside. Even a slight frost can damage or kill young squash plants. Check your local frost dates to determine the average last frost date in your area. Once the danger of frost has passed, it’s safe to begin transplanting your seedlings.
2. Soil Temperature: Soil temperature plays a crucial role in the development of squash plants. They thrive in warm soil, with an ideal temperature range of 60°F (15°C) to 95°F (35°C). Before planting, use a soil thermometer to check the temperature of your garden soil. If the soil temperature consistently remains above 60°F (15°C), it is a good indication that it’s time to transplant your squash seedlings.
3. Daytime and Nighttime Temperatures: In addition to soil temperature, it’s important to consider the overall weather conditions. Squash plants prefer a warm and stable environment. Wait until both daytime and nighttime temperatures consistently reach at least 70°F (21°C) before planting your seedlings outside. Rapid temperature fluctuations, especially cold nights, can stress the plants and hinder their growth.
4. Growing Season Length: The length of your growing season will also dictate the ideal time for planting squash seedlings outside. Squash plants require a sufficient amount of time to grow, flower, and produce mature fruits. Research the specific variety of squash you are growing and determine its average days to maturity. Count backward from the expected first frost date to ensure you have enough time for your plants to reach their full potential.
5. Regional Variations: Remember that the ideal planting time for squash seedlings can vary depending on your location and climate zone. Different regions have different weather patterns and growing seasons. Consult with local gardeners, extension services, or gardening resources specific to your area to get more accurate information about the optimal planting time for squash in your region.
By considering these factors, you can determine the ideal time to plant your squash seedlings outside. Waiting until the risk of frost has passed, soil temperatures are warm, and the overall weather conditions are favorable will set the stage for healthy and productive squash plants.
How to Prepare the Soil for Squash Seedlings
Proper soil preparation is essential for the successful growth of squash seedlings. By creating an optimal environment, you can provide your plants with the necessary nutrients, drainage, and texture to thrive. Here are some steps to prepare the soil before planting your squash seedlings:
1. Clear the area: Start by clearing the planting area of any weeds, rocks, or debris. Remove any existing plant material to prevent competition for nutrients and space.
2. Loosen the soil: Use a garden fork or a tiller to loosen the soil to a depth of around 8-10 inches (20-25 cm). This will improve drainage and help roots penetrate the soil more easily.
3. Amend the soil: Assess the nutrient content and pH level of your soil using a soil test kit. Based on the results, add organic matter such as compost or well-rotted manure to improve soil fertility and structure. This will provide essential nutrients and enhance moisture retention.
4. Adjust the pH: Squash plants prefer a slightly acidic to neutral soil pH between 6.0 and 7.0. If your soil pH is too high or too low, you can adjust it by adding lime to raise the pH or sulfur to lower the pH. Follow the recommendations on the product packaging and retest the soil after adjusting the pH.
5. Improve drainage: Squash plants prefer well-draining soil to prevent waterlogging, which can lead to root rot and other diseases. If your soil is heavy or clay-like, consider adding coarse sand or perlite to improve drainage and prevent water from pooling around the roots.
6. Level and smooth the soil: Rake the soil surface to create a level and smooth bed for planting. Remove any large clumps or debris that you find during this process.
7. Consider raised beds or mounds: For areas with poor drainage or compacted soil, consider creating raised beds or mounds. This will allow for better drainage and prevent water accumulation around the roots.
8. Let the soil rest: It’s beneficial to let the prepared soil rest for a few days before planting. This allows the amendments to integrate with the existing soil and gives time for any weed seeds to germinate, which can then be removed before planting your squash seedlings.
By following these steps to prepare the soil, you create a favorable environment for your squash seedlings. Well-drained, nutrient-rich soil sets the foundation for healthy growth and a successful harvest of delicious squash.
Steps to Plant Squash Seedlings Outside
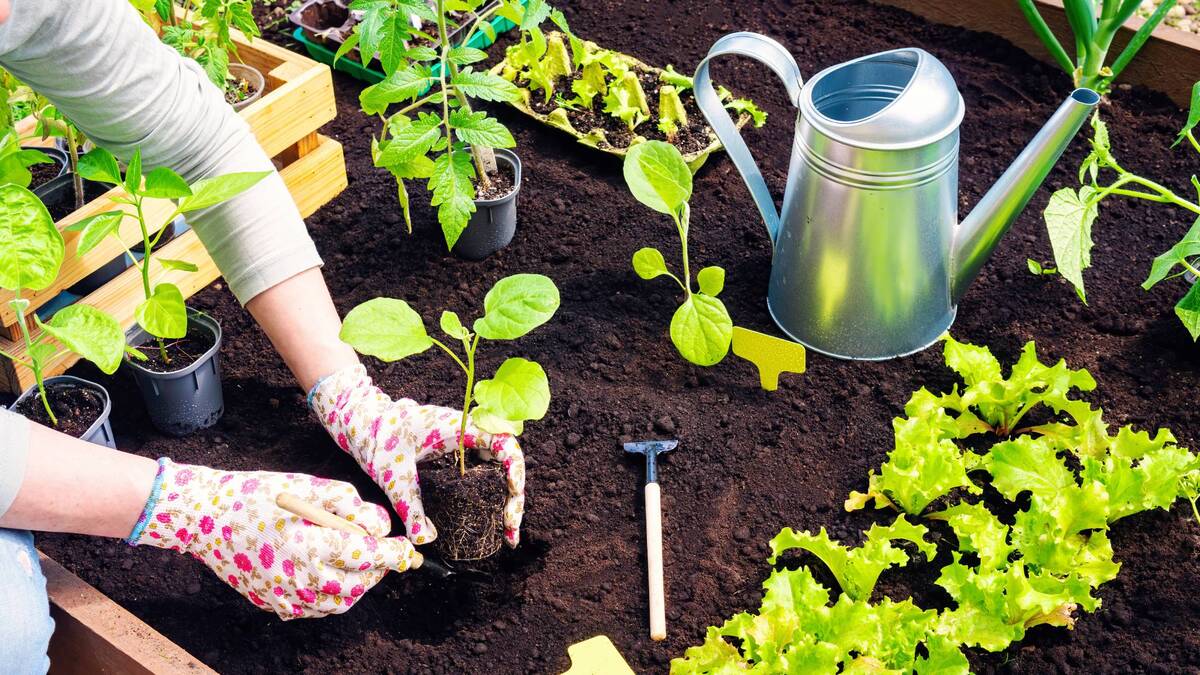
Now that you have prepared the soil, it’s time to transplant your squash seedlings into the garden. Follow these simple steps to ensure a successful planting process:
1. Choose the planting location: Select a sunny spot in your garden with well-draining soil. Squash plants require at least 6-8 hours of direct sunlight each day to thrive.
2. Dig the planting holes: Dig holes that are slightly larger than the root ball of your seedlings. Space the holes according to the recommended spacing for the specific squash variety you are planting, typically 2-3 feet apart.
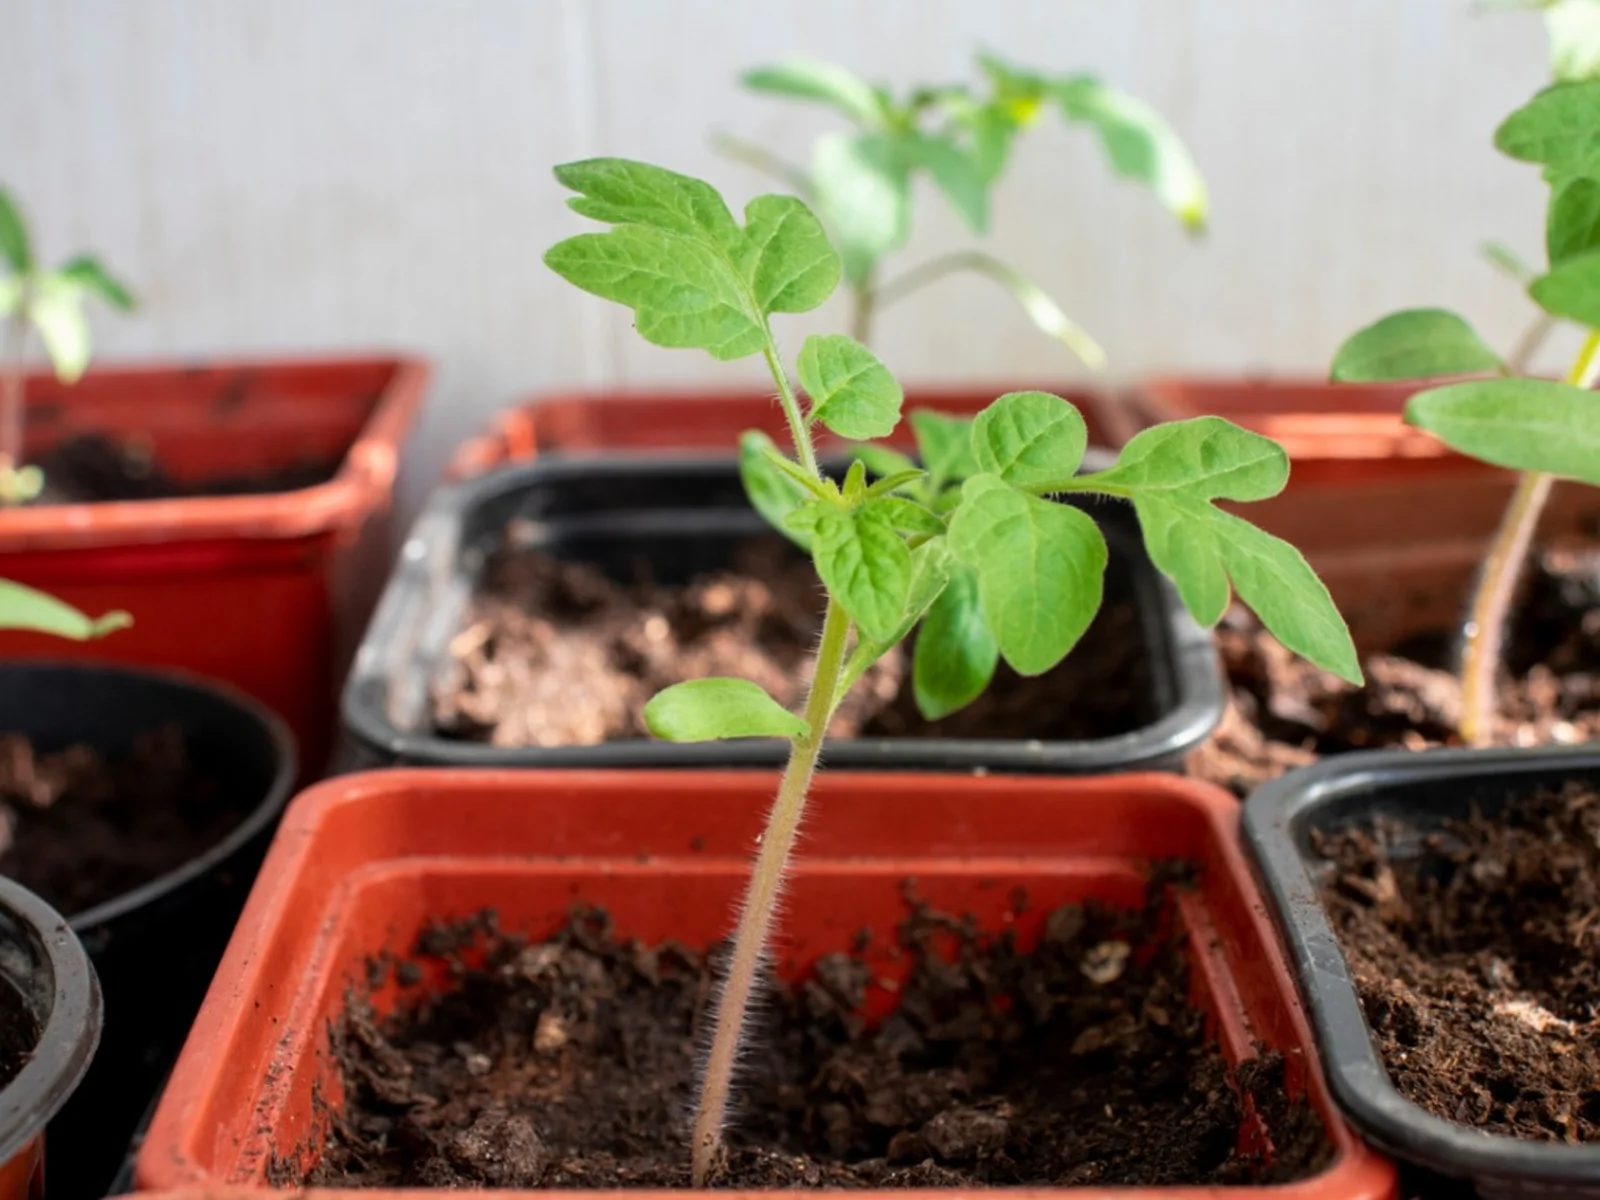
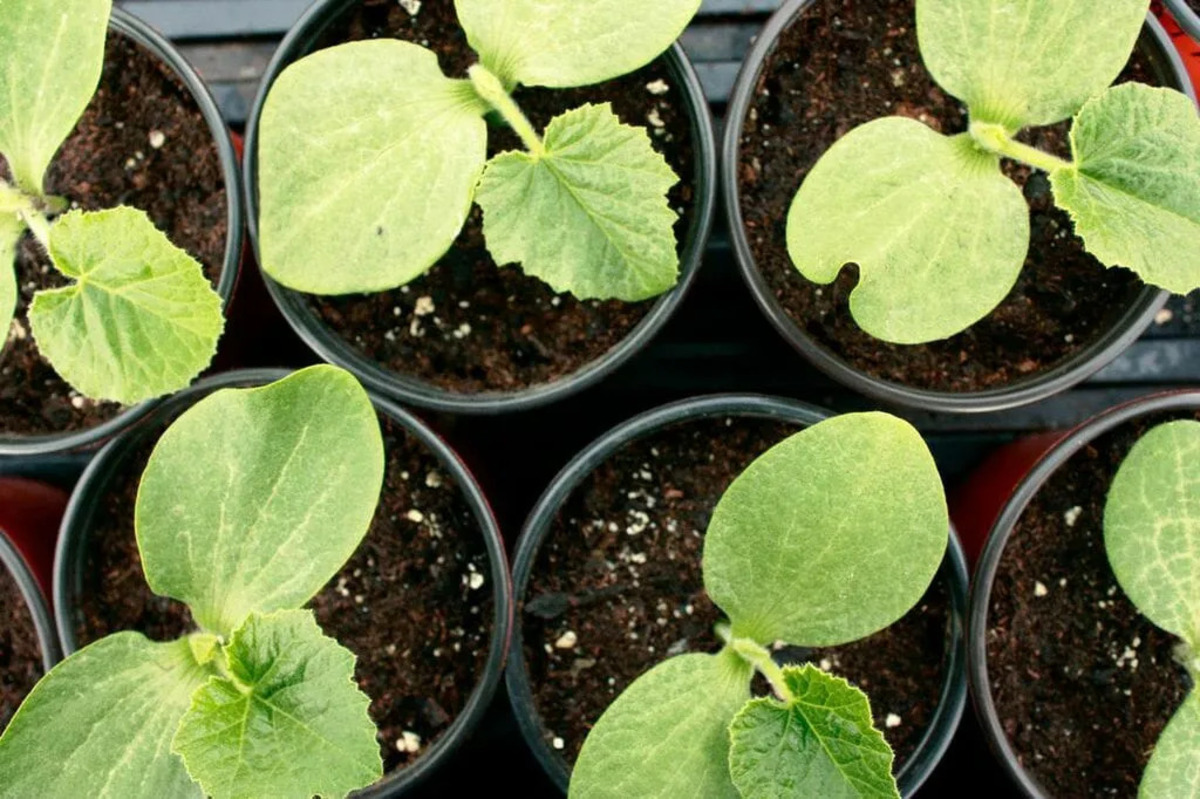
3. Remove the seedlings from pots: Gently remove the squash seedlings from their pots or trays, being careful not to damage the delicate roots. Squeezing the sides of the container or tapping it lightly can help loosen the seedling.
4. Place the seedlings in the holes: Set each squash seedling into a planting hole, making sure that the top of the root ball is level with or slightly above the soil surface. Adjust the depth of the hole if needed.
5. Backfill the holes: Fill the holes with soil, gently pressing it around the roots of the seedlings. Ensure that the soil is firm enough to support the seedlings but not too compacted.
6. Water the newly planted seedlings: After planting, give the seedlings a thorough watering to help settle the soil around the roots. Water at the base of the plant, avoiding the leaves, to minimize the risk of fungal diseases.
7. Add mulch: Apply a layer of organic mulch, such as straw or wood chips, around the base of the seedlings. This will help retain moisture, suppress weeds, and regulate soil temperature.
8. Provide support for vining varieties: If you are growing vining squash varieties like butternut or acorn squash, consider providing a trellis, fence, or other support structure. This will help keep the plants off the ground, saving space and reducing the risk of rot or pest damage.
9. Maintain adequate spacing: Be mindful of the recommended spacing between squash plants. Proper spacing allows for good air circulation and minimizes competition for nutrients and sunlight.
10. Monitor and care for the seedlings: Keep a close eye on your newly planted squash seedlings and provide them with proper care. Regularly water the plants, ensuring they receive about 1 inch of water per week. Stay vigilant for any signs of pests, diseases, or nutrient deficiencies and take appropriate measures to address them.
By following these steps, you can successfully plant your squash seedlings outside and give them a strong start in their new home. With proper care and attention, you’ll soon be rewarded with healthy plants and a bountiful harvest of delicious squash.
Care and Maintenance of Squash Seedlings
Once you have planted your squash seedlings outside, it’s crucial to provide them with proper care and maintenance to ensure their healthy growth and productivity. Here are some essential steps to follow:
1. Watering: Consistent and adequate watering is essential for squash plants. Water the plants deeply at the base, avoiding wetting the foliage, to prevent fungal diseases. Aim to keep the soil consistently moist, but be careful not to overwater, as this can lead to root rot. Regularly monitor the soil moisture levels and adjust watering accordingly, especially during hot and dry periods.
2. Mulching: Apply a layer of organic mulch around the base of the plants to help conserve moisture, suppress weeds, and regulate soil temperature. Maintain a mulch depth of around 2-3 inches, ensuring that the mulch does not touch the stems of the plants, as this can create a favorable environment for pests and diseases.
3. Fertilizing: Provide adequate nutrition to your squash plants by fertilizing them regularly. Use a balanced organic fertilizer or compost to provide essential nutrients. Apply the fertilizer according to the product instructions, taking care to avoid over-fertilization, which can lead to excessive foliage growth and reduced fruiting.
4. Pruning: Regularly inspect your squash plants for any damaged or diseased leaves, stems, or fruits, and remove them promptly to prevent the spread of diseases. Additionally, you can thin out excessive foliage to improve air circulation and light penetration, which helps prevent fungal infections.
5. Pollination: Squash plants require proper pollination to set fruit. While bees and other pollinating insects usually take care of this, you can assist the process by gently shaking the flowers or using a small brush to transfer pollen between male and female flowers. Be careful not to damage the delicate flowers in the process.
6. Pest and Disease Management: Regularly monitor your squash plants for any signs of pests, such as squash bugs, cucumber beetles, or powdery mildew. Implement integrated pest management strategies, such as handpicking pests, introducing beneficial insects, and using organic pest control methods when necessary. Proper sanitation and good airflow around the plants can help prevent fungal diseases.
7. Support for Vining Varieties: If you are growing vining squash varieties, provide support for the plants as they grow. Use trellises, stakes, or fences to train the vines, keeping them off the ground. This not only saves space but also reduces the risk of rot or pest damage.
8. Harvesting: Regularly monitor your squash plants for mature fruits. Harvest them when they are at the desired size and color. For best flavor and texture, harvest summer squash when they are young and tender, and winter squash when the skins are tough and fully matured. Use a sharp knife or garden shears to cut the fruits from the vine, leaving a short stem attached.
By following these care and maintenance practices, you can ensure the health and productivity of your squash seedlings. Monitoring for pests, diseases, and nutrient deficiencies, and taking appropriate actions, will help you achieve a bountiful harvest of delicious and vibrant squash.
Common Problems and How to Address Them
While squash plants are generally resilient, they can sometimes encounter common problems that can affect their growth and productivity. Understanding these issues and knowing how to address them promptly can help ensure the health and success of your squash plants. Here are some common problems and their solutions:
1. Pest Infestation: Squash bugs, cucumber beetles, and vine borers are common pests that can attack squash plants. Regularly inspect your plants for signs of pest infestation, such as yellowing leaves, wilting, or chewed foliage. Handpick and remove the pests from the plants. Alternatively, introduce beneficial insects like ladybugs or use organic pest control methods such as neem oil or insecticidal soap.
2. Powdery Mildew: Powdery mildew is a fungal disease that manifests as a white, powdery coating on the leaves. It can affect the plant’s ability to photosynthesize, leading to stunted growth and reduced fruit production. To prevent powdery mildew, ensure proper airflow and spacing between plants. If it occurs, treat the affected plants with a fungicidal spray specifically formulated for powdery mildew.
3. Blossom End Rot: Blossom end rot appears as a dark, sunken area at the blossom end (bottom) of the fruit. It is caused by calcium deficiency or inconsistent watering. To address blossom end rot, ensure a consistent watering schedule to maintain even soil moisture. Incorporate calcium-rich amendments into the soil or use a calcium spray as a preventive measure.
4. Fruit Rot: If you notice soft, rotting fruit on your squash plants, it could be a sign of fruit rot caused by fungal pathogens. Ensure proper airflow, remove any infected fruit, and dispose of it away from the garden area. Apply a copper-based fungicide to control fungal diseases and prevent further damage.
5. Vine Borers: Squash vine borers are destructive pests that tunnel into the stems, causing plants to wilt and eventually die. Monitor the base of the stems for entry holes and frass (sawdust-like residue). If detected, make a small incision along the stem and remove the larva manually. Cover the cut area with soil to promote root growth and help the plant recover.
6. Overcrowding: Squash plants require ample space to spread out and receive adequate sunlight and airflow. Overcrowding can lead to poor growth and increased disease susceptibility. Thin out excess seedlings, ensuring proper spacing between plants according to the variety’s recommendations.
7. Poor Fruit Set: If your squash plants are not producing as many fruits as expected, it could be due to poor pollination, especially in the absence of bees or other pollinators. Encourage pollinators to visit your garden by planting flowers that attract them. You can also hand-pollinate the flowers by transferring pollen from the male to the female flowers using a small brush or cotton swab.
By being vigilant and addressing these common problems early on, you can minimize their impact on your squash plants. Regular monitoring, proper cultural practices, and timely intervention will help keep your plants healthy and ensure a successful harvest of flavorful and vibrant squash.
Harvesting Squash from the Planted Seedlings
Harvesting squash is a rewarding and exciting moment for any gardener. When your squash plants have reached maturity, it’s time to start harvesting the fruits. Here are some guidelines to help you harvest squash from your planted seedlings:
1. Observe maturity: Different squash varieties have different signs of maturity. Summer squash, such as zucchini and yellow squash, are typically harvested when they are young and tender, usually around 6-8 inches in length. Winter squash, like butternut or acorn squash, is harvested when the skins are tough, the color has deepened, and the fruits have fully matured. Refer to the specific variety’s packaging or seed catalog for more precise information on maturity indicators.
2. Check the color and texture: When harvesting, look for squash fruits with vibrant color and firm skin. Avoid fruits that have blemishes, soft spots, or signs of rot. Using your fingernail, press lightly on the skin to ensure it is fully matured and resistant to indentation.
3. Use a sharp knife or pruners: To harvest squash, use a sharp knife or garden pruners to cut the fruit from the vine. Leave a short stem attached to the fruit, about one inch in length. Be careful not to damage the remaining plant or nearby fruits during the process.
4. Harvest regularly: Check your squash plants regularly and harvest fruits as they reach maturity. Harvesting regularly promotes continuous fruit production and prevents fruits from becoming oversized and losing the desired tenderness and flavor.
5. Harvest in the morning: For the best quality and flavor, harvest squash in the morning when the fruits are still cool and crisp. This helps preserve their sweetness and reduces the risk of post-harvest spoilage.
6. Proper storage: If you’re not consuming your harvested squash immediately, store them in a cool, dry place with good airflow. Some varieties, like winter squash, can be stored for several months if properly cured and kept in a suitable environment. Regularly check stored squash for any signs of deterioration and remove any spoiled fruits to prevent spreading to others.
7. Using harvested squash: Squash is a versatile vegetable that can be used in a variety of dishes. Summer squash can be enjoyed in salads, stir-fries, or grilled. Winter squash is often roasted, pureed into soups, or baked into pies and casseroles. Explore different recipes and culinary possibilities to make the most of your harvested squash.
By following these guidelines, you can ensure a successful and enjoyable harvest of delicious squash. Enjoy the fruits of your labor and savor the flavors of fresh, homegrown squash in your culinary creations.
Conclusion
Growing squash from seedlings and transplanting them outside is a rewarding and fulfilling experience for any edible gardener. By considering the factors before planting, preparing the soil, and following the proper steps, you can set your squash seedlings up for success. Providing care and maintenance, addressing common problems, and harvesting the fruits at the right time will ensure a bountiful harvest of flavorful and vibrant squash.
Planting squash seedlings outside allows them to benefit from natural sunlight, beneficial insects, and optimal airflow. It is crucial to choose the ideal time for planting based on temperature, soil conditions, and growing season length. Preparing the soil by adding organic matter, adjusting pH levels, and improving drainage sets the foundation for healthy plant growth.
Once the seedlings are planted, giving them proper care and maintenance is important. Adequate watering, mulching, fertilizing, and pruning promote healthy growth and prevent common issues such as pest infestation, fungal diseases, and poor fruit set. Harvesting squash at the right maturity stage and storing them properly ensures the best flavor and quality for your culinary creations.
Edible gardening is a wonderful journey of nurturing and enjoying the fruits of your labor. Whether you’re growing zucchini for fresh summer salads or harvesting butternut squash for warming winter soups, the process of planting, caring for, and harvesting squash seedlings outside is an essential step toward a successful and fulfilling edible garden.
So, put on your gardening gloves, get your squash seedlings ready, and embark on the journey of growing and enjoying your own bountiful harvest of delicious and nutritious squash.
