Home>Types of Gardening>Ornamental Gardening>When To Plant Hollyhock Seedlings
Ornamental Gardening
When To Plant Hollyhock Seedlings
Modified: February 10, 2024
Discover when the best time is to plant hollyhock seedlings in your ornamental garden. Get expert tips and advice for successful cultivation.
(Many of the links in this article redirect to a specific reviewed product. Your purchase of these products through affiliate links helps to generate commission for Chicagolandgardening.com, at no extra cost. Learn more)
Table of Contents
Introduction
Welcome to the world of ornamental gardening, where beauty blooms and nature thrives. One of the most enchanting additions to any garden is the hollyhock. With its tall, elegant stalks and vibrant flowers, hollyhocks can transform your outdoor space into a picturesque haven. Whether you’re a novice or seasoned gardener, planting hollyhock seedlings can be a gratifying experience that brings color and charm to your landscape.
But before you embark on this gardening journey, there are a few factors you need to consider. Understanding the best time to plant hollyhock seedlings, as well as the proper care they require, will set you up for success. In this article, we’ll delve into the essential details to help you create a thriving hollyhock garden.
From choosing the right location to troubleshooting common issues, we’ll provide you with the knowledge and guidance you need. So, grab your gardening tools, put on your gardening gloves, and let’s dive into the wonderful world of hollyhocks!
Factors to Consider Before Planting Hollyhock Seedlings
Before you start planting hollyhock seedlings, it’s important to consider a few key factors to ensure their success. Taking these factors into account will help you create an optimal environment for your hollyhocks to thrive.
- Location: Hollyhocks prefer full sunlight, so choose a location in your garden that receives at least six to eight hours of direct sunlight each day. Additionally, hollyhocks prefer well-drained soil, so make sure the area has good drainage to prevent waterlogging.
- Soil Preparation: Hollyhocks grow best in rich, loamy soil with a slightly acidic pH level (around 6.0 to 7.0). Before planting, prepare the soil by removing any weeds or large rocks and incorporating compost or well-rotted manure to improve fertility and drainage. This will provide the necessary nutrients for healthy growth.
- Space: Hollyhocks are tall plants that can reach heights of 4 to 8 feet, so make sure to give them enough space to grow. Plant them at least 2 to 3 feet apart to allow for proper air circulation and prevent overcrowding.
- Support: Due to their height, hollyhocks require support to prevent them from falling over or being damaged by strong winds. Consider installing stakes or a trellis near the plants to provide support as they grow.
- Pest and Disease Resistance: It’s essential to choose hollyhock varieties that are resistant to common pests and diseases in your area. This will help minimize the risk of infestations and keep your plants healthy. Consult with local nurseries or gardening experts to select the best varieties for your region.
By considering these factors and making necessary preparations, you’ll create a favorable environment for your hollyhock seedlings and set them up for success. Now that you have a clear understanding of the important factors to consider, let’s move on to the best time for planting your hollyhock seedlings.
Best Time to Plant Hollyhock Seedlings
The timing of planting hollyhock seedlings plays a vital role in their growth and development. It’s important to choose the right season to ensure optimal conditions for their establishment. While hollyhocks are hardy plants, planting them at the right time will give them the best chance to thrive.
The ideal time to plant hollyhock seedlings is in the spring, after the danger of frost has passed. Depending on your geographical location, this is typically around late April to early May. Planting them at this time allows them to establish their root system before the hot summer months.
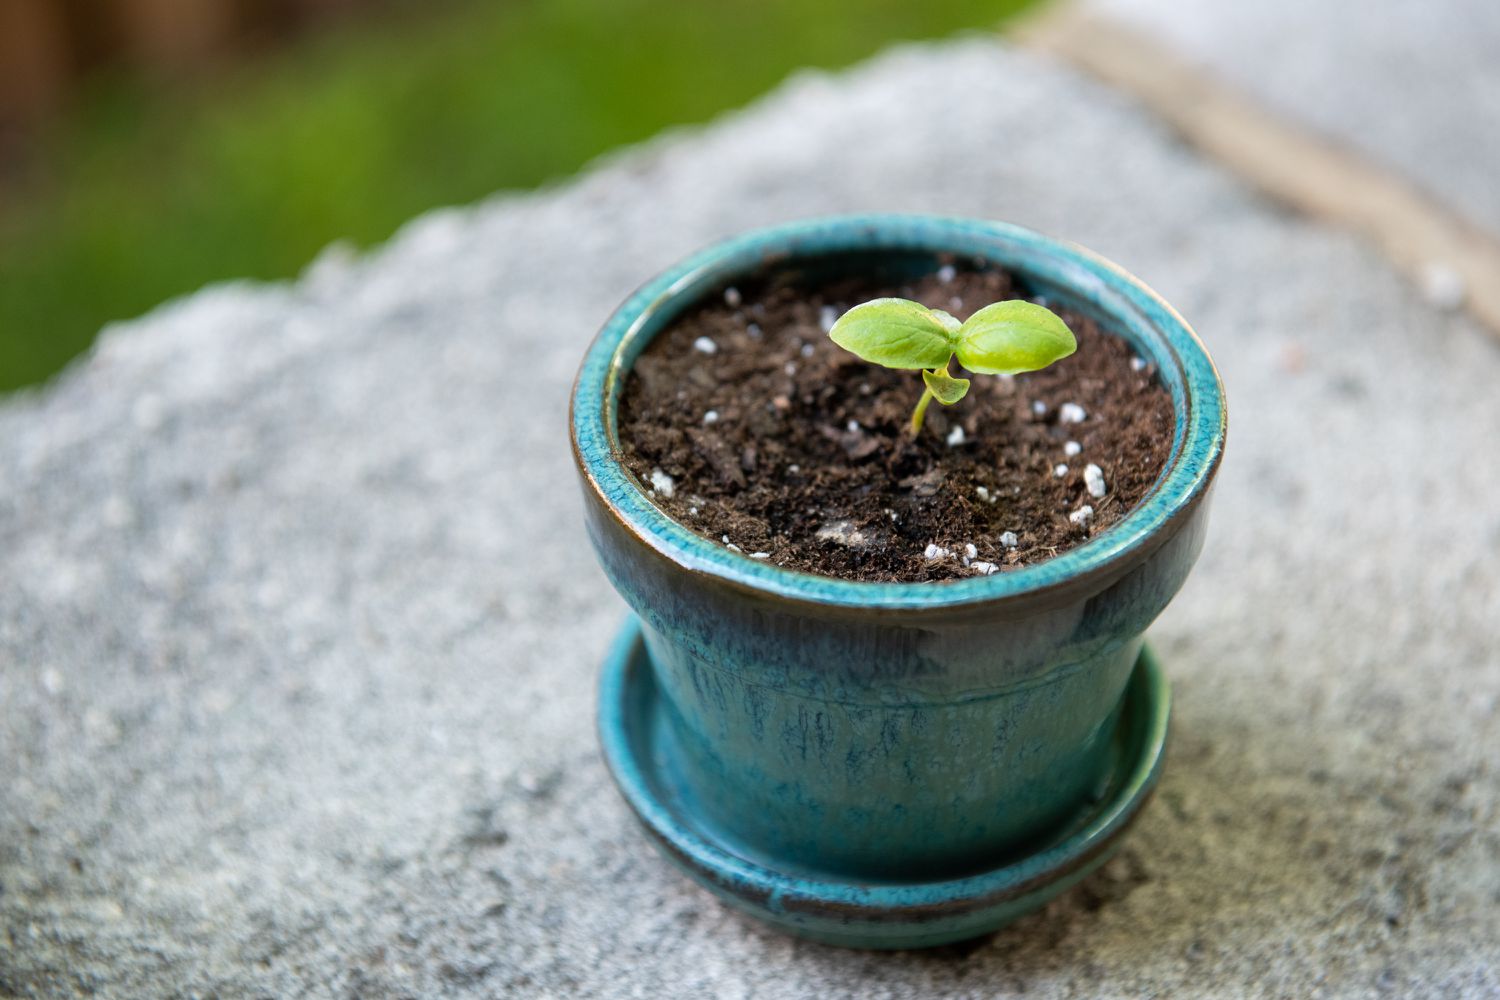
Starting hollyhock seeds indoors, about 6 to 8 weeks before the last expected frost, can give you a head start. This way, you can transplant the seedlings outdoors once the weather becomes suitable. Remember to acclimate seedlings to outdoor conditions gradually by exposing them to sunlight and outdoor temperatures for a few hours each day.
If you missed the window to plant hollyhock seedlings in the spring, you can still plant them in the early fall, about 6 to 8 weeks before the first expected frost. This allows the plants to establish their root system while the weather is still mild. However, keep in mind that fall plantings may delay flowering until the following year.
It’s essential to check the specific guidelines for the hollyhock variety you are planting, as certain varieties may have different preferences for planting times. Consulting local nurseries or gardening experts can also provide valuable insights into the ideal planting time for your specific area.
Remember to monitor the weather conditions and soil moisture before planting hollyhock seedlings. If the soil is still too cold or wet, it’s best to wait for more favorable conditions to avoid stunting the growth of your seedlings. Patience is key when it comes to planting hollyhocks!
Now that you know the best time to plant hollyhock seedlings, let’s move on to the steps for planting them to ensure a successful start to your hollyhock garden.
Steps for Planting Hollyhock Seedlings
Now that you’re ready to plant your hollyhock seedlings, follow these step-by-step instructions to ensure they get off to a healthy start:
- Prepare the soil: Start by preparing the planting area. Clear away any weeds, rocks, or debris. Loosen the soil to a depth of about 6 to 8 inches using a garden fork or tiller. Incorporate organic matter, such as compost or well-rotted manure, to improve soil fertility and drainage.
- Choose the right spot: Select a location in your garden that receives full sun and has well-drained soil. Avoid planting hollyhocks in areas prone to waterlogging or excessive shade.
- Dig the planting holes: Dig holes that are slightly wider and deeper than the root ball of each seedling. Space the holes 2 to 3 feet apart to allow for proper growth and airflow.
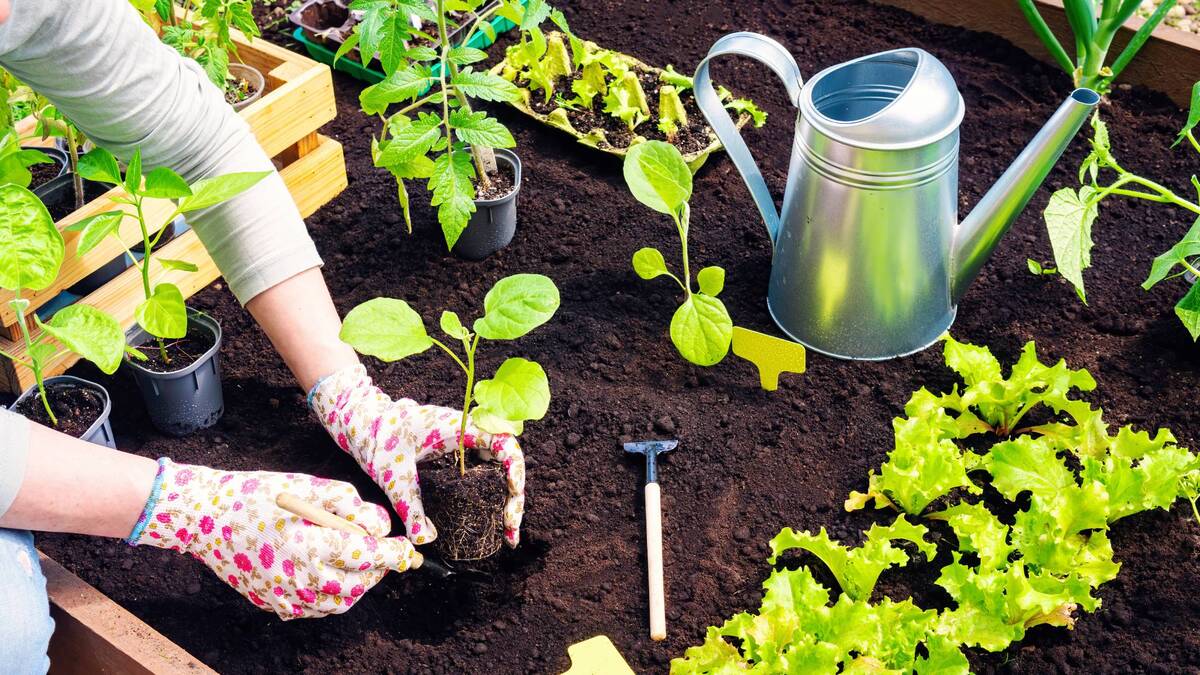
- Plant the seedlings: Gently remove the hollyhock seedlings from their containers, being careful not to damage the roots. Place each seedling into a planting hole and backfill with soil. Press down lightly to ensure good soil contact around the roots.
- Water thoroughly: After planting, water the seedlings thoroughly to settle the soil and provide moisture to the roots. Keep the soil consistently moist, but not waterlogged, throughout the growing season.
- Provide support: As the hollyhock seedlings grow, install stakes or a trellis near each plant to provide support and prevent them from toppling over. Tie the stems gently to the support structure using soft plant ties or twine.
- Mulch: Apply a layer of mulch around the base of the seedlings to help conserve moisture, suppress weed growth, and regulate soil temperature. Use organic mulch, such as wood chips or straw, and avoid piling it directly against the stems of the plants.
- Monitor and maintain: Regularly check for pests, diseases, and signs of nutrient deficiencies. Water the seedlings as needed, ensuring the soil remains evenly moist. Remove any weeds that may compete for nutrients and space.
Following these steps will give your hollyhock seedlings the best chance of thriving in their new home. With proper care and attention, you’ll soon be rewarded with stunning blooms and a beautiful hollyhock garden.
Next, let’s explore some essential tips for caring for your hollyhock seedlings to ensure their continued growth and success.
Caring for Hollyhock Seedlings
Once you’ve planted your hollyhock seedlings, it’s essential to provide them with the proper care to ensure their healthy growth and abundant blooms. Here are some crucial tips for caring for your hollyhock seedlings:
- Watering: Hollyhocks prefer consistently moist soil, especially during dry periods. Water deeply at the base of the plants, avoiding overhead watering which can lead to fungal diseases. Aim to provide about 1 inch of water per week, adjusting as needed based on weather conditions.
- Fertilizing: Hollyhocks benefit from regular fertilization to promote robust growth and flowering. Use a balanced, slow-release fertilizer or a well-balanced organic fertilizer in early spring. Follow the recommended dosage according to the product instructions.
- Support: As the hollyhocks grow taller, continue to provide support by tying the stems to the stakes or trellis you installed during planting. This will prevent the plants from toppling over in strong winds or heavy rain.
- Pruning: While hollyhocks generally do not require extensive pruning, you can remove any dead or diseased leaves or spent flowers. This helps improve air circulation and reduces the risk of disease. Cut the stems back to the base of the plant in late fall or early spring to encourage new growth.
- Pest and disease control: Keep an eye out for common pests like aphids, slugs, and Japanese beetles. Remove any pests by hand or use organic insecticides if necessary. Additionally, watch for signs of rust, a common fungal disease that affects hollyhocks. If rust is noticed, remove and destroy affected leaves to prevent the spread.
- Mulching: Apply a layer of organic mulch around the base of your hollyhock seedlings. Mulch helps retain moisture, suppress weeds, and regulate soil temperature. Be sure to keep the mulch a few inches away from the stems to prevent rotting.
- Deadheading: To encourage continuous blooming, remove faded flowers by cutting them back to a healthy bud or leaf. This prevents the plant from redirecting energy to seed production and promotes the growth of new flower buds.
By following these care instructions, your hollyhock seedlings will flourish and reward you with their stunning display of colorful blossoms. With regular attention and maintenance, you’ll create a vibrant and thriving hollyhock garden that will be the envy of all who see it.
However, it’s important to stay vigilant and address any problems that may arise with your hollyhock seedlings. In the next section, we’ll explore some common problems and provide solutions to help you overcome them.
Common Problems and Solutions for Hollyhock Seedlings
While hollyhocks are generally hardy plants, they can still encounter some common problems. Understanding these issues and their solutions will help you maintain the health and vitality of your hollyhock seedlings. Here are a few common problems you may encounter:
- Pest Infestation: Hollyhocks are susceptible to pests like aphids, slugs, and Japanese beetles. To combat these pests, try using insecticidal soap or organic pest control methods. Handpicking larger pests like Japanese beetles can also be effective.
- Disease: One of the most common diseases that affect hollyhocks is rust. Rust appears as orange spots on the leaves and can lead to defoliation if left untreated. To prevent rust, ensure proper air circulation by providing adequate spacing between plants. If rust is present, remove infected leaves promptly and consider applying a fungicide labeled for rust control.
- Poor Flowering: If your hollyhock seedlings are not flowering as expected, it could be due to insufficient sunlight or nutrient deficiencies. Ensure they are receiving at least six to eight hours of direct sunlight and regularly fertilize with a balanced fertilizer to provide essential nutrients.
- Stunted Growth: Stunted growth in hollyhock seedlings can be caused by various factors such as compacted soil, inadequate watering, or root diseases. Ensure proper soil preparation before planting, water consistently, and address any signs of root diseases by removing affected plants and treating the soil with fungicides.
- Wilting: Wilting in hollyhock seedlings can be a sign of underwatering, overwatering, or root rot. Check the soil moisture regularly and adjust watering accordingly. Ensure proper drainage to prevent waterlogging and be mindful not to overwater during rainy periods.
- Winter Survival: Hollyhock seedlings may struggle to survive harsh winter conditions, especially in colder regions. To improve their chances of winter survival, consider providing a layer of mulch around the base of the plants in late fall. This will help insulate the roots and protect them from freezing temperatures.
By being proactive and addressing these common problems, you can ensure that your hollyhock seedlings remain healthy and vibrant throughout their growing season. Regular observation and proper care will go a long way in preventing and managing any issues that may arise.
With the right knowledge and attention, you’ll be able to overcome any challenges and enjoy the beauty of your hollyhock garden for years to come.
Conclusion
Congratulations! You have now learned all about planting and caring for hollyhock seedlings. With their tall stalks and vibrant blooms, hollyhocks can bring a touch of elegance and charm to any garden. By considering the factors such as location, soil preparation, and support, you provide the best conditions for your hollyhocks to thrive.
Remember, the best time to plant hollyhock seedlings is in the spring, once the threat of frost has passed. If you miss this window, you can also plant them in early fall. Properly preparing the soil, providing adequate water, fertilizing, and addressing common problems will all contribute to the success of your hollyhocks.
Whether you are a gardening enthusiast or a beginner, growing hollyhocks can be a rewarding experience. Watching these beautiful flowers bloom and attract pollinators to your garden is a sight worth indulging in. With proper care and attention, your hollyhock seedlings will flourish and become a stunning focal point in your ornamental garden.
So, put on your gardening gloves, grab your tools, and get ready to enjoy the beauty of hollyhocks in your own backyard. With the knowledge you’ve gained from this article, you’re well-equipped to create an enchanting hollyhock garden that will be the envy of your neighbors.
Remember to stay attentive to the needs of your hollyhocks, address any issues promptly, and revel in the joy of witnessing these exquisite flowers grace your outdoor space. Happy gardening!