Home>Types of Gardening>Ornamental Gardening>How Deep To Plant Hollyhock Seeds

Ornamental Gardening
How Deep To Plant Hollyhock Seeds
Modified: January 22, 2024
Learn about proper hollyhock seed planting depth in ornamental gardening. Maximize your chances for beautiful flowers by following these tips.
(Many of the links in this article redirect to a specific reviewed product. Your purchase of these products through affiliate links helps to generate commission for Chicagolandgardening.com, at no extra cost. Learn more)
Table of Contents
Introduction
Welcome to the world of ornamental gardening, where beauty and nature collide to create breathtaking landscapes. If you have a penchant for gardening and want to add a touch of elegance to your outdoor space, growing hollyhocks should be at the top of your list. These stunning flowering plants are known for their tall, sturdy stalks adorned with vibrant blooms in a variety of colors.
One of the first steps in successfully growing hollyhocks is planting their seeds properly. Understanding the ideal planting depth is crucial for ensuring robust growth and abundant blossoms. In this article, we will delve into the specifics of how deep to plant hollyhock seeds, providing you with the knowledge and guidance you need to cultivate stunning hollyhock blooms in your garden.
Before we explore the planting depth, let’s take a closer look at hollyhock seeds themselves. Hollyhock seeds are relatively small, round, and can be found in various shades, such as black, brown, or even white. They are typically flattened on one side and have a slightly rough texture. These seeds contain all the genetic material required for the germination process, so ensuring the right planting conditions is crucial for their successful growth.
Hollyhocks are biennial plants, meaning that they complete their lifecycle over two years. During the first year, hollyhock plants establish their root system and produce lush foliage. In the second year, they bloom with graceful flowers, captivating garden enthusiasts with their beauty.
Understanding Hollyhock Seeds
Before we dive into the details of how deep to plant hollyhock seeds, it’s important to have a good understanding of these fascinating seeds. Hollyhock seeds are the key to growing these stunning flowering plants and are the starting point of their life cycle.
Hollyhock seeds are relatively small and round in shape, typically measuring around 2-3 millimeters in diameter. They come in various colors, ranging from black and brown to white. These seeds have a smooth and slightly rough texture, and each seed contains all the genetic information required for the plant to grow.
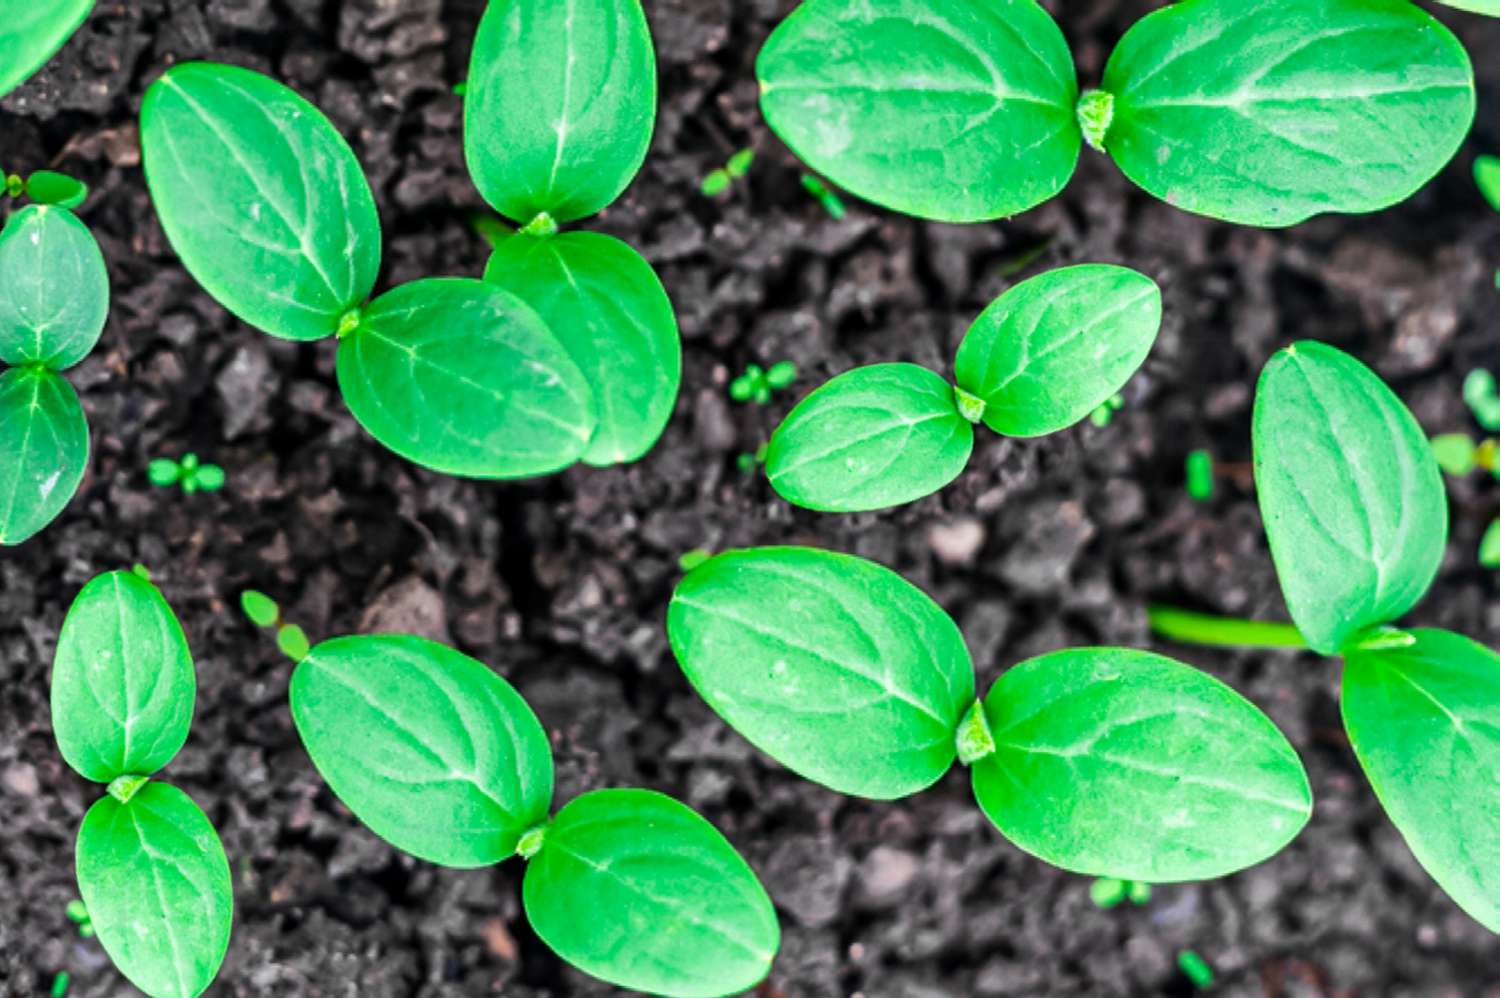
As with most plant seeds, hollyhock seeds consist of a protective outer shell that houses the embryo. Inside this outer shell, there are important structures such as the radicle (embryonic root) and cotyledons (embryonic leaves). These structures play a vital role in the initial stages of germination.
Hollyhock seeds have dormant periods, which means they require specific conditions to break their dormancy and begin the germination process. These conditions typically involve a combination of moisture, warmth, and light exposure. It’s important to note that hollyhock seeds have a relatively short viability period, so it’s advisable to use fresh seeds for optimal results.
If you’re planning to collect hollyhock seeds from your existing plants, it’s best to wait until the seed pods are fully matured and turn brown. This indicates that the seeds are ready for harvest. Once harvested, store the seeds in a cool and dry place, preferably in a sealed container, until you’re ready to plant them.
Now that you have a better understanding of hollyhock seeds, let’s proceed to the next section, where we’ll explore the proper planting depth for these seeds.
Proper Planting Depth for Hollyhock Seeds
When it comes to planting hollyhock seeds, determining the proper planting depth is crucial for their successful germination and growth. Planting too shallow may result in the seeds drying out, while planting too deep can prevent them from reaching the surface to receive light. It’s important to strike the right balance to provide the optimal conditions for the seeds to thrive.
The general rule of thumb for planting hollyhock seeds is to bury them at a depth of about 1/8 to 1/4 inches. This shallow planting depth allows the seeds to remain close enough to the surface to receive the necessary light for germination while still being protected and anchored by the soil.
It’s worth noting that hollyhock seeds require some exposure to light to trigger the germination process. If the seeds are planted too deep, they may struggle to emerge from the soil and receive the light they need. On the other hand, planting them too close to the surface may make them susceptible to drying out, especially in hot and dry climates.
Another important consideration when determining the planting depth is the type of soil in your garden. If you have heavy clay soil or poorly draining soil, it’s advisable to plant hollyhock seeds slightly higher, around the 1/8 inch mark, to prevent excessive moisture retention and potential rotting. Conversely, if you have sandy or loose soil, a slightly deeper planting depth, around 1/4 inch, may be necessary to ensure proper moisture retention.
Remember, these guidelines are not set in stone, and slight variations can be made based on individual conditions. It’s always good to observe and adapt to the specific needs of your garden and the hollyhock seeds you’re working with. Pay attention to local climate conditions, soil quality, and other environmental factors that may influence the depth at which you plant your hollyhock seeds.
Now that we have a clear understanding of the proper planting depth for hollyhock seeds, let’s move on to the next section, where we’ll explore the different factors to consider when determining the planting depth.
Factors to Consider for Planting Depth
When determining the ideal planting depth for hollyhock seeds, it’s important to take several factors into consideration. These factors can vary depending on your specific garden conditions and the characteristics of the hollyhock seeds themselves. By evaluating these factors, you can make informed decisions and provide the most favorable conditions for your hollyhock seeds to germinate and thrive.
Soil Type: The type of soil in your garden plays a significant role in determining the planting depth for hollyhock seeds. Clay or compacted soils tend to retain moisture, so planting the seeds slightly higher at around 1/8 inch can help prevent excess moisture retention. Sandy or loose soils, on the other hand, may require a slightly deeper planting depth of around 1/4 inch to ensure adequate moisture retention.
Climate: The climate in your area is another important factor to consider. In hot and dry climates, planting hollyhock seeds slightly deeper can help protect them from excessive heat and dry out. Conversely, in cooler or more humid climates, a slightly shallower planting depth can promote faster germination and emergence.
Light Exposure: Hollyhock seeds require some exposure to light to trigger germination. Planting the seeds too deep can hinder their ability to reach the surface and receive the necessary light. Keep in mind the natural light conditions in your garden and adjust the planting depth accordingly.
Seed Size: While most hollyhock seeds are relatively small, there can be variations in size. Larger seeds may be planted slightly deeper, around 1/4 inch, to ensure they have adequate soil contact and moisture absorption.
Seed Freshness: The freshness of the hollyhock seeds can impact their viability and germination success. Fresh seeds generally have a higher germination rate, allowing for slightly shallower planting. If using older seeds, planting them slightly deeper can compensate for any decrease in viability.
By taking these factors into account, you can determine the planting depth that best suits your garden and the specific hollyhock seeds you’re working with. Remember to observe and adapt to the conditions in your garden, ensuring that the depth provides the optimal environment for germination and growth.
Now that we understand the factors influencing the planting depth, let’s proceed to the next section, where we’ll provide a step-by-step guide for planting hollyhock seeds.
Step-by-Step Guide for Planting Hollyhock Seeds
Are you ready to embark on the journey of planting hollyhock seeds? Follow this step-by-step guide to ensure successful germination and cultivation of these beautiful flowers in your garden.
- Choose the Right Time: The ideal time to plant hollyhock seeds is in the early spring when the soil has warmed up and the risk of frost has passed. This allows the seeds to take advantage of the favorable temperatures and growing conditions.
- Select the Planting Location: Choose a sunny location in your garden with well-draining soil. Hollyhocks prefer full sun exposure for at least 6-8 hours a day to thrive.
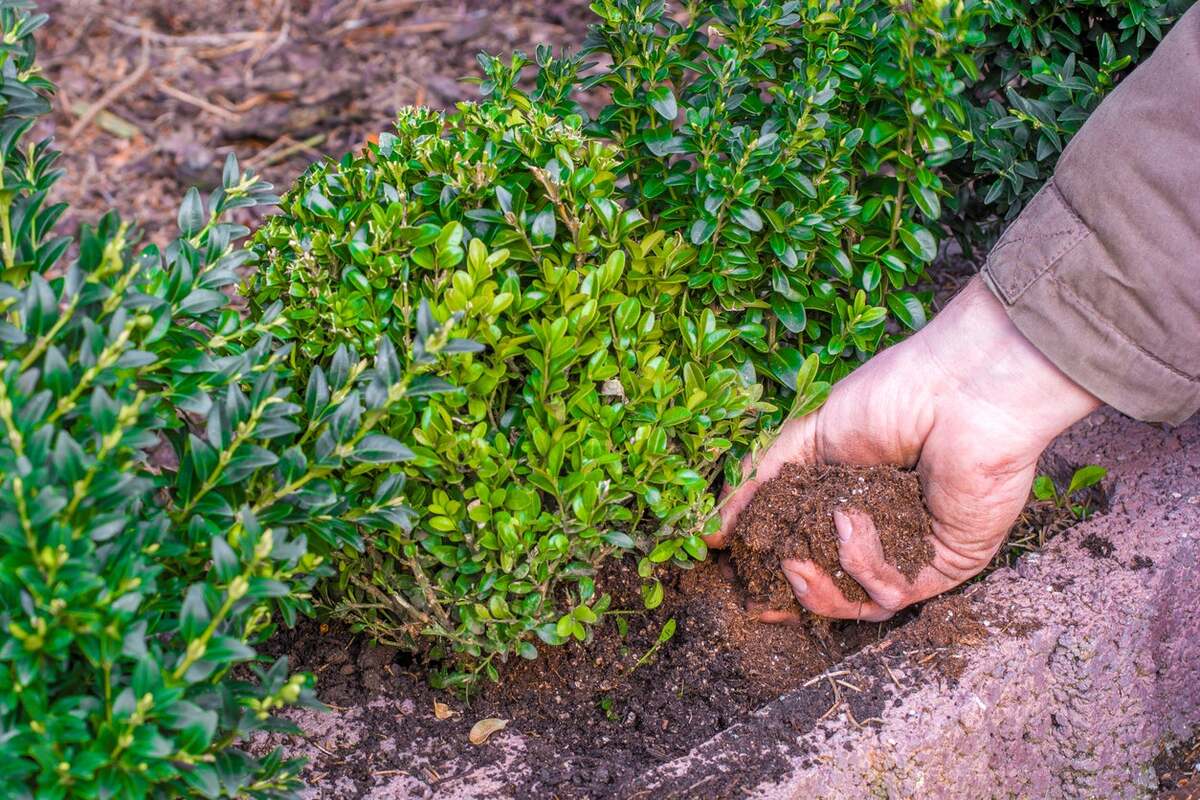
- Prepare the Soil: Before planting, prepare the soil by removing any weeds or debris. Loosen the soil to a depth of at least 6-8 inches using a garden fork or tiller. This will create a favorable environment for the roots to establish and spread.
- Sow the Seeds: Scatter the hollyhock seeds evenly over the prepared soil surface. Aim for a planting density of approximately 4-6 seeds per square foot. Gently press the seeds into the soil using your hand or the back of a garden rake.
- Plant at the Proper Depth: As we discussed earlier, hollyhock seeds should be planted at a depth of about 1/8 to 1/4 inches. Adjust the planting depth based on the factors we explored in the previous section, such as soil type, climate, and seed size.
- Water the Seeds: After planting, thoroughly water the soil to ensure proper moisture penetration. Avoid overwatering, as this can lead to rotting or fungal diseases. Maintain moist but not waterlogged conditions throughout the germination period.
- Keep the Soil Moist: Check the soil regularly and water as needed to keep it consistently moist. Avoid letting the soil dry out completely, as this can hinder germination. Use a watering can or a gentle sprinkler to prevent dislodging the seeds.
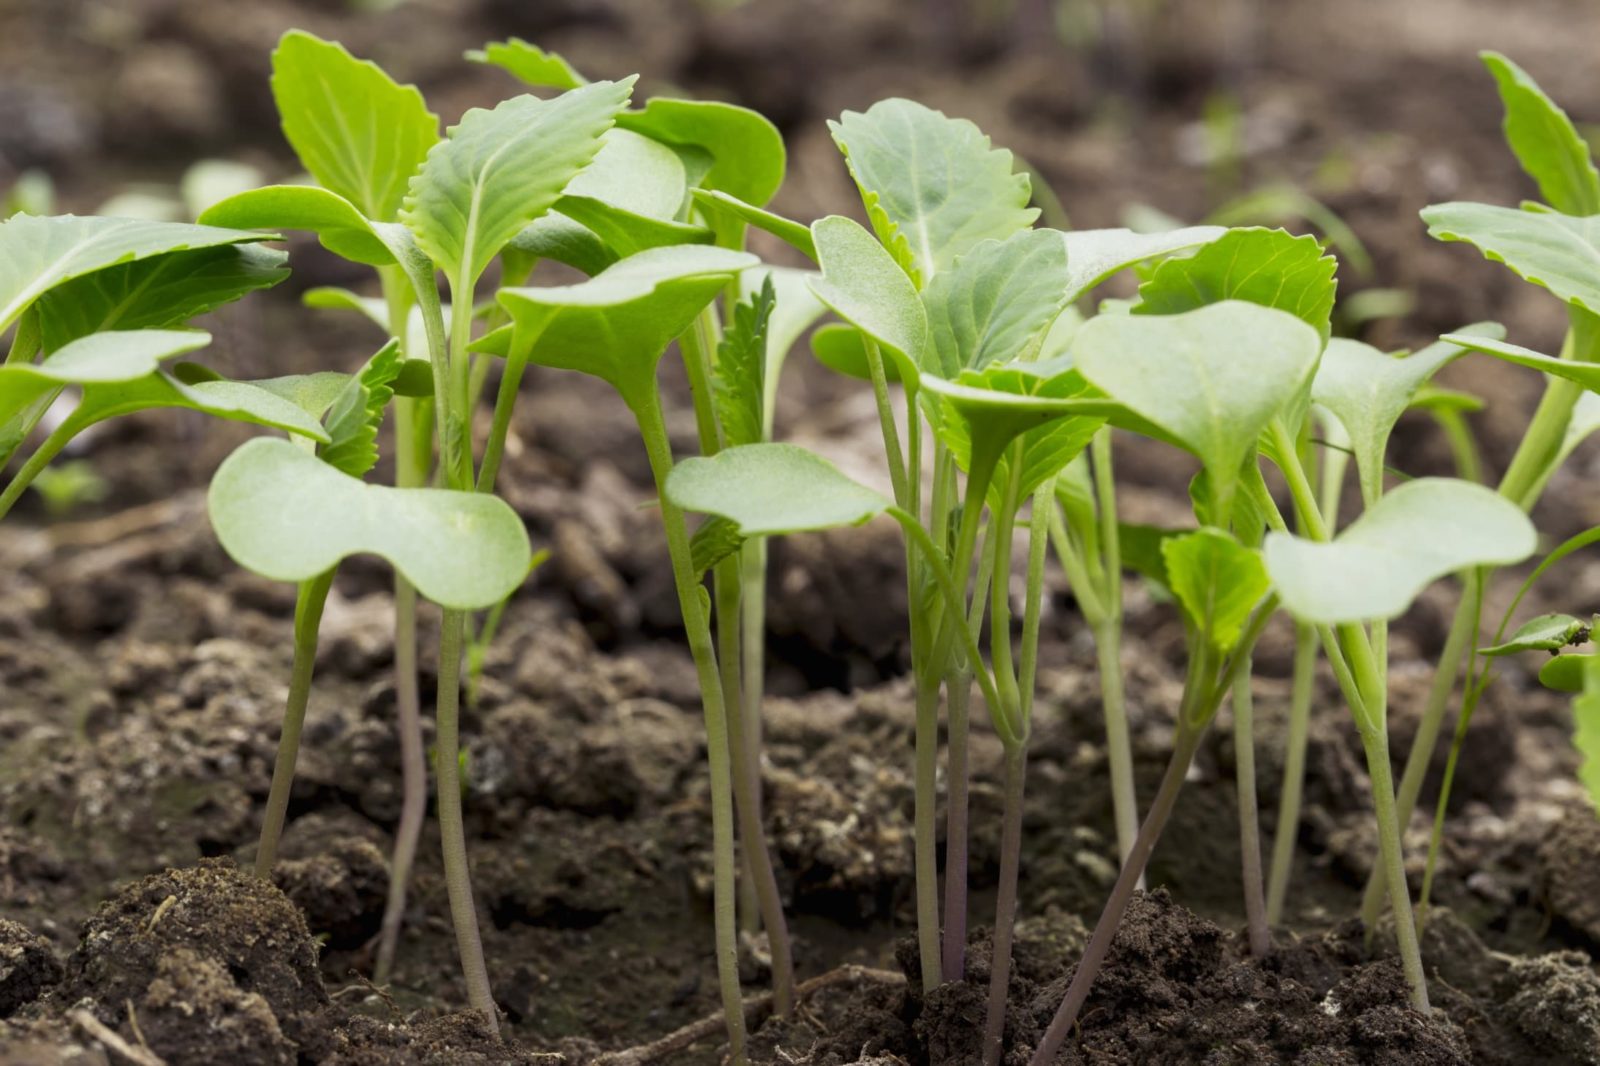
- Germination and Seedling Care: Be patient, as hollyhock seeds can take anywhere from one to three weeks to germinate. Once the seedlings emerge, thin them out if necessary, leaving the strongest ones spaced about 12-18 inches apart. This allows for adequate air circulation and prevents overcrowding.
- Provide Support: As the hollyhock seedlings grow, they will require support to prevent them from toppling over. Insert stakes or install a trellis to provide support and keep the plants upright.
- Regular Maintenance: Maintain regular care for your hollyhocks, including proper watering, mulching, and occasional fertilization. Monitor for pests and diseases and address any issues promptly to ensure healthy growth.
By following these steps, you’ll set a strong foundation for hollyhock growth and witness the breathtaking beauty of these flowers as they bloom in your garden. Now, let’s move on to the next section, where we’ll discuss the essential care tips for nurturing hollyhock seedlings.
Caring for Hollyhock Seedlings
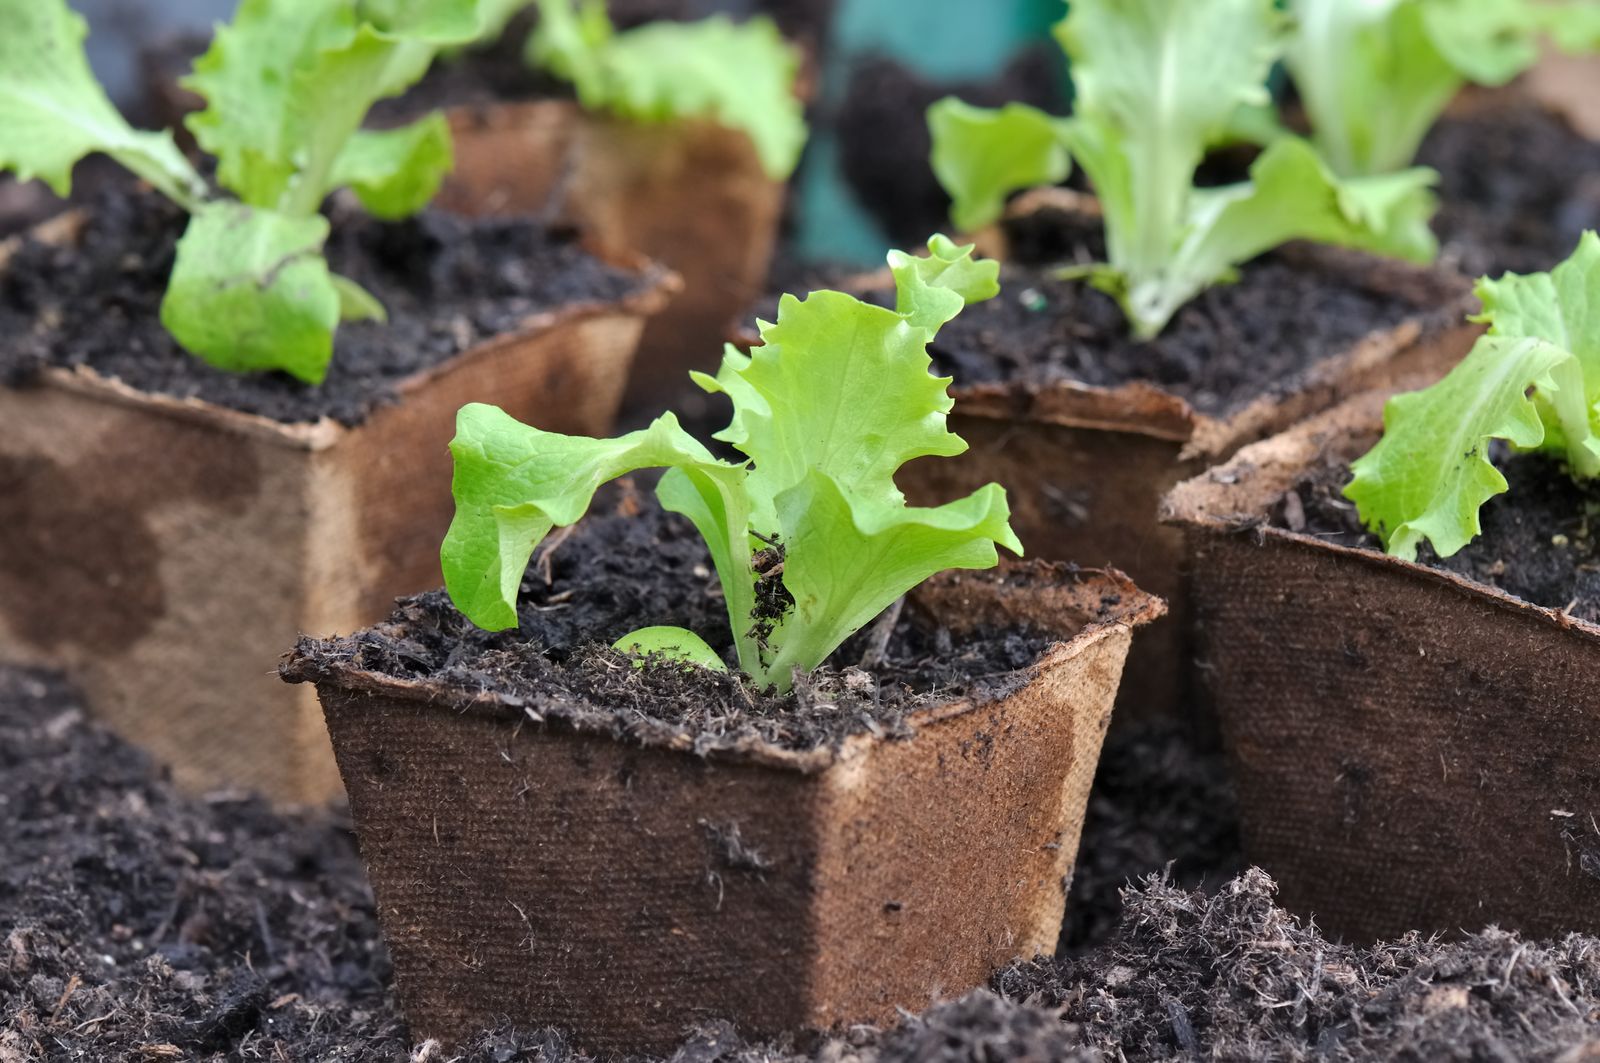
Once your hollyhock seedlings have emerged, it’s crucial to provide them with proper care to ensure healthy growth and vibrant blossoms. Here are some essential tips for caring for hollyhock seedlings:
- Watering: Maintain consistent moisture levels in the soil to prevent drying out or waterlogging. Water the seedlings deeply but infrequently to encourage the growth of deep and strong roots.
- Mulching: Apply a layer of organic mulch around the base of the seedlings to help conserve moisture, suppress weeds, and regulate soil temperature. Avoid placing mulch directly against the stem to prevent rotting.
- Support: As hollyhock seedlings grow taller, provide them with additional support. Install stakes or a trellis system to prevent bending or breaking of the stems due to wind or rain.
- Fertilizing: Hollyhocks generally do not require heavy fertilization. However, you can apply a slow-release, balanced fertilizer once or twice during the growing season to promote healthy foliage and abundant blooms. Follow the manufacturer’s instructions for proper application.
- Pruning: Removal of yellow or damaged leaves and occasional deadheading of spent flowers can help maintain the overall health and appearance of the hollyhock plants. This promotes air circulation, reduces the risk of diseases, and encourages continuous blooming.
- Pest and Disease Management: Keep an eye out for common pests such as aphids, rust, or powdery mildew. Regularly inspect the plants for any signs of infestation or disease and take appropriate measures, such as using organic insecticides or fungicides, if necessary.
- Overwintering: In areas with freezing winters, hollyhocks may not survive the cold temperatures. Consider cutting back the foliage in late fall and mulching around the base of the plants to provide added insulation. Alternatively, you can treat hollyhocks as biennials and replant new seeds each year.
By providing the necessary care and attention to your hollyhock seedlings, you’ll nurture them into strong and resilient plants that will reward you with their elegant blooms. Now, let’s move on to the next section and discuss some common mistakes to avoid when planting hollyhock seeds.
Common Mistakes to Avoid When Planting Hollyhock Seeds
While growing hollyhock seeds can be a rewarding experience, there are a few common mistakes that novice gardeners should avoid. By being aware of these pitfalls, you can increase your chances of success and ensure the healthy growth of your hollyhock plants. Here are some common mistakes to avoid when planting hollyhock seeds:
- Planting Too Deep: One of the most common mistakes is planting hollyhock seeds too deep. Remember, hollyhock seeds should be planted at a depth of about 1/8 to 1/4 inches. Planting them too deep can hinder their emergence and prevent them from receiving the necessary light for germination.
- Planting in Poorly Draining Soil: Hollyhocks thrive in well-draining soil. Planting them in soil that retains excessive moisture can lead to root rot and other fungal diseases. Ensure good drainage by amending the soil with organic matter or creating raised beds if necessary.
- Overwatering: While it’s important to keep the soil moist, overwatering can be detrimental to hollyhock seedlings. Avoid waterlogged conditions, as this can lead to root rot. Instead, water deeply but infrequently to encourage healthy root development.
- Planting in Shade: Hollyhocks require at least 6-8 hours of direct sunlight to thrive. Planting them in shady areas will result in weak, leggy plants with few blooms. Choose a sunny location in your garden for optimal growth and flowering.
- Not Thinlyning Seedlings: If hollyhock seedlings are overcrowded, air circulation may be hindered, leading to increased susceptibility to diseases. Thin out the weaker seedlings, leaving the strongest plants spaced adequately to allow for proper airflow and growth.
- Not Providing Adequate Support: As hollyhock plants grow tall, they require support to prevent them from bending or toppling over. Install stakes or a trellis system early on to ensure the plants have the necessary support as they mature.
- Ignoring Pests and Diseases: Regularly inspect your hollyhock plants for pests like aphids, and be vigilant for signs of diseases such as rust or powdery mildew. Address any issues promptly by using organic pest control methods or consulting a garden professional.
- Skipping Regular Care: Hollyhocks thrive with regular care and maintenance. This includes watering appropriately, mulching, occasional fertilization, and pruning. Skipping these essential tasks can result in weaker growth and fewer blossoms.
By avoiding these common mistakes and following proper planting and care practices, you’ll set the stage for beautiful, healthy hollyhock plants in your garden. Now, let’s wrap up this article with a summary of what we’ve covered.
Conclusion
Cultivating hollyhocks from seeds can be a rewarding and fulfilling experience for ornamental gardeners. By understanding the proper planting depth, caring for seedlings, and avoiding common mistakes, you can ensure the healthy growth and abundant blooms of these magnificent flowers.
When planting hollyhock seeds, remember to bury them at a shallow depth of about 1/8 to 1/4 inches, considering factors such as soil type, climate, and seed size. Providing adequate support, regular watering, and proper care will contribute to the successful development of hollyhock seedlings and the overall health of the plants.
Be mindful of potential mistakes such as planting too deep, overwatering, neglecting support, or ignoring pests and diseases. Taking proactive measures to address these issues will help you maintain thriving and resilient hollyhock plants in your garden.
So, whether you’re planning to add a pop of color to your flower beds, create a stunning backdrop, or simply enjoy the beauty of hollyhocks swaying in the breeze, with the knowledge gained from this article, you can confidently grow hollyhocks from seeds and create a picturesque display in your ornamental garden.
Now, it’s time to roll up your sleeves, get your hollyhock seeds ready, and embark on this rewarding gardening journey. Enjoy the process, experiment, and revel in the sheer beauty of hollyhocks gracing your outdoor space.