Home>Types of Gardening>Ornamental Gardening>How To Germinate Canna Seeds

Ornamental Gardening
How To Germinate Canna Seeds
Modified: February 9, 2024
Learn the step-by-step process of germinating canna seeds in your ornamental garden. Get expert tips and techniques to ensure successful growth.
(Many of the links in this article redirect to a specific reviewed product. Your purchase of these products through affiliate links helps to generate commission for Chicagolandgardening.com, at no extra cost. Learn more)
Table of Contents
Introduction
Welcome to the world of ornamental gardening! If you’re looking to add a touch of beauty and elegance to your outdoor space, growing ornamental plants is a fantastic choice. One popular and visually stunning option is the canna plant.
Cannas are known for their vibrant and showy flowers, which come in a wide range of colors including red, orange, yellow, and pink. They also offer lush foliage that adds a tropical feel to any garden. While canna plants can be propagated through division, another fascinating and rewarding way to grow them is from seeds.
In this comprehensive guide, we will walk you through the process of germinating canna seeds successfully. Whether you’re a seasoned gardener or a beginner with a green thumb, our step-by-step instructions will help you achieve success in the germination process.
But first, let’s understand more about canna seeds and their requirements for optimal germination.
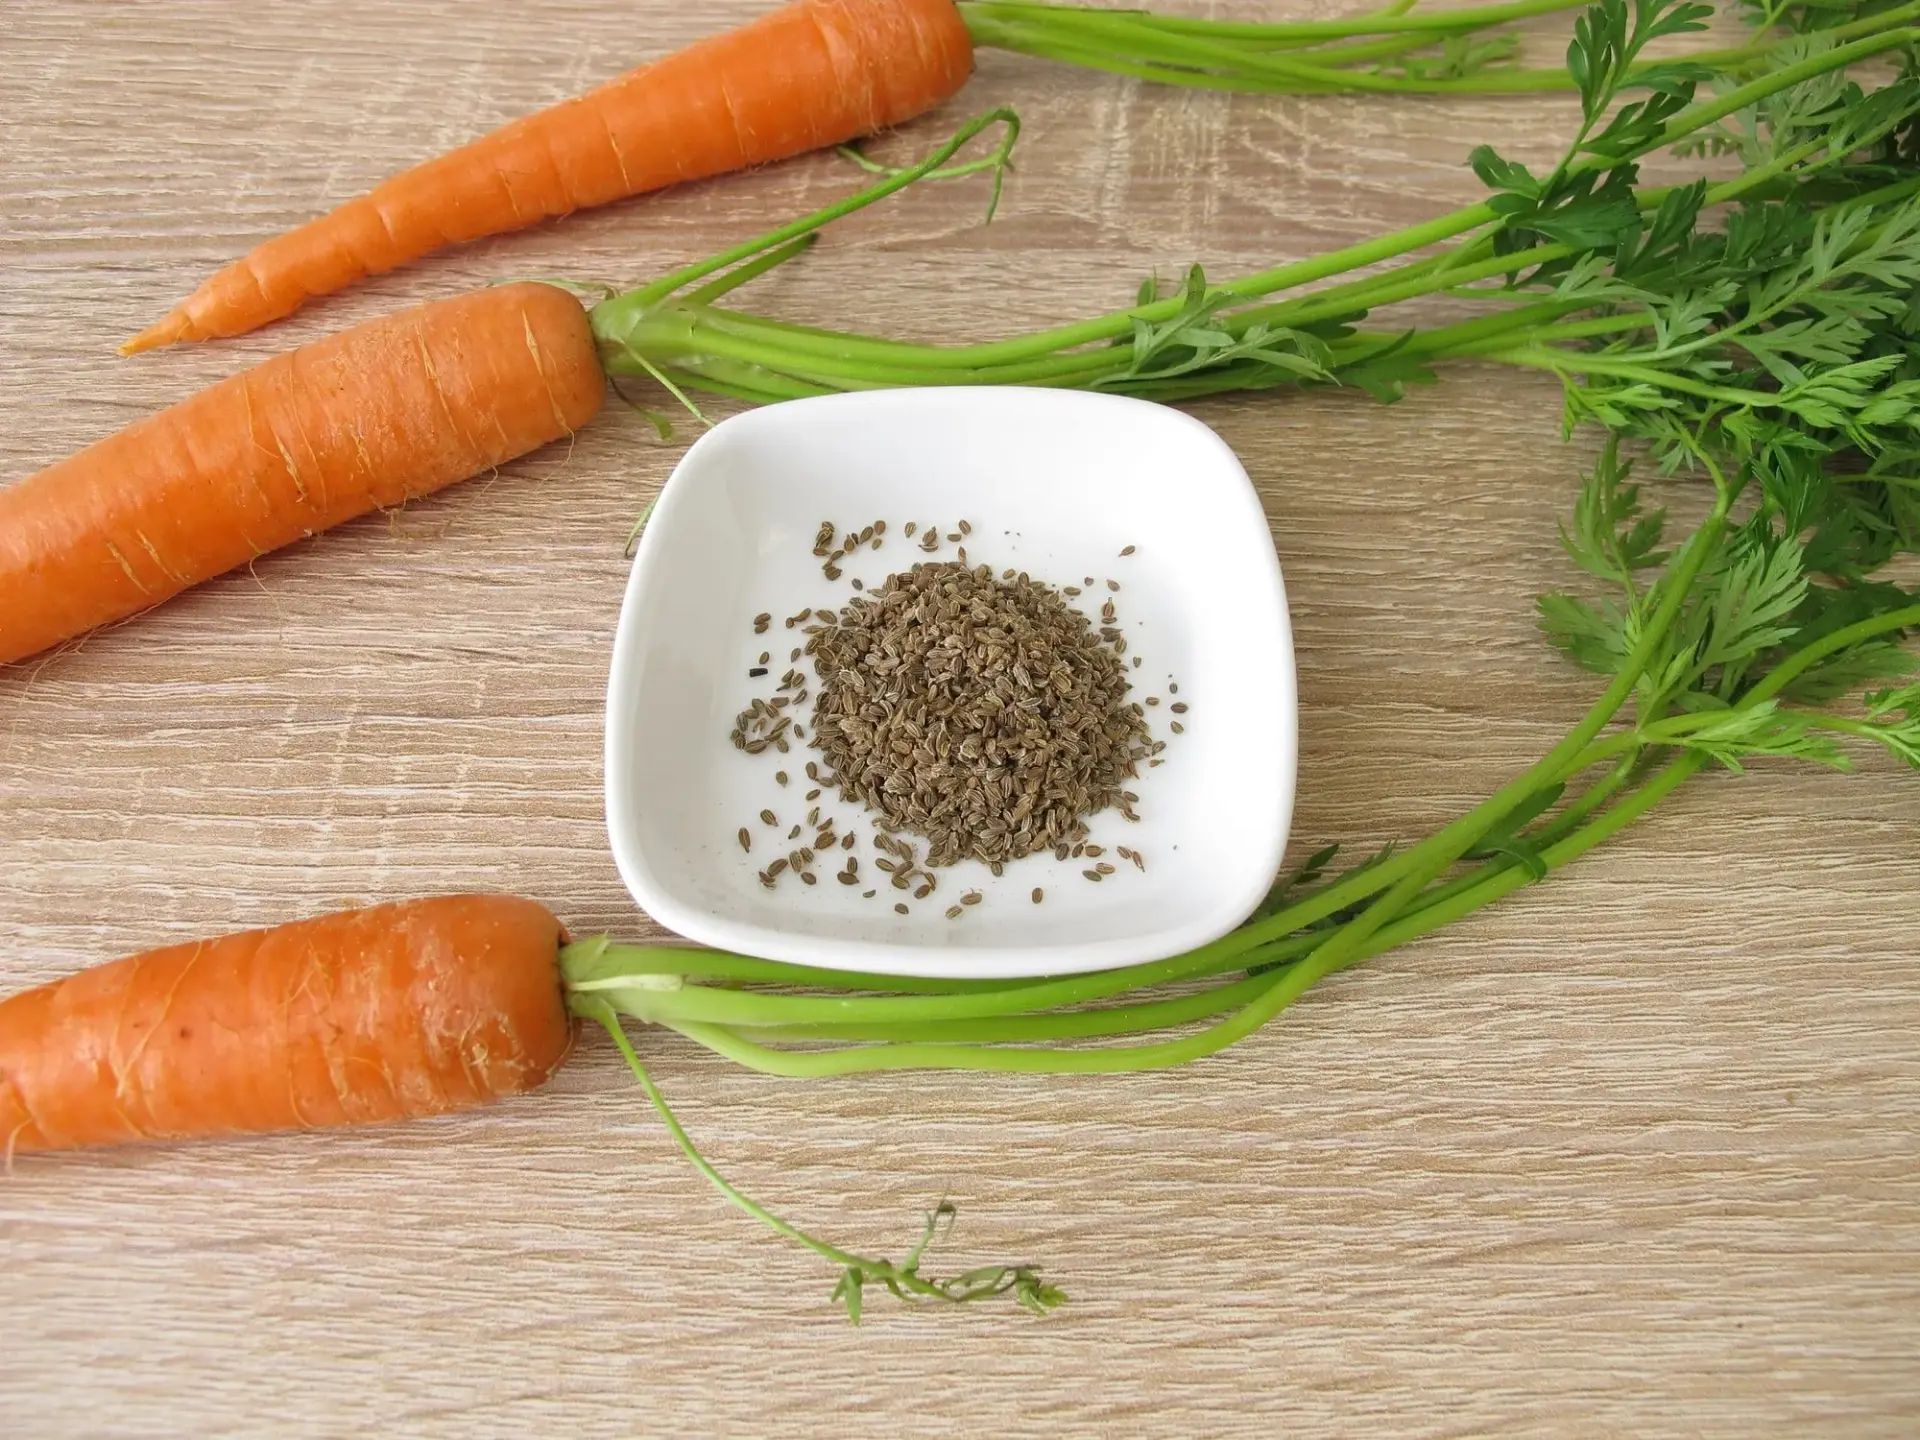
Understanding Canna Seeds
Before we dive into the germination process, it’s essential to understand the characteristics of canna seeds. Canna seeds are relatively large and hard-shelled, resembling small pebbles. They are produced by canna plants at the end of the growing season and can be harvested for propagation.
It’s important to note that canna seeds have a dormancy period, which means they have a natural ability to remain inactive until conditions are favorable for germination. This dormancy protects the seeds from germinating during unfavorable conditions like cold temperatures or drought. The dormancy period can vary, but it typically lasts for several months.
In order to break the dormancy and encourage canna seeds to germinate, certain conditions need to be met. The most crucial factors for successful germination are moisture, warmth, and a suitable planting medium. Additionally, canna seeds prefer a slightly acidic to neutral pH level.
Another aspect to consider is the age of the seeds. Freshly harvested canna seeds have a higher germination rate compared to older seeds. However, older seeds may still germinate but may require additional care and patience.
Now that we have a basic understanding of canna seeds, let’s move on to the preparation for germination.
Preparing for Germination
Before you begin the germination process, it’s important to properly prepare your materials and create an optimal environment for canna seeds to thrive. Here are the steps to follow:
- Choose high-quality seeds: Select healthy canna seeds from a reputable source or harvest them from your existing plants. Look for seeds that are plump, firm, and free from damage or mold.
- Gather the necessary materials: You will need a small container or seed tray, high-quality seed starting mix, a spray bottle, and a plastic cover or plastic wrap to create a greenhouse-like environment.
- Pre-soak the seeds (optional): Some gardeners recommend soaking canna seeds in water for 24 hours prior to planting to soften the hard seed coat and promote germination. This step is optional, but it can increase germination rates.
- Prepare the planting medium: Fill your container with a well-draining seed starting mix. It should be moist but not overly wet. Avoid using garden soil as it can lead to poor drainage and increase the risk of disease.
- Sow the seeds: Place the soaked or unsoaked canna seeds on the surface of the planting medium, spacing them about an inch apart. Lightly press the seeds into the soil, ensuring they make good contact.
- Provide warmth and humidity: Canna seeds require warm temperatures and high humidity levels to germinate. You can achieve this by placing your container in a warm location with a temperature between 75-85°F (24-29°C). Use a plastic cover or plastic wrap to create a greenhouse effect and trap in moisture.
- Maintain moisture: It’s crucial to keep the planting medium consistently moist during the germination process. However, avoid overwatering, as it can lead to fungal problems. Use a spray bottle to mist the soil when needed.
By following these preparation steps, you’ll be well on your way to successful canna seed germination. Next, we’ll explore three popular methods for germinating canna seeds: the paper towel method, the soil method, and the water method.
Method 1: Paper Towel Method
The paper towel method is a popular and effective technique for germinating canna seeds. It allows you to monitor the progress of germination and ensures good seed-to-soil contact. Here’s how to do it:
- Moisten a paper towel: Take a clean paper towel and dampen it with distilled or filtered water. Make sure it’s moist but not dripping wet.
- Place the seeds: Lay the moist paper towel on a flat surface and place the canna seeds evenly spaced on one half of the towel.
- Fold the towel: Fold the other half of the towel over the seeds, creating a seed sandwich. Gently press down to ensure good contact between the seeds and the towel.
- Enclose the towel: Put the seed-filled towel in a plastic bag or container to create a mini greenhouse effect. Seal the bag or container, leaving a small opening for air exchange.
- Provide warmth: Place the bag/container in a warm location with a temperature between 75-85°F (24-29°C). You can also use a heat mat to maintain a consistent temperature.
- Check for germination: After a few days, check the paper towel for signs of germination. Once the seeds have sprouted roots about half an inch long, they are ready to be transferred to the planting medium.
- Transfer to the soil: Gently plant the sprouted seeds in a well-draining seed starting mix, ensuring the roots are placed in the soil and the sprouts are exposed to light.
- Maintain proper care: Continue to provide warmth, moisture, and indirect sunlight to your canna seedlings. Over time, they will develop into healthy plants.
The paper towel method offers a controlled environment for germinating canna seeds and allows you to easily monitor their progress. Give it a try and get ready to witness the miracle of seed germination!
Method 2: Soil Method
The soil method is a straightforward and natural way to germinate canna seeds. It mimics the conditions seeds would typically experience in the ground, providing a suitable environment for germination. Here’s how to use the soil method:
- Prepare the planting medium: Fill a small container or seed tray with a well-draining seed starting mix. Moisten the soil, ensuring it is evenly moist but not soaked.
- Plant the seeds: Make small indentations, about a quarter of an inch deep, in the soil using your fingertip or a pencil. Place a single seed in each indentation and gently cover it with soil. Pat the soil lightly to ensure good contact with the seed.
- Provide warmth and moisture: Place the container in a warm location with a temperature between 75-85°F (24-29°C). You can cover the container with a plastic dome or plastic wrap to create a mini greenhouse effect. This helps to retain moisture and create a warm environment.
- Monitor and water: Regularly check the soil’s moisture level and ensure it remains consistently damp. Use a spray bottle to mist the soil when needed, being careful not to oversaturate it.
- Wait for germination: Depending on the age of the seeds and the conditions provided, canna seeds usually take about 1-2 weeks to germinate. Be patient and monitor the container for signs of sprouting.
- Transplant seedlings: Once the seedlings have developed a few sets of true leaves, they can be transplanted into individual pots or a larger garden bed.
The soil method allows canna seeds to follow their natural germination process with minimal intervention. It’s a reliable and straightforward method that any gardener can try.
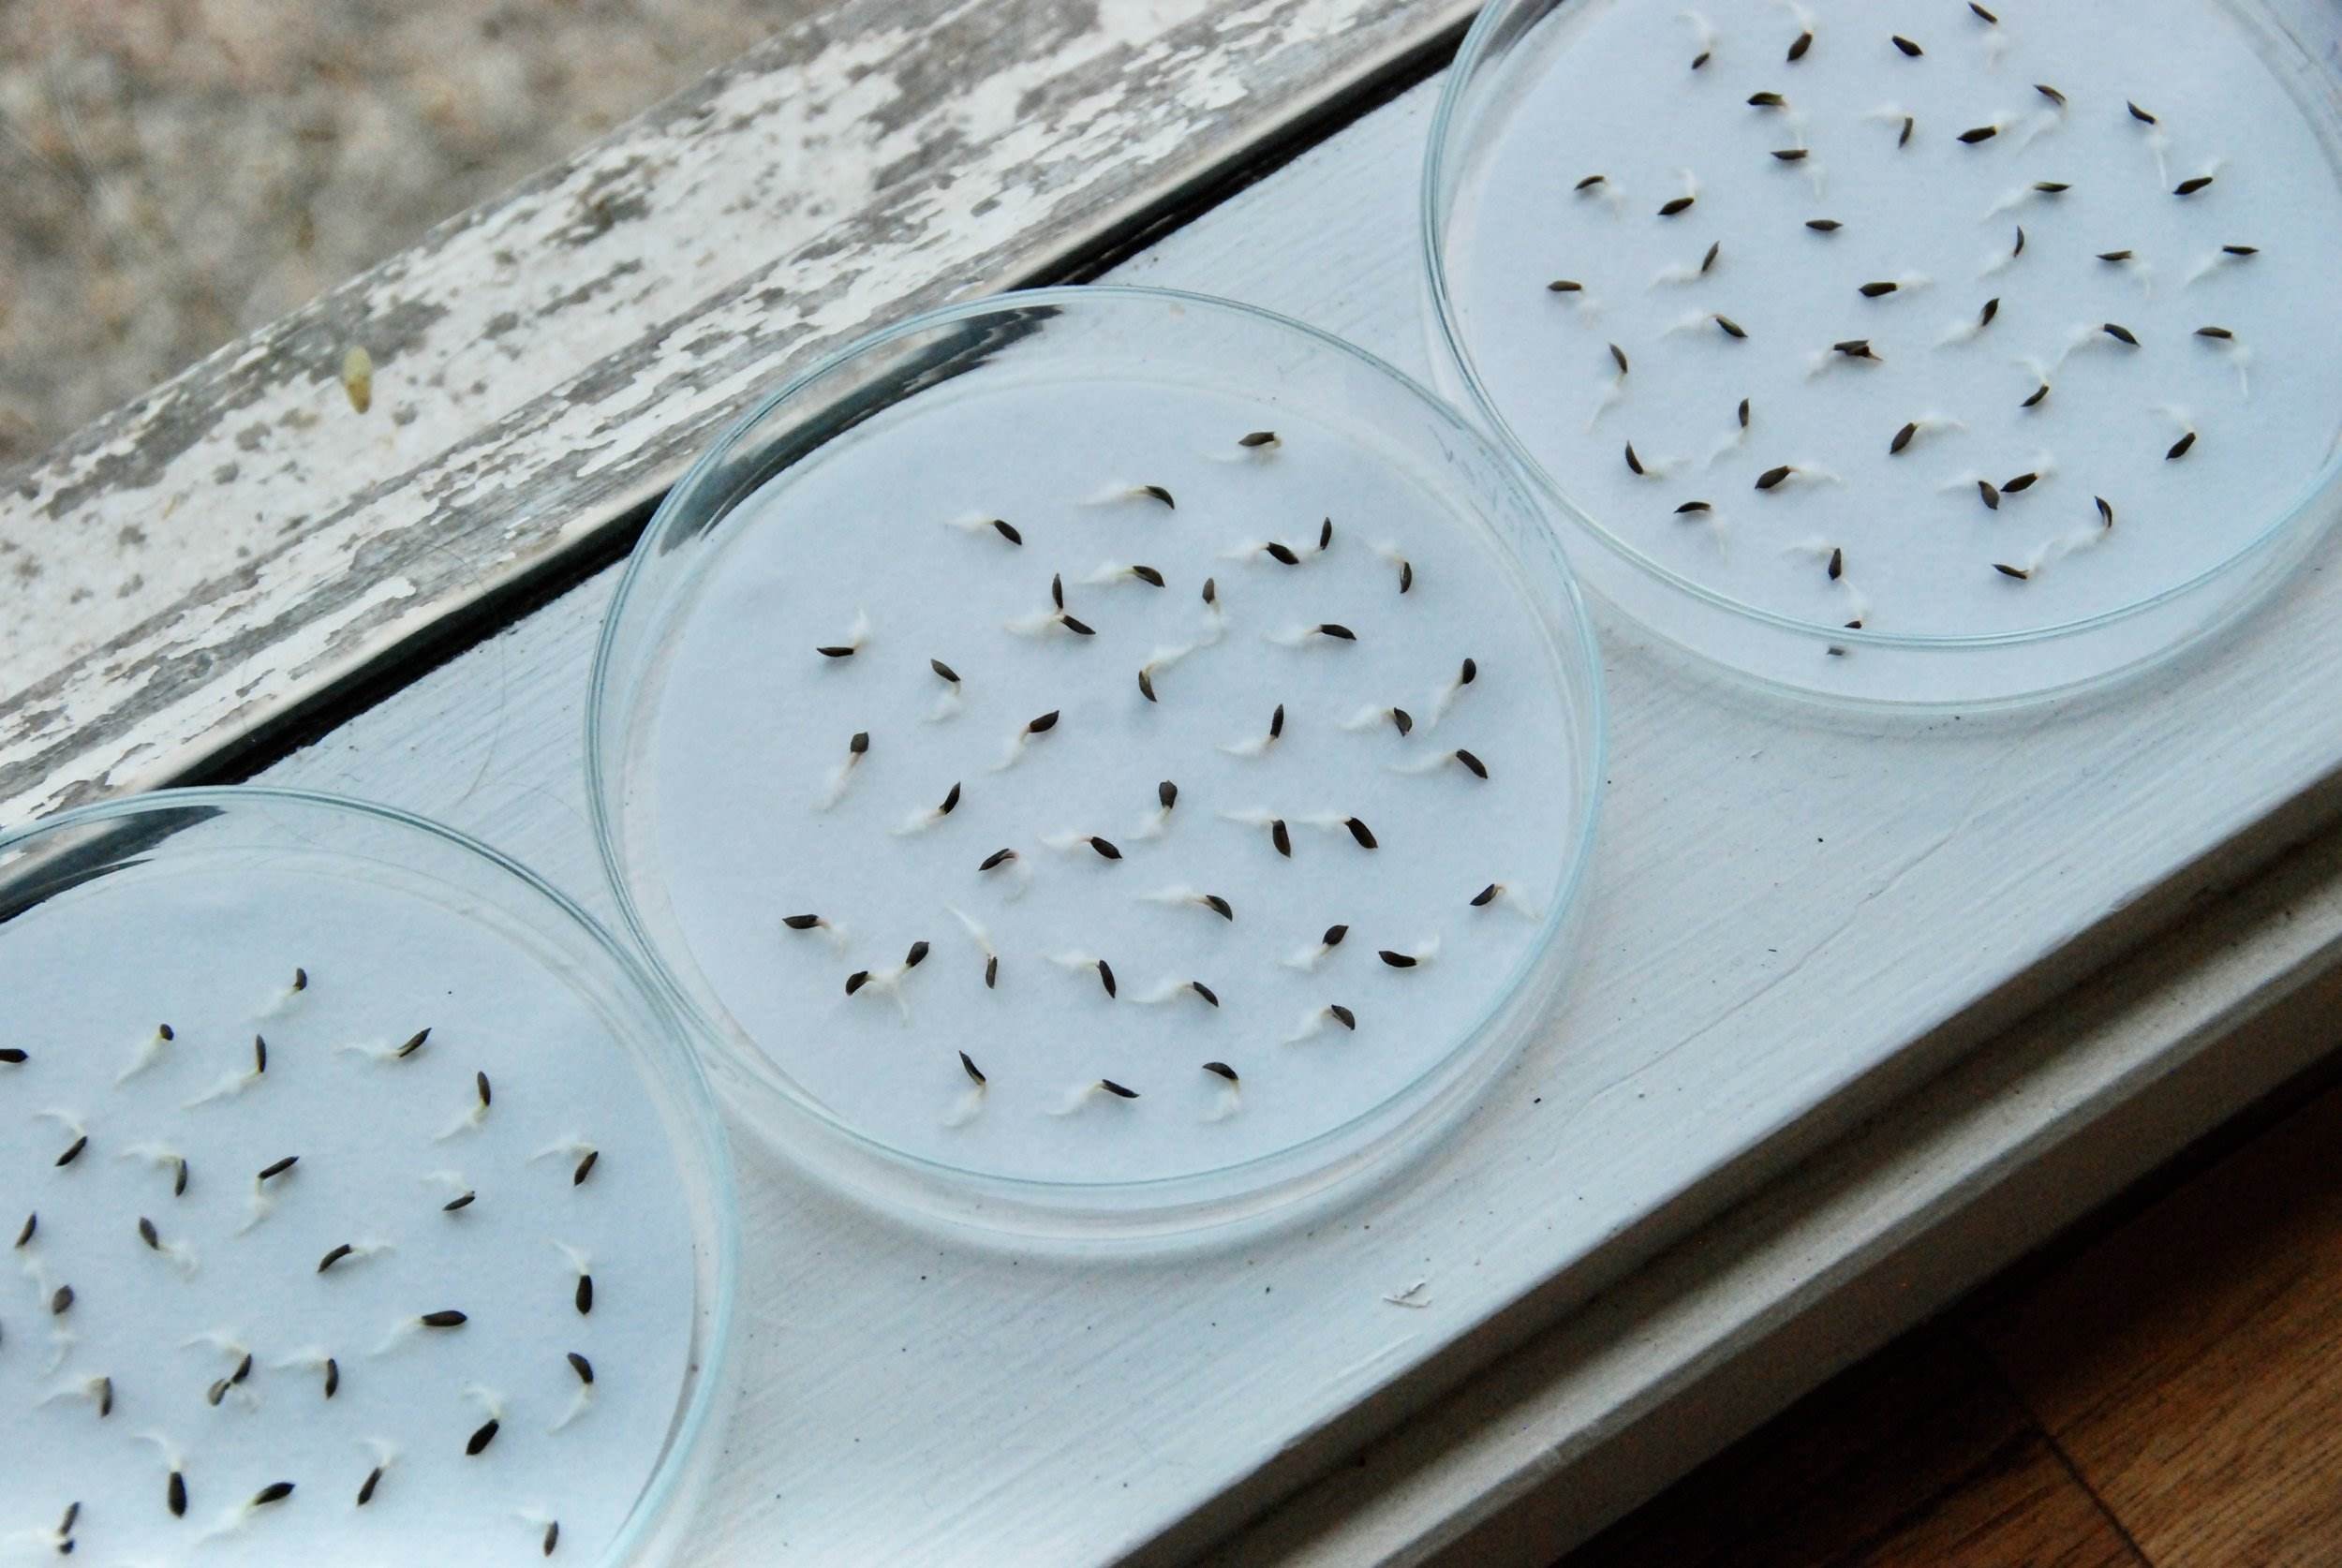
Method 3: Water Method
The water method, also known as the hydroponic method, is an alternative technique for germinating canna seeds that eliminates the need for soil. It provides a controlled environment for the seeds and promotes rapid germination. Here’s how to use the water method:
- Prepare a container: Choose a shallow container, such as a dish or a tray that is at least a couple of inches deep. Ensure it is clean and free from any contaminants.
- Add distilled water: Fill the container with distilled or filtered water at room temperature. The water should be deep enough to submerge the seeds, but not overflow the container.
- Place the seeds in the water: Gently place the canna seeds in the water, ensuring they are fully submersed. You can place them on a small plate or use a mesh or netting material to keep them submerged.
- Provide warmth and darkness: Find a warm spot for the container and cover it with a dark cloth or plastic wrap. This helps to maintain a stable temperature and create a dark environment, which promotes germination.
- Check for germination: After a few days, check the seeds for signs of germination. Look for tiny white sprouts emerging from the seeds. Once they reach about half an inch in length, they are ready to be transferred to a planting medium.
- Transfer the sprouted seeds: Gently transfer the sprouted seeds to a moist planting medium, such as a seed starting mix. Bury the roots and expose the sprouts to light.
- Provide care: Continue to provide warmth, moisture, and indirect sunlight to your canna seedlings. With proper care, they will continue to grow into healthy plants.
The water method is a unique and efficient way to germinate canna seeds, especially if you prefer a soilless approach. Remember to maintain a consistent temperature and monitor the seeds’ progress regularly.
Common Mistakes to Avoid
While germinating canna seeds can be a rewarding experience, there are a few common mistakes to avoid to ensure successful germination. By steering clear of these pitfalls, you can increase your chances of achieving healthy seedlings. Here are some mistakes to watch out for:
- Overwatering: Excessive moisture can lead to rotting or fungal diseases. Avoid overwatering your canna seeds and seedlings, and instead maintain a consistently moist but not waterlogged soil.
- Insufficient warmth: Canna seeds require warm temperatures for germination. If the environment is too cold, the seeds may not sprout or may germinate slowly. Provide consistent warmth within the optimal range of 75-85°F (24-29°C).
- Poor lighting: Once the sprouted canna seeds are transferred to a planting medium, make sure they receive adequate light. Insufficient lighting can lead to weak and leggy seedlings. Place them in a location that gets bright, indirect sunlight or use grow lights.
- Incorrect planting depth: Planting canna seeds too deep can hinder germination. Follow the recommended planting depth of about a quarter of an inch or as specified by the seed packet.
- Using low-quality seeds: It’s essential to start with high-quality canna seeds to ensure a good germination rate. Obtain your seeds from a reputable source to increase your chances of success.
- Skipping the seed soaking step: While soaking canna seeds is optional, it can help soften the hard seed coat and improve germination rates. Consider soaking the seeds for 24 hours before planting, especially if you are using older seeds.
- Overcrowding: Planting canna seeds too close together can lead to overcrowding, inhibiting proper airflow and growth. Ensure enough space between seeds to allow each seedling to develop fully.
By avoiding these common mistakes and providing the proper care and conditions, you can increase your chances of successful germination and nurture healthy canna seedlings.
Caring for Germinated Canna Seedlings
Once your canna seeds have successfully germinated and sprouted into seedlings, it’s crucial to provide them with the proper care to ensure healthy growth. Here are some essential steps to care for your germinated canna seedlings:
- Provide adequate sunlight: Place your canna seedlings in a location that receives bright, indirect sunlight for at least 6-8 hours a day. If growing indoors, use fluorescent or LED grow lights to provide sufficient light.
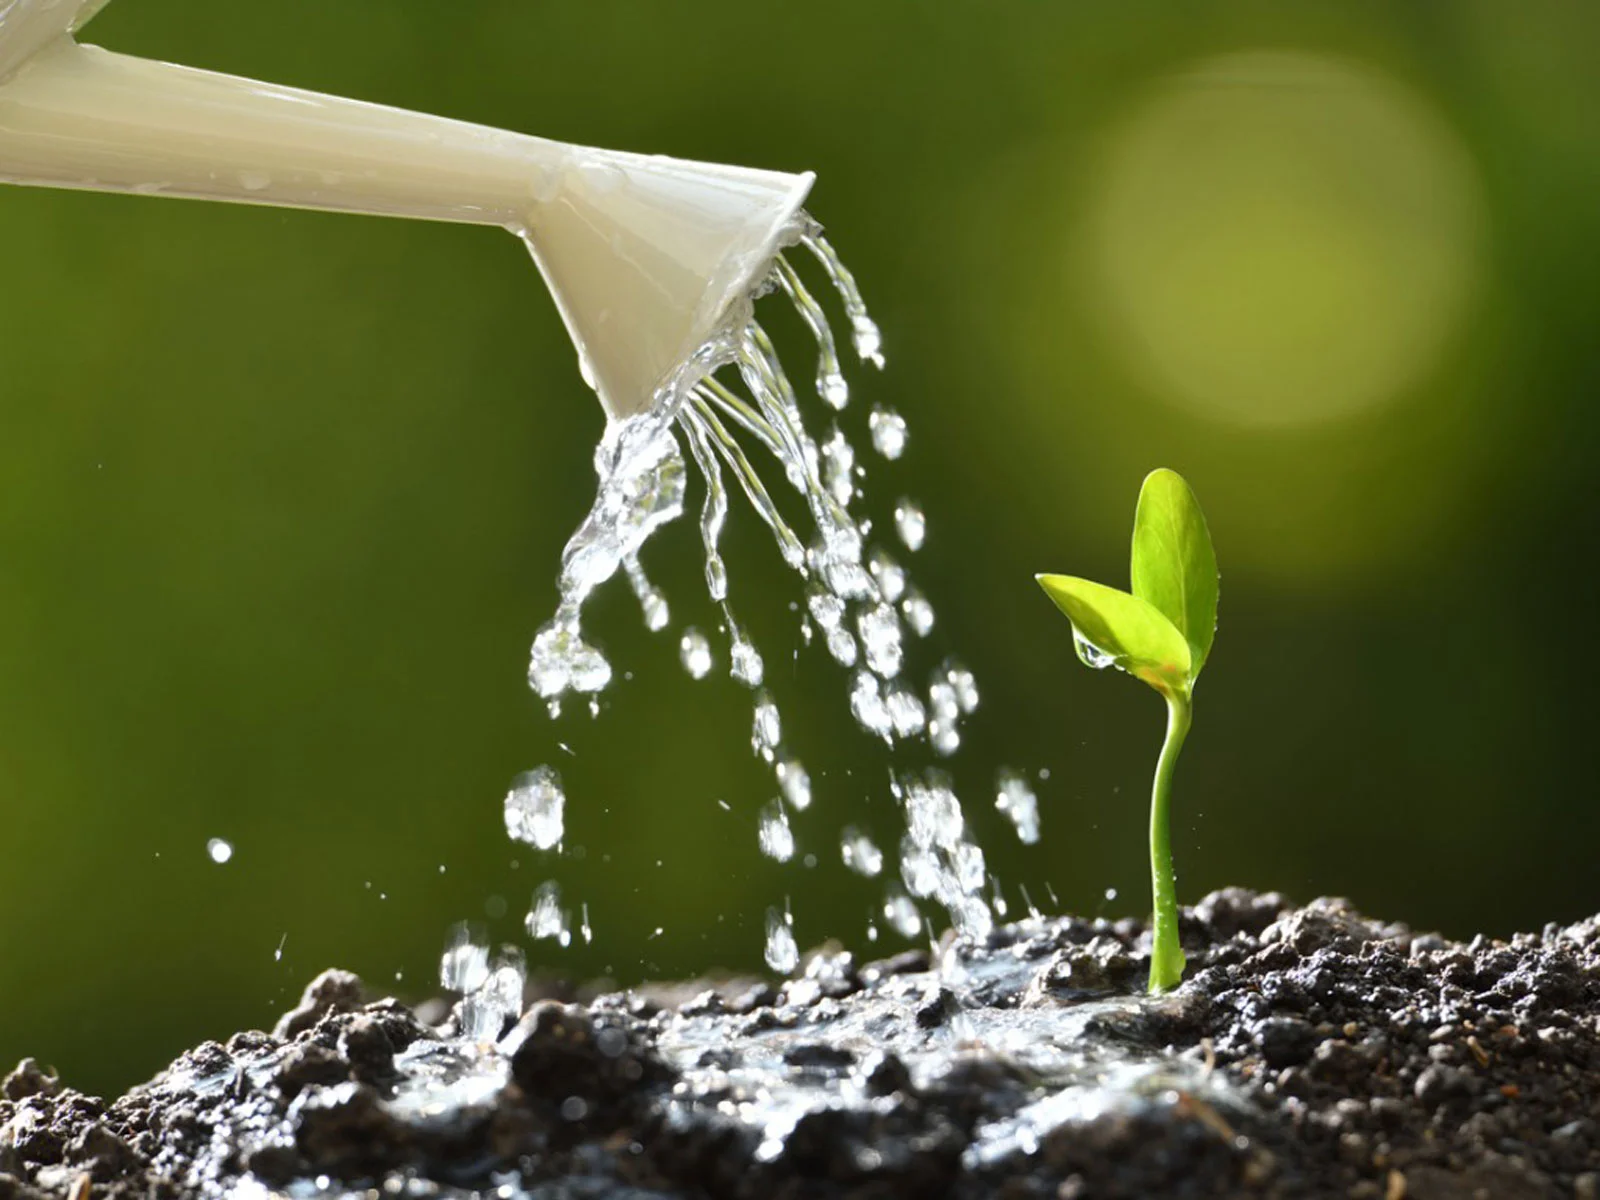
- Water regularly: Keep the soil consistently moist but not waterlogged. Water the seedlings whenever the top inch of soil feels dry to the touch. Avoid overwatering, as it can lead to root rot and other diseases.
- Fertilize appropriately: Once the seedlings have developed a few sets of true leaves, begin fertilizing them with a balanced, water-soluble fertilizer. Follow the instructions on the fertilizer label for the correct dilution and frequency.
- Provide support: As the canna seedlings grow, they may require support to prevent them from falling over. Insert small stakes or bamboo sticks near the seedlings and gently tie them with soft twine or plant ties.
- Protect from pests and diseases: Keep a close eye on your canna seedlings for any signs of pests or diseases. Common pests include aphids, spider mites, and snails. Treat any infestations promptly using appropriate organic or chemical methods.
- Watch for nutrient deficiencies: Monitor the leaves of your canna seedlings for any signs of nutrient deficiencies. Yellowing, stunted growth, and leaf discoloration can indicate a lack of essential nutrients. Adjust your fertilization schedule accordingly and consider adding micronutrient supplements if necessary.
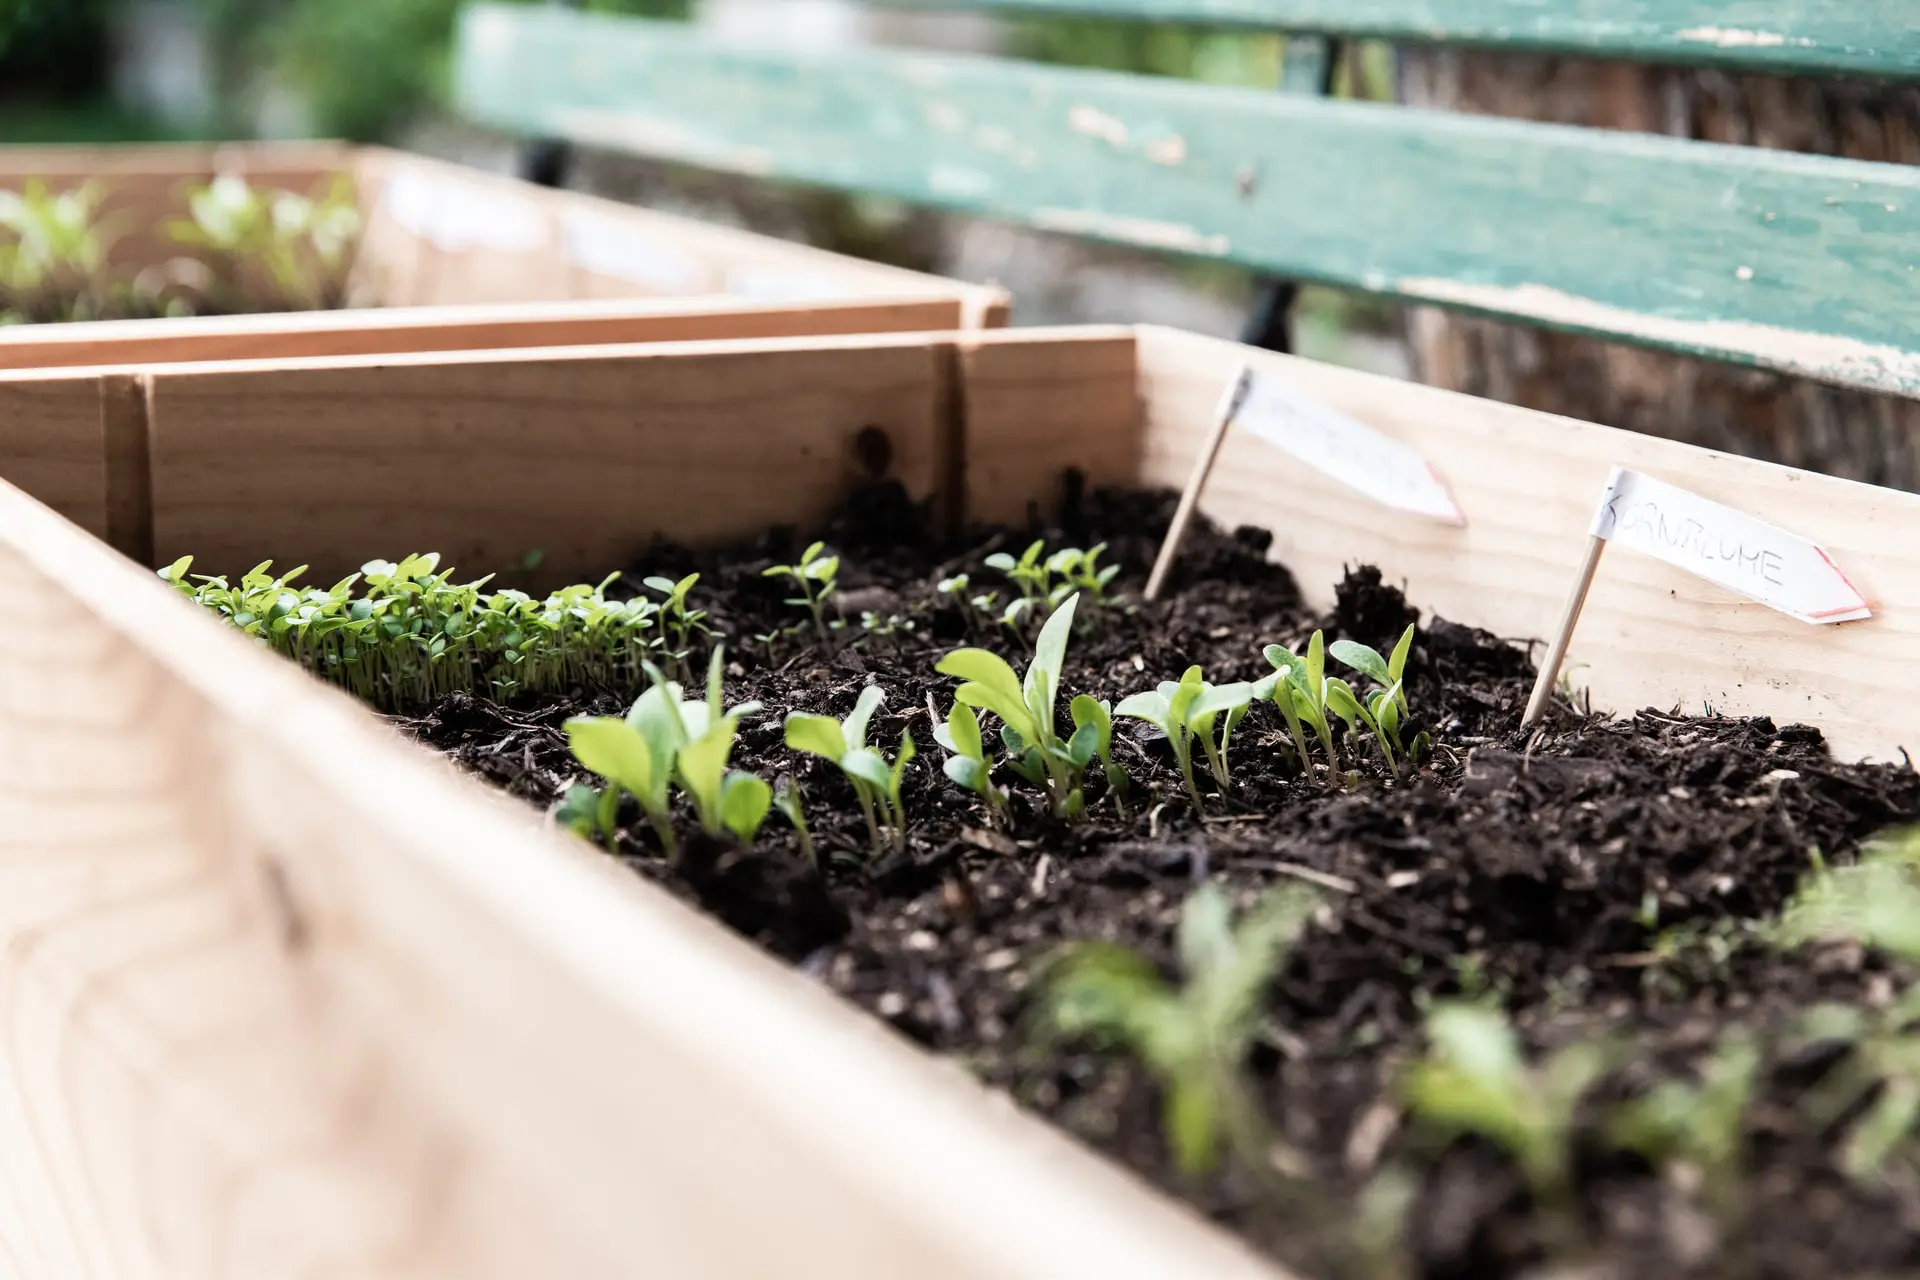
- Transplanting: Once your canna seedlings have grown several inches tall and have a few sets of true leaves, they can be transplanted into larger containers or your garden bed. Ensure the planting location has well-draining soil and adequate spacing between plants.
By following these care guidelines, you can provide your germinated canna seedlings with the best conditions for healthy growth. Remember to be attentive to their needs and address any issues promptly to ensure robust and vibrant canna plants.
Conclusion
Congratulations on learning how to successfully germinate canna seeds and care for the ensuing seedlings! By understanding the characteristics of canna seeds and following the appropriate germination methods, you can embark on a rewarding journey of growing these vibrant and stunning ornamental plants.
Whether you choose the paper towel method, soil method, or water method, each technique offers its own benefits and allows you to observe and nurture the seeds’ transformation into healthy seedlings. By avoiding common mistakes, such as overwatering or inadequate lighting, and providing proper care, including sufficient sunlight, regular watering, and appropriate fertilization, you can ensure the best possible growth for your canna plants.
Remember, patience is key when it comes to germinating canna seeds. Depending on various factors such as seed quality and environmental conditions, germination may take anywhere from a few days to a couple of weeks. Keep a close eye on your seedlings, addressing any issues promptly, and be prepared to transplant them into larger containers or your garden when they are strong enough.
Now that you have the knowledge and tools to germinate canna seeds successfully, it’s time to get started on your ornamental gardening journey. Enjoy the process of watching your canna seeds transform into lush plants with vibrant flowers, adding a touch of tropical beauty to your garden or outdoor space.
Happy gardening!