Home>Gardening Basics>Understanding Soil>How To Put Germinated Seeds In Soil

Understanding Soil
How To Put Germinated Seeds In Soil
Published: February 12, 2024
Learn how to properly put germinated seeds in soil and ensure their growth by understanding the importance of soil composition. Discover the best techniques for successful seed planting.
(Many of the links in this article redirect to a specific reviewed product. Your purchase of these products through affiliate links helps to generate commission for Chicagolandgardening.com, at no extra cost. Learn more)
Table of Contents
Introduction
Welcome to the fascinating world of soil and germinated seeds! Understanding how to properly plant germinated seeds in soil is crucial for successful gardening and achieving vibrant, thriving plants. Whether you are a seasoned gardener or a beginner, this article will guide you through the step-by-step process of planting germinated seeds in soil and provide you with valuable tips for nurturing them.
The journey of a seed begins with germination, a process where a seed sprouts and starts developing into a seedling. Germinating seeds before planting them in soil helps to ensure higher germination rates and faster growth. By providing the perfect environment for the seeds to sprout, you are setting the stage for healthy plants to flourish.
In this article, we will cover everything you need to know about preparing the soil, germinating the seeds, transferring them to soil, and caring for the germinated seeds as they continue to grow. Each step is vital in the overall success of your gardening endeavors.
So, whether you’re planning to grow vibrant flowers, tasty vegetables, or aromatic herbs, get ready to dive deep into the world of soil and germinated seeds. By following the techniques and tips outlined in this article, you’ll be well on your way to creating a thriving garden filled with beauty and abundance.
Step 1: Preparing the Soil
Before you can transplant the germinated seeds into the soil, it is essential to prepare the soil to create the ideal growing conditions. Here are some crucial steps to follow:
- Choose the right location: Select a suitable spot in your garden that receives adequate sunlight for the specific plants you are growing. Also, ensure the soil is well-draining to prevent waterlogging and root rot.
- Clear the area: Remove any weeds, debris, or rocks from the planting area. These can hinder seedling growth and compete for nutrients and moisture.
- Loosen the soil: Use a garden fork or a tiller to break up compacted soil and improve its texture. This will allow air, water, and nutrients to reach the plant’s roots more easily.
- Amend the soil: Assess the soil’s fertility and pH level. If necessary, add organic matter such as compost or well-rotted manure to enrich the soil and improve its structure. Adjust the pH level if needed by adding lime to raise the pH or sulfur to lower it.
- Level the soil: Use a rake to level the soil surface, creating a smooth and even bed for planting. This will make it easier to transplant the germinated seeds at the appropriate depth.
By preparing the soil properly, you are providing a nutrient-rich and well-structured environment for your plants to thrive. This sets the stage for successful germinated seed transplantation and contributes to healthy growth and abundant harvests.
Step 2: Germinating the Seeds
The germination process kickstarts the growth of a seed, allowing it to develop into a healthy seedling. Here’s a step-by-step guide on how to germinate seeds:
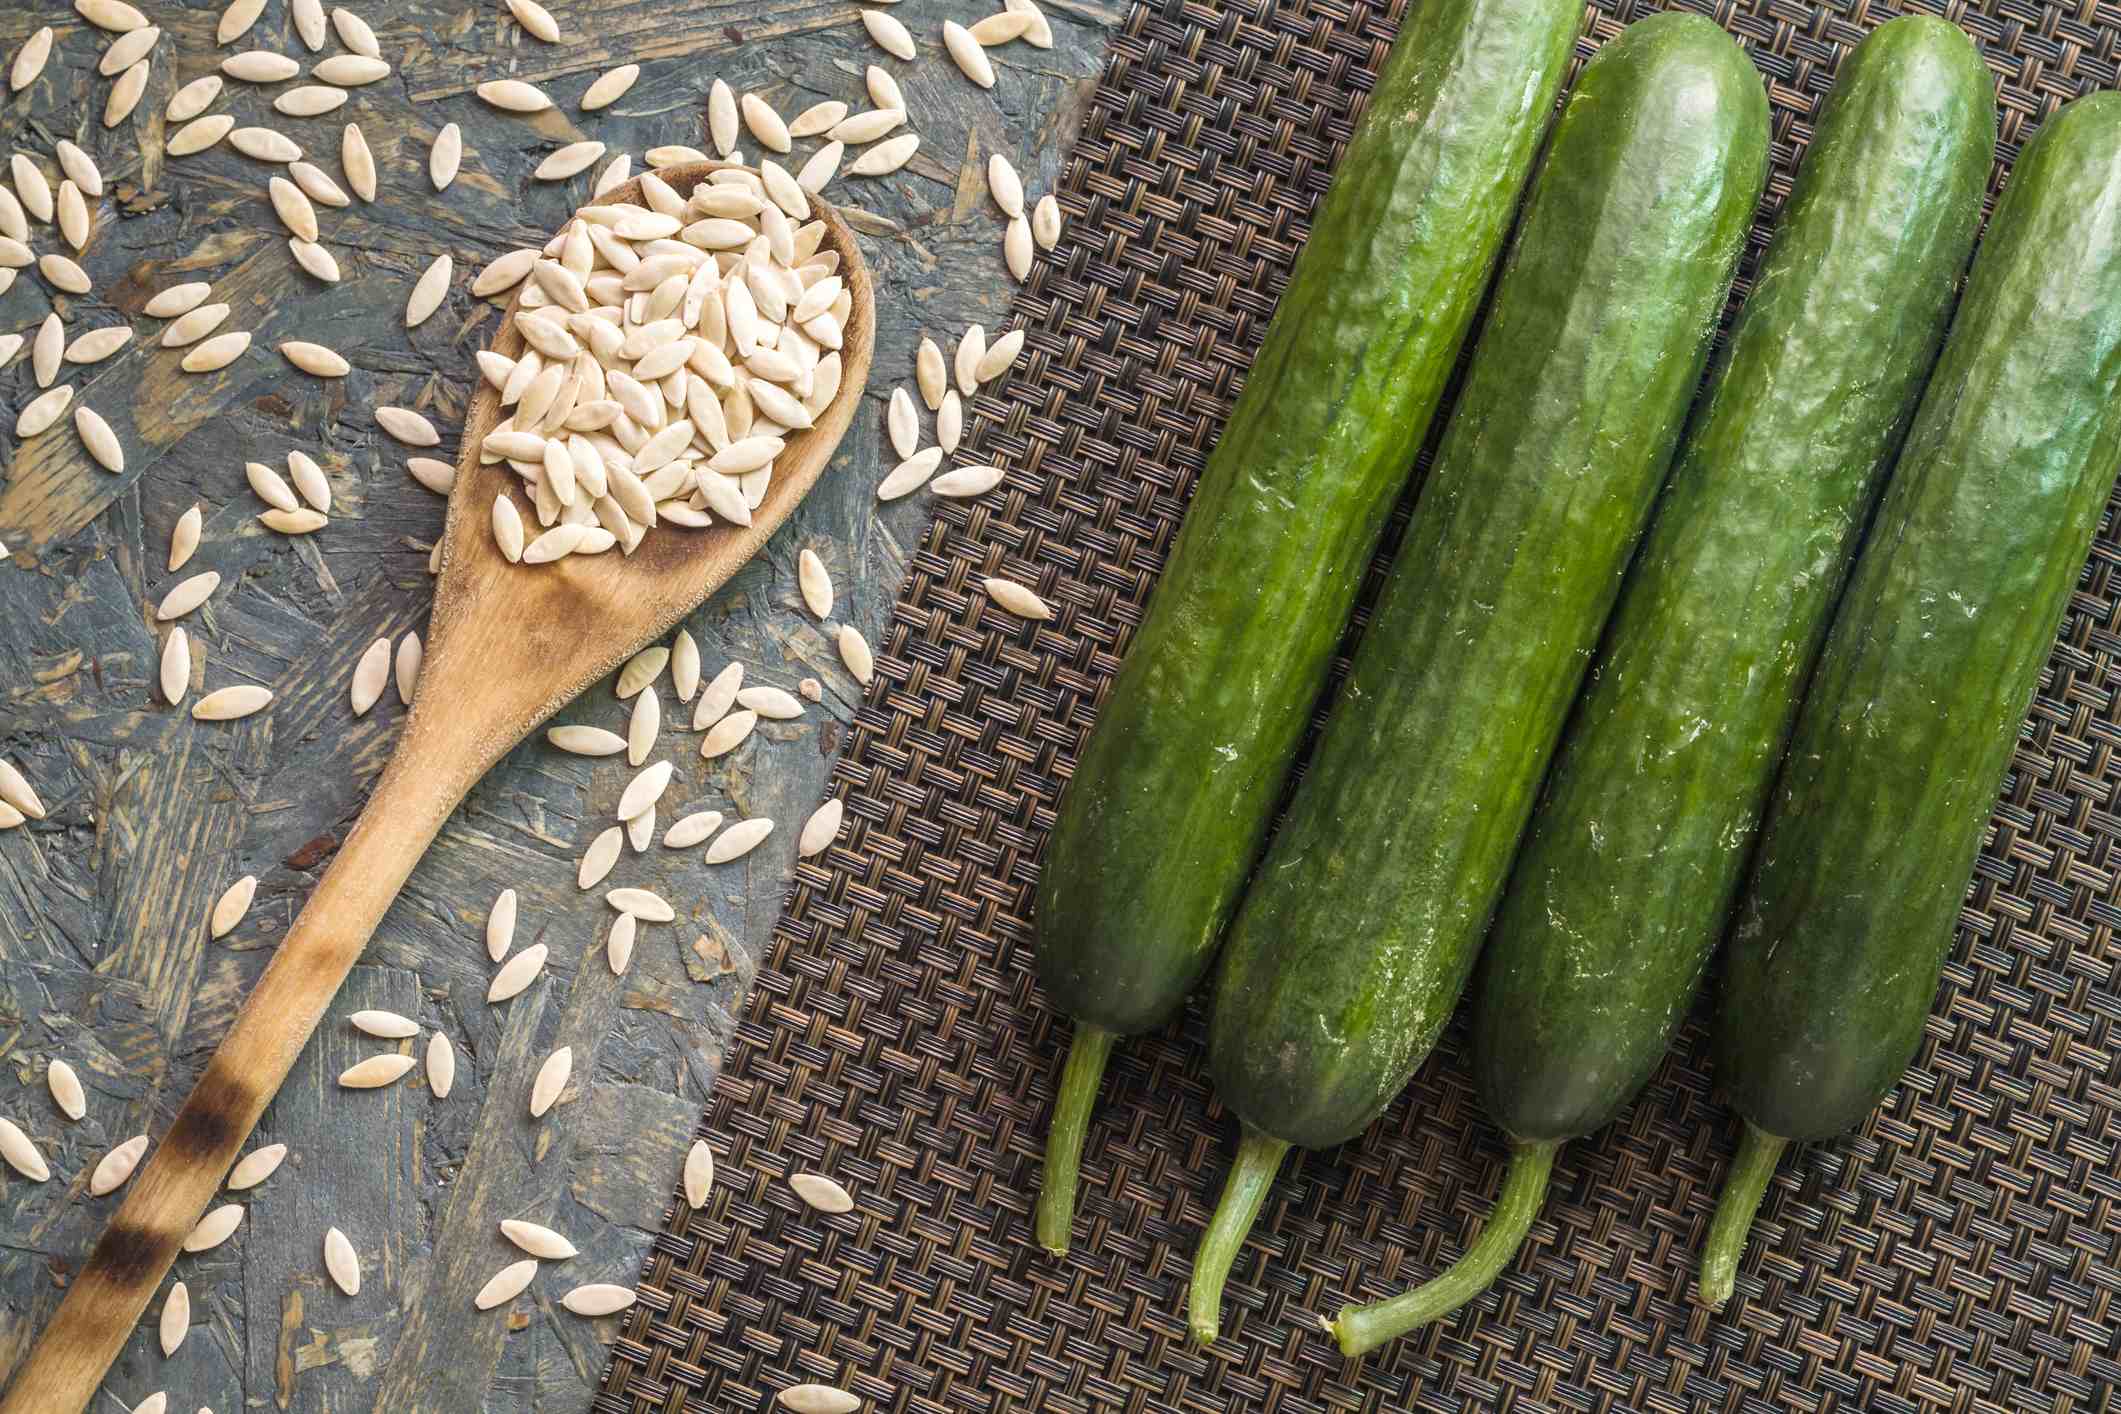
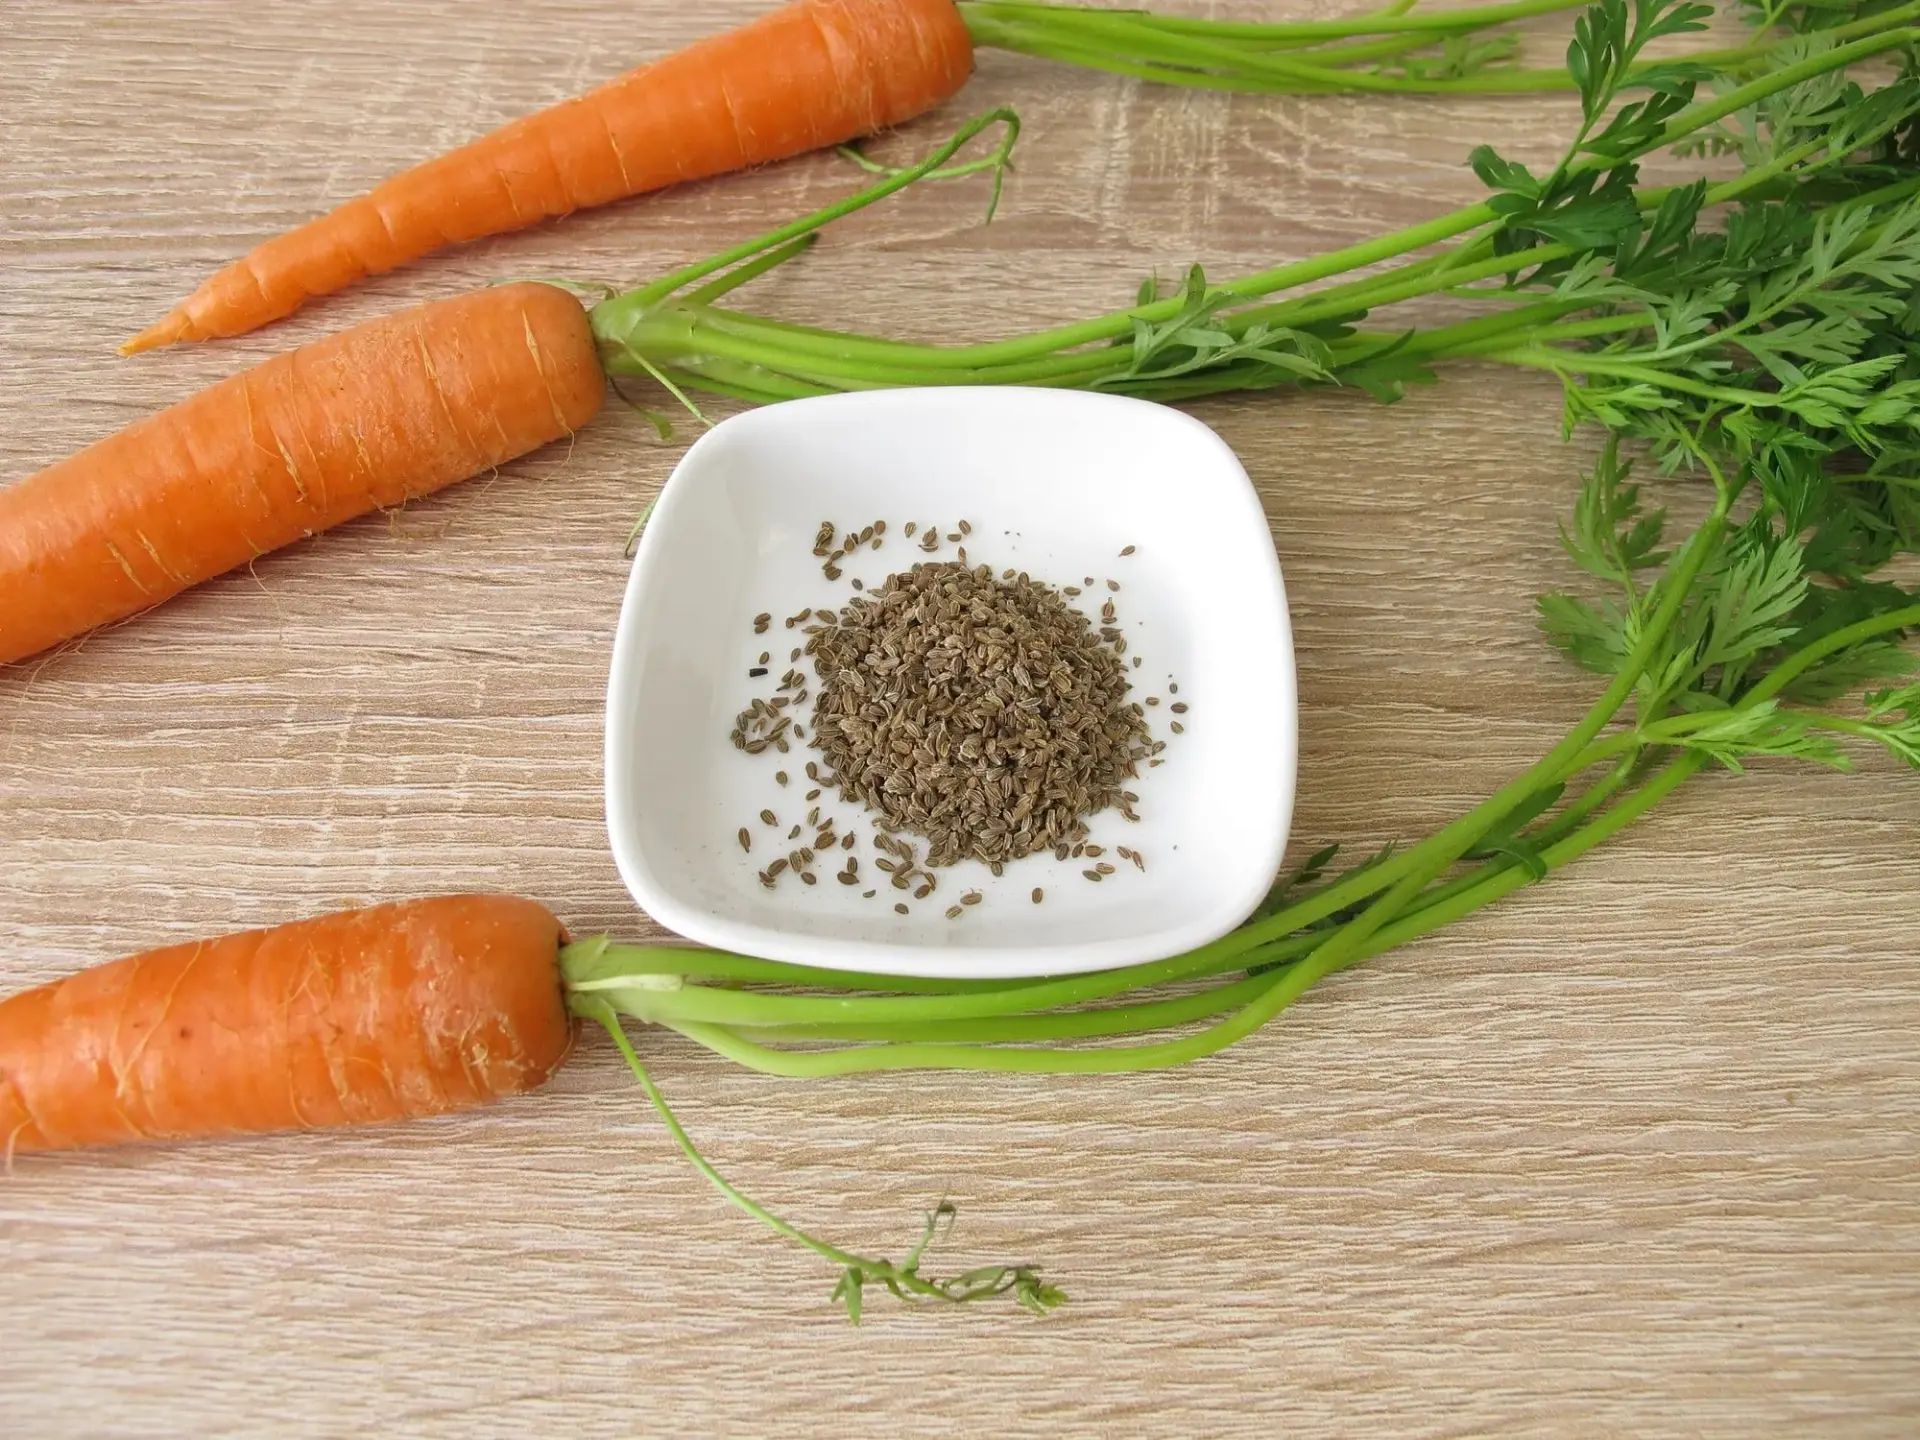
- Select the right seeds: Choose high-quality seeds from reputable suppliers. Consider the specific requirements of the plants you intend to grow, such as temperature, light, and moisture needs.
- Prepare the germination medium: Find a suitable container or seed tray and fill it with a moist germination medium. You can use various materials like vermiculite, coco coir, or seed-starting mix. Ensure the medium is light, well-draining, and free of contaminants.
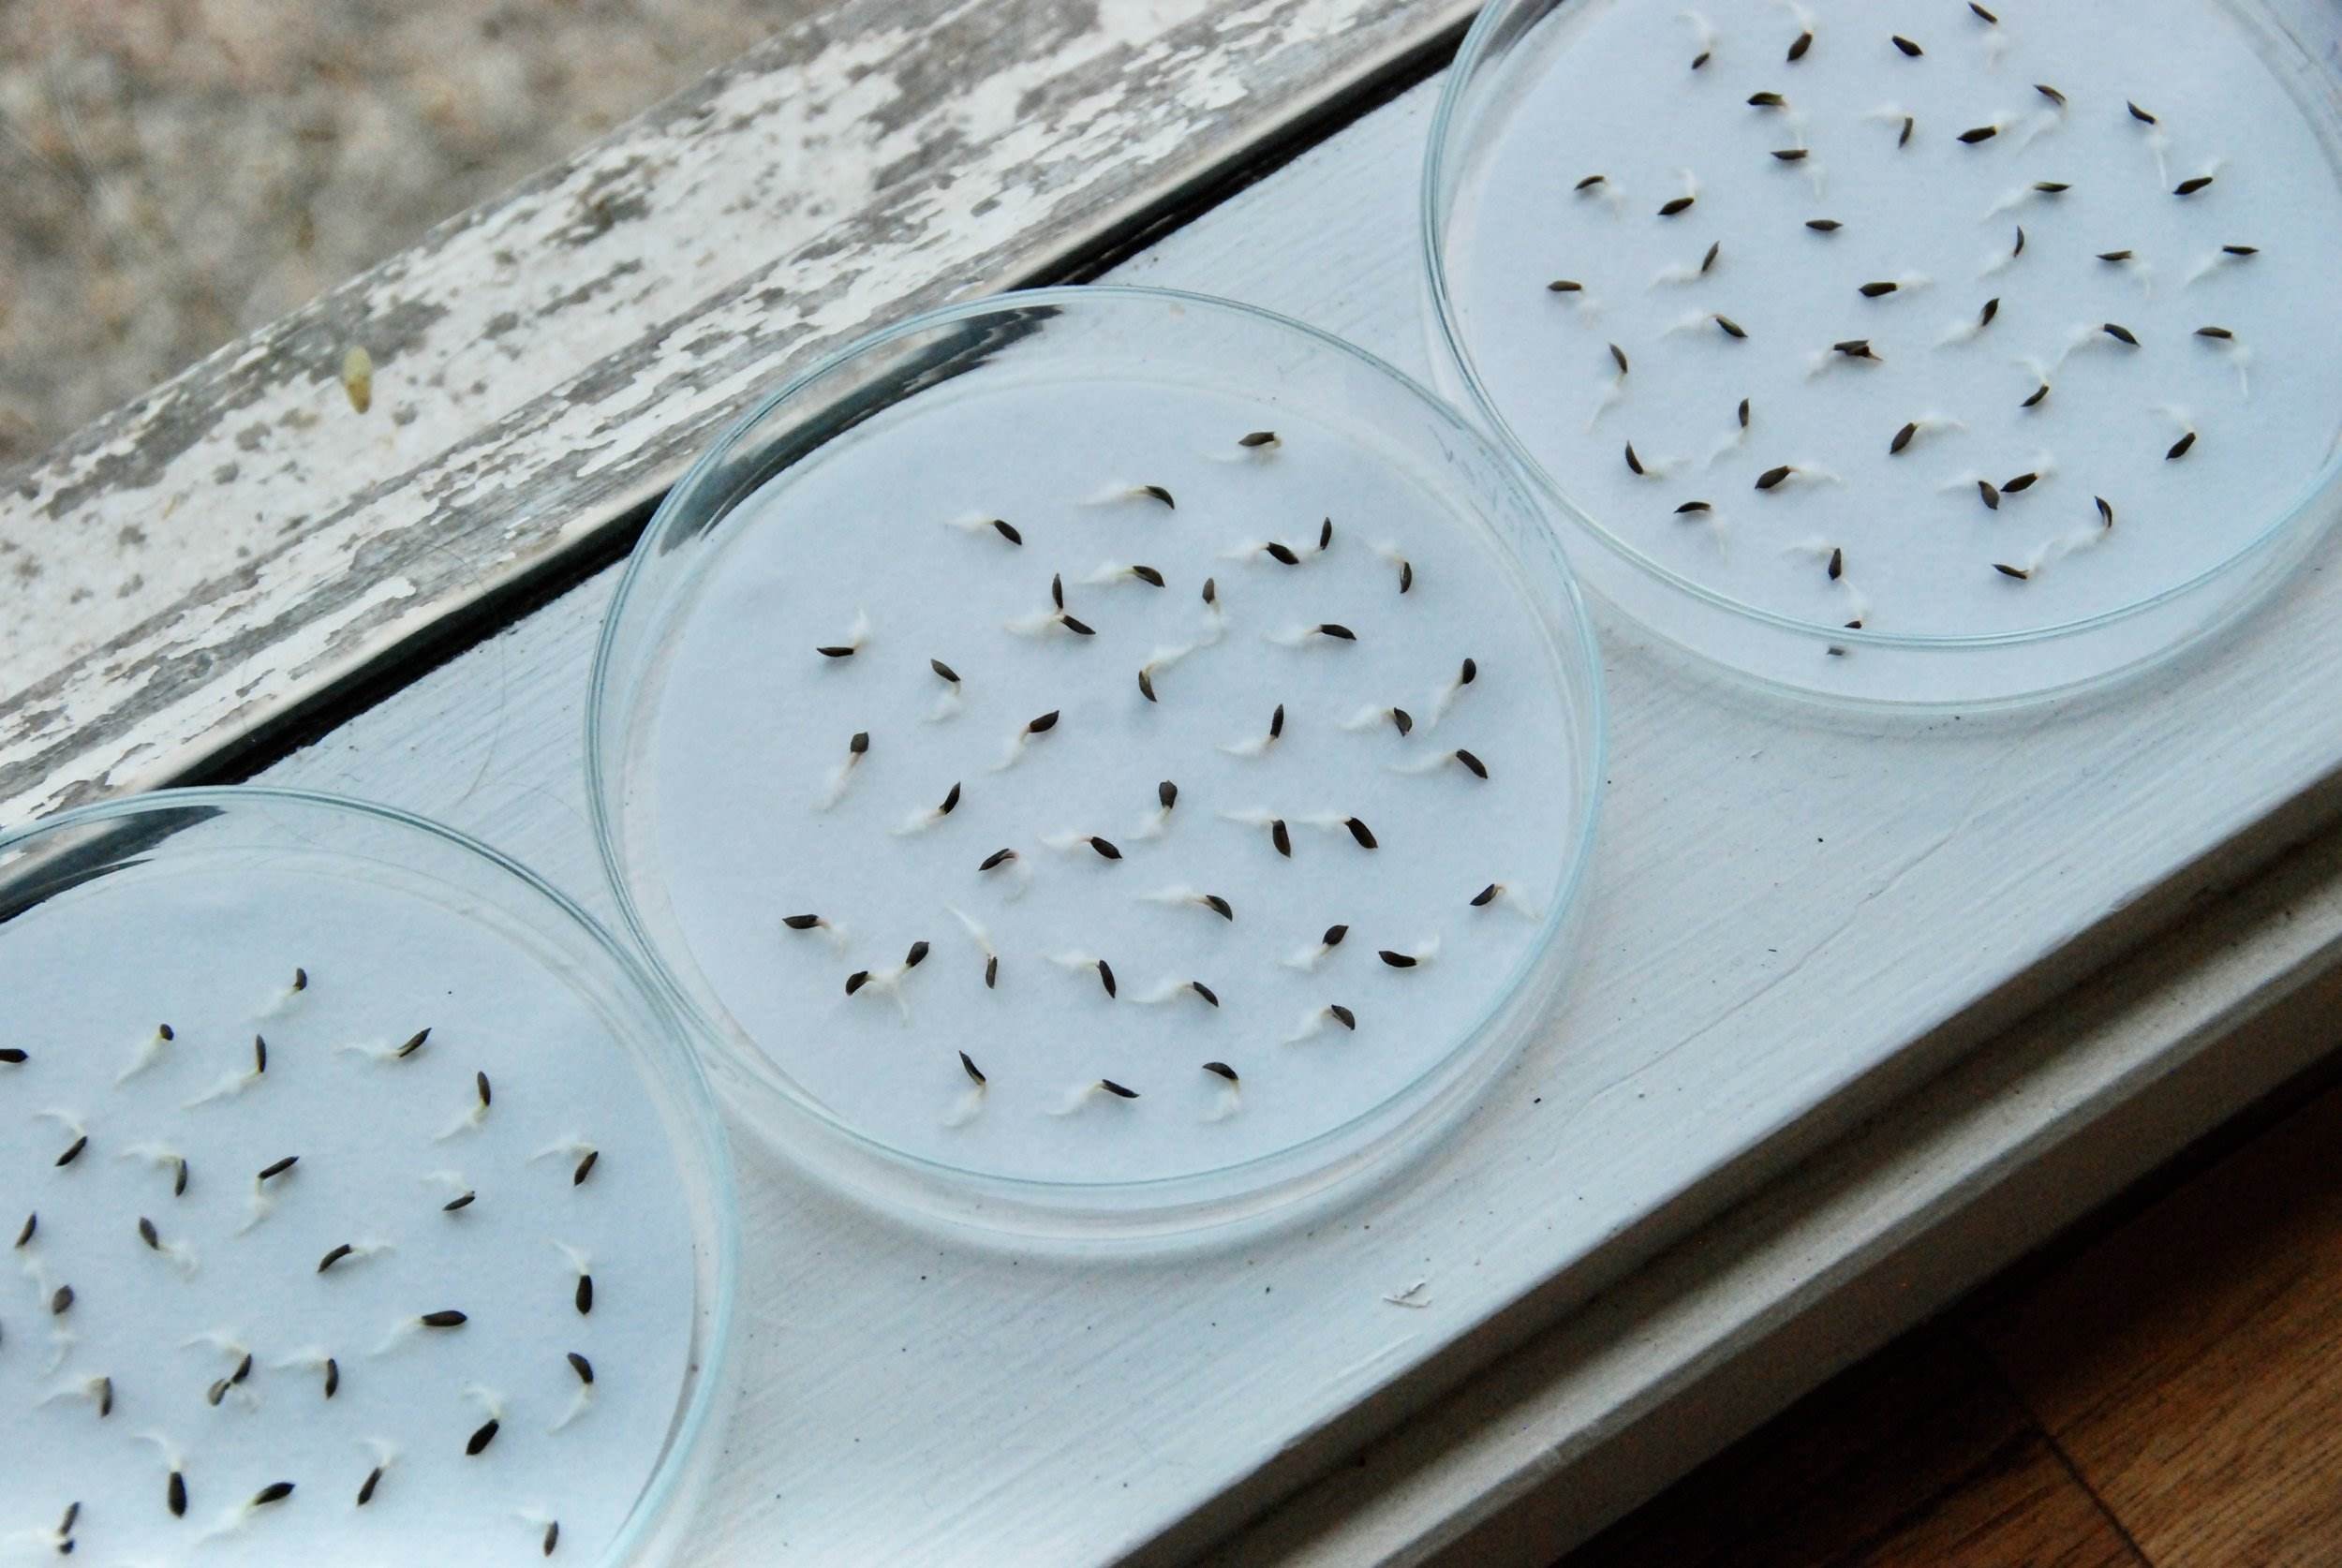
- Plant the seeds: Place the seeds on the germination medium, following the recommended planting depth for each type of seed. Gently press them into the medium for good seed-to-soil contact while avoiding overcrowding.
- Provide the ideal conditions: Seeds require specific conditions to germinate successfully. Keep the germination medium consistently moist but not waterlogged. Place the container in a warm area or use a heat mat to maintain the optimal temperature for germination, typically between 65 to 85°F (18 to 29°C).
- Ensure proper lighting: Most seeds require light to germinate, but some require darkness. Check the specific light requirements of the seeds you are germinating and provide the appropriate lighting conditions.
- Patiently wait and monitor: Germination times vary depending on the plant species. Some seeds may sprout within days, while others can take weeks. Regularly check for signs of germination, such as the emergence of seedlings, and adjust the conditions, if needed, to promote healthy growth.
Germinating seeds is a crucial step in establishing strong and vigorous plants. By providing the right conditions, you are ensuring a higher germination success rate and setting the foundation for healthy growth once the seeds are transplanted into the soil.
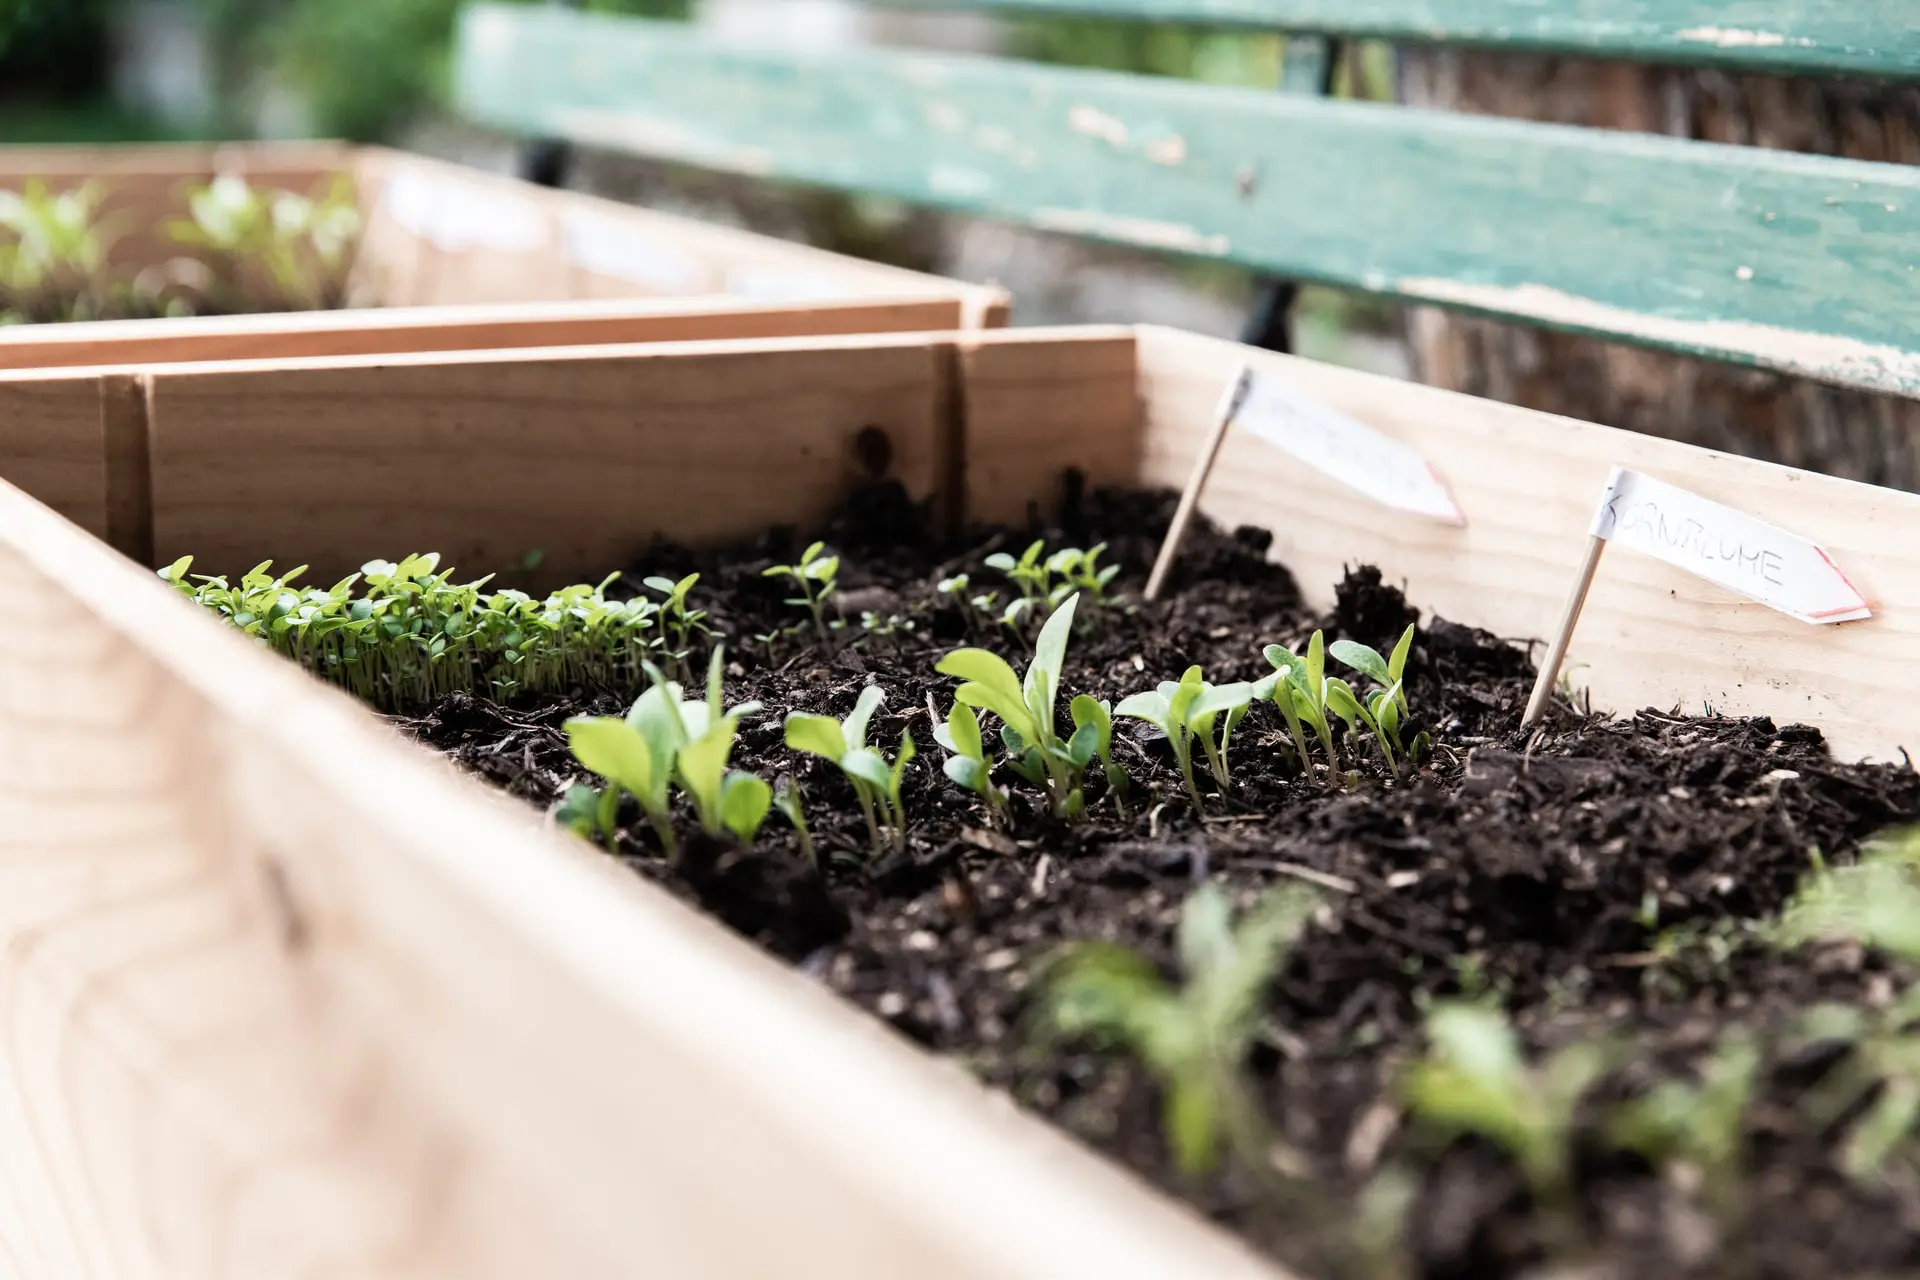
Step 3: Transferring Germinated Seeds to Soil
Once your seeds have successfully germinated and developed into seedlings, it’s time to transfer them to the soil. Transplanting the germinated seeds at the right time and with proper care ensures their continued growth and success. Here’s how to do it:
- Choose the right time: Wait until the germinated seeds have developed strong roots and multiple true leaves before transplanting. This helps ensure they can withstand the stress of transplantation and establish themselves in the soil.
- Prepare the planting holes: Dig holes in the soil at a suitable distance for the specific plant, considering its mature size. Make sure the holes are deep and wide enough to accommodate the root system of the seedlings.
- Carefully remove the seedlings: Gently loosen the germinated seedlings from the germination medium, ensuring you do not damage their delicate roots. Use a spoon or your fingers to lift them out, grasping them from the seed leaves or base of the stem.
- Place the seedlings: Carefully place each seedling into a planting hole, ensuring the roots are spread out and not bent or damaged. Hold the seedling by the seed leaves to avoid putting pressure on the stem, which can hinder growth.
- Backfill and firm the soil: Fill the hole around the seedling with soil, gently firming it around the roots. Avoid compacting the soil too tightly, as this can prevent proper root growth. Ensure the seedling is at the same depth it was in the germination medium.
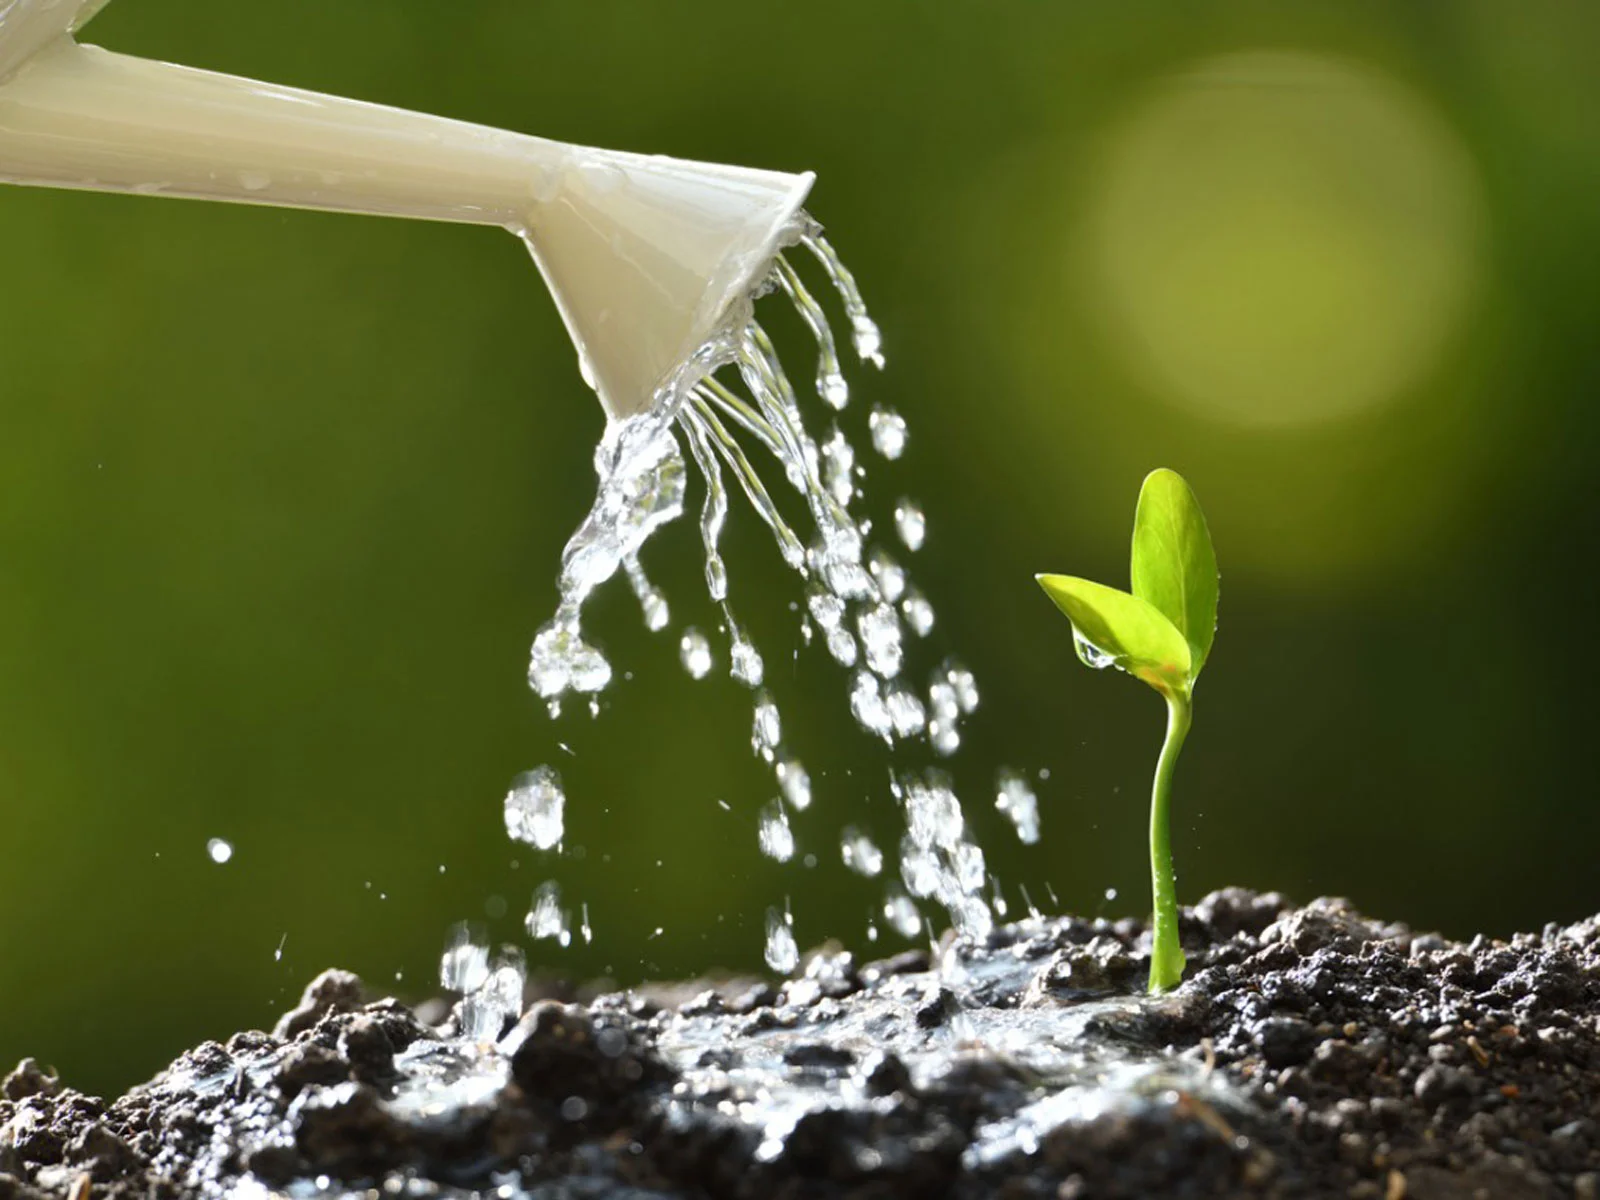
- Water the seedlings: Give the transplanted seedlings a thorough watering to help them settle into the soil. Water at the base of the plant rather than overhead, which can disturb the soil and damage the delicate seedlings.
- Provide appropriate care: Monitor the transplanted seedlings closely and provide appropriate care, such as regular watering, protection from harsh weather conditions, and adequate support if necessary.
Transferring germinated seeds to the soil is a delicate process that requires patience and care. By following these steps, you are ensuring the best possible start for your seedlings and giving them the opportunity to thrive in their new home.
Step 4: Planting Techniques for Different Seeds
Each type of seed has unique characteristics and requirements when it comes to planting. Understanding the specific planting techniques for different seeds will help ensure their successful growth. Here are some general guidelines:
- Seed depth: Pay attention to the recommended planting depth for each type of seed. Some seeds, like lettuce or herbs, are surface-sown and require only a light sprinkling of soil, while others, such as tomatoes or peppers, need to be planted deeper to support their growth.
- Spacing: Proper spacing is crucial for healthy plant development. Follow the recommended spacing guidelines to allow adequate air circulation and prevent overcrowding. This helps reduce the risk of disease and competition for nutrients.
- Watering: Different seeds have different moisture requirements. Some seeds prefer to be evenly moist, while others prefer a drier environment. Research the watering needs of each type of seed and adjust accordingly.
- Germination method: Some seeds require special germination techniques, such as scarification or stratification, to improve germination rates. Familiarize yourself with these methods and apply them as needed.
- Direct sowing versus transplanting: Some seeds, like beans or radishes, prefer to be directly sown into the soil rather than germinated indoors. Others, such as delicate flowers or certain vegetables, benefit from starting indoors and then transplanting seedlings to the garden.
- Support structures: Certain plants, like tomatoes or climbing vines, require support structures such as trellises or stakes to ensure proper growth and prevent damage to stems or fruit.
- Special considerations: Some seeds have specific considerations, such as pre-soaking in water or scarifying the seed coat, to improve germination rates. Research the specific requirements of each type of seed and follow the recommended techniques.
By understanding and implementing the appropriate planting techniques for different seeds, you are giving them the best chance to thrive and reach their full potential. Take the time to research and familiarize yourself with the specific requirements of each plant to ensure successful planting and growth.
Step 5: Caring for Germinated Seeds in Soil
Once the germinated seeds have been successfully transferred to the soil, ongoing care is essential to promote healthy growth and development. Here are some important tips for caring for germinated seeds in soil:
- Watering: Provide consistent and appropriate watering to keep the soil evenly moist. Avoid overwatering, as it can lead to root rot, and underwatering, which can cause stress and stunted growth. Water at the base of the plants to prevent wetting the foliage.
- Fertilizing: Feed your plants with a balanced fertilizer that provides essential nutrients for growth. Follow the instructions on the fertilizer packaging and avoid overfertilization, as it can burn the roots. Consider using organic fertilizers for a more sustainable approach.
- Managing weeds: Regularly remove weeds around your plants to minimize competition for nutrients and water. Use a hoe or hand pulling to carefully remove weeds without disturbing the roots of the germinated seeds.
- Mulching: Apply a layer of organic mulch, such as straw or wood chips, around the base of the plants. Mulching helps conserve soil moisture, suppresses weed growth, and regulates soil temperatures.
- Proper support: Monitor the growth of your plants and provide adequate support, such as stakes or cages, for tall or vining plants. This ensures that they grow vertically and reduces the risk of the stems breaking or bending under their own weight.
- Pest and disease management: Regularly inspect your plants for signs of pests or diseases and take appropriate measures to manage them. Use organic pest control methods whenever possible to minimize the use of chemicals that can harm beneficial organisms.
- Regular pruning: Prune your plants as needed to remove dead or diseased foliage and encourage bushier growth. Pruning can also help improve airflow and sunlight penetration, leading to healthier plants.
- Monitor environmental conditions: Keep an eye on temperature, humidity, and other environmental factors that may affect the growth of your plants. Take necessary precautions, such as providing shade during hot periods or protecting plants from frost and extreme weather conditions.
By implementing these care practices, you are providing the necessary attention and support for your germinated seeds to flourish in the soil. Regular monitoring and proactive care will lead to healthy plants, bountiful harvests, and a beautiful garden to enjoy.
Conclusion
Planting germinated seeds in soil is a crucial step in the journey of a gardener. By following the step-by-step process outlined in this article, you can ensure that your seeds have the best possible start for healthy growth and thriving plants.
From preparing the soil to transferring the germinated seeds and providing proper care, each step plays a vital role in the overall success of your gardening endeavors. Remember to choose the right location, clear the area, and amend the soil to create the ideal conditions for your seeds to thrive. Then, carefully germinate the seeds, paying attention to moisture levels, light requirements, and germination techniques specific to each type of seed.
Once the seeds have sprouted and developed into seedlings, transplanting them to the soil with care ensures their continued growth. Proper planting techniques, such as the right depth, spacing, and watering, contribute to the well-being of the seedlings. Ongoing care, including regular watering, fertilizing, and pest management, helps your plants stay healthy and vibrant.
Remember, gardening is a journey of patience and learning. It’s essential to observe and adjust based on the specific needs of your plants. Take the time to research and understand the requirements of each type of seed you plan to grow, and adapt your care practices accordingly.
With dedication, knowledge, and a touch of creativity, you can cultivate a beautiful garden oasis filled with thriving plants, vibrant flowers, and delicious fruits and vegetables. So, roll up your sleeves, put your germinated seeds in the soil, and enjoy the rewarding experience of watching your garden come to life.