Home>Types of Gardening>Edible Gardening>How To Germinate Cucumber Seeds

Edible Gardening
How To Germinate Cucumber Seeds
Modified: January 22, 2024
Learn how to germinate cucumber seeds and start your own edible gardening journey. Discover the best techniques and tips to ensure successful cucumber seed germination.
(Many of the links in this article redirect to a specific reviewed product. Your purchase of these products through affiliate links helps to generate commission for Chicagolandgardening.com, at no extra cost. Learn more)
Table of Contents
- Introduction
- Step 1: Selecting the cucumber seeds
- Step 2: Preparing the germination medium
- Step 3: Soaking the cucumber seeds
- Step 4: Planting the cucumber seeds
- Step 5: Providing proper conditions for germination
- Step 6: Caring for the germinating cucumber seeds
- Step 7: Transplanting the germinated cucumber seeds
- Conclusion
Introduction
Welcome to the exciting world of edible gardening! One of the most rewarding experiences in gardening is growing your own vegetables, and cucumbers are a popular choice for many gardeners. Not only are they delicious and versatile in the kitchen, but they are also relatively easy to grow from seeds. If you’re new to edible gardening or simply want to try your hand at growing cucumbers, this guide will walk you through the process of germinating cucumber seeds and getting your plants off to a healthy start.
Gardening is not only a fulfilling hobby, but it also allows you to have total control over the quality and freshness of your produce. By growing your own cucumbers, you can avoid pesticides and chemicals commonly found on store-bought varieties. Additionally, homegrown cucumbers have a superior flavor that will instantly elevate your salads, sandwiches, and pickling recipes.
Before diving into the germination process, it’s important to note that there are different varieties of cucumbers to choose from. You can find options such as slicers, picklers, and specialty cucumbers that vary in size, shape, and taste. Consider your culinary preferences and growing conditions to determine the best cucumber variety for your garden.
Now, let’s embark on this cucumber-growing journey together. Grab your gardening gloves and prepare to witness the miracle of life as we learn how to successfully germinate cucumber seeds and nurture them into thriving plants that will reward you with a bountiful harvest.
Step 1: Selecting the cucumber seeds
Before you can begin the process of germinating cucumber seeds, you need to select the right seeds for your garden. When choosing cucumber seeds, there are a few factors to consider:
- Variety: Cucumber seeds come in various varieties, each with its unique characteristics. Consider whether you want to grow slicing cucumbers for fresh consumption, pickling cucumbers for making pickles, or specialty cucumbers with a distinct taste or appearance. Read the seed packets or do some research to pick the variety that best suits your gardening goals.
- Disease resistance: Some cucumber varieties are bred to be resistant to common diseases that can affect cucumber plants, such as powdery mildew or cucumber mosaic virus. Look for seeds that offer disease resistance to ensure your plants have a better chance of thriving.
- Open-pollinated or hybrid: Cucumber seeds can be either open-pollinated or hybrid. Open-pollinated seeds are saved from plants that have been naturally pollinated, while hybrid seeds result from the controlled cross-pollination of different cucumber varieties. Open-pollinated seeds generally produce plants with traits similar to the parent plant. Hybrid seeds, on the other hand, often offer specific characteristics like disease resistance or improved yield. Consider your preferences and gardening goals when choosing between open-pollinated and hybrid seeds.
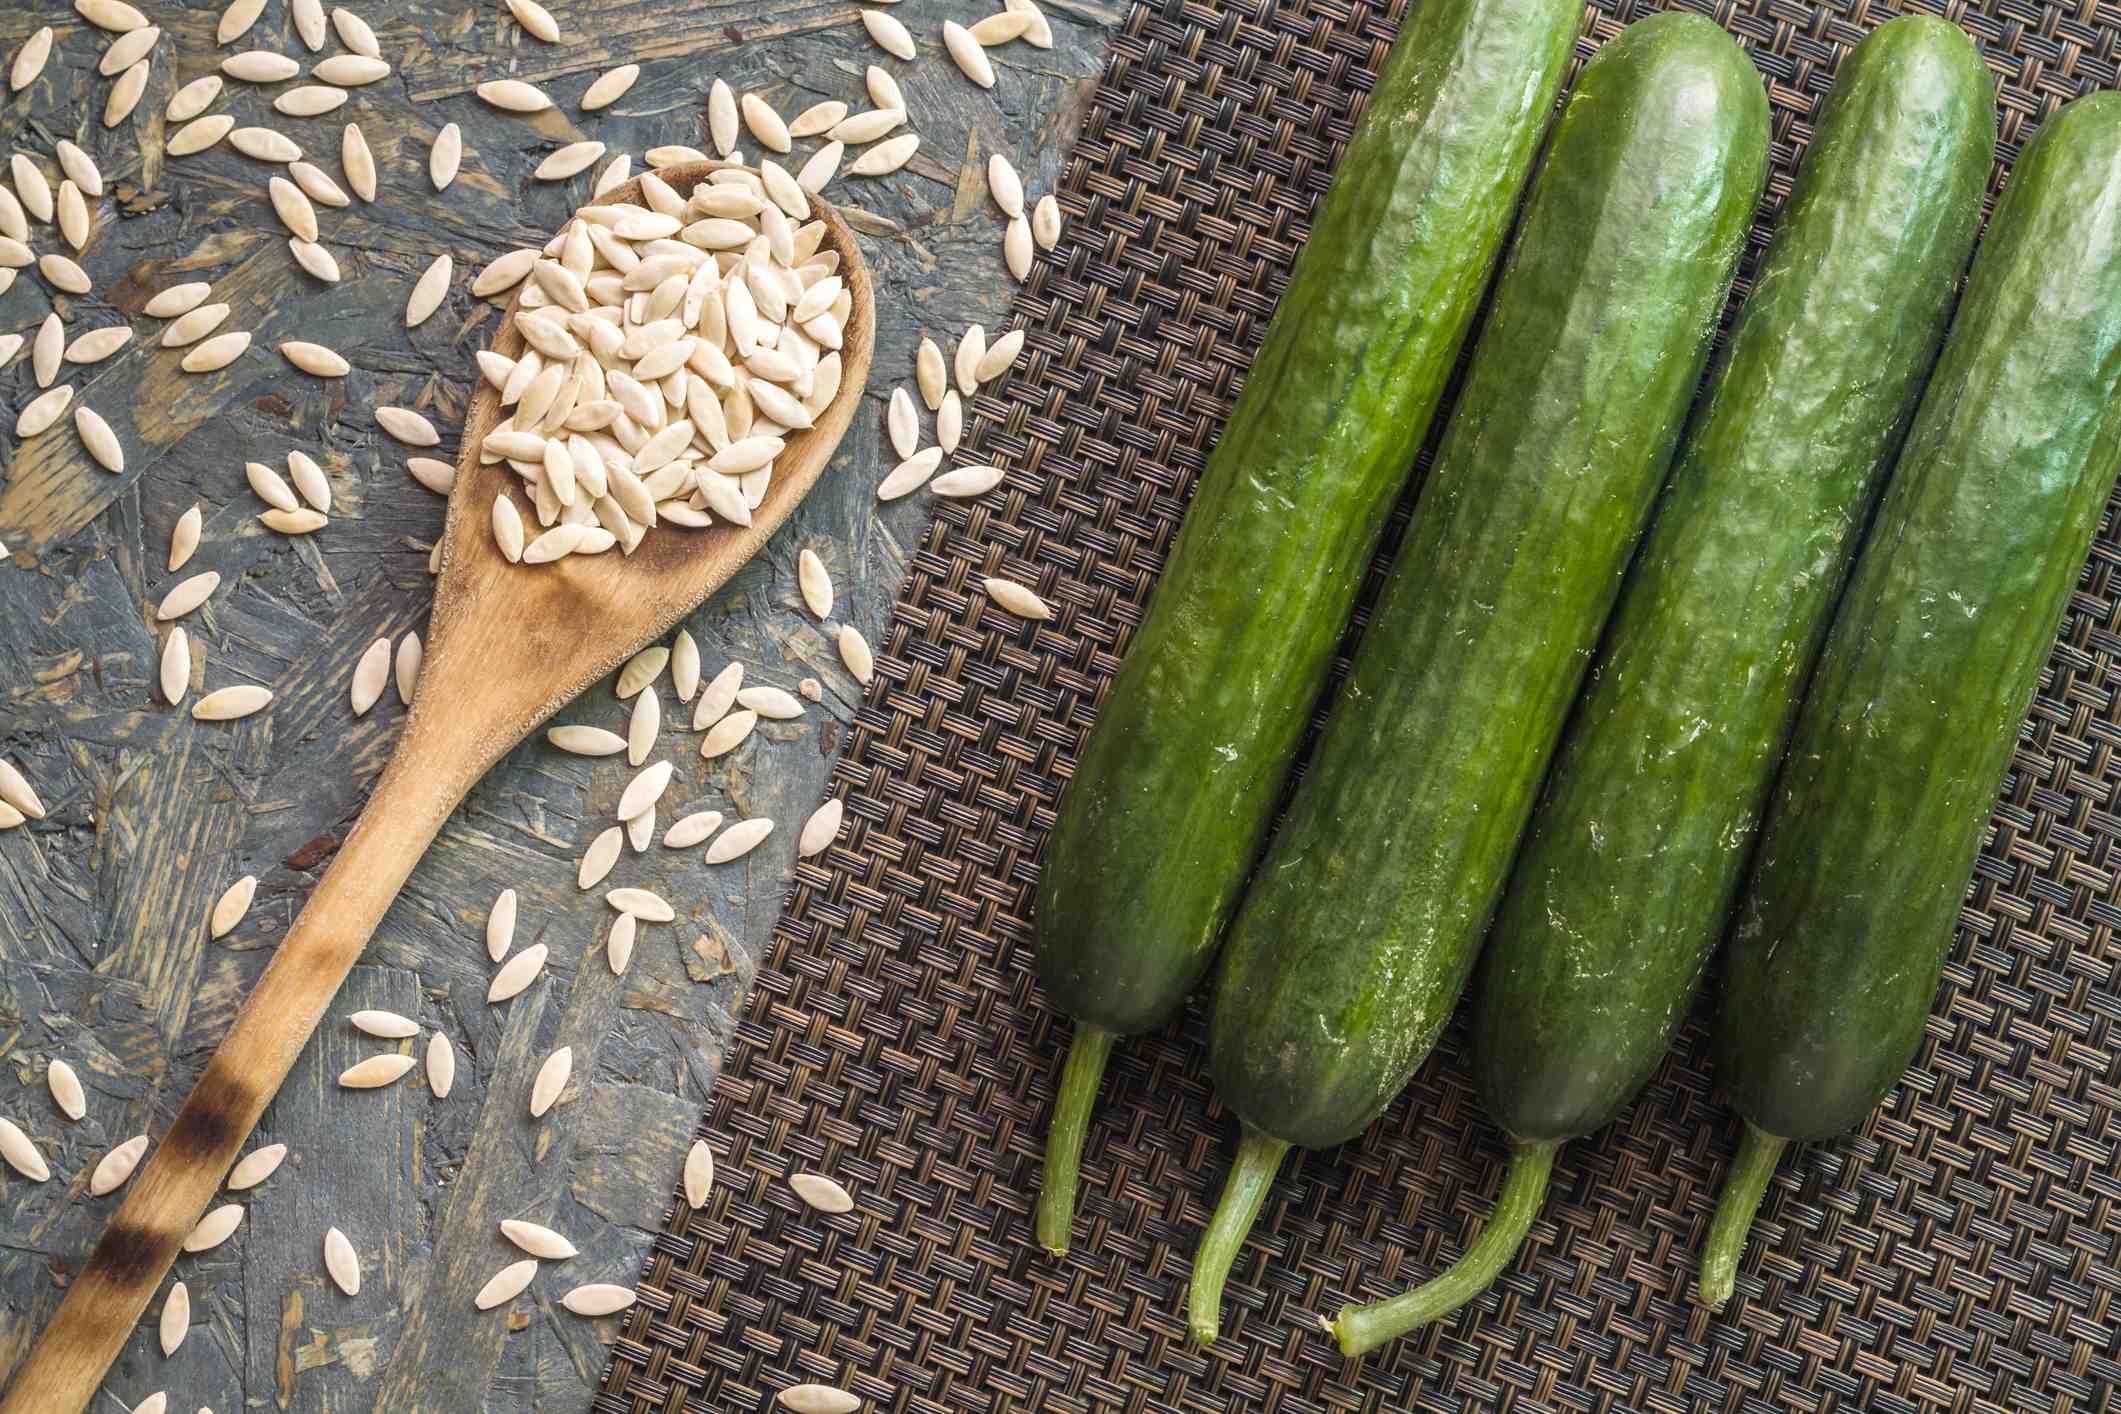
- Quality: Ensure that you choose high-quality seeds from a reputable source. Look for seeds that are plump, firm, and free from damage or signs of mold. Quality seeds will have a higher chance of germinating successfully.
Once you’ve considered these factors, you can purchase your cucumber seeds from nurseries, seed catalogs, or reputable online sources. Remember to check the recommended planting time for your specific cucumber variety, as planting times may vary depending on your location and climate. With your cucumber seeds in hand, you’re now ready to move on to the next step: preparing the germination medium.
Step 2: Preparing the germination medium
The germination medium plays a crucial role in providing the right conditions for your cucumber seeds to sprout. Here’s how you can prepare a suitable germination medium:
- Choose a container: Select a container that is at least 2-3 inches deep with drainage holes at the bottom. This can be a seed tray, a shallow tray, or even recycled containers like egg cartons or yogurt cups.
- Fill the container: Fill the container with a well-draining seed-starting mix. You can create your own mix by combining equal parts of vermiculite, peat moss, and perlite. This mixture provides good moisture retention while allowing proper aeration for the seeds.
- Moisten the medium: Before planting the cucumber seeds, lightly moisten the germination medium with water. Ensure that it is damp but not soggy. Excess moisture can lead to rotting of the seeds.
- Label the container: It’s important to label your container to keep track of the cucumber variety and planting date. Use a waterproof marker or stick a label to prevent the information from washing away or fading.
Once you have prepared the germination medium, you’re now ready to move on to the next step: soaking the cucumber seeds.
Step 3: Soaking the cucumber seeds
Soaking cucumber seeds before planting can help to jumpstart the germination process and increase the chances of successful sprouting. Here’s how to soak cucumber seeds:
- Choose a container: Select a small bowl or cup that is big enough to accommodate the number of cucumber seeds you plan to soak.
- Fill the container with water: Fill the container with room temperature water. Make sure there is enough water to fully submerge the seeds.
- Add the seeds: Gently place the cucumber seeds into the water. Make sure that all the seeds are fully immersed.
- Soak the seeds: Let the cucumber seeds soak for 12 to 24 hours. This soaking period helps to soften the seed coat, promoting faster germination.
- Drain and rinse: After the soaking period, drain the water from the container. Rinse the cucumber seeds with fresh water to remove any residue.
- Plant immediately: Once you have soaked and rinsed the cucumber seeds, plant them right away into the prepared germination medium. By doing so, you minimize the risk of the seeds drying out or losing their viability.
Remember to handle the soaked cucumber seeds with care as they can be delicate. Now that you have soaked the seeds, it’s time to move on to the next step: planting the cucumber seeds.
Step 4: Planting the cucumber seeds
Now that you have prepared the germination medium and soaked the cucumber seeds, it’s time to plant them. Follow these steps to ensure proper planting:
- Make planting holes: Using your finger or a small tool, create 1-inch deep holes in the germination medium. Space the holes about 2-3 inches apart to provide enough room for the seedlings to grow.
- Plant the seeds: Carefully place one cucumber seed into each hole. Gently cover the seeds with a thin layer of germination medium or vermiculite.
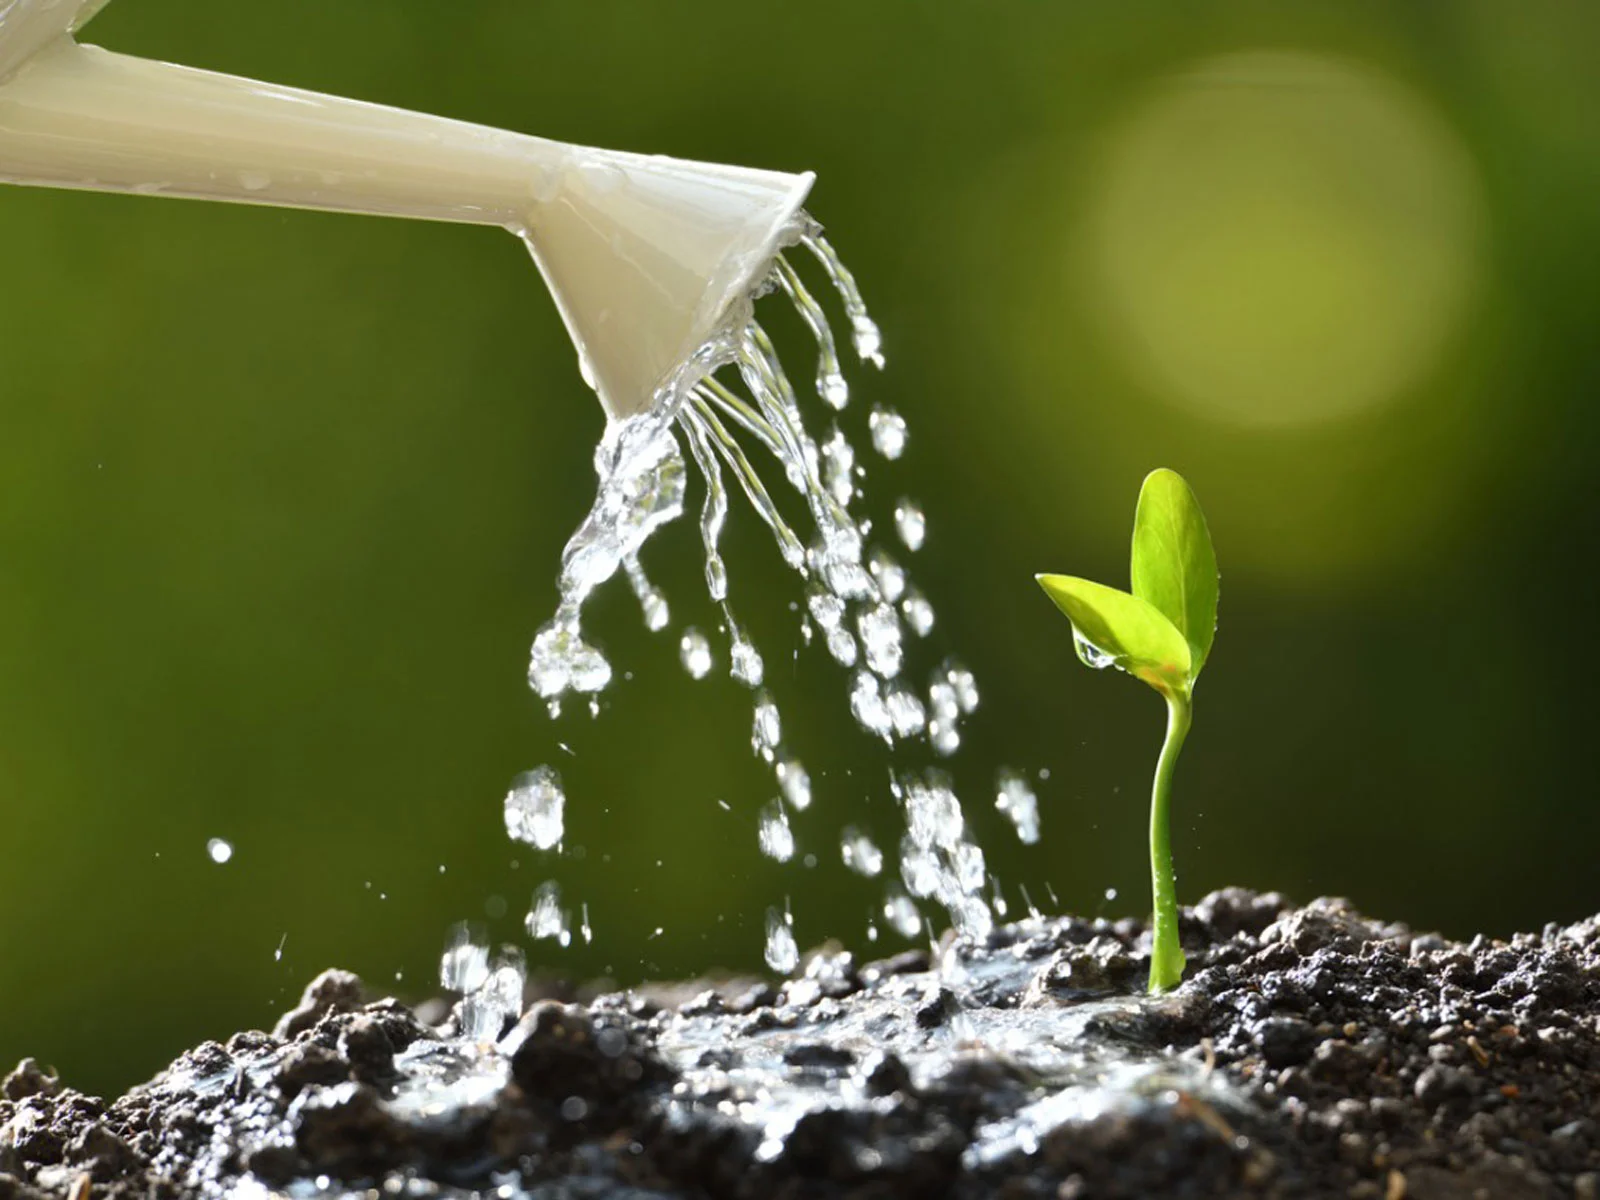
- Water the seeds: After planting, water the seeds lightly using a spray bottle or a watering can with a gentle shower setting. Ensure that the germination medium is evenly moist, but avoid over-watering, which can lead to rotting.
- Provide proper labeling: Label your container or tray with the cucumber variety and planting date to help you keep track of the progress.
It’s important to note that cucumbers are warm-season plants, and they thrive in temperatures between 70-90°F (21-32°C). If you are growing cucumbers indoors or in a greenhouse, ensure that the environment remains warm and receives adequate sunlight or artificial light.
Now that the cucumber seeds are safely planted, it’s time to move on to the next step: providing proper conditions for germination.
Step 5: Providing proper conditions for germination
Ensuring the optimal conditions for germination is crucial for the success of your cucumber seeds. Follow these steps to provide the ideal environment:
- Temperature: Cucumber seeds germinate best in warm temperatures. Maintain a consistent temperature between 70-90°F (21-32°C). Consider using a heat mat to provide bottom heat, especially if you are germinating cucumber seeds in cooler conditions.
- Light: While cucumber seeds do not require light to germinate, they need plenty of bright, indirect light once they start sprouting. Place your germination container in a location that receives at least 6-8 hours of sunlight or use fluorescent grow lights if growing indoors.
- Moisture: Keep the germination medium consistently moist, but not overly saturated. Check the moisture level regularly and water as needed, using a spray bottle or watering can to avoid disturbing the delicate seedlings. Avoid allowing the medium to dry out completely as it can hinder seed germination.
- Humidity: Cucumbers prefer a moderately humid environment. To maintain humidity around the germinating seeds, cover the container with a clear plastic lid or place it inside a plastic bag. This helps to retain moisture and create a mini greenhouse effect. Once the seeds have sprouted, remove the cover to prevent excessive moisture buildup.
It’s important to monitor the conditions regularly and make necessary adjustments, such as adjusting the watering frequency or providing additional warmth, to create an ideal environment for germination. Be patient, as cucumber seeds can take anywhere from 7 to 14 days to germinate, depending on the variety and environmental conditions.
Now that you’re providing the right conditions for germination, let’s move on to the next step: caring for the germinating cucumber seeds.
Step 6: Caring for the germinating cucumber seeds
Once your cucumber seeds have sprouted and are on their way to becoming seedlings, it’s important to provide proper care to ensure their healthy growth. Here are some essential steps to follow:
- Thinning: If multiple seeds have germinated in one hole, carefully remove the weaker seedlings, leaving only the healthiest one. This allows for better airflow and prevents overcrowding, which can lead to competition for nutrients and stunted growth.
- Watering: Water the seedlings regularly, keeping the germination medium evenly moist. Ensure that the water reaches the roots but avoid over-watering, as overly wet conditions can lead to root rot. Use a gentle spray bottle or watering can to water the seedlings to prevent disturbing them.
- Fertilizing: Once the seedlings develop their first set of true leaves, you can begin fertilizing with a balanced liquid fertilizer. Dilute the fertilizer according to the package instructions and apply it every two weeks to provide essential nutrients for healthy growth.
- Support: As the seedlings grow, they will develop delicate tendrils that need support to climb and spread. Consider providing a trellis, stakes, or a cage for the cucumber plants to grow vertically, saving space and allowing for better air circulation.
- Monitoring pests: Keep an eye out for common cucumber pests, such as aphids, cucumber beetles, and spider mites. Regularly inspect the plants for any signs of pest infestation and take appropriate measures, such as using organic pest control methods or introducing beneficial insects, to protect your cucumber seedlings.
Continue to provide the appropriate environmental conditions, including adequate light, temperature, and humidity, to support the healthy growth of your cucumber seedlings. Regularly observe the plants and address any issues promptly to prevent further damage or setbacks.
With proper care, your germinating cucumber seeds will develop into strong and vigorous plants, ready for the final step: transplanting.
Step 7: Transplanting the germinated cucumber seeds
After weeks of caring for your germinated cucumber seeds, it’s time to transplant them into their permanent growing location. Follow these steps for successful transplantation:
- Choose the right time: Wait until all chances of frost have passed and the weather has warmed up consistently before transplanting your cucumber seedlings. Cucumbers thrive in warm temperatures, so aim for daytime temperatures above 60°F (15°C).
- Prepare the soil: Select a sunny location in your garden with well-draining soil. Cucumbers prefer fertile soil rich in organic matter. Use a garden fork or tiller to loosen the soil and incorporate compost or well-rotted manure to improve its fertility.
- Amend soil pH: Cucumbers prefer slightly acidic soil with a pH between 6.0 and 7.0. Test your soil’s pH and adjust it if necessary by adding lime to raise the pH or sulfur to lower it.
- Harden off the seedlings: Before transplanting, gradually expose the seedlings to outdoor conditions to acclimate them. Start by placing them outdoors in a sheltered area for a few hours, gradually increasing the time and exposure to full sunlight over the course of a week.
- Transplant seedlings: Dig holes in the prepared soil, spacing them 12-24 inches apart to allow sufficient room for the sprawling cucumber vines. Carefully remove the seedlings from the germination container, keeping the soil and roots intact. Place each seedling in a hole and gently tamp the soil around the base, ensuring that the seedling is at the same level as it was in the germination container.
- Water thoroughly: After transplanting, water the seedlings thoroughly, ensuring that the surrounding soil is evenly moist. This helps to settle the soil and promote root establishment.
- Provide support: Install trellises, stakes, or cages near the transplanted seedlings to support their growth and prevent sprawling. Upward growth and proper support help to enhance air circulation and reduce the risk of disease.
Continue to water the transplanted cucumber seedlings regularly, aiming for deep and consistent moisture levels. Monitor the plants for signs of stress or pest issues, and take appropriate action to ensure healthy growth.
With proper care and maintenance, your transplanted cucumber seedlings will thrive, and soon you’ll be enjoying a bountiful harvest of delicious cucumbers straight from your garden.
Conclusion
Congratulations! You have successfully learned how to germinate cucumber seeds and nurture them into thriving plants. Growing your own cucumbers can be a rewarding and delicious experience for any home gardener. By selecting the right cucumber seeds, preparing the germination medium, soaking the seeds, planting them, and providing the proper conditions for germination, you have set the foundation for successful cucumber growth.
Throughout the process, it’s important to provide care and attention to your germinating cucumber seeds. Thinning out seedlings, watering appropriately, fertilizing, supporting the plants, and monitoring for pests are all essential steps for ensuring healthy growth and abundant harvests.
Remember to consider the specific requirements of your cucumber variety, such as optimal temperatures, lighting conditions, and spacing. Tailoring your care routine to meet the unique needs of your cucumber plants will greatly contribute to their success.
As your cucumber plants continue to grow and thrive, you can look forward to enjoying the crisp, refreshing taste of homegrown cucumbers in salads, sandwiches, pickles, and more. The freshness and quality of your harvest will be a testament to the joy and satisfaction of edible gardening.
So, embrace the journey of edible gardening, get your hands dirty, and enjoy the process of nurturing your own cucumber plants. Before you know it, you’ll be reaping the rewards of your hard work and enjoying the delectable flavors of homegrown cucumbers. Happy gardening!