Home>Types of Gardening>Ornamental Gardening>How To Germinate Marigold Seeds
Ornamental Gardening
How To Germinate Marigold Seeds
Modified: January 22, 2024
Learn how to successfully germinate marigold seeds and enhance your ornamental gardening skills with our step-by-step guide. Cultivate vibrant and beautiful marigold blooms in your garden today!
(Many of the links in this article redirect to a specific reviewed product. Your purchase of these products through affiliate links helps to generate commission for Chicagolandgardening.com, at no extra cost. Learn more)
Table of Contents
Introduction
Welcome to the world of ornamental gardening! If you’re a lover of vibrant and beautiful flowers, then germinating marigold seeds is a fantastic way to add some color to your garden. Marigolds are a popular choice among gardeners due to their bright hues and ability to repel pests.
Germinating marigold seeds may seem like a daunting task, but with the right guidance and a little patience, anyone can successfully grow these gorgeous flowers. In this article, we will walk you through the step-by-step process of germinating marigold seeds and provide you with tips for creating optimal growing conditions.
By following our comprehensive guide, you’ll learn how to prepare planting containers, sow marigold seeds, provide the right growing conditions, care for germinating seeds, and ultimately transplant the seedlings into your garden. Whether you’re an experienced gardener looking to expand your skills or a newcomer to the world of gardening, this guide will help you master the art of germinating marigold seeds.
Not only will you enjoy the satisfaction of successfully growing your own marigold plants, but these vibrant flowers will also brighten up your outdoor space and attract pollinators. So let’s jump in and discover how to bring these stunning blooms to life!
Step 1: Gathering Materials
Before you begin the process of germinating marigold seeds, it’s essential to gather all the necessary materials. This will ensure that you have everything you need to create the ideal growing environment for your seeds. Here are the materials you’ll need:
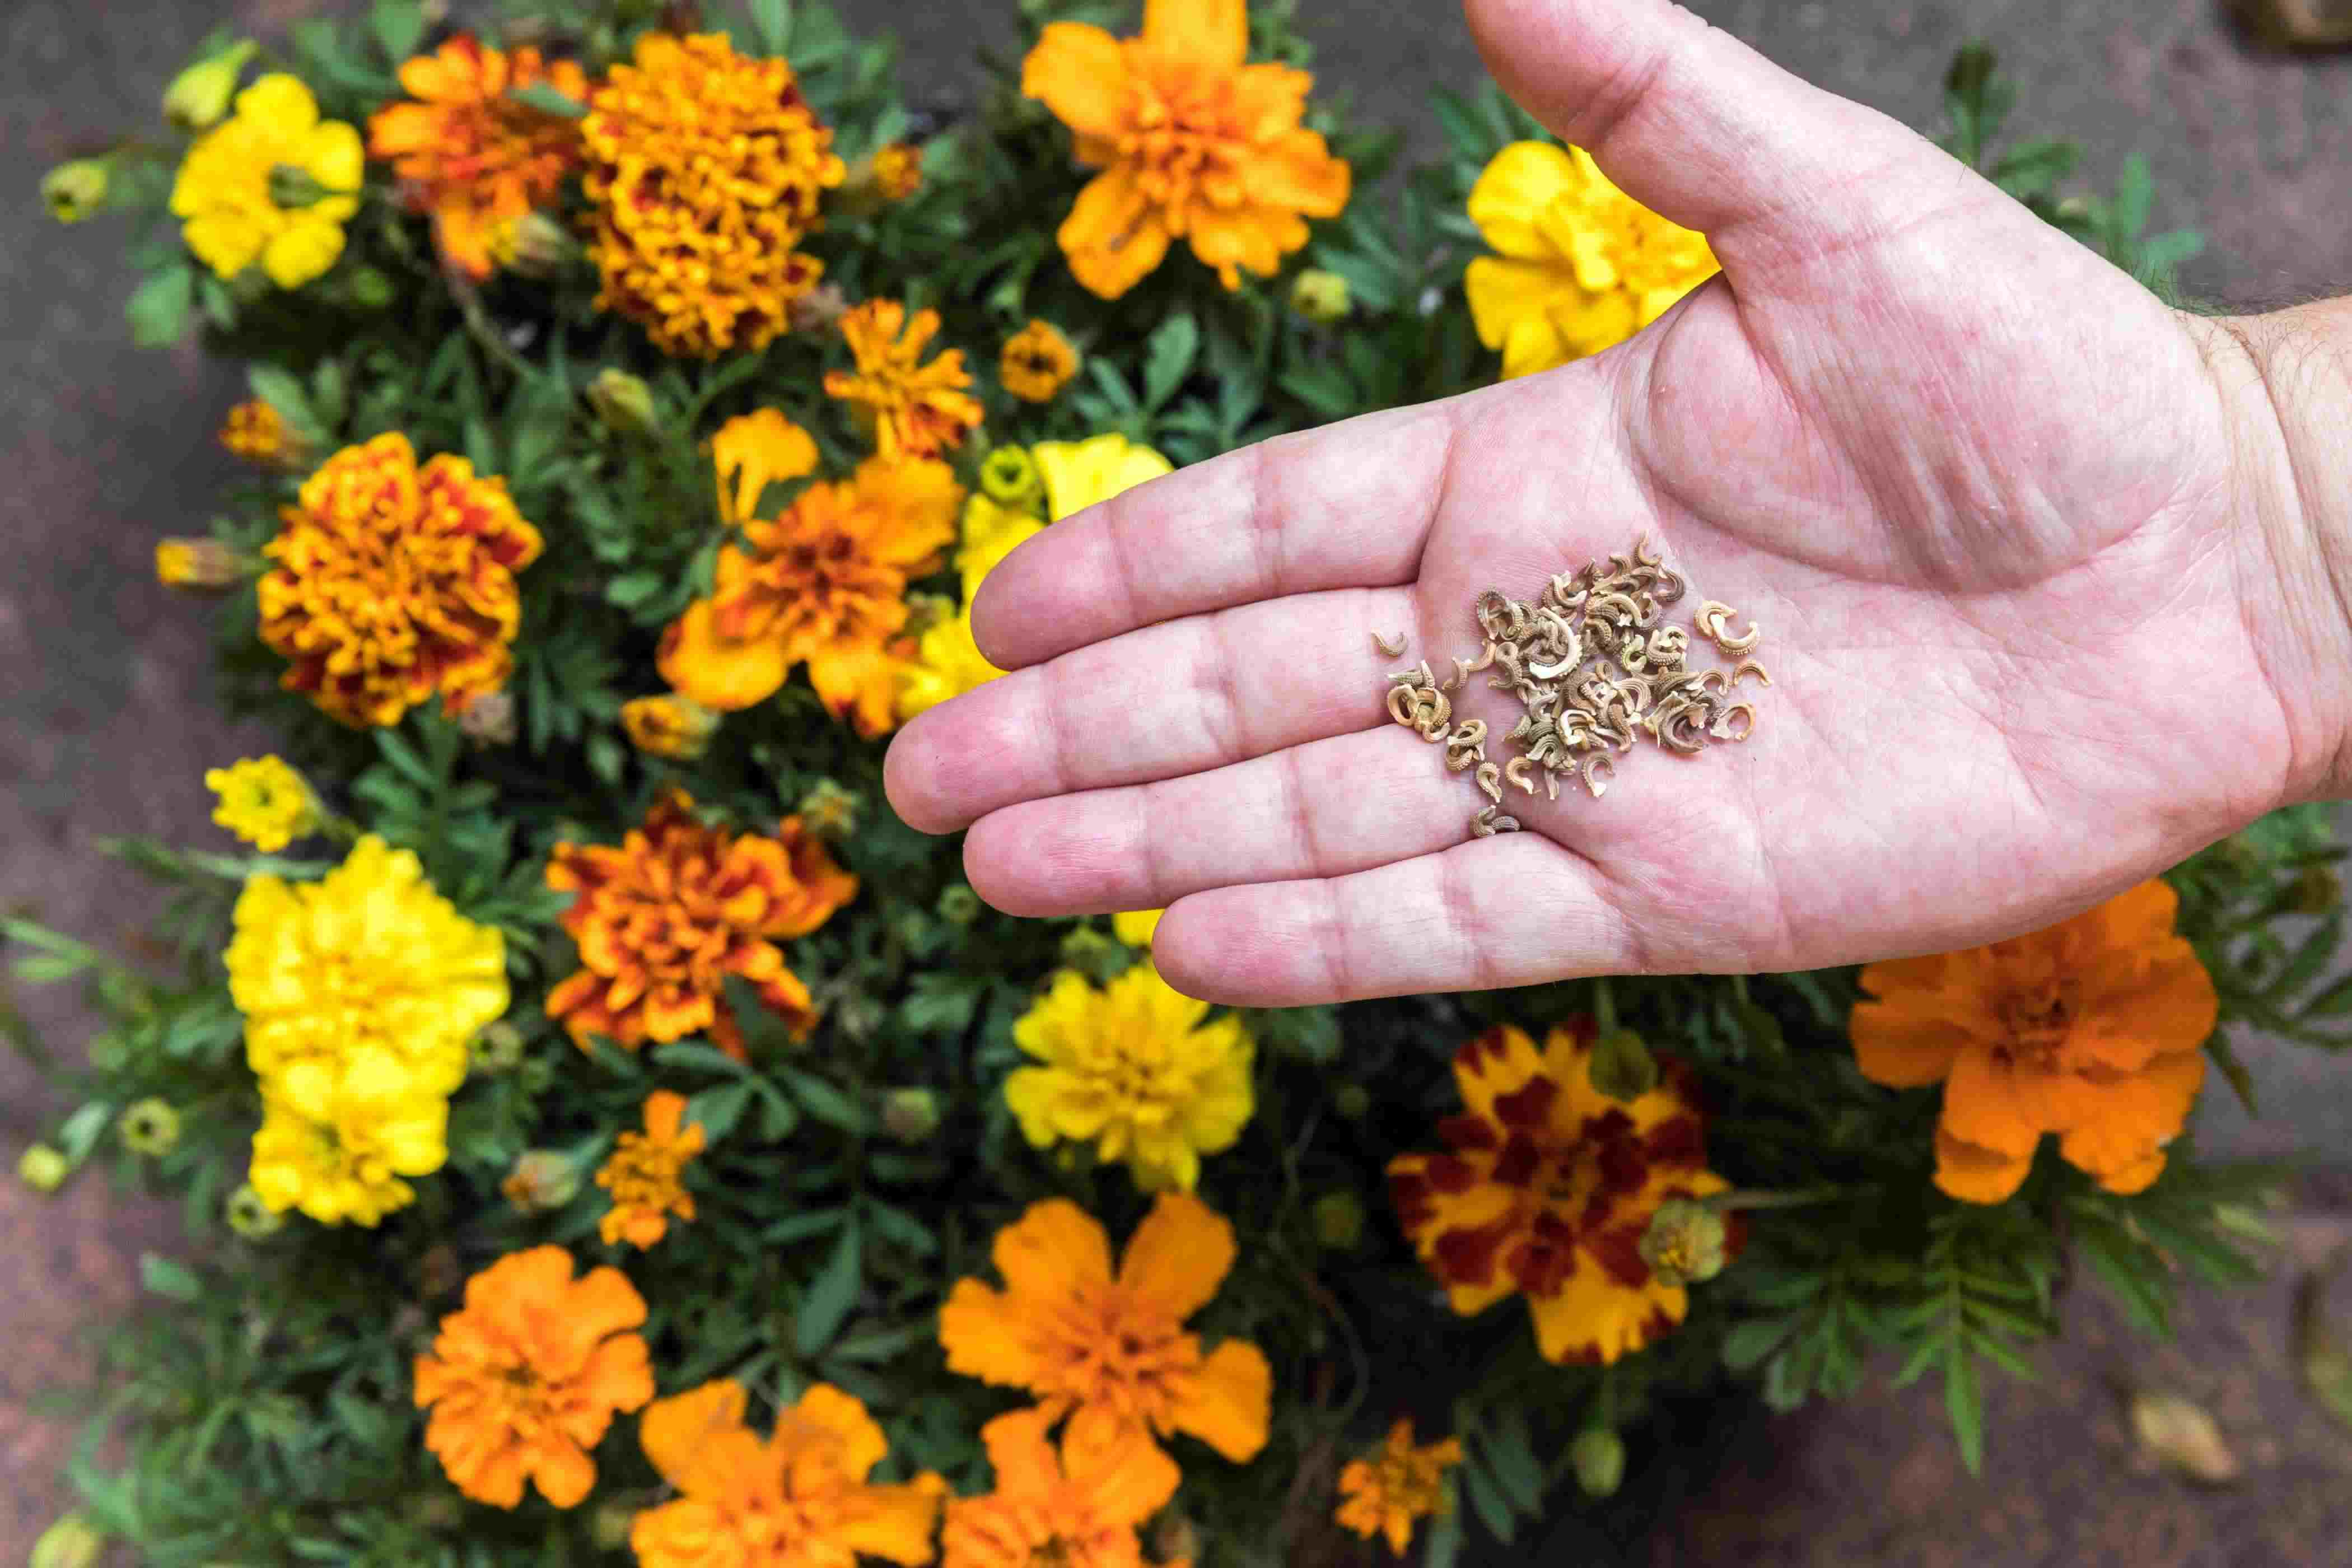
- Marigold seeds: Choose high-quality marigold seeds from a reliable source. Consider selecting a variety that suits your preferences in terms of color and height.
- Planting containers: Opt for small pots or seed trays with drainage holes to promote healthy root growth. Ensure that the containers are clean and sterilized to prevent diseases.
- Potting mix: Use a well-draining potting mix that is rich in organic matter. Avoid using heavy soils that may retain too much moisture and cause the seeds to rot.
- Watering can or spray bottle: A watering can with a fine rose or a spray bottle will allow you to gently water the seeds without disturbing them.
- Plastic wrap or a germination dome: Covering the planted seeds with plastic wrap or using a germination dome will create a mini greenhouse effect, retaining moisture and heat to promote germination.
- Grow lights or a sunny location: If you don’t have access to sufficient natural light, invest in grow lights that provide the right spectrum for plant growth. Alternatively, find a sunny location indoors or outdoors where the seeds can receive at least six hours of sunlight.
By gathering these materials beforehand, you’ll have everything ready for the next steps of the germination process. It’s important to ensure that all your tools and materials are clean and in good condition to give your marigold seeds the best chance of successful germination and growth.
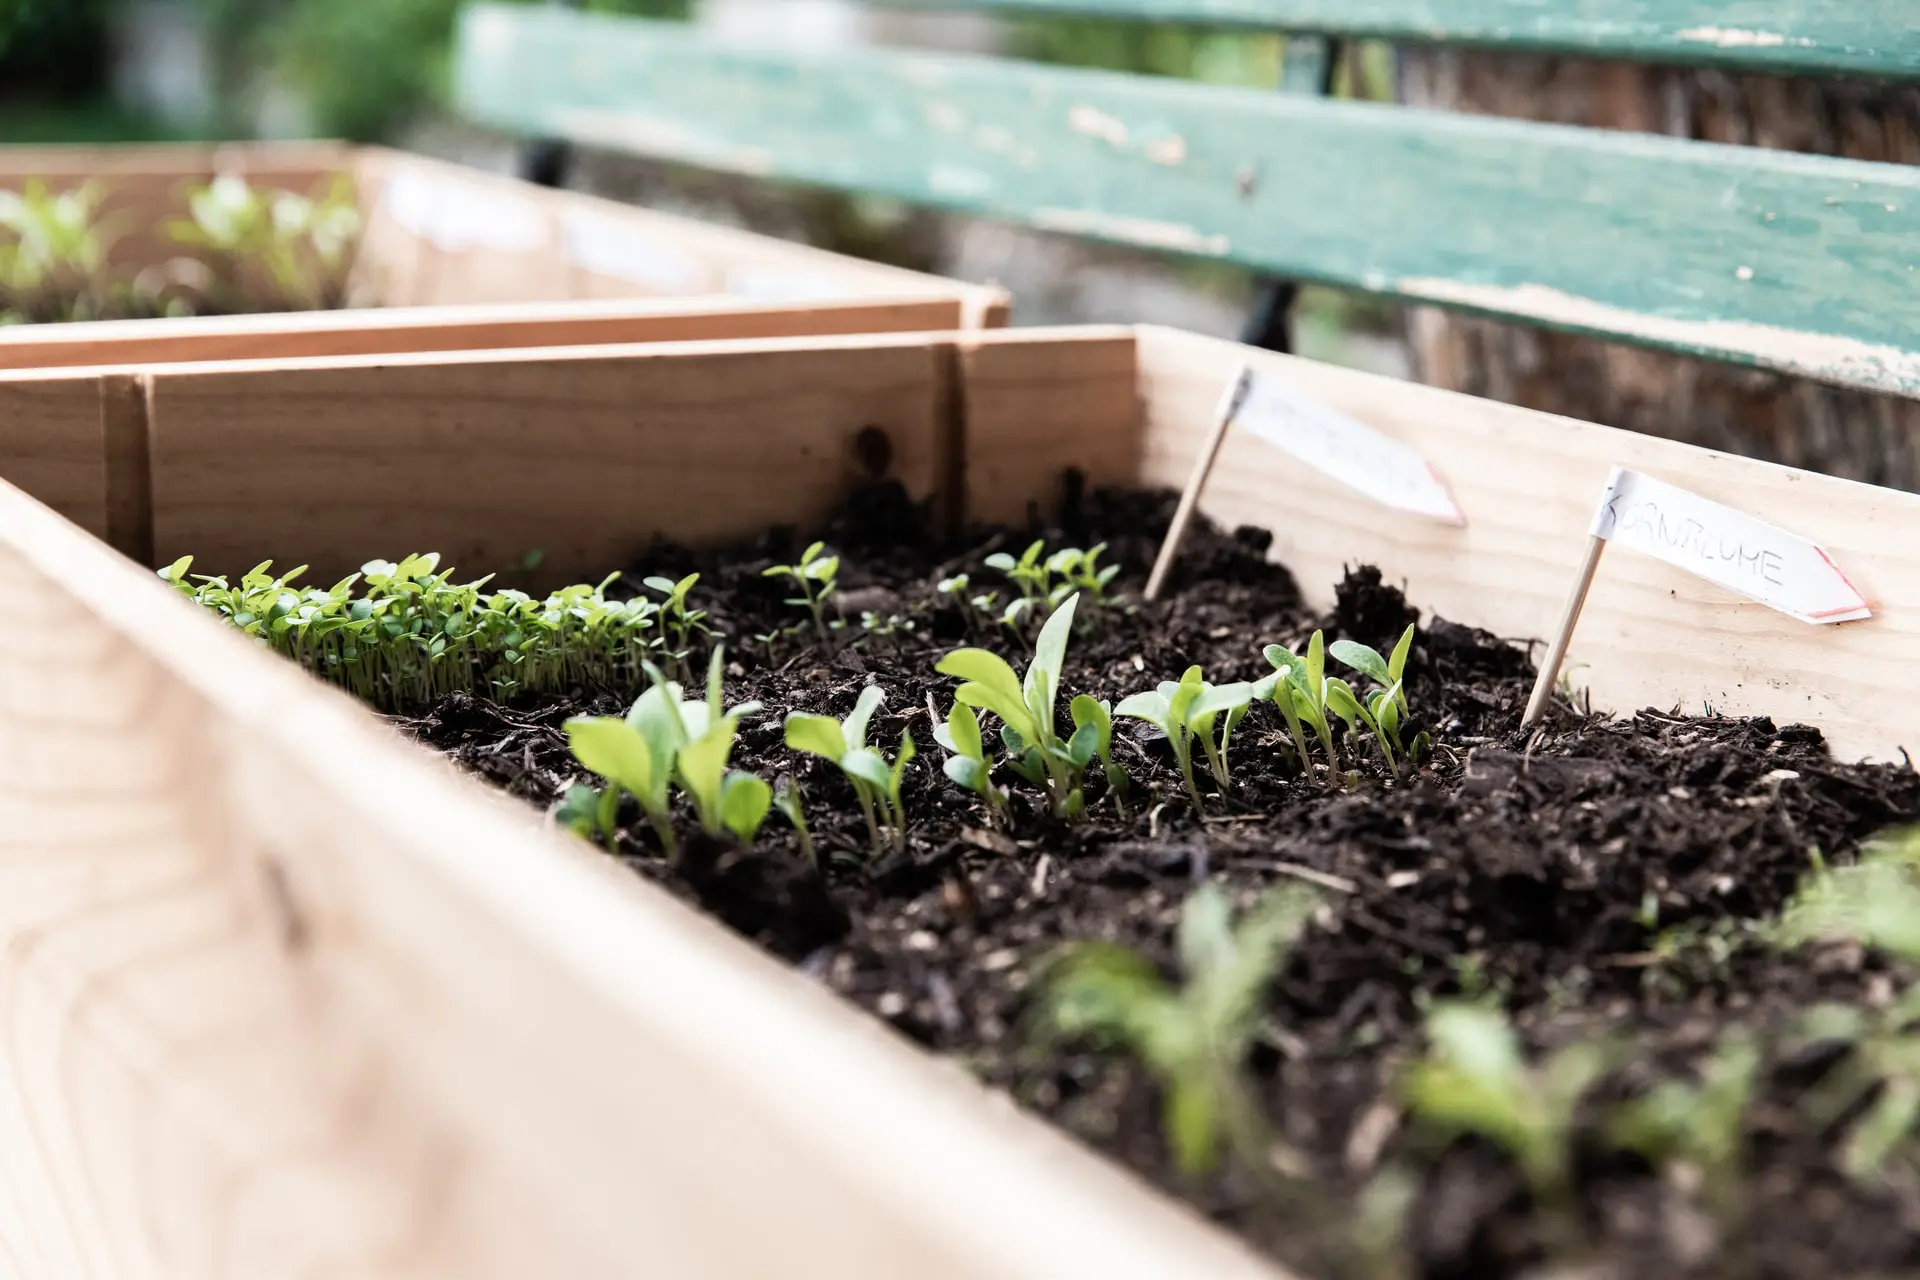
Step 2: Preparing Planting Containers
Now that you have gathered all the necessary materials, it’s time to prepare the planting containers for your marigold seeds. Follow these steps to ensure the containers are suitable for seed germination:
- Disinfect the containers: Before use, clean the planting containers with a mixture of water and mild dish soap. Rinse them thoroughly to remove any soap residue, and then disinfect them with a solution of one part bleach to nine parts water. This will help prevent the growth of harmful pathogens that could harm your seedlings.
- Add a drainage layer: To facilitate proper drainage and prevent waterlogged soil, place a layer of small stones or broken pottery pieces at the bottom of the containers. This layer will prevent the roots from sitting in overly saturated soil, reducing the risk of root rot.
- Fill with potting mix: Fill the containers to within a half-inch of the rim with a well-draining potting mix. Gently pat down the soil to remove any air pockets.
- Moisten the soil: Before sowing the marigold seeds, slightly moisten the potting mix. Ensure that the soil is evenly moist but not soaking wet.
Once you have completed these steps, your planting containers will be ready for sowing the marigold seeds. It’s crucial to provide proper drainage to avoid waterlogged soil, as this can lead to seed rot and hinder the germination process.
Remember to label each container with the marigold variety and date of planting to keep track of your seedlings’ progress. With the right containers and properly prepared soil, you are now ready to move on to the next step: sowing the marigold seeds.
Step 3: Sowing Marigold Seeds
With your planting containers prepared, it’s time to sow the marigold seeds. Follow these steps to ensure successful seed sowing:
- Make furrows or small holes: Use your finger or a pencil to create furrows or small holes in the potting mix. The depth of the furrows or holes should be approximately twice the size of the seed.
- Sow the seeds: Place the marigold seeds in the furrows or holes, spacing them about 1 inch apart. Be careful not to sow the seeds too closely together, as it can lead to overcrowding and competition for nutrients.
- Cover the seeds: Gently cover the seeds with a thin layer of potting mix or vermiculite. This will provide them with the darkness they need for successful germination.
- Water the seeds: Use a watering can with a fine rose or a spray bottle to moisten the potting mix without causing disturbance to the seeds. Ensure that the soil is evenly moist but not overly saturated.
Some marigold seeds are relatively large and can be sown individually, while others may be smaller and benefit from being planted in small groups. Refer to the instructions on the seed packet for specific guidance on seed spacing and depth.
Once you have sown the seeds and watered them, cover the planting containers with plastic wrap or place them in a germination dome. This will create a humid environment that aids in seed germination. Place the containers in a warm and bright location, ensuring they receive indirect sunlight or use grow lights if necessary.
Now that the marigold seeds are sown, you’ll need to provide optimal growing conditions to encourage successful germination. Stay tuned for the next step, where we’ll guide you on creating the perfect environment for your germinating marigold seeds!
Step 4: Providing Optimal Growing Conditions
Creating the right growing conditions is crucial to ensure the successful germination and growth of your marigold seeds. Follow these guidelines to provide the optimal environment for your seedlings:
- Temperature: Marigold seeds thrive in warm temperatures, ideally between 70-75°F (21-24°C). Place the planting containers in a location that maintains a consistent temperature within this range.
- Light: Marigold seeds require plenty of light to germinate and grow. If you’re growing them indoors, place the containers near a sunny window where they can receive at least six hours of indirect sunlight. If natural light is not sufficient, consider using grow lights that emit the appropriate spectrum for plant growth.
- Humidity: Marigold seeds prefer a moderate level of humidity. Mist the soil surface and inside the germination dome (if using) regularly to maintain moisture levels. Be cautious not to oversaturate the soil, as this can lead to fungal diseases.
- Air circulation: Good air circulation is important for preventing the growth of mold or damping-off disease. If using a germination dome, open it periodically to allow fresh air to circulate around the seedlings. If growing indoors, consider using a small fan to provide gentle air movement.
- Watering: Keep the potting mix evenly moist but not waterlogged. Avoid overwatering, as it can lead to rotting of the seeds or damping-off of the seedlings. Check the moisture level regularly by gently pressing your finger into the soil. If it feels dry, water the containers from the bottom by placing them in a pan of water for a few minutes, allowing the soil to soak up the moisture.
By providing these optimal growing conditions, you will give your marigold seeds the best chance of successful germination and healthy growth. Monitor the moisture level, temperature, and light exposure regularly to ensure that the conditions remain ideal throughout the germination period.
Now that you’ve set the stage for your marigold seeds to thrive, it’s time to move on to the next step: caring for the germinating seeds. Stay tuned to learn how to properly nurture your marigold seedlings as they begin to sprout and grow!
Step 5: Caring for Germinating Marigold Seeds
As your marigold seeds start to germinate and sprout, it’s important to provide them with proper care to ensure healthy growth. Follow these guidelines to nurture your germinating marigold seeds:
- Thin out seedlings: Once the seedlings have a few sets of leaves and are strong enough to handle, thin them out to one or two seedlings per container. This will prevent overcrowding and allow each seedling to receive adequate nutrients and space to grow.
- Watering: Continue to monitor the moisture level in the soil and ensure it remains evenly moist. Water the seedlings gently from the bottom or use a misting spray bottle to avoid disturbing their delicate roots.
- Fertilization: After the seedlings have developed their first true leaves, start feeding them with a diluted balanced liquid fertilizer. Follow the package instructions for the correct dosage and frequency. This will provide the seedlings with essential nutrients for robust growth.
- Light exposure: Ensure that the seedlings receive sufficient light. If growing indoors, position the containers near a sunny window or continue using grow lights. Rotate the containers periodically to encourage even growth and prevent the bending of seedlings towards the light.
- Hardening off: A week or two before transplanting the seedlings outdoors, gradually expose them to outdoor conditions. Start by placing them outside in a sheltered area for a few hours a day, gradually increasing the time and exposure to direct sunlight. This process, known as “hardening off,” helps the seedlings adjust to the outdoor environment.
It’s important to maintain a careful balance in watering and ensure that the seedlings are receiving appropriate light and nutrients. Overwatering or underwatering, as well as insufficient light or nutrients, can lead to weak and stunted seedlings.
Continue monitoring and caring for your germinating marigold seeds until they are ready for transplantation. In the next step, we’ll guide you on how to successfully transplant your marigold seedlings into your garden or outdoor containers for their continued growth and development.
Step 6: Transplanting Marigold Seedlings
Once your marigold seedlings have grown strong and healthy, it’s time to transplant them into their permanent growing location. Follow these steps to ensure a successful transplanting process:
- Choose the right time: Wait until the threat of frost has passed and the soil has warmed up before transplanting your marigold seedlings. This is typically around the last frost date in your area.
- Prepare the planting area: Select a sunny location in your garden with well-draining soil. Remove any weeds or debris from the area and loosen the soil to create a favorable environment for the seedlings.
- Dig holes: Dig holes in the planting area that are slightly larger than the root balls of the seedlings. Space the holes according to the recommended spacing for the specific marigold variety you are growing.
- Remove seedlings from containers: Carefully remove the marigold seedlings from their containers, taking care not to damage the roots. Gently loosen the roots if they are tightly bound.
- Plant seedlings: Place each seedling in a hole, ensuring that the top of the root ball is level with the soil surface. Backfill the hole with soil, firming it gently around the base of the seedling to provide support.
- Water thoroughly: After planting, water the seedlings thoroughly to help settle the soil and eliminate any air pockets around the roots. Ensure that the soil is moist but not waterlogged.
- Mulch and protect: Apply a layer of organic mulch around the base of the seedlings to help conserve moisture and suppress weed growth. Consider using protective measures such as floating row covers or organic pest control methods to safeguard the seedlings from pests.
Continue to provide proper care for your newly transplanted marigold seedlings, including regular watering, fertilization, and monitoring for any signs of pests or diseases. With time, these beautiful flowers will thrive in their new location and reward you with their vibrant colors and delightful fragrance.
Remember to enjoy the process of watching your marigold seedlings grow and blossom. Whether you choose to plant them in garden beds, containers, or even hanging baskets, these cheerful flowers will lend a touch of beauty to any space.
Congratulations on successfully germinating and transplanting your marigold seedlings! With careful nurturing and maintenance, your marigold plants will flourish, bringing joy and a burst of color to your garden.
Conclusion
Congratulations on successfully germinating and transplanting your marigold seeds! By following the step-by-step process outlined in this guide, you have now gained the knowledge and skills needed to grow beautiful marigold flowers in your garden.
From gathering the necessary materials to providing optimal growing conditions, sowing the seeds, caring for the seedlings, and ultimately transplanting them into their permanent home, every step is crucial in ensuring the success of your marigold plants.
As your marigold plants continue to grow and bloom, remember to provide them with regular care, including watering, fertilizing, and protecting them from pests and diseases. Be mindful of the specific needs of the marigold variety you are growing to ensure they thrive and reach their full potential.
Marigolds are not only visually appealing but also serve as natural pest repellents, making them a valuable addition to any garden. Their radiant colors and delightful fragrance will attract butterflies, bees, and other pollinators, contributing to a thriving ecosystem.
Whether you choose to plant marigolds along garden borders, in containers, or interplanted with other flowers and vegetables, their presence will bring vibrancy and charm to your outdoor space.
Enjoy the journey of watching your marigold seeds grow into beautiful blooms. Embrace the excitement of seeing the first sprouts emerge, the satisfaction of nurturing them through each stage, and the ultimate reward of witnessing the vibrant flowers in full bloom.
Now, go ahead and put your newfound knowledge to use. Grab your gardening tools, get your hands in the soil, and embark on a colorful and rewarding journey with your marigold plants. Happy gardening!