Home>Types of Gardening>Edible Gardening>How To Germinate Spinach Seeds For Hydroponics
Edible Gardening
How To Germinate Spinach Seeds For Hydroponics
Modified: February 9, 2024
Learn how to germinate spinach seeds for hydroponics and start your edible gardening journey. Get expert tips and advice to grow healthy and delicious spinach at home.
(Many of the links in this article redirect to a specific reviewed product. Your purchase of these products through affiliate links helps to generate commission for Chicagolandgardening.com, at no extra cost. Learn more)
Table of Contents
- Introduction
- Benefits of Hydroponic Spinach
- Choosing Spinach Seeds for Hydroponics
- Understanding Seed Germination
- Preparing the Germination Tray
- Soaking the Spinach Seeds
- Transferring the Seeds to the Germination Tray
- Providing the Ideal Conditions for Germination
- Monitoring and Maintaining Moisture Levels
- Ensuring Adequate Lighting for Germination
- Troubleshooting Common Germination Issues
- Caring for Germinated Spinach Seedlings
- Transplanting Spinach Seedlings to the Hydroponic System
- Conclusion
Introduction
Welcome to the world of edible gardening! If you’re interested in growing your own food, there’s nothing more rewarding than cultivating your own spinach. Not only is spinach a tasty and nutritious addition to your diet, but it can also be easily grown using hydroponic gardening techniques.
Hydroponics is a method of growing plants without soil, instead using a nutrient-rich water solution. This innovative approach allows for greater control over the plant’s environment, resulting in faster growth and higher yields. And when it comes to spinach, the hydroponic method proves to be exceptionally effective.
In this article, we will dive into the fascinating world of hydroponic spinach cultivation, providing you with a step-by-step guide on germinating spinach seeds. Whether you’re a seasoned gardener or a novice in the world of edible gardening, this article will equip you with the knowledge and skills to successfully grow your own spinach using hydroponics.
We will explore the benefits of growing spinach hydroponically, discuss the importance of choosing the right seeds, and guide you through the seed germination process. We will also provide tips on seedling care and transferring the seedlings to your hydroponic system. By the end of this article, you’ll be well-prepared to start your own hydroponic spinach garden.
So, let’s roll up our sleeves, put on our gardening gloves, and dive into the exciting world of hydroponic spinach cultivation!
Benefits of Hydroponic Spinach
Hydroponic spinach offers a multitude of benefits for both the gardener and the overall quality of the produce. Here are some of the key advantages of growing spinach using hydroponics:
- Faster growth: Hydroponic systems provide an optimal environment for spinach growth, allowing it to grow faster compared to traditional soil-based gardening.
- Higher yields: With hydroponics, you can achieve higher yields of spinach due to the controlled environment and nutrient-rich water solution.
- Space efficiency: Hydroponic systems require less space than traditional gardens, making them ideal for urban gardening or limited outdoor areas.
- Water conservation: Hydroponics uses water more efficiently compared to traditional gardening methods. The recirculating system minimizes water waste, making it an eco-friendly option.
- No soil-borne diseases: Growing spinach hydroponically eliminates the risk of soil-borne diseases, ensuring healthier plants and safer consumption.
- Less maintenance: Hydroponic systems require less maintenance and are generally easier to manage compared to traditional gardening. There’s no need for weeding or tilling soil.
- Year-round cultivation: With hydroponics, you can cultivate spinach throughout the year, regardless of seasonal limitations. This provides a consistent supply of fresh, homegrown spinach.
These benefits make hydroponic spinach an attractive option for both amateur gardeners and seasoned experts. Whether you’re looking to grow spinach for personal consumption or for commercial purposes, hydroponics can help you achieve your goals.
Now that we’ve explored the advantages of hydroponic spinach cultivation, let’s move on to the next step: choosing the right spinach seeds for your hydroponic garden.
Choosing Spinach Seeds for Hydroponics
Choosing the right spinach seeds is crucial for a successful hydroponic garden. Here are some factors to consider when selecting spinach seeds for your hydroponic system:
- Variety: Spinach comes in various varieties, each with its own unique characteristics. Consider factors such as taste, leaf texture, and disease resistance when selecting a variety that suits your preferences and growing conditions.
- Hybrid vs. heirloom: Decide whether you want to grow hybrid or heirloom spinach. Hybrid varieties are bred for specific traits such as disease resistance or high yield, while heirloom varieties are open-pollinated and have more diverse flavors.
- Seed quality: Purchase high-quality spinach seeds from reputable suppliers or seed banks. Look for seeds that are fresh, properly packaged, and have a high germination rate.
- Germination time: Different spinach varieties have varying germination times. Consider your desired harvest timeline and select seeds accordingly.
- Space requirements: Some spinach varieties require more space to grow than others. Take into account the available space in your hydroponic system and choose seeds that will fit comfortably into the setup.
It’s also important to note that spinach seeds can be categorized as savoy (crinkled leaves) or smooth (flat leaves). Both types can be grown hydroponically, so it ultimately comes down to personal preference.
When purchasing spinach seeds, check the seed packet for specific information on the variety, planting guidelines, and ideal growing conditions. This will help you make an informed decision and optimize your hydroponic spinach growth.
Now that you have a good understanding of how to choose spinach seeds for your hydroponic garden, let’s move on to the next step: understanding the process of seed germination.
Understanding Seed Germination
Seed germination is the process where seeds develop into new plants. Understanding the germination process is crucial for successfully growing spinach hydroponically. Here’s a breakdown of the key stages of seed germination:
- Activation: When exposed to the right conditions (moisture, warmth, and oxygen), the seed “wakes up” from its dormant state and begins the germination process.
- Water absorption: The seed absorbs water, causing it to swell and soften. This hydration kicks off biochemical processes within the seed.
- Root emergence: The root tip emerges from the seed, seeking moisture and nutrients in the growing medium.
- Shoot development: As the root continues to grow, the shoot emerges from the seed and starts reaching towards the light source.
- Leaf growth: Once the shoot is exposed to light, the first set of true leaves develop, allowing the plant to photosynthesize and grow further.
To ensure successful germination, it’s important to provide the optimal conditions for the seeds. This includes maintaining the right moisture levels, temperature, and oxygen supply.
In the next sections, we will discuss how to prepare the germination tray, soak the spinach seeds, and transfer them to the tray. We’ll also cover the ideal germination conditions and provide tips for monitoring and troubleshooting common germination issues.
Now that we have a solid understanding of seed germination, let’s move forward and prepare the germination tray for sowing the spinach seeds.
Preparing the Germination Tray
Before you can begin the germination process for your spinach seeds, it’s essential to properly prepare the germination tray. Here’s a step-by-step guide to help you get started:
- Select a suitable tray: Choose a tray that is shallow and has drainage holes at the bottom. This will allow excess water to drain out and prevent waterlogging, which can lead to seed rot.
- Clean and sterilize: Thoroughly clean the germination tray with mild soap and water to remove any dirt, debris, or potential pathogens. Rinse it well and sanitize it with a diluted bleach solution to minimize the risk of disease transmission.
- Add a growing medium: Fill the germination tray with a suitable growing medium. For hydroponic spinach, you can use a mix of perlite, vermiculite, and coconut coir. This mixture provides good drainage and aeration for the seeds.
- Moisten the growing medium: Before sowing the spinach seeds, moisten the growing medium. Take care not to overwater, as it can lead to waterlogged conditions. The medium should be damp but not saturated.
- Level the surface: Gently level the surface of the growing medium in the germination tray using your hand or a small garden tool. Ensure it is evenly spread across the tray, allowing for uniform seed placement.
It’s important to note that the germination tray should be placed in a location with consistent temperature and adequate lighting. Maintain the temperature at around 70-75°F (21-24°C) for optimal germination.
Now that your germination tray is prepared, it’s time to move on to the next step: soaking the spinach seeds before sowing them in the tray.
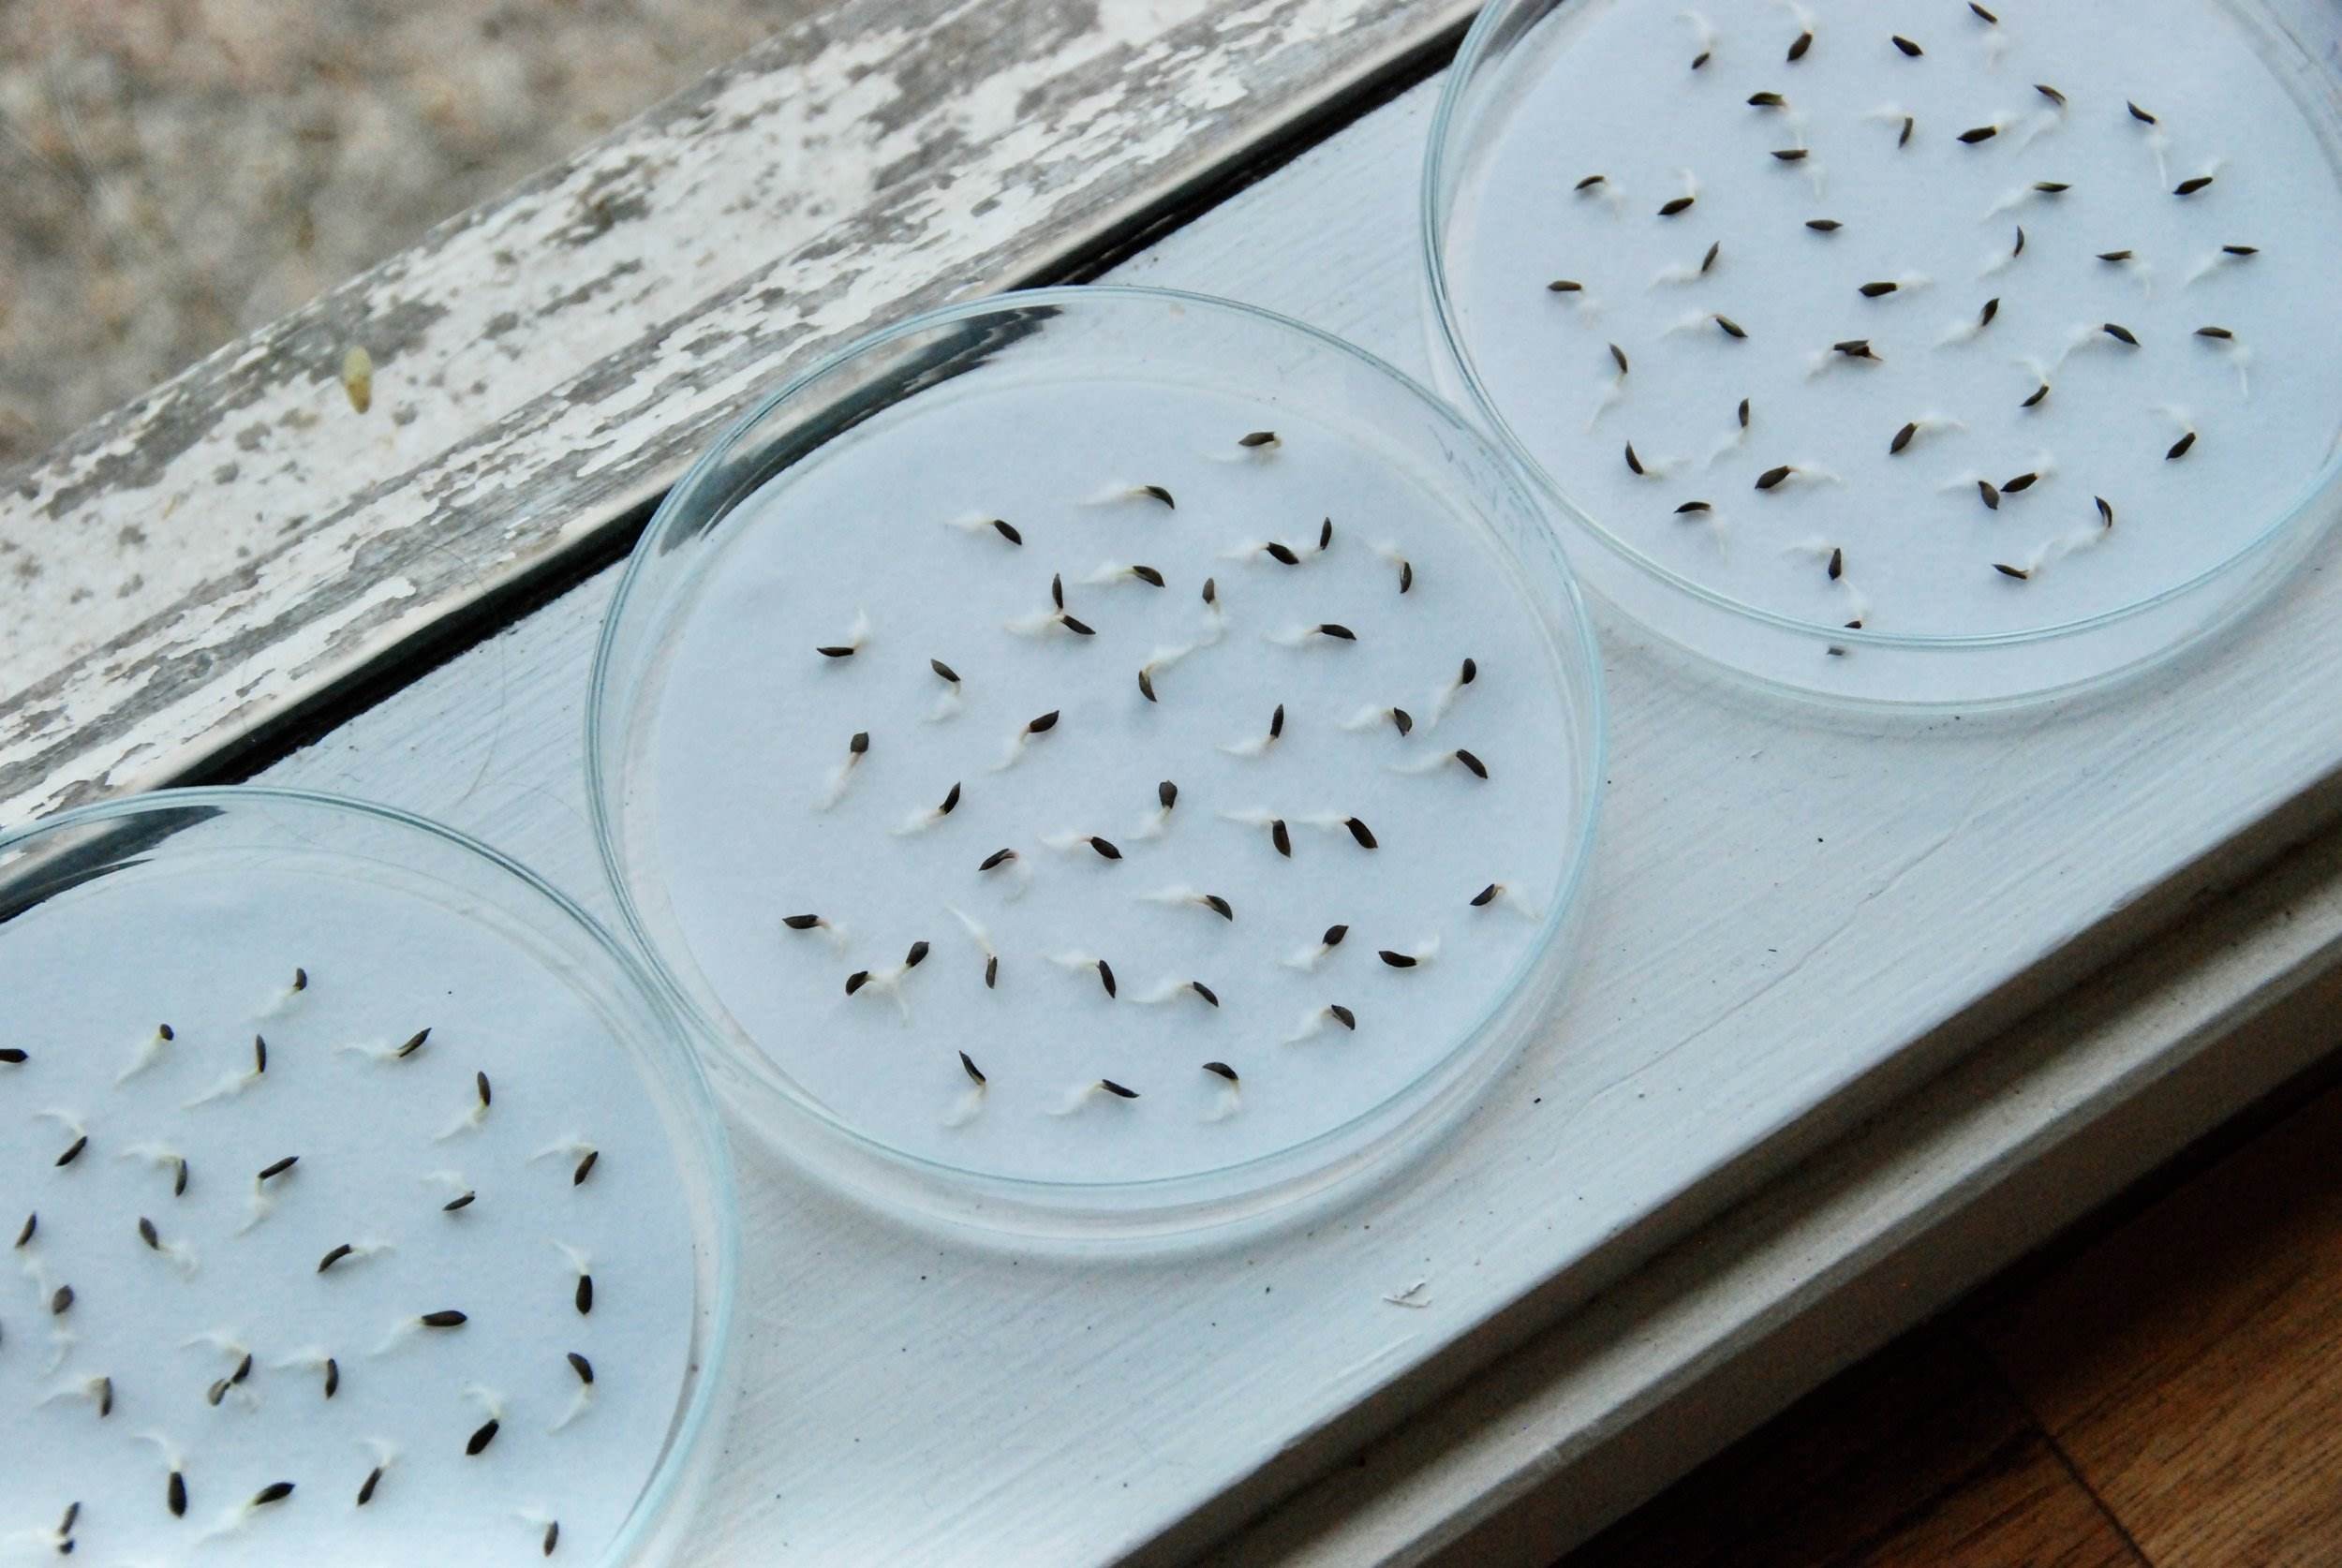
Soaking the Spinach Seeds
Soaking the spinach seeds before sowing them in the germination tray can help speed up the germination process and improve seedling development. Here’s a step-by-step guide to soaking spinach seeds for hydroponics:
- Select a container: Choose a small container or glass that is deep enough to hold the spinach seeds and accommodate water.
- Add water: Fill the container with room temperature water. Make sure there is enough water to fully submerge the spinach seeds.
- Place the seeds: Gently place the spinach seeds into the water. Ensure that all seeds are fully submerged. You can start with a few seeds or soak the entire packet, depending on the number of plants you want to grow.
- Soak for the recommended time: The recommended soaking time for spinach seeds is typically 6-8 hours. However, refer to the specific instructions on the seed packet for the exact soaking duration.
- Drain the water: After the soaking time is complete, carefully pour out the water from the container. Use a sieve or colander to catch the seeds, preventing them from being drained away.
- Rinse the seeds: Rinse the soaked spinach seeds with fresh water to remove any residue or remaining debris.
Soaking the spinach seeds in water helps to soften the seed coat and initiate the germination process. It also facilitates the absorption of water, which is crucial for seedling development.
Once the seeds are soaked and rinsed, you’re ready to transfer them to the germination tray. In the next section, we’ll guide you through the process of transferring the seeds and getting them ready for germination.
Transferring the Seeds to the Germination Tray
Now that you have soaked and rinsed the spinach seeds, it’s time to transfer them to the germination tray. Follow these steps to ensure a successful transfer and prepare the seeds for germination:
- Create spacing: Using your fingers or a small tool, gently create evenly spaced holes or furrows in the moistened growing medium of the germination tray. The spacing between the holes should be suitable for the size of the spinach seeds and allow room for their growth.
- Transfer the seeds: Carefully transfer each soaked spinach seed into the prepared holes or furrows. Place one seed in each spot, ensuring they are not overcrowded.
- Cover the seeds: Once all the seeds have been transferred, lightly cover them with a thin layer of the growing medium or vermiculite. This will provide some protection and help maintain moisture around the seeds.
- Label and record: It’s important to label the germination tray with the spinach variety and the date of seed sowing. This will help you keep track of the germination progress and timing.
After transferring the seeds, gently mist the germination tray with water to provide additional moisture. Avoid overwatering, as excessive moisture can lead to rot or fungal issues.
Now that the seeds are in the germination tray and covered with the growing medium, it’s time to create an ideal environment for their germination. In the following sections, we will discuss the necessary conditions and care required to promote healthy germination and seedling growth.
Providing the Ideal Conditions for Germination
Creating the ideal conditions for germination is crucial to ensure successful and healthy growth of your spinach seeds. Here are the key factors to consider:
- Temperature: Spinach seeds germinate best at a temperature range of 70-75°F (21-24°C). Maintain a consistent temperature throughout the germination process to promote optimal seedling development.
- Moisture: Adequate moisture is essential for seed germination. Regularly monitor the moisture levels in the germination tray and mist it with water when necessary to maintain a slightly moist environment. Be careful not to overwater, as this can lead to damping-off disease.
- Air circulation: Good air circulation is important to prevent fungal growth. Ensure that there is ample airflow around the germination tray, but avoid placing it in a drafty or excessively windy area.
- Lighting: Although spinach seeds do not require light for germination, they need sufficient light once the seedlings emerge. Place the germination tray under grow lights or in a location with ample natural light. Provide 12-16 hours of light per day to support healthy seedling growth.
It’s important to monitor the conditions regularly and make adjustments as needed. Check the moisture levels, temperature, and lighting to ensure they are within the appropriate range for spinach seed germination.
As the spinach seeds germinate and seedlings emerge, be careful not to disturb or damage them while tending to the tray. Handle the tray with care and avoid excessive movement to allow the seedlings to grow undisturbed.
Now that you understand the ideal conditions for germination, it’s time to learn about the importance of monitoring and maintaining moisture levels in the germination tray. This will be discussed in the next section.
Monitoring and Maintaining Moisture Levels
Monitoring and maintaining proper moisture levels in the germination tray is crucial for the successful germination of your spinach seeds. Here are some important considerations to help you achieve the optimal moisture balance:
- Regular monitoring: Check the moisture levels in the germination tray daily or every other day to ensure that the growing medium remains slightly moist. Use your finger or a moisture meter to assess the moisture content.
- Watering: If the growing medium feels dry or if the surface appears light in color, gently mist or water the tray. Use a fine mist sprayer to avoid disturbing the seeds or seedlings. Ensure that the water is evenly distributed and does not form puddles.
- Avoid overwatering: While maintaining adequate moisture is important, overwatering can lead to waterlogged conditions and increase the risk of damping-off disease. Ensure that the growing medium is moist but not excessively wet.
- Prevent drying out: On the other hand, allowing the growing medium to become completely dry can harm the germinating seeds. Keep a close eye on the moisture levels and adjust watering accordingly to prevent the medium from drying out.
- Humidity control: Maintaining an appropriate humidity level around the germination tray can help promote successful germination. If the environment is excessively dry, you can place a humidity dome or cover the tray with a plastic wrap to retain moisture.
It’s important to note that as the spinach seedlings start to grow and develop their first true leaves, you should gradually reduce the moisture levels to prevent excess moisture around the plant’s base. This will encourage stronger root growth and reduce the risk of fungal diseases.
By carefully monitoring and adjusting the moisture levels in the germination tray, you can provide the optimal growing conditions for your spinach seeds. This will give them the best chance of germination and healthy seedling development.
Next, let’s take a look at the importance of providing adequate lighting for the germination and growth of your spinach seedlings.
Ensuring Adequate Lighting for Germination
Adequate lighting is crucial for the successful germination and growth of your spinach seedlings. Here’s why proper lighting is important and how to ensure your seedlings receive the right amount of light:
- Stimulates photosynthesis: Light is essential for photosynthesis, the process by which plants convert light energy into chemical energy for growth. Providing sufficient light ensures that your spinach seedlings can produce the energy they need to develop and thrive.
- Promotes strong stem development: Insufficient light can result in weak and elongated stems, causing seedlings to become leggy and increase the risk of toppling over. Adequate lighting helps produce sturdy and well-developed stems.
- Encourages leaf growth: Spinach seedlings exposed to proper lighting will develop healthy and vibrant leaves, enabling them to efficiently photosynthesize and support overall plant growth.
- Prevents stretching and etiolation: Inadequate light can lead to “stretching” or etiolation, where seedlings grow tall and lanky in their attempt to reach light. This weakens the plants and makes them more susceptible to damage.
To ensure your spinach seedlings receive adequate light:
- Position the seedlings appropriately: Place the germination tray under grow lights or in a location that receives ample natural light. South-facing windows or using fluorescent or LED grow lights are great options.
- Provide the right light duration: Spinach seedlings require 12-16 hours of light each day to stimulate healthy growth. Consider using a timer to ensure consistent and appropriate light exposure.
- Adjust the light height: If using grow lights, position them at the right height to provide adequate light intensity without burning or overheating the seedlings. Follow the manufacturer’s recommendations for the specific grow light being used.
- Rotate the tray: If using natural light, periodically rotate the germination tray to ensure that all sides of the seedlings receive equal light exposure, preventing uneven growth.
Regularly monitor the growth and appearance of your spinach seedlings. If you notice signs of stretching or pale-colored leaves, it may indicate insufficient light. Adjust the positioning or duration of the light source accordingly to provide optimal light conditions.
By ensuring your spinach seedlings receive adequate lighting, you will promote healthy and robust growth, setting the foundation for a thriving hydroponic spinach garden.
In the next section, we will cover some common germination issues you may encounter and how to troubleshoot them effectively.
Troubleshooting Common Germination Issues
Germinating spinach seeds can sometimes come with challenges. It’s important to identify and address common germination issues promptly to ensure the success of your hydroponic spinach garden. Here are some common problems you may encounter during germination and their potential solutions:
- Poor germination: If you notice a low germination rate or no germination at all, it could be due to old or low-quality seeds. Ensure you purchase fresh seeds from reputable suppliers and store them properly. Increasing the temperature slightly or extending the soaking period may also promote better germination.
- Fungal diseases: Damping-off and other fungal diseases can occur if the growing medium remains excessively wet. To prevent this, maintain proper moisture levels by allowing the top layer of the growing medium to dry slightly between waterings. Good air circulation and avoiding overcrowding can also help prevent fungal issues.
- Leggy seedlings: If your seedlings are tall and weak with long, stretched stems, it indicates they are not getting enough light. Move the germination tray to a location with brighter light or adjust the height and intensity of the grow lights to promote compact and sturdy growth.
- Seedling damping-off: Damping-off is a condition where seedlings collapse and rot at the base, often due to fungal infections. Avoid overwatering and overcrowding of seedlings, as this can create a favorable environment for disease. Ensure proper air circulation and sterile conditions in the germination tray to minimize the risk of damping-off.
- Inadequate root development: Insufficient oxygen supply or waterlogged conditions can hinder root development. Ensure proper drainage in the germination tray, use a well-draining growing medium, and avoid excessive watering to encourage healthy root growth.
If you encounter any of these issues, act promptly to address the problem. Adjust the environmental conditions, such as moisture levels, lighting, and airflow, as needed. Additionally, practicing good hygiene and cleanliness by regularly sanitizing your equipment and ensuring proper seed storage can help prevent diseases and other germination problems.
By troubleshooting and addressing these common germination issues, you’ll increase the chances of successful seedling development and set the stage for a thriving hydroponic spinach garden.
In the next section, we will discuss the key steps for caring for germinated spinach seedlings before transplanting them to the hydroponic system.
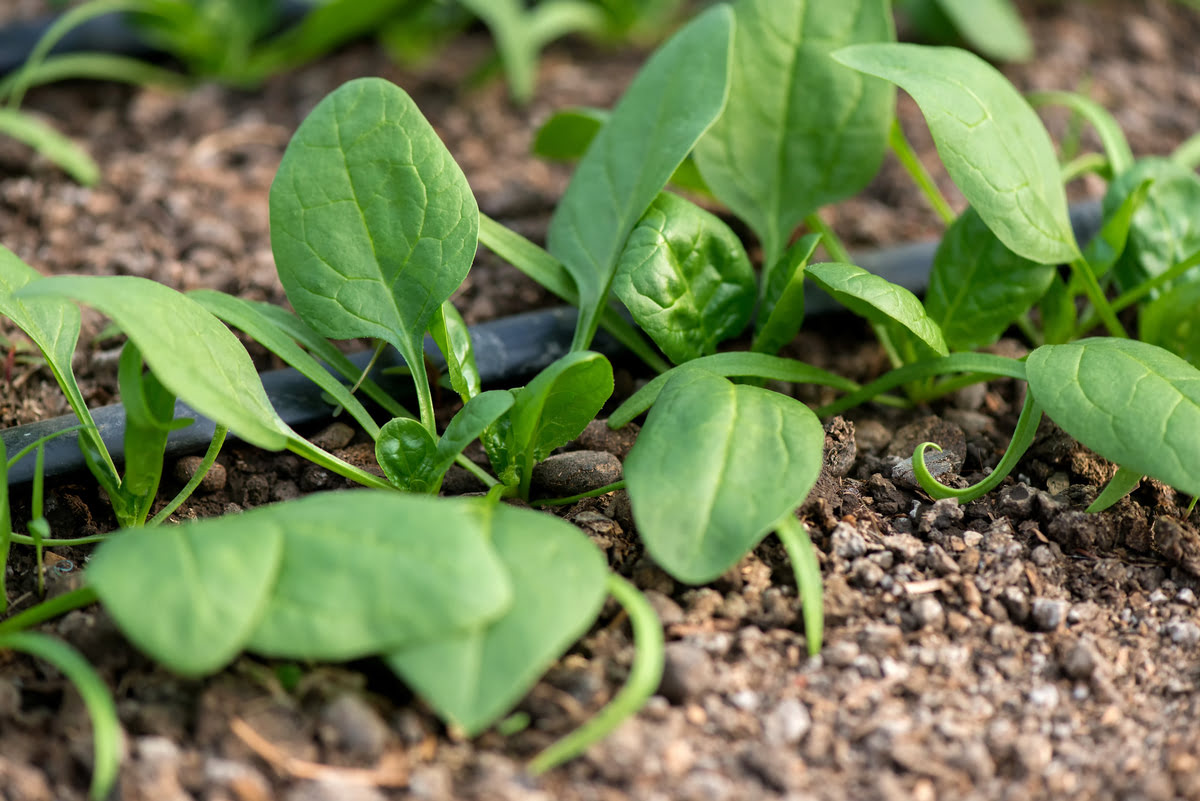
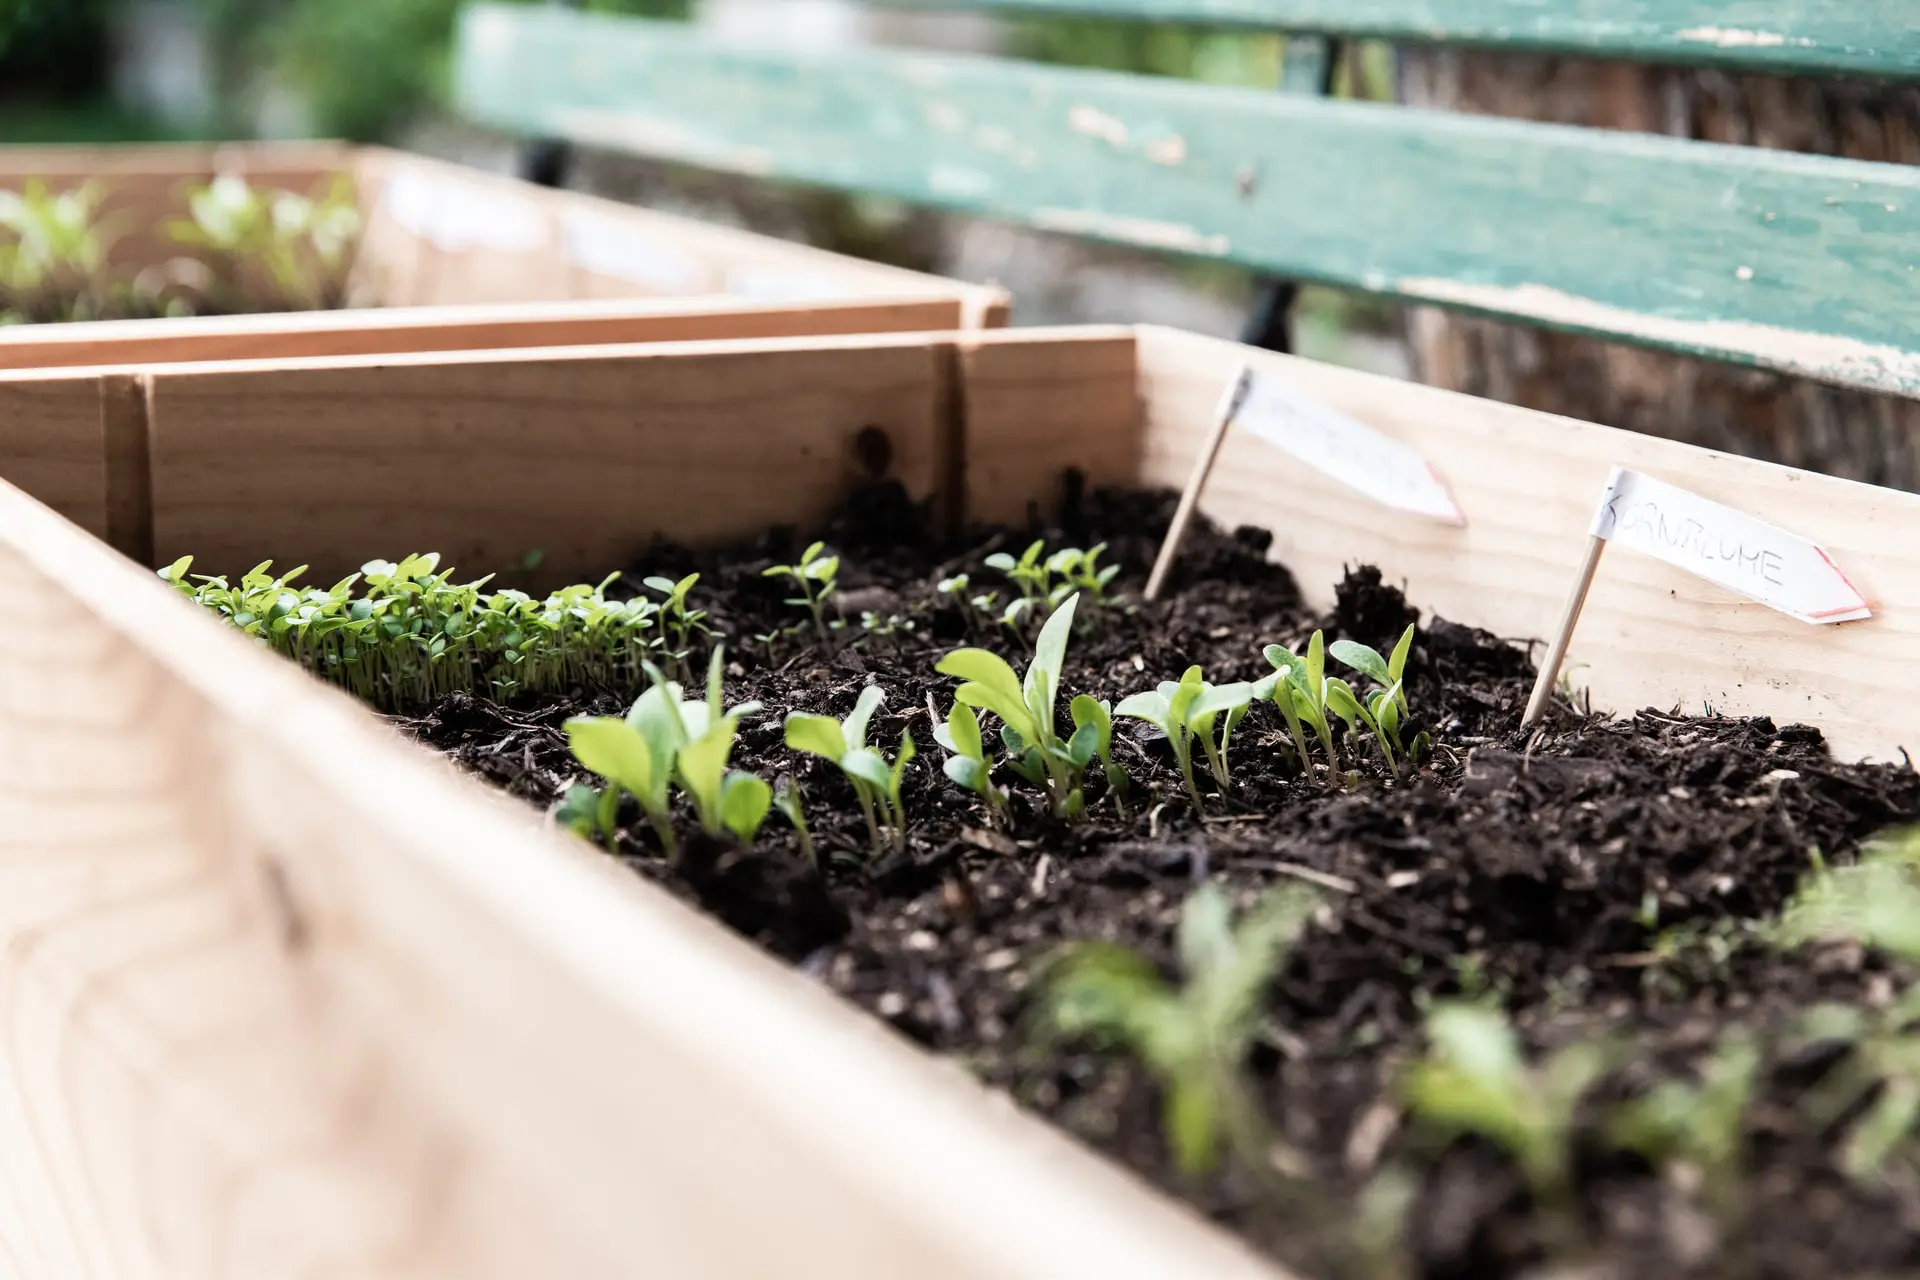
Caring for Germinated Spinach Seedlings
Once your spinach seeds have germinated and the seedlings have emerged, it’s crucial to provide proper care to ensure their healthy growth and development. Here are key steps for caring for your germinated spinach seedlings:
- Thinning: If you have multiple seedlings growing closely together in one spot, gently thin them out to allow each plant enough room to grow. Carefully remove the weaker seedlings, leaving the healthiest and most robust ones.
- Watering: Continue to monitor the moisture levels in the growing medium and water the seedlings as needed. Maintain a slightly moist environment, being careful never to let the medium become waterlogged.
- Fertilization: Once the seedlings have a few sets of true leaves, introduce a diluted, balanced hydroponic fertilizer to provide essential nutrients. Follow the fertilizer manufacturer’s instructions for the appropriate dilution and frequency of application.
- Support: As the spinach seedlings grow taller, they may require support to prevent bending or toppling. Use stakes or trellises to provide support and stability to the plants.
- Watch for pests: Regularly inspect the seedlings for any signs of pests, such as aphids or caterpillars. If pests are detected, use appropriate methods like insecticidal soap or organic pest control to address the issue.
- Monitor for nutrient deficiencies: Keep an eye out for any signs of nutrient deficiencies, such as yellowing leaves or stunted growth. Adjust the nutrient solution accordingly to address any deficiencies and provide the necessary nutrients for healthy plant growth.
Throughout the caring process, maintain consistent lighting conditions, with 12-16 hours of light per day. Pay attention to the ambient temperature, ensuring it remains within the optimal range for spinach growth.
Regularly observe and assess your seedlings’ health and growth. Promptly address any issues that arise, such as nutrient imbalances, pest infestations, or diseases, to give your spinach seedlings the best chance of success.
By providing proper care and attention to your germinated spinach seedlings, you lay the foundation for strong and vigorous plants that will be ready for transplantation into your hydroponic system.
In the next section, we’ll discuss the process of transplanting your well-cared-for spinach seedlings into the hydroponic system.
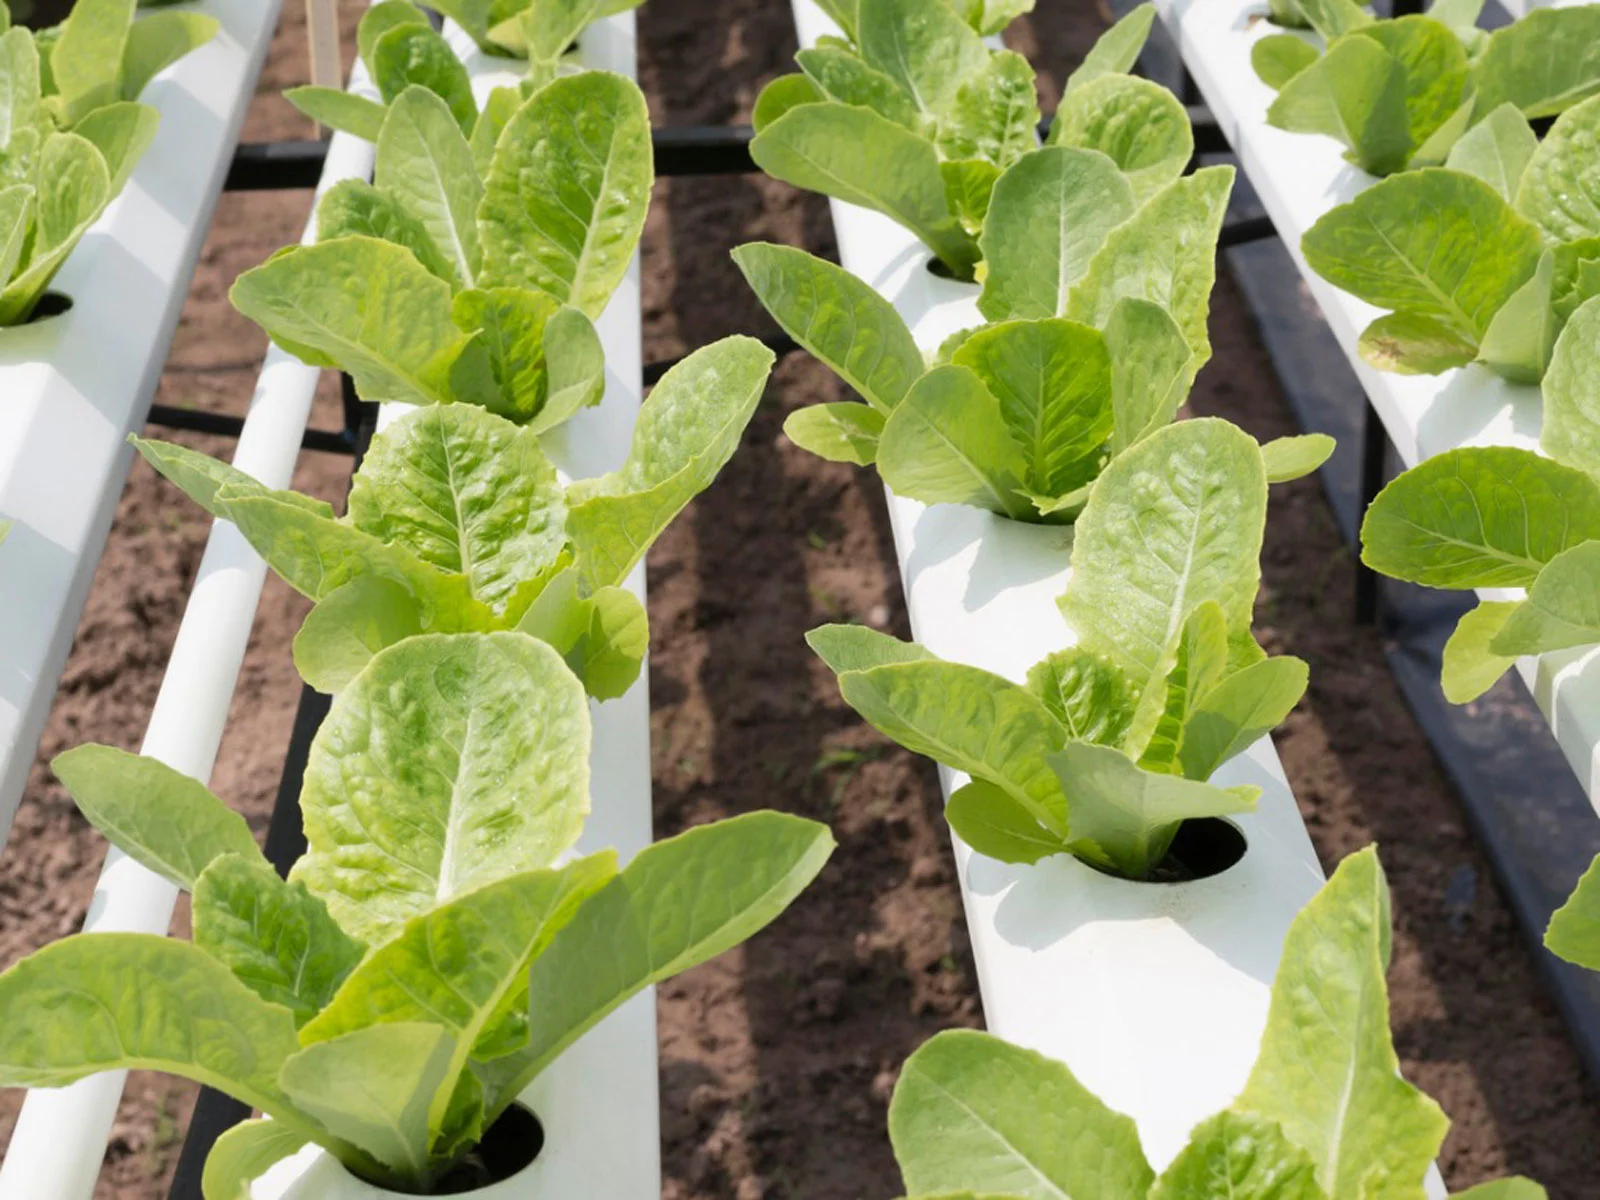
Transplanting Spinach Seedlings to the Hydroponic System
Once your germinated spinach seedlings have grown strong and healthy, it’s time to transplant them into the hydroponic system. Follow these steps to ensure a successful transplant:
- Prepare the hydroponic system: Ensure that your hydroponic system is clean and properly set up. Fill the reservoir with the appropriate nutrient solution, following the manufacturer’s instructions.
- Choose the right growing medium: Select a suitable growing medium for your hydroponic setup. Some common options include rockwool, coconut coir, or perlite. The medium should provide ample support and good water retention capabilities.
- Carefully remove the seedlings: Gently remove the seedlings from the germination tray, taking care not to damage the delicate roots. Hold the seedling by the leaves or use a spoon to gently lift it from the growing medium.
- Plant the seedlings: Create small holes or indentations in the chosen growing medium in the hydroponic system. Place the roots of each seedling into the hole and carefully cover them with the growing medium, making sure the seedling is securely in place.
- Adjust the environment: Place the transplanted seedlings in the hydroponic system and adjust the water level if necessary. Ensure that the seedlings are receiving adequate light, proper temperature, and consistent airflow.
- Monitor and maintain: Regularly monitor the health and progress of the transplanted seedlings. Check the nutrient solution levels, pH balance, and overall plant growth. Make any necessary adjustments to optimize their growing conditions.
During the initial days after transplanting, it’s important to keep a close eye on the seedlings for any signs of stress or shock. Providing a stable and supportive environment will help them acclimate to their new surroundings.
Remember to continue providing the necessary nutrients, adequate lighting, and proper water management to support the growth of your transplanted spinach seedlings in the hydroponic system.
With time, the transplanted seedlings will continue to grow and flourish, ultimately providing you with a bountiful harvest of fresh and nutritious hydroponic spinach.
Now that you’ve successfully transplanted your spinach seedlings, you’re well on your way to enjoying the fruits of your labor. In the upcoming section, we will summarize the key points discussed and conclude the article.
Conclusion
Congratulations on your journey into the world of hydroponic spinach gardening! By following the steps outlined in this article, you now have the knowledge and skills to successfully germinate spinach seeds and care for the seedlings in a hydroponic system. Growing your own spinach using hydroponics offers numerous benefits, including faster growth, higher yields, and year-round cultivation.
We explored the importance of choosing the right spinach seeds for hydroponics, understanding seed germination, preparing the germination tray, soaking the seeds, and transferring them to the tray. We also discussed the significance of providing optimal conditions such as moisture levels, lighting, and ventilation for successful germination and seedling growth.
In addition, we covered common germination issues you may encounter and provided troubleshooting solutions. We then delved into the crucial steps for caring for germinated seedlings, including thinning, watering, fertilizing, and addressing pests or nutrient deficiencies. Lastly, we outlined the process of transplanting the seedlings into the hydroponic system.
Remember, successful hydroponic gardening requires ongoing monitoring and maintenance. As your spinach plants continue to grow, keep track of the nutrient solution, light levels, and overall health of the plants. With proper care, you can look forward to a bountiful harvest of fresh, homegrown hydroponic spinach.
We hope that this article has provided you with the guidance and confidence to embark on your own hydroponic spinach gardening adventure. Enjoy the satisfaction of growing your own nutritious spinach and relish in the flavors of your homegrown harvest!