Home>Types of Gardening>Edible Gardening>How To Plant Spinach Seedlings
Edible Gardening
How To Plant Spinach Seedlings
Modified: January 22, 2024
Learn how to plant spinach seedlings in your edible garden with our step-by-step guide. Discover tips for successful planting and growing. Start your delicious garden today!
(Many of the links in this article redirect to a specific reviewed product. Your purchase of these products through affiliate links helps to generate commission for Chicagolandgardening.com, at no extra cost. Learn more)
Table of Contents
**
Introduction
**
Welcome to the wonderful world of edible gardening! If you're eager to add a nutritious and delicious leafy green to your garden, spinach is an excellent choice. This versatile vegetable is not only easy to grow but also packed with essential nutrients, making it a valuable addition to any home garden. In this guide, we'll walk you through the process of planting spinach seedlings, from selecting the perfect spot in your garden to harvesting the tender leaves for your next culinary masterpiece.
Spinach, scientifically known as Spinacia oleracea, is a cool-weather crop that thrives in the early spring and fall months. Its vibrant green leaves are not only a rich source of vitamins and minerals but also a flavorful ingredient in salads, smoothies, and cooked dishes. Whether you're a seasoned gardener or a novice with a green thumb, cultivating spinach can be a rewarding and enjoyable experience.
As we delve into the world of spinach cultivation, you'll discover the essential steps for ensuring the success of your spinach seedlings. From choosing the right location and preparing the soil to nurturing the young plants and ultimately harvesting the bountiful leaves, each stage of the process is crucial to the overall health and productivity of your spinach crop. By following these guidelines and infusing your own care and attention, you'll soon be savoring the freshest, most flavorful spinach straight from your garden to your table. So, let's roll up our sleeves and embark on this exciting journey to plant and nurture spinach seedlings in your very own backyard oasis.
Choosing the Right Location
Before diving into the planting process, it’s crucial to select the ideal location for your spinach seedlings. Spinach thrives in cool, moist conditions and requires ample sunlight to flourish. When scouting for the perfect spot in your garden, look for an area that receives partial shade, especially during the hotter hours of the day. This will shield the delicate leaves from the intense sun, preventing them from wilting or becoming bitter in taste.
Additionally, ensure that the chosen location has well-draining soil to prevent waterlogging, which can lead to root rot and other moisture-related issues. While spinach enjoys moist soil, it’s essential to strike a balance to avoid waterlogged conditions that can hinder growth and invite diseases.
Furthermore, consider the proximity to other plants in your garden. Avoid planting spinach near crops that require frequent watering, as this may result in overwatering the spinach or creating uneven moisture levels in the soil. On the other hand, interplanting spinach with compatible companions, such as radishes or lettuce, can offer mutual benefits by maximizing garden space and deterring pests.
By carefully assessing these factors, you can identify an optimal location that provides the right balance of sunlight, moisture, and proximity to compatible plants. This thoughtful selection process sets the stage for a thriving spinach patch and sets the foundation for a bountiful harvest of vibrant, nutrient-rich leaves.
Preparing the Soil
Once you’ve identified the prime location for your spinach seedlings, the next step is to prepare the soil for planting. Spinach flourishes in nutrient-rich soil with good drainage, so it’s essential to ensure that the growing medium provides the ideal conditions for the young plants to establish strong roots and thrive.
Start by testing the soil to assess its pH level and nutrient content. Spinach prefers slightly acidic to neutral soil with a pH range between 6.5 and 7.0. If the soil’s pH is outside this range, consider amending it with organic matter or pH-adjusting supplements to create an optimal growing environment for the spinach seedlings.
Next, enrich the soil with well-decomposed compost or aged manure to boost its fertility. This step not only enhances the soil’s nutrient profile but also improves its texture and water retention capabilities, creating a hospitable environment for the young spinach plants to thrive. Work the compost or manure into the soil to a depth of about 6 to 8 inches, ensuring that it is evenly incorporated throughout the planting area.
It’s also beneficial to incorporate a balanced, slow-release fertilizer into the soil to provide a steady supply of essential nutrients to the growing spinach seedlings. Opt for a fertilizer with a balanced N-P-K ratio, such as 10-10-10, and follow the manufacturer’s recommendations for application rates to avoid over-fertilization.
Lastly, ensure that the soil is well-aerated to promote healthy root development. Use a garden fork or tiller to loosen compacted soil, breaking up any clumps and creating a loose, friable texture that facilitates root penetration and moisture distribution.
By meticulously preparing the soil to meet the specific needs of spinach cultivation, you set the stage for robust growth and a plentiful harvest of vibrant, nutrient-dense leaves.
Planting the Seedlings
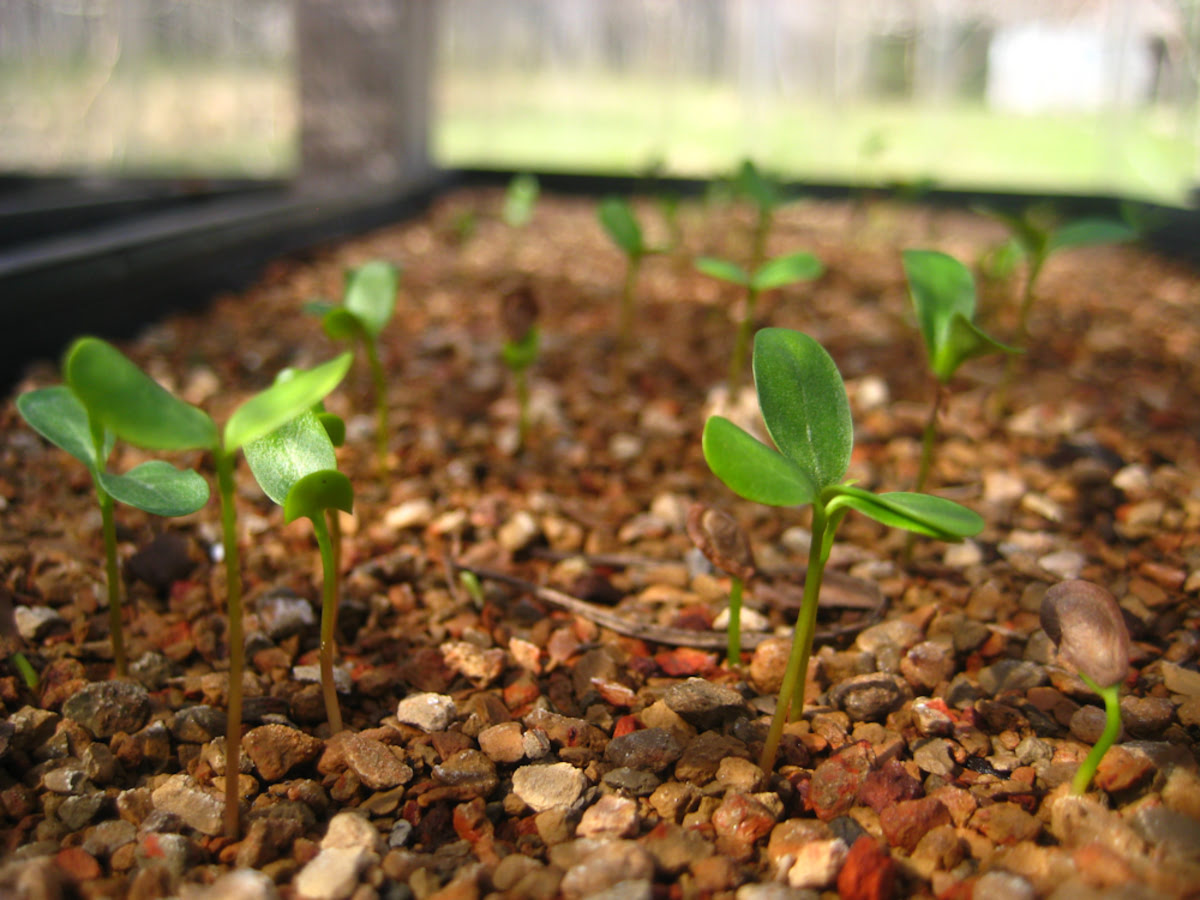
With the soil primed and ready, it’s time to embark on the exciting process of planting your spinach seedlings. Whether you’ve started the seedlings indoors or purchased them from a nursery, these tender young plants are eager to take root in their new outdoor home.
Begin by ensuring that the soil is slightly moist but not waterlogged before planting. This provides a welcoming environment for the seedlings and facilitates their transition from their containers to the garden soil. Dig small, evenly spaced holes in the prepared soil, making sure to space the holes approximately 4 to 6 inches apart to allow ample room for the spinach plants to mature and spread.
Gently remove the seedlings from their containers, being mindful of their delicate roots, and carefully place them into the prepared holes. Ensure that the top of the root ball is level with the surrounding soil surface, and gently pat the soil around the base of each seedling to secure them in place.
As you plant the seedlings, it’s beneficial to water them lightly to settle the soil around the roots and provide initial hydration to support their acclimatization to the garden environment. Avoid overwatering at this stage, as excessive moisture can lead to root rot and other issues that may impede the growth of the young spinach plants.
After planting, consider applying a layer of organic mulch, such as straw or shredded leaves, around the base of the seedlings. Mulching helps conserve soil moisture, suppresses weed growth, and regulates soil temperature, creating a favorable microclimate for the developing spinach plants.
By following these steps and treating the seedlings with care and attention, you establish a solid foundation for their growth and ensure that they have the best possible start in their new outdoor home.
Watering and Fertilizing
Proper watering and fertilization are essential components of nurturing healthy and productive spinach plants. By providing adequate moisture and essential nutrients, you can support vigorous growth and bountiful yields of tender, flavorful leaves.
When it comes to watering spinach, consistency and moderation are key. Aim to keep the soil consistently moist, but not waterlogged, throughout the growing season. Depending on the weather conditions and soil moisture retention, this may entail watering the plants every 3 to 4 days, adjusting the frequency as needed to prevent the soil from drying out. During periods of intense heat or drought, be especially vigilant in monitoring the soil moisture to ensure that the spinach plants receive the hydration they require to thrive.
When watering, aim to apply the moisture directly to the soil around the base of the plants, avoiding wetting the foliage to minimize the risk of fungal diseases. Consider utilizing a soaker hose or drip irrigation system to deliver targeted, consistent moisture to the root zone, promoting healthy root development and minimizing water wastage through evaporation.
In addition to proper watering, providing a balanced fertilizer can bolster the growth and nutritional quality of the spinach plants. A granular, slow-release fertilizer with a balanced N-P-K ratio, such as 10-10-10, can be applied around the base of the plants according to the manufacturer’s recommendations.
Alternatively, you can opt for organic fertilizers, such as compost or well-aged manure, to provide a gentle and sustained supply of nutrients to the spinach plants. Apply the organic fertilizer around the base of the plants, taking care to avoid direct contact with the foliage to prevent potential burning or damage.
By maintaining a mindful approach to watering and fertilization, you can create an environment that fosters robust growth and ensures that your spinach plants are well-nourished and primed for a plentiful harvest of delectable, nutrient-rich leaves.
Protecting the Seedlings
As your spinach seedlings take root and begin their journey to maturity, it’s important to safeguard them from potential threats that could impede their growth and development. By implementing protective measures, you can mitigate risks and create an environment that nurtures the flourishing of your young spinach plants.
One common challenge that spinach seedlings may face is pest infestation. Keep a watchful eye for common pests such as aphids, snails, and slugs, which can inflict damage on the tender leaves and compromise the overall health of the plants. To deter these pests, consider employing natural remedies such as introducing beneficial insects, like ladybugs or lacewings, to the garden. Additionally, you can use physical barriers, such as copper tape or diatomaceous earth, to create deterrents that discourage pests from accessing the spinach plants.
In regions where deer or rabbits are prevalent, protecting the seedlings from browsing animals is crucial. Install fencing or netting around the garden area to prevent these animals from nibbling on the tender foliage, ensuring that your spinach plants remain undisturbed and free from foraging wildlife.
Furthermore, unpredictable weather conditions, such as sudden frosts or heavy rainfall, can pose risks to the young spinach plants. Be prepared to cover the seedlings with row covers or cloches during cold spells to shield them from frost damage. Similarly, during periods of excessive rainfall, ensure that the soil has adequate drainage to prevent waterlogging, which can adversely impact the root health of the spinach plants.
By proactively addressing these potential challenges and implementing protective strategies, you can fortify the resilience of your spinach seedlings and create an environment that fosters their healthy growth and vitality.
Harvesting Spinach
As your spinach plants reach maturity, the time will come to reap the rewards of your diligent care and attention. Harvesting spinach is a gratifying process that allows you to savor the fresh, tender leaves while encouraging continued growth for a bountiful yield.
When the spinach plants have developed several sets of true leaves and reached a height of approximately 4 to 6 inches, they are ready for harvesting. Using a sharp pair of scissors or garden shears, carefully snip the outer leaves of the plant, leaving the inner leaves and growing point intact to promote ongoing growth. Harvesting in this manner encourages a continuous supply of fresh leaves, extending the harvest period and maximizing the yield from each plant.
When selecting leaves for harvest, opt for those that are vibrant green and free from signs of yellowing or wilting. This ensures that you gather the freshest and most flavorful leaves for your culinary endeavors.
For a continual harvest throughout the growing season, consider employing a cut-and-come-again approach. This involves selectively harvesting outer leaves from multiple plants while allowing the inner leaves to continue growing. By rotating the harvesting process among the plants, you can enjoy a sustained supply of fresh spinach leaves over an extended period.
After harvesting, it’s essential to store the spinach properly to maintain its freshness and nutritional quality. Rinse the leaves thoroughly to remove any dirt or debris, then gently pat them dry with a clean cloth or paper towel. Store the spinach in the refrigerator, either loosely packed in a perforated plastic bag or container, or wrapped in a damp paper towel to preserve its crispness and flavor.
By following these guidelines and adopting a mindful approach to harvesting, you can relish the delightful experience of gathering your homegrown spinach and infuse your culinary creations with the vibrant, nutrient-rich essence of freshly harvested greens.