Home>Types of Gardening>Edible Gardening>How To Plant Sunflower Seedlings
Edible Gardening
How To Plant Sunflower Seedlings
Modified: January 22, 2024
Learn the process of planting sunflower seedlings in your edible garden. Discover the tips and techniques for successful growth, nurturing, and harvesting.
(Many of the links in this article redirect to a specific reviewed product. Your purchase of these products through affiliate links helps to generate commission for Chicagolandgardening.com, at no extra cost. Learn more)
Table of Contents
- Introduction
- Step 1: Gathering the necessary materials
- Step 2: Preparing the soil
- Step 3: Planting the sunflower seedlings
- Step 4: Watering and caring for the seedlings
- Step 5: Protecting the seedlings from pests and harsh weather conditions
- Step 6: Monitoring the growth and development of the sunflower seedlings
- Step 7: Harvesting the sunflower heads
- Conclusion
Introduction
Welcome to the world of edible gardening! There’s something incredibly satisfying about growing your own food, and one of the most rewarding plants to cultivate in your garden is the sunflower. These tall, vibrant beauties not only add a burst of color to your landscape but also provide you with a plentiful harvest of nutritious seeds.
Sunflowers are versatile plants that can thrive in various climates and soil types, making them an excellent choice for both beginners and experienced gardeners. Whether you have a spacious backyard or limited space in containers, you can enjoy the beauty and bounty of sunflowers.
In this article, we’ll guide you through the step-by-step process of planting sunflower seedlings, from gathering the necessary materials to harvesting the sunflower heads. You’ll learn how to prepare the soil, select the right seedlings, and care for them to ensure optimal growth and productivity. Additionally, we’ll provide tips on protecting your sunflower seedlings from pests and harsh weather conditions, as well as monitoring their progress along the way.
By the end of this article, you’ll have all the knowledge and confidence you need to successfully grow your own sunflowers and enjoy the delicious rewards they offer.
Step 1: Gathering the necessary materials
Before you start planting sunflower seedlings, it’s essential to gather all the necessary materials. Having everything prepared beforehand will make the planting process much smoother and more efficient. Here are the items you’ll need:
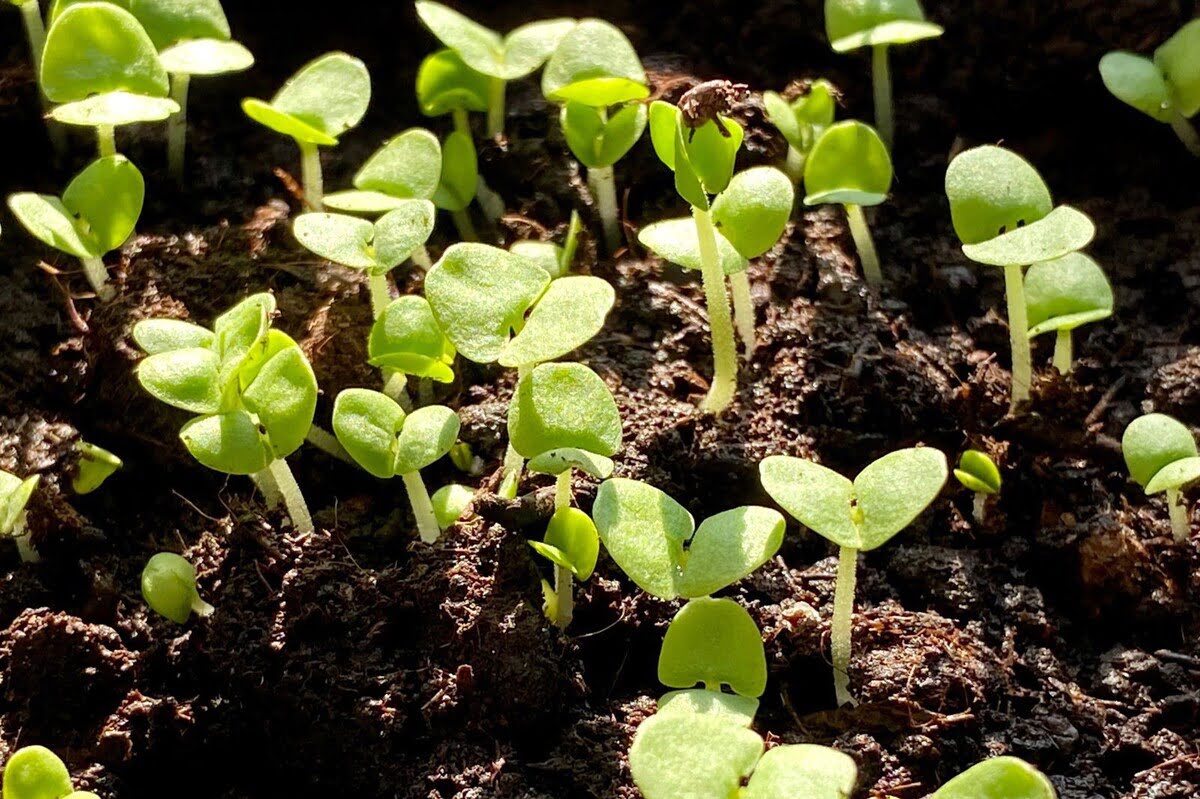
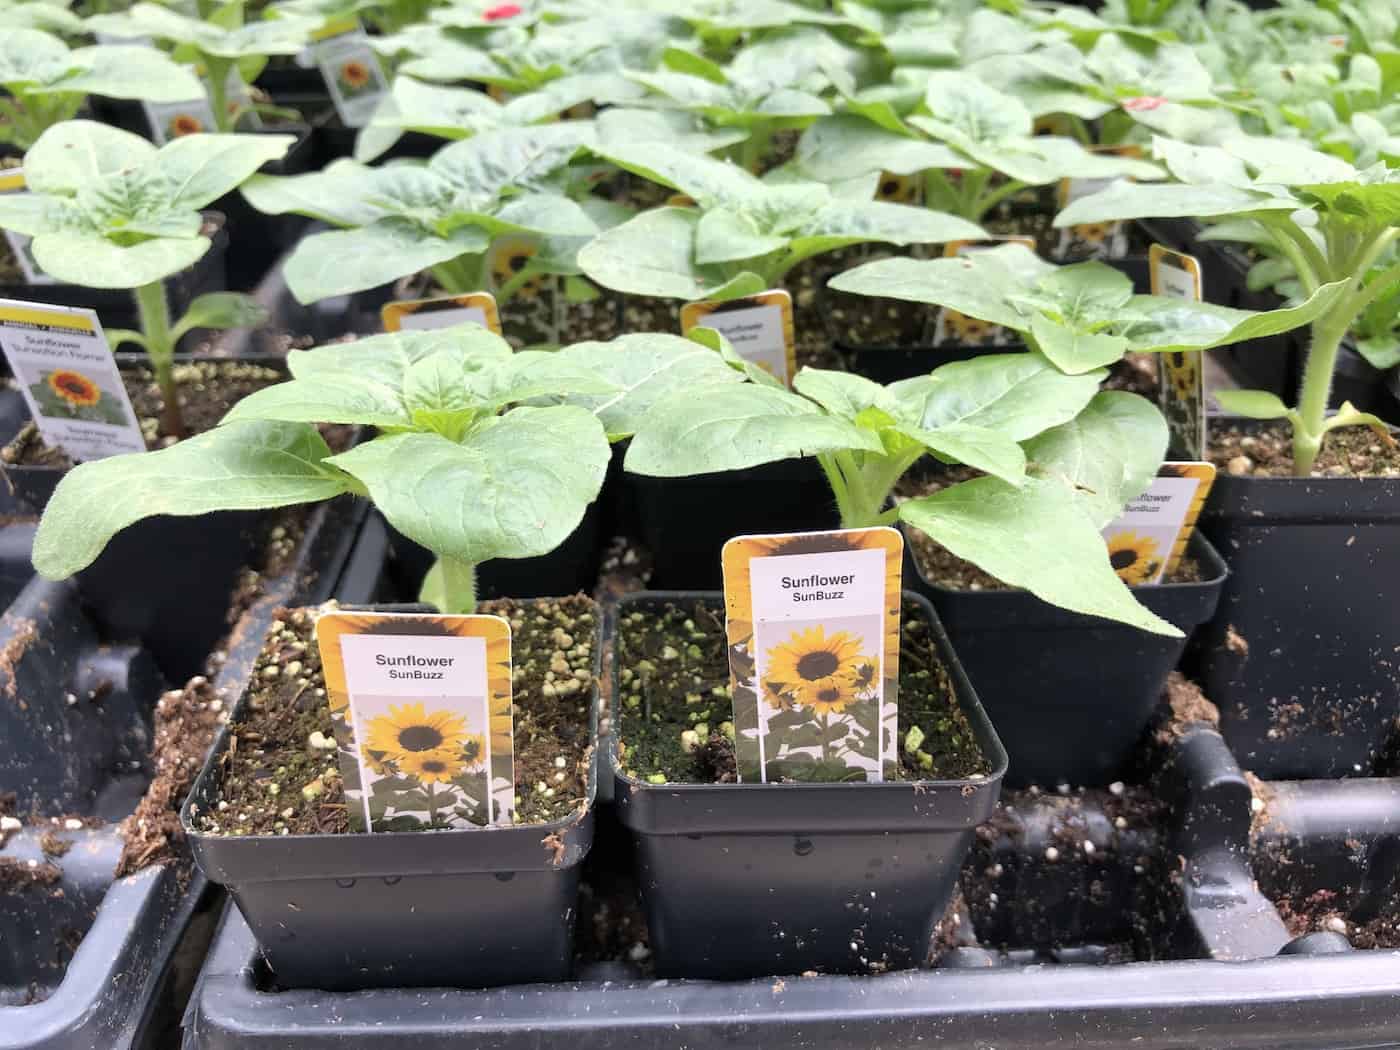
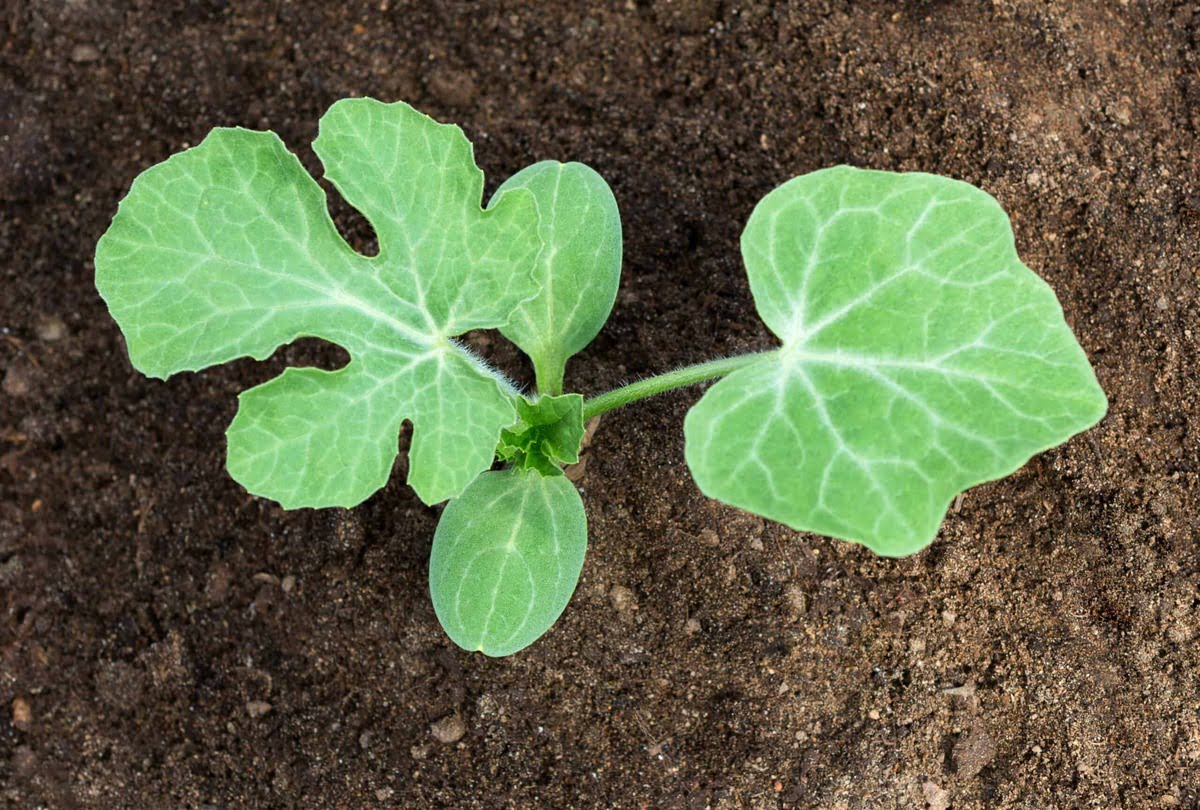
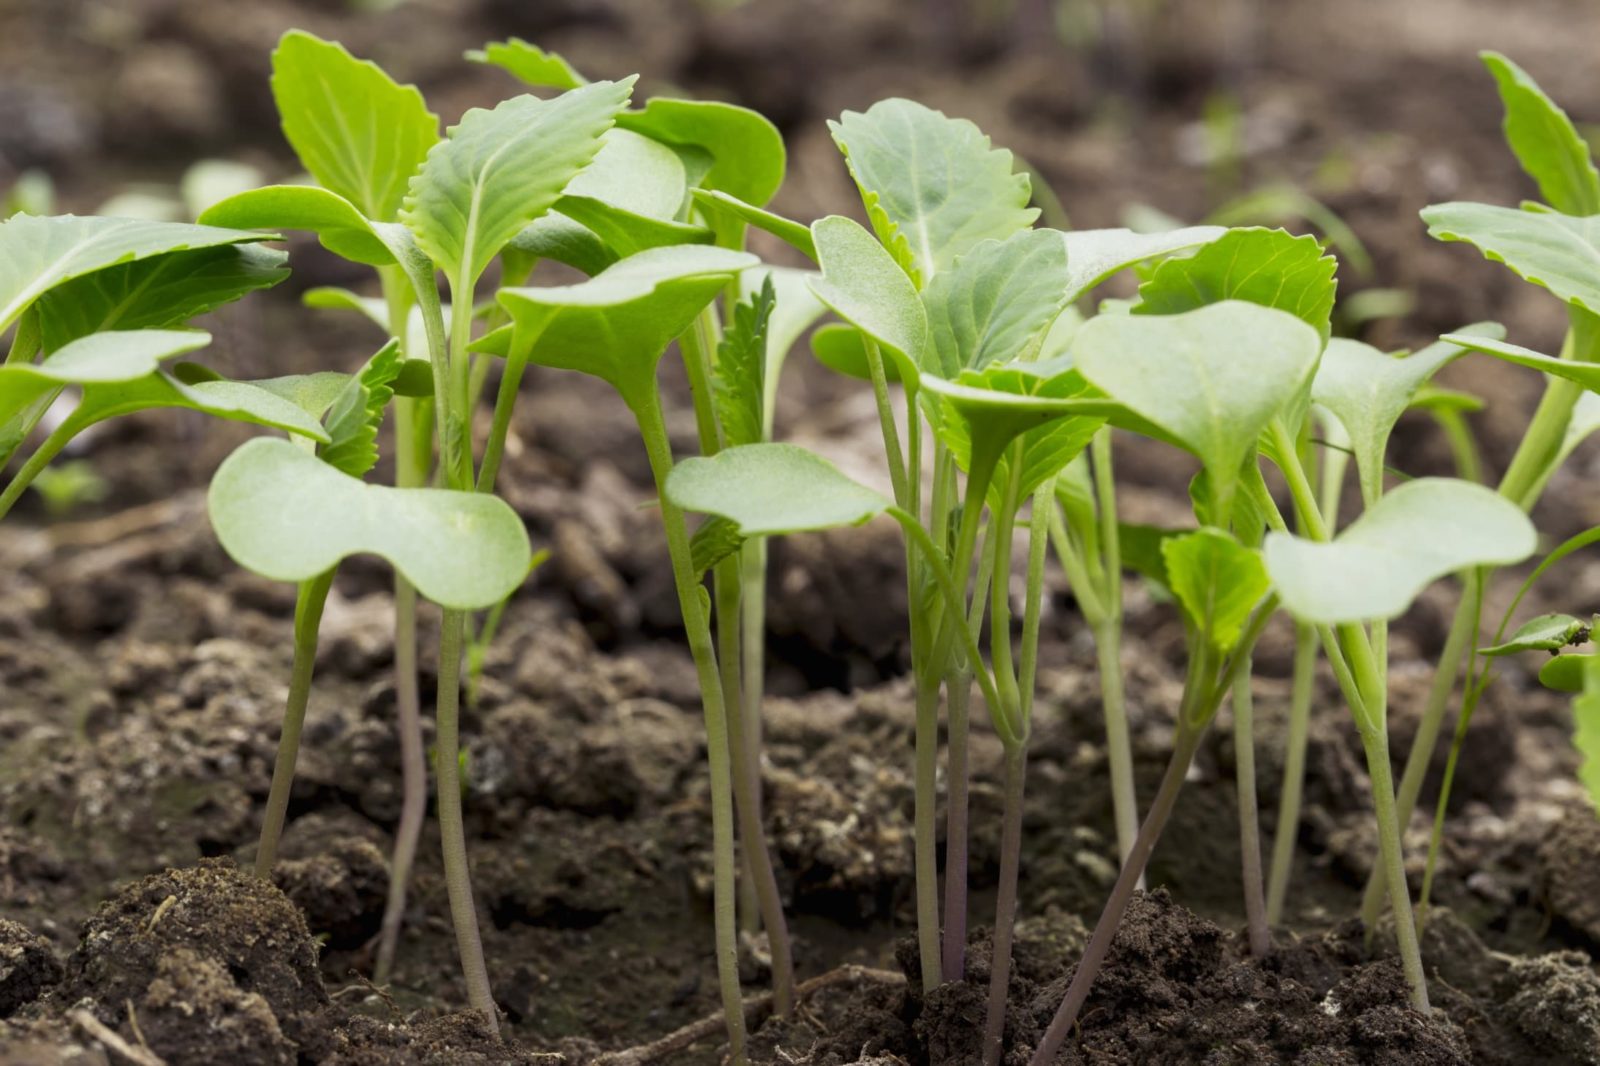
- Sunflower seedlings: Start by selecting healthy and well-established sunflower seedlings from a reputable nursery or garden center. Look for seedlings with sturdy stems and vibrant green leaves.
- Garden tools: Gather essential gardening tools such as a trowel, garden gloves, and a watering can or hose. These tools will be instrumental in the planting and care of your sunflower seedlings.
- Compost or fertilizer: Prepare some compost or organic fertilizer to enrich the soil and provide extra nutrients for your sunflowers.
- Stakes or support structures (optional): Depending on the variety and height of your sunflowers, you may need stakes or support structures to help them grow upright and prevent them from toppling over in strong winds.
- Mulch (optional): Consider applying a layer of mulch around your sunflower seedlings to help retain moisture, inhibit weeds, and regulate soil temperature.
- Protective netting or fabric (optional): If you anticipate bird or animal pests, you may want to invest in protective netting or fabric to deter them from snacking on your sunflowers.
Gathering these materials in advance will save you time and ensure that you have everything you need to get started on planting your sunflower seedlings.
Step 2: Preparing the soil
Preparing the soil is a crucial step in ensuring the successful growth of your sunflower seedlings. Follow these steps to create the ideal growing environment for your plants:
- Clear the area: Begin by clearing the designated planting area of any weeds, rocks, or debris. Sunflowers thrive in well-drained soil, so make sure there are no obstructions that may hinder proper root development.
- Loosen the soil: Use a garden fork or tiller to loosen the soil to a depth of about 12 inches (30 cm). This will help improve aeration and drainage, allowing the sunflower roots to penetrate the soil easily.
- Amend the soil: Incorporate organic matter such as compost or well-rotted manure into the soil to enrich it with nutrients. This will provide a fertile foundation for your sunflower seedlings to grow and thrive.
- Test the soil pH: Sunflowers prefer a slightly acidic to neutral soil pH ranging from 6.0 to 7.5. Use a soil pH testing kit to determine the acidity level of your soil. If necessary, adjust the pH by adding lime to raise it or sulfur to lower it.
- Level the soil: After amending the soil and adjusting the pH if needed, level the planting area with a rake to create a smooth surface. This will ensure even water distribution and facilitate proper drainage.
By properly preparing the soil, you are providing your sunflower seedlings with a nutrient-rich and well-drained environment that will support their growth and development.
Step 3: Planting the sunflower seedlings
Now that you have gathered the necessary materials and prepared the soil, it’s time to plant your sunflower seedlings. Follow these steps to ensure a successful planting process:
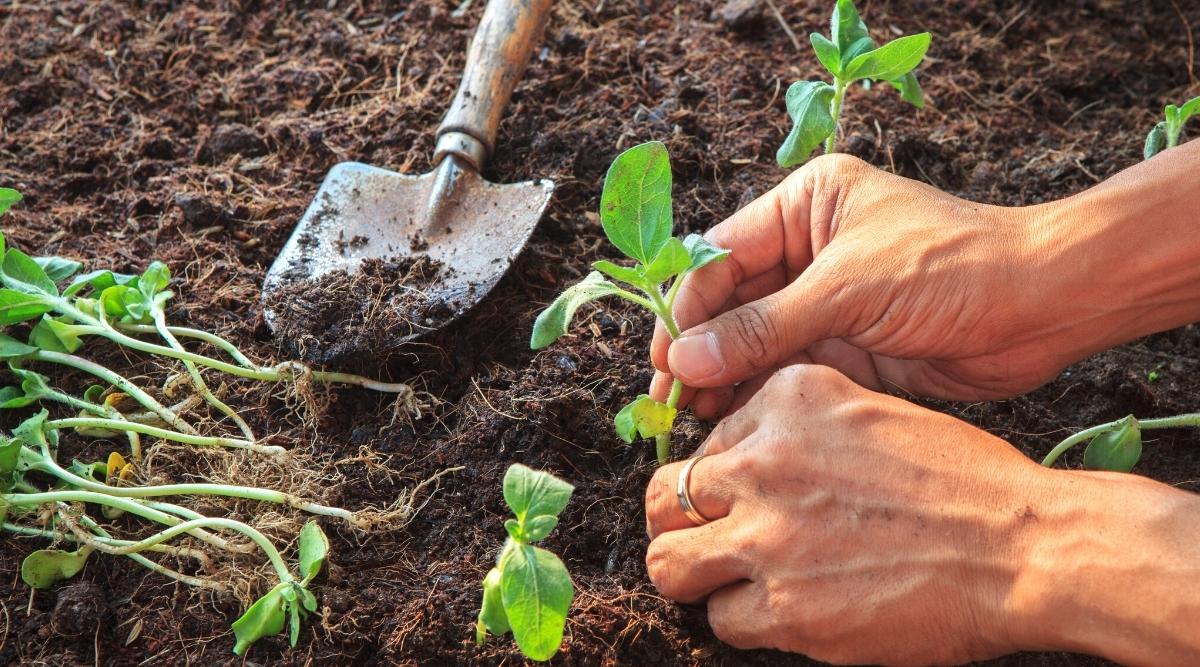
- Dig holes: Use your trowel to dig holes that are slightly wider and deeper than the root ball of each seedling. Make sure to space the holes according to the recommended distance for the specific variety of sunflower you are planting.
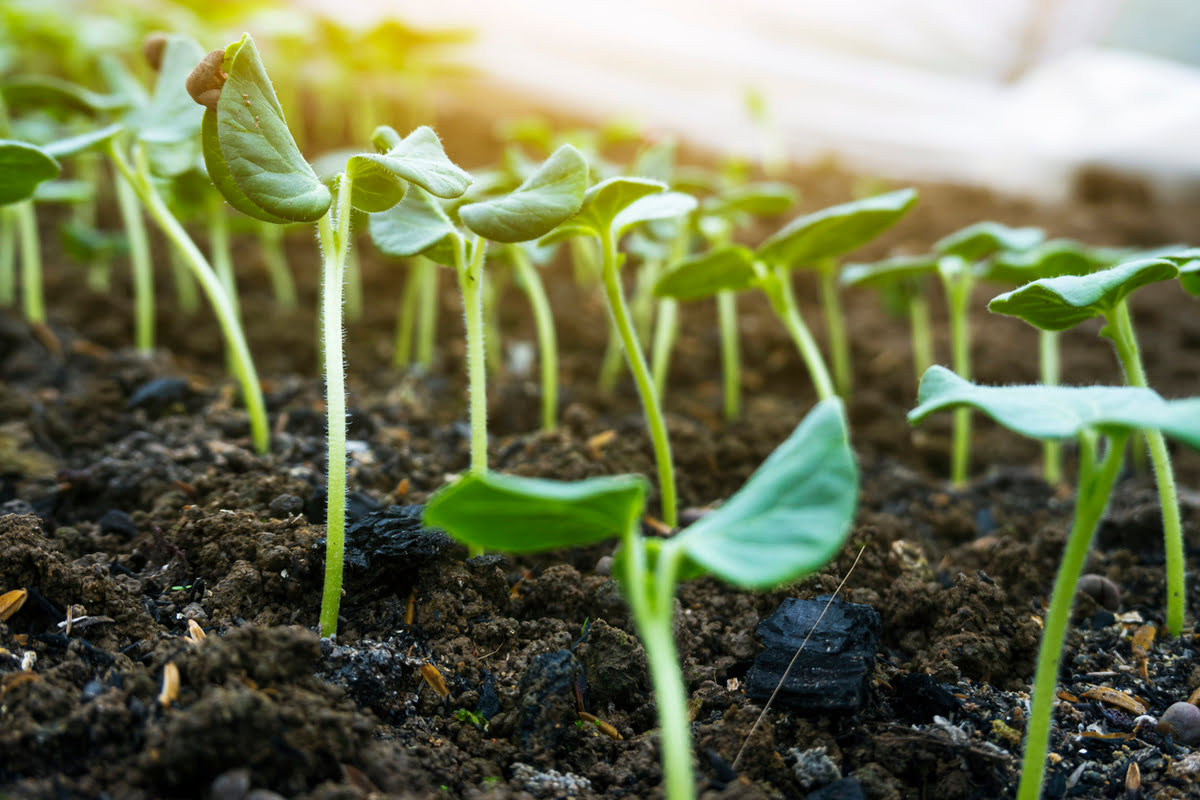
- Place the seedlings: Gently remove the sunflower seedlings from their containers and place them in the designated holes. Be careful not to damage the roots during the process. The top of the root ball should be level with the soil surface.
- Backfill the holes: Fill the holes with the soil you removed, gently packing it around the seedlings to provide stability. Ensure that the soil is firmly in place but not overly compacted, as it may hinder root growth.
- Water thoroughly: After planting, give your sunflower seedlings a good watering to help them settle into their new home. Aim to thoroughly moisten the soil around the roots without causing waterlogging.
- Consider staking (if necessary): If you are growing tall sunflower varieties or anticipate strong winds in your area, it is advisable to install stakes near the seedlings. This will help support the stems as they grow and prevent them from bending or breaking.
Remember to follow any specific planting depth or spacing instructions provided on the seedling’s packaging or by your local nursery. Properly planting your sunflower seedlings will ensure they have a strong start and establish healthy root systems.
Step 4: Watering and caring for the seedlings
After planting your sunflower seedlings, it’s important to provide them with proper care to promote healthy growth. Follow these tips to ensure your seedlings receive adequate water and attention:
- Watering: Sunflowers have deep root systems, so it’s crucial to water them deeply rather than shallowly. Aim to water the soil around the base of the plants, saturating it to a depth of at least 6 inches. Watering once or twice a week, depending on the weather conditions, should be sufficient. Avoid overwatering, as this can lead to root rot.
- Monitoring soil moisture: Regularly check the moisture level of the soil by inserting your finger into the soil near the seedlings. If it feels dry beyond the top inch, it’s time to water. If it’s still moist, hold off on watering for a few more days.
- Fertilizing: Sunflowers are not heavy feeders, but you can provide them with a boost of nutrients by applying a balanced, slow-release fertilizer once a month. Follow the manufacturer’s instructions for application rates. Alternatively, you can use compost or organic matter to enrich the soil naturally.
- Mulching: Applying a layer of organic mulch around the base of your sunflower seedlings can help conserve moisture, suppress weed growth, and regulate soil temperature. Use materials such as straw, shredded leaves, or wood chips, and keep the mulch a few inches away from the stem to prevent stem rot.
- Pruning: As your sunflowers grow, you may need to remove any damaged or diseased leaves or flowers. This helps redirect energy towards healthy growth. Additionally, you can pinch off the top of the main stem when the plant reaches about 2 to 3 feet in height. This encourages branching and results in more flower heads.
- Supporting tall varieties: If you’re growing tall sunflower varieties, it’s essential to regularly check the stakes or support structures and adjust them as needed. As the plants grow, secure them to the stakes using soft ties or plant clips.
Caring for your sunflower seedlings by providing the right amount of water, nutrients, and attention will promote their overall health and maximize their potential for a fruitful harvest.
Step 5: Protecting the seedlings from pests and harsh weather conditions
As your sunflower seedlings grow, they may face threats from pests and harsh weather conditions. Taking measures to protect them will ensure their longevity and productivity in your garden. Here are some strategies to keep your seedlings safe:
- Pest prevention: Check your sunflower plants regularly for any signs of common pests such as aphids, slugs, or caterpillars. If you notice pest activity, consider using organic insecticidal soap or neem oil to deter them. Installing physical barriers like netting or fabric can also help prevent birds or rabbits from nibbling on the seedlings.
- Weed control: Keep the area around your sunflower seedlings free from weeds, as they can compete for vital nutrients and moisture. Regularly remove any weeds by hand or use a shallow hoe or cultivator to gently loosen and remove them.
- Protection from strong winds: If you live in an area prone to strong winds or storms, consider using a windbreak to shield your sunflower seedlings. This could be a fence, hedgerow, or temporary structures like a woven mesh or fabric barrier.
- Protection from extreme temperatures: Sunflowers are generally resilient plants, but extreme heat or cold can stress them. In hot weather, provide shade by using umbrellas, shade cloth, or strategically planting taller plants nearby. During frosty nights, cover the seedlings with frost blankets or old bedsheets to protect them from freezing temperatures.
- Watering during drought: In periods of prolonged drought, it’s crucial to keep your sunflower seedlings adequately hydrated. Consider using drip irrigation or a soaker hose to deliver water directly to the roots and minimize water loss through evaporation.
By implementing these protective measures, you’ll be able to mitigate the risks posed by pests and adverse weather conditions, allowing your sunflower seedlings to thrive and reach their full potential.
Step 6: Monitoring the growth and development of the sunflower seedlings
As your sunflower seedlings continue to grow, it’s important to monitor their progress and make adjustments as necessary. Regular observation will help you identify any issues early on and ensure optimal growth and development. Here’s how you can effectively monitor your sunflower seedlings:
- Growth measurement: Periodically measure the height of your sunflower plants using a tape measure or ruler. This will give you an indication of their growth rate and allow you to track their progress.
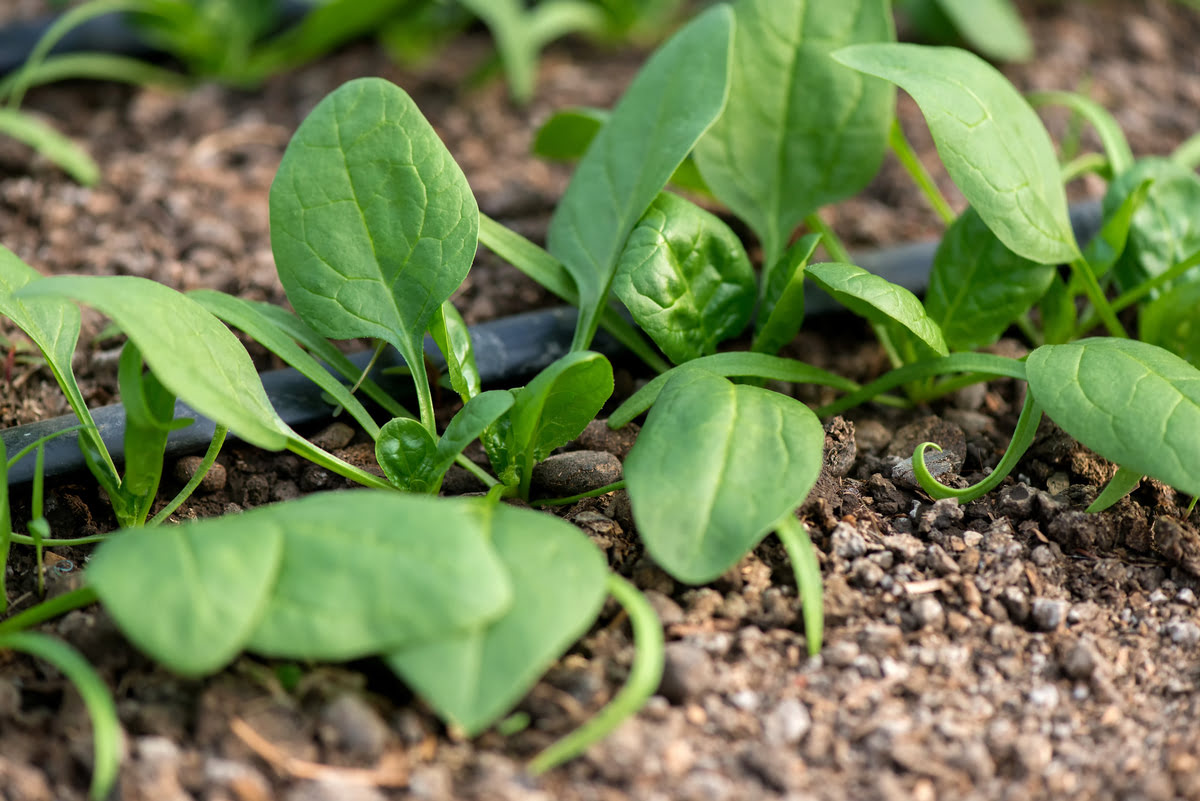
- Leaf and stem health: Take a close look at the leaves and stems of your sunflower seedlings. Healthy plants should have vibrant green leaves and sturdy stems. Look for any signs of discoloration, wilting, or pest damage, which could indicate underlying issues.
- Flower bud development: As your sunflowers mature, you’ll notice the formation of flower buds. Monitor their growth and ensure they are developing properly. If necessary, remove any small side buds to direct energy towards the main flower head.
- Pollination: Pay attention to the pollination process, as it’s crucial for seed production. Bees and other pollinators are essential for transferring pollen from the male to the female flowers. If you notice a lack of pollinators, consider planting pollinator-friendly flowers nearby to attract them.
- Support adjustment: If you have provided support structures or stakes for your sunflowers, check their stability regularly. As the plants grow taller, you may need to adjust the supports or add additional ties to ensure they remain upright and secure.
- Watering and fertilizing: Continuously assess the moisture levels of the soil and adjust your watering accordingly. If you notice signs of nutrient deficiency, such as yellowing leaves or stunted growth, consider supplementing with additional organic fertilizer.
By actively monitoring the growth and development of your sunflower seedlings, you can address any issues promptly and provide the necessary care to ensure their success.
Step 7: Harvesting the sunflower heads
Harvesting the sunflower heads is an exciting and rewarding moment in your edible gardening journey. Timing is crucial to ensure the seeds are mature and ready for harvest. Follow these steps to harvest your sunflower heads at the optimal time:
- Observation: Watch for signs of maturity in the sunflower heads. The petals will start to wither and dry out, and the back of the flower head will turn from green to yellow or brown.
- Seed readiness: To check if the seeds are ready for harvest, gently press a fingernail against a few seeds. If the seeds are plump and firm, they are mature. If they appear soft or doughy, they need more time to develop.
- Prepare for harvest: Before cutting the sunflower heads, gather a sharp pair of garden scissors or pruners, a basket or bag to collect the heads, and a clean, dry surface for working.
- Harvesting: Select a sunflower head that is fully mature and gently cut it from the stem, leaving a few inches of stem attached. Avoid damaging the seeds as you do so.
- Drying: Lay the harvested sunflower heads in a single layer on a dry surface, such as a tray or screen. Place them in a well-ventilated area away from moisture or direct sunlight. Allow the heads to dry completely for a few weeks, or until the seeds are fully dry and easy to remove.
- Seed extraction: Once the sunflower heads are dry, it’s time to extract the seeds. Rub or brush the heads to loosen the seeds from the flower disc. Alternatively, you can use your fingers or a fork to carefully pry the seeds loose.
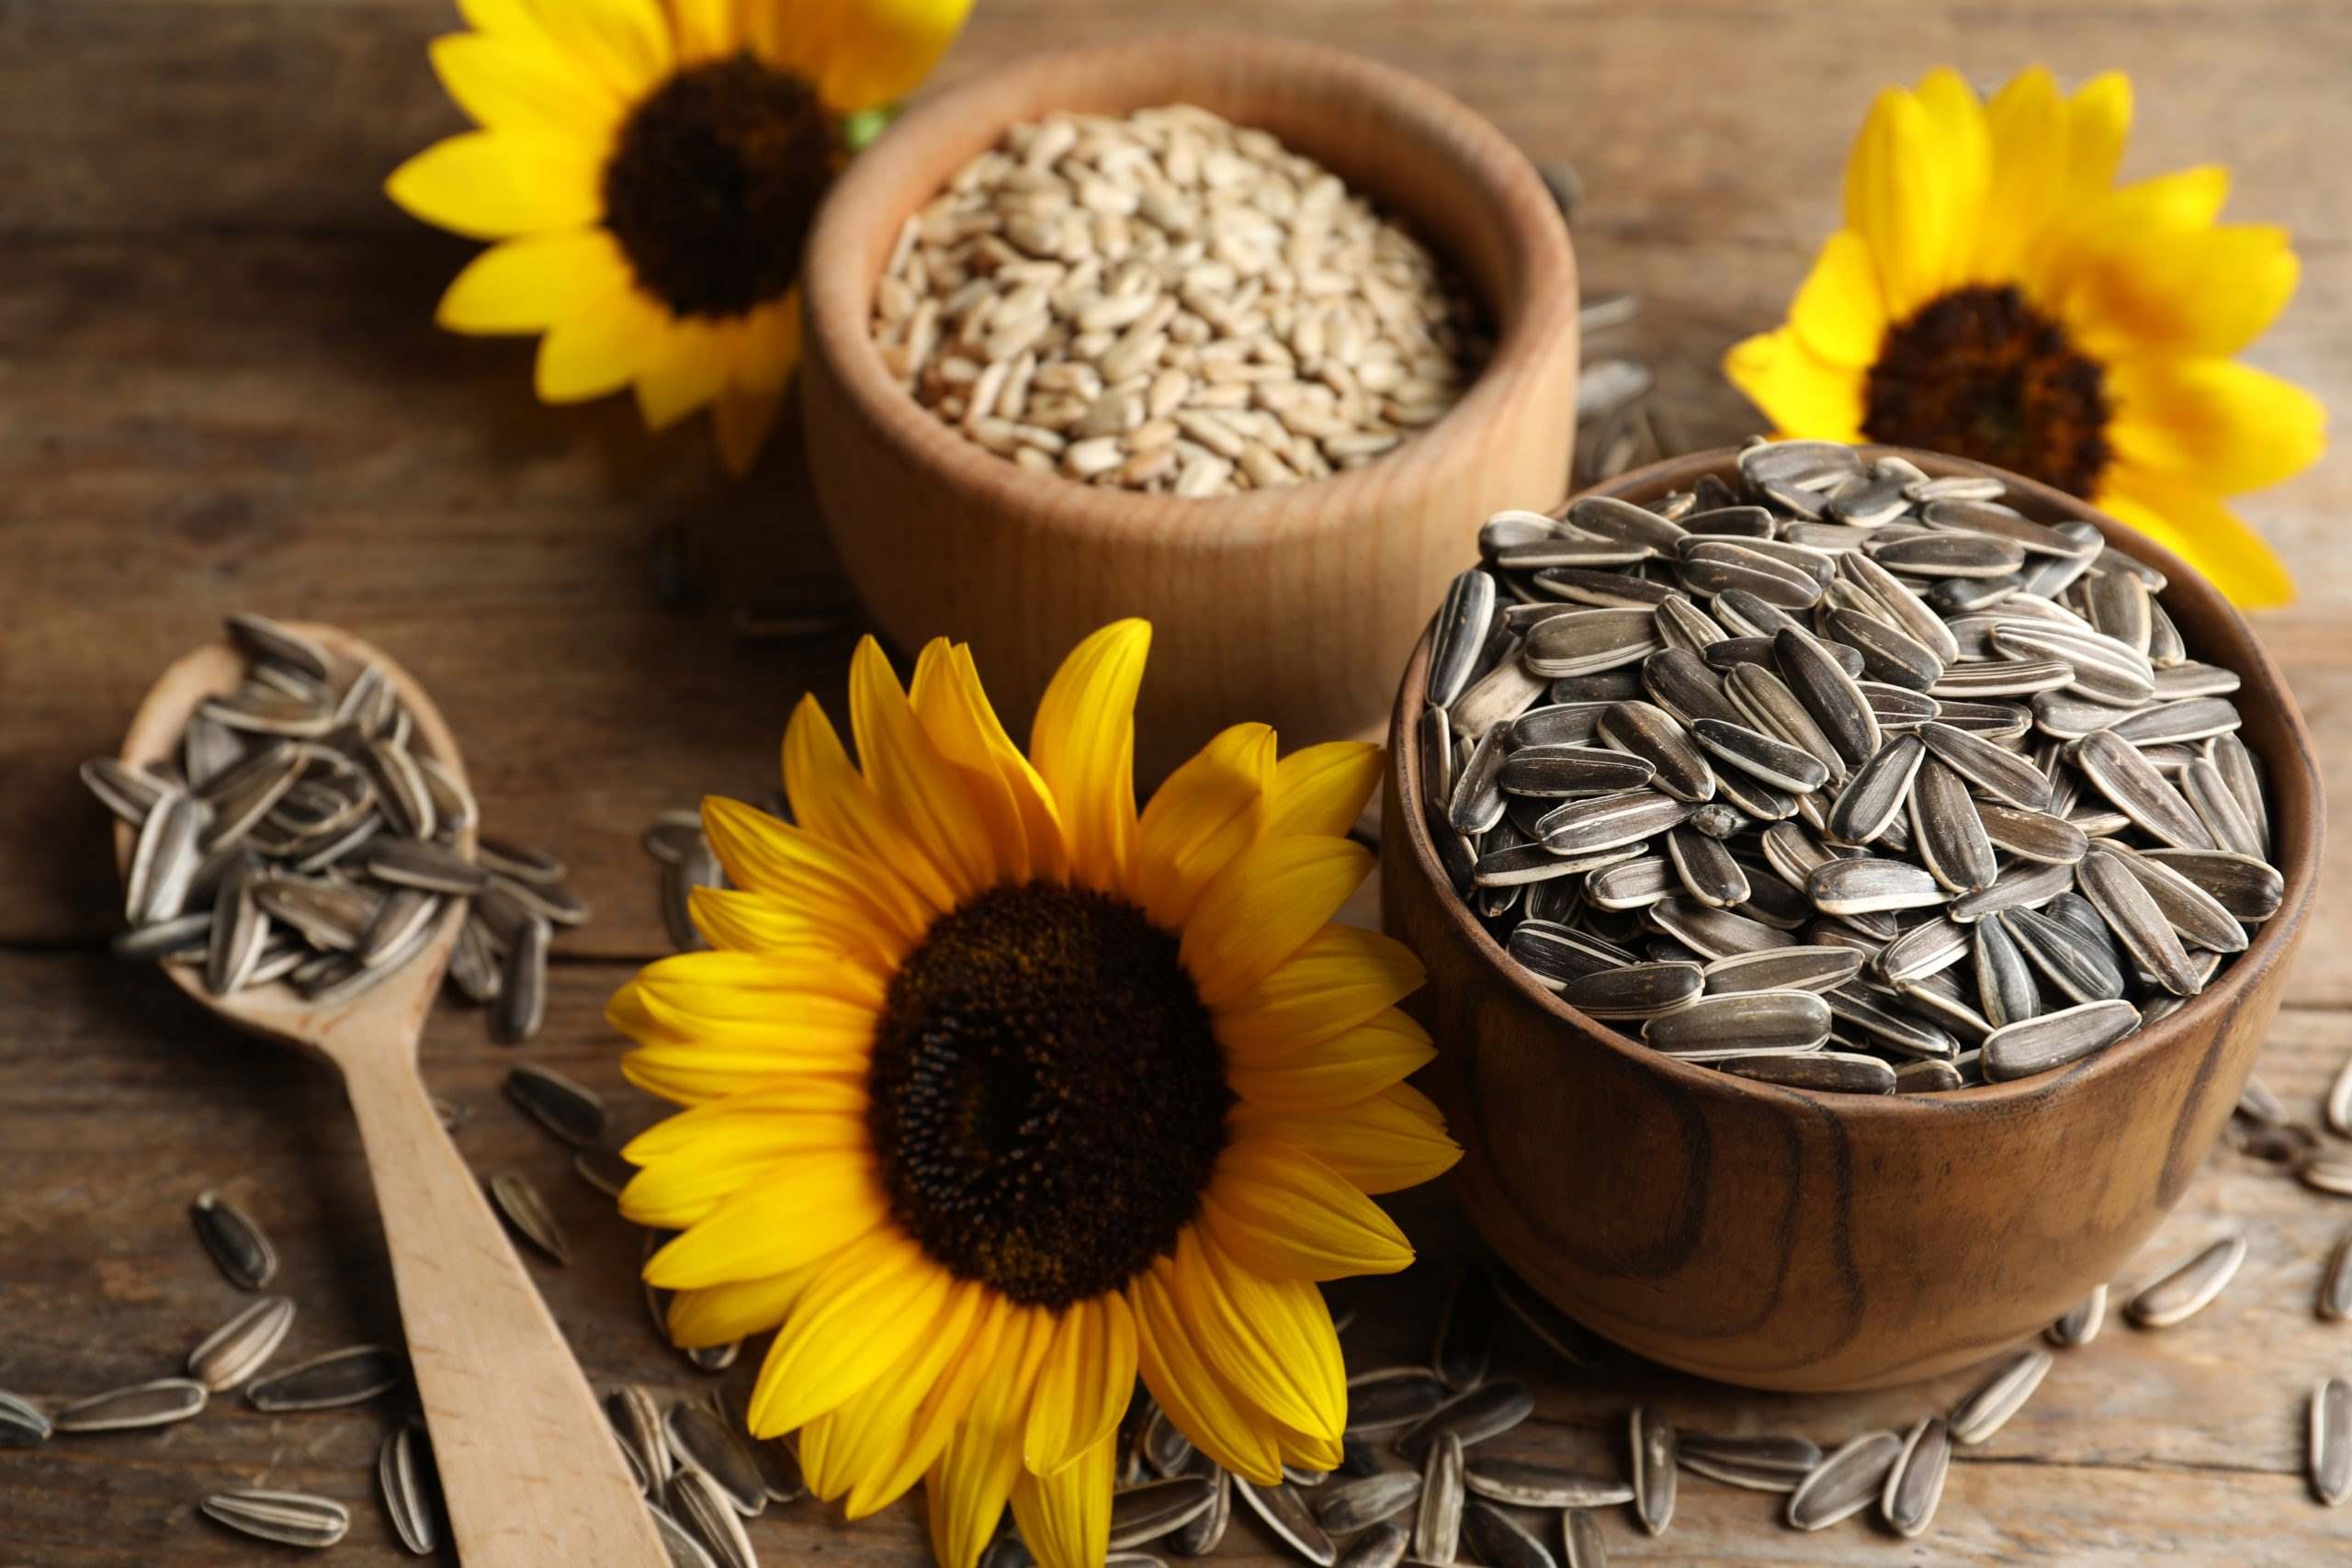
- Storage: Store the harvested sunflower seeds in a cool, dry place in airtight containers or sealed bags. Make sure there is no moisture present to prevent the seeds from molding. Stored properly, sunflower seeds can last for several months.
Harvesting your sunflower heads at the right time and properly drying and storing the seeds will ensure their quality and allow you to enjoy them as a nutritious snack, use them in cooking, or save them for future planting.
Conclusion
Congratulations! You’ve now learned the step-by-step process of planting and caring for sunflower seedlings in your edible garden. By following these guidelines, you can successfully grow your own sunflowers and enjoy their beautiful blooms and nutritious seeds.
From gathering the necessary materials to harvesting the sunflower heads, each step plays a vital role in ensuring the health and productivity of your sunflower plants. Remember to prepare the soil properly, provide adequate water, nutrients, and care, and protect your seedlings from pests and harsh weather conditions.
As you monitor the growth and development of your sunflower seedlings, you’ll witness their transformation from tiny plants to majestic beauties. The rewards will come in the form of vibrant flowers, buzzing pollinators, and an abundant harvest of sunflower seeds.
Whether you use the seeds for snacking, baking, or future planting, remember to store them properly and savor the fruits of your labor. By growing sunflowers, you’re not only adding beauty to your garden, but also engaging in a sustainable and rewarding experience that connects you with nature and the joy of homegrown food.
So, go ahead and embark on your sunflower-growing journey. With proper care and attention, your sunflower seedlings will flourish, bringing brightness and nourishment to your garden and your life.