Home>Types of Gardening>Ornamental Gardening>How To Dry Sunflower Seeds For Planting
Ornamental Gardening
How To Dry Sunflower Seeds For Planting
Modified: January 22, 2024
Learn how to dry sunflower seeds for planting in your ornamental gardening. Follow our step-by-step guide for successful seed saving and cultivation.
(Many of the links in this article redirect to a specific reviewed product. Your purchase of these products through affiliate links helps to generate commission for Chicagolandgardening.com, at no extra cost. Learn more)
Table of Contents
Introduction
Welcome to the wonderful world of ornamental gardening! If you have a love for beautiful flowers and lush green plants, then you have come to the right place. Ornamental gardening is a creative and rewarding hobby that allows you to transform your outdoor space into a stunning oasis of color and beauty.
In this comprehensive guide, we will explore the art of ornamental gardening, from selecting the right plants to designing your dream garden. Whether you are a novice gardener or a seasoned pro, there is something for everyone in this article.
Ornamental gardening is all about creating visually appealing landscapes using a wide variety of plants, including flowers, shrubs, and trees. The primary focus is on aesthetics, with an emphasis on color, shape, texture, and fragrance.
One of the key elements of ornamental gardening is the use of flowers. Flowers not only add beauty to your garden but also attract pollinators such as bees and butterflies, which are essential for the reproduction of many plants.
To create a successful ornamental garden, it is important to have a good understanding of the various plants you choose to include. You need to know their growth habits, sun and water requirements, and how they will interact with other plants in your garden.
This guide will cover everything you need to know about ornamental gardening, including plant selection, soil preparation, planting techniques, proper care and maintenance, and even troubleshooting common issues.
So, grab your gardening tools and get ready to embark on a journey of creativity and beauty. With the knowledge and tips shared in this guide, you’ll be able to create a stunning ornamental garden that will be the envy of your neighborhood.
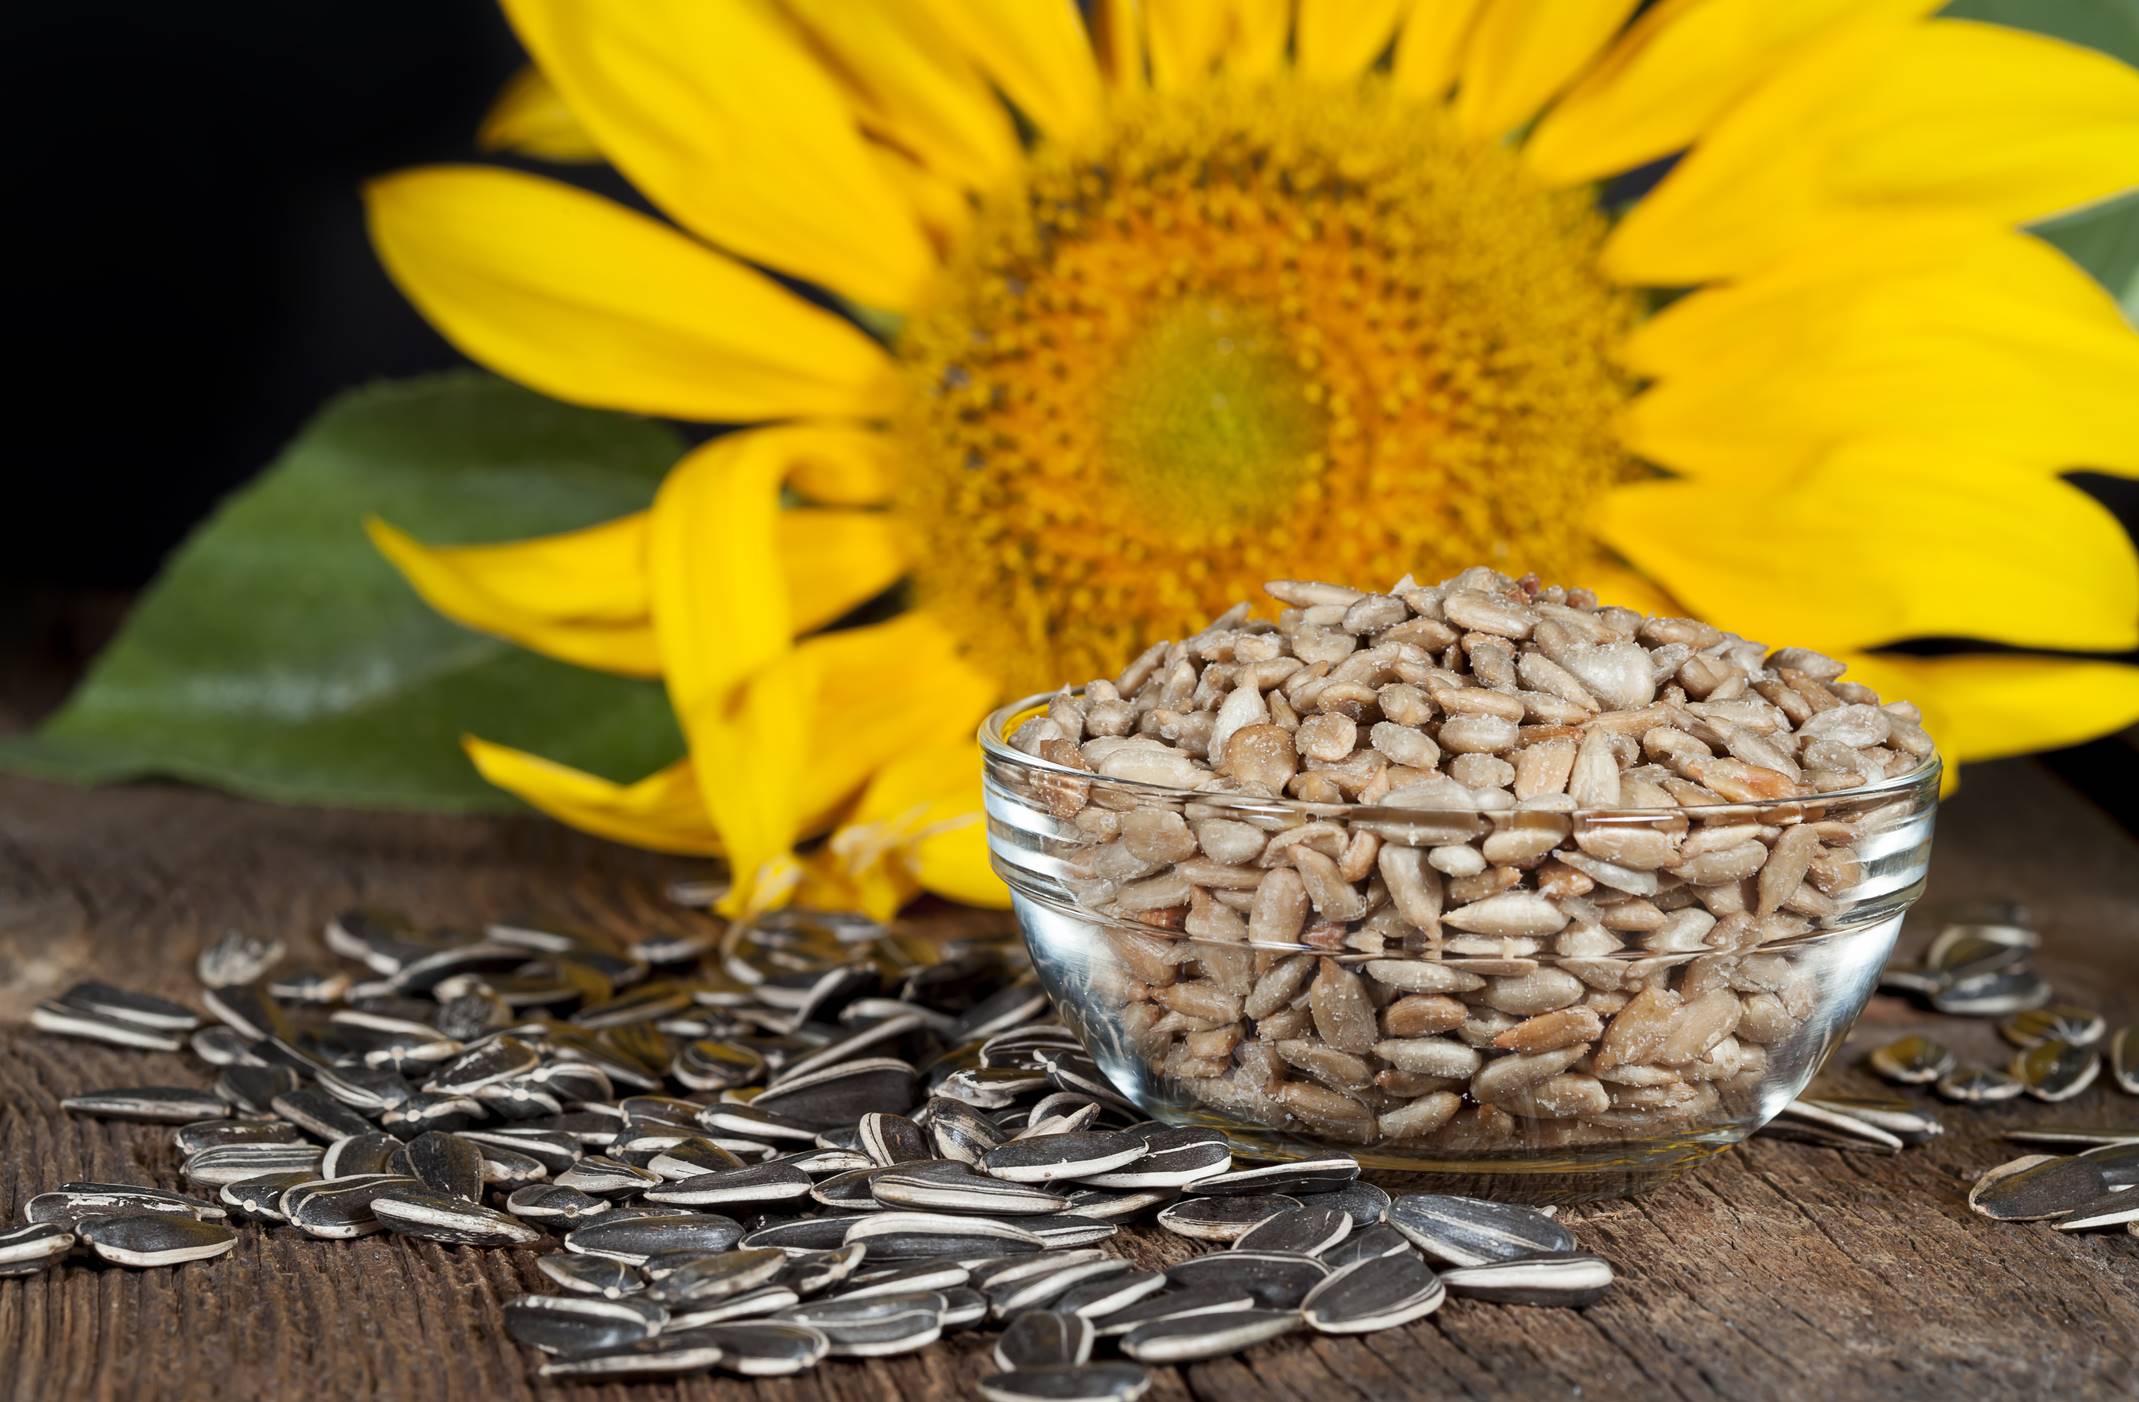
Importance of Drying Sunflower Seeds
Drying sunflower seeds is a crucial step in order to preserve their quality and viability for future planting. When sunflower seeds are dried properly, they can be stored for longer periods of time without losing their germination potential. In addition, drying sunflower seeds helps to prevent mold and fungal growth, ensuring healthy and viable seeds for planting.
One of the main reasons to dry sunflower seeds is to reduce their moisture content. Freshly harvested sunflower seeds contain a high moisture content, which makes them susceptible to mold and rot. Drying the seeds helps to lower the moisture content to a level where they can be safely stored without the risk of spoilage.
Dried sunflower seeds are also easier to handle and store. When the moisture content is reduced, the seeds become less prone to clumping or sticking together. This makes it easier to separate and package the seeds for storage, ensuring that each seed remains intact and undamaged.
In addition, drying sunflower seeds can enhance their flavor and nutritional value. Sunflower seeds are rich in healthy fats, protein, and various vitamins and minerals. By drying the seeds, you can intensify their nutty flavor and enhance their nutritional profile, making them even more enjoyable to eat.
Furthermore, drying sunflower seeds allows for more efficient storage. Properly dried seeds can be stored in airtight containers or seed packets, ensuring that they remain viable for future use. This is particularly important for home gardeners who want to save seeds for the next growing season or for sharing with other gardening enthusiasts.
Overall, drying sunflower seeds is a critical step in the seed-saving process. It not only ensures the longevity and quality of the seeds but also allows for easier handling and storage. Whether you are a seasoned gardener or a beginner, taking the time to properly dry your sunflower seeds will greatly contribute to your gardening success.
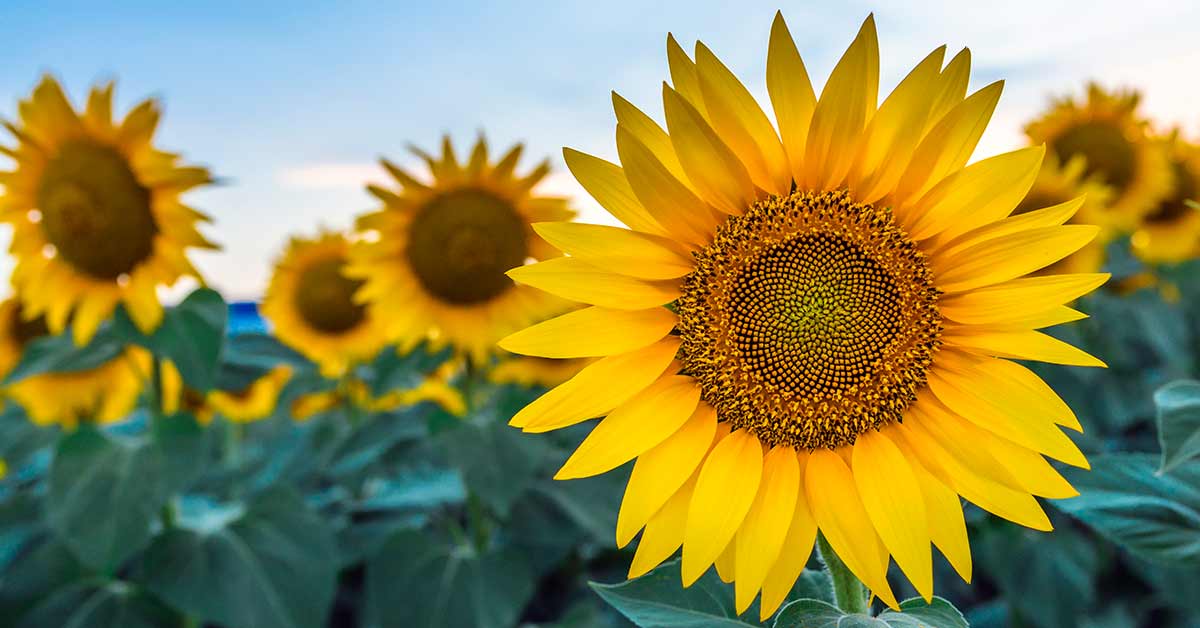
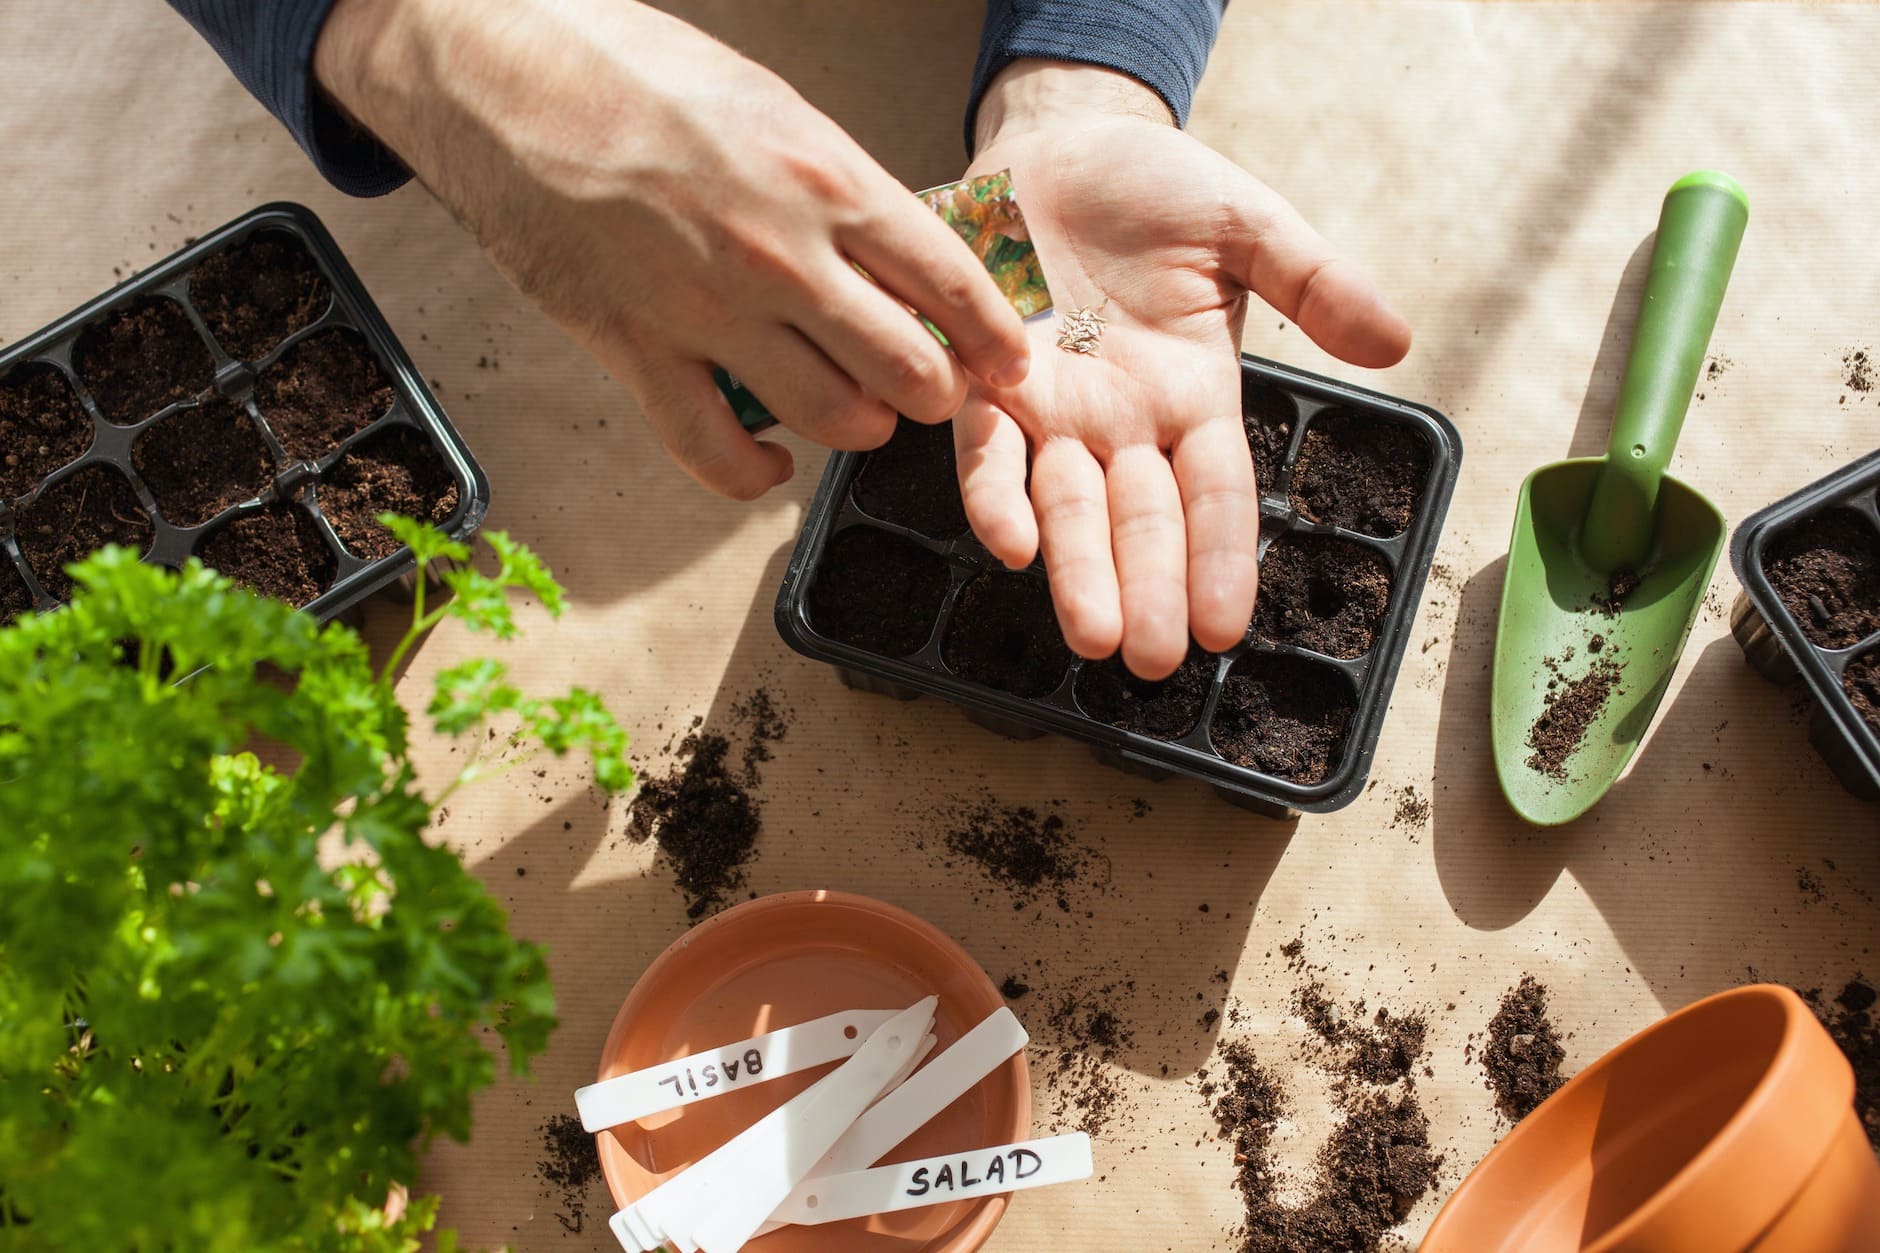
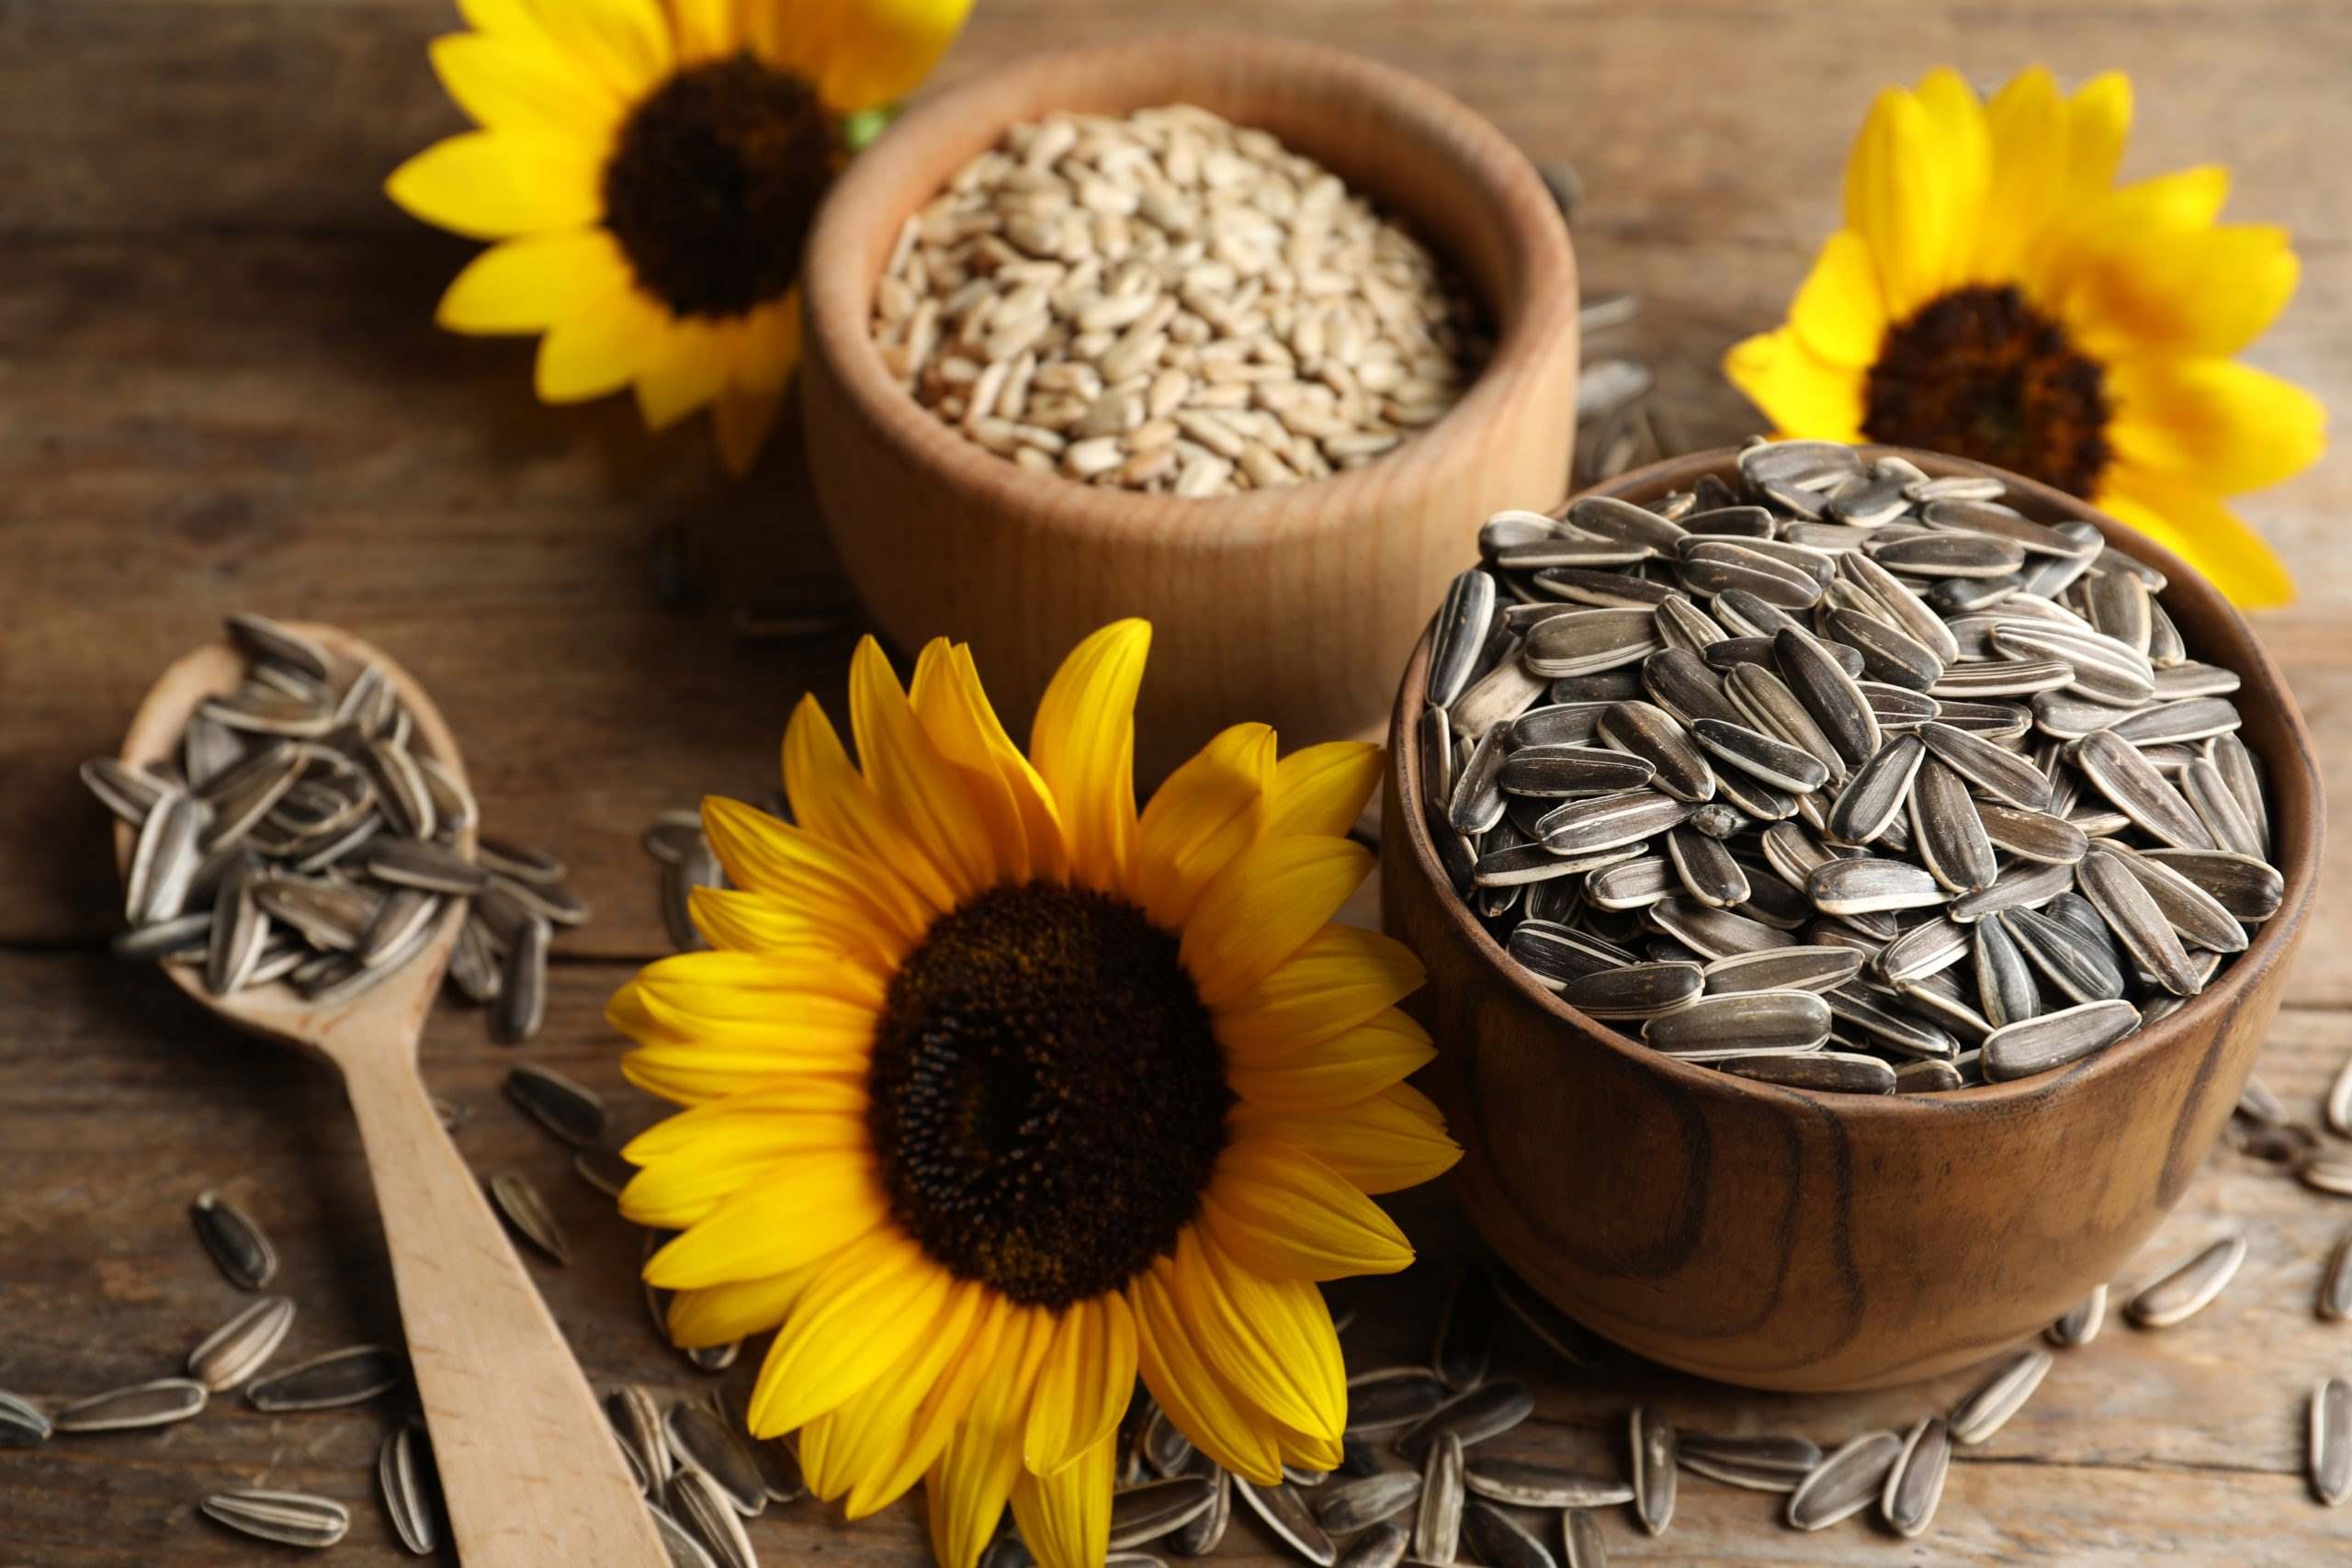
Selecting the Right Sunflower Seeds for Drying
When it comes to selecting sunflower seeds for drying, there are a few key factors to consider. Choosing the right variety, ensuring seed maturity, and selecting seeds from healthy plants are all important aspects to take into account.
Firstly, it’s crucial to choose a variety of sunflower that is suitable for drying. Not all sunflower varieties are ideal for seed harvesting and drying. Look for varieties that are specifically labeled as “seed-producing” or “multi-purpose” sunflowers. These varieties are bred to produce larger and more abundant seeds, making them ideal for drying purposes.
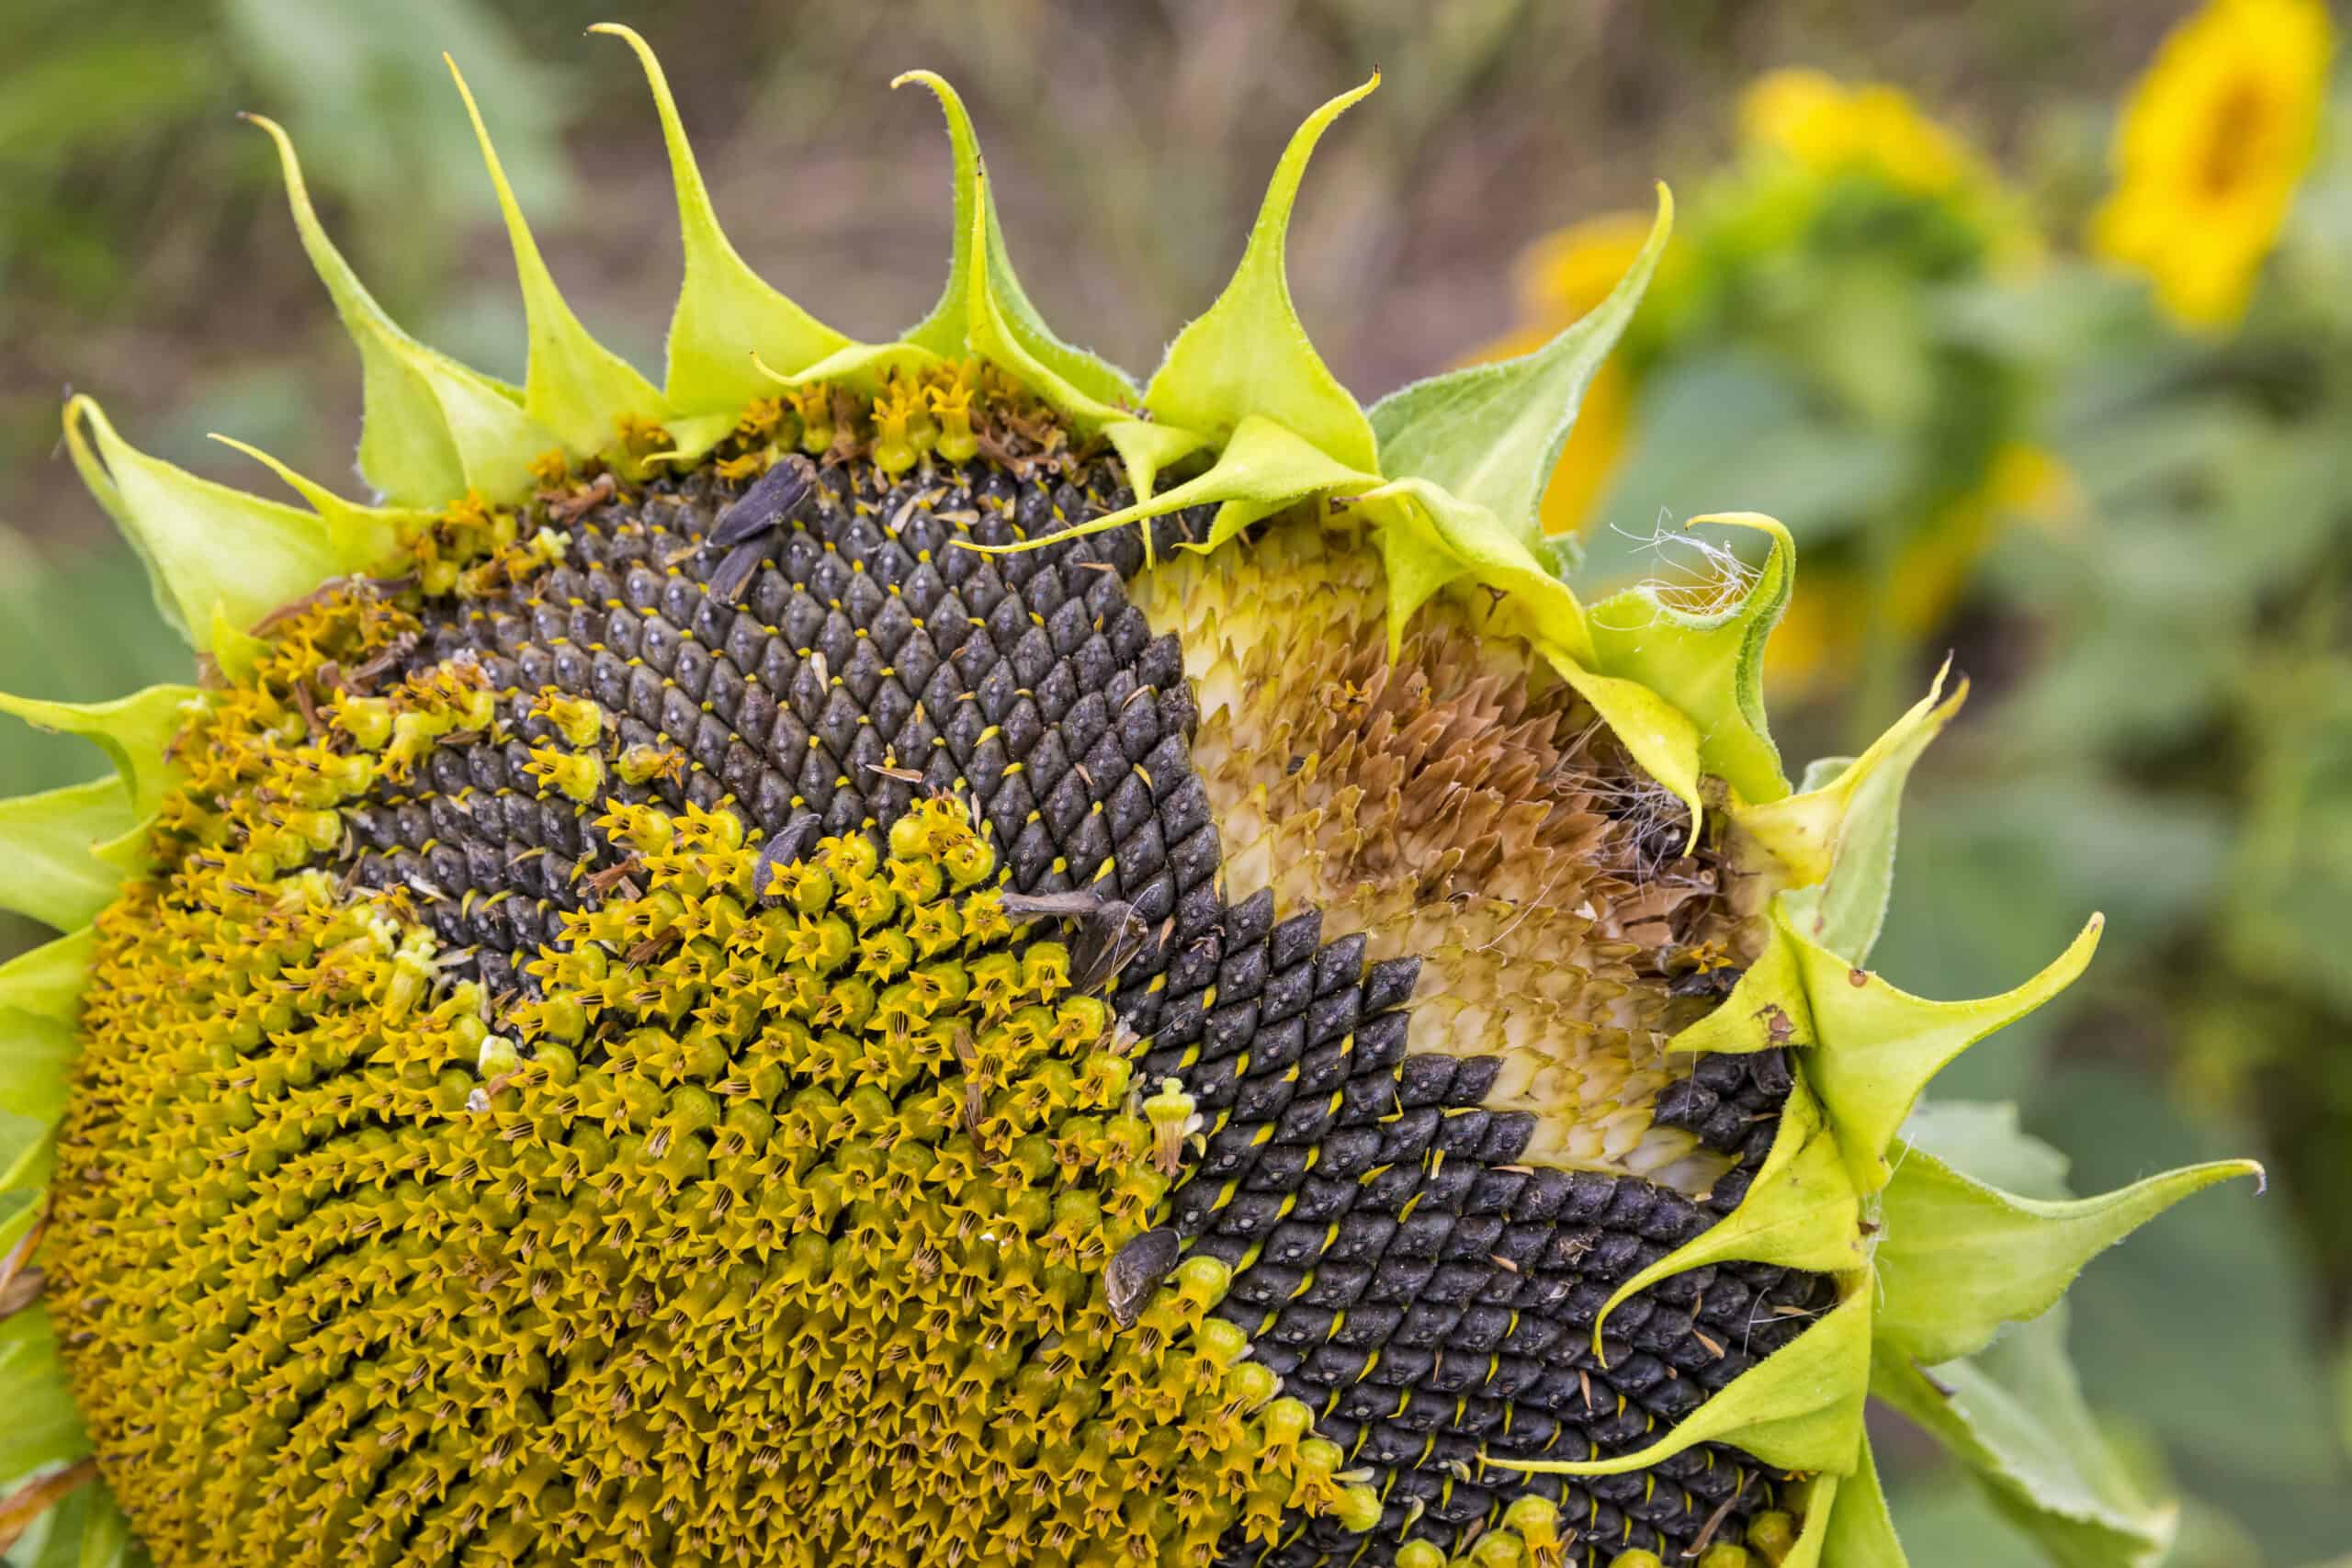
In addition, pay attention to the maturity of the sunflower seeds. Harvesting sunflower seeds for drying should be done when the flower head has fully ripened and turned brown. The back of the flower head will have started to turn yellow or brown as well. It’s important to wait for this stage as immature seeds won’t dry properly and might not germinate when planted.
Furthermore, select seeds from healthy plants. Look for sunflowers that have sturdy stalks, vibrant foliage, and no signs of disease or pest infestations. Healthy plants produce high-quality seeds that are more likely to be viable and successful when planted.
Consider the size of the sunflower seeds as well. Generally, larger sunflower seeds are easier to handle and clean, making them more suitable for drying. However, keep in mind that the size of the seeds does not necessarily dictate their germination potential or quality.
Lastly, if you are planning on saving seeds for the next growing season, choose heirloom or open-pollinated varieties. These types of seeds will produce plants with similar characteristics to the parent plant, ensuring consistency in future harvests. Hybrid varieties, on the other hand, may not produce true-to-type plants from saved seeds.
By considering these factors and selecting the right sunflower seeds for drying, you are taking the first important step towards a successful and satisfying seed-saving process. Remember to choose suitable varieties, ensure seed maturity, and select seeds from healthy plants to maximize your chances of obtaining high-quality, viable seeds for future planting.
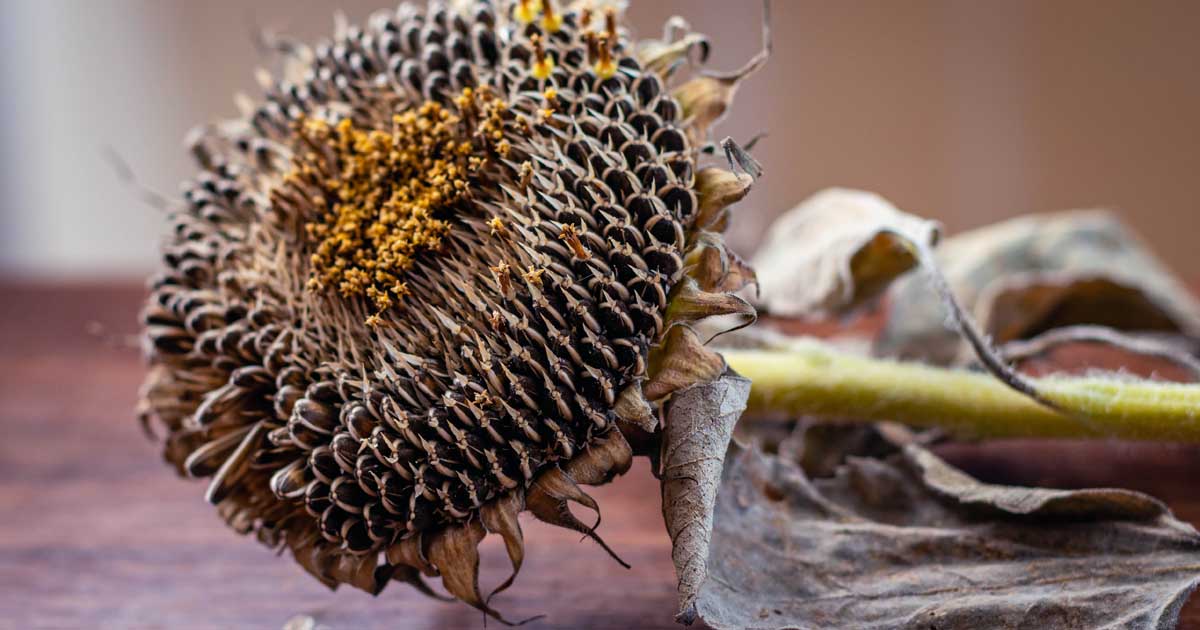
Harvesting Sunflower Seeds
Harvesting sunflower seeds is an exciting and rewarding process that marks the culmination of your nurturing efforts in the garden. When the vibrant yellow petals have faded and the sunflower head has matured, it’s time to harvest the seeds. Follow these steps to ensure a successful seed harvest.
Wait for the right time to harvest the sunflower seeds. The flower head should have turned brown, and the back of the head should be yellow or brown. This indicates that the seeds are fully matured and ready for harvesting. The seeds should be plump and firm to the touch, with a hard outer shell.
Prepare a pair of pruning shears or sharp scissors for the harvest. Use the shears to cut the ripe sunflower heads from the stalk, leaving a few inches of stem attached to allow for easier handling.
Next, remove any remaining petals from the sunflower head. Gently rub or brush the head to dislodge any clinging petals or debris. This will help to ensure that the seeds are clean and free from any unwanted materials.
Now it’s time to remove the seeds from the sunflower head. You can do this by hand or by using a simple tool such as a fork or your fingers. Place the sunflower head upside down in a bowl or large container, and begin rubbing or raking your fingers or the fork over the surface. The mature seeds will easily fall out of the head and collect in the container.
Once you have extracted all the seeds, pour them into a large colander or sieve. Give them a gentle shake to remove any remaining debris or chaff. Then thoroughly rinse the seeds under running water to remove any remaining impurities.
After rinsing, spread the seeds out on a clean towel or paper towel to dry for a few days. Make sure to place them in a well-ventilated area with good air circulation. Avoid direct sunlight, as this can cause the seeds to heat up and develop mold or spoil.
Periodically check the seeds for dryness by pressing a few between your fingers. They should feel dry and no longer have any moisture. Once they are completely dry, they are ready for further processing or storage.
The process of harvesting sunflower seeds allows you to enjoy the fruits of your labor and provides you with a rich supply of seeds for future planting or culinary use. By following these steps, you can ensure a successful sunflower seed harvest and enjoy the satisfaction of growing your own seeds.
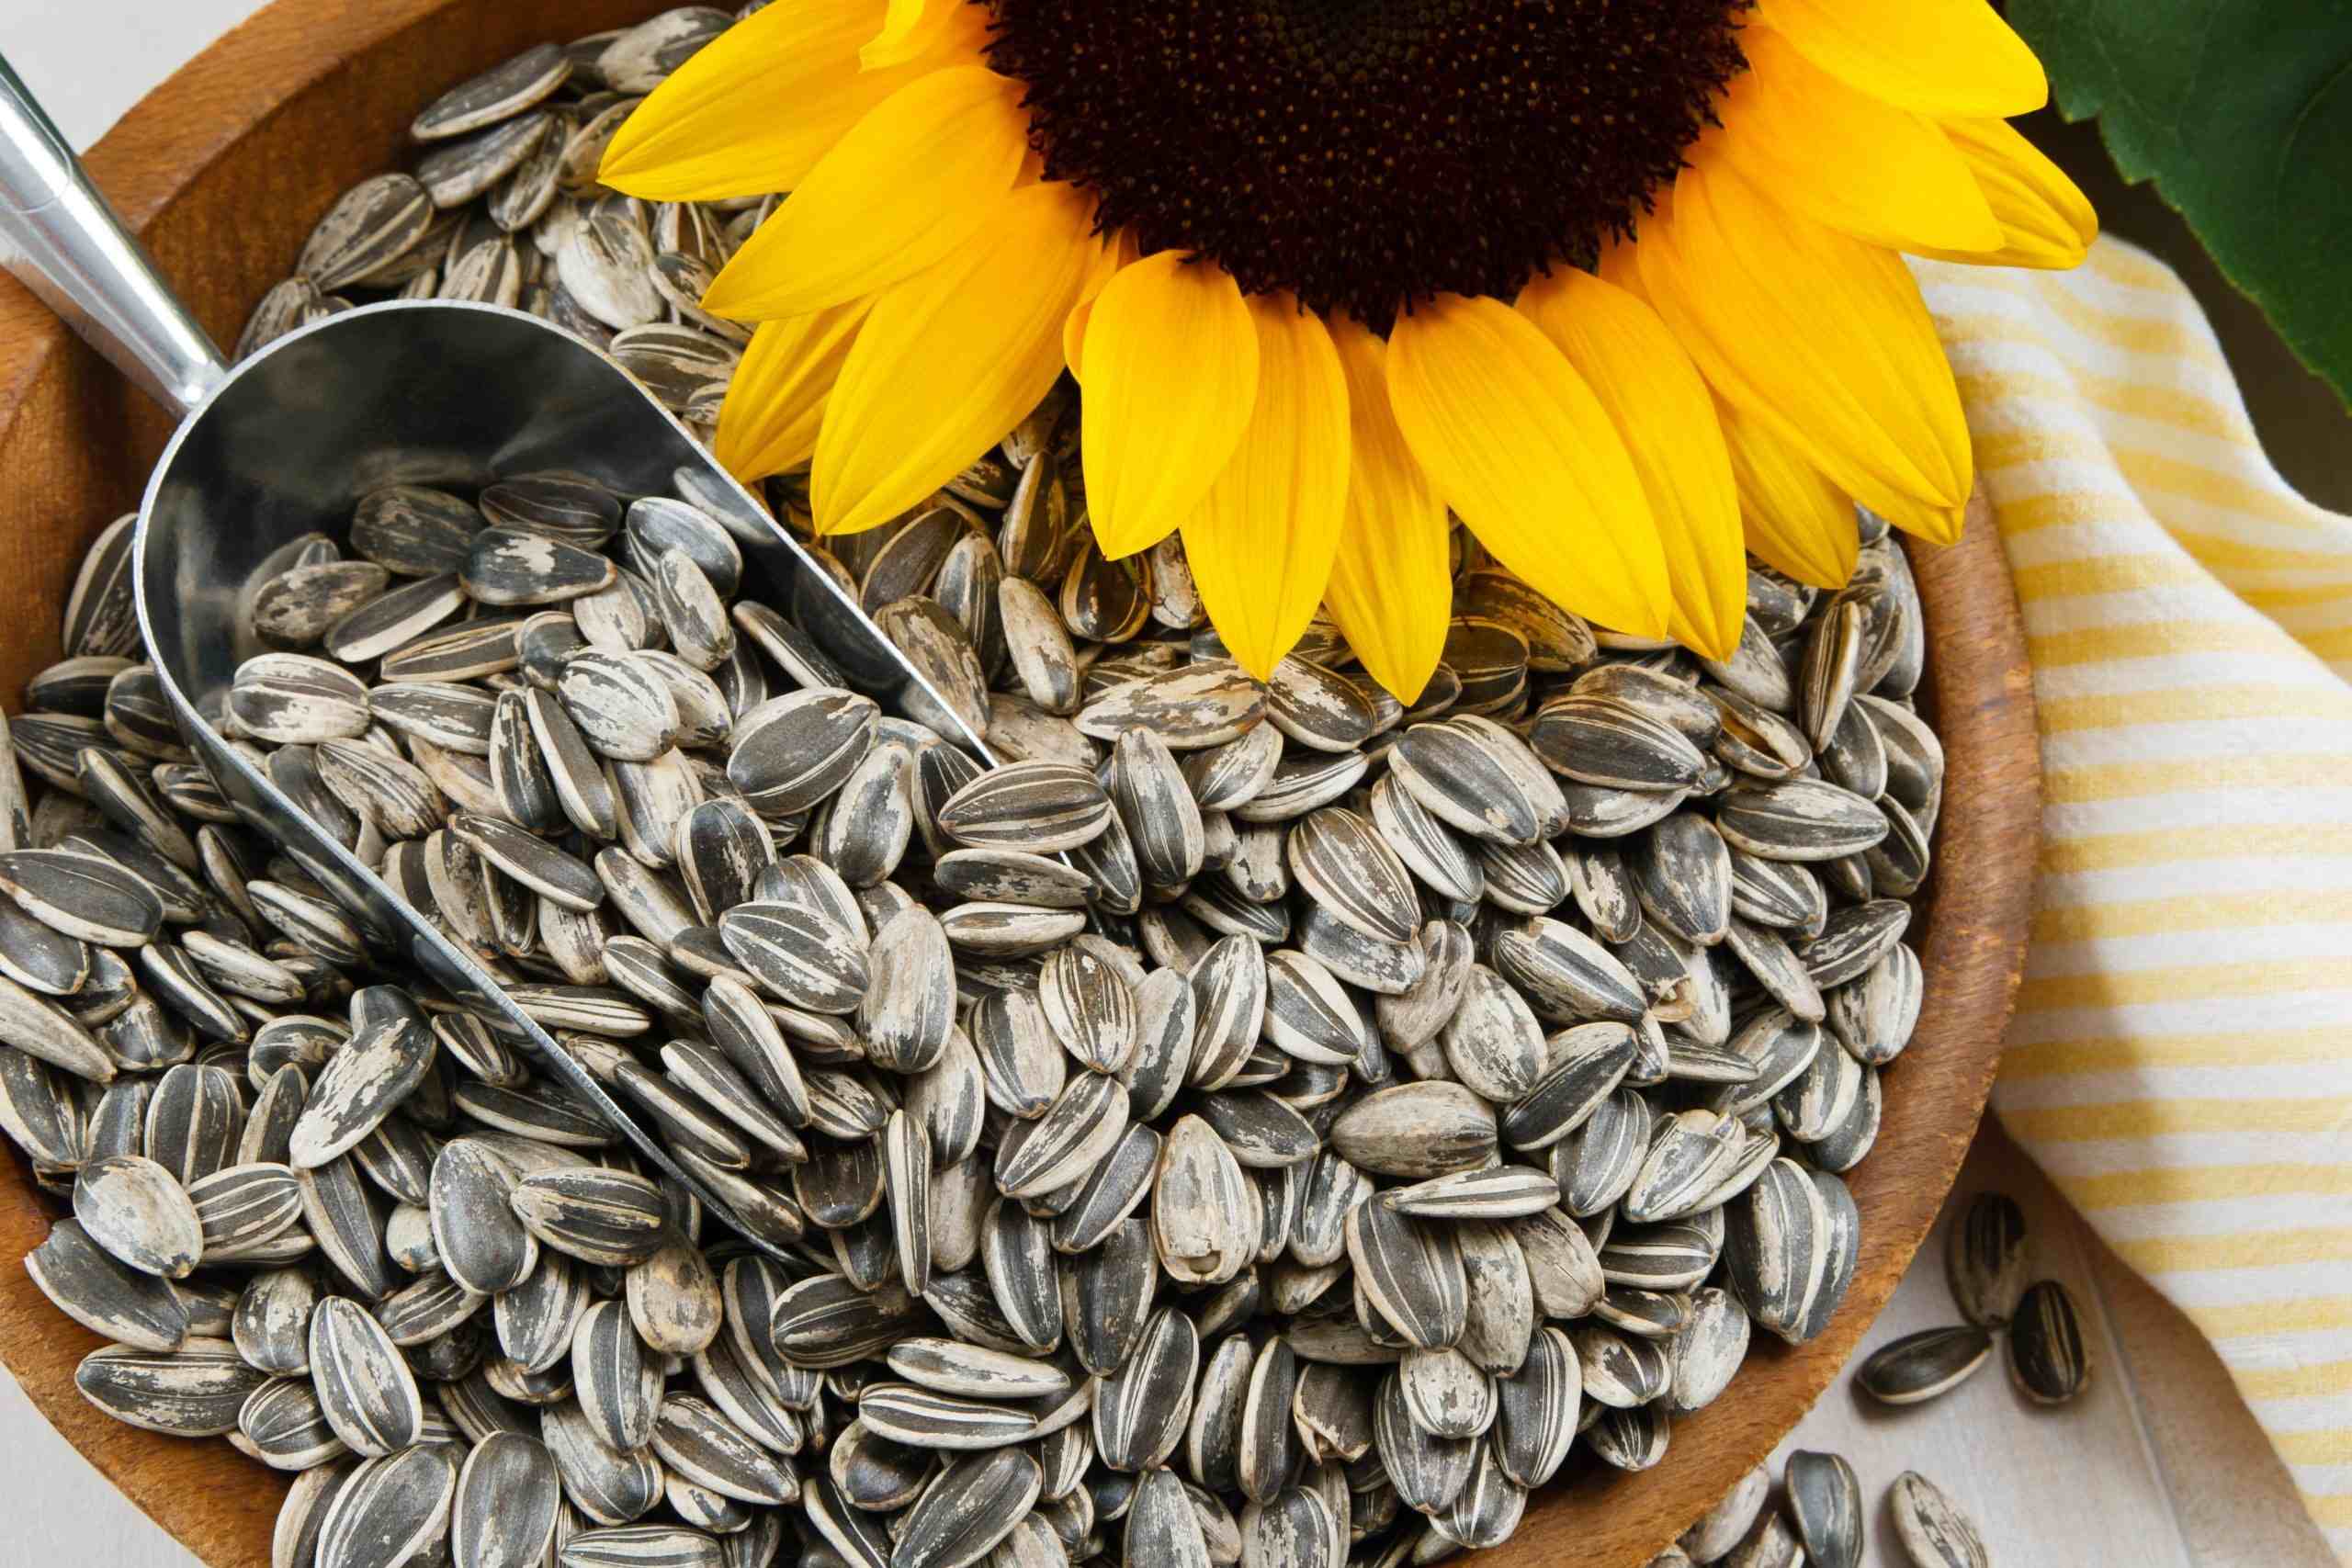
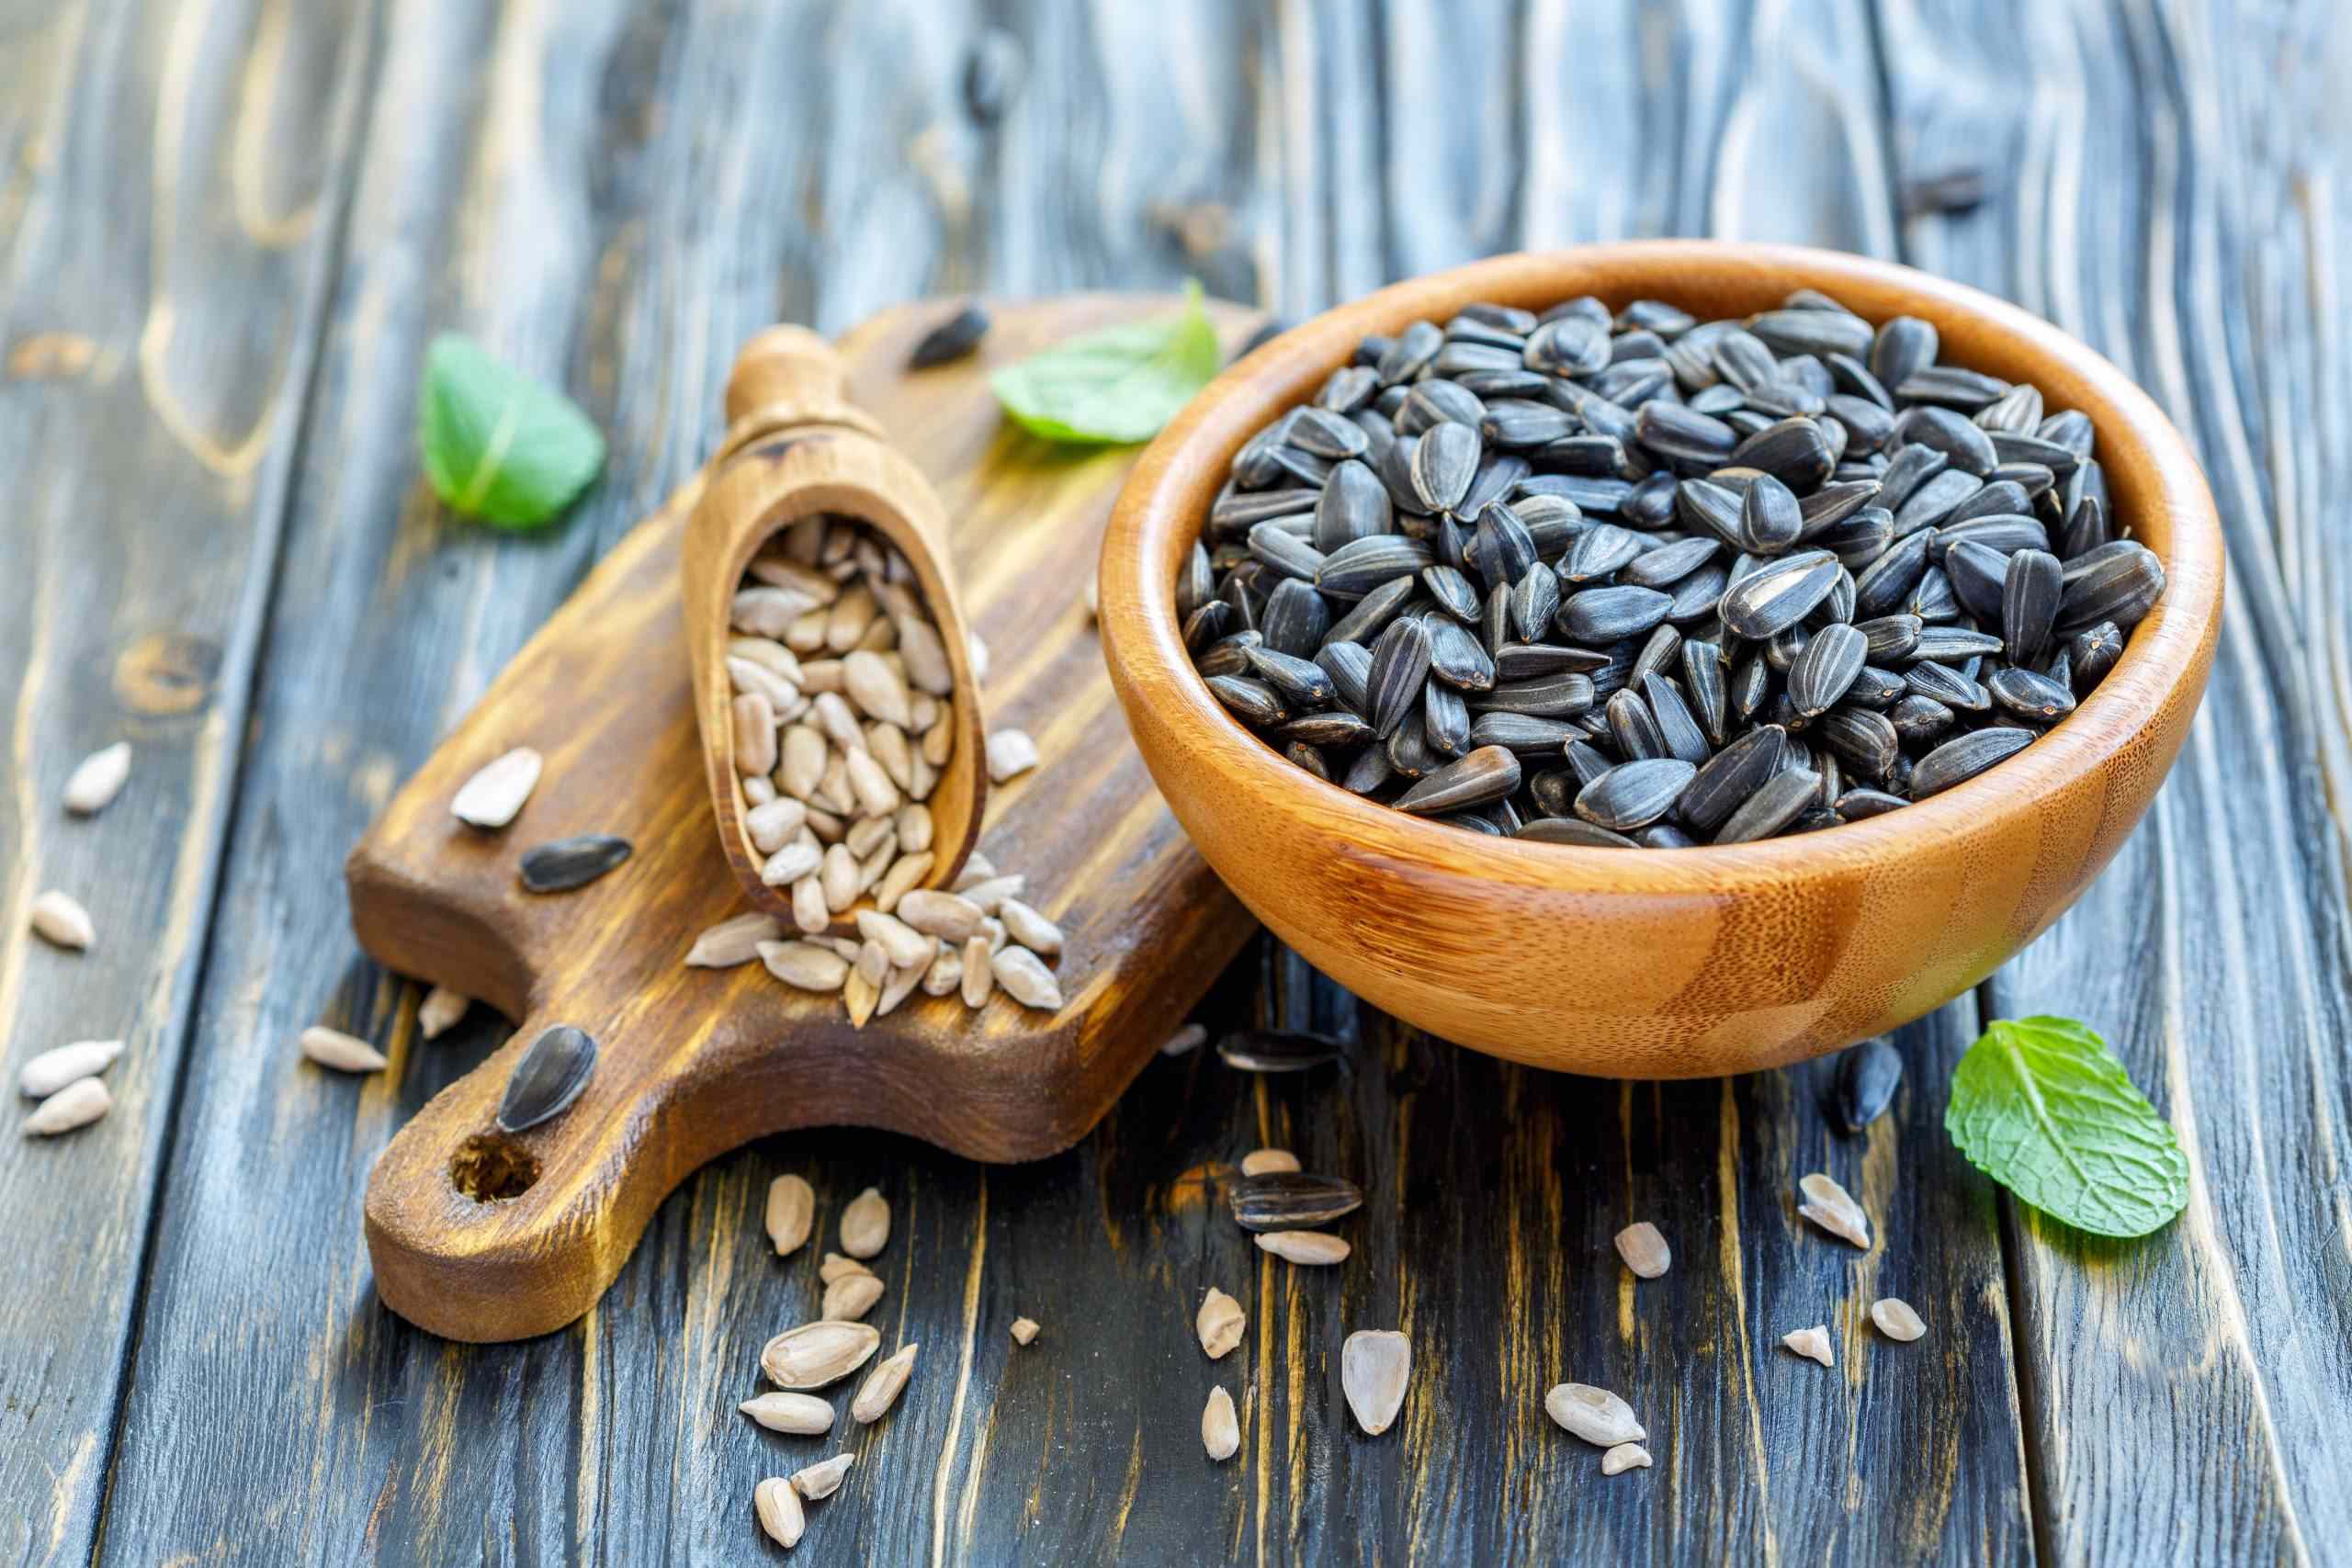
Cleaning Sunflower Seeds
After harvesting sunflower seeds, it’s important to clean them thoroughly to remove any remaining debris, chaff, or impurities. Proper cleaning ensures that the seeds are ready for storage or further processing. Follow these steps to effectively clean your sunflower seeds:
Begin by removing any large pieces of debris or plant material from the seeds. You can do this by hand or by using a sieve or colander with larger holes. Gently sift through the seeds, picking out any leaves, stems, or larger particles.
Next, fill a large bowl or basin with water. Place the sunflower seeds in the water and stir them around with your hand. This will help to loosen any remaining chaff or dirt. Allow the seeds to sit in the water for a few minutes to allow for better separation.
After soaking, gently agitate the seeds by stirring them again. This will help to separate any remaining debris from the seeds. Skim off any floating debris or chaff that rises to the surface.
Transfer the seeds to a clean colander or sieve to drain out the water. Shake or tap the colander gently to remove excess moisture. At this stage, the seeds may still have some remaining chaff or small particles attached.
To further clean the seeds, you can use the winnowing method. Find a suitable outdoor space or a well-ventilated area where you can work. Hold a large shallow pan or tray slightly tilted against the wind. Pour the seeds slowly from one container to another while allowing the wind to blow away the lighter chaff and debris. Repeat this process a few times until most of the chaff is removed.
For finer cleaning, you can use a fanning technique. Hold a fine-mesh sieve or strainer above a clean container and gently pour the seeds through it. Use a fan or your breath to blow away any remaining lighter debris while the seeds fall into the container below. This method helps to further separate small particles from the seeds.
Once the seeds are clean, spread them out on a clean towel or paper towel to air-dry completely. Allow them to sit in a well-ventilated area until they are thoroughly dry. Make sure to periodically check for dryness by pressing a few seeds between your fingers. They should feel dry and no longer have any moisture.
Remember to store the cleaned and dried sunflower seeds in airtight containers or seed packets to protect them from moisture and pests. Properly cleaned and stored seeds will remain viable and ready for planting in the next gardening season.
By following these cleaning steps, you can ensure that your sunflower seeds are free from debris and impurities, making them ready for storage or further use. Clean seeds not only look more appealing but also have a higher chance of successful germination and growth when planted.
Preparing Sunflower Seeds for Drying
Before drying sunflower seeds, it’s important to properly prepare them to ensure the best results. Preparing the seeds involves a few simple steps that help to remove any remaining pulp and facilitate the drying process. Follow these steps to prepare your sunflower seeds for drying:
Start by removing the outer shell or hull of the sunflower seeds. You can do this by cracking the seeds using a seed cracker, pliers, or a rolling pin. Gently apply pressure to the seeds to crack the shell, without crushing the seed inside.
Once the seeds are cracked, fill a large bowl or basin with water. Place the cracked seeds in the water and agitate them with your hand. This helps to wash away any remaining pulp or residue from the seeds.
Allow the seeds to soak in the water for a few minutes. This softens the seeds and loosens any stubborn pulp. Agitate the seeds again by gently stirring them in the water to aid in the separation process.
After soaking, pour the seeds into a colander or sieve to drain excess water. Give them a gentle shake to remove any remaining moisture. At this stage, the seeds may still have some residue or pulp attached.
To further clean the seeds, you can rub them between your hands while rinsing them under running water. The friction helps to remove any remaining pulp or debris, leaving the seeds clean and ready for drying.
Transfer the cleaned seeds to a clean towel or paper towel and pat them gently to remove excess moisture. Spread them out in a single layer to air-dry completely. Ensure that the seeds are evenly spaced with enough room for air circulation.
Choose a well-ventilated area for drying the seeds. Avoid direct sunlight, as this can cause the seeds to heat up and potentially spoil. Allow the seeds to dry for several days, or until they are completely dry to the touch.
Periodically check the seeds for dryness by pressing a few between your fingers. They should feel dry and no longer have any moisture. If you detect any signs of moisture, continue drying until the seeds are fully dry.
Once the sunflower seeds are properly prepared and thoroughly dried, they are ready for storage or further processing. Store them in airtight containers or seed packets and keep them in a cool, dry place until you are ready to use them for planting or culinary purposes.
By following these preparation steps, you ensure that your sunflower seeds are clean and free from any remaining pulp or debris. Properly prepared seeds are more likely to dry evenly and can be stored for longer periods without losing their quality.
Traditional Sun Drying Methods
Sun drying is one of the oldest and most widely used methods of drying various agricultural products, including sunflower seeds. It is a natural and cost-effective way to dry seeds without the need for any specialized equipment. Here are a few traditional sun drying methods you can employ to dry your sunflower seeds:
Spread the prepared sunflower seeds in a thin layer on a clean and dry surface. This can be a clean towel, a mesh screen, or even a flat tray. Ensure that the seeds are evenly spaced and not piled on top of each other.
Choose a location with good sunlight exposure and airflow. Ideally, this would be in a sunny and well-ventilated outdoor area. Avoid areas prone to high humidity or where there is risk of rain or moisture.
Place the seeds in the selected drying location and leave them exposed to the sun. The heat and gentle breeze will gradually dry out the seeds over time. Make sure to periodically check on the seeds and turn or stir them to ensure even drying.
Protect the drying seeds from pests or birds by covering them with a fine mesh or netting. This prevents any unwanted visitors from feasting on your drying seeds.
If there’s a risk of rain or sudden weather changes, it’s important to have a backup plan. You can simply move the drying seeds indoors to a well-ventilated area or use a large fan to replicate the air circulation provided by sunlight and natural breeze.
Depending on the weather conditions and seed moisture content, sun drying can take anywhere from a few days to a couple of weeks. It is crucial to allow the seeds to air-dry until they are completely dry to the touch.
During the drying process, check the seeds regularly for any signs of pest infestation or spoilage. Discard any seeds that appear moldy, discolored, or have an off smell.
Once the sunflower seeds are fully dried, gently tap or rub them together to remove any remaining debris or chaff. It’s important to ensure that the dried seeds are clean and free from any impurities before storing or further processing.
Sun drying is an effective and traditional method that allows for the natural drying of sunflower seeds. It is a simple process that relies on the sun’s energy and air circulation to remove moisture from the seeds. By following these traditional sun drying methods, you can successfully dry your sunflower seeds while retaining their quality and viability for future use.
Oven Drying Method
If you prefer a faster and more controlled method for drying your sunflower seeds, the oven drying method is a great option. This method allows for efficient drying without relying on sunlight or external weather conditions. Follow these steps to successfully dry your sunflower seeds using an oven:
Start by preheating your oven to a low temperature, around 150°F (65°C). It’s important not to set the temperature too high, as this can result in the seeds getting cooked or burned.
While the oven is preheating, spread the prepared sunflower seeds in a single layer on a baking sheet or a shallow baking pan. Make sure the seeds are evenly distributed and not piled on top of each other, as this can prevent even drying.
Place the baking sheet with the seeds in the preheated oven. Keep the oven door slightly ajar to allow for air circulation and moisture release during the drying process.
Allow the seeds to dry in the oven for about 1 to 3 hours. The exact drying time depends on the moisture content of the seeds and the size of the seed batch. The seeds are ready when they feel completely dry to the touch and show no signs of moisture or flexibility.
During the drying process, periodically check the seeds for any signs of burning or over-drying. Keep a close eye on them, especially towards the end of the drying time, to avoid any damage or loss of quality.
Once the seeds are fully dried, turn off the oven and let the seeds cool down completely inside the oven. This helps to prevent any residual moisture from condensing and potentially spoiling the seeds.
After cooling, gently tap or rub the dried seeds together to remove any remaining debris or chaff. Ensure that the seeds are clean and free from any impurities before storing or using them.
It’s important to note that oven drying can result in a faster drying time compared to traditional sun drying methods. However, keep in mind that the oven drying method may slightly impact the flavor and texture of the seeds compared to sun drying.
Remember to store the dried sunflower seeds in airtight containers or seed packets. Place them in a cool, dry place away from direct sunlight and moisture to maintain their quality and viability.
The oven drying method provides a quick and controlled way to dry your sunflower seeds, allowing for optimal drying results. By following these steps, you can effectively dry your sunflower seeds using your oven, regardless of the weather or season.
Dehydrator Drying Method
An alternative method for drying sunflower seeds is using a dehydrator, which is specifically designed to remove moisture from various foods. This method offers precise temperature control and consistent airflow, resulting in efficient and uniform drying. Follow these steps to dry your sunflower seeds using a dehydrator:
Start by selecting a dehydrator with adjustable temperature settings. Set the temperature to around 100°F (38°C), which is a suitable range for drying sunflower seeds without damaging their quality.
Spread the prepared sunflower seeds in a single layer on the dehydrator trays. Make sure the seeds are evenly distributed, leaving some space around each seed for proper air circulation.
Place the trays with the seeds into the dehydrator, ensuring that the trays are stacked according to the manufacturer’s instructions. Close the dehydrator door or secure it tightly.
Set the timer on the dehydrator according to the manufacturer’s instructions or estimate a drying time of approximately 4 to 6 hours. The exact drying time can vary depending on the moisture content of the seeds and the size of the seed batch.
Periodically check the seeds during the drying process to ensure even drying and prevent over-drying. Gently touch a few seeds to assess their dryness. They should feel completely dry and no longer have any flexibility.
Once the seeds are fully dried, turn off the dehydrator and let the seeds cool down inside before removing them. This helps to prevent any residual moisture from condensing and potentially rehydrating the seeds.
After cooling, gently rub or tap the dried seeds together to remove any remaining debris or chaff. Make sure the seeds are clean and free from any impurities before storing or further processing.
Transfer the dried sunflower seeds to airtight containers or seed packets for storage. Keep them in a cool, dry place away from direct sunlight and moisture to maintain their quality and viability.
The dehydrator drying method offers precise control and consistent results, making it an efficient way to dry sunflower seeds. It allows you to dry a larger quantity of seeds at once while ensuring uniform drying. By following these steps, you can successfully dry your sunflower seeds using a dehydrator year-round.
Storing Dried Sunflower Seeds
Proper storage is crucial to preserve the quality and viability of dried sunflower seeds. Whether you plan to save the seeds for future planting or use them for culinary purposes, follow these guidelines to ensure optimal storage:
Ensure that the dried sunflower seeds are completely cool before storing them. Warm or slightly moist seeds can create condensation inside the storage container, leading to mold or spoilage.
Transfer the dried seeds to airtight containers or seed packets. Airtight containers help prevent moisture, air, and pests from entering and affecting the seeds. Ensure that the containers are clean and in good condition.
Label the containers with the variety or type of sunflower seeds and the date of harvest. This information will be useful for future reference or when sharing seeds with others.
Choose a cool, dry, and dark storage location for the seeds. Excessive heat or exposure to sunlight can reduce the quality and viability of the seeds. Optimal storage temperatures range from 40°F to 50°F (4°C to 10°C).
Avoid storing the seeds near sources of moisture, such as sinks or windows. Moisture can lead to the growth of mold or cause the seeds to become soft and unusable.
Regularly check the stored seeds for any signs of mold, insect infestation, or spoilage. Discard any seeds that appear discolored, have an off smell, or show signs of damage.
If you plan to use the seeds for planting in the next growing season, it’s recommended to store them in the refrigerator or freezer. Place the seeds in a sealed plastic bag or airtight container to protect them from moisture and fluctuating temperatures. When ready to plant, allow the seeds to come to room temperature before sowing.
For culinary use, store the seeds in a cool pantry or kitchen cabinet away from heat and sunlight. Properly stored sunflower seeds can retain their flavor and nutritional value for several months.
Remember to save some dried sunflower seeds from each harvest to be used as seeds for future plantings. This allows you to maintain a continuous cycle of seed saving and ensures genetic diversity within your sunflower plants.
By following these storage guidelines, you can preserve the quality and viability of your dried sunflower seeds. Whether saving them for future planting or using them in the kitchen, proper storage ensures that the seeds remain in optimal condition for your desired purpose.
Conclusion
Congratulations! You have now learned the essential steps for drying sunflower seeds. Properly drying sunflower seeds is crucial for preserving their quality, viability, and flavor. Whether you choose traditional sun drying methods, the oven drying method, or the dehydrator drying method, each approach has its advantages and allows for successful seed drying.
By selecting the right sunflower seeds, harvesting them at the correct maturity, and cleaning them thoroughly, you ensure that the seeds are in prime condition for drying. Additionally, taking care to prepare the seeds by removing the shells or hulls and eliminating any remaining debris or pulp is an important step to ensure successful drying.
Whether you opt for sun drying, oven drying, or dehydrator drying, each method offers its own benefits and allows for effective removal of moisture. Traditional sun drying methods harness the sun’s energy and airflow, while the oven and dehydrator methods provide controlled environments and quicker drying times.
Once your sunflower seeds are dried, proper storage is essential to maintain their quality. Using airtight containers or seed packets and storing them in a cool, dry, and dark location will ensure the longevity and viability of the seeds. Remember to regularly check and discard any seeds that show signs of spoilage or damage.
Whether you plan to save the seeds for future planting or use them in culinary recipes, properly dried and stored sunflower seeds offer a wide range of possibilities. From reaping the rewards of your gardening efforts to enjoying the nutritional benefits of these tasty seeds, your journey with sunflowers has just begun.
Now that you have the knowledge and tools to dry sunflower seeds, you can confidently embark on your next gardening adventure. Whether you’re a seasoned gardener or just starting out, the process of drying sunflower seeds allows you to harness the beauty and potential of these stunning flowers.
So, get ready to enjoy the wonders of gardening, the satisfaction of seed-saving, and the delectable flavors of sunflower seeds. Happy drying and may your ornamental garden flourish with the vibrant beauty of sunflowers!