Home>Types of Gardening>Ornamental Gardening>How To Get Sunflower Seeds Out Of Sunflowers
Ornamental Gardening
How To Get Sunflower Seeds Out Of Sunflowers
Modified: January 22, 2024
Learn the best techniques for extracting sunflower seeds from your sunflowers with our comprehensive guide. Perfect for ornamental gardening enthusiasts.
(Many of the links in this article redirect to a specific reviewed product. Your purchase of these products through affiliate links helps to generate commission for Chicagolandgardening.com, at no extra cost. Learn more)
Table of Contents
- Introduction
- Importance of Harvesting Sunflower Seeds
- Tools and Materials Needed
- Step 1: Observing the Sunflower
- Step 2: Choosing the Right Time for Harvest
- Step 3: Cutting the Sunflower Head
- Step 4: Removing the Outer Petals
- Step 5: Drying the Sunflower Head
- Step 6: Extracting the Sunflower Seeds
- Step 7: Cleaning and Storing Sunflower Seeds
- Conclusion
Introduction
Welcome to the fascinating world of ornamental gardening! If you have a passion for beautiful flowers and lush greenery, you’re in the right place. In this article, we will explore the art of ornamental gardening and discover how to create stunning displays in your own backyard.
Ornamental gardening is the practice of growing plants primarily for their visual appeal. It is a form of gardening that focuses on creating aesthetically pleasing landscapes using a wide variety of flowers, shrubs, and other ornamental plants. Whether you have a large garden or a small balcony, you can transform your outdoor space into a breathtaking display of color, texture, and fragrance.
But ornamental gardening is not just about making your yard look pretty. It offers a host of other benefits as well. For one, it provides a sanctuary for wildlife, attracting birds, butterflies, and bees to your garden. It can also be a therapeutic and relaxing hobby, allowing you to connect with nature and reduce stress.
In this article, we will delve into the different aspects of ornamental gardening, from selecting the right plants to designing beautiful flower beds. We will also discuss essential gardening techniques, such as soil preparation, watering, and fertilizing, to help you achieve optimal growth and health for your plants.
Furthermore, we will explore various ornamental gardening styles, including formal gardens, cottage gardens, and tropical gardens, to inspire you in designing your own outdoor oasis. We will also discuss the importance of maintaining your garden through regular pruning, deadheading, and pest control.
Whether you are a beginner or a seasoned gardener, this article will provide you with valuable insights and practical tips to create a stunning ornamental garden. So, grab your gardening gloves, sharpen your pruners, and let’s embark on this exciting journey together!
Importance of Harvesting Sunflower Seeds
Harvesting sunflower seeds is a rewarding and essential part of growing sunflowers. Not only do the seeds serve as a valuable food source for humans and wildlife, but the act of harvesting them also allows you to fully enjoy the beauty and benefits of sunflowers in your garden. In this section, we will explore the importance of harvesting sunflower seeds and how it can enhance your gardening experience.
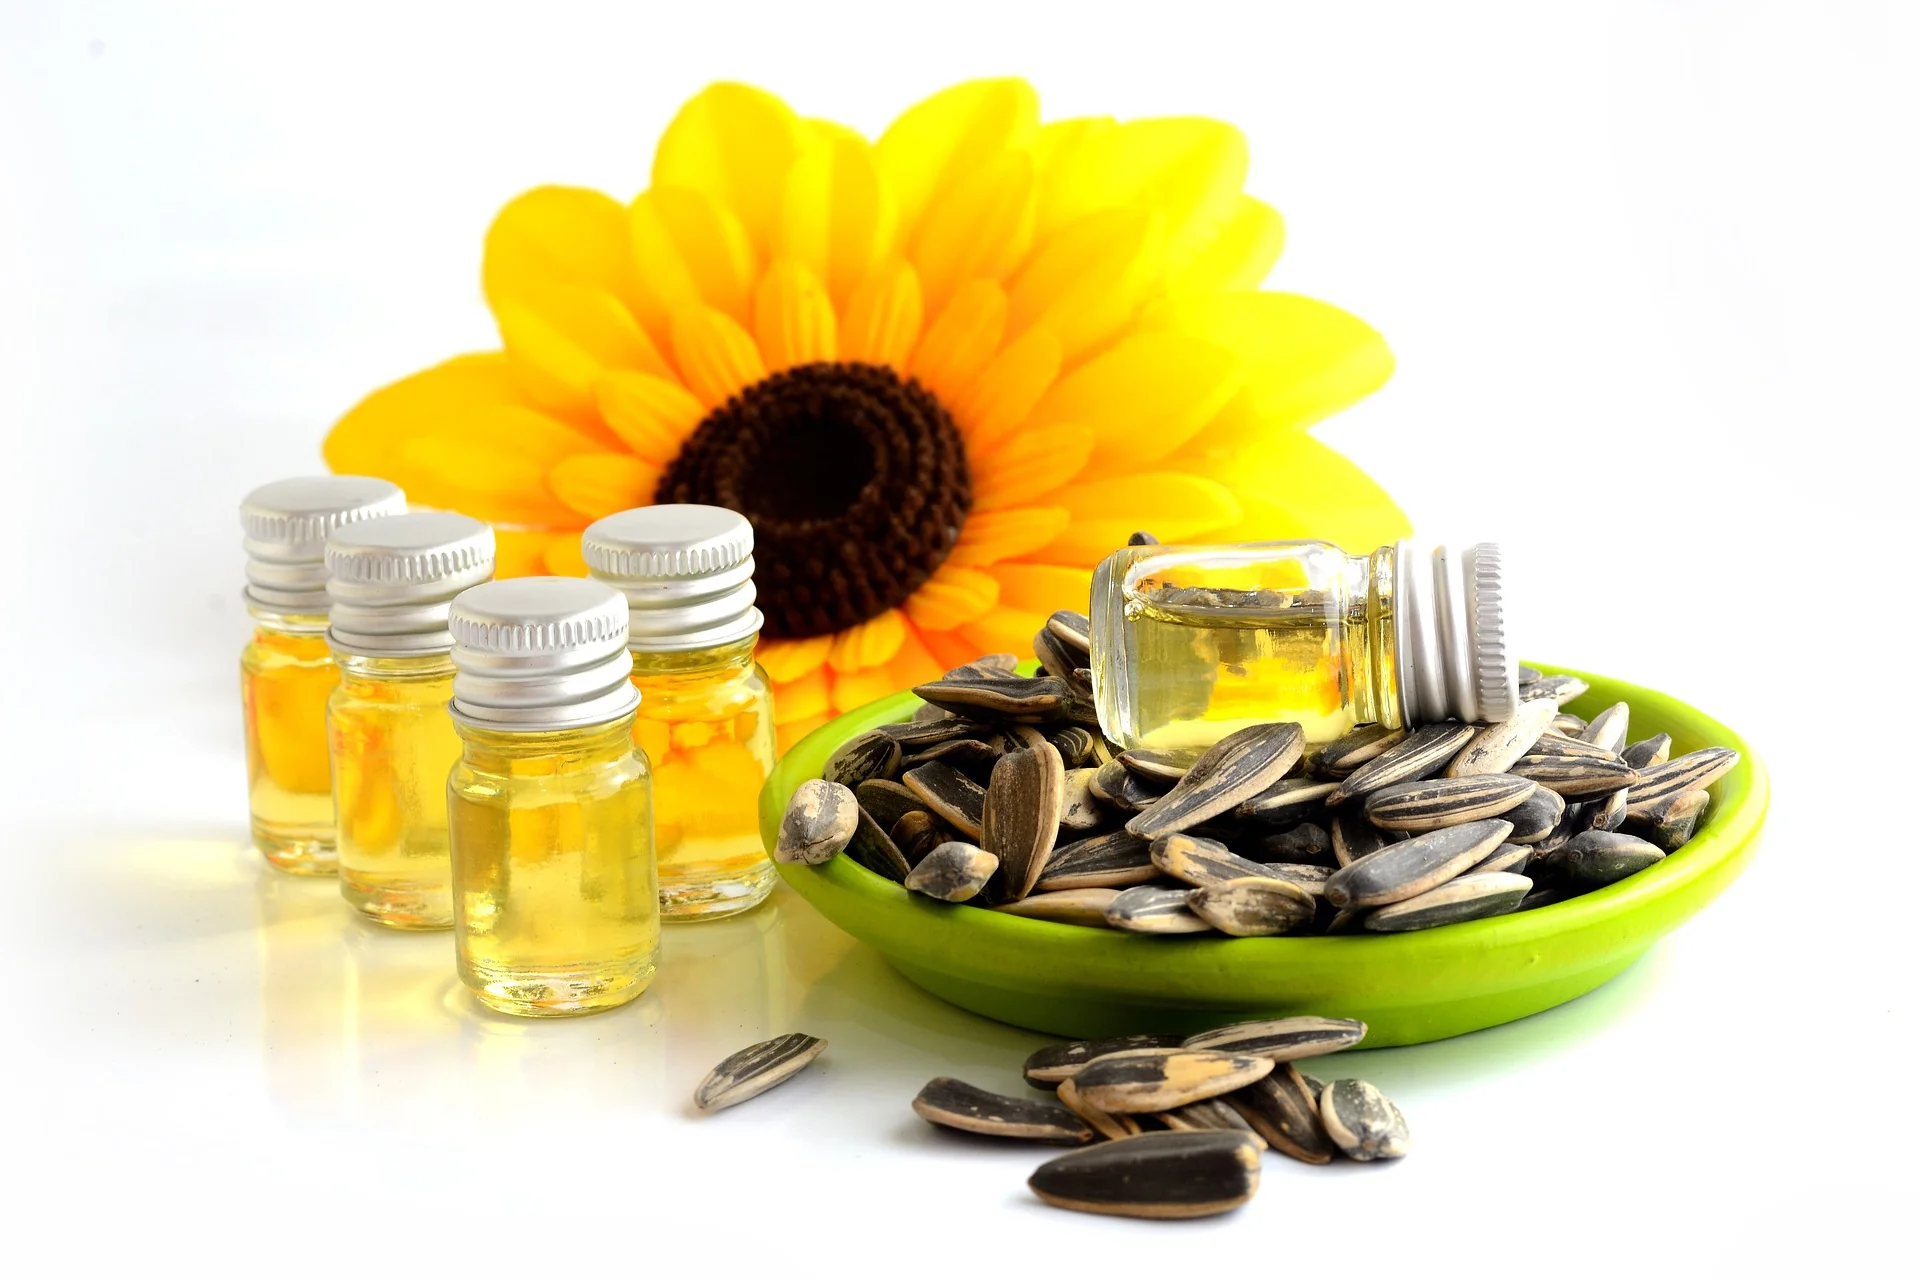
First and foremost, harvesting sunflower seeds allows you to take full advantage of the nutritional benefits they offer. Sunflower seeds are packed with essential nutrients like protein, healthy fats, and fiber. They are also a rich source of vitamin E, which is known for its antioxidant properties. By growing and harvesting your own sunflower seeds, you can have a fresh and wholesome snack right from your garden.
Harvesting sunflower seeds also benefits the wildlife in your area. Birds, squirrels, and other wildlife rely on sunflower seeds as a vital source of sustenance, especially during the colder months when food is scarce. By leaving a portion of the seeds on the sunflower heads or scattering them in your garden, you can attract a diverse range of birds and animals, adding life and excitement to your outdoor space.
In addition to the nutritional and wildlife benefits, harvesting sunflower seeds gives you a sense of accomplishment and satisfaction. Watching the sunflowers grow from tiny seeds to towering plants is a remarkable journey, and being able to harvest the seeds is the culmination of your hard work and dedication. It allows you to fully appreciate the life cycle of the plant and the beauty it brings to your garden.
Furthermore, harvesting sunflower seeds provides you with an opportunity for seed saving. When you harvest seeds from your sunflowers, you can select the best and healthiest seeds for saving and planting in the following year. This practice allows you to develop a collection of seeds that are well adapted to your specific growing conditions, leading to stronger and more resilient plants in the future.
Overall, the act of harvesting sunflower seeds adds depth and purpose to your gardening experience. It allows you to reap the nutritional benefits, attract wildlife, and develop a stronger connection with the natural world. So, the next time your sunflowers reach their peak, be sure to grab a basket and embrace the joy of gathering these precious seeds.
Tools and Materials Needed
Harvesting sunflower seeds requires a few essential tools and materials to ensure a successful and efficient process. By having the right equipment on hand, you can make the harvesting task easier and more enjoyable. In this section, we will discuss the tools and materials you will need for harvesting sunflower seeds.
The first tool you will need is a sharp pair of garden shears or secateurs. These will be used to cut the sunflower heads from the plants. Look for shears with a sturdy and comfortable grip, as you will be using them for an extended period of time.
Next, you will need a medium-sized bucket or container to collect the cut sunflower heads. This container should be large enough to hold multiple sunflower heads without overcrowding. Opt for a container with a handle for easy carrying.
To remove the outer petals and dry the sunflower heads, you will need a clean and well-ventilated area, such as a table or a screening rack. Ensure that the area is free from moisture and direct sunlight, as these conditions can affect the quality of the seeds.
Once the sunflower heads are dry, you will need a clean and dry bowl or tray for extracting the seeds. Avoid using plastic containers, as they can create static electricity, causing the seeds to stick together. A glass or ceramic bowl is ideal for this purpose.
In addition to the tools, you will also need a few materials to aid in the harvesting process. One such material is a pair of gardening gloves. These gloves will protect your hands from any prickly or rough surfaces while handling the sunflower heads. Look for gloves that provide a good grip and are made from durable materials.
You may also want to have some paper towels or a clean cloth on hand to wipe away any dirt or debris from the sunflower heads before drying them. This will help ensure that the seeds remain clean and free from any contaminants.
Lastly, it is important to have a storage container or bags for keeping the harvested sunflower seeds. Choose airtight containers or resealable bags to preserve the freshness and quality of the seeds. Label the containers or bags with the date of harvest and the sunflower variety to keep track of your collection.
By gathering these essential tools and materials beforehand, you will be well-prepared for the sunflower seed harvesting process. With everything in place, you can embark on your harvesting journey with ease and confidence.
Step 1: Observing the Sunflower
Before you begin harvesting sunflower seeds, it is important to observe the sunflower plants closely to determine the optimal time for harvest. This step allows you to assess the readiness of the sunflower heads and ensure that the seeds have reached full maturity. Let’s dive into the first step of the harvesting process: observing the sunflower.
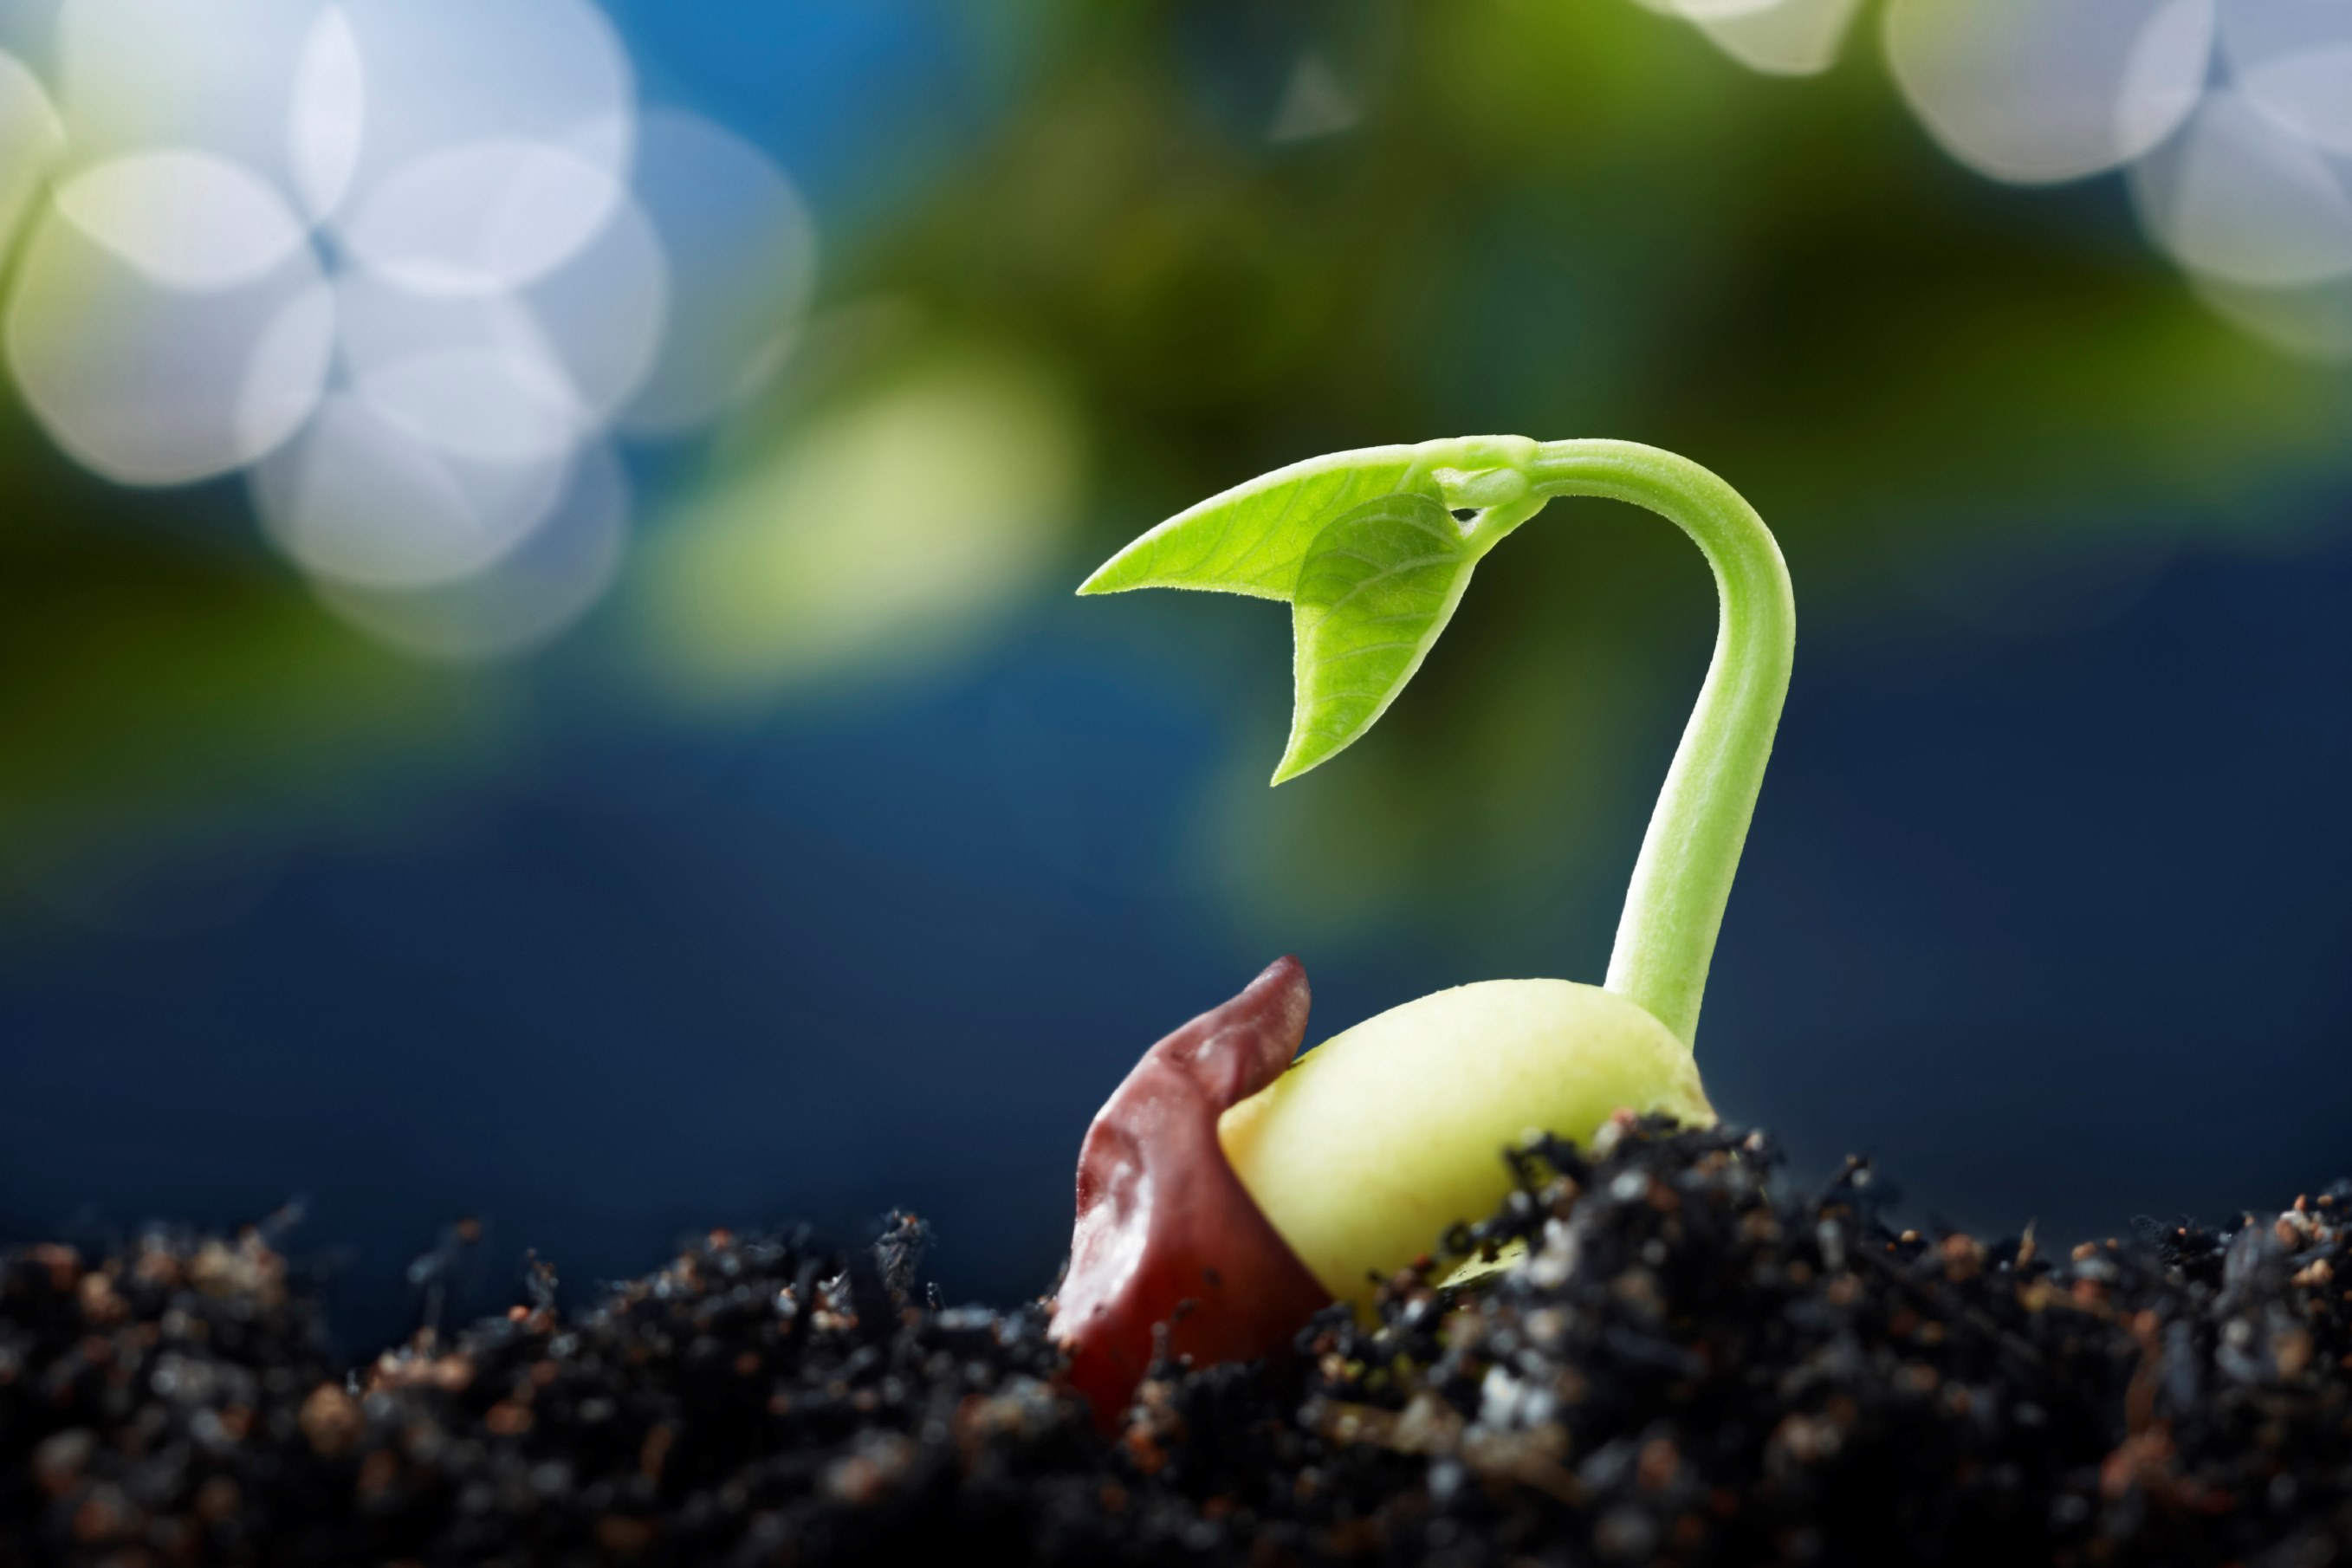
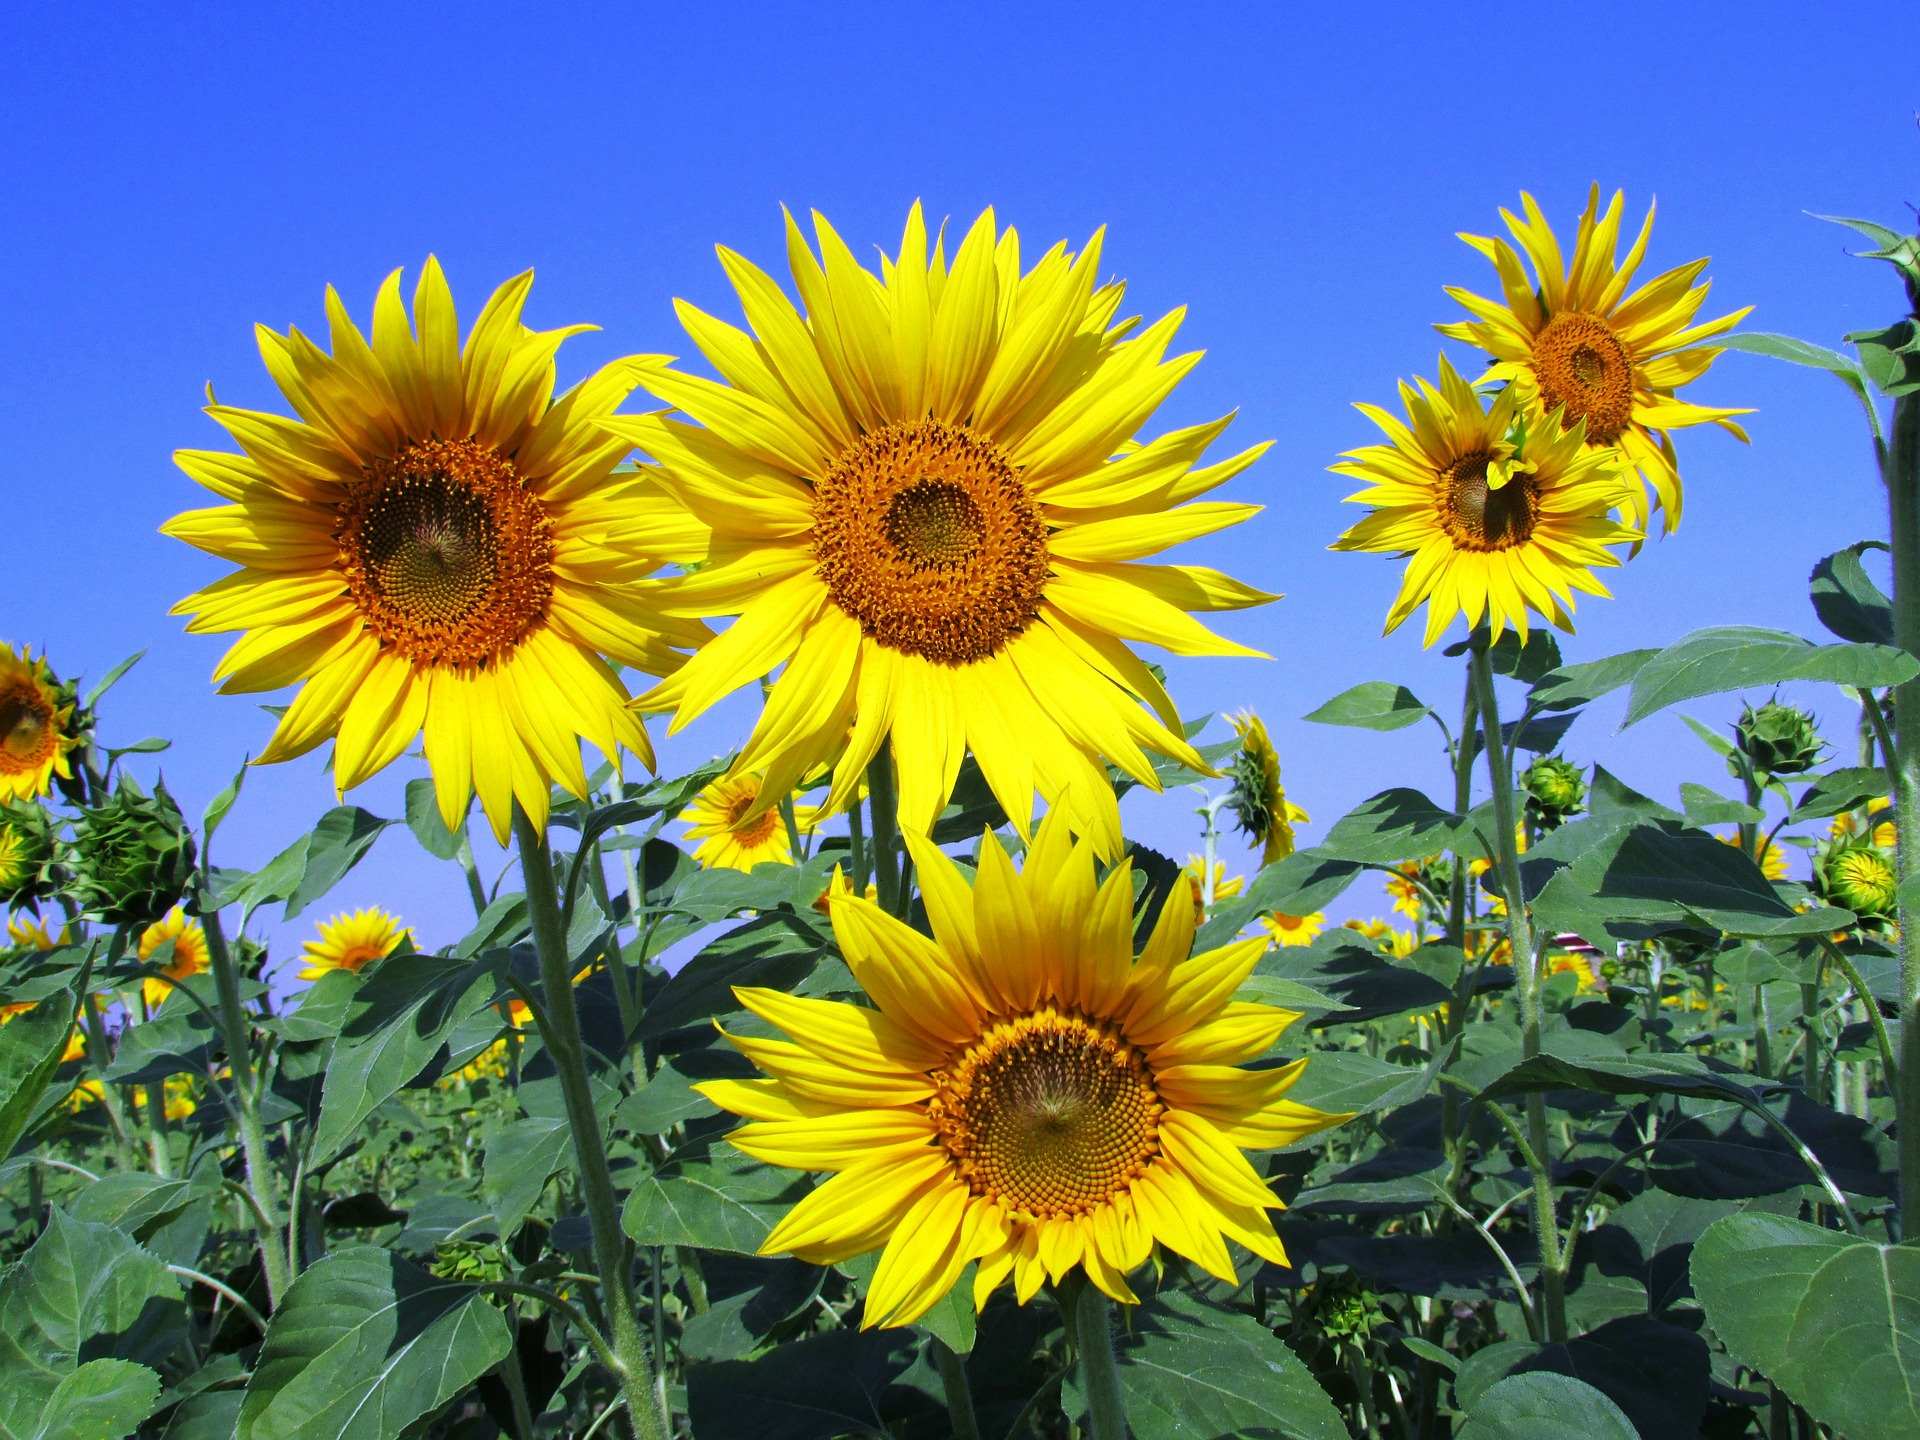
Start by examining the sunflower plant’s growth stage. Sunflowers typically go through several growth stages, starting with the seedling stage, followed by the vegetative stage, and finally the flowering stage. The flowering stage is when the sunflower heads develop and begin to bloom.
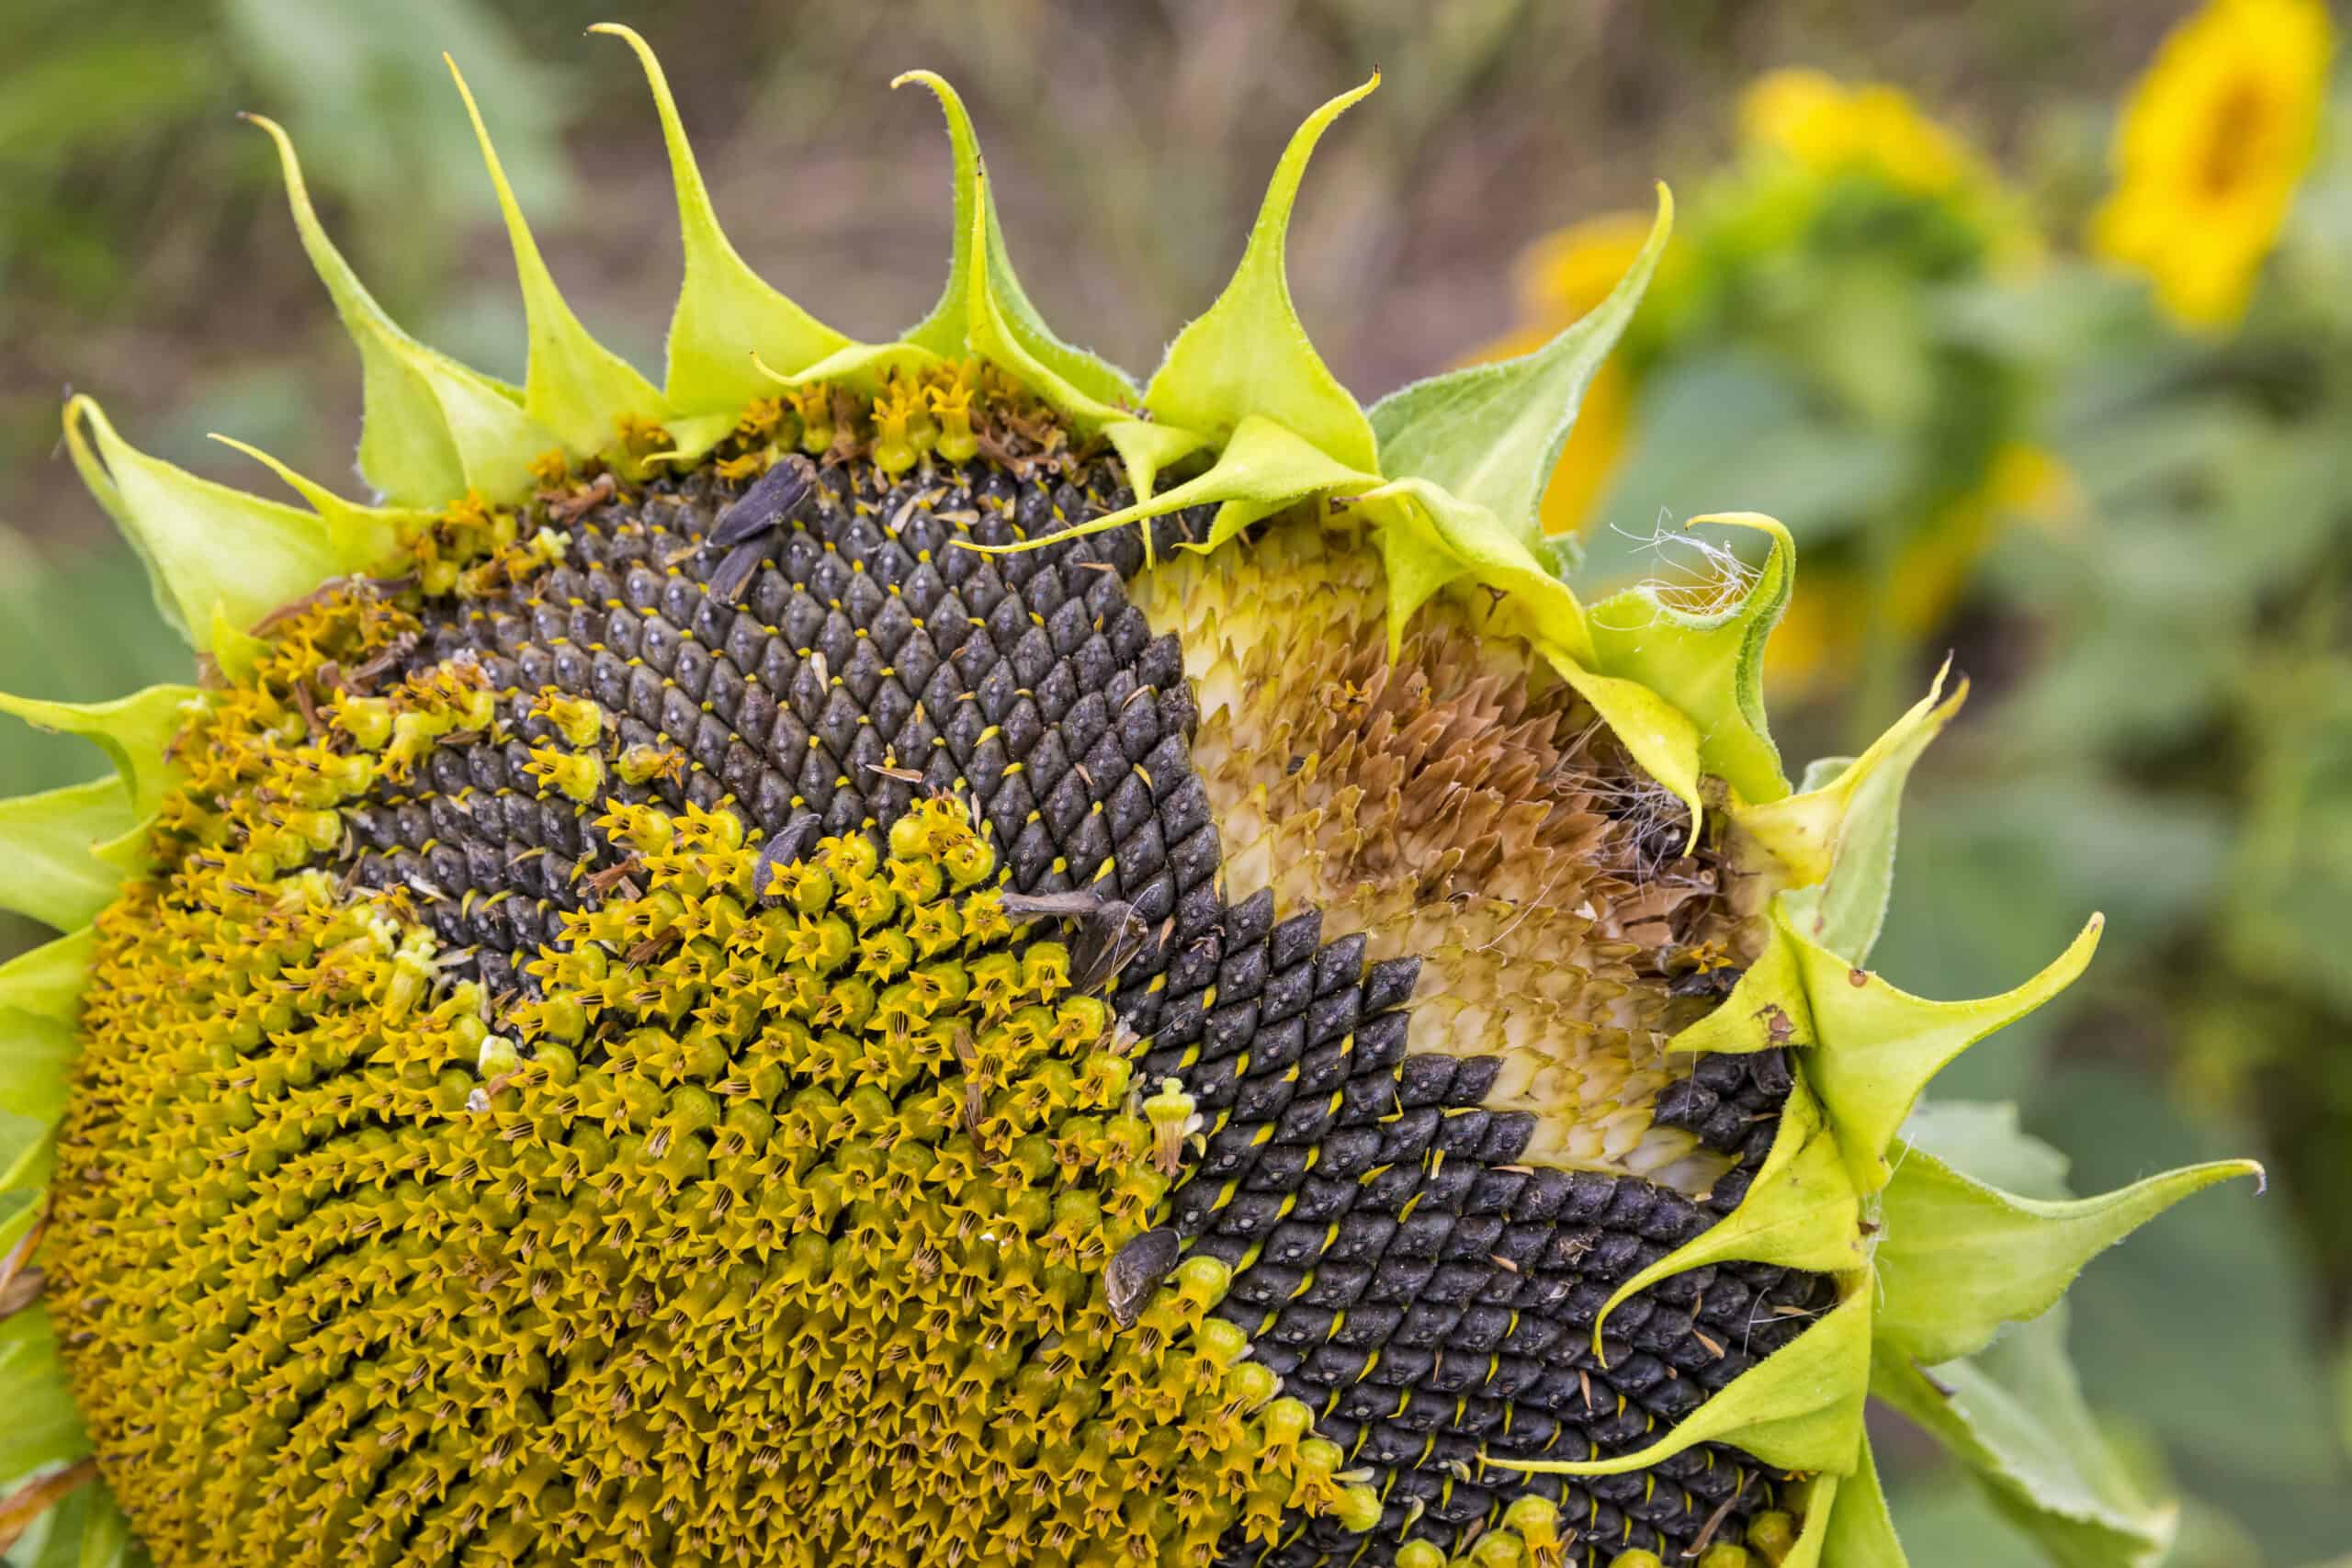
Look for signs of maturity in the sunflower heads. Mature sunflowers will have fully developed petals that are starting to wither and dry out. The backside, also known as the disk, of the sunflower head will turn from green to a yellowish-brown color. Additionally, the outer petals may start to fall off or become loose.
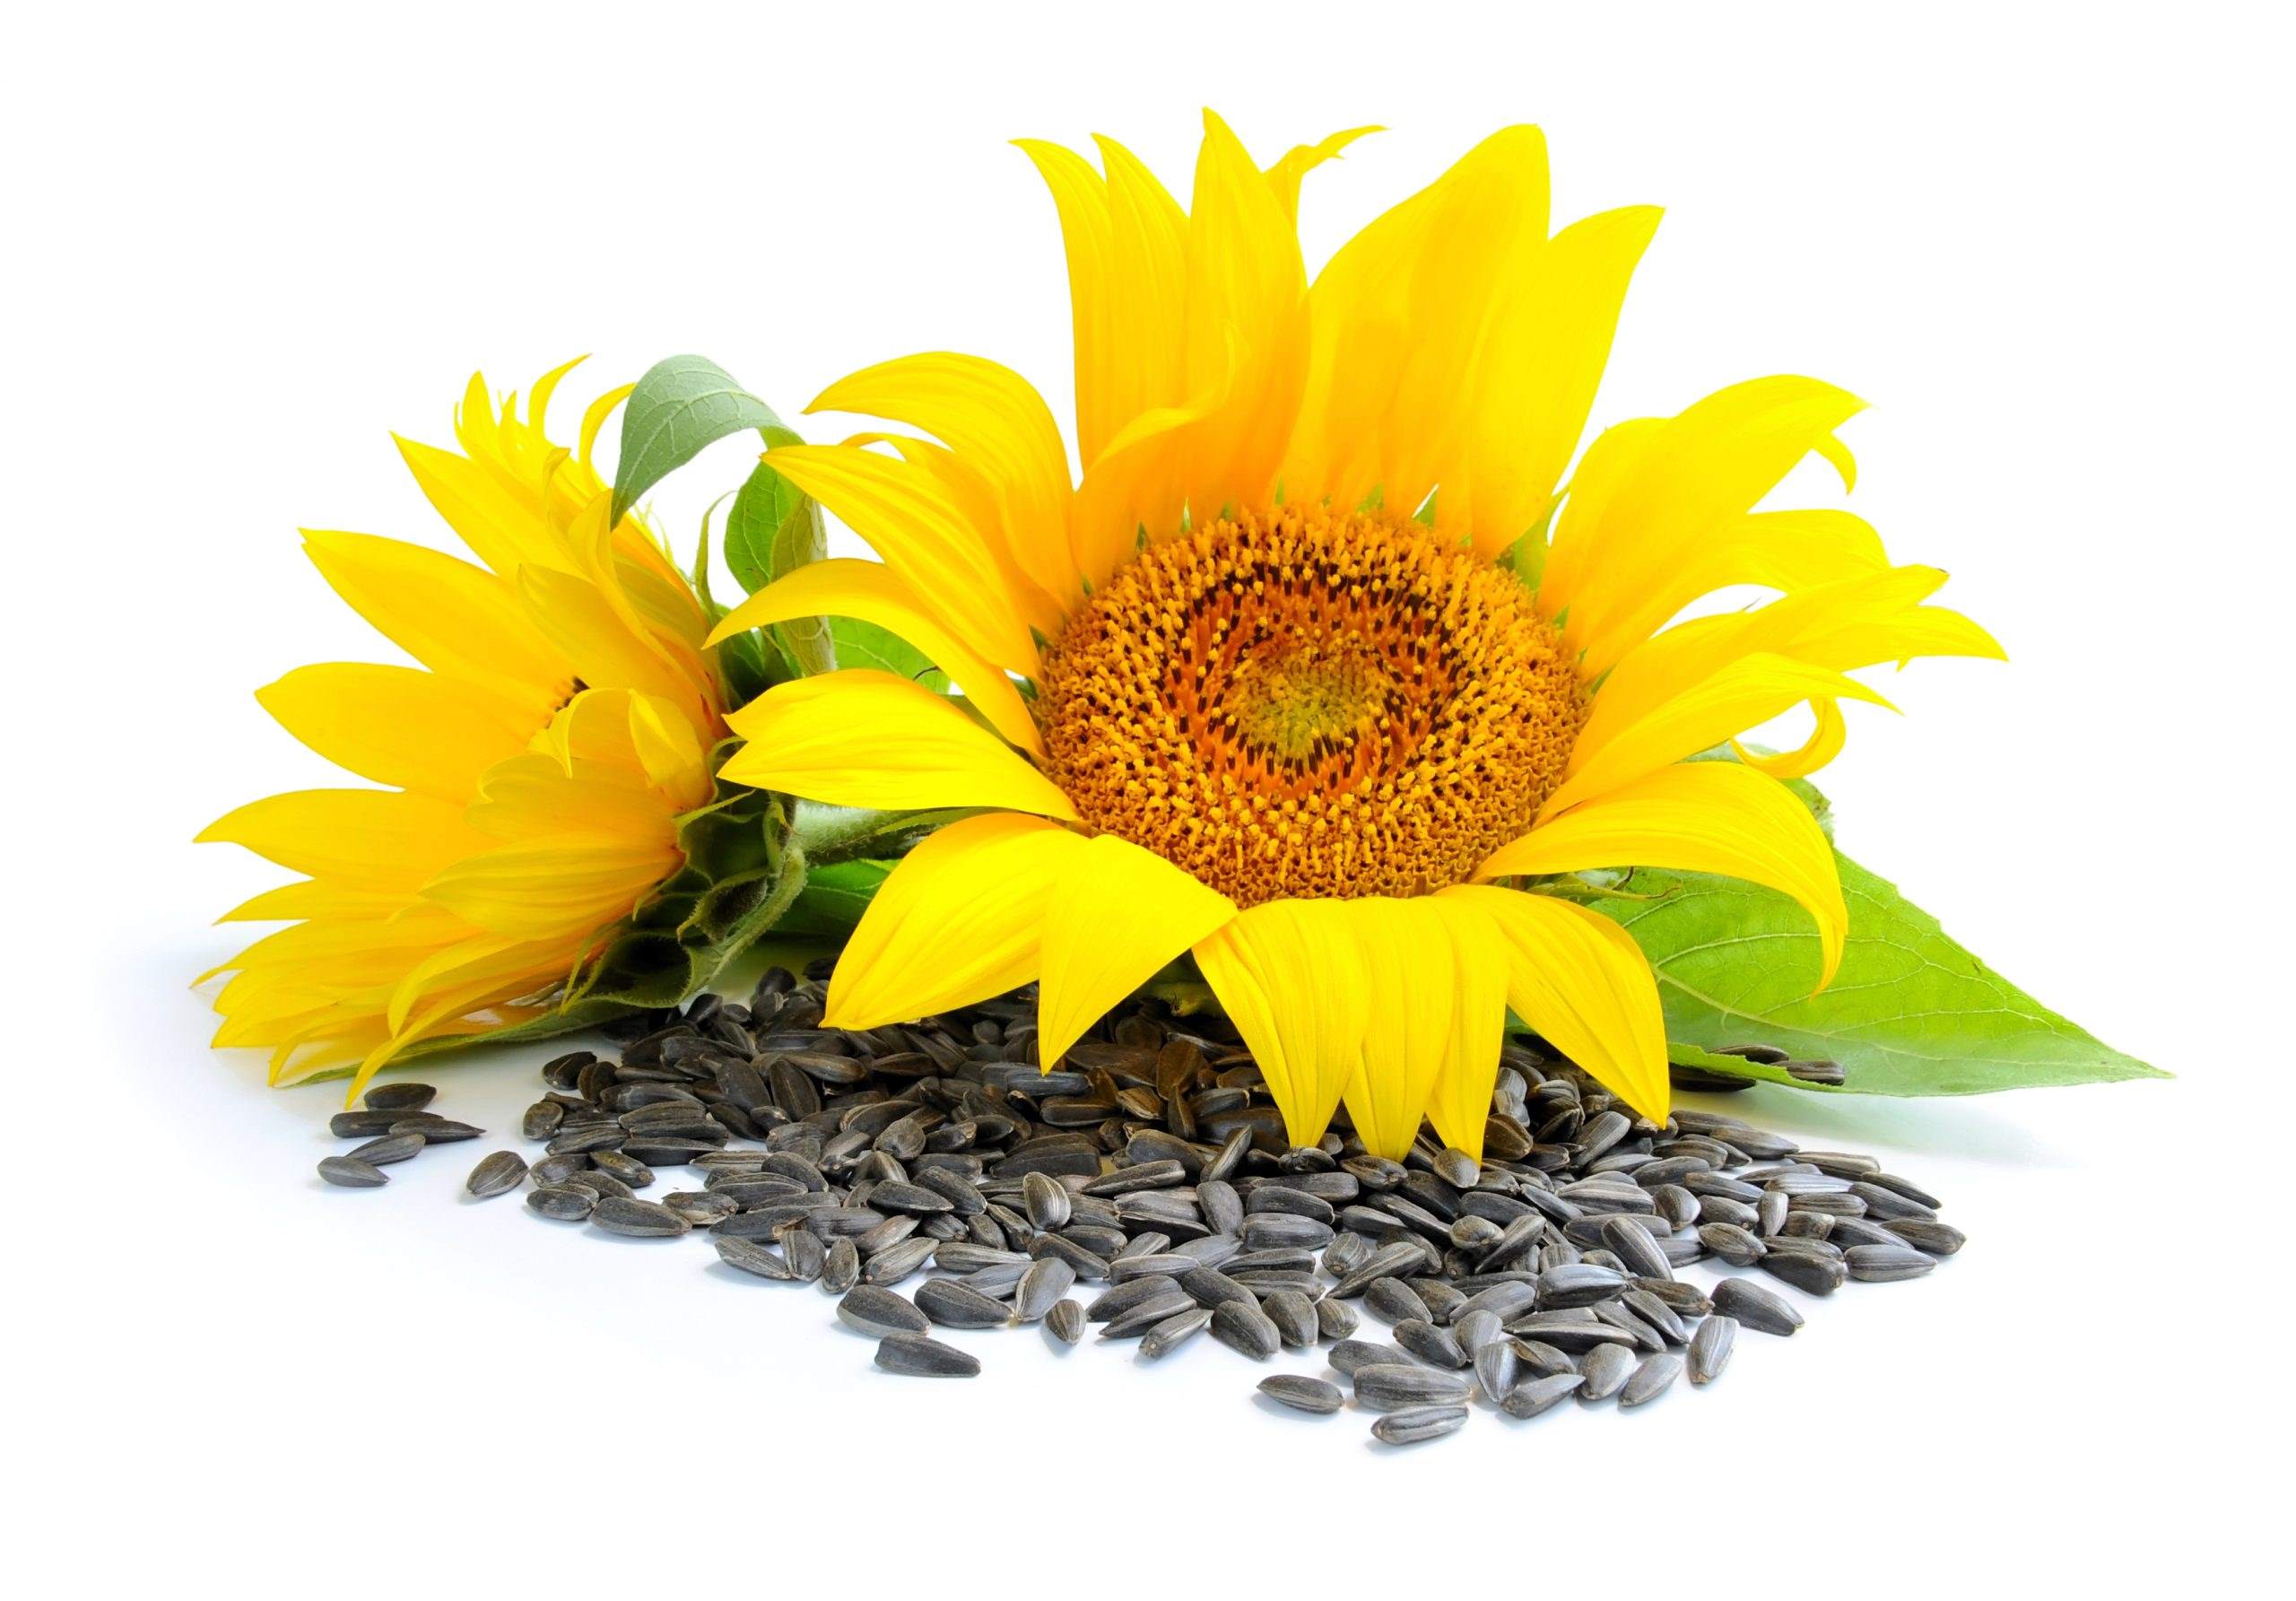
Observe the condition of the seeds within the sunflower head. The seeds should be plump, well-filled, and have a black or grayish color. Immature or undeveloped seeds may appear white or pale in color. It is important to wait until the seeds have reached their full size and color before proceeding with the harvest.
Consider the weather conditions and the forecasted weather in your area. Ideally, you should harvest the sunflower heads on a dry and sunny day, as moisture can lead to mold or mildew formation. Avoid harvesting during periods of high humidity or when rain is expected.
Take note of any pest or disease damage on the sunflower heads. Inspect for signs of insect infestations, such as holes or chewed leaves, as well as any fungal or bacterial infections. If you notice significant damage or disease, it is best to remove and dispose of the affected sunflower heads to prevent further spread.
Observing the sunflower plants allows you to determine the optimal time for harvest and ensures that the seeds are fully mature and ready for extraction. It is crucial to have patience and wait until the sunflower heads are at their peak before proceeding to the next step of the harvesting process.
Step 2: Choosing the Right Time for Harvest
Choosing the right time to harvest sunflower seeds is crucial for ensuring optimal seed development and flavor. Harvesting too early may result in immature or underdeveloped seeds, while waiting too long may lead to seeds that are too dry or have fallen off. In this step, we will discuss how to determine the right time for harvest and ensure the best quality seeds.
One of the key indicators of the right time for sunflower seed harvest is when the flower head starts to droop or face downward. This indicates that the seeds within the head have reached full maturity. If the flower head is still facing upwards, it may be a sign that the seeds are not fully developed yet.
Another visual clue is the color of the backside, or the disk, of the sunflower head. When the disk turns from green to yellow or brown, it indicates that the seeds are ready for harvest. Additionally, the outer petals of the sunflower may start to wither or fall off.
Gently press your finger on a few seeds within the head to check their firmness. Fully developed seeds should be firm and plump. If they feel soft or squishy, it means they are not yet mature and need more time to develop.
Consider the weather conditions as well. It is generally recommended to harvest sunflower seeds on a dry day, as moisture can lead to mold or mildew formation. Check the weather forecast and choose a day with little to no chance of rain or high humidity.
If you notice any signs of pest or disease damage on the sunflower heads, such as holes or rotting, it may be best to harvest the seeds earlier rather than later. This will help minimize the risk of further damage or loss due to pests or diseases.
By observing these indicators and considering the weather conditions, you can determine the right time for harvesting sunflower seeds. It is important to find the balance between allowing the seeds to fully mature and harvesting them before they become too dry or fall off. With careful timing, you can ensure the best quality and flavor of your harvested sunflower seeds.
Step 3: Cutting the Sunflower Head
Once you have determined that the sunflower seeds are ready for harvest, it’s time to cut the sunflower head from the plant. Properly cutting the sunflower head ensures that the seeds remain intact and undamaged during the harvesting process. In this step, we will discuss how to cut the sunflower head effectively.
Begin by selecting a sharp pair of garden shears or secateurs. Make sure the blades are clean and free from any debris or rust. This will help create a clean cut and minimize the risk of damaging the sunflower head.
Position yourself near the sunflower plant, ensuring that you have a clear and unobstructed view of the sunflower head. Use one hand to steady the sunflower stem, while the other hand holds the shears.
Carefully align the blades of the shears around the stem, just below the sunflower head. Take a deep breath and, in one decisive motion, make a clean and straight cut through the stem. Aim to cut the stem at a length that allows you to comfortably hold and handle the sunflower head.
As you cut the sunflower head, keep in mind that the stem is thick and sturdy. Apply even pressure with the shears to ensure a clean cut and prevent any splitting or tearing of the stem.
Once the sunflower head is cut, gently cradle it in your hands to prevent any damage or seed spillage. Be careful not to handle the backside, or the disk, of the sunflower head too much, as it may cause the seeds to dislodge.
If you are planning to save seeds for planting or want to preserve the sunflower head for decoration, leave a longer stem attached. This will provide more flexibility for hanging or storing the sunflower head.
After cutting the sunflower head, proceed to the next steps of the harvesting process to ensure proper seed extraction and storage. Remember, the way you cut the sunflower head plays a crucial role in preserving the quality and integrity of the seeds.
Step 4: Removing the Outer Petals
After cutting the sunflower head, the next step in the seed harvesting process is removing the outer petals. Removing these petals exposes the disk of the sunflower head, where the seeds are located, making it easier to extract the seeds later on. In this step, we will guide you through the process of removing the outer petals.
Start by gently holding the sunflower head in one hand, being careful not to apply too much pressure. The petals may be fragile, and excessive force may cause them to break or damage the disk.
Using your other hand, carefully grip the base of one of the outer petals where it meets the disk. With a steady and gentle tug, pull the petal away from the sunflower head. Repeat this process for each outer petal until they are all removed.
As you remove the petals, you may notice that they have started to wither and dry out. This is a natural process, as the petals are no longer needed once the seeds have matured.
Be cautious when removing the petals, as they may be attached to tiny hairs or bristles on the disk. Take your time and ensure that each petal is fully detached before moving on to the next one.
In some cases, you may encounter sunflower varieties with thicker or more tightly packed petals. If this is the case, you can carefully use your fingertips or a small pruning tool, like scissors or a knife, to loosen and remove the petals.
Once all the outer petals are removed, you will have a clear view of the disk, which contains the fully developed sunflower seeds. By removing the petals, you create easier access for seed extraction in the next step of the harvesting process.
Keep in mind that removing the outer petals should be done with care and delicacy. Be mindful of the disk and the sunflower seeds, as they are delicate and can easily be damaged or dislodged if not handled properly.
Now that the outer petals are removed, we can move on to the next step of the harvesting process, which is drying the sunflower head to ensure proper seed extraction and storage.
Step 5: Drying the Sunflower Head
After removing the outer petals, it is crucial to dry the sunflower head before proceeding with seed extraction. Drying the sunflower head helps to reduce moisture content, preventing rot and mold formation and ensuring the longevity and quality of the seeds. In this step, we will discuss the process of drying the sunflower head.
Find a clean and well-ventilated area to dry the sunflower head. Ideally, choose a location away from direct sunlight, as excessive heat can cause the seeds to become too dry and brittle. A drying room, garage, or covered outdoor area are all suitable options.
Place the sunflower head on a clean surface or suspend it upside down using a string or wire. Allowing the sunflower head to hang upside down promotes even drying and prevents the seeds from falling out prematurely.
Ensure that the drying area is free from moisture and humidity. Excess moisture can lead to the growth of mold or mildew, which can damage the seeds. Make sure the drying space has good air circulation to aid in the drying process.
Leave the sunflower head to dry for approximately 1 to 2 weeks, or until the disk and seeds feel dry and brittle to the touch. You can test the dryness by gently pressing on the disk or giving it a slight twist – if it feels firm and snaps easily, it is likely dry.
If the weather is particularly humid or the drying process is taking longer than expected, you can use a fan or a dehumidifier to help expedite the drying process. Just ensure that the airflow is gentle enough to avoid dislodging the seeds.
During the drying period, it’s essential to periodically inspect the sunflower head for signs of mold or degradation. If any mold or rot is detected, remove and discard the affected areas immediately to prevent it from spreading to the healthy seeds.
Once the sunflower head is fully dried, it is ready for seed extraction. Ensure that the disk and seeds are completely dry before proceeding to the next step, as any remaining moisture can affect the storage and viability of the harvested seeds.
By following these steps, you can effectively dry the sunflower head and prepare it for the next phase of seed extraction. Properly dried seeds will have a higher chance of germination and excellent storage quality, allowing you to enjoy the fruits of your labor for years to come.
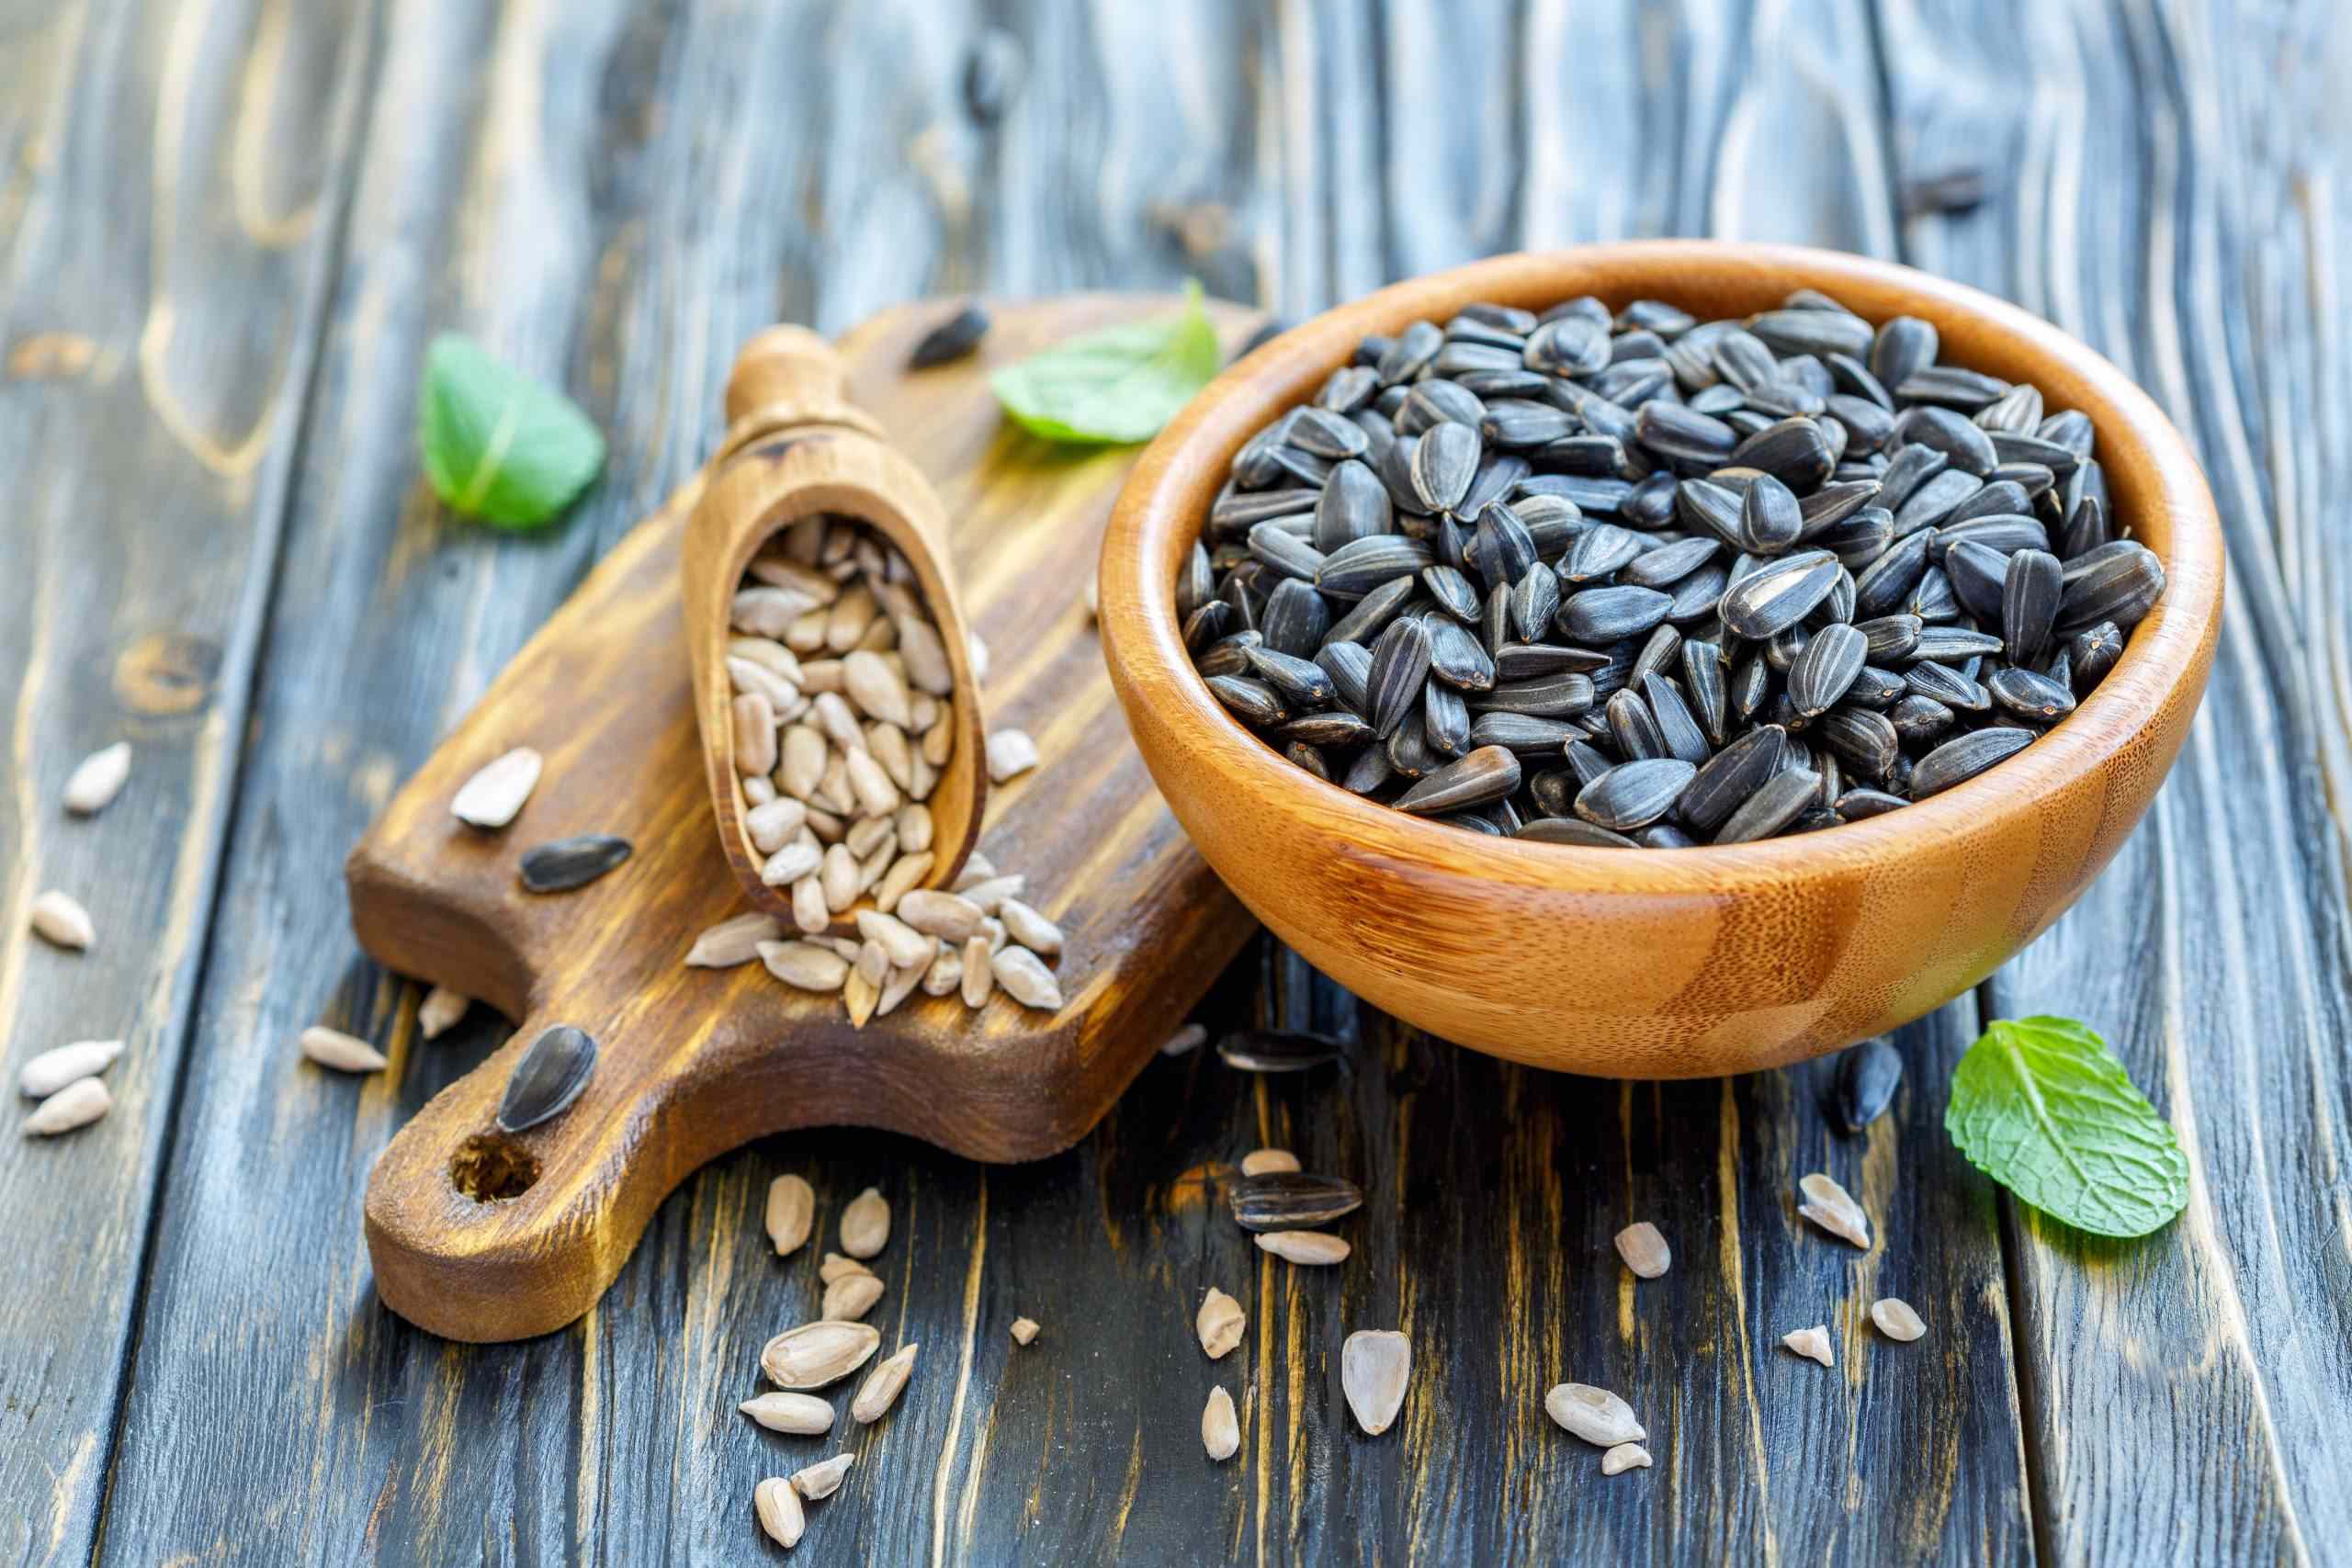
Step 6: Extracting the Sunflower Seeds
Once the sunflower head is fully dried, it’s time to extract the precious sunflower seeds. Extracting the seeds requires a bit of patience and technique to ensure minimal damage to the seeds. In this step, we will guide you through the process of extracting the sunflower seeds.
Start by placing a clean bowl or tray underneath the sunflower head to catch any seeds that may fall during the extraction process. This will help prevent any loss or unnecessary mess.
Gently hold the dried sunflower head by the stem, being careful not to apply too much pressure. Position the head over the bowl or tray and start rubbing your hand back and forth along the disk of the sunflower head. This motion will help loosen the seeds from the disk.
As you rub the disk, you will start to notice the seeds detaching and falling into the bowl or tray. Continue this process until you have extracted the majority of the seeds, ensuring that you rotate and rub the entire disk to collect all the seeds.
If some seeds remain stubbornly attached to the disk, you can use your fingers or a small tool, like a toothpick or dull knife, to gently pry them loose. Be careful not to apply too much force or damage the seeds in the process.
Once all the seeds are extracted, take a moment to separate any remaining debris, such as plant material or petal fragments, from the seeds. This can be done by gently blowing on the seeds or using a fine-meshed sieve to sift through them.
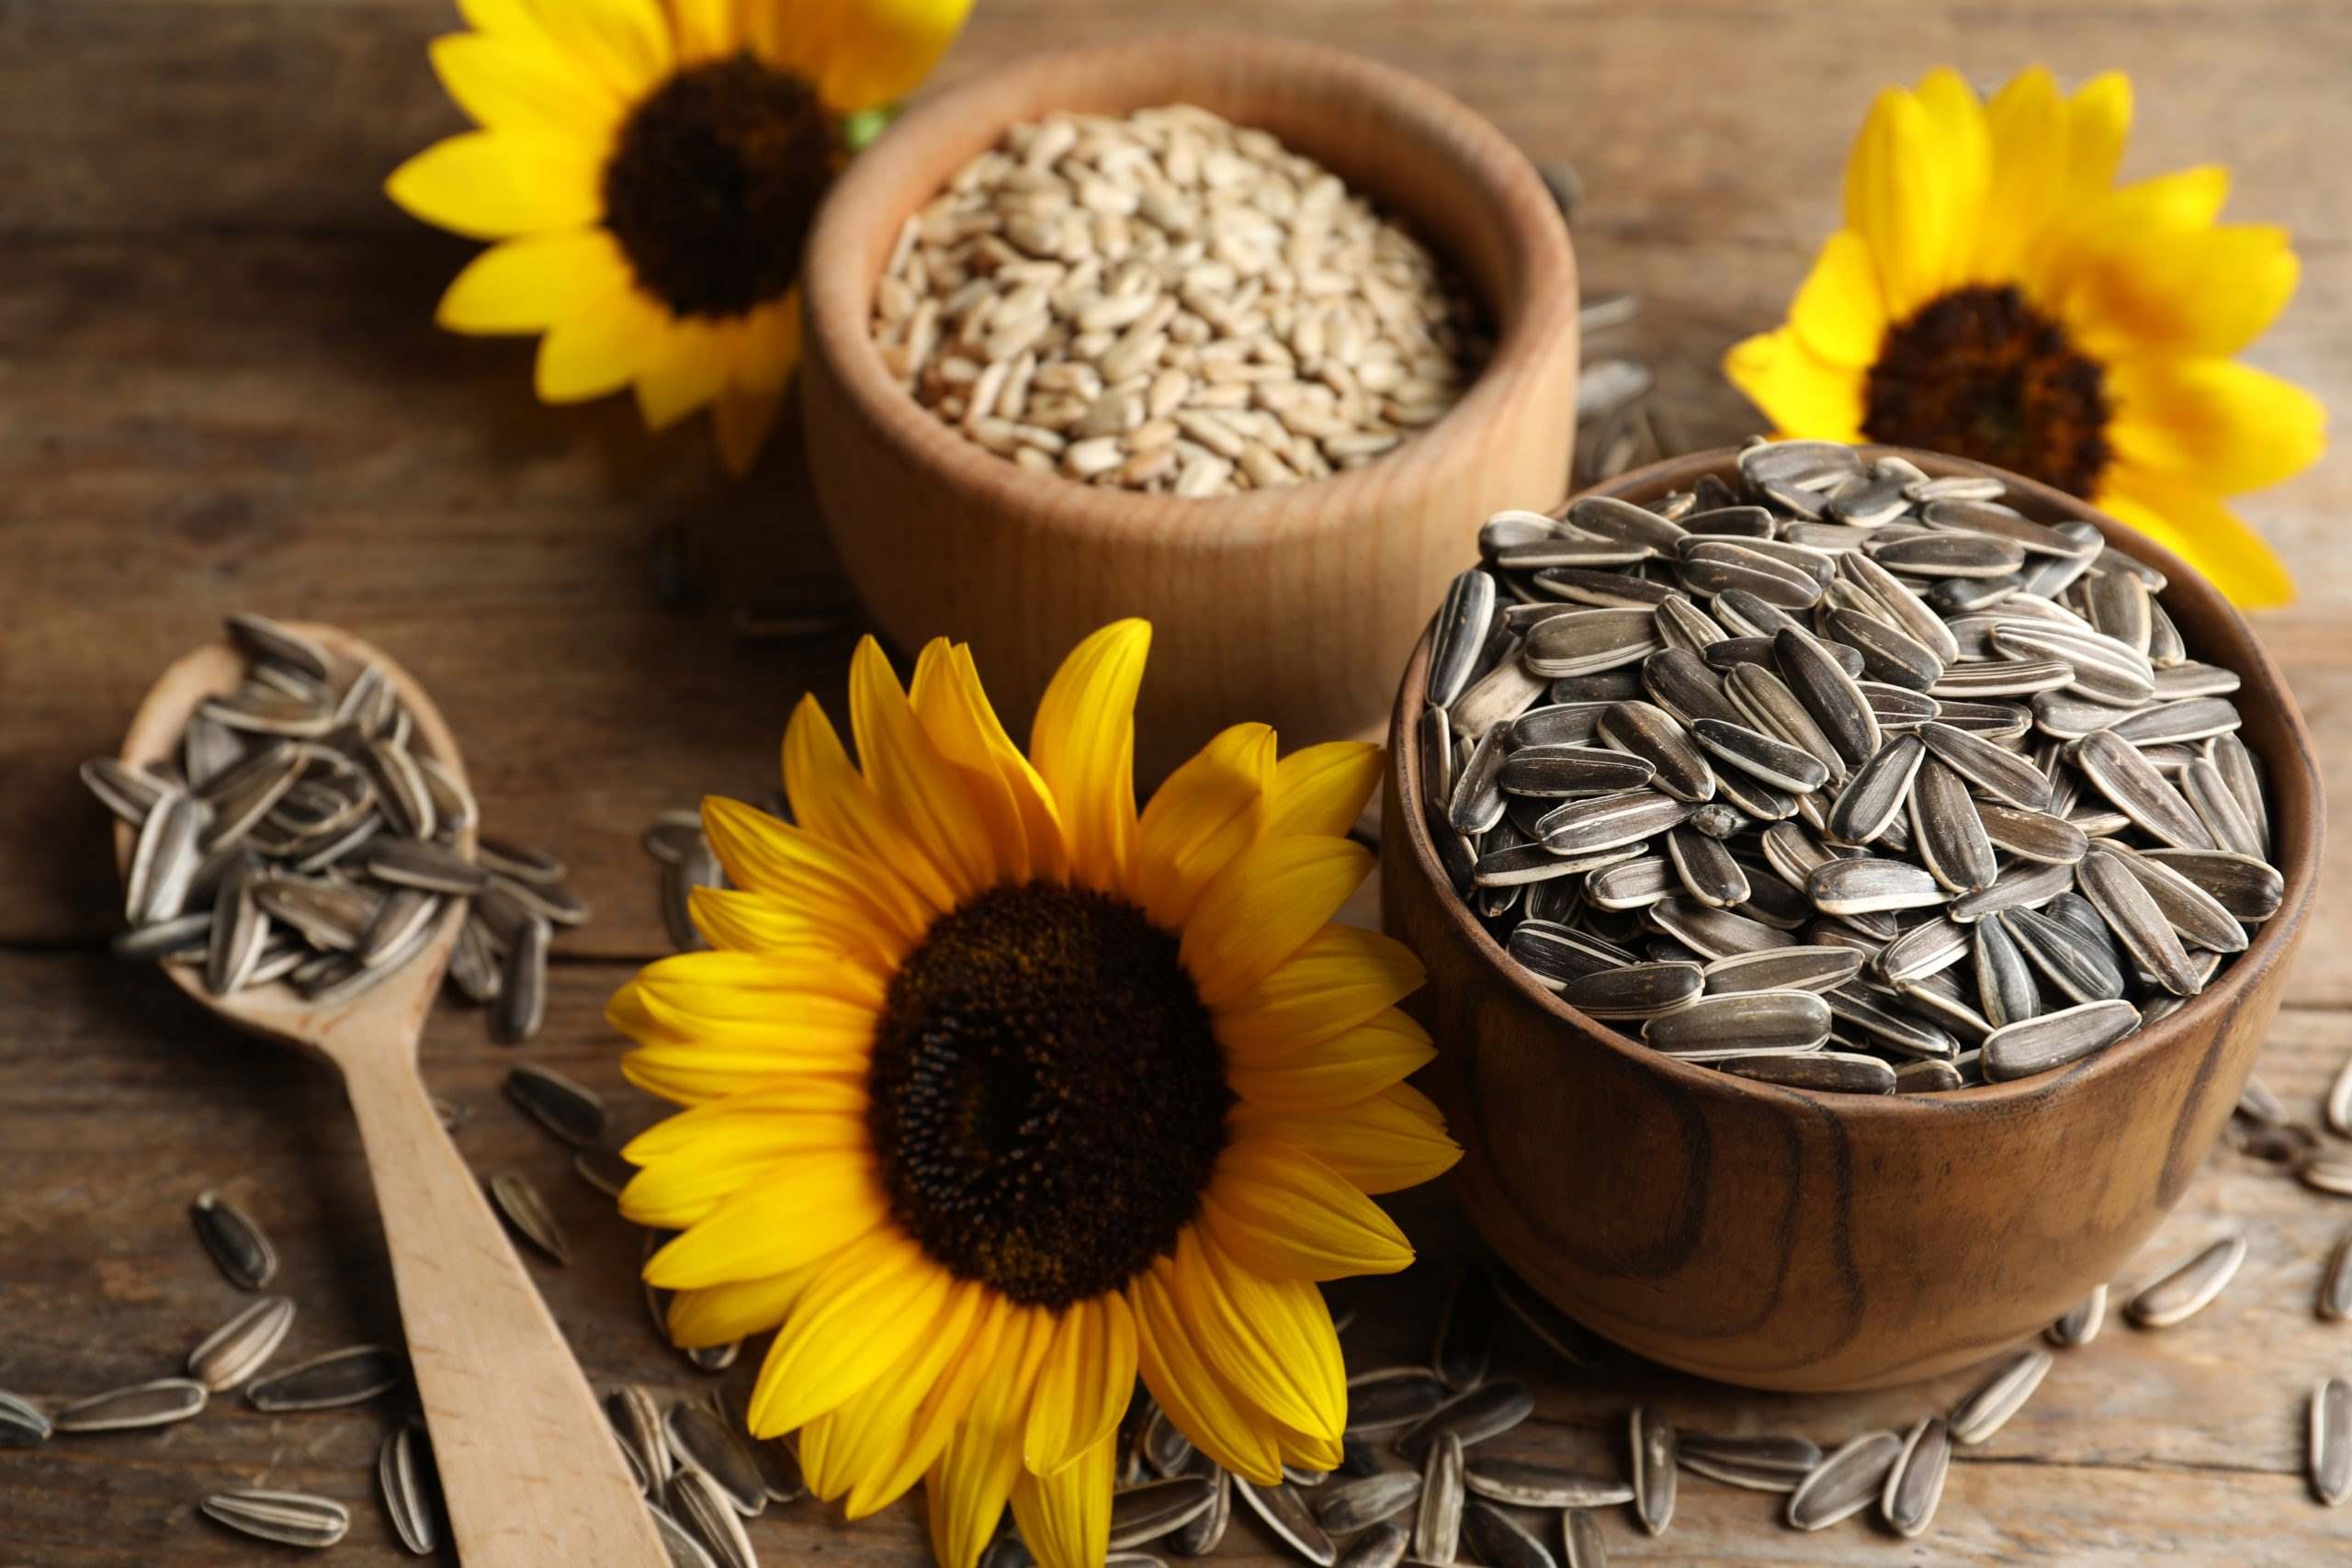
Inspect the extracted seeds for quality and viability. Discard any damaged, discolored, or malformed seeds, as they are unlikely to germinate or produce healthy plants. Keep only the plump, healthy-looking seeds for storage or future planting.
After the extraction process, carefully transfer the harvested sunflower seeds to a clean, dry container or resealable bag. Label the container with the date of harvest and the sunflower variety to help track and organize your seed collection.
It’s worth noting that some sunflower varieties have larger and easier-to-extract seeds, while others may have smaller or more tightly bound seeds. Regardless, with patience and gentle handling, you can successfully extract and collect the sunflower seeds for various uses.
Congratulations! You have now completed the seed extraction process and are one step closer to enjoying the rewards of your sunflower harvest. Next, we will discuss how to clean and store the harvested sunflower seeds for maximum freshness and longevity.
Step 7: Cleaning and Storing Sunflower Seeds
After successfully extracting the sunflower seeds, it is essential to clean and store them properly to maintain their freshness and viability. This final step ensures that your harvested seeds remain in optimal condition for future planting or consumption. Let’s explore the process of cleaning and storing sunflower seeds.
Begin by transferring the extracted sunflower seeds to a sieve or fine-mesh colander. Rinse the seeds under cool running water to remove any remaining debris, such as dried petals or plant material. Gently swish the seeds around, ensuring that all surfaces are rinsed thoroughly.
After rinsing, spread the seeds out on a clean towel or paper towel to dry. Allow them to air-dry completely, preferably in a well-ventilated area, for at least 24 to 48 hours. It’s important to ensure that the seeds are fully dry before storing, as any moisture can lead to mold or spoilage.
Once the seeds are dry, inspect them one final time to ensure they are clean and free from any remaining debris or damaged seeds. Remove any shriveled, discolored, or misshapen seeds that may affect the overall quality and germination rate.
Choose an appropriate storage container for your sunflower seeds. Opt for airtight glass jars or resealable bags that can help maintain the seeds’ freshness and protect them from moisture and pests. Remember to label the containers with the date of harvest and the sunflower variety for easy identification.
For added protection against pests, consider adding a desiccant packet or a small sachet of dry rice to absorb any residual moisture inside the storage container. This will help prolong the shelf life of the seeds and prevent molding or spoilage.
Store the sunflower seeds in a cool, dry, and dark place, such as a pantry or a cupboard. Avoid locations with temperature fluctuations or exposure to direct sunlight, as these can affect the seed quality and viability.
Regularly check on the stored seeds to ensure there are no signs of mold or moisture. If you detect any issues, promptly discard any affected seeds to prevent the spread of mold or damage to the remaining seeds.
By following these steps, you can ensure that your harvested sunflower seeds remain clean, dry, and well-preserved for future planting or consumption. Proper storage practices will help maintain the seeds’ viability and provide you with a bountiful supply of sunflower seeds for years to come.
Conclusion
Congratulations on successfully completing the sunflower seed harvesting process! By following the steps outlined in this article, you have learned how to observe, choose the right time, cut, remove the outer petals, dry, extract, clean, and store sunflower seeds. Through these processes, you have not only obtained a bountiful supply of nutritious seeds but also gained a deeper appreciation for the life cycle and beauty of sunflowers.
Harvesting sunflower seeds is a fulfilling and rewarding experience, allowing you to enjoy the fruits of your gardening labor. Whether you choose to save the seeds for future planting or use them as a delicious and healthy snack, the process of harvesting sunflower seeds offers numerous benefits. From providing sustenance for wildlife to developing a stronger connection with nature, the act of seed harvesting adds an extra layer of joy and purpose to your gardening journey.
Remember to continue exploring the world of ornamental gardening, experimenting with different varieties of sunflowers, and expanding your knowledge of other plant species. There is always more to learn and discover in the realm of gardening, and with each new season, you can embark on exciting horticultural adventures.
Now that you have mastered the art of sunflower seed harvesting, share your knowledge and experiences with others. Encourage friends, family, and fellow gardeners to embark on their own sunflower seed harvesting journey, and spread the joy of growing and harvesting these beautiful plants.
As you continue your gardening endeavors, keep in mind that patience, care, and attention to detail are key. With proper observation, timing, and technique, you can create a flourishing garden filled with vibrant sunflowers and an abundance of seeds.
So, grab your gardening tools, put on your sun hat, and get ready to enjoy the beauty and rewards of ornamental gardening. With each sunflower seed you harvest, you are playing an important role in preserving nature’s beauty and contributing to the cycle of life.