Home>Gardening Tips and Tricks>Problem Solving>How To Bake Sunflower Seeds
Problem Solving
How To Bake Sunflower Seeds
Modified: January 22, 2024
Learn how to bake your favorite sunflower seeds with our step-by-step guide. Discover problem-solving tips and create crispy, flavorful seeds that everyone will love.
(Many of the links in this article redirect to a specific reviewed product. Your purchase of these products through affiliate links helps to generate commission for Chicagolandgardening.com, at no extra cost. Learn more)
Table of Contents
Introduction
Welcome to the wonderful world of baking sunflower seeds! Whether you are looking for a nutritious snack or a delicious topping for your salads or desserts, homemade baked sunflower seeds are the perfect choice. Not only are they easy to make, but they are also incredibly addictive!
Baking your own sunflower seeds allows you to control the seasoning and ensure they are perfectly roasted. You can customize them to suit your taste preferences — whether you prefer a classic salty flavor, a spicy kick, or a sweet and savory combination.
Not only are sunflower seeds a tasty treat, but they are also packed with nutrients. These tiny powerhouses are a great source of healthy fats, protein, fiber, and vitamins and minerals. They are also rich in antioxidants that can help reduce inflammation and support heart health.
In this article, we will walk you through the process of preparing, seasoning, baking, and storing sunflower seeds. So, get ready to embark on a culinary adventure and discover the satisfaction of making your own delicious and nutritious baked sunflower seeds!
Preparing the Sunflower Seeds
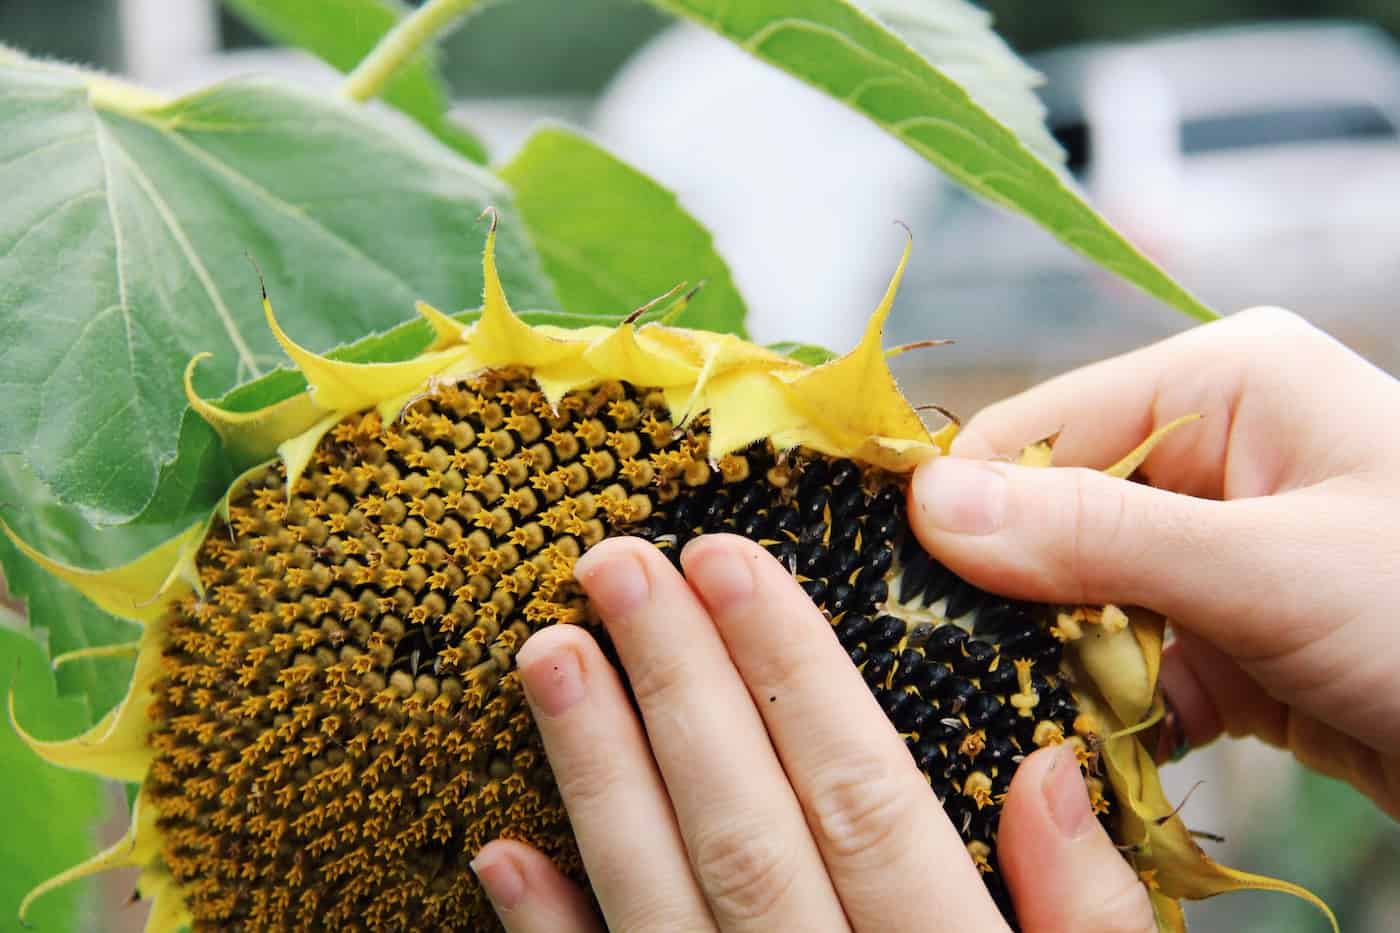
The first step in baking sunflower seeds is to properly prepare them. It is essential to remove any debris or impurities and rinse the seeds thoroughly. Here’s how to do it:
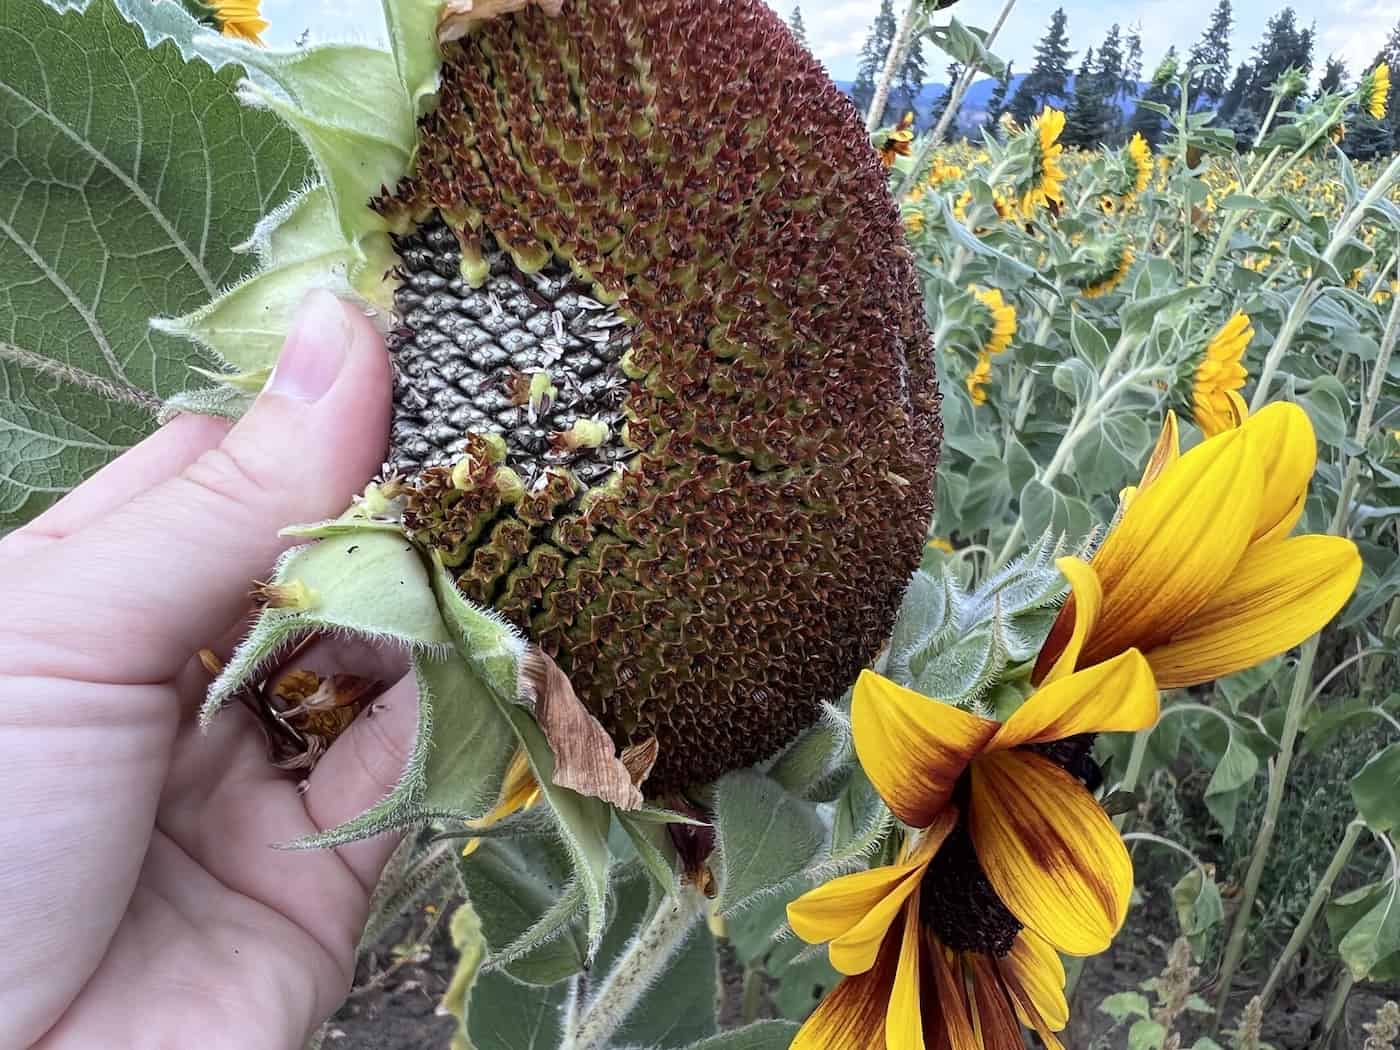
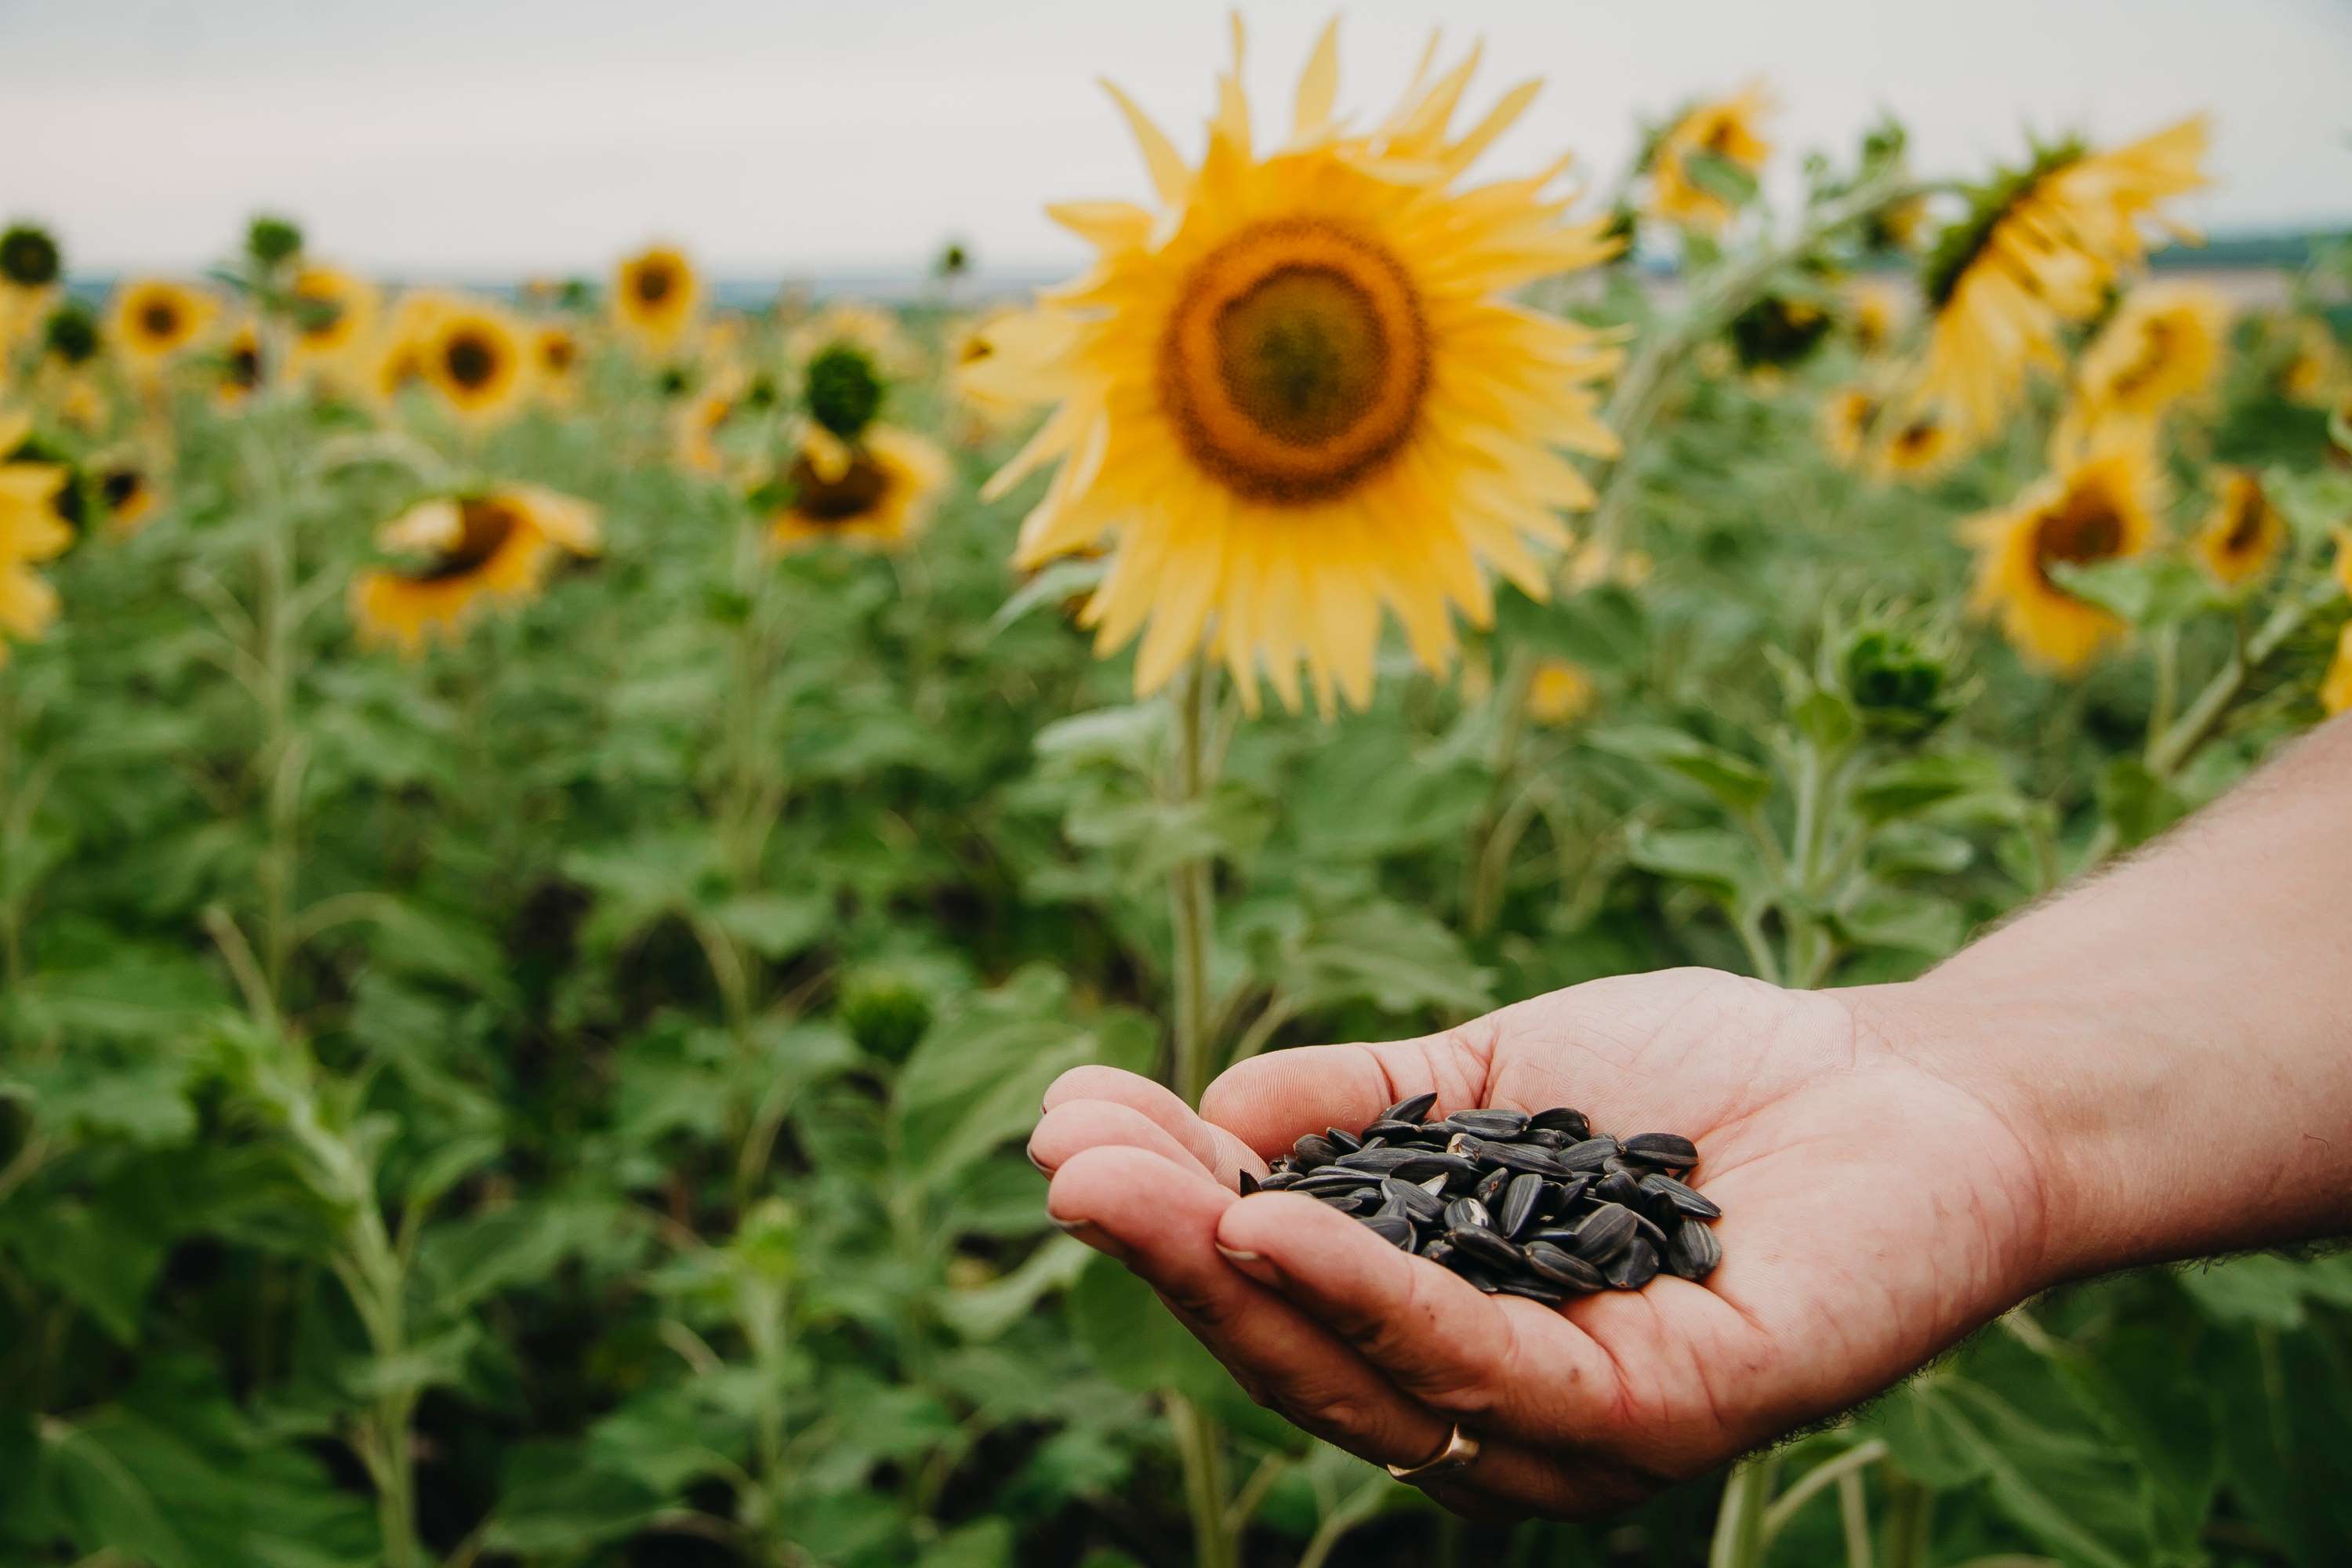
- Start by selecting high-quality raw sunflower seeds. Look for seeds that are plump, uniform in size, and without any signs of mold or discoloration.
- Place your sunflower seeds in a colander and rinse them under cold running water. Gently rub the seeds between your fingers to remove any dirt or residue.
- Once the seeds are rinsed, spread them out on a clean kitchen towel or paper towels to dry. Pat them gently to remove any excess moisture, but be careful not to crush or damage the seeds.
- Once the seeds are dry, transfer them to a bowl and check for any remaining debris or shell fragments. Remove any unwanted particles by hand.
Preparing the sunflower seeds ensures that you are starting with a clean and fresh foundation for your baked delights. It also helps to remove any bitter tastes that may be present in raw seeds, resulting in a more enjoyable snacking experience.
Seasoning the Sunflower Seeds
Now that your sunflower seeds are prepped and ready, it’s time to add some flavor! This is where you can get creative and tailor the seasoning to your personal taste preferences. Here are a few popular seasoning options:
- Classic Salted: For a simple and timeless flavor, sprinkle your sunflower seeds with sea salt or kosher salt. You can adjust the amount to your desired level of saltiness.
- Spicy Kick: For those who enjoy a little heat, add some spice to your sunflower seeds. You can use cayenne pepper, smoked paprika, chili powder, or even a dash of hot sauce to give your seeds a fiery kick.
- Sweet and Savory: If you prefer a sweeter flavor, consider combining salt with a touch of honey, maple syrup, or brown sugar. You can also experiment with adding cinnamon, nutmeg, or other warm spices to create a delicious sweet and savory blend.
- Herb-infused: For an herbal twist, try tossing your sunflower seeds with dried herbs like rosemary, thyme, or oregano. These aromatic herbs will infuse your seeds with a delightful earthy flavor.
To season your sunflower seeds, place them in a bowl and drizzle them with a light coating of olive oil or melted butter. Sprinkle the desired seasoning over the seeds and toss them gently to ensure an even distribution. Don’t be afraid to taste and adjust the seasoning to your liking before moving on to the baking process.
Remember, the seasoning possibilities are endless, so feel free to get creative and experiment with different flavors until you find your perfect combination!
Baking the Sunflower Seeds
Now that your sunflower seeds are seasoned to perfection, it’s time to bake them to achieve that desirable crispy texture. Follow these simple steps for a successful baking process:
- Preheat your oven to 325°F (160°C). It’s important to preheat the oven to ensure an even and consistent baking temperature.
- Spread the seasoned sunflower seeds in a single layer on a lined baking sheet. Use parchment paper or a silicone baking mat to prevent the seeds from sticking to the pan.
- Place the baking sheet in the preheated oven and set a timer for 10 minutes.
- After 10 minutes, remove the baking sheet from the oven and give the seeds a gentle stir, ensuring that they cook evenly.
- Return the baking sheet to the oven and continue baking for another 10-15 minutes, or until the sunflower seeds turn a golden brown color. Keep a close eye on them to prevent over-browning.
Keep in mind that baking times may vary depending on your oven and the size of the seeds. It’s always a good idea to check on the seeds periodically and adjust the baking time accordingly to achieve the desired crunchiness.
Once the sunflower seeds are beautifully golden and crispy, remove them from the oven and let them cool on the baking sheet. Avoid the temptation to taste them right away, as they will be extremely hot! Allow the seeds to cool completely before transferring them to an airtight container for storage.
Baking the sunflower seeds not only develops their flavors but also enhances their crunchiness, making them incredibly satisfying to snack on. So, take the time to bake them to perfection and enjoy the mouthwatering results!
Cooling and Storing the Sunflower Seeds
After the sunflower seeds have been baked to crispy perfection, it’s important to properly cool and store them to maintain their freshness and flavor. Follow these guidelines to ensure optimal storage:
- Allow the baked sunflower seeds to cool completely on the baking sheet. This will help them reach room temperature and prevent any unwanted moisture buildup.
- Once cooled, transfer the sunflower seeds to an airtight container, such as a glass jar or airtight plastic bag. Make sure the container is clean and dry before adding the seeds.
- Store the container in a cool, dry place away from direct sunlight and moisture. Sunflower seeds can become rancid if exposed to heat, light, or humidity, so it’s crucial to store them properly to maintain their quality.
- If you want to extend the shelf life of your sunflower seeds, you can store them in the refrigerator or freezer. Place them in a freezer-safe container or zip-lock bag, and they can stay fresh for up to several months.
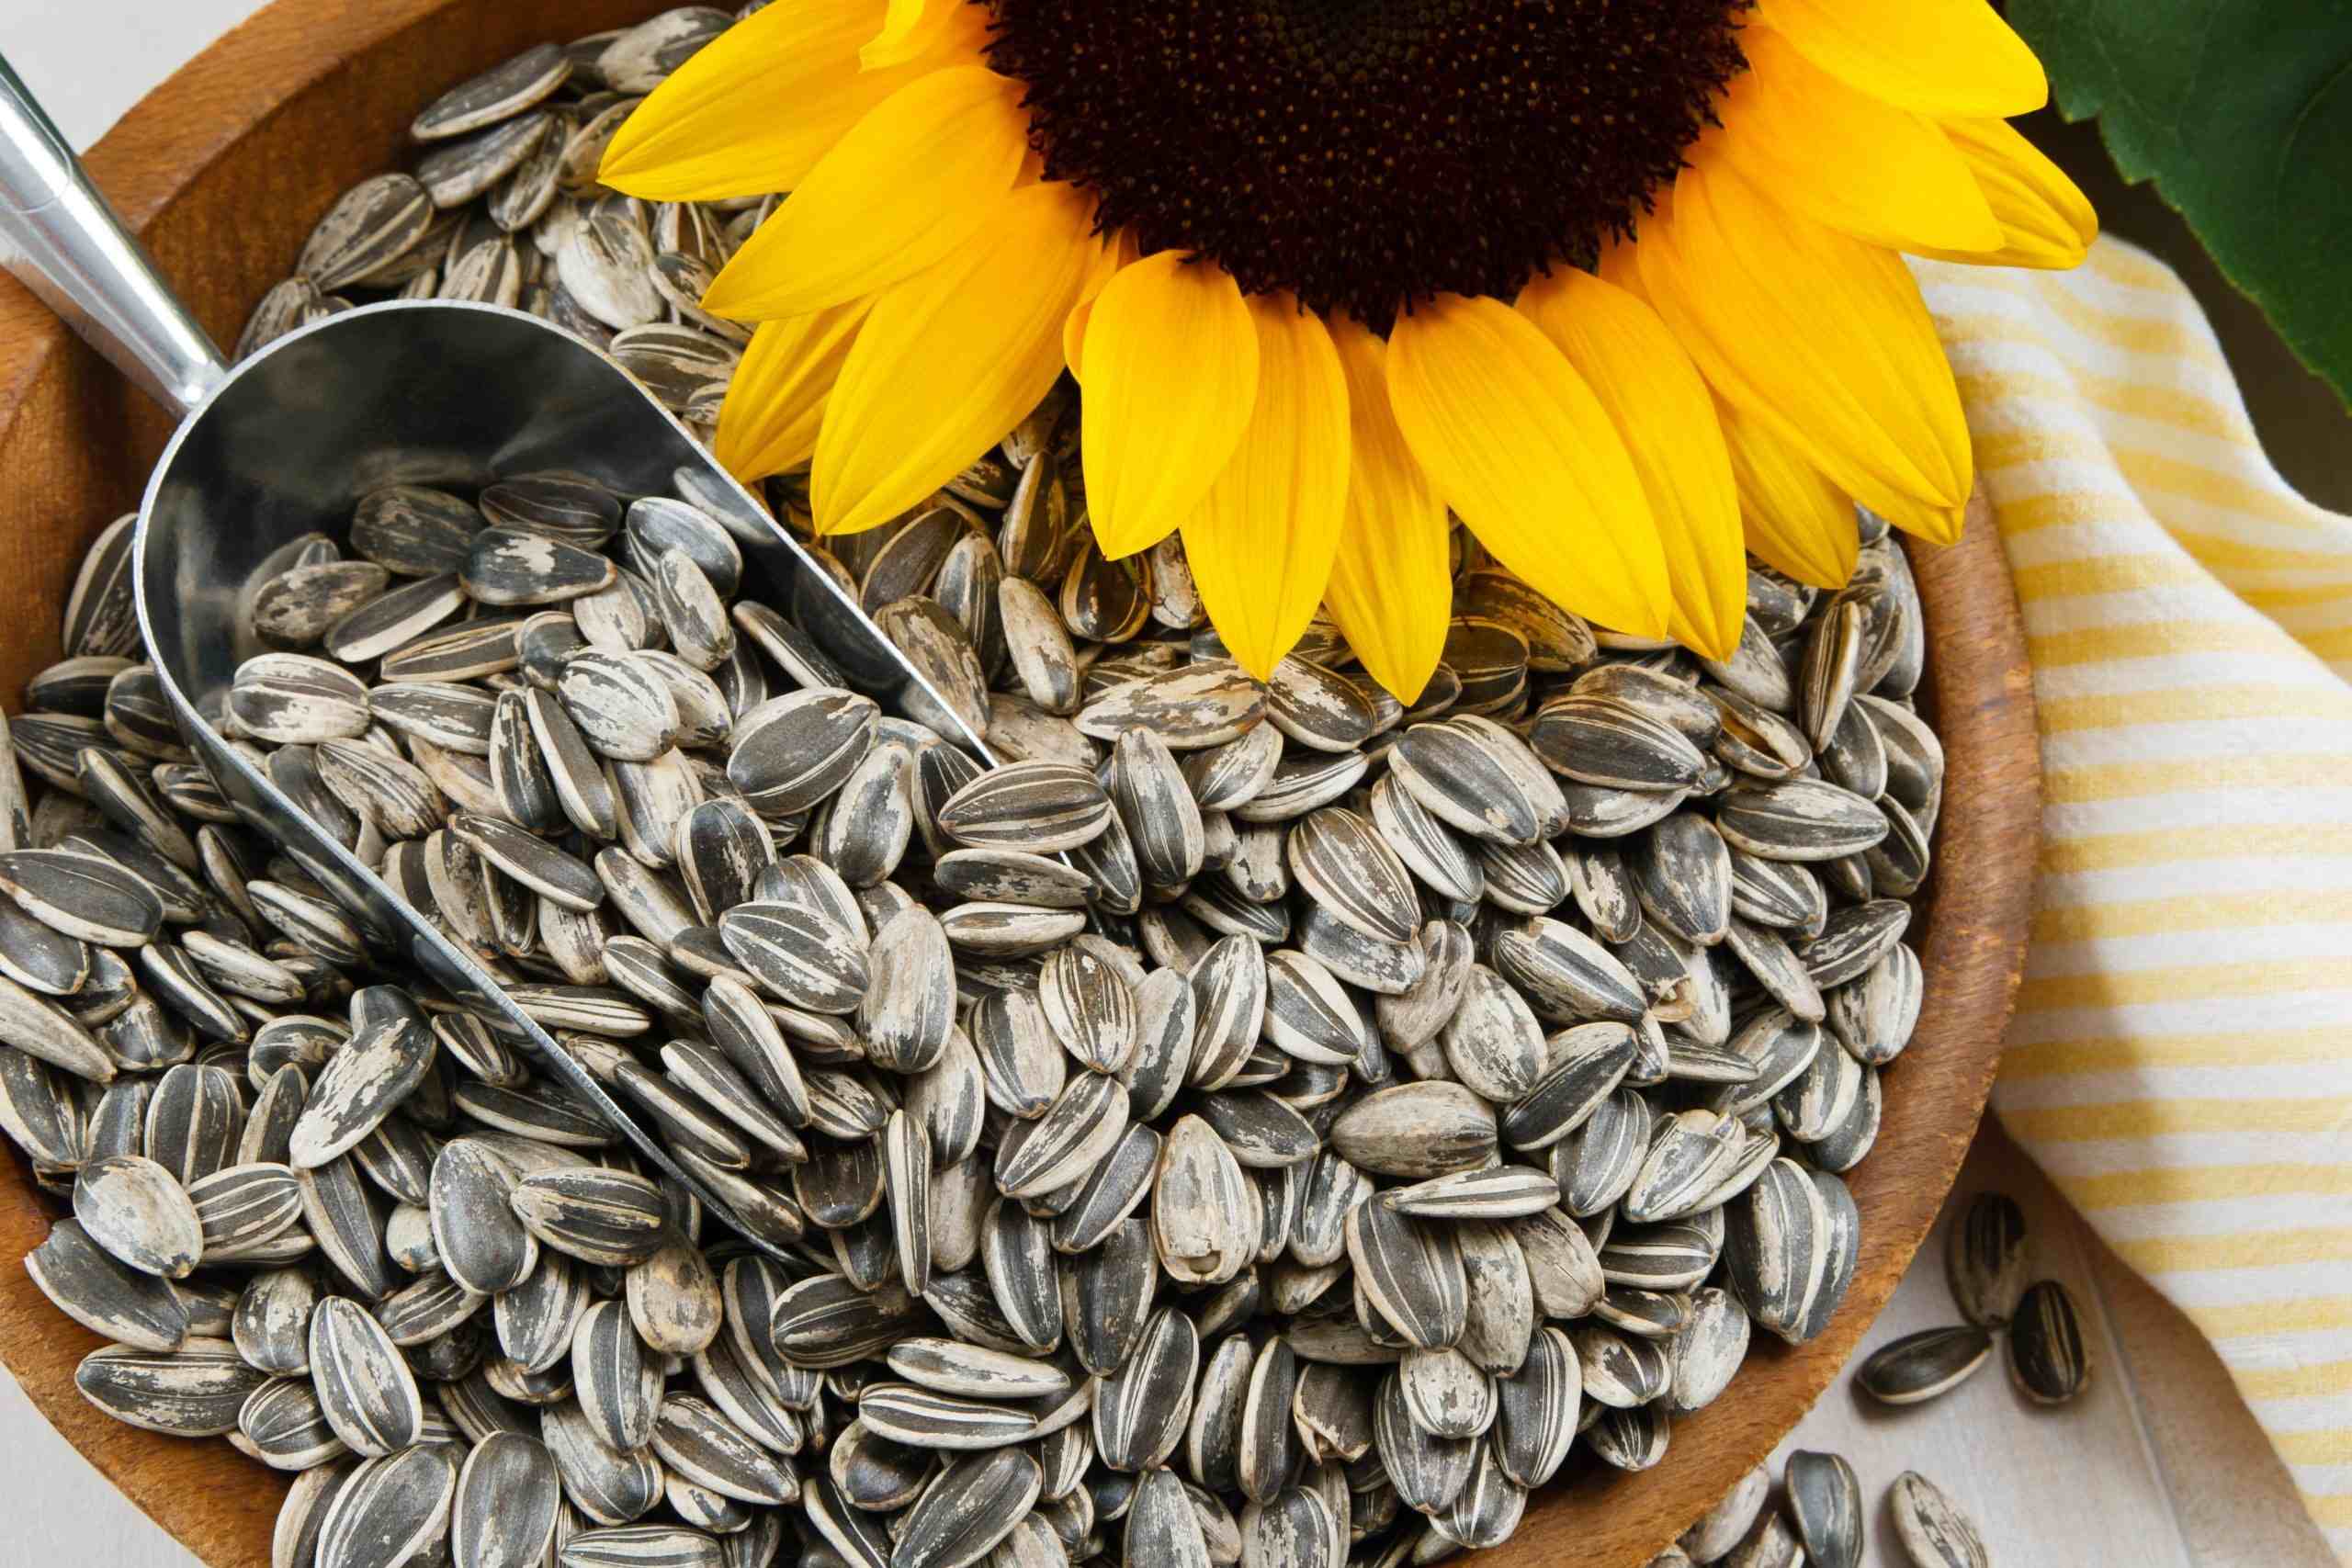
- When you’re ready to enjoy your baked sunflower seeds, simply take out the desired amount from the storage container. They can be eaten as is, used as a topping for salads or yogurt, or added to baked goods like bread or cookies for an extra crunch.
Remember to keep an eye on the storage container and check for any signs of spoilage, such as a rancid odor or mold. If you notice any indications of spoilage, it’s best to discard the seeds and prepare a fresh batch.
With proper cooling and storage, your baked sunflower seeds will stay delicious and crunchy for an extended period, allowing you to enjoy their irresistible flavor whenever you desire!
Conclusion
Congratulations! You have successfully learned how to bake your own delicious and nutritious sunflower seeds. By following the steps outlined in this article, you can enjoy a homemade snack that is both flavorful and satisfying.
From the preparation and seasoning to the baking and storing processes, each step plays a crucial role in achieving the perfect batch of sunflower seeds. The preparation ensures that you start with clean and fresh seeds, while the seasoning allows you to customize the flavor to your liking.
Baking the sunflower seeds brings out their natural crunchiness and enhances their flavors. The careful cooling and storage procedures ensure that the seeds stay fresh for a longer duration, giving you the flexibility to enjoy them at any time.
Whether you choose to snack on the sunflower seeds by themselves or add them to your favorite recipes, they are a versatile and nutritious addition to your culinary repertoire. Not only are they packed with essential nutrients, but they also offer a delightful satisfying crunch that keeps you coming back for more.
So, why settle for store-bought sunflower seeds when you can easily make your own at home? Experiment with different seasonings, share them with friends and family, and enjoy the satisfaction of creating a homemade snack that is as healthy as it is delicious.
Now it’s time to gather your ingredients, preheat your oven, and start baking those delectable sunflower seeds. Get ready to embark on an enjoyable culinary experience that will leave you craving for more!