Home>Types of Gardening>Ornamental Gardening>How To Soak Sunflower Seeds Before Planting
Ornamental Gardening
How To Soak Sunflower Seeds Before Planting
Modified: January 22, 2024
Looking to plant sunflower seeds? Learn the importance of soaking sunflower seeds before planting for successful growth and yield. Ornamental gardening made easy!
(Many of the links in this article redirect to a specific reviewed product. Your purchase of these products through affiliate links helps to generate commission for Chicagolandgardening.com, at no extra cost. Learn more)
Table of Contents
Introduction
Welcome to the wonderful world of ornamental gardening! If you have a passion for beautifying outdoor spaces and creating stunning displays of color and texture, then you have come to the right place. Ornamental gardening allows you to unleash your creativity and transform your backyard into a vibrant oasis.
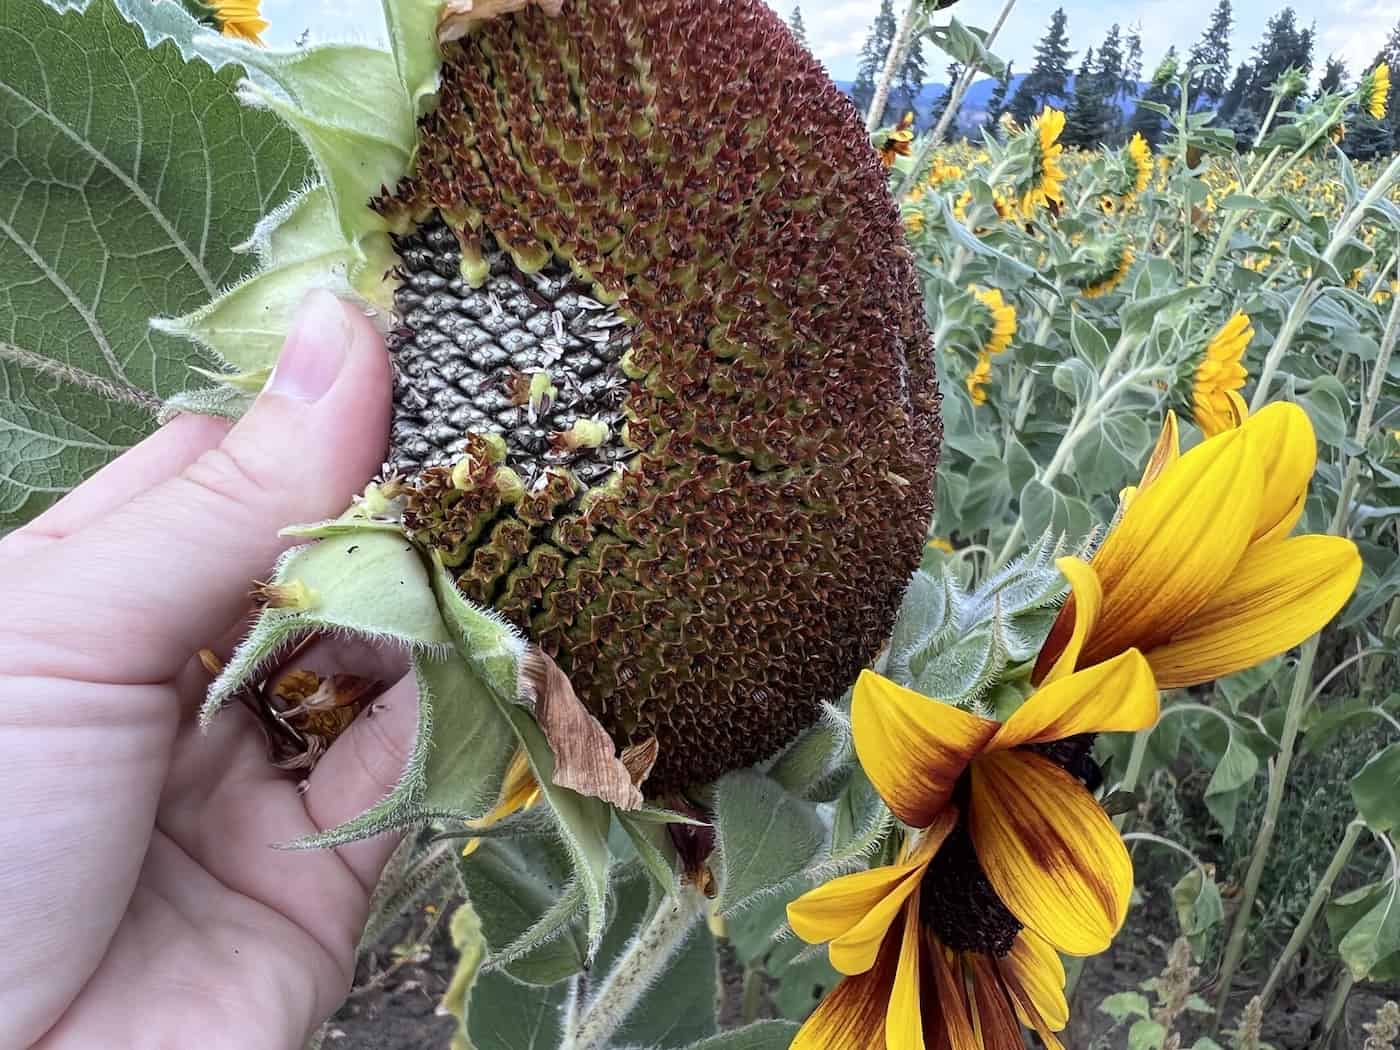
One of the key aspects of successful ornamental gardening is choosing the right plants. And when it comes to adding a touch of charm and elegance to your garden, sunflowers are hard to beat. These iconic flowers not only bring joy and beauty with their vibrant blooms, but they also serve as a source of food and shelter for wildlife.
Before delving into the steps involved in soaking sunflower seeds before planting, let’s take a moment to understand the benefits of this practice. Soaking sunflower seeds not only improves their germination rate but also helps to break their dormancy and jumpstart their growth. It is a simple yet effective technique that can significantly increase your chances of success in growing sunflowers.
In this comprehensive guide, we will walk you through the process of soaking sunflower seeds before planting. From gathering the necessary materials to caring for the seedlings, we will cover everything you need to know to ensure a successful gardening experience. So, grab your gardening gloves and let’s get started on this exciting journey!
Benefits of Soaking Sunflower Seeds
Soaking sunflower seeds before planting offers several advantages that can greatly improve the success of your gardening endeavors. Let’s explore the benefits in more detail:
- Improved germination rate: Soaking sunflower seeds helps to soften their hard outer shell, allowing water to penetrate and initiate the germination process more effectively. This can lead to a higher germination rate, meaning more of your seeds will sprout and develop into healthy seedlings.
- Faster growth: By soaking sunflower seeds, you can kickstart the growth process. The moisture absorbed during soaking triggers metabolic activity within the seed, activating enzymes that promote root and shoot development. This can result in faster growth and establishment of the sunflower plants.
- Breaking seed dormancy: Some sunflower seeds may have a natural dormancy period, which prevents them from germinating immediately after planting. Soaking the seeds can break this dormancy, enabling them to overcome internal physiological barriers and sprout more readily.
- Uniform emergence: Soaked sunflower seeds tend to have more synchronized and uniform emergence compared to dry seeds. This means that the seedlings will emerge at similar times, creating a more visually pleasing and well-structured garden display.
- Increased nutrient availability: Soaking sunflower seeds can activate enzymes that aid in the digestion and absorption of stored nutrients within the seed. This helps to ensure that the developing seedling has a readily available source of nutrients for robust growth in its early stages.
- Reduced risk of seed rot: Soaking sunflower seeds in water before planting can help remove any potential pathogens or fungi present on the seed surface. This reduces the chances of seed rot or seedling diseases, promoting healthier growth and vigor.
By taking the time to soak your sunflower seeds before planting, you can enhance their overall viability and increase your chances of a successful gardening experience. Now that we’ve explored the benefits, let’s dive into the step-by-step process of soaking sunflower seeds.
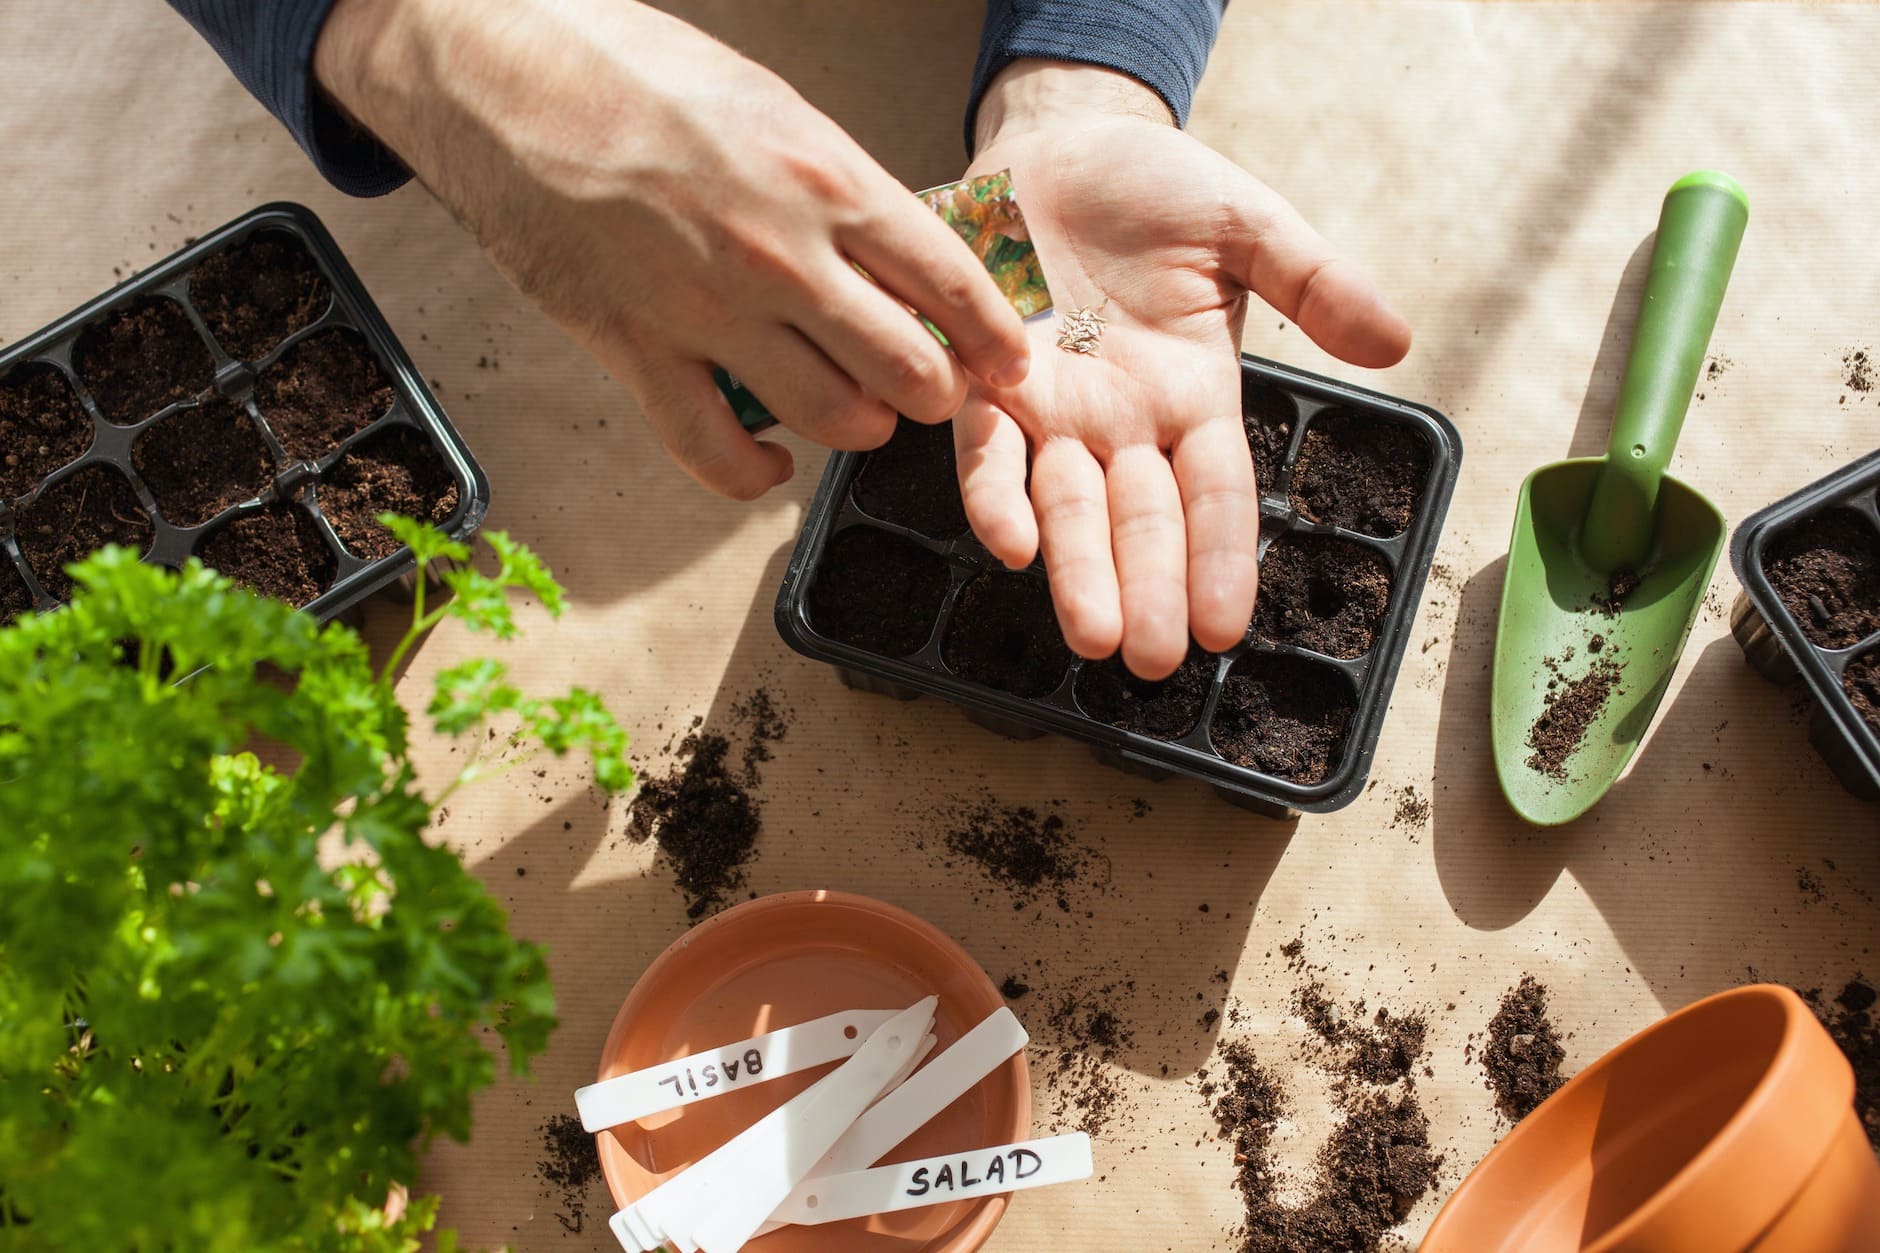
Step 1: Gathering the Materials
Before you embark on soaking your sunflower seeds, it’s important to ensure that you have all the necessary materials at hand. Here’s a list of items you will need:
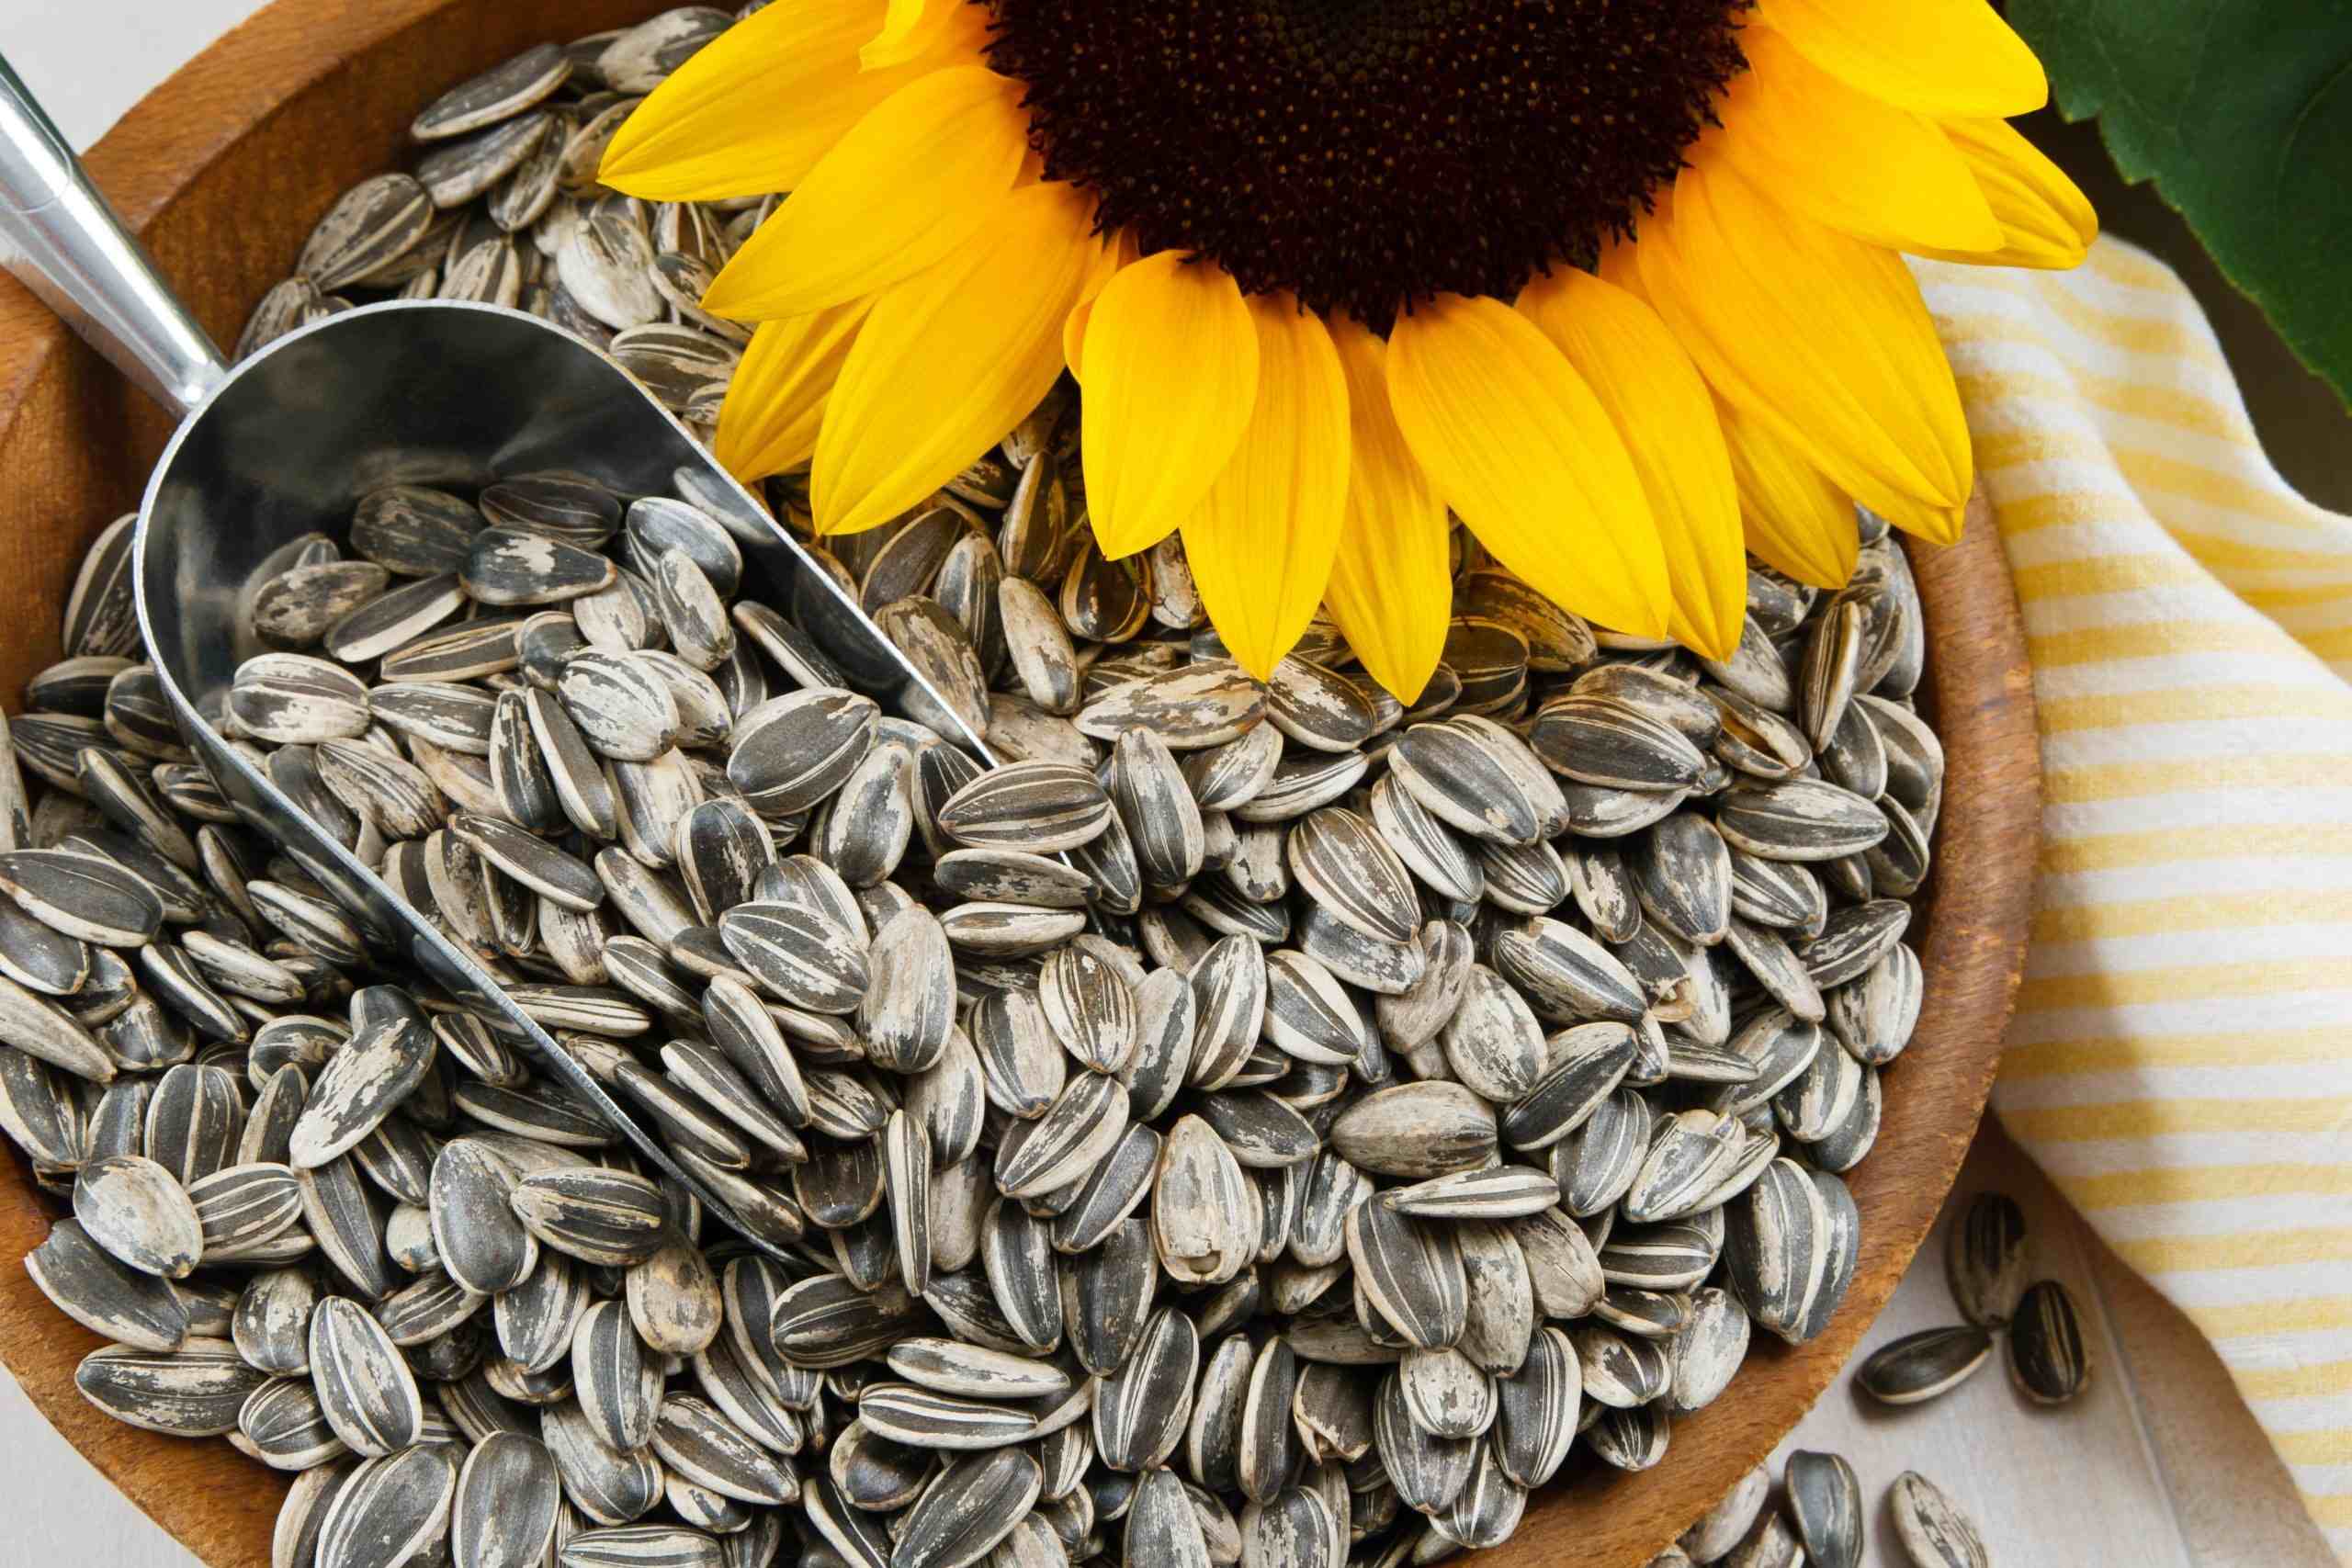
- Sunflower seeds: Choose high-quality sunflower seeds that are suitable for planting. You can find a variety of sunflower seed options at local nurseries or online seed suppliers. Select the type of sunflower that appeals to you, whether it’s the classic tall variety or a more compact one.
- Container: Select a container large enough to accommodate the number of sunflower seeds you plan to soak. A glass jar or plastic container with a lid works well. Make sure the container is clean and provides enough space for the seeds to expand and absorb water.
- Water: Use clean, room temperature water for soaking the sunflower seeds. If possible, use filtered water to avoid any potential contaminants. It’s important to have enough water to fully submerge the seeds and allow for proper hydration.
- Optional additives: Some gardeners like to add natural additives to the soaking water to further enhance seed germination. These could include seaweed extract or compost tea, which provide additional nutrients and growth stimulants. However, these additives are not necessary for successful seed soaking.
- Labels and markers: It’s always a good idea to label the container with the date and seed variety to keep track of your gardening activities. You can use waterproof markers or labels that won’t smudge when wet.
- A well-ventilated area: Find a suitable spot to place the container while the seeds are soaking. Choose a location away from direct sunlight but with good air circulation. Make sure the area is clean and free of any potential contaminants.
Once you have gathered all these materials, you are ready to move on to the next step: preparing the sunflower seeds for soaking. Prepare yourself for an exciting journey of nurturing and growing beautiful sunflowers!
Step 2: Preparing the Seeds
Now that you have gathered all the necessary materials, it’s time to prepare the sunflower seeds for soaking. Follow these steps to ensure optimal seed preparation:
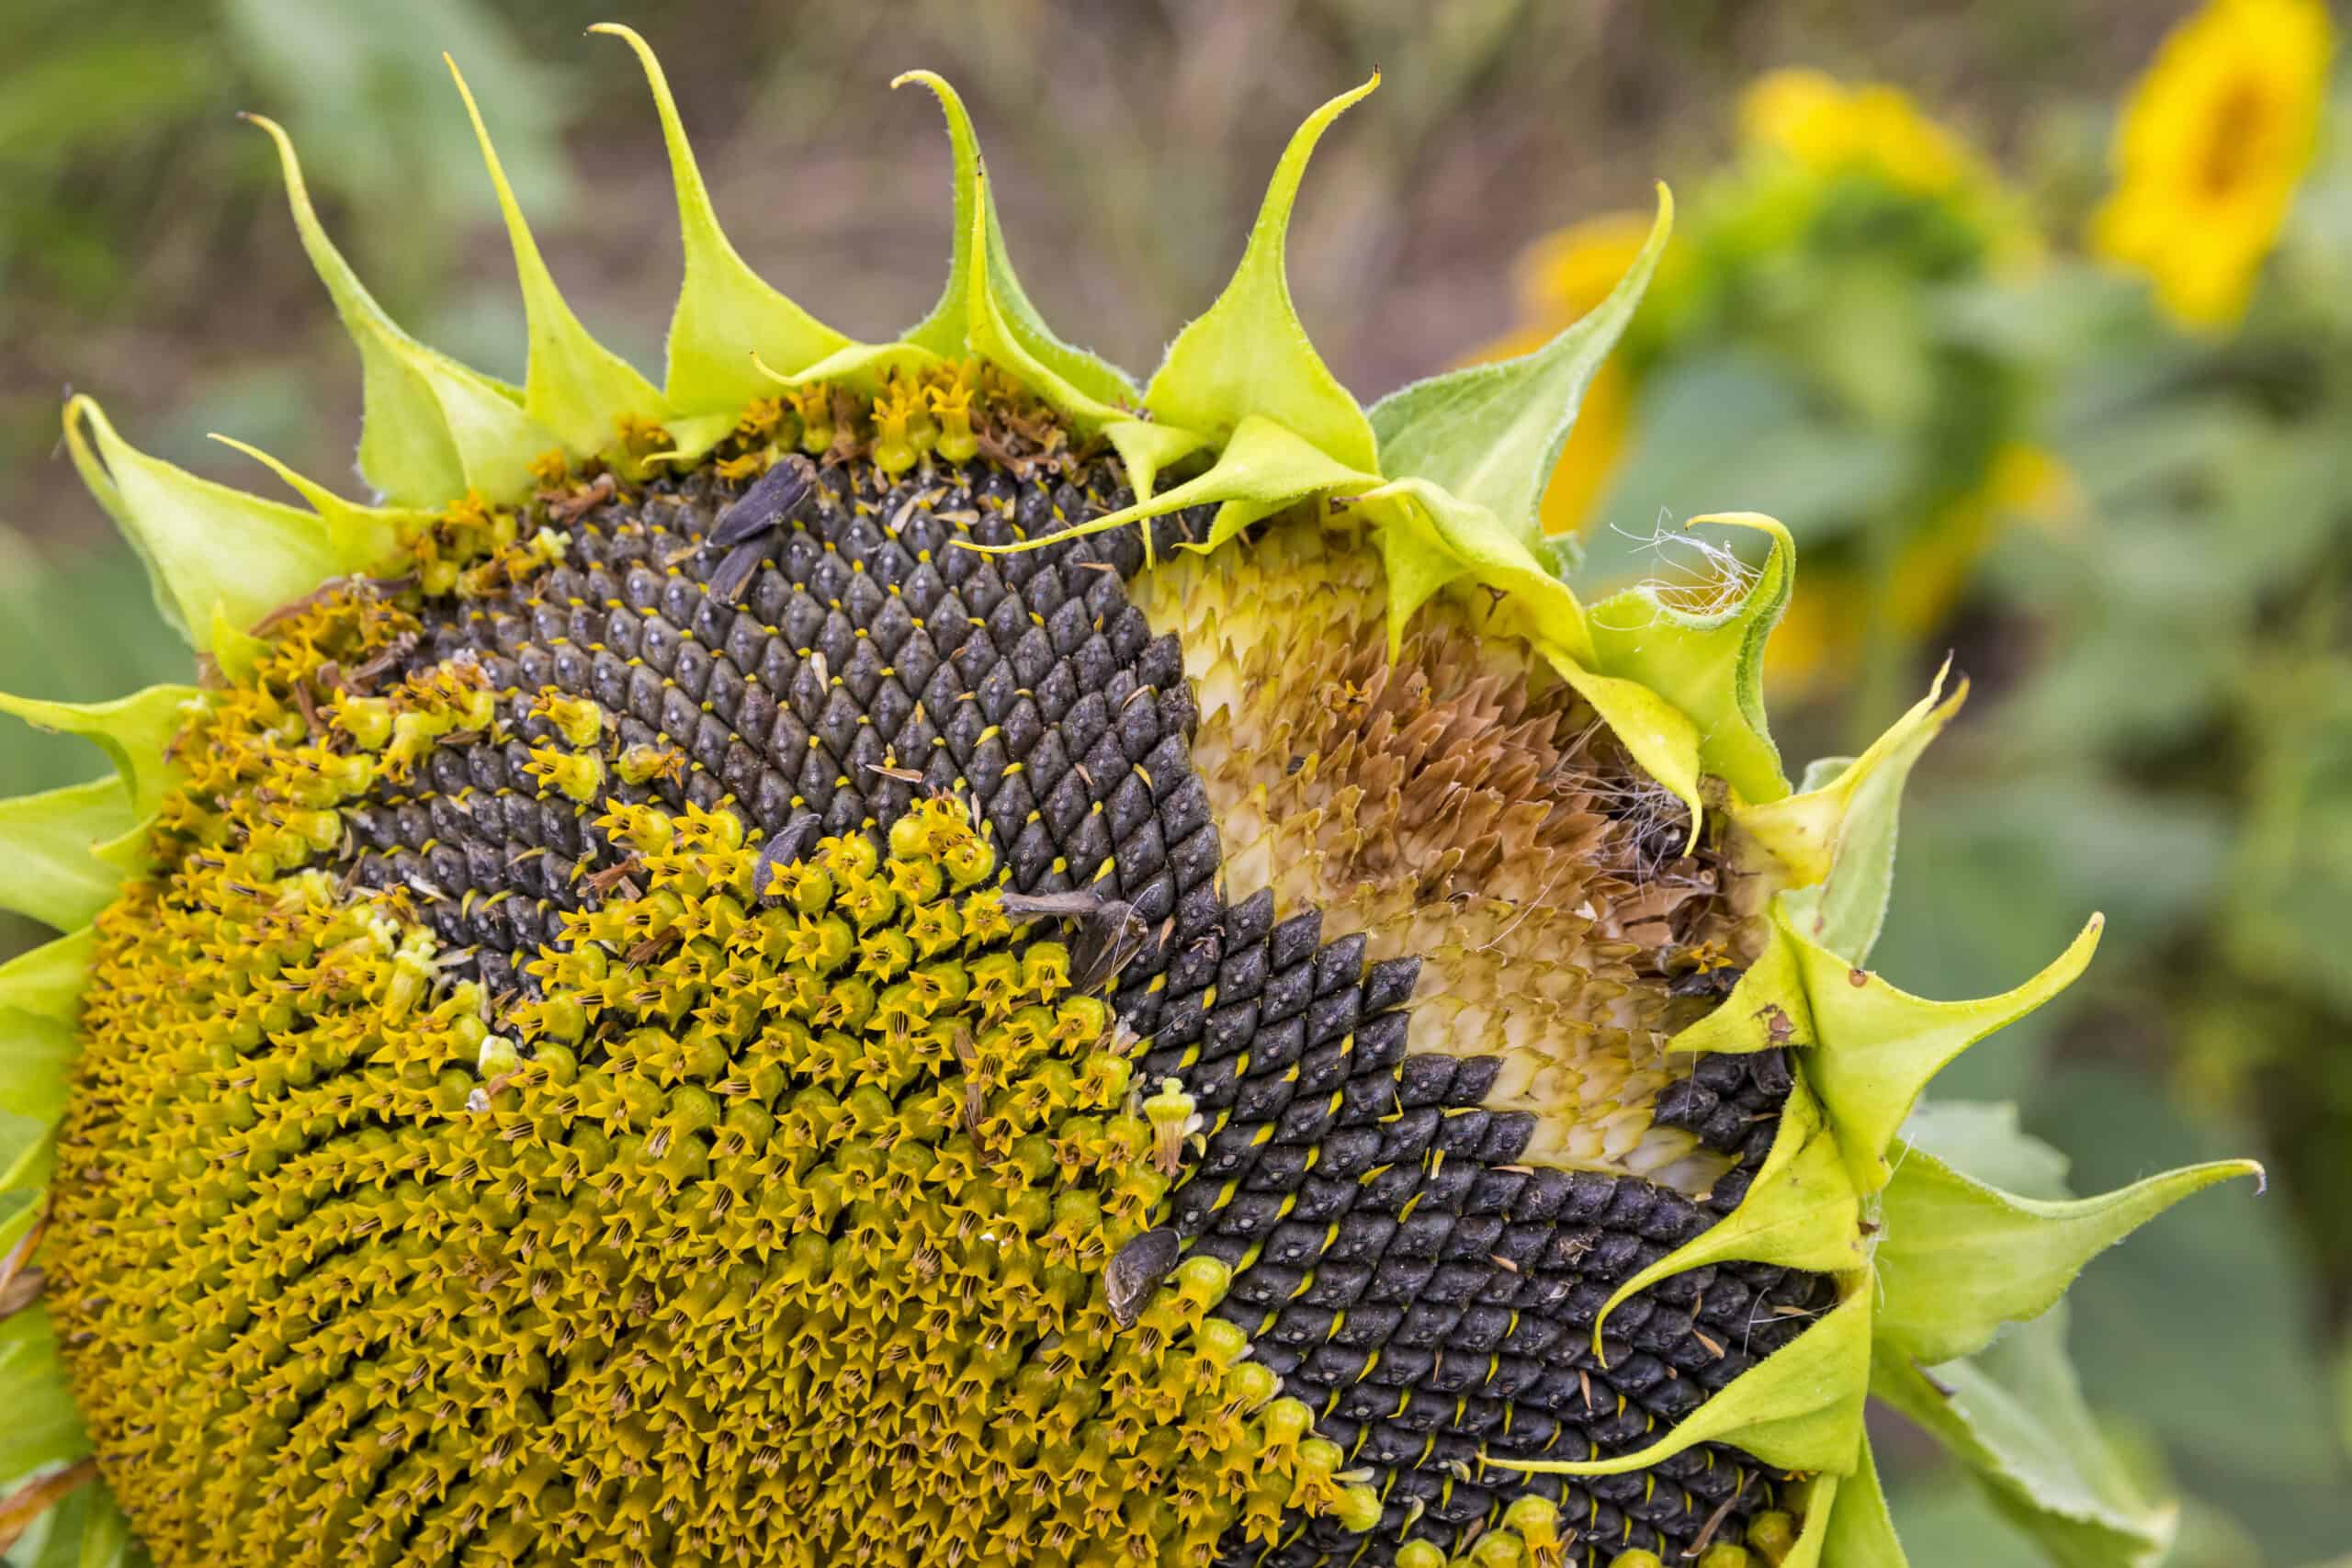
- Cleaning the seeds: Before soaking, it’s a good practice to clean the sunflower seeds. Rinse them thoroughly under cool running water to remove any dirt, debris, or residual pulp from the seed heads. This will help prevent any potential contaminants from interfering with seed germination.
- Inspecting for damage: Take a close look at each sunflower seed and discard any damaged or discolored ones. Seeds that are shriveled, moldy, or have signs of rot should be discarded as they are less likely to germinate successfully.
- Removing potential barriers: Sunflower seeds have a hard outer shell that can hinder water absorption during soaking. To improve germination rates, you can gently nick or scarify the seed coat using sandpaper or a nail file. Be careful not to damage the embryo inside the seed. This process allows water to penetrate the seed more easily.
- Consider pre-soaking treatments: While not mandatory, some gardeners opt for additional treatments before soaking the seeds. You may choose to soak the seeds in a weak solution of hydrogen peroxide or a biostimulant for a brief period to help disinfect and stimulate the seeds. However, exercise caution and follow package instructions for proper dilution and application.
- Drying the seeds: After cleaning and preparing the sunflower seeds, it’s important to ensure they are dry before proceeding to the next step. Spread the seeds in a single layer on a clean paper towel or cloth and allow them to air dry for a few hours. This will prevent the seeds from clumping together during soaking.
- Labeling the container: Before transferring the seeds to the soaking container, remember to label it with the date and sunflower variety. This will help you keep track of the soaking time and prevent any mix-ups.
By properly preparing the sunflower seeds before soaking, you are maximizing their potential for successful germination and growth. Now that the seeds are ready, it’s time to move on to the exciting process of soaking them to kickstart their journey towards becoming beautiful sunflower plants!
Step 3: Soaking the Seeds
Now that the sunflower seeds are properly prepared, it’s time to embark on the soaking process. Follow these steps to ensure optimal soaking:
- Prepare the soaking container: Fill the container with clean, room temperature water, leaving enough space to fully submerge the sunflower seeds. You want the water level to be at least 1 inch above the seeds to ensure proper hydration. If you are using an optional additive like seaweed extract or compost tea, follow the instructions provided to add the recommended amount to the water.
- Submerge the seeds: Gently place the prepared sunflower seeds into the container of water. Ensure that all the seeds are fully submerged and none are floating on the surface. If necessary, use a small weight or lid to keep the seeds underwater and prevent them from floating.
- Soaking duration: The duration of soaking can vary depending on the sunflower variety and individual preferences. Generally, soaking the seeds for 12 to 24 hours is sufficient to achieve the desired results. You can experiment with different soaking times to find what works best for you.
- Monitoring the seeds: During the soaking process, it’s important to periodically check the seeds. Look for any signs of mold or discoloration, as this could indicate that the seeds are not healthy and may not germinate successfully. If you notice any issues, it’s best to discard those seeds and focus on the ones that appear healthy.
- Avoid over-soaking: While it’s essential to give the seeds enough time to absorb water, be cautious not to over-soak them. Extended soaking periods can lead to excessive water absorption and potential damage to the seeds, hindering germination. Stick to the recommended soaking time to maintain optimal seed health.
- Warm soak method (optional): If you want to expedite the soaking process, you can try the warm soak method. Fill a container with warm water (around 90°F) and place the sunflower seeds in it for a shorter duration, typically 1 to 2 hours. This method can help accelerate water absorption and jumpstart seed germination.
Remember to keep the soaking container in a well-ventilated area away from direct sunlight. Once the seeds have soaked for the desired duration, it’s time to move on to the next step: checking the readiness of the soaked sunflower seeds for planting.
Step 4: Checking the Readiness
After soaking the sunflower seeds for the recommended duration, it’s important to assess their readiness for planting. Follow these guidelines to determine if the soaked seeds are prepared for the next step:
- Seed swelling: One of the indicators of readiness is the swelling of the soaked sunflower seeds. If the seeds have absorbed sufficient water, you will notice an increase in size compared to their original dry state. They should feel plump and slightly heavier to the touch.
- Seed sinking: Another sign of readiness is when the soaked sunflower seeds sink to the bottom of the container. Initially, you may have used a weight or lid to keep the seeds submerged. However, as they absorb water, they should naturally sink to the bottom without any assistance.
- Seed coat flexibility: Gently squeeze or press a soaked sunflower seed between your fingers. The seed coat should feel soft and slightly flexible. This is an indication that the seed coat is sufficiently hydrated and ready to break open for germination.
- Visible sprouting (optional): In some cases, you may notice that the soaked sunflower seeds have started to sprout a small root or even a tiny shoot. This is a positive sign that the seeds are ready for planting. However, not all seeds will show visible sprouting, so don’t be alarmed if you don’t see any signs of growth.
- Overall seed health: Inspect the soaked sunflower seeds for any signs of mold, discoloration, or foul odor. Healthy soaked seeds should appear plump, firm, and have a clean, fresh scent. If you notice any abnormalities, it’s best to discard those seeds and focus on the ones that appear healthy.
By carefully observing these indicators, you can determine if the soaked sunflower seeds are ready to be planted. If they meet the criteria mentioned above, congratulations! Your seeds are primed for the next step: planting the soaked sunflower seeds and nurturing them into thriving seedlings.
Step 5: Planting the Soaked Sunflower Seeds
With the soaked sunflower seeds ready for planting, it’s time to create the perfect environment for their growth. Follow these steps to ensure successful planting:
- Choose a suitable location: Select a sunny spot in your garden that receives at least 6 to 8 hours of direct sunlight daily. Sunflowers thrive in full sun, so finding the right location is crucial for their growth and development.
- Prepare the soil: Sunflowers prefer well-draining soil with a pH between 6.0 and 7.5. Remove any weeds, rocks, or debris from the planting area. Loosen the soil with a garden fork or tiller to a depth of about 12 to 18 inches. Incorporate compost or well-rotted organic matter to improve soil fertility and drainage if necessary.
- Dig the planting holes: Dig individual planting holes that are approximately 1 to 2 inches deep. Space the holes at least 6 to 12 inches apart, depending on the sunflower variety. Allow for adequate room for the plants to spread and grow without overcrowding.
- Plant the soaked seeds: Carefully place one soaked sunflower seed in each planting hole. Position the seed vertically with the pointed end facing downward and the rounded end facing upward. Gently cover the seed with soil, making sure it is firmly in place but not buried too deep.
- Water the planting area: After planting the soaked sunflower seeds, water the planting area thoroughly. This helps to settle the soil and provide moisture to kickstart seed germination. Be careful not to overwater, as excess moisture can lead to rotting or fungal issues.
- Protect the seeds (optional): If you live in an area with wildlife like birds or squirrels, you may choose to protect the newly planted seeds by covering the area with a wire mesh or using bird netting. This will prevent animals from digging up the seeds and potentially damaging your seedlings.
- Label the planting area: It’s beneficial to label the planting area with the sunflower variety and the planting date. This will help you keep track of the progress of your sunflowers and ensure proper care and maintenance.
Now that you have successfully planted the soaked sunflower seeds, it’s time to move on to the next step: caring for the seedlings as they begin to emerge and grow. Get ready to witness the beauty of sunflowers as they grace your garden with their vibrant colors and towering presence!
Step 6: Caring for the Seedlings
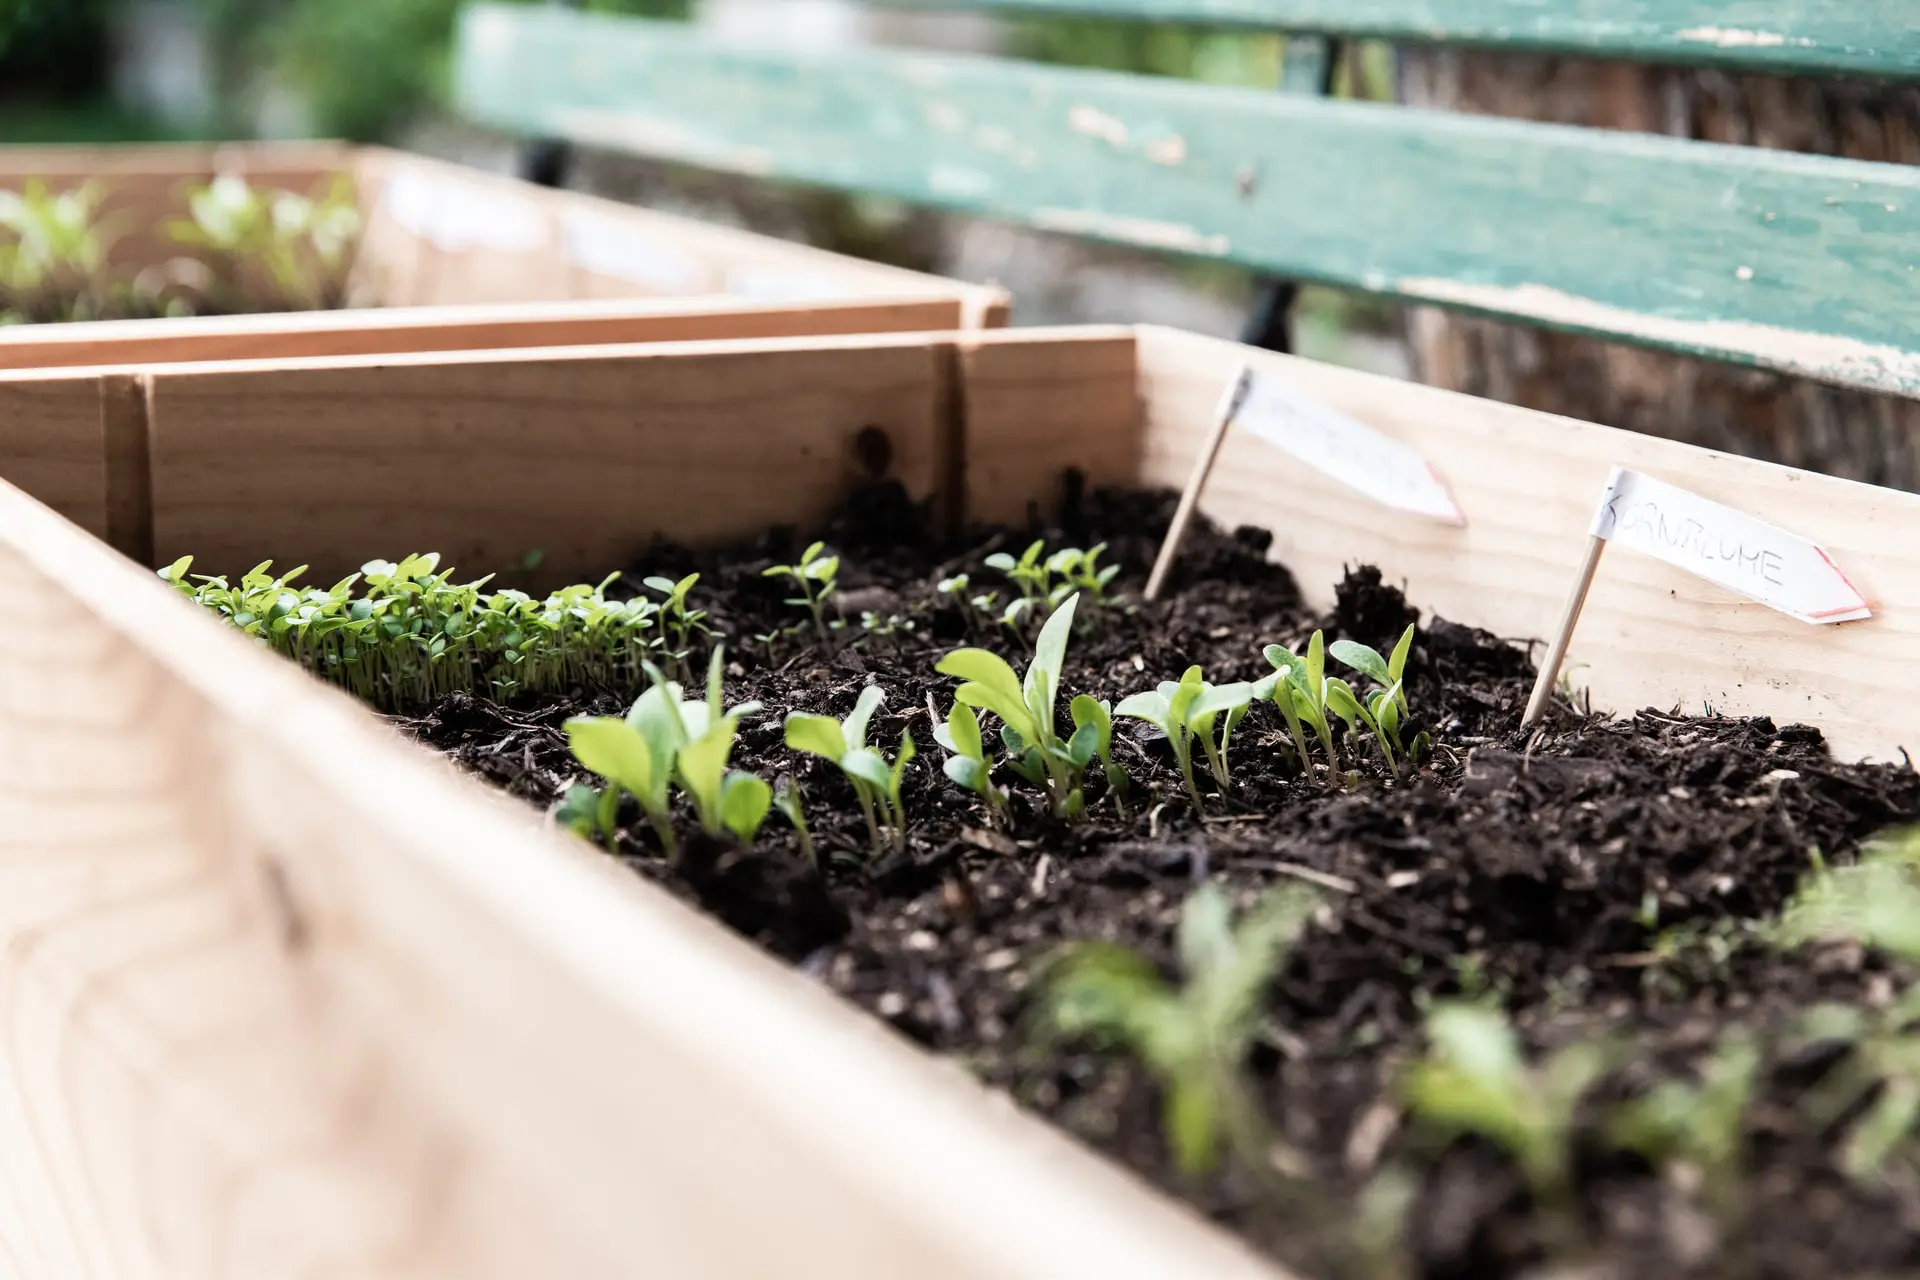
As the soaked sunflower seeds sprout and the seedlings emerge, it’s important to provide proper care to ensure their healthy growth. Follow these steps to care for the sunflower seedlings:
- Watering: Sunflower seedlings require consistent moisture, especially during their early growth stages. Water the seedlings regularly, keeping the soil evenly moist but not overly saturated. Avoid letting the soil dry out completely, as this can stunt their growth.
- Thinning: If you planted multiple seeds in each hole, it’s important to thin out the weaker seedlings to give the remaining ones enough space to grow. Carefully remove the excess seedlings, leaving only the strongest and healthiest plant in each hole.
- Mulching: Apply a layer of organic mulch, such as straw or wood chips, around the base of the sunflower seedlings. This helps conserve moisture, suppresses weeds, and regulates soil temperature. Keep the mulch a few inches away from the stems to prevent any potential rot.
- Staking (if necessary): Depending on the sunflower variety and its expected height, taller varieties may require staking for support as they grow. Insert a sturdy stake or use tall plant supports near the young seedlings to prevent them from bending or breaking in strong winds.
- Protect from pests: Keep an eye out for common garden pests, such as slugs, snails, or aphids, that may feed on the sunflower seedlings. If you notice any signs of pest infestation, take appropriate measures to control and protect the plants, using organic pest control methods if possible.
- Monitor for diseases: Sunflowers are generally resilient to diseases, but it’s still important to monitor the seedlings for any signs of fungal or bacterial infections. If you notice any discoloration, wilting, or unusual growth patterns, take action promptly to prevent the spread of disease.
- Fertilizing: While sunflowers do not require heavy feeding, incorporating a balanced slow-release fertilizer or organic compost during planting can provide an extra boost of nutrients. Avoid over-fertilizing as it can lead to excessive foliage growth at the expense of flower production.
- Regularly check soil moisture and drainage: Assess the soil moisture levels regularly by checking the top few inches of soil. Ensure proper drainage to prevent waterlogged conditions that can lead to root rot. Adjust your watering schedule accordingly based on the specific needs of the seedlings and the prevailing weather conditions.
By following these care guidelines, your sunflower seedlings will have the best chance to grow into healthy, robust plants. These majestic flowers will soon grace your garden with their beauty, adding a touch of sunshine to your landscape. Get ready to witness the amazing transformation of your sunflower seedlings into magnificent blooming flowers!
Step 7: Transplanting the Sunflowers
Once your sunflower seedlings have grown their first set of true leaves and are strong enough, it’s time to transplant them into their permanent locations. Follow these steps to successfully transplant your sunflowers:
- Choose the optimal transplanting time: Transplant your sunflowers outdoors when all danger of frost has passed and the soil has warmed up. Sunflowers thrive in warm weather, so ensure the daytime temperatures consistently reach at least 60°F (15°C).
- Select a suitable location: Choose a location in your garden that provides full sun exposure throughout the day. Sunflowers require a minimum of 6 to 8 hours of direct sunlight to grow and produce abundant blooms.
- Prepare the planting holes: Dig holes in the transplanting area that are slightly larger and deeper than the root ball of the sunflower seedlings. Space the holes according to the mature size of the sunflower variety, typically leaving about 18 to 24 inches between each plant.
- Transplant the seedlings: Gently lift the sunflower seedlings from their current containers, being careful not to damage the delicate roots. Place each seedling into a planting hole, ensuring that the top of the root ball is level with or slightly below the soil surface.
- Backfill and firm the soil: Fill the planting holes with soil, gently firming it around the base of the seedlings. Avoid compacting the soil too much to maintain good aeration and drainage for the roots.
- Water immediately: Give the transplanted sunflowers a thorough watering to settle the soil and help the roots establish in their new environment. Ensure that the soil is evenly moist but not waterlogged.
- Provide support (if necessary): If you are growing tall varieties of sunflowers, insert a stake or set up supports near each plant to provide necessary support as they grow. Secure the stems to the stakes with soft ties or plant clips to prevent the plants from bending or breaking in strong winds.
- Mulch and protect: Apply a layer of organic mulch around the base of the transplanted sunflowers to conserve soil moisture, suppress weed growth, and regulate soil temperature. Keep the mulch a few inches away from the stems to prevent potential rot.
- Continue maintenance: After transplanting, continue to provide regular care to your sunflowers, including watering, monitoring for pests and diseases, and fertilizing as needed. Pay attention to their growth and adjust your care routine accordingly.
- Enjoy the blooming sunflowers: With proper care and maintenance, your transplanted sunflowers will soon reward you with their vibrant blooms. Enjoy the beauty they bring to your garden, and don’t forget to take time to appreciate their towering presence and the joy they bring to both you and your local wildlife.
By following these steps, you can successfully transplant your sunflowers and provide them with the best conditions for healthy growth and abundant blooms. Get ready for a stunning display of color and delight as your sunflowers reach their full potential!
Conclusion
Congratulations on completing the journey of soaking and planting sunflower seeds! By following the steps outlined in this guide, you have set the stage for successful ornamental gardening with these magnificent flowers. From gathering the materials to caring for the seedlings and transplanting them, you have learned the fundamental steps to ensure optimal growth and blooming.
Soaking sunflower seeds before planting offers numerous benefits, including improved germination rates, faster growth, and breaking seed dormancy. By properly preparing the seeds, providing adequate care, and selecting the right planting location, you have set the sunflower seedlings on a path to thrive and bring beauty to your garden.
As your sunflowers grow, don’t forget to monitor their progress, adjust watering and care routines as needed, and protect them from pests and diseases. With their vibrant colors and impressive height, sunflowers will undoubtedly be a striking focal point in your garden, attracting the admiration of both humans and wildlife alike.
Remember to enjoy the process of nurturing these amazing flowers. Watch as the seedlings emerge, grow, and eventually produce their stunning blooms. Whether you choose tall varieties or compact ones, sunflowers will bring a sense of joy and awe to your outdoor space.
So, grab your gardening tools, gather your seeds, and get ready to embark on this exciting journey of growing sunflowers. With a little patience, care, and attention, you will be rewarded with an incredible display of nature’s beauty. Let your ornamental gardening skills shine as you create a mesmerizing oasis filled with colorful and majestic sunflowers. Happy gardening!