Home>Types of Gardening>Edible Gardening>How Long Do You Soak Green Bean Seeds Before Planting
Edible Gardening
How Long Do You Soak Green Bean Seeds Before Planting
Published: August 25, 2023
Discover how long to soak green bean seeds before planting and get started with your edible gardening journey today.
(Many of the links in this article redirect to a specific reviewed product. Your purchase of these products through affiliate links helps to generate commission for Chicagolandgardening.com, at no extra cost. Learn more)
Table of Contents
- Introduction
- Purpose of Soaking Green Bean Seeds
- Benefits of Soaking Green Bean Seeds
- Factors to Consider Before Soaking Green Bean Seeds
- Step-by-Step Guide for Soaking Green Bean Seeds
- Recommended Soaking Time for Green Bean Seeds
- Common Mistakes to Avoid While Soaking Green Bean Seeds
- Alternative Methods to Improve Germination
- Conclusion
Introduction
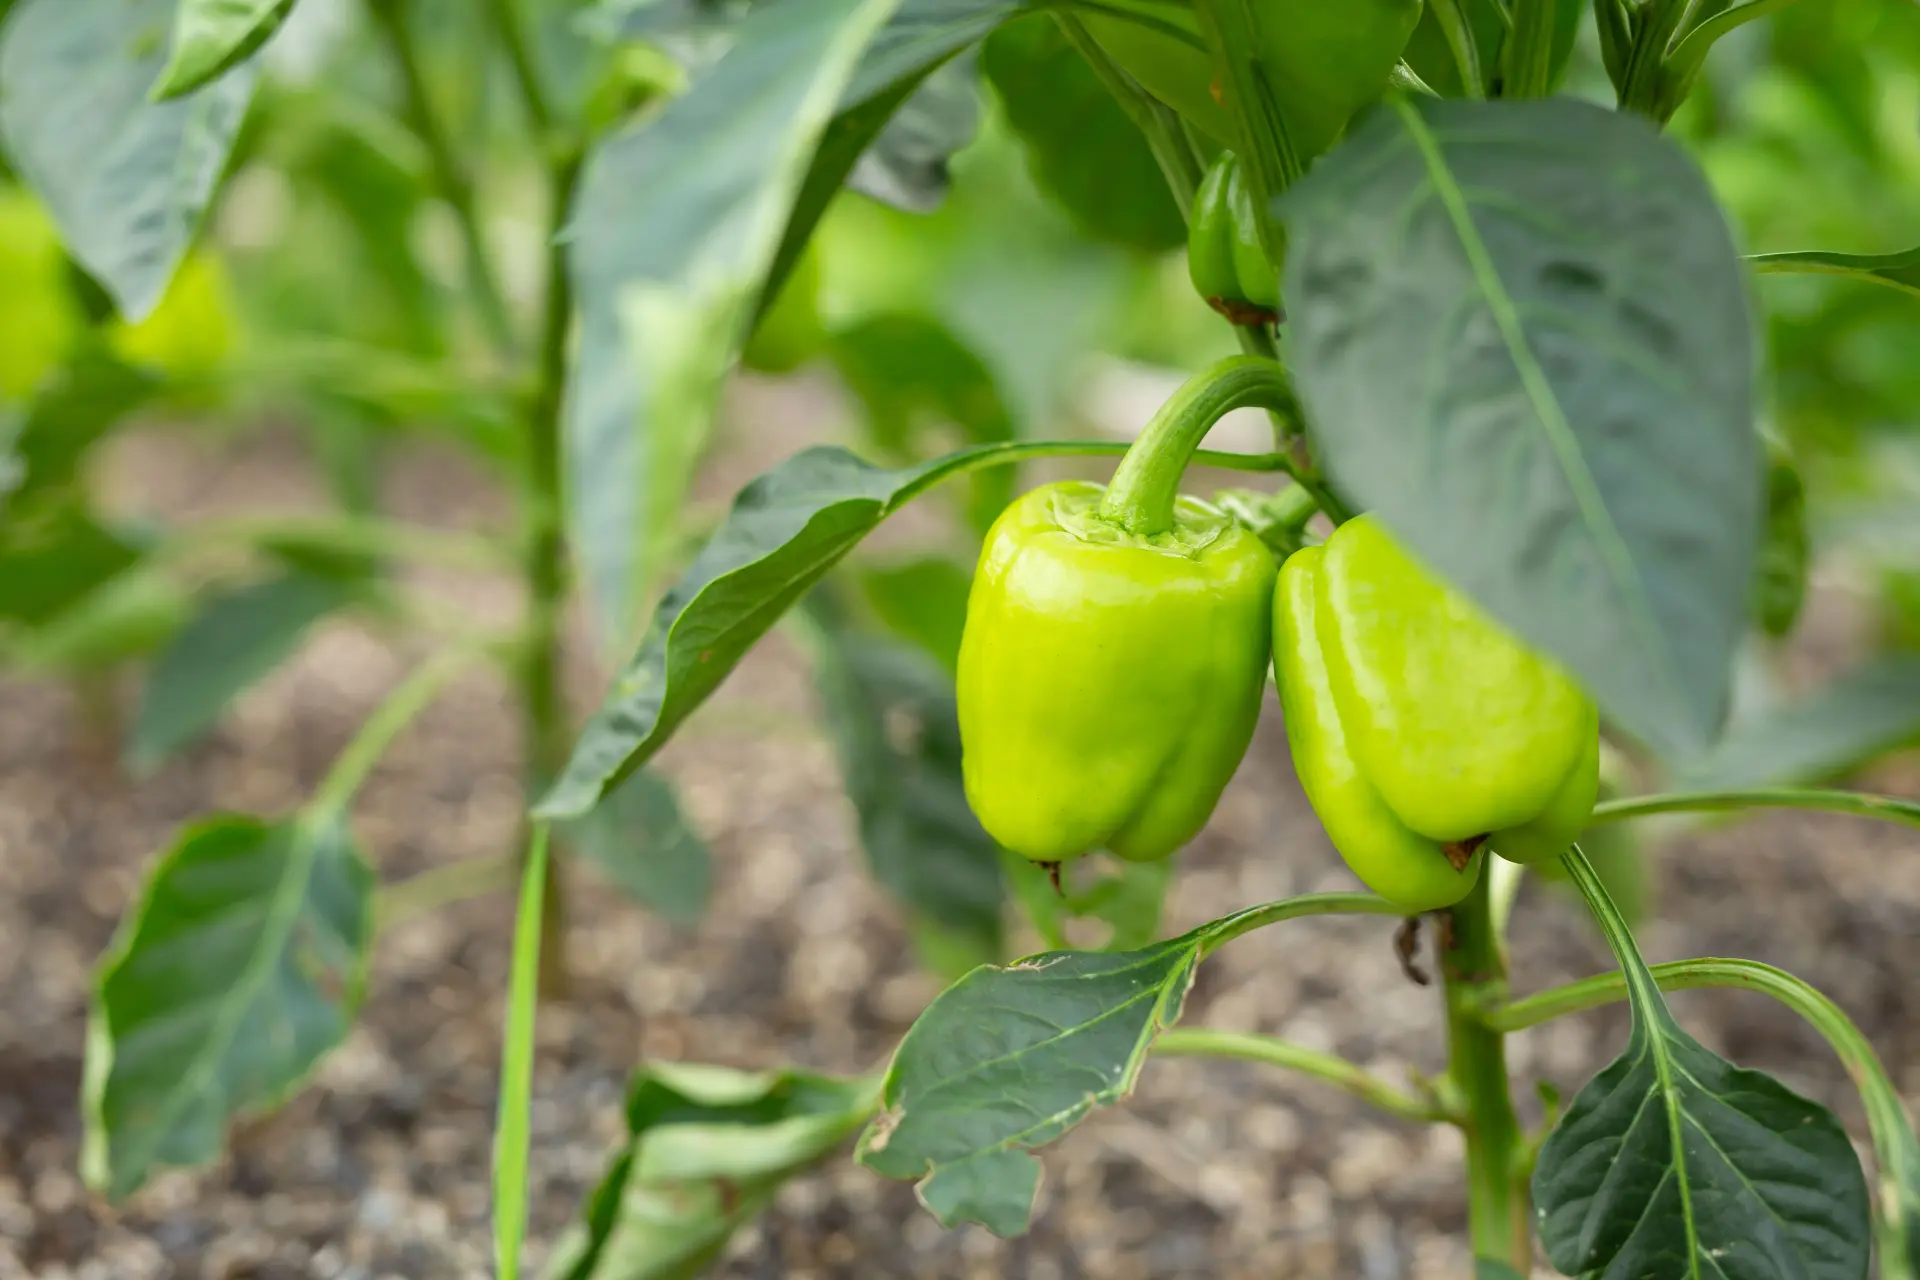
Welcome to the fascinating world of edible gardening! Growing your own food can be a rewarding and fulfilling experience, and one of the most popular staples in many home gardens is the green bean. Not only are green beans delicious and versatile in recipes, but they are also relatively easy to cultivate.
If you are new to gardening or looking to expand your knowledge, you may have come across the term “soaking green bean seeds.” Soaking seeds before planting is a common practice among gardeners, but you may be wondering why it is necessary and how it can benefit your green bean plants.
In this article, we will explore the purpose of soaking green bean seeds and the potential benefits it can provide. We will also discuss important factors to consider before soaking your seeds, provide a step-by-step guide for the soaking process, and highlight alternative methods to improve germination.
By the end of this article, you will have a solid understanding of why soaking green bean seeds can be beneficial and how to incorporate this technique into your edible gardening routine. So let’s dive in and discover the secrets to successful green bean cultivation!
Purpose of Soaking Green Bean Seeds
Soaking green bean seeds before planting serves several important purposes that can significantly improve the germination and growth of your plants. Let’s explore the main reasons why soaking green bean seeds is beneficial:
- Softening the Seed Coat: Green bean seeds have a hard outer coat that can hinder water absorption and slow down the germination process. Soaking the seeds helps soften the coat, allowing moisture to penetrate more easily and kick-starting the germination process.
- Accelerating Germination: By soaking green bean seeds, you provide them with optimal conditions for germination. The moisture from soaking triggers the seeds’ natural responses, enhancing their metabolic activity and encouraging the development of healthy seedlings.
- Increasing Seedling Vigor: Soaking green bean seeds can lead to stronger and more vigorous seedlings. This is because the initial hydration and activation of the seeds’ enzymes during soaking help promote the growth of robust roots and shoots.
Additionally, soaking can improve the overall success rate of seed germination, especially in varieties of green beans that have hard or thick seed coats. It can also help overcome the dormancy of certain seeds, ensuring a higher percentage of viable seeds.
It is important to note that while soaking can benefit green bean seeds, the technique may not be necessary for all varieties or in all situations. Some varieties of green beans have naturally thinner seed coats and may not require soaking. It is essential to research the specific variety of green beans you are planting to determine if soaking is recommended.
Now that we understand the purpose of soaking green bean seeds, let’s explore the various benefits that this technique can offer to your edible gardening endeavors.
Benefits of Soaking Green Bean Seeds
Soaking green bean seeds before planting can have numerous benefits that contribute to the overall success and productivity of your garden. Let’s take a closer look at the advantages of this simple yet effective technique:
- Improved Germination Rate: By softening the seed coat and providing adequate hydration, soaking green bean seeds can significantly increase the germination rate. This means that a higher percentage of seeds will sprout into healthy seedlings, leading to a more productive harvest.
- Quicker Germination: Soaking green bean seeds can expedite the germination process. When seeds are soaked, they absorb water more easily, kickstarting the metabolic activity necessary for sprouting. This can result in quicker emergence of seedlings, allowing you to enjoy fresh green beans sooner.
- Uniform Germination: Soaking green bean seeds ensures a more uniform germination process, with seeds sprouting at a similar time. This leads to a more orderly and organized garden, as plants will reach maturity at a closer rate, making it easier for maintenance and harvesting.
- Enhanced Seedling Vigor: The hydration provided by soaking green bean seeds aids in the development of stronger and healthier seedlings. This vigor extends to both root and shoot growth, promoting more robust plants that are better equipped to handle environmental stresses and produce a bountiful harvest.
- Overcoming Seed Dormancy: Some green bean seeds may have inherent dormancy mechanisms that prevent them from germinating under normal conditions. Soaking can help overcome this dormancy by simulating natural environmental cues, ensuring a higher germination success rate.
By harnessing the benefits of soaking green bean seeds, you can establish a more productive and thriving green bean garden. However, it is important to note that soaking is just one of the many factors that contribute to successful gardening. Providing suitable growing conditions such as proper sunlight, well-drained soil, and regular watering are equally crucial for the health and development of your green bean plants.
Now that we have explored the benefits of soaking green bean seeds, let’s delve into the essential factors to consider before you begin the soaking process.
Factors to Consider Before Soaking Green Bean Seeds
While soaking green bean seeds can be beneficial for their germination and growth, there are a few key factors to consider before you begin the soaking process. By taking these factors into account, you can ensure the best possible outcomes for your green bean plants:
- Seed Variety: Not all green bean varieties require soaking. Some varieties may have naturally thin seed coats that allow for easy water absorption. Therefore, it is important to research the specific variety you are planting to determine if soaking is recommended.
- Type of Soil: The type of soil in your garden can affect whether or not you should soak green bean seeds. If you have heavy clay soil or soil with poor drainage, soaking the seeds may not be necessary as the soil may hold too much moisture and lead to root rot. In such cases, it is best to consult a local gardening expert for advice.
- Water Source: The quality of the water you use for soaking is essential. If you have access to chlorinated or treated tap water, it is recommended to use filtered or dechlorinated water for soaking. Chlorine and other chemicals present in tap water can inhibit seed germination and growth.
- Soaking Duration: The recommended soaking time for green bean seeds varies depending on the variety and seed condition. As a general guideline, soaking for about 8 to 12 hours is sufficient for most green bean seeds. However, for varieties with thicker seed coats or particularly dormant seeds, longer soaking times may be necessary.
- Temperature: The temperature of the water used for soaking can impact the effectiveness of the process. It is recommended to use lukewarm water, around 70 to 85°F (21 to 29°C), to help soften the seed coat and promote better water absorption. Avoid using hot water, as it can damage the seeds.
Considering these factors before soaking green bean seeds will help you make informed decisions and optimize the germination process. Always remember to follow the specific instructions provided by the seed supplier or consult local gardening resources for variety-specific guidelines.
Now that we have explored the important factors to consider, let’s move on to a step-by-step guide for soaking green bean seeds, ensuring you have all the knowledge needed for successful seed preparation.
Step-by-Step Guide for Soaking Green Bean Seeds
Soaking green bean seeds is a simple and straightforward process that can greatly benefit the germination and growth of your plants. Here is a step-by-step guide to help you through the soaking process:
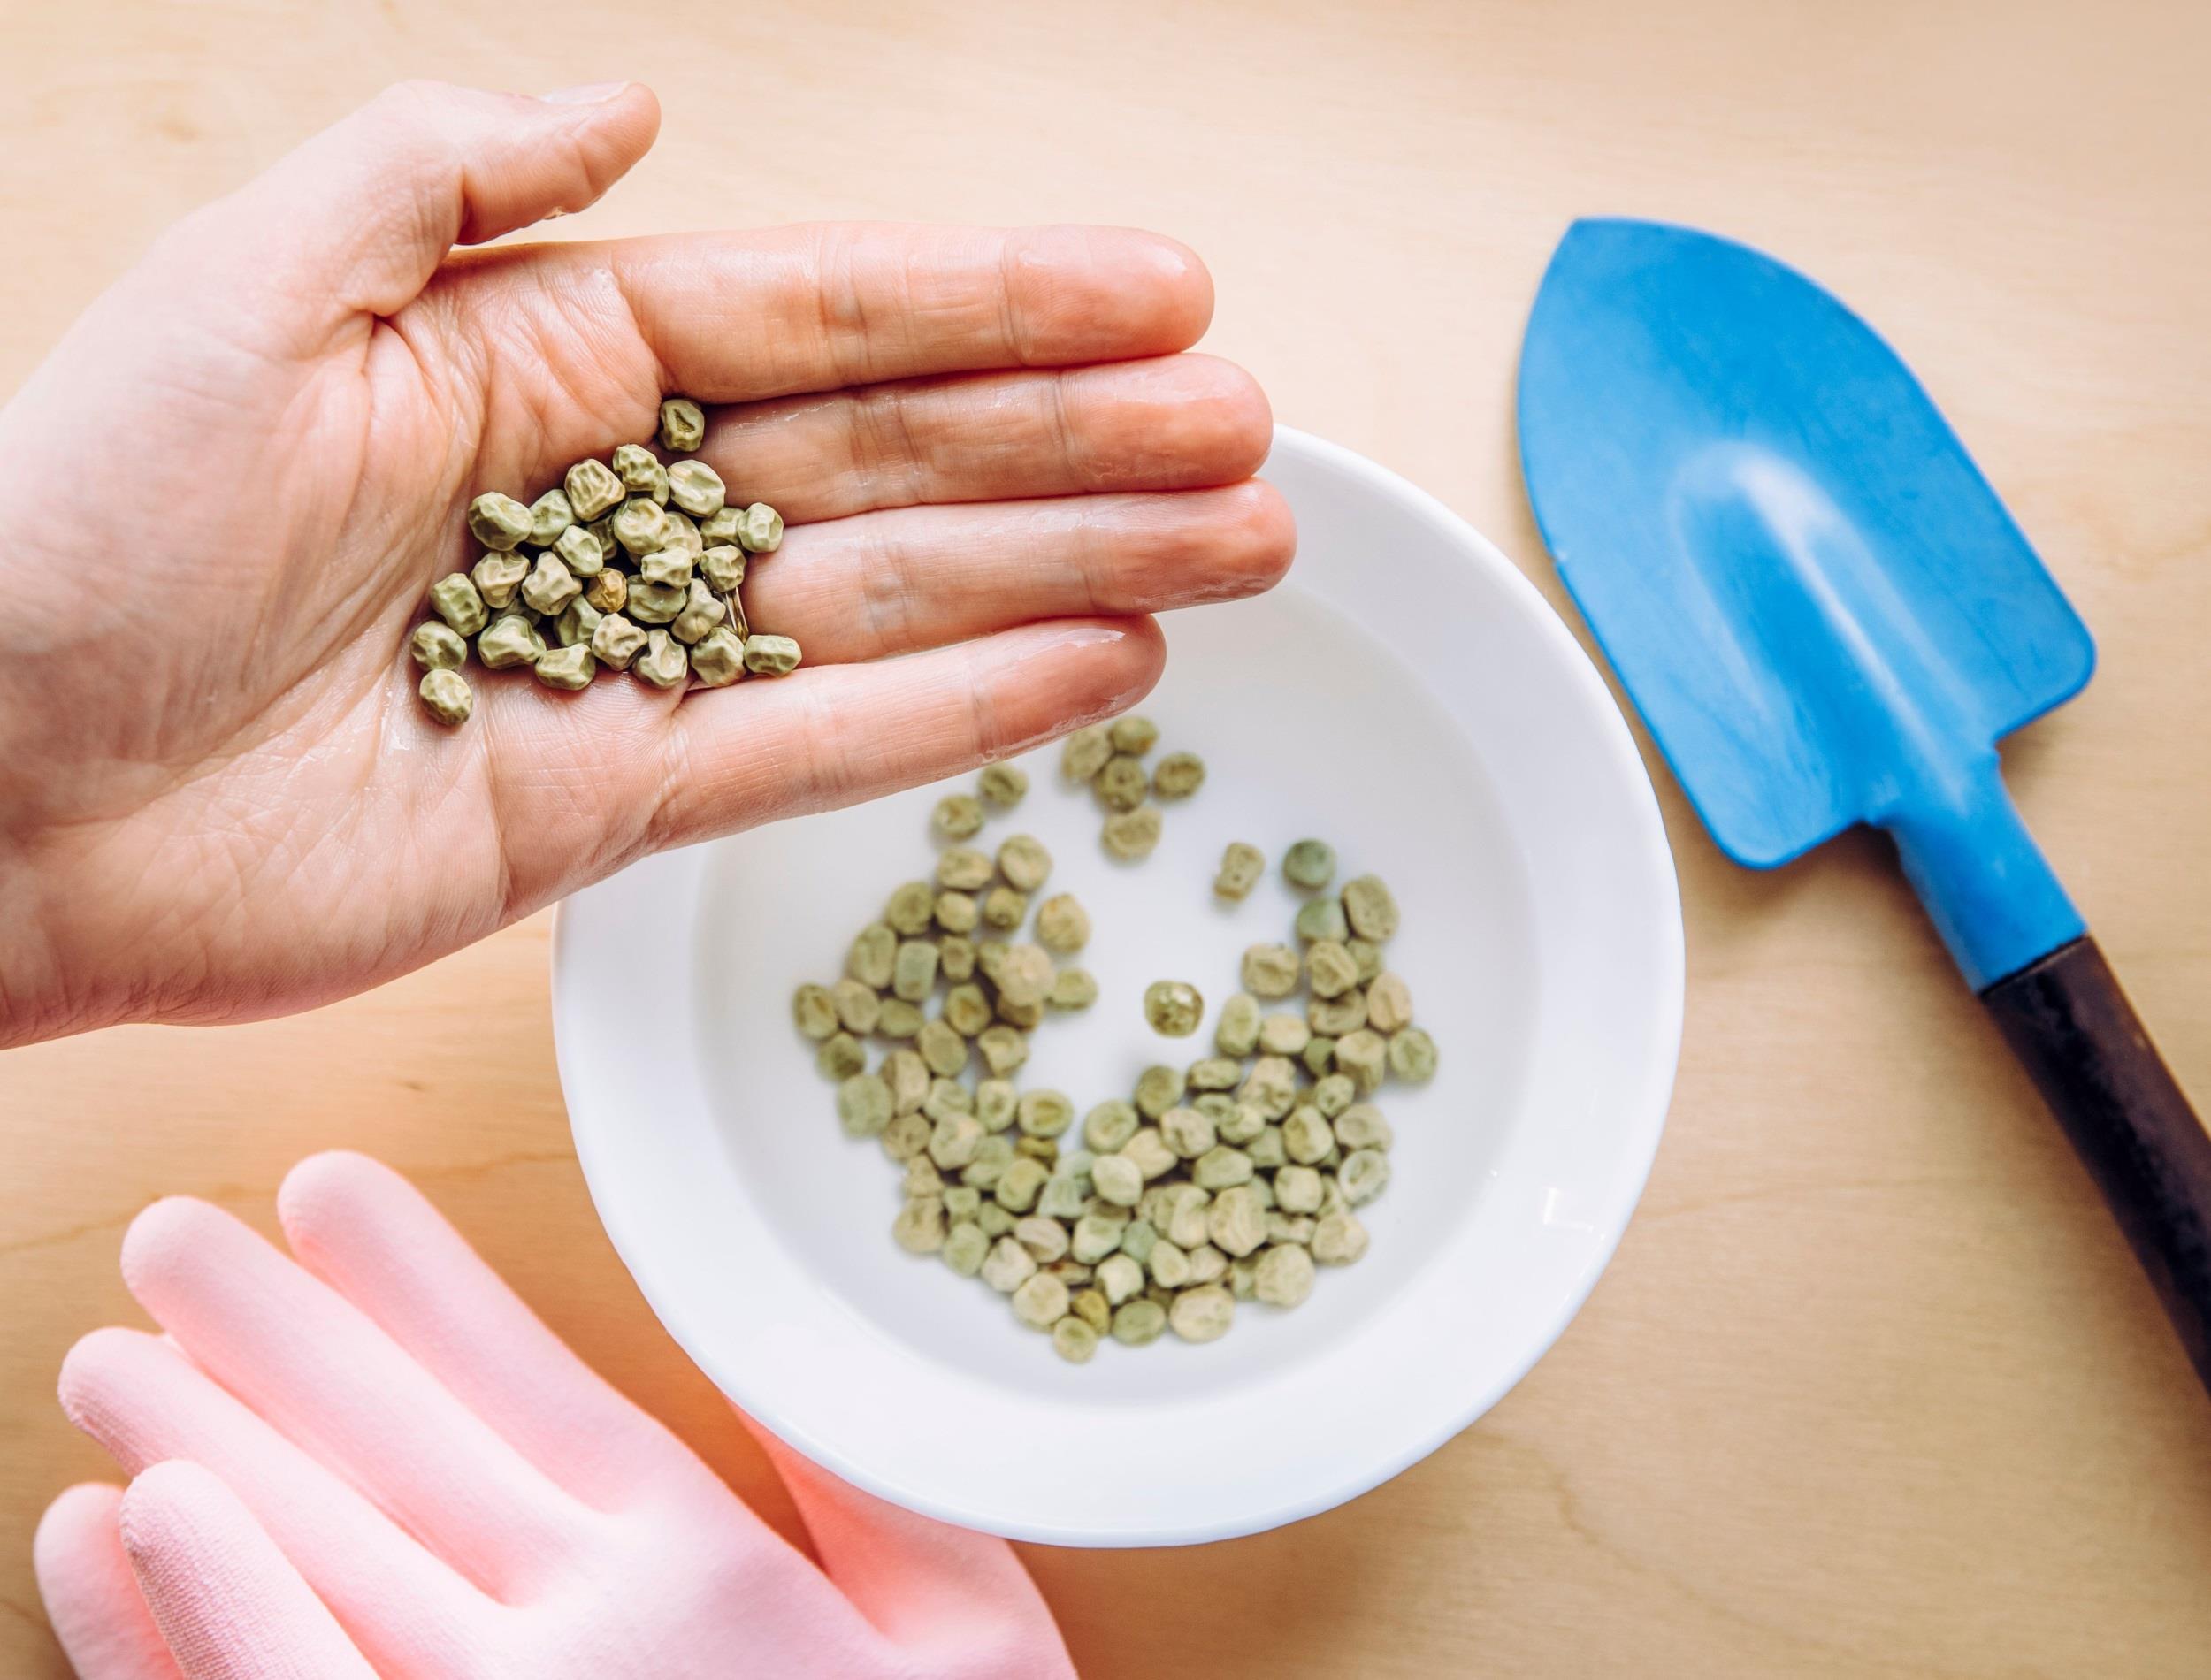
- Select High-Quality Seeds: Start by choosing high-quality green bean seeds from a reputable supplier or trusted source. Look for seeds that are plump, intact, and free from any signs of damage or disease.
- Cleanse the Seeds: Before soaking, it is recommended to give the seeds a gentle rinse to remove any dust, dirt, or residual coatings. This helps ensure a clean and healthy start for your plants.
- Choose the Soaking Container: Select a container large enough to accommodate the number of seeds you wish to soak. A glass jar, plastic container, or a shallow dish with a lid are all suitable options. Just make sure the container is clean and has drainage holes.
- Measure and Add Water: Measure the desired amount of lukewarm water according to the number of seeds being soaked. It is generally recommended to use about 2 to 3 times the volume of the seeds. Pour the water into the container, leaving sufficient space for the seeds to expand.
- Add the Seeds: Gently add the green bean seeds to the water in the container. Make sure the seeds are fully submerged in the water. Avoid overcrowding the container to allow each seed to absorb water effectively.
- Soak for the Recommended Time: Refer to the recommended soaking time for the specific variety of green bean seeds you are working with. As a general guideline, most green bean seeds require soaking for about 8 to 12 hours. Adjust the soaking time accordingly if using varieties with thicker seed coats or particularly dormant seeds.
- Monitor the Soaking Process: During the soaking period, check the container occasionally to ensure the seeds remain submerged. If necessary, gently stir the seeds to avoid clumping or sticking together.
- Drain the Seeds: Once the recommended soaking time has elapsed, carefully pour out the water from the container. Use a colander or strainer to drain the seeds thoroughly or gently tip the container to remove excess water.
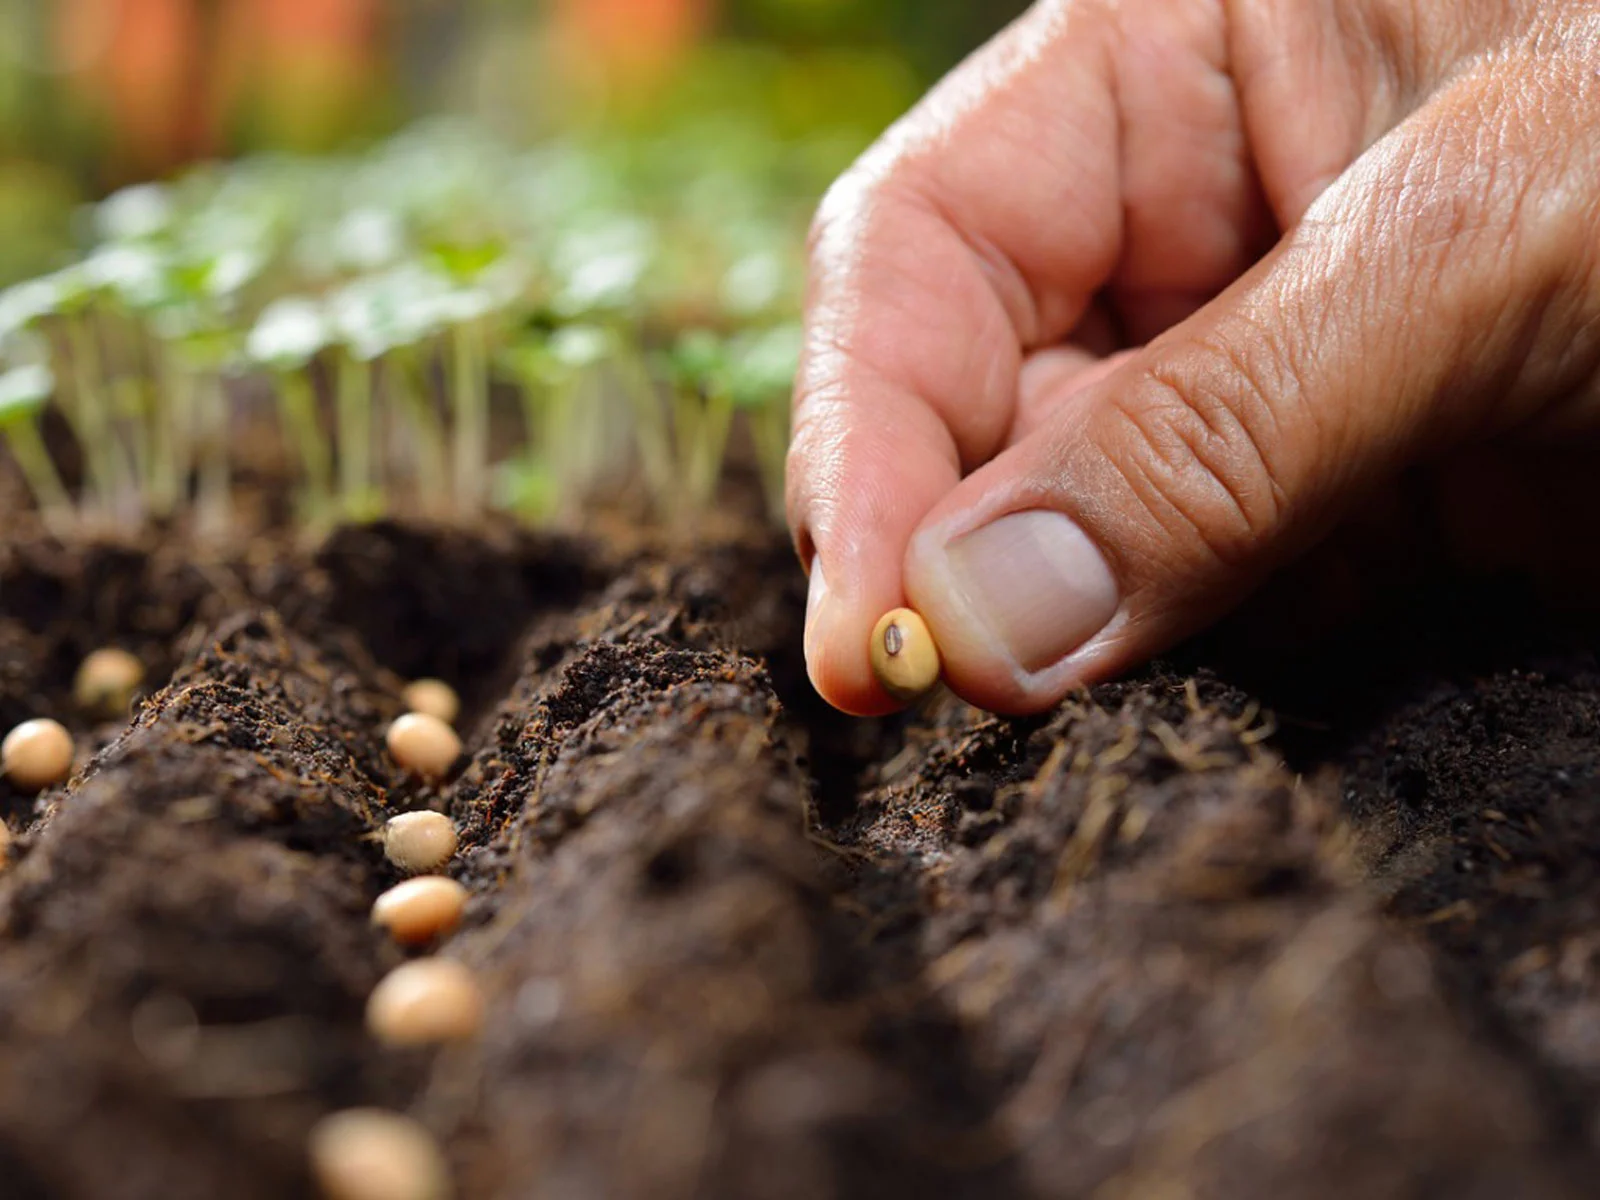
- Plant the Soaked Seeds: After draining, it is best to immediately plant the soaked green bean seeds into their designated growing area. Follow proper planting guidelines, such as the appropriate depth and spacing for the specific variety you are cultivating.
By following this step-by-step guide, you will be able to successfully soak your green bean seeds and set them up for healthy germination and growth. Remember to adjust the soaking time and process according to the specific recommendations for the variety you are planting.
Next, let’s explore the recommended soaking time for green bean seeds in more detail to ensure optimal results.
Recommended Soaking Time for Green Bean Seeds
The soaking time for green bean seeds can vary depending on the variety and seed condition. As a general guideline, most green bean seeds require soaking for about 8 to 12 hours. However, it is important to note that some varieties with thicker seed coats or particularly dormant seeds may require longer soaking periods to ensure optimal germination.
When determining the appropriate soaking time, it is best to refer to the specific recommendations provided by the seed supplier or consult reputable gardening resources. These sources often provide variety-specific guidelines to ensure successful seed preparation.
Keep in mind that exceeding the recommended soaking time can sometimes have negative effects on seed viability. Prolonged soaking may lead to overhydration or seed damage, which can hamper germination and the overall health of the seedlings. It is therefore crucial to strike a balance and provide the seeds with just the right amount of hydration.
One helpful tip is to plan your soaking time according to your planting schedule. Depending on your availability and gardening routine, you may choose to soak the seeds overnight or during the day, ensuring you have enough time to plant them immediately after draining.
It is also essential to consider the temperature of the water used for soaking. Lukewarm water, around 70 to 85°F (21 to 29°C), is recommended to facilitate the softening of the seed coat and promote water absorption. Avoid using hot water, as it can damage the seeds and diminish their viability.
Remember, every seed variety is unique, and the recommended soaking time may vary. Take the time to research the specific green bean variety you are planting, and follow the recommended guidelines to ensure the best possible germination results.
Now that we have covered the recommended soaking time for green bean seeds, let’s explore some common mistakes to avoid during the soaking process to maximize seed germination success.
Common Mistakes to Avoid While Soaking Green Bean Seeds
While soaking green bean seeds can greatly enhance their germination and growth, it is important to be aware of common mistakes that can hinder the process. By avoiding these pitfalls, you can maximize your chances of successful seed preparation. Let’s explore some of the common mistakes to avoid while soaking green bean seeds:
- Over-Soaking: Exceeding the recommended soaking time can lead to overhydration and potential seed damage. It is crucial to adhere to the specific soaking time guidelines provided for the green bean variety you are planting.
- Using Cold Water: Cold water can slow down the softening process of the seed coat. It is best to use lukewarm water, around 70 to 85°F (21 to 29°C), to provide optimal conditions for seed hydration.
- Using Chlorinated Water: Chlorine and other chemicals present in tap water can inhibit seed germination. If using tap water, it is recommended to filter or dechlorinate it before soaking the seeds. Alternatively, you can use clean, non-chlorinated water sources.
- Using Poor-Quality Seeds: Starting with low-quality or old seeds can significantly impact germination success. Always choose fresh, high-quality green bean seeds from reputable suppliers to maximize your chances of success.
- Crowding Seeds in the Soaking Container: Overcrowding the seeds in the soaking container can prevent proper water absorption. Ensure there is enough space for each seed to fully submerge and absorb water effectively.
- Ignoring Variety-Specific Guidelines: Different green bean varieties may have specific soaking requirements. It is essential to research and follow the recommended guidelines for the specific variety you are planting to ensure optimal seed preparation.
- Failing to Drain the Seeds Properly: Thoroughly draining the soaked seeds is crucial to prevent excess moisture and potential damage. Use a colander or strainer to drain the seeds thoroughly or gently tip the container to remove excess water.
- Delaying Planting After Soaking: Once the seeds are soaked, it is best to plant them immediately. Delaying the planting process can lead to seed damage or dehydration, reducing germination rates.
By avoiding these common mistakes, you can ensure that your green bean seeds are properly soaked and primed for successful germination and growth. Remember, each mistake can have an impact on the overall success of your gardening efforts.
Now that we have covered the common mistakes to avoid, let’s explore alternative methods to improve germination if soaking is not suitable for your green bean seeds.
Alternative Methods to Improve Germination
While soaking green bean seeds is a commonly used method to enhance germination, there are alternative techniques that can be employed if soaking is not suitable for your green bean seeds. These methods can help improve germination rates and set your plants up for success. Let’s explore some of the alternative methods:
- Scarification: Scarification involves breaking or thinning the seed coat to allow water penetration and promote germination. This can be achieved by gently nicking the seed coat with a small file or sandpaper. Be careful not to damage the internal tissues of the seed.
- Stratification: Stratification is a process of exposing seeds to cold or moist conditions to simulate their natural winter dormancy. For green bean seeds, you can place them in a plastic bag with a moist paper towel, seal it, and refrigerate for a specific period, typically 1 to 4 weeks, depending on the variety and desired outcome. After stratification, plant the seeds as usual.
- Pre-Germination: Pre-germination involves initiating the germination process before planting the seeds directly in the soil. To do this, dampen a paper towel or cotton pad, place the seeds on it, and fold it over to create a sealed environment. Keep the towel or pad moist and warm, and monitor the seeds for signs of germination, such as sprouting roots. Once the seeds have started to germinate, carefully transfer them to the planting area.
- Using Seedling Trays: If your green bean seeds are particularly sensitive to transplantation, you may consider starting them in seedling trays or pots before transplanting them to the garden. This allows for better control over the growing conditions and can help enhance germination and early growth.
It is important to note that these alternative methods require careful attention and adherence to specific guidelines for each technique. Not all green bean varieties may respond well to these methods, so research and understand the specific needs of the variety you are growing.
Remember, successful germination is influenced by various factors, including seed quality, soil conditions, temperature, and moisture. Experimenting with different methods and observing the response of your green bean seeds will help you determine the technique that works best for your specific situation.
Now that we have explored alternative methods to improve germination, let’s conclude this article with a summary of the key points we have covered.
Conclusion
In conclusion, soaking green bean seeds before planting can significantly enhance the germination and growth of your plants, leading to a more abundant and productive harvest. By softening the seed coat, accelerating germination, increasing seedling vigor, and overcoming seed dormancy, soaking provides several benefits that contribute to the success of your green bean garden.
Before soaking green bean seeds, it is important to consider factors such as seed variety, type of soil, water source, soaking duration, and temperature. Taking these factors into account will help ensure optimal results and avoid common mistakes such as over-soaking, using cold or chlorinated water, and delaying planting after soaking.
If soaking is not suitable for your green bean seeds, alternative methods such as scarification, stratification, pre-germination, or using seedling trays can be employed to improve germination rates. It is important to research and understand the specific needs and requirements of your chosen green bean variety to determine the best approach.
Remember, in addition to soaking or alternative methods, providing suitable growing conditions such as proper sunlight, well-drained soil, and regular watering are essential for the health and development of your green bean plants.
With the knowledge gained from this article, you are now equipped to confidently soak your green bean seeds or explore alternative techniques to improve germination. Enjoy the journey of growing your own fresh and delicious green beans, and reap the rewards of a bountiful harvest!