Home>Types of Gardening>Ornamental Gardening>How To Soak Bulbs Before Planting
Ornamental Gardening
How To Soak Bulbs Before Planting
Published: August 26, 2023
Learn the correct way to soak bulbs before planting in your ornamental gardening projects. Enhance bulb performance and maximize their potential for beautiful blooms.
(Many of the links in this article redirect to a specific reviewed product. Your purchase of these products through affiliate links helps to generate commission for Chicagolandgardening.com, at no extra cost. Learn more)
Table of Contents
Introduction
Welcome to the wonderful world of ornamental gardening! If you’re a gardening enthusiast, you know that planting bulbs is an essential part of creating a stunning garden filled with vibrant colors and captivating scents. However, have you ever wondered why some experienced gardeners soak their bulbs before planting? In this article, we will explore the importance of soaking bulbs, the types of bulbs that benefit from this practice, and provide a step-by-step guide to help you soak your bulbs successfully. So, grab your gardening gloves and let’s dive in!
Soaking bulbs before planting is a popular technique that many gardeners swear by. It involves submerging the bulbs in water for a specific period of time to encourage proper hydration and activate vital processes within the bulb. This practice can make a significant difference in the growth and overall health of your plants.
Not all bulbs require soaking, but for those that do, the benefits are numerous. Soaking can help soften the outer layers of the bulb, making it easier for the roots to emerge and establish themselves in the soil. Additionally, it can stimulate the activation of enzymes within the bulb, kick-starting the growth process and promoting faster and healthier development.
Why Soak Bulbs Before Planting
Soaking bulbs before planting serves several important purposes that contribute to the success of your ornamental garden. Let’s explore why this practice is highly recommended by experienced gardeners:
- Promotes Hydration: Bulbs are essentially storage organs that contain all the necessary nutrients and energy to support plant growth. Soaking bulbs allows them to absorb water and plump up, ensuring they are sufficiently hydrated before they are planted in the ground. This hydration is crucial for the development of strong and healthy roots.
- Encourages Root Growth: When bulbs are soaked, it softens the protective outer layers and makes it easier for the roots to emerge. This process, known as root initiation, is vital for establishing a strong root system. Properly developed roots will help anchor the plant and ensure efficient nutrient uptake, leading to robust foliage and bright, colorful blooms.
- Activates Vital Processes: Soaking bulbs can trigger the activation of enzymes within the bulb. These enzymes are responsible for breaking down stored nutrients and converting them into energy, which fuels the growth and development of the plant. When the bulb is adequately soaked, these enzymes are activated, jump-starting the growth process and promoting healthier and faster development.
- Speeds up Germination: Some bulbs, such as tulips and daffodils, have a natural dormancy period. Soaking these bulbs can help break this dormancy by providing the appropriate conditions for germination. This ensures that the bulbs sprout and bloom within the desired time frame, resulting in a well-timed and visually appealing display of flowers in your garden.
By soaking bulbs before planting, you’re giving your ornamental plants the best chance at success. The extra effort of soaking will reward you with stronger roots, faster growth, and a more vibrant and beautiful garden. So, don’t skip this essential step in your gardening journey!
Types of Bulbs That Benefit from Soaking
While not all bulbs require soaking before planting, certain varieties can greatly benefit from this practice. Here are some of the most common types of bulbs that benefit from soaking:
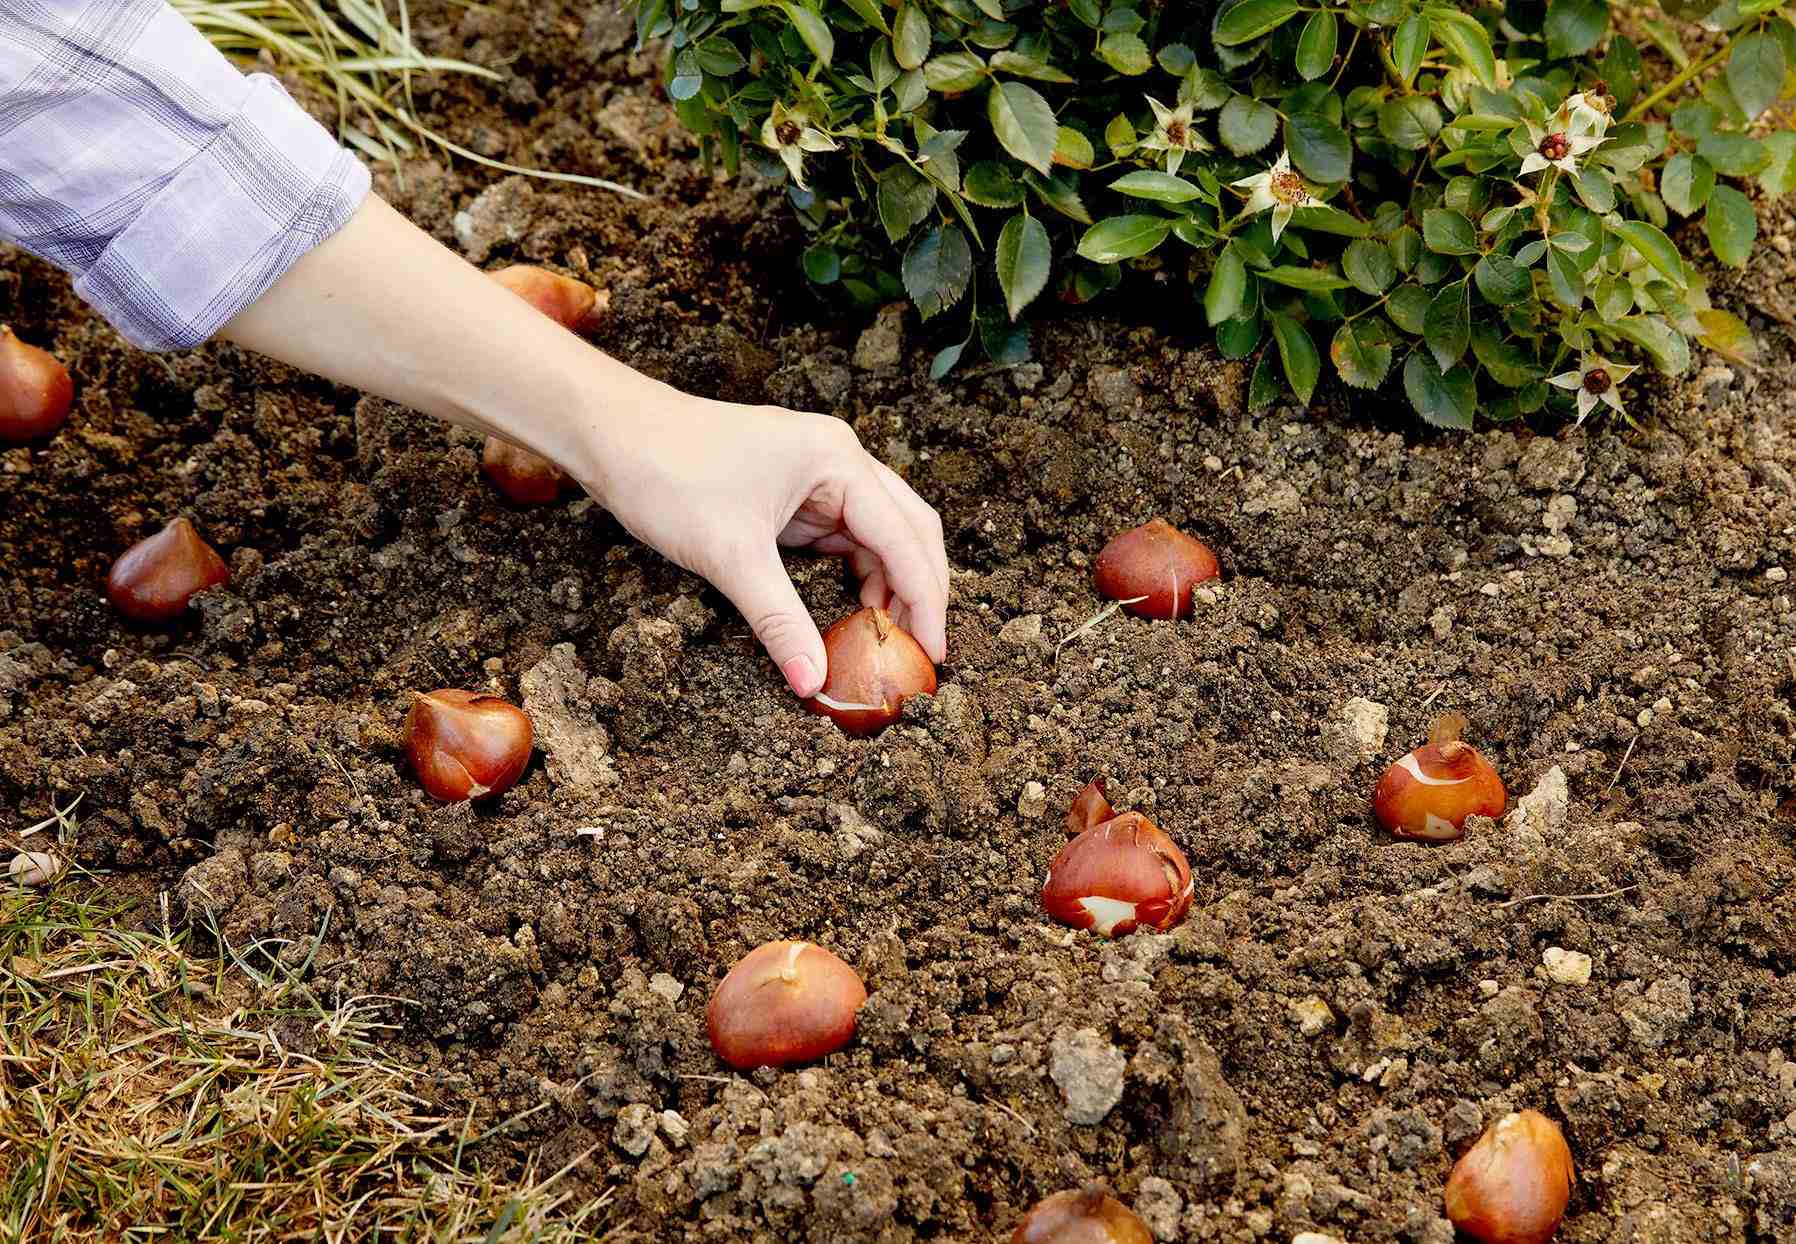
- Large Bulbs: Bulbs with a larger size, such as tulips, daffodils, and lilies, tend to benefit from soaking. The size and density of these bulbs make it harder for water to penetrate the outer layers, making soaking essential for proper hydration and activation of growth processes.
- Hard-Shell Bulbs: Some bulbs, like gladiolus and crocus, have a hard outer shell that can hinder water absorption. Soaking these bulbs helps soften the shell, allowing water to penetrate more easily and enabling the bulb to absorb the necessary moisture for growth.
- Dormant Bulbs: Certain bulbs have a natural period of dormancy during which they remain inactive. Soaking dormant bulbs, such as hyacinths and snowdrops, can help break their dormancy and stimulate sprouting by providing the necessary moisture and activation of enzymes.
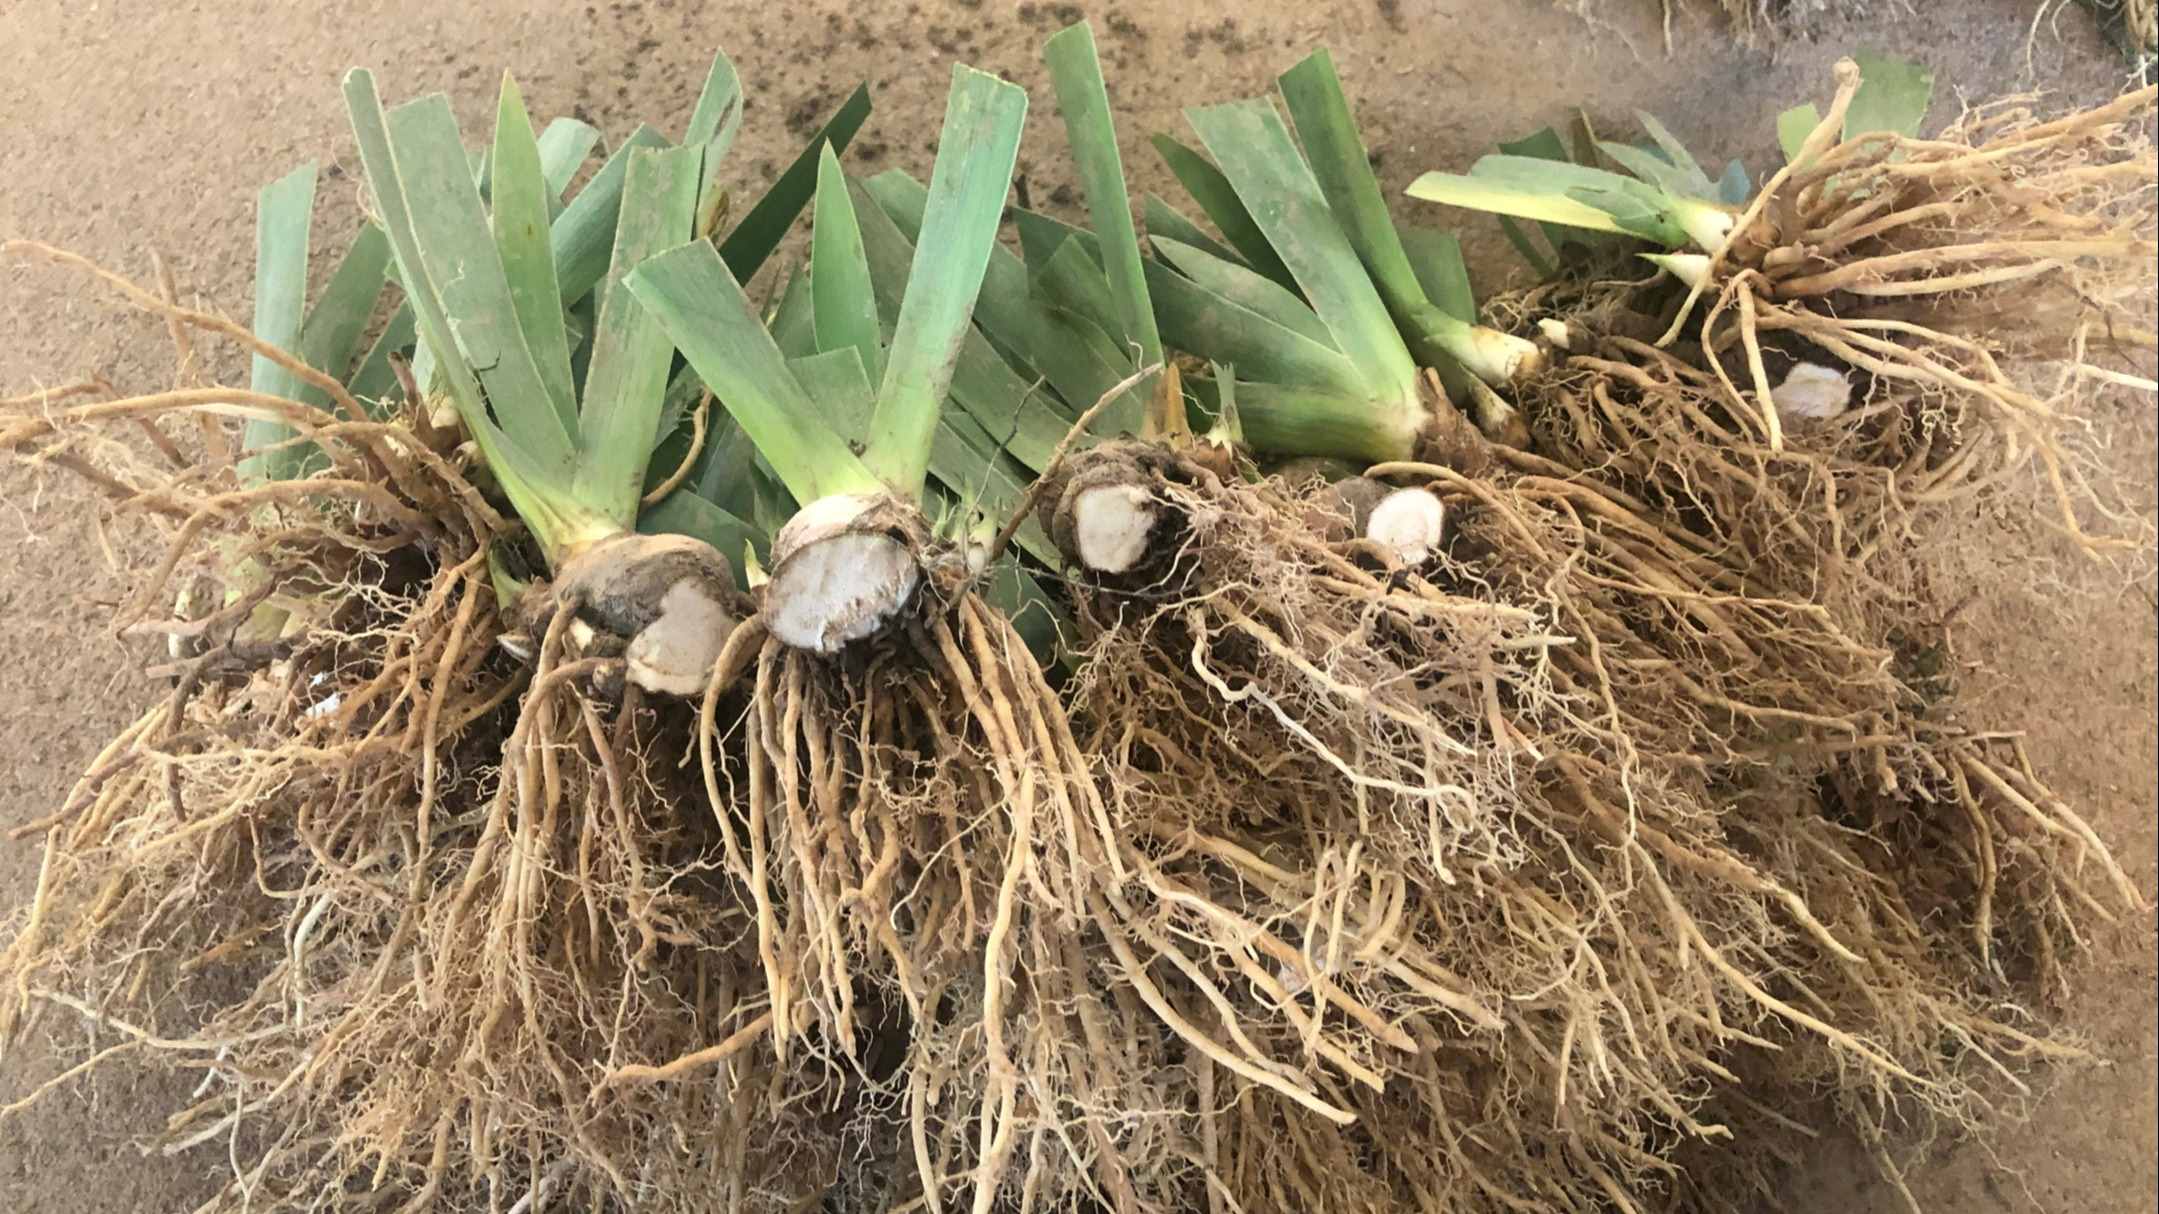
- Dehydrated or Damaged Bulbs: Bulbs that are dehydrated or damaged may struggle to survive and thrive when planted directly in the ground. Soaking these bulbs helps rehydrate them and restore their vitality, increasing their chances of successful growth and blooming in your garden.
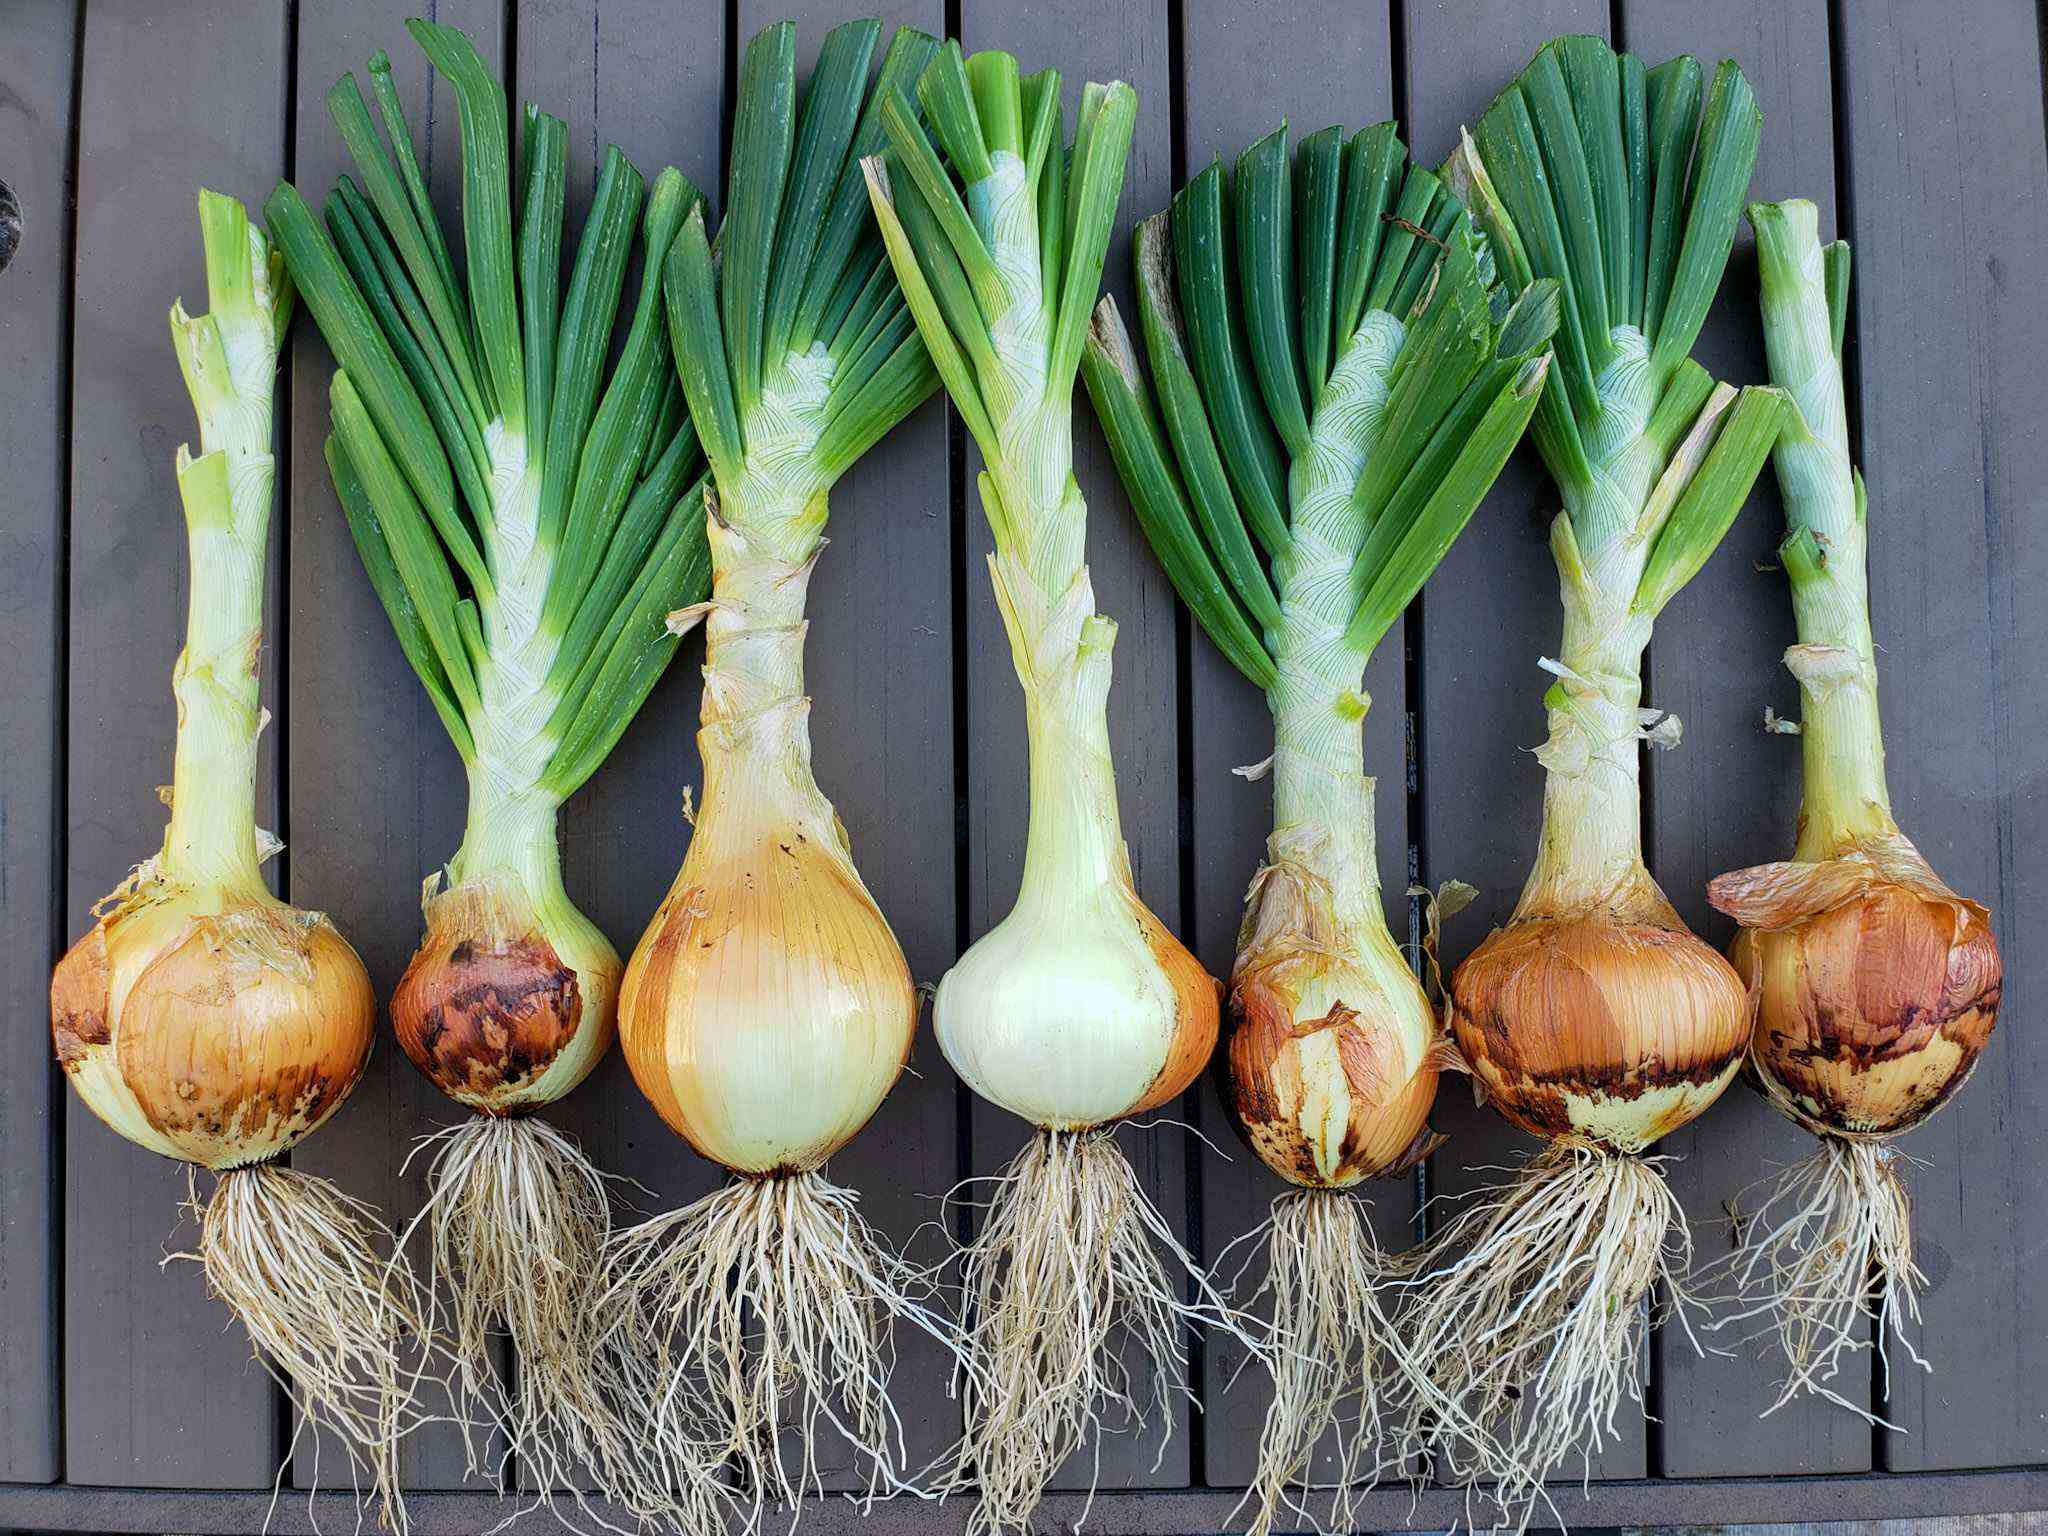
It’s important to note that not all bulbs need to be soaked. Examples of bulbs that typically do not require soaking include smaller bulbs like crocuses and snowdrops, as well as bulbs that have a naturally soft and moist skin, such as onions and garlic. Always refer to specific planting instructions for the bulbs you are working with to determine whether soaking is recommended.
By understanding which types of bulbs benefit from soaking, you can tailor your gardening practices accordingly and provide the best care for your ornamental plants. Now that we know which bulbs benefit from soaking, let’s explore the step-by-step process of how to soak bulbs before planting them in the ground.
Step-by-Step Guide to Soaking Bulbs
Soaking bulbs before planting may seem like an extra step, but it’s a simple process that can greatly benefit your ornamental garden. Here’s a step-by-step guide to help you soak bulbs effectively:
- Select the Right Bulbs: Choose the bulbs that require soaking, based on their size, shell hardness, dormancy period, or any specific instructions from the bulb’s packaging.
- Gather Your Materials: You’ll need a container large enough to hold the bulbs and water. Ensure the container is clean and free of any residues or contaminants that could harm the bulbs.
- Fill the Container: Fill the container with lukewarm water, ensuring it’s deep enough to submerge the bulbs completely.
- Place the Bulbs: Carefully place the bulbs into the container, making sure they are fully submerged in the water. If you’re soaking multiple bulbs, arrange them in a single layer to ensure equal exposure to water.
- Soak for the Recommended Time: Consult the specific bulb’s instructions for the recommended soaking time. In general, most bulbs should be soaked for 1-2 hours, while some may require overnight soaking. Avoid over-soaking, as it can lead to rotting or other issues.
- Monitor the Soaking Process: While the bulbs are soaking, periodically check the water temperature to ensure it remains lukewarm. Keep an eye on any signs of deterioration, such as mold or foul odors. If you notice any issues, remove the bulbs immediately.
- Remove and Dry the Bulbs: After the recommended soaking time has elapsed, carefully remove the bulbs from the water and place them on a clean towel or paper towel. Allow them to air dry for a few hours to reduce excess moisture.
- Plant the Bulbs: Once the bulbs have dried, plant them according to the recommended depth and spacing for each specific bulb variety. Enjoy the process of watching them grow and bloom into beautiful ornamental plants.
Following this step-by-step guide ensures that your bulbs receive the right amount of hydration and are prepared for successful growth. Soaking bulbs can make an incredible difference in the health and beauty of your ornamental garden, so don’t skip this important step!
Tips for Successful Bulb Soaking
While soaking bulbs is a relatively straightforward process, there are a few tips and tricks to ensure that your bulb soaking is successful. Here are some helpful tips to keep in mind:
- Follow the Recommended Soaking Time: Each type of bulb may have different soaking requirements. Always refer to the specific instructions provided by the bulb supplier or packaging to determine the appropriate soaking duration. Avoid over-soaking, as it can cause the bulbs to rot or develop fungal diseases.
- Use Lukewarm Water: Lukewarm water is ideal for soaking bulbs as it assists in facilitating water absorption without shocking the bulbs. Avoid using water that is too cold or too hot, as extreme temperatures can damage the bulbs.
- Choose the Right Container: Select a container that is large enough to comfortably hold the bulbs while allowing them to be fully submerged. Avoid overcrowding the bulbs, as this can lead to poor water circulation and inadequate soaking.
- Keep an Eye on the Bulbs: Regularly check the bulbs while they are soaking to ensure there are no signs of deterioration, such as mold or foul odors. If you notice any issues, promptly remove the affected bulbs to prevent further damage.
- Consider Adding a Bulb-Friendly Solution: Some gardeners prefer to add a bulb-specific solution or plant hormone to the soaking water to further enhance growth. These solutions are available commercially and can provide an extra boost to the bulbs’ nutrients and development. However, be sure to follow the instructions on the product label for proper usage and dilution ratios.
- Avoid Soaking Damaged or Diseased Bulbs: It’s important to only soak bulbs that are healthy and free from any signs of damage or disease. Damaged bulbs may not benefit from soaking and could potentially contaminate the water, affecting the other bulbs in the process.
- Allow Bulbs to Dry Before Planting: After soaking, give the bulbs enough time to air dry before planting them in the ground. This reduces the risk of rotting and allows for easier handling during the planting process.
- Keep Records of Your Soaking Experience: Take note of the soaking duration, water temperature, and any additional treatments used during the soaking process. Keeping records can help you evaluate the effectiveness of soaking methods in the future and make adjustments if necessary.
By following these tips, you can optimize the soaking process and ensure that your bulbs receive the best care possible. Remember, successful bulb soaking sets the stage for healthy growth and magnificent blooms in your ornamental garden!
Common Misconceptions about Soaking Bulbs
While soaking bulbs before planting is a widely practiced technique, there are a few common misconceptions that can lead to confusion or misinterpretation. Let’s debunk some of the most prevalent misconceptions about soaking bulbs:
- All Bulbs Must Be Soaked: This is false. Not all bulbs require soaking before planting. Smaller bulbs like crocuses and snowdrops usually do not need soaking, as their thin outer layers allow for efficient water absorption without soaking.
- Soaking Bulbs Guarantees Blooming: Soaking bulbs does promote healthy growth, but it does not guarantee blooming. Other factors, such as proper planting depth, sufficient sunlight, and appropriate soil conditions, also play a significant role in determining whether bulbs will bloom.
- Longer Soaking Means Better Results: While it may be tempting to soak bulbs for an extended period of time, excessively long soaking can actually be detrimental. Over-soaking can lead to rotting or fungal diseases, so it’s important to follow the recommended soaking time provided for each specific bulb variety.
- Soaking Can Revive Old or Damaged Bulbs: Soaking bulbs is beneficial for hydration and growth stimulation, but it cannot revive bulbs that are old, damaged, or already in a state of decay. It’s best to choose healthy bulbs for soaking to ensure optimal results.
- Soaking Removes the Need for Watering: Soaking bulbs before planting provides a head start in terms of hydration, but it does not eliminate the need for regular watering afterward. Once planted, bulbs still require adequate watering to sustain their growth and development.
- Soaking Can Fix Poor Soil Conditions: Soaking bulbs cannot compensate for poor soil conditions. It’s essential to prepare the planting site by enriching the soil with organic matter and ensuring proper drainage to optimize the bulb’s overall health and growth potential.
- Soaking Affects All Bulbs Equally: Different types of bulbs have varying soaking requirements. Some bulbs benefit greatly from soaking, while others may not need it at all. Always consult the specific recommendations for each individual bulb type to determine whether soaking is necessary.
By understanding these misconceptions about soaking bulbs, you can make more informed decisions regarding the care and treatment of your ornamental plants. Remember to always rely on reliable sources and trustworthy gardening experts for accurate information to ensure the success of your gardening endeavors!
Conclusion
Soaking bulbs before planting is a valuable practice that can greatly benefit your ornamental garden. By providing hydration, promoting root growth, activating vital processes, and speeding up germination, soaking prepares bulbs for successful growth and stunning blooms. However, it’s important to note that not all bulbs require soaking, and following specific instructions for each bulb type is crucial.
When soaking bulbs, remember to use lukewarm water, select the right container, and follow the recommended soaking time. Keep an eye on the bulbs during the soaking process and ensure they are healthy and free from damage. After soaking, allow the bulbs to dry before planting them properly in the soil.
By dispelling common misconceptions about soaking bulbs, such as the idea that all bulbs must be soaked or that soaking guarantees blooming, we can approach bulb soaking with a more accurate understanding. Soaking bulbs is just one piece of the puzzle, and factors like proper planting depth, sunlight, and soil conditions also contribute to the overall success of your ornamental garden.
So, embrace the practice of soaking bulbs and enjoy the rewards of healthier plants, vibrant blooms, and a more beautiful garden. With the right care and attention, your ornamental garden will thrive and become a source of natural beauty and joy for you and your visitors.