Home>Gardening Basics>Understanding Soil>How To Clean Soil Before Planting

Understanding Soil
How To Clean Soil Before Planting
Modified: February 6, 2024
Learn how to prepare your soil for planting by understanding the importance of soil cleanliness. Discover effective methods for cleaning soil to ensure optimal plant growth.
(Many of the links in this article redirect to a specific reviewed product. Your purchase of these products through affiliate links helps to generate commission for Chicagolandgardening.com, at no extra cost. Learn more)
Table of Contents
Introduction
When it comes to gardening, the importance of soil cannot be overstated. It is the foundation that plants rely on for nutrients, water, and support. However, not all soil is created equal, and sometimes it needs to be cleaned and prepared before planting. Soil cleaning is especially crucial if you’re starting a new garden or rejuvenating an existing one.
So why is it necessary to clean soil before planting? There are several reasons. Firstly, soil can contain various debris such as rocks, sticks, and roots, which can hinder plant growth. Secondly, soil may contain harmful pathogens, pests, or weed seeds that can adversely affect the health of your plants. Lastly, soil pH levels can be imbalanced, impacting nutrient availability to plants.
Cleaning the soil ensures that it is nutrient-rich, well-draining, and free from contaminants. By following a few essential steps, you can create a healthy and fertile environment for your plants to thrive. In this article, we will guide you through the process of cleaning soil and preparing it for successful planting.
Reasons to Clean Soil Before Planting
Before you start a new planting project or revive an existing garden, it is important to understand why cleaning the soil is essential. Here are a few key reasons:
- Removing Debris: Over time, soil can accumulate debris such as rocks, roots, and sticks. These unwanted materials can impede root growth, hinder water drainage, and make it difficult for plants to establish themselves. By cleaning the soil, you can eliminate these obstacles and create a better growing environment.
- Eradicating Pathogens and Pests: The soil may harbor harmful pathogens, nematodes, fungi, or pests that can harm your plants. By cleaning the soil, you reduce the chances of these pests spreading and affecting the health of your plants. This is particularly important if you had any disease or pest issues in your garden previously.
- Eliminating Weed Seeds: Weeds are a common problem in gardens, and they can quickly take over if left unchecked. Cleaning the soil helps remove weed seeds, reducing the competition for nutrients, sunlight, and space for your desired plants.
- Improving Soil Structure: Soil can become compacted over time, which hinders root penetration, nutrient uptake, and water drainage. By cleaning and preparing the soil, you can improve its structure, making it easier for plants to grow and establish strong root systems.
- Balancing Soil pH: Soil pH directly affects nutrient availability to plants. If the pH levels are too high or too low, certain essential nutrients may become unavailable to plants, leading to deficiencies or toxicities. Cleaning the soil allows you to adjust the pH levels and provide an optimal environment for plant growth.
By addressing these issues and cleaning the soil, you set the stage for successful planting and ensure that your plants have the best possible chances of thriving.
Tools and Materials Needed
Before you begin the process of cleaning your soil, it’s important to gather the necessary tools and materials. Here’s a list of what you’ll need:
- Garden Gloves: Protect your hands from debris, sharp objects, or any potential irritants in the soil by wearing sturdy garden gloves.
- Garden Fork or Spade: These tools are essential for loosening compacted soil, removing large debris, and turning the soil over during the cleaning process.
- Garden Rake: Use a garden rake to level the soil, remove small stones, and break up clumps.
- Soil Testing Kit: To ensure optimal plant growth, you’ll need a soil testing kit to determine the pH level and nutrient deficiencies in your soil.
- Weeding Tools: Depending on the size and condition of your garden, you may need hand tools like a hand trowel or weed puller, or larger tools like a hoe or shovel for removing weeds.
- Compost or Organic Matter: Organic matter is essential for enriching the soil with nutrients and improving its structure. You can use compost, well-rotted manure, or leaf mold as organic matter.
- Water Source: Make sure you have a nearby water source, such as a hose or watering can, to moisten the soil during the cleaning process and for the subsequent planting.
Having these tools and materials at hand will ensure a smooth and efficient soil cleaning process. You can find these items at your local garden center or online.
Step 1: Remove Large Debris
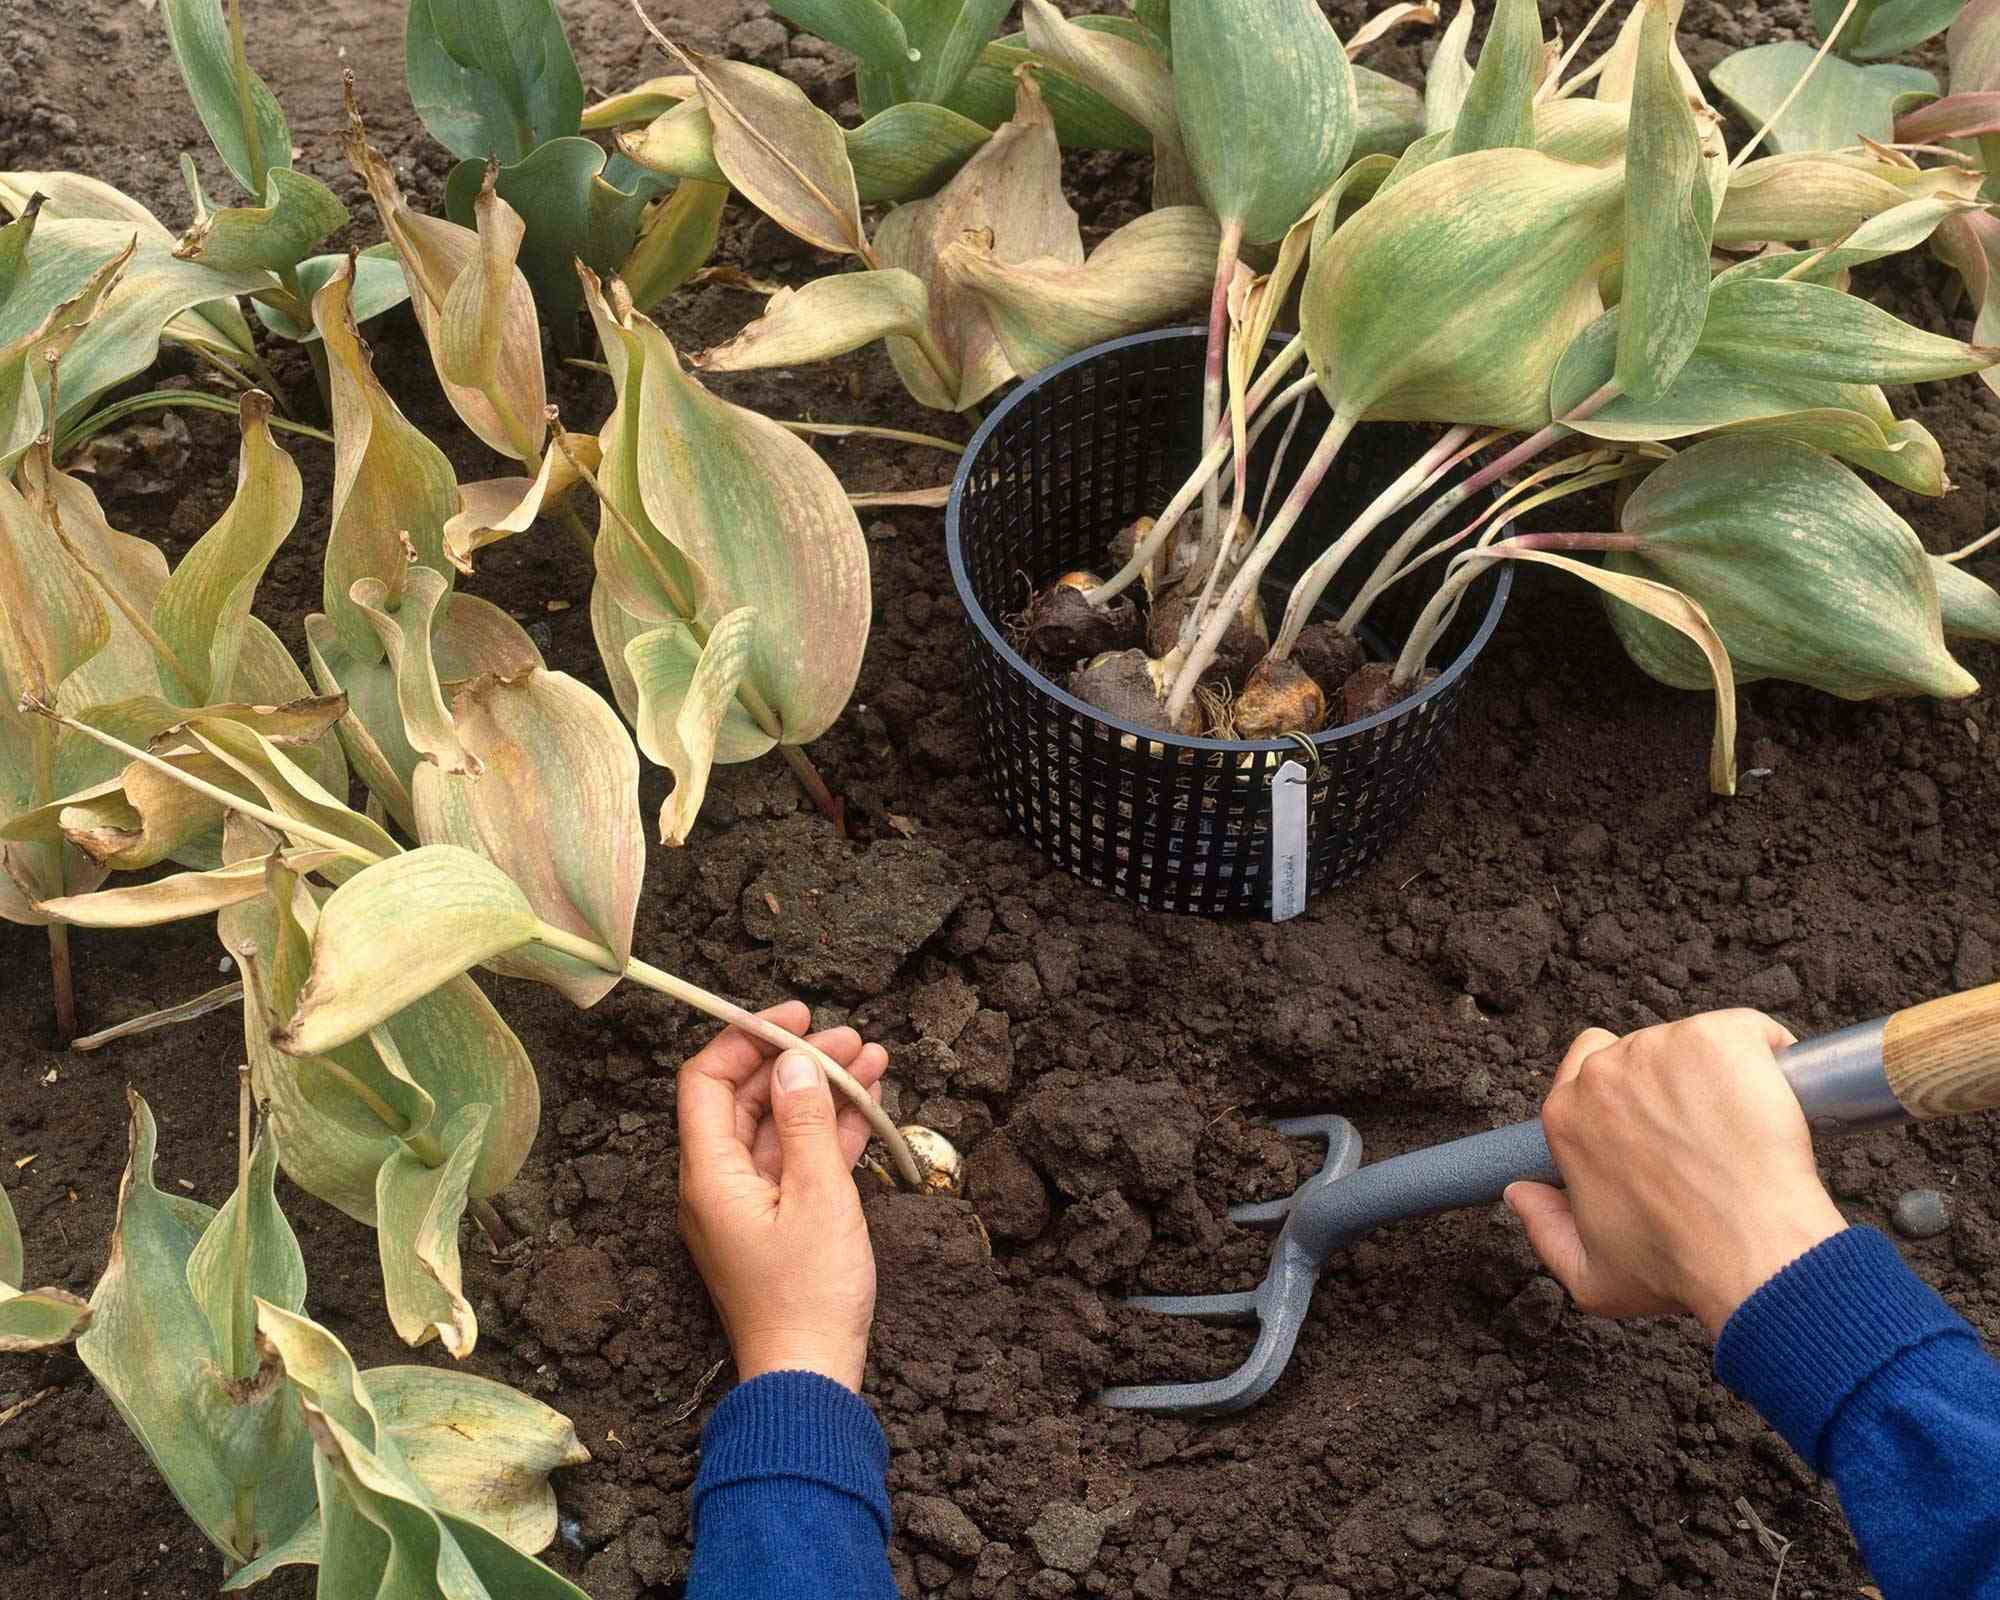
The first step in cleaning the soil before planting is to remove any large debris that may be present. This includes rocks, sticks, roots, and any other large objects that can inhibit plant growth and make it difficult to work with the soil.
Start by using a garden fork or spade to carefully dig into the soil and lift out the larger debris. Be thorough in your search and remove any obstacles you come across. This process will not only clear the way for planting but also ensure that your plants can establish their roots properly.
If you encounter large roots embedded in the soil, you may need to use a pair of loppers or a small saw to cut them before removing them from the ground. Take care not to damage the surrounding plants or disturb the soil structure too much.
As you remove the debris, place it in a designated pile or dispose of it appropriately. If there are any rocks that are too large to remove, you can use them for decorative purposes or create a rock garden within your landscape.
By clearing away the large debris, you create a clean and open space for the next steps in the soil cleaning process. This step sets the foundation for a healthy and productive garden by ensuring that your plants can grow and thrive without any obstacles.
Step 2: Test the pH of the Soil
After removing the large debris from the soil, the next step is to test the pH level. pH refers to the acidity or alkalinity of the soil, which plays a crucial role in nutrient availability for plants. Different plants thrive in different pH ranges, so it’s important to determine and adjust the pH level accordingly.
To test the pH of the soil, you will need a soil testing kit. These kits are readily available at garden centers and online. Follow the instructions provided with the kit to collect a soil sample from various areas of your garden.
Once you have collected the soil samples, use the testing kit to measure the pH level. The kit will typically provide color-coded charts that allow you to match the color of the test solution with the corresponding pH level.
If the pH level is outside the ideal range for the plants you wish to grow, it may be necessary to amend the soil to adjust the pH. For example, if the soil is too acidic (low pH), you can add lime to raise the pH. If the soil is too alkaline (high pH), you can add sulfur to lower the pH.
It’s important to note that different plants have different pH preferences, so be sure to research the specific pH requirements for the plants you plan to grow. This will help you make the necessary adjustments to create an optimal growing environment.
Testing the pH of the soil is a vital step in preparing the soil for planting. By understanding and adjusting the pH level, you can provide an ideal environment for your plants to thrive and access the necessary nutrients they need for healthy growth.
Step 3: Remove Weeds and Unwanted Plants
Once you have tested the pH of the soil, the next step in cleaning the soil before planting is to remove any existing weeds and unwanted plants. Weeds compete with your desired plants for resources such as water, nutrients, and space, so it’s essential to eliminate them to create an optimum growing environment.
Start by visually surveying the area and identifying any weeds or unwanted plants. Look for plants with distinctive characteristics, such as different leaf shapes or growth habits. It’s important to remove these plants before they have a chance to spread their seeds and cause further problems.
There are several methods you can use to remove weeds, depending on the size and type of the plants. For small weeds, you can manually pull them out by grasping the base of the plant near the soil surface and gently pulling upward, making sure to remove the entire root system. Use a hand trowel or weeding tool to help loosen the soil around stubborn weeds.
For larger or more established weeds, you may need to use a garden fork, hoe, or shovel to dig beneath the root system and lift the entire plant out of the ground. Be careful to remove as much of the root system as possible to prevent regrowth.
As you remove the weeds, separate them from your desired plants and dispose of them properly. You can compost healthy weeds or dispose of them in the green waste bin if available. Avoid composting any weeds that have gone to seed, as this can spread their seeds and potentially create more weed problems.
Removing weeds and unwanted plants from the soil helps reduce competition for resources and creates an environment where your desired plants can thrive. It’s a crucial step in cleaning and preparing the soil before planting.
Step 4: Amend the Soil
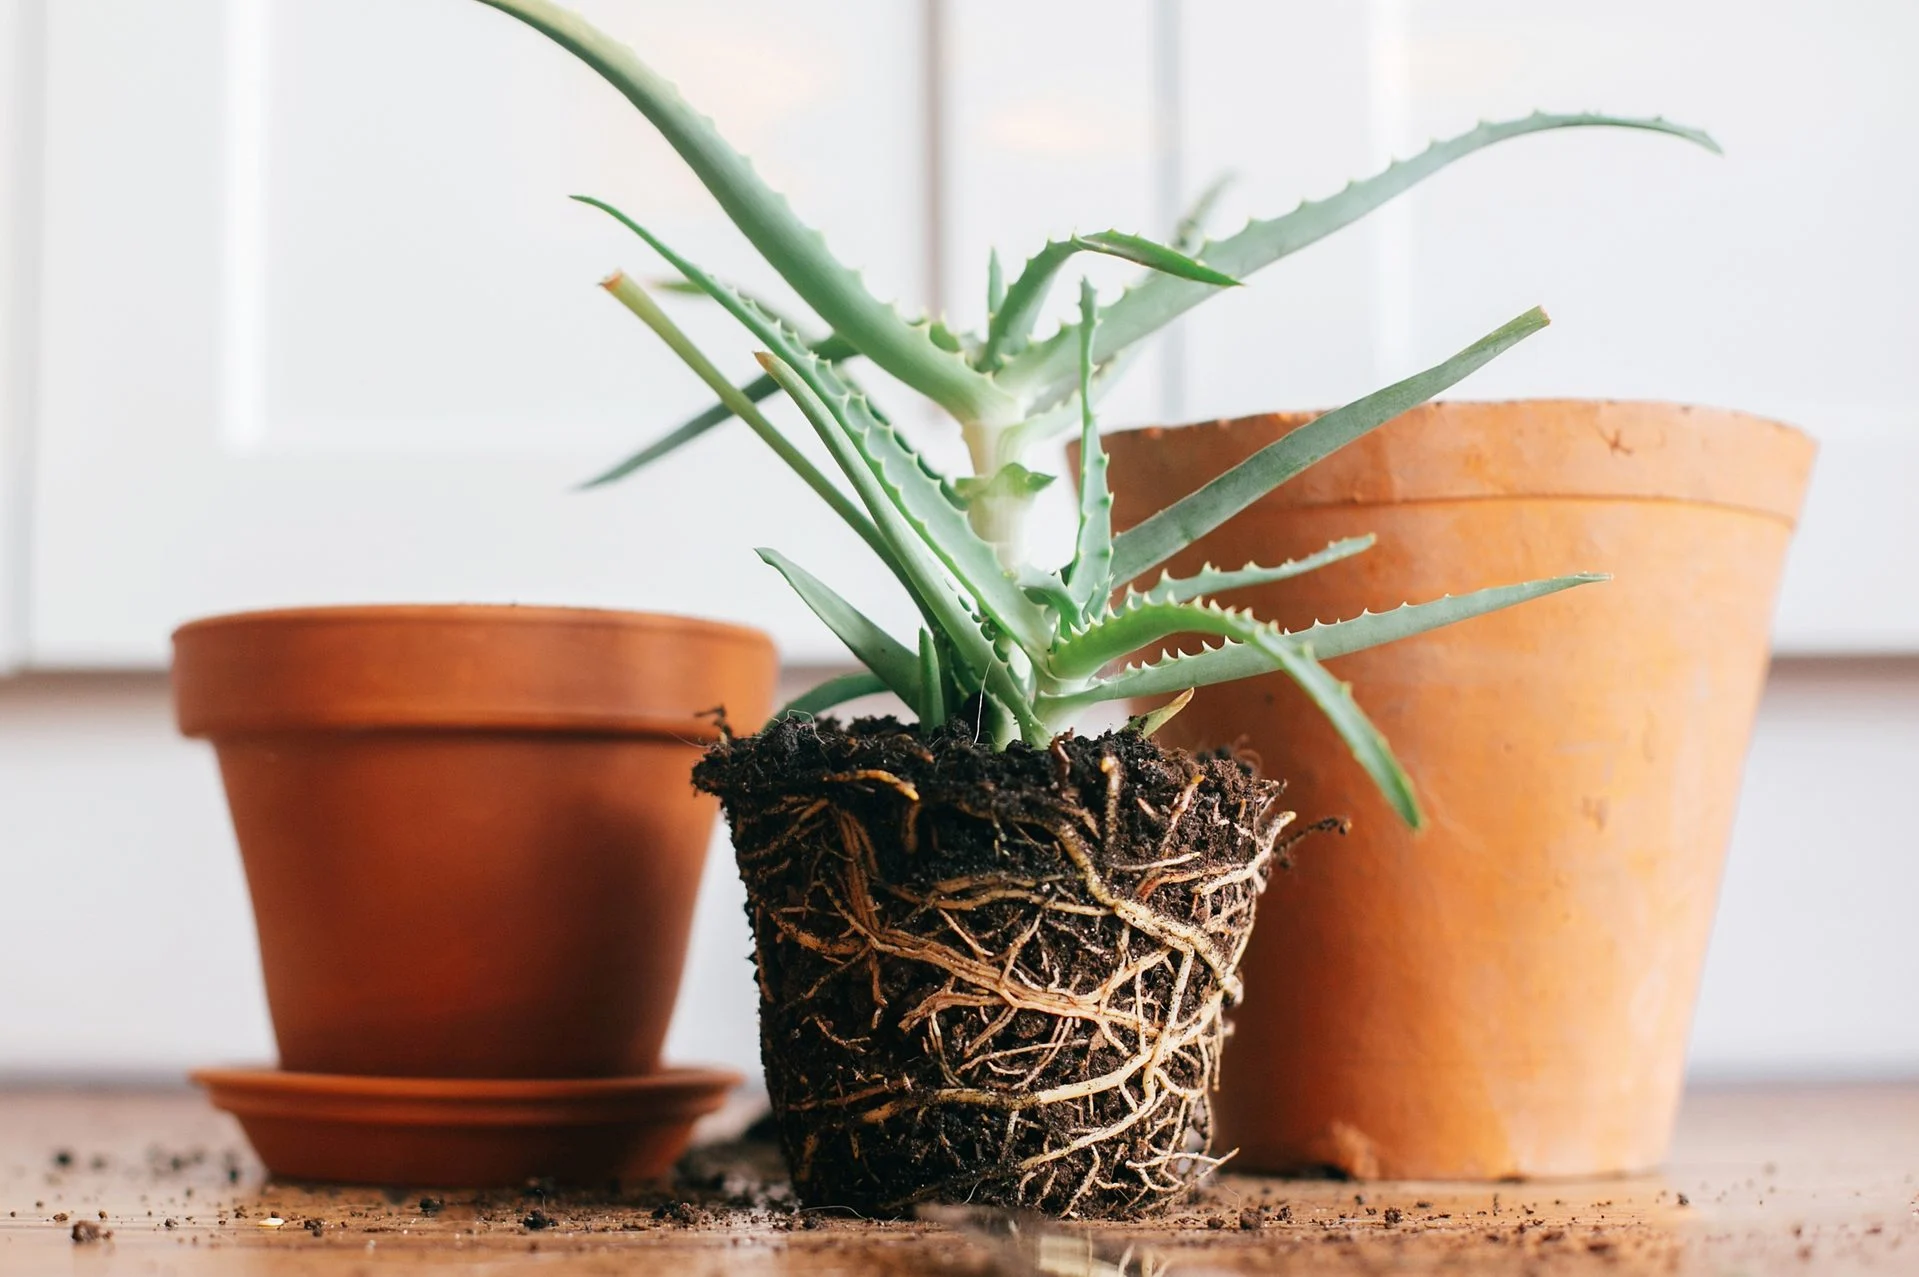
Once you have removed the weeds and unwanted plants, it’s time to amend the soil. Soil amendment involves enriching the soil with organic matter, nutrients, and other beneficial additives to improve its structure and fertility.
The type and amount of soil amendments you’ll need will depend on the specific needs of your soil. Common soil amendments include compost, well-rotted manure, peat moss, leaf mold, vermiculite, perlite, and organic fertilizers.
Spread a layer of the chosen soil amendment over the entire area and incorporate it into the soil. Use a garden fork, spade, or garden tiller to mix the amendment thoroughly into the top few inches of soil. This will help distribute the organic matter and nutrients evenly throughout the planting area.
In addition to organic matter, you might also need to address specific nutrient deficiencies identified during the soil testing process. If your soil lacks nitrogen, phosphorus, or potassium, consider adding organic fertilizers or amendments specifically formulated to provide those nutrients.
It’s important to follow the recommended application rates for any soil amendments or fertilizers you use. Applying too much can lead to nutrient imbalances and negatively impact plant growth.
Amending the soil improves its structure, enhances water retention, promotes nutrient availability, and encourages beneficial microbial activity. It also provides a fertile environment for plant roots to penetrate and establish themselves effectively.
Take note that some soil amendments may take time to break down and release their nutrients fully. It’s beneficial to amend the soil in advance of planting to allow for proper incorporation and decomposition.
By amending the soil, you provide your plants with the necessary nutrients and a fertile growing medium, setting the stage for healthy and robust plant growth.
Step 5: Till or Loosen the Soil
After amending the soil, the next step in cleaning the soil before planting is to till or loosen it. Tilling or loosening the soil helps break up compacted areas, improve aeration, and create a loose texture that allows plant roots to penetrate easily.
Start by using a garden fork, spade, or rototiller to break up the soil. Work the tool into the soil, turning it over and breaking up any clumps or compacted areas. Aim for a depth of around 8 to 12 inches, or as recommended for the plants you intend to grow.
Avoid over-tilling, as excessive disturbance can disrupt the soil structure and negatively affect soil microorganisms. Be mindful of any underground utilities or irrigation systems that may be present in the area.
If you are working with a large area, consider using a mechanical tiller to save time and effort. Ensure the tiller is set to an appropriate depth and move in a forward motion, overlapping each pass to evenly till the entire area.
As you till or loosen the soil, take the opportunity to remove any remaining weeds or grass roots. This will help prevent them from regrowing once you start planting.
Finally, use a garden rake to smooth the surface of the soil, removing any large clumps or debris that may have been missed during the tilling process. This will create a level and uniform planting bed.
Tilling or loosening the soil before planting provides numerous benefits. It improves soil structure, helps with water drainage, enhances root penetration, and promotes overall plant health. By creating a loose and workable soil, you are setting the stage for successful planting and optimal plant growth.
Step 6: Add Organic Matter
Once the soil has been tilled or loosened, the next step in cleaning the soil before planting is to add organic matter. Organic matter provides a host of benefits to the soil, including improved nutrient content, enhanced moisture retention, increased soil fertility, and a favorable environment for beneficial soil organisms.
Start by spreading a layer of well-rotted compost, aged manure, or other organic matter over the surface of the soil. Aim for a thickness of about 2 to 3 inches. You can also mix the organic matter into the soil, especially if you have heavy clay or sandy soil that needs improvement.
Use a garden fork, spade, or garden tiller to incorporate the organic matter into the top few inches of soil. Work methodically, ensuring that the organic matter is evenly distributed throughout the planting area.
Organic matter serves as a source of nutrients for plants and helps improve the soil’s ability to retain moisture. It also aids in soil aeration, allowing roots to access oxygen more easily. Additionally, organic matter promotes the growth of beneficial bacteria, fungi, and other microorganisms that contribute to a healthy soil ecosystem.
You can use various types of organic matter, such as compost, leaf mold, well-rotted manure, or straw. Consider the specific needs of the plants you are planting and choose organic matter that is suited to their requirements.
Adding organic matter is particularly beneficial for gardens with sandy soil, as it helps improve water and nutrient retention. In clay soils, it helps break up the compacted structure and improve drainage. In both cases, organic matter helps create a more balanced and fertile soil environment.
By incorporating organic matter into the soil, you are boosting its fertility, enhancing its water-holding capacity, and ensuring an optimal growing medium for your plants. This step is essential for creating a nutrient-rich and supportive foundation for healthy plant growth.
Step 7: Allow the Soil to Settle
After adding organic matter and completing the necessary preparations, the final step in cleaning the soil before planting is to allow it to settle. Allowing the soil to settle gives it time to stabilize and provides an opportunity for any amendments or additives to integrate with the existing soil.
Once the soil has been amended and loosened, lightly water the area to help settle the soil. Avoid overwatering, which can lead to waterlogging and compaction. The water will help the soil particles bind together, ensuring a stable structure for plant roots to anchor and grow.
Allow the soil to rest and settle for a period of about one to two weeks before planting. During this time, monitor the moisture level and make sure it remains consistently moist but not overly saturated. This will encourage beneficial microbial activity and provide a hospitable environment for plant roots to thrive.
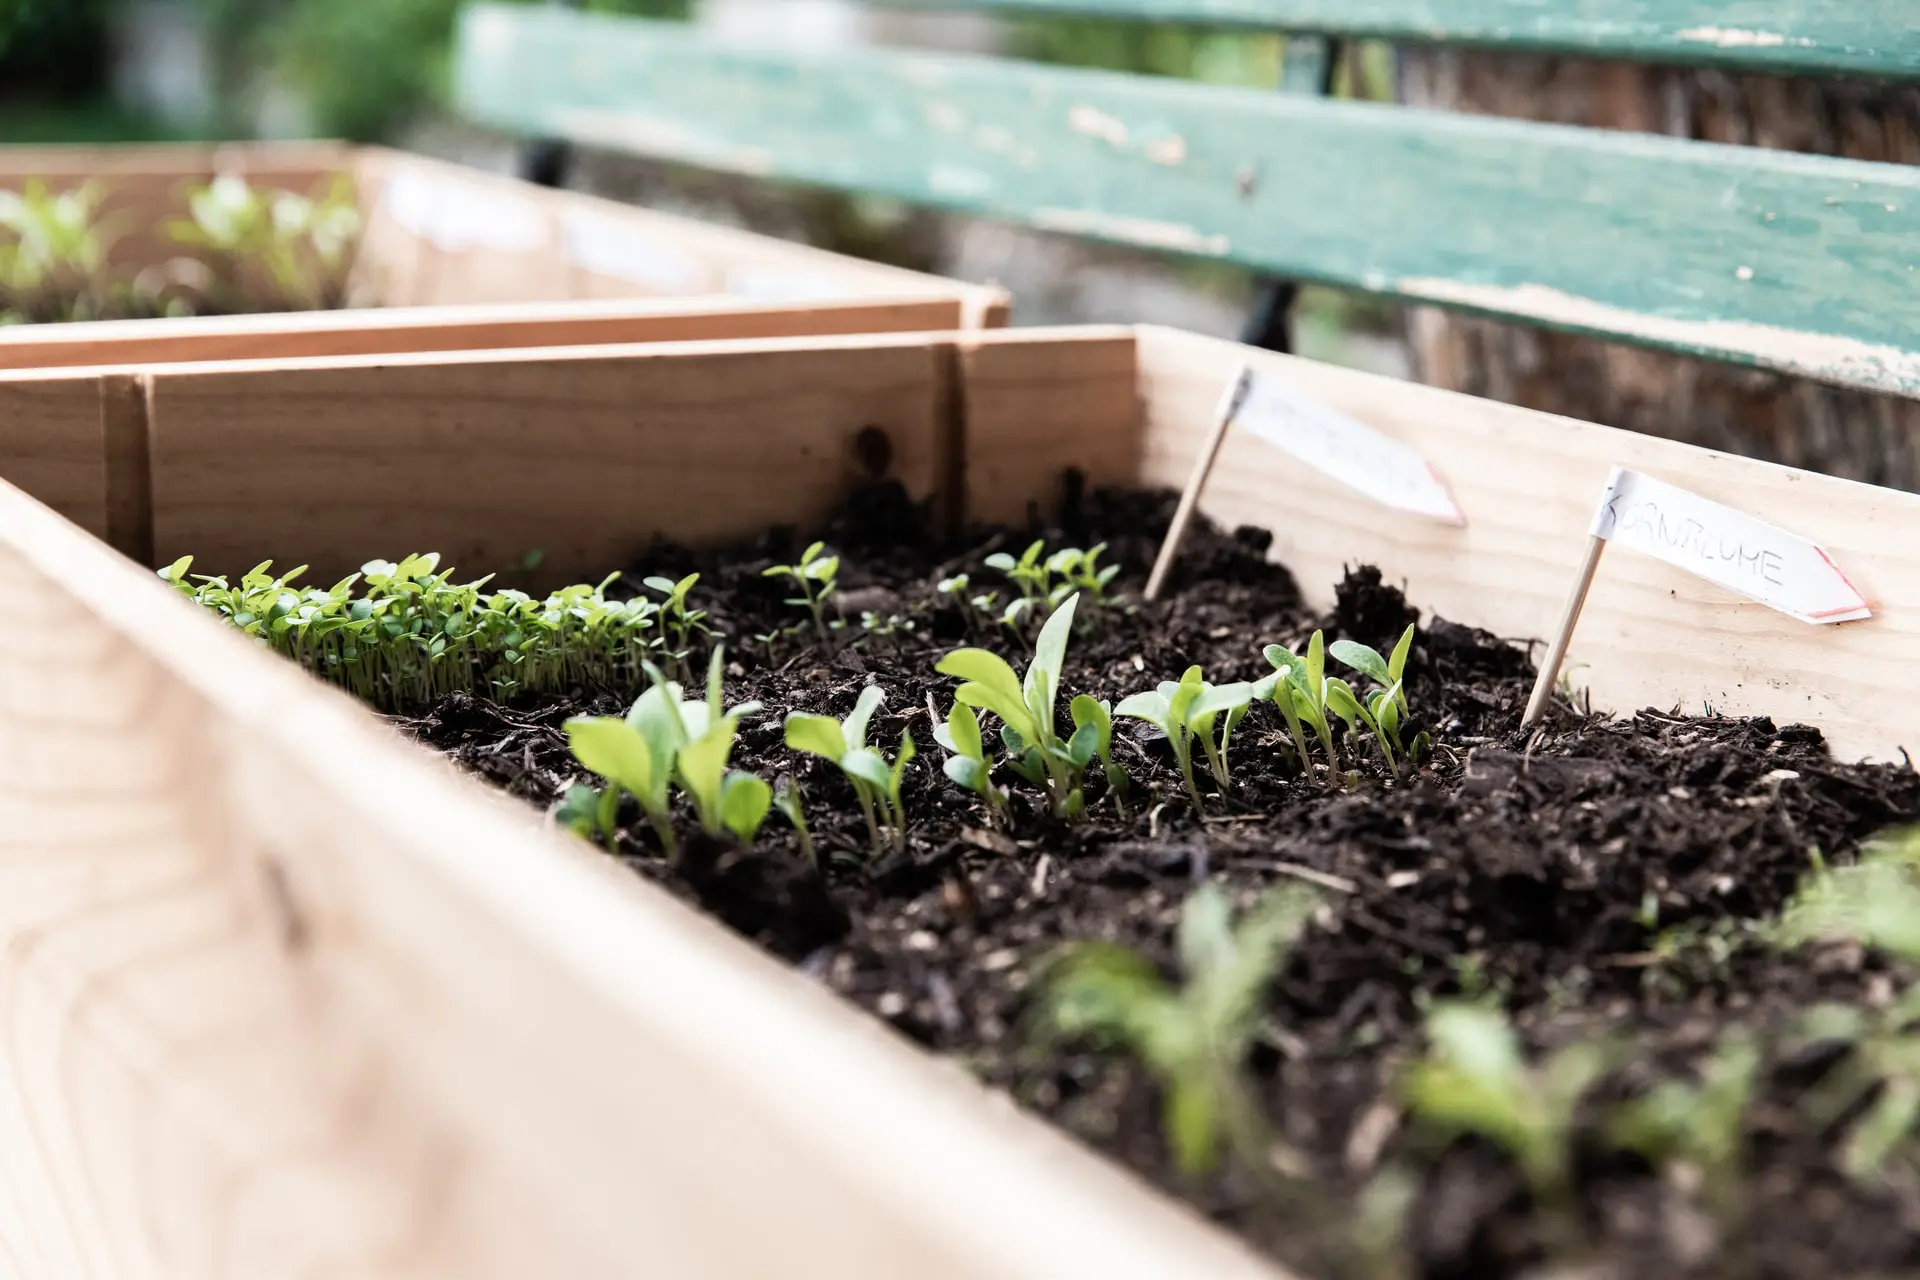
While the soil is settling, take the opportunity to plan your planting layout and gather the plants or seeds you intend to grow. Consider the specific requirements and preferences of the plants and group them accordingly, considering factors such as sunlight, water requirements, and spacing.
After the settling period, gently rake the soil surface to smooth out any unevenness and create a level planting bed. This will provide a suitable environment for planting and allow for proper seed or seedling placement.
By allowing the soil to settle, you are giving it time to stabilize and establish a solid foundation for your plants. This step promotes healthy root development, adequate moisture retention, and overall plant success.
Remember to maintain regular watering and proper maintenance once you have completed the planting process. Regularly monitor the soil moisture and adjust watering accordingly to ensure optimal plant growth and productivity.
Conclusion
Cleaning the soil before planting is a crucial step in creating a healthy and thriving garden. By following a series of logical steps, you can ensure that your soil is free from debris, pathogens, and weeds, while also providing an optimal environment for plant growth.
Removing large debris from the soil sets the stage for further soil preparation by creating a clean and open space. Testing the pH levels allows you to adjust and balance the soil to meet the specific needs of your plants. Removing weeds and unwanted plants eliminates competition for resources and creates room for your desired plants to flourish.
Amending the soil with organic matter improves its structure and fertility, which is further enhanced by tilling or loosening the soil. Allowing the soil to settle provides the necessary time for amendments to integrate and the soil particles to stabilize before planting.
Throughout the process, keep in mind the specific requirements of the plants you intend to grow. Different plants have varying pH preferences, nutrient requirements, and environmental needs. By catering to these requirements, you can create an ideal growing environment and ensure the success of your plants.
Remember, gardening is a dynamic and ongoing process. It’s important to continue monitoring and caring for your garden even after the initial soil cleaning and planting. Regular maintenance, proper watering, and regular soil testing will help you maintain the health and productivity of your garden over time.
So, whether you’re starting a new garden or rejuvenating an existing one, taking the time to clean the soil before planting is well worth the effort. By providing a nutrient-rich, well-prepared growing medium, you are setting the stage for beautiful and bountiful plants to thrive and flourish.