Home>Types of Gardening>Ornamental Gardening>How To Store Bulbs Before Planting
Ornamental Gardening
How To Store Bulbs Before Planting
Modified: January 22, 2024
Learn how to properly store bulbs before planting them in your ornamental gardening projects. Expert tips and techniques for maximizing bulb health and ensuring beautiful blooms.
(Many of the links in this article redirect to a specific reviewed product. Your purchase of these products through affiliate links helps to generate commission for Chicagolandgardening.com, at no extra cost. Learn more)
Table of Contents
- Introduction
- Why it’s important to store bulbs before planting
- Choosing the right storage location
- Preparing bulbs for storage
- Storing bulbs in paper bags
- Storing bulbs in mesh bags
- Storing bulbs in plastic containers with ventilation
- Avoiding common storage mistakes
- Monitoring stored bulbs for moisture and rot
- Tips for extending bulb storage lifespan
- When and how to plant stored bulbs
- Conclusion
Introduction
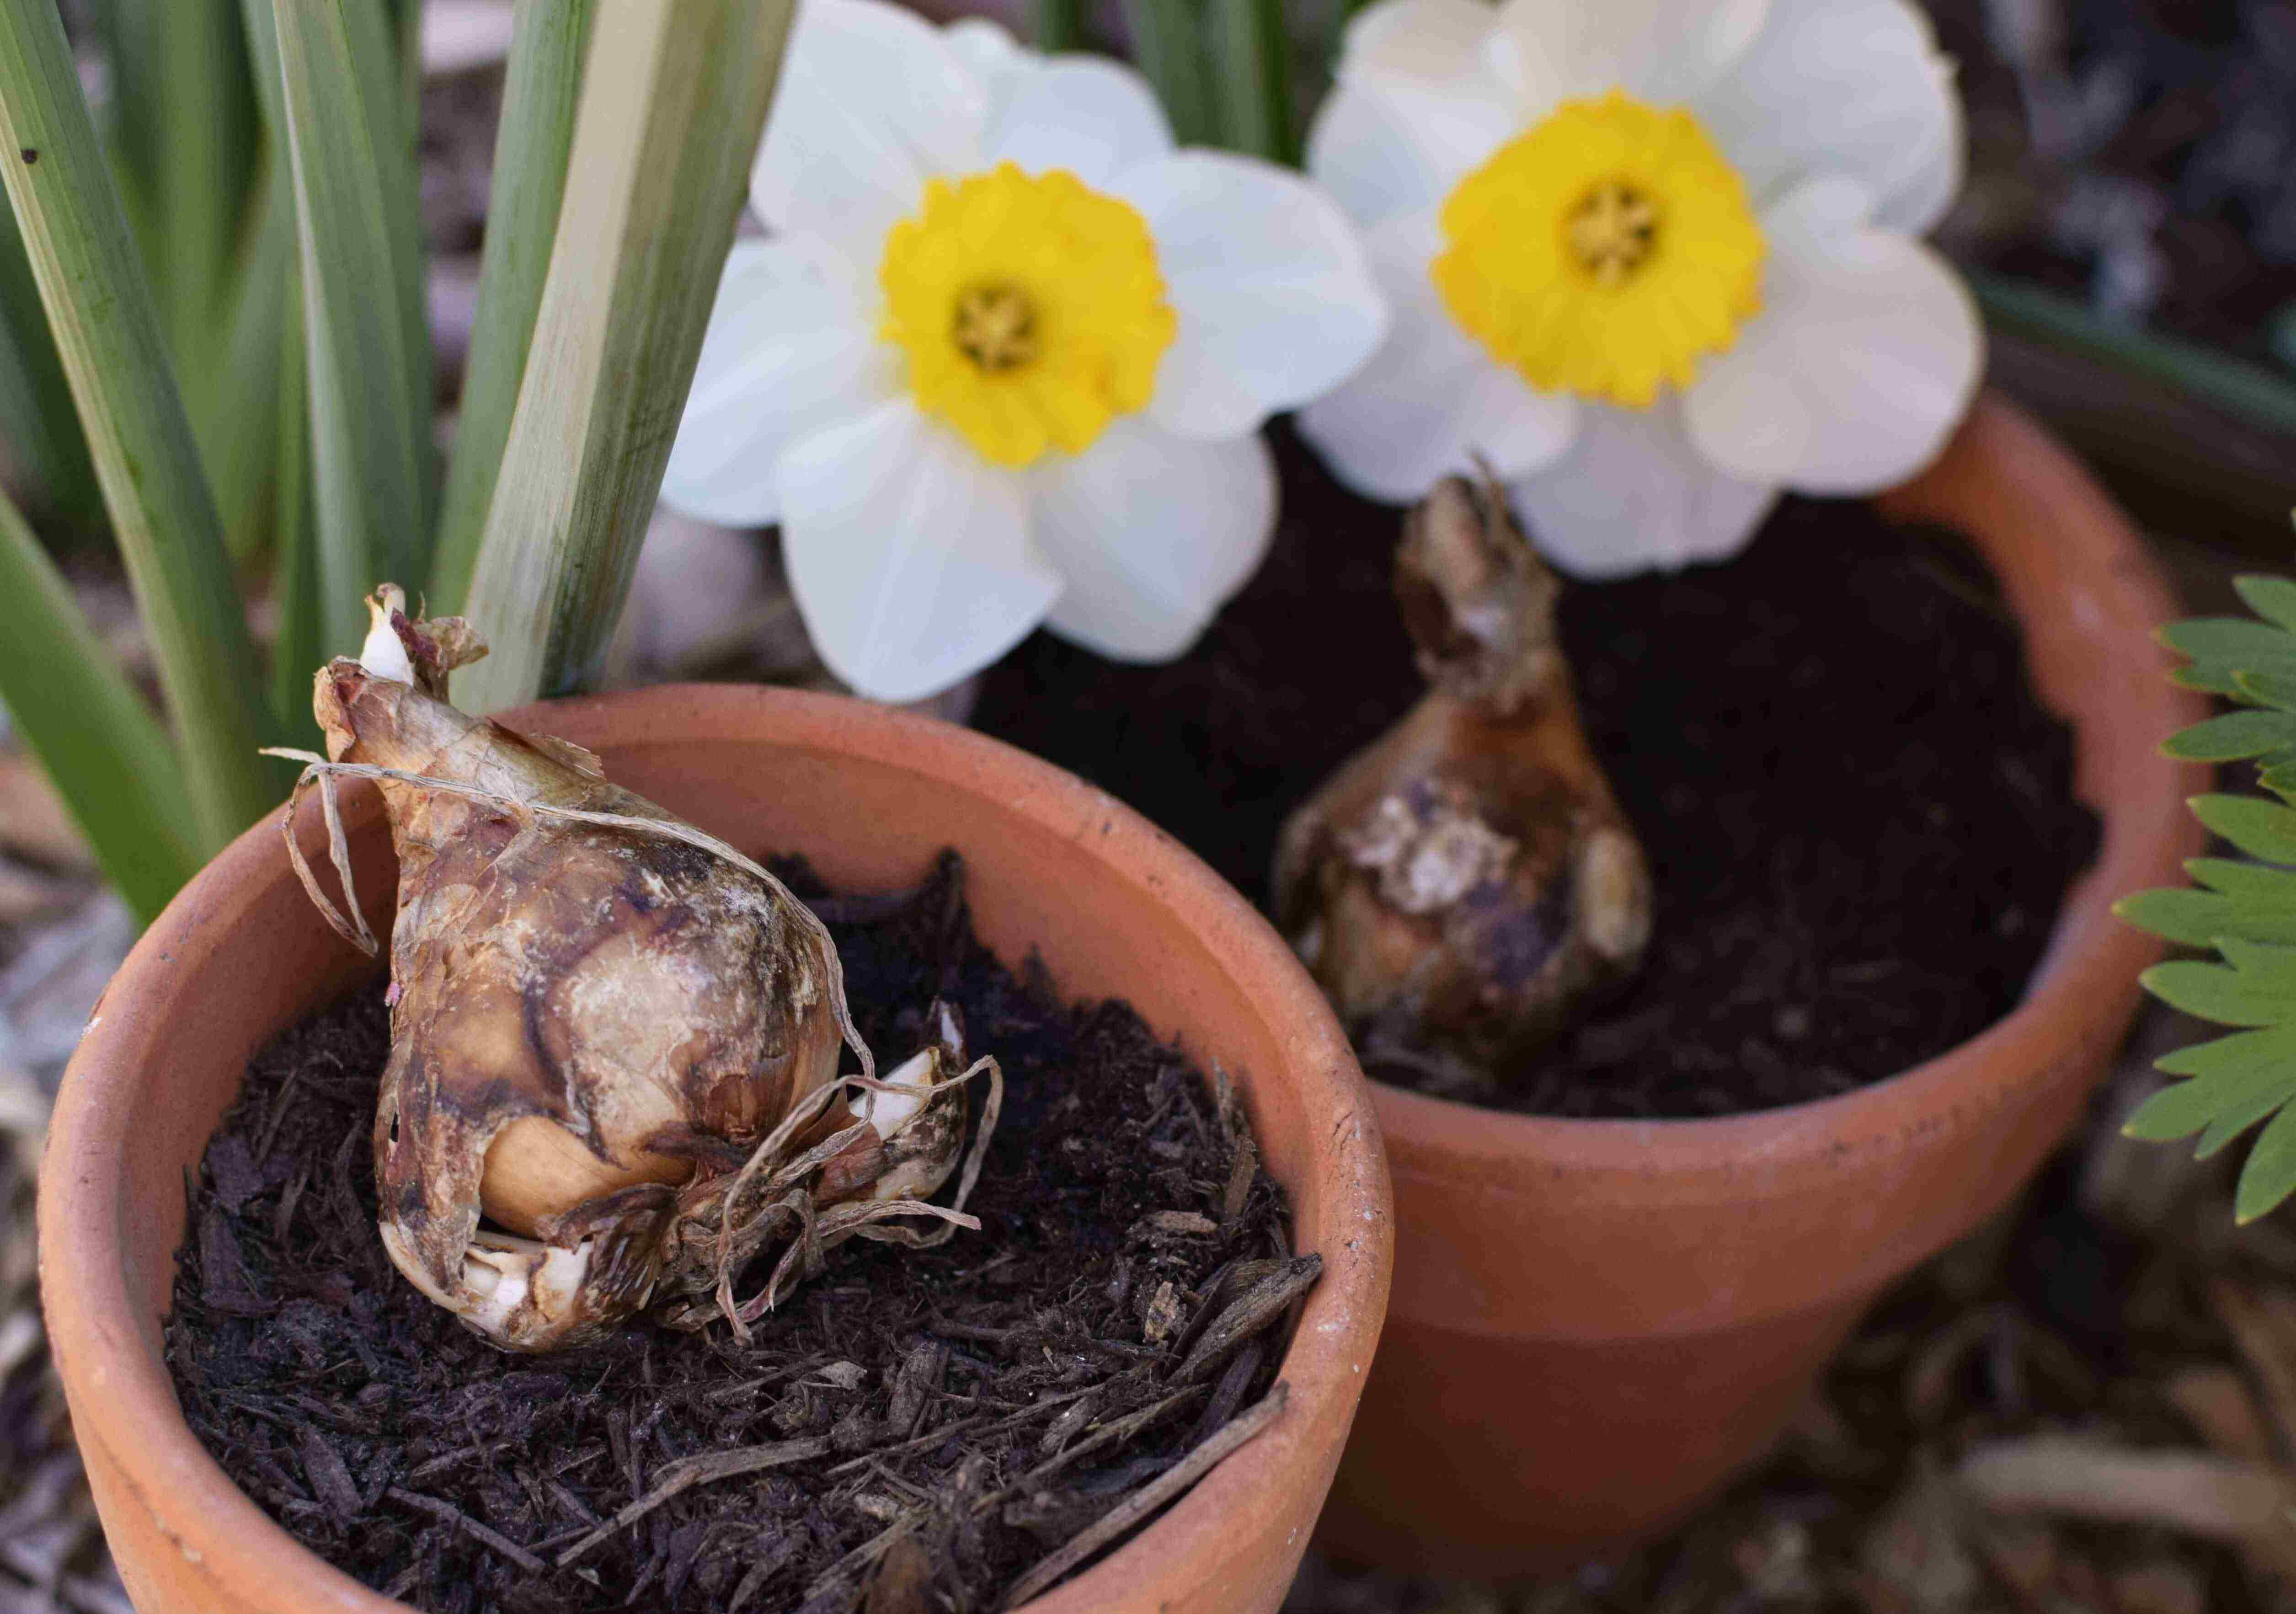
Welcome to the wonderful world of ornamental gardening! There’s something truly rewarding and enchanting about cultivating a stunning garden filled with vibrant, blooming flowers. And when it comes to creating an exquisite display of color and beauty, bulbs play a crucial role. Whether you’re planting tulips, daffodils, or lilies, proper storage is key to ensuring their success.
In this article, we will explore the importance of storing bulbs before planting, and provide you with expert tips and techniques to optimize their storage. By following these guidelines, you’ll be able to preserve the vitality of your bulbs, allowing them to flourish and delight your senses when planting season arrives.
Bulb storage plays a vital role in maintaining the health and vigor of these underground energy storage units. Proper storage not only helps bulbs maintain their viability but also allows gardeners to plan and organize their planting activities. By providing the ideal storage conditions, you can extend the lifespan of the bulbs, ensure healthy growth, and enjoy a stunning garden year after year.
So, whether you’re a seasoned gardener or a beginner, join us as we delve into the world of bulb storage. From choosing the right storage location to avoiding common storage mistakes, we’ve got you covered. Let’s dive in and unveil the secrets to successful bulb storage!
Why it’s important to store bulbs before planting
Storing bulbs before planting is an essential step in ensuring their success and longevity. Here are a few key reasons why it’s important:
- Promotes proper dormancy: Most bulbs require a period of dormancy to prepare for their growth and flowering. Storing bulbs in a cool and dark environment helps maintain this dormant state until the optimal planting time, promoting healthy development.
- Protects against extreme weather: By storing bulbs indoors, you can shield them from extreme temperature fluctuations, excessive moisture, or frost. This protects the bulbs from damage, rot, or premature sprouting, ensuring their vitality when planted in the ground.
- Allows for planning and organization: Storing bulbs gives you the advantage of planning and organizing your garden. You can assess your available space, decide on the planting layout, and determine the quantity of bulbs needed well in advance. This allows for a more efficient and structured gardening experience.
- Facilitates bulb maintenance: Storing bulbs provides the opportunity to assess their condition and address any issues. You can inspect for signs of disease, damage, or rot, and take appropriate measures to treat or discard affected bulbs. This promotes the overall health of your garden and prevents the spread of infections.
- Extends planting window: With proper storage, you can extend the planting window and have greater flexibility in when you plant your bulbs. This is particularly beneficial in regions with unpredictable weather patterns or busy schedules, allowing you to plant at the most opportune time for optimal growth and performance.
By understanding the importance of storing bulbs before planting, you can ensure the best possible outcome for your garden. The extra effort and care put into storing bulbs will be rewarded with vigorous growth, vibrant blooms, and a breathtaking display of colors. So, let’s move on to exploring the best practices for storing bulbs and maximizing their potential!
Choosing the right storage location
When it comes to storing bulbs, selecting the right storage location is crucial. The ideal environment should provide the necessary conditions to keep the bulbs dormant and protect them from detrimental factors. Here are some key considerations for choosing the right storage location:
- Temperature: Bulbs need to be stored in a cool environment with temperatures between 35°F to 50°F (1.5°C to 10°C). This ensures that they maintain their dormant state and are not exposed to extreme heat or cold, which can cause premature sprouting or damage.
- Darkness: Bulbs should be stored in a dark place or covered with a breathable material to prevent exposure to light. Light can trigger bulb growth, which should be avoided during the storage period to ensure their vitality and readiness for planting.
- Humidity: It is important to store bulbs in an area with low humidity. Excessive moisture can lead to rotting or fungal growth, causing the bulbs to become unusable. A dry and well-ventilated storage location is ideal for prolonged bulb storage.
- Avoiding proximity to fruits: Some fruits produce ethylene gas, which can speed up the aging and deterioration of bulbs. Ensure that the storage area is away from ripening fruits or any ethylene-producing substances to maintain the bulbs’ quality.
- Protection from pests: Take precautions to protect the bulbs from pests such as rodents or insects. Store them in containers or bags that are resistant to penetration and sealable to prevent any unwanted critters from accessing and damaging the bulbs.
Common storage locations that meet these criteria include basements, root cellars, or cool garages. These areas typically provide the cool and dark environment needed for bulb storage. If storage space is limited, consider using a dedicated refrigerator or wine cooler for storing bulbs. Just remember to keep them away from food items.
Now that you understand the importance of choosing the right storage location, let’s explore how to prepare bulbs for storage and delve into different storage methods that will help maintain the bulbs’ quality and ensure successful planting in the future.
Preparing bulbs for storage
Before you store your bulbs, it’s important to properly prepare them to ensure their longevity and health during the storage period. Follow these steps to prepare your bulbs for storage:
- Inspect and clean: Carefully examine each bulb, discarding any that show signs of disease, damage, or rot. Gently remove any soil or debris clinging to the bulbs, being careful not to damage the outer protective layers.
- Allow drying: Ensure that the bulbs are completely dry before storing them. Place them in a well-ventilated area or use a fan to hasten the drying process. Avoid storing damp or wet bulbs, as it can lead to mold or rot.
- Remove foliage: Trim off any remaining foliage or stem from the bulbs. This helps prevent the bulbs from expending energy on the growth of unnecessary foliage during their dormancy period.
- Labeling: It is important to label your bulbs before storage, especially if you have different varieties or colors. Use waterproof markers or labels that won’t fade or get damaged during storage. This will make it easier to identify them when it’s time for planting.
- Settle bulbs: Place the bulbs in a single layer on a tray or newspaper, without them touching each other. This ensures proper air circulation and prevents bulb rot that can occur when bulbs are stacked or crammed together.
Following these steps will help ensure that your bulbs are in optimal condition for storage. By inspecting, cleaning, and properly labeling your bulbs, you can easily identify them and avoid any potential disease or rot spreading to other bulbs.
Now that your bulbs are prepared for storage, let’s explore different storage methods that will help maintain their quality and keep them dormant until it’s time to plant!.
Storing bulbs in paper bags
Storing bulbs in paper bags is a popular and cost-effective method that provides adequate ventilation while protecting bulbs from excessive moisture. Here’s how to store bulbs in paper bags:
- Select the right bags: Choose paper bags that are clean and dry, preferably with handles for easy handling. Avoid using plastic bags, as they can trap moisture and promote bulb rot.
- Group bulbs: Sort your bulbs by variety or planting time and group them together in separate paper bags. This helps with organization and makes it easier to retrieve specific bulbs when the time comes for planting.
- Label bags: Clearly label each bag with the bulb variety and the date of storage. This will prevent any confusion and ensure you know the exact contents of each bag later on.
- Place bulbs in bags: Gently place the bulbs in the bags, taking care not to overcrowd or stack them. Leave some space for air circulation, which helps prevent mold or rot formation.
- Store in a cool, dry place: Find a cool and dark storage area, such as a basement or garage, to place the paper bags. Ensure the environment is well-ventilated and has a consistent temperature between 35°F to 50°F (1.5°C to 10°C).
Storing bulbs in paper bags allows for proper air circulation, preventing the accumulation of excess moisture and minimizing the risk of bulb rot. The paper also absorbs any excess moisture, keeping the bulbs dry and preserving their integrity.
Remember to periodically check on the bags during the storage period to ensure no moisture or signs of rot have developed. If any bulbs show signs of deterioration, remove them immediately to prevent the spread of rot to other bulbs.
By following these steps, you can safely and efficiently store your bulbs in paper bags, maintaining their quality and readiness for planting. Now, let’s explore another popular storage method: using mesh bags.
Storing bulbs in mesh bags
Another popular method for storing bulbs is to use mesh bags. Mesh bags offer superior airflow and ventilation, allowing bulbs to stay dry and preventing the buildup of moisture that can lead to rot. Here’s how to store bulbs in mesh bags:
- Choose the right bags: Select mesh bags that are clean, sturdy, and have a fine enough weave to prevent bulbs from falling through. Nylon or mesh produce bags from the grocery store can work well for this purpose.
- Sort and label bulbs: Group bulbs by variety or planting time and label each bag accordingly. This will help you easily identify and retrieve bulbs when it’s time to plant.
- Place bulbs in bags: Gently place the bulbs in the mesh bags, ensuring they are spread out and not overcrowded. This will promote airflow and prevent bulbs from touching or rubbing against each other, reducing the risk of damage.
- Close and secure bags: Use twist ties or zip ties to securely close the mesh bags, ensuring the bulbs are contained but still have ample ventilation. Avoid tying the bags too tightly, as this could restrict airflow.
- Store in a cool, dry location: Find a cool and dark storage area, such as a basement or cellar, to store the mesh bags of bulbs. The location should have a consistent temperature between 35°F to 50°F (1.5°C to 10°C) and good airflow to maintain bulb dormancy.
Mesh bags provide excellent ventilation, allowing air to circulate around the bulbs and prevent the buildup of moisture. This helps to maintain bulb quality and reduce the risk of rot or fungal diseases during storage.
Remember to periodically check the mesh bags throughout the storage period to ensure that the bulbs remain dry and healthy. If any bulbs show signs of decay or rot, promptly remove them to prevent the spread of disease to other bulbs.
By following these steps, you can effectively store your bulbs in mesh bags, ensuring their optimal health and readiness for planting. Now, let’s explore an alternative storage option: using plastic containers with ventilation.
Storing bulbs in plastic containers with ventilation
Storing bulbs in plastic containers with ventilation is a convenient and effective method that allows for easy organization and protection from moisture. Here’s how to store bulbs in plastic containers:
- Select the right containers: Choose plastic containers with lids that have ventilation holes or slots. These containers should be clean, sturdy, and large enough to comfortably accommodate your bulbs without overcrowding.
- Prepare the containers: Ensure that the containers are clean and dry before use. If necessary, line the bottom of the containers with a layer of dry peat moss or sawdust to absorb excess moisture.
- Sort and label bulbs: Group bulbs by variety or planting time and label each container accordingly. This will help you easily identify and retrieve the bulbs when it’s time to plant.
- Place bulbs in the containers: Gently place the bulbs in the containers, making sure to leave space between them for air circulation. Avoid stacking or overcrowding the bulbs, as this can lead to damage or increased moisture retention.
- Close the lids: Securely close the lids on the plastic containers while ensuring there is adequate ventilation. You can achieve this by drilling small holes in the lid or using containers designed with ventilation slots.
- Store in a cool, dry area: Find a cool and dark location, such as a basement or garage, to store the containers of bulbs. Maintain a consistent temperature between 35°F to 50°F (1.5°C to 10°C) and ensure the area has good airflow to keep the bulbs dormant.
Storing bulbs in plastic containers with ventilation offers protection from moisture while allowing for easy organization and retrieval. The ventilation holes or slots prevent excessive moisture buildup while still maintaining the necessary airflow for bulb dormancy.
Remember to periodically check the containers during the storage period to ensure that the bulbs remain dry and free from any signs of disease or rot. Discard any bulbs that show signs of deterioration to prevent the spread of infection to the others.
By following these steps, you can effectively store your bulbs in plastic containers with ventilation, ensuring their condition and readiness for planting. Now that we’ve explored different storage methods, let’s discuss common storage mistakes to avoid.
Avoiding common storage mistakes
Proper bulb storage is crucial for their success, and avoiding common storage mistakes can help preserve their quality and viability. Here are some mistakes to avoid:
- Excessive moisture: Avoid storing bulbs in a damp or humid environment, as this can lead to rot. Ensure that the storage area is dry and well-ventilated to prevent moisture buildup.
- Insufficient ventilation: Proper airflow is essential to prevent mold or rot. Choose storage methods that allow for ventilation, such as paper bags, mesh bags, or containers with ventilation holes.
- Incorrect temperature: Bulbs should be stored in a cool location with a consistent temperature between 35°F to 50°F (1.5°C to 10°C). Avoid storing bulbs in areas that are subject to extreme temperatures.
- Wrong storage duration: Different bulb varieties have specific storage requirements. Some bulbs can be stored for several months, while others need to be planted immediately. Research the specific storage requirements for each type of bulb you are storing to ensure their viability.
- Failure to check bulbs regularly: Regularly inspect your stored bulbs for signs of decay or disease. Remove any affected bulbs promptly to prevent the spread of infection to other bulbs.
- Proximity to fruits: Keep stored bulbs away from ripening fruits or ethylene-producing substances, as ethylene gas can speed up aging and deterioration of bulbs.
- Overcrowding bulbs: Avoid overcrowding bulbs during storage, as this can lead to damage, increased moisture retention, and the spread of disease. Give each bulb enough space for proper airflow.
By being aware of these common storage mistakes and taking the necessary precautions, you can optimize the storage conditions for your bulbs and maximize their potential for healthy growth and vibrant blooms.
Now that we know how to avoid common storage mistakes, let’s delve into the importance of monitoring stored bulbs for moisture and rot.
Monitoring stored bulbs for moisture and rot
Regularly monitoring stored bulbs for moisture and rot is essential to maintain their health and prevent the spread of diseases. Here are some guidelines for effectively monitoring your stored bulbs:
- Inspect bulbs visually: Check your stored bulbs on a regular basis for any signs of rot, mold, or mildew. Look for soft spots, discoloration, or any unusual growth on the bulbs.
- Feel for moisture: Gently touch the bulbs to check for excessive moisture. Bulbs should feel dry to the touch. If you notice any dampness, remove those bulbs from storage, dry them thoroughly, and discard any that show signs of rot.
- Separate affected bulbs: If you find any bulbs showing signs of decay or disease, immediately separate them from the healthy ones. This will prevent the spread of rot to other bulbs and protect the overall health of your stored collection.
- Monitor temperature: Ensure that the storage area maintains a consistent temperature between 35°F to 50°F (1.5°C to 10°C). Fluctuations in temperature can negatively impact bulb viability and increase the risk of rot.
- Check ventilation: Confirm that the storage method you’re using provides adequate ventilation. Proper airflow is crucial to prevent the buildup of moisture and the growth of mold or fungal diseases.
- Adjust storage conditions if necessary: If you notice excessive moisture or signs of rot, take immediate action. Dry the affected bulbs thoroughly, adjust storage conditions to reduce humidity, or consider changing the storage method if it’s not providing sufficient ventilation.
Regular monitoring allows you to address any issues promptly and ensure the bulbs remain in good condition during the storage period. By maintaining a vigilant eye and taking proactive measures, you can preserve the quality and viability of your stored bulbs.
Now that we understand the importance of monitoring stored bulbs, let’s explore some tips for extending the lifespan of bulb storage.
Tips for extending bulb storage lifespan
To extend the lifespan of bulb storage and ensure their optimal health, consider implementing these helpful tips:
- Choose high-quality bulbs: Start with healthy, disease-free bulbs from reputable sources. High-quality bulbs are more likely to store well and have a higher chance of successful growth when planted.
- Store bulbs individually: Consider storing bulbs individually or in separate compartments to prevent them from touching or rubbing against each other. This reduces the risk of damage and helps prevent the spread of disease.
- Use desiccant packets: Adding desiccant packets, such as silica gel packs, can absorb excess moisture in the storage containers and help keep the bulbs dry.
- Place bulbs in perforated bags or containers: If you’re using plastic bags or containers, consider using ones with small ventilation holes or slots. This allows for better airflow and prevents moisture buildup.
- Label and organize diligently: Properly label your bulbs and keep them well organized. This will help you plan and keep track of your different bulb varieties, planting times, and ensure efficient retrieval when needed.
- Avoid refrigerating certain bulbs: Some bulbs, like tulips and daffodils, are sensitive to cold temperatures and should not be stored in the refrigerator. Research the specific requirements of each bulb variety before deciding on the appropriate storage method.
- Check regularly for signs of decay: Regularly inspect your stored bulbs for any signs of decay, rot, or disease. Remove any affected bulbs promptly to prevent the spread of infection to other bulbs.
- Maintain optimal storage conditions: Continually monitor the storage environment to ensure it remains cool, dark, dry, and well-ventilated. Adjust conditions as needed to maintain the ideal storage conditions for bulb dormancy.
By following these tips, you can greatly extend the lifespan of bulb storage and increase the likelihood of successful growth and blooming when it’s time to plant. Proper storage and care ensure that your bulbs remain healthy and vibrant, ready to transform your garden into a colorful masterpiece.
Now that we’ve covered tips for extending bulb storage lifespan, let’s move on to discussing when and how to plant the bulbs that have been stored.
When and how to plant stored bulbs
Once the storage period is over, it’s time to plant your stored bulbs and watch them blossom into beautiful flowers. Here are some guidelines on when and how to plant stored bulbs for optimal growth:
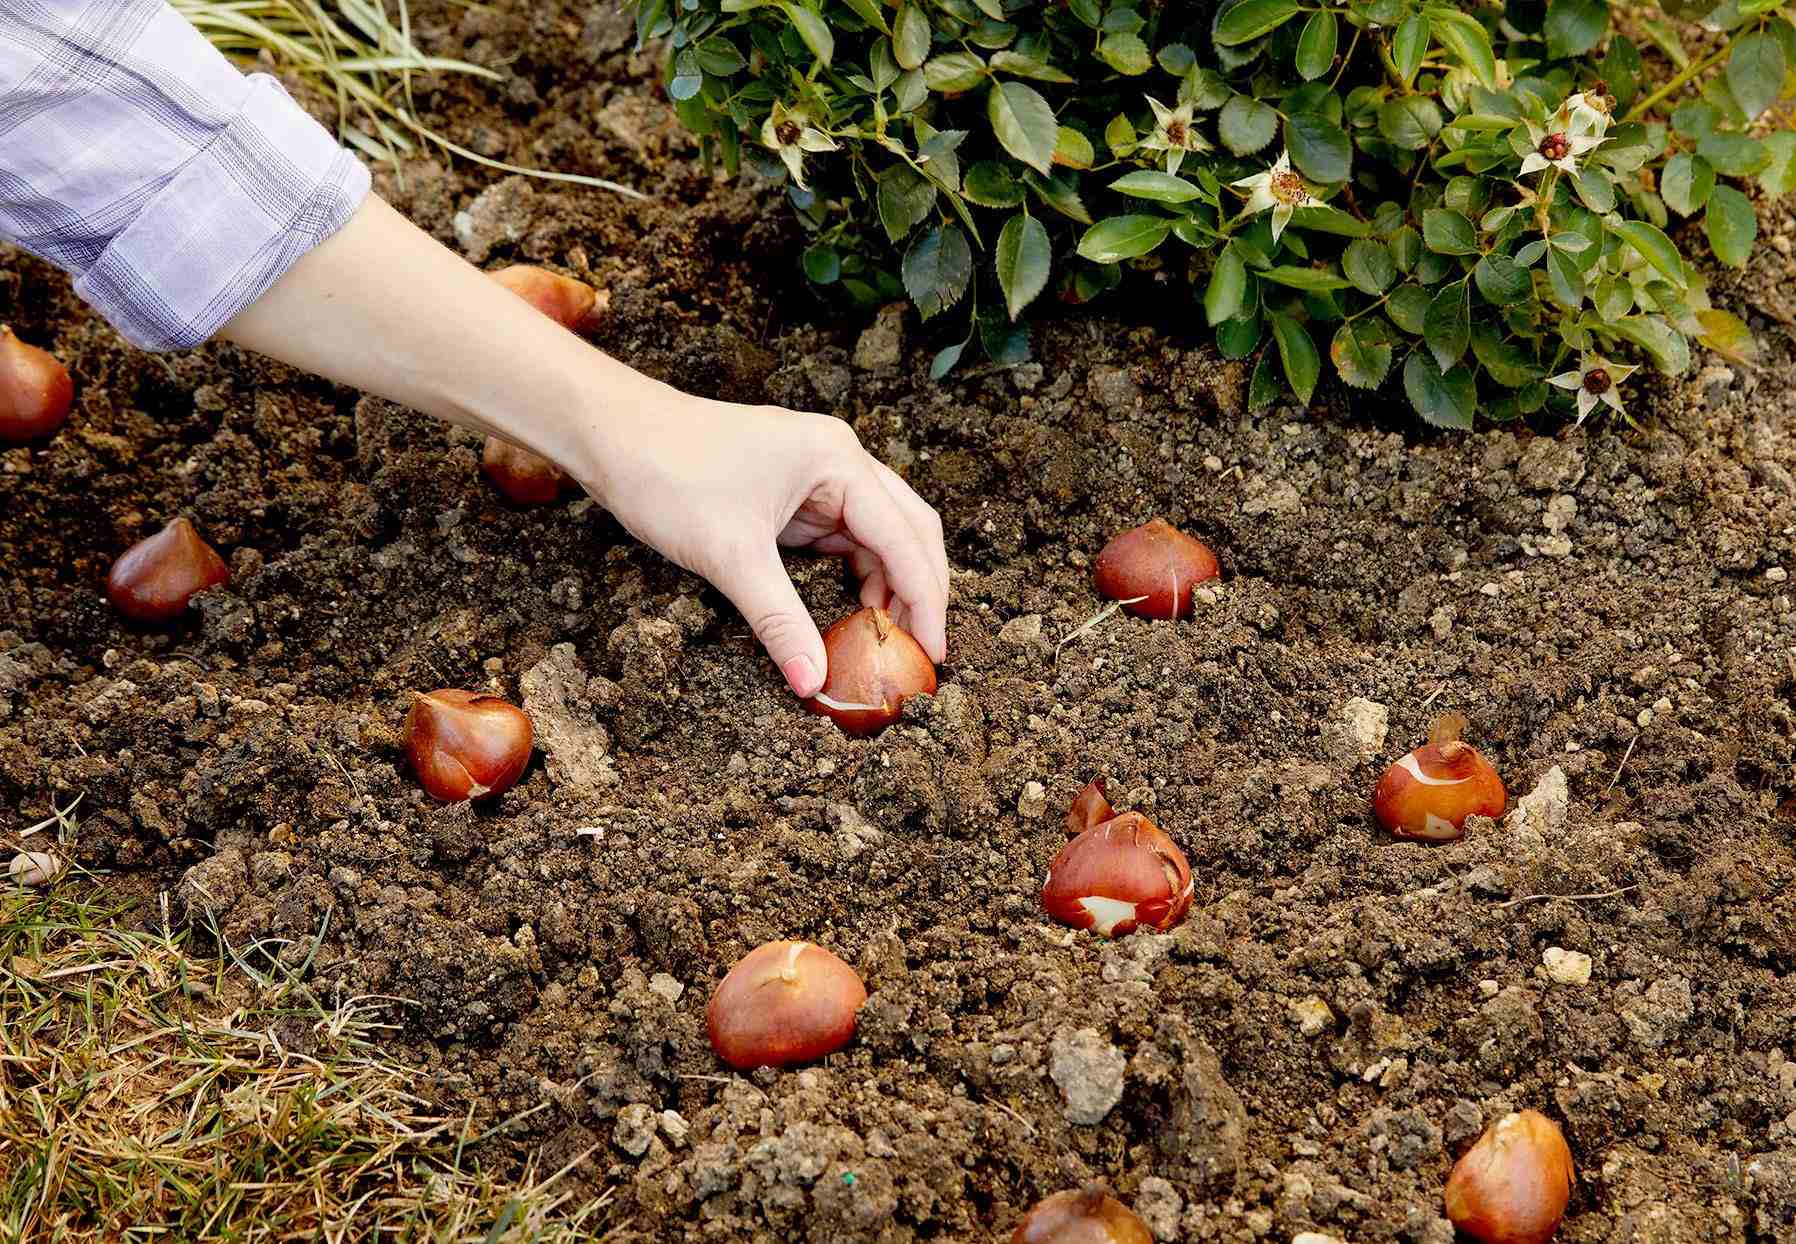
- Planting time: Each bulb variety has its ideal planting time. Generally, spring-blooming bulbs should be planted in the fall, while summer-blooming bulbs are typically planted in the spring. Follow specific planting recommendations for each type of bulb you have stored.
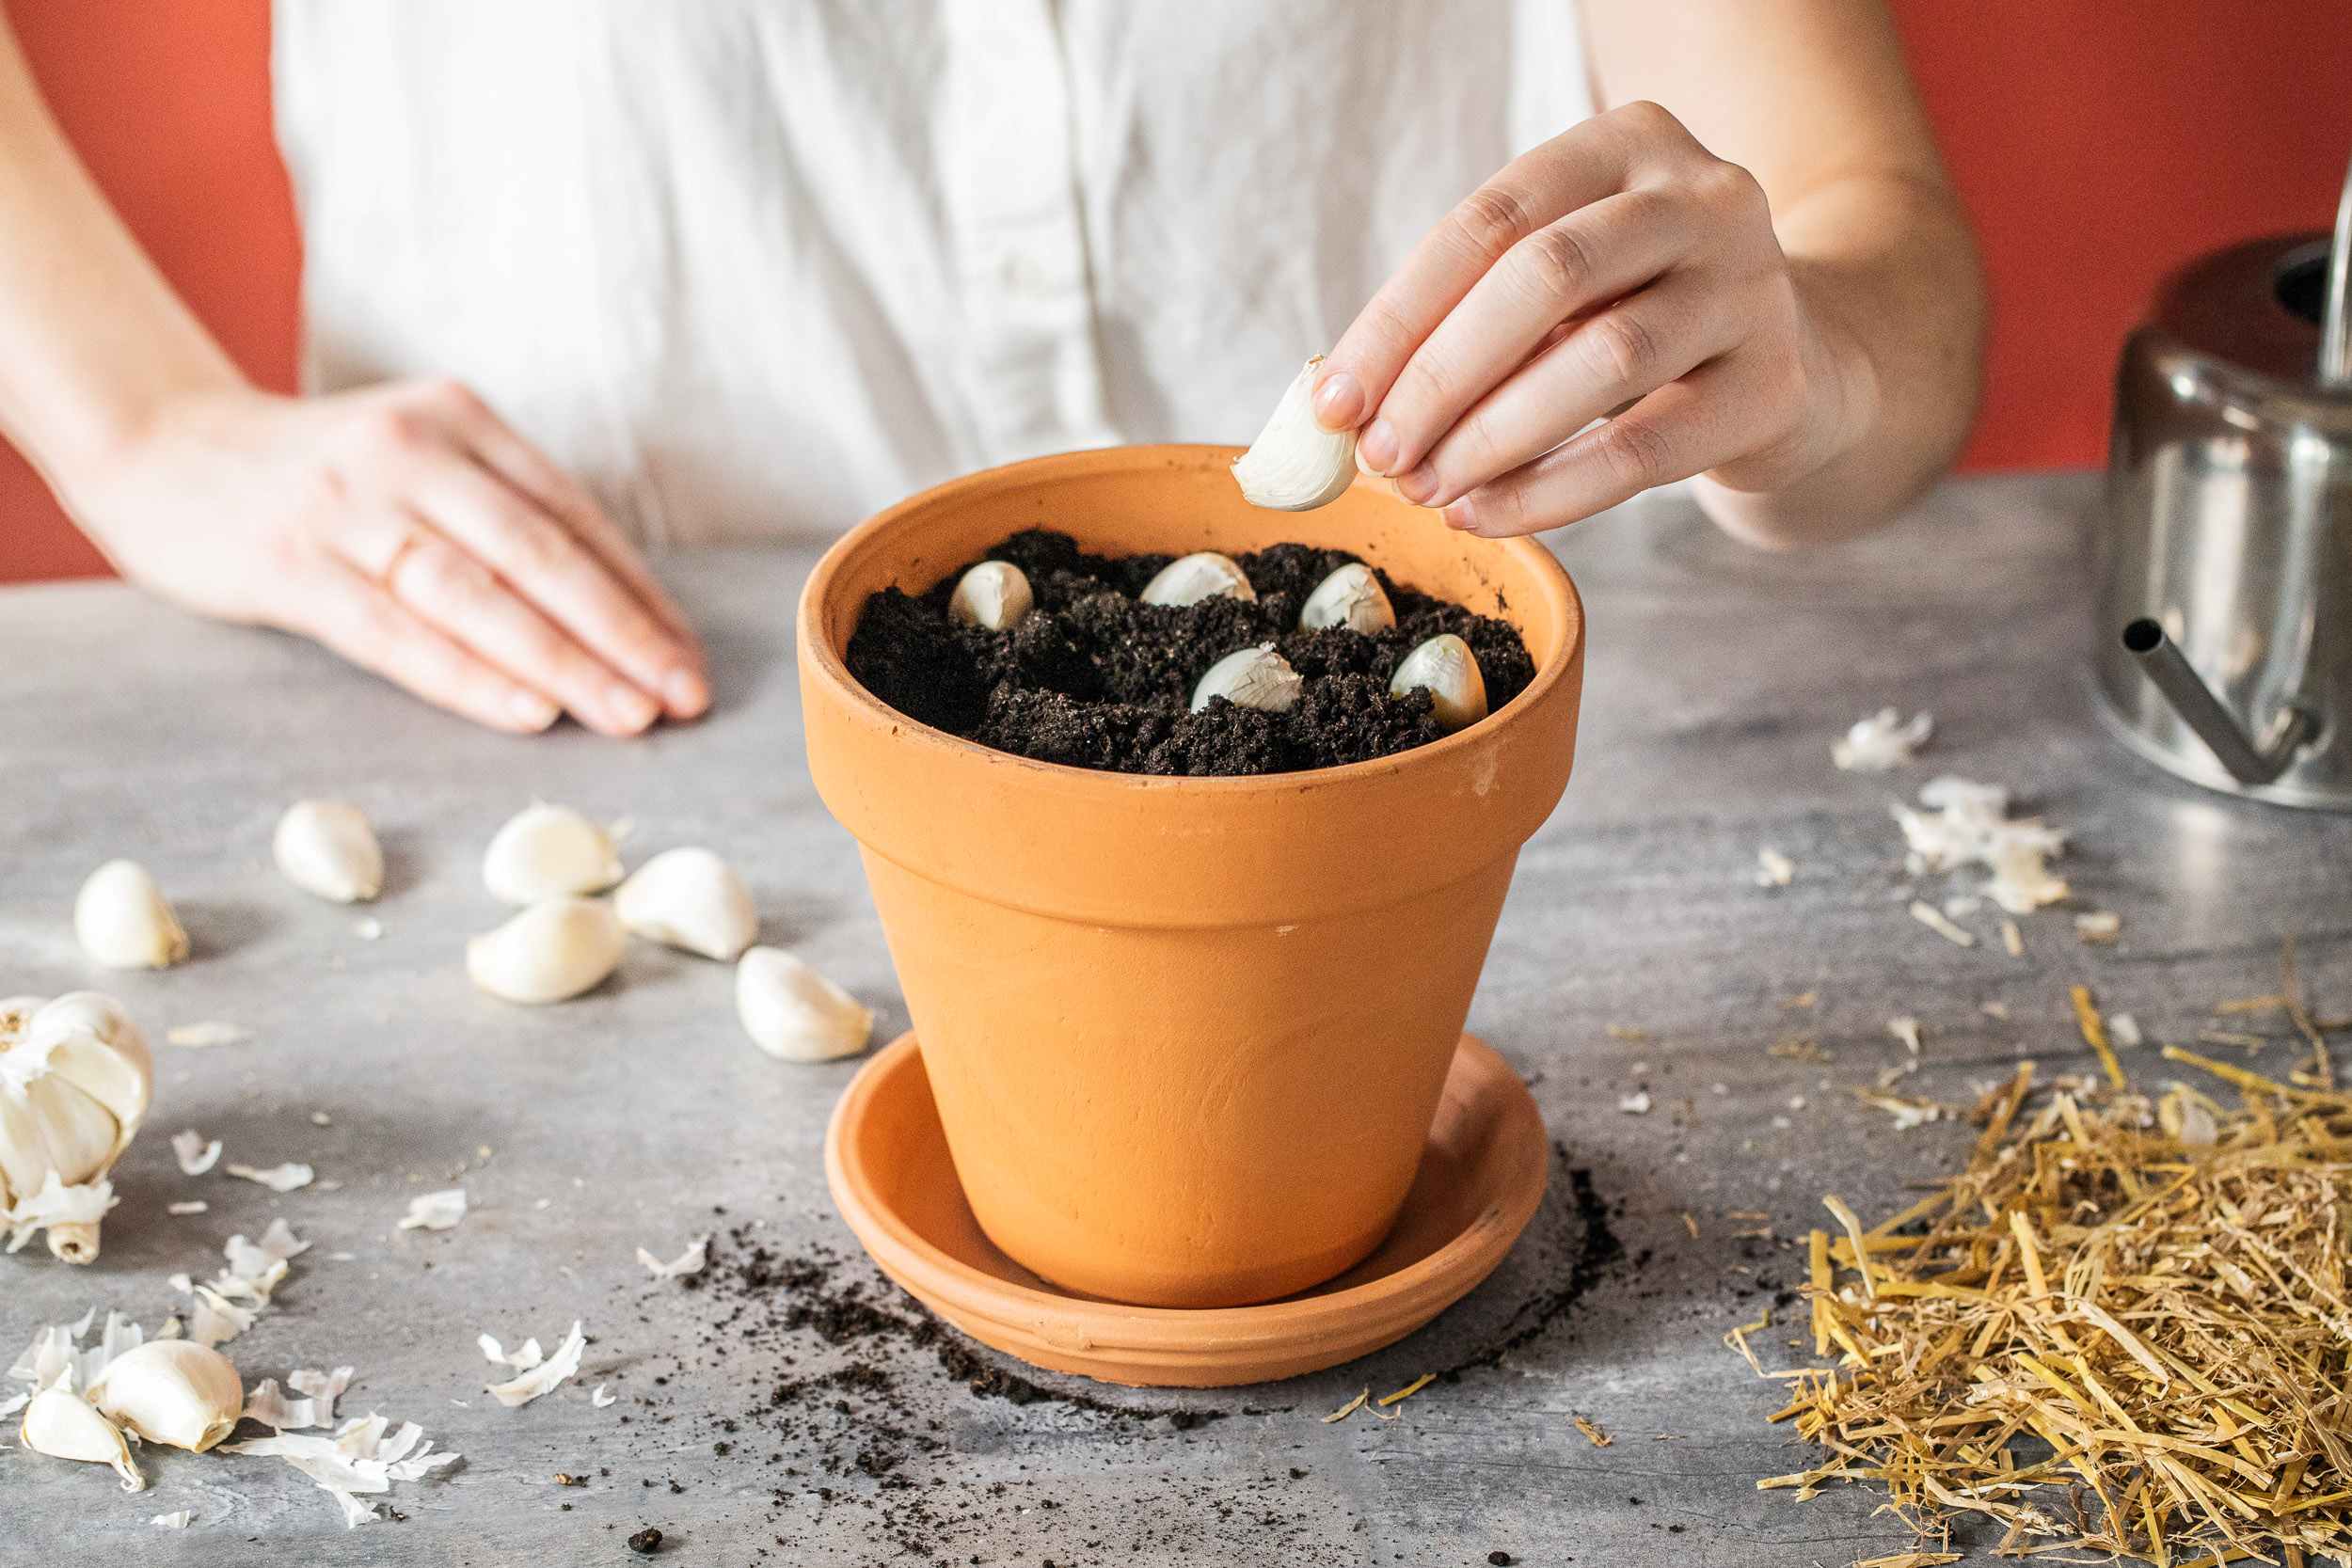
- Prepare the planting site: Choose a well-draining location with adequate sunlight for your bulbs. Prepare the soil by loosening it and removing any weeds or debris. Consider adding organic matter, such as compost, to improve soil fertility and drainage.
- Planting depth: Follow the recommended planting depth for each bulb variety. As a general rule, most bulbs are planted at a depth that is two to three times their own size. This provides them with the necessary support and protection.
- Spacing: Space the bulbs according to the recommended distance for the specific variety. Providing enough space between bulbs allows for proper airflow and prevents overcrowding, which can lead to disease and poor growth.
- Positioning: Place the bulbs in the ground with the pointed end facing upwards. This is where the shoot will emerge. If you’re unsure which end is up, plant the bulb on its side, and it will adjust itself during growth.
- Watering: After planting, thoroughly water the area to settle the soil around the bulbs. This helps eliminate air pockets and ensures good soil-to-bulb contact. Avoid overwatering, as excess moisture can cause rot.
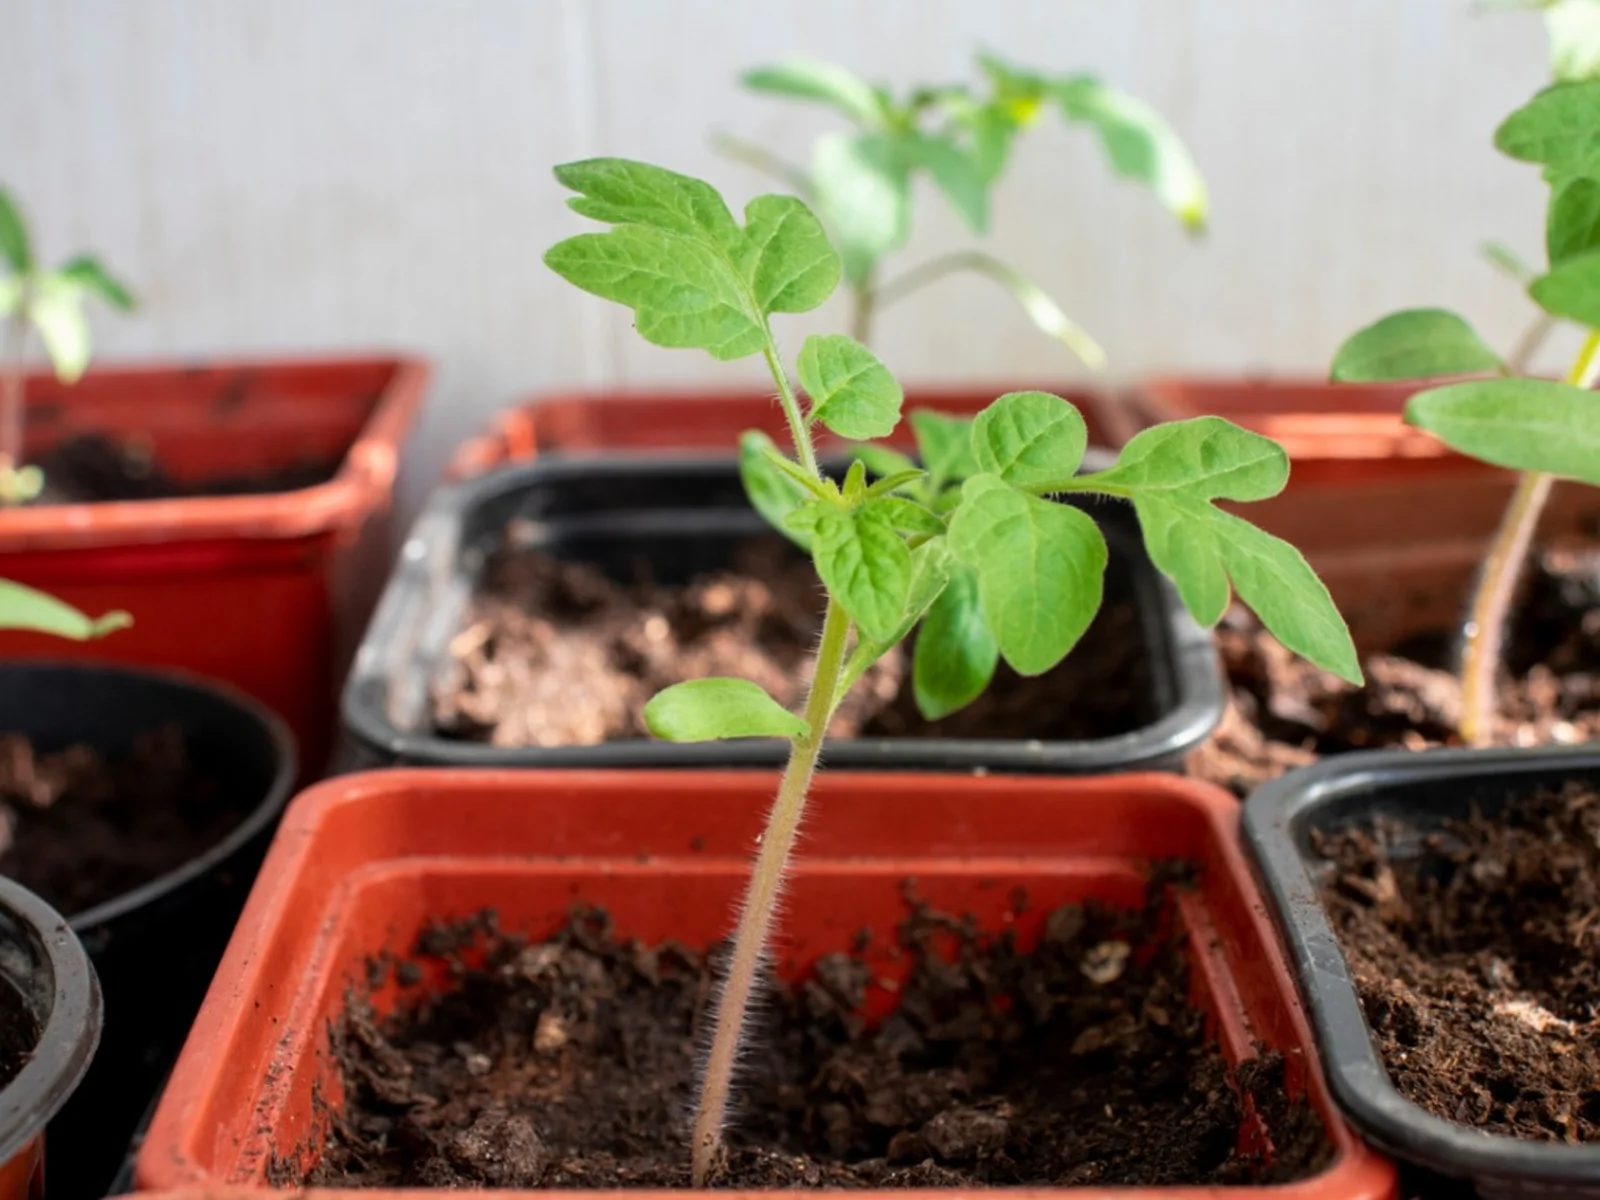
- Maintenance: Follow proper watering and fertilizing practices for the specific bulb variety. Some bulbs may require periodic feeding during their growing season. Additionally, protect emerging shoots from pests and provide support for tall plants if needed.
By planting your stored bulbs at the appropriate time and following the correct planting techniques, you give them the best chance for successful growth and blooming. Remember to refer to specific planting instructions for each type of bulb to ensure optimal results.
Now that you know when and how to plant stored bulbs, it’s time to put your green thumb to work and enjoy the fruits of your labor!
Conclusion
Proper storage is essential for maintaining the health and vitality of bulbs before planting. By choosing the right storage location, preparing bulbs adequately, and using the appropriate storage methods, you can extend their lifespan and ensure successful growth when planted.
Storing bulbs in paper bags, mesh bags, or plastic containers with ventilation allows for proper airflow and protection from excessive moisture. Avoiding common storage mistakes, such as inadequate ventilation or improper temperature, is crucial to prevent rot or damage.
Monitoring stored bulbs for moisture and rot, and promptly addressing any issues that arise, helps maintain their health. By following tips such as choosing high-quality bulbs, labeling and organizing diligently, and checking bulbs regularly, you can extend their storage lifespan.
When it’s time to plant your stored bulbs, ensure you choose the appropriate planting time, prepare the planting site, and follow the recommended planting depth and spacing. Providing proper care and maintenance throughout the growing season will help them thrive and produce stunning flowers.
By following these guidelines, you can confidently store and plant your bulbs, knowing that you’ve taken the necessary steps to ensure their success. Get ready to experience the joy of a beautiful, blooming garden filled with the vibrant colors of your favorite bulb varieties!