Home>Types of Gardening>Ornamental Gardening>How To Store Acorns For Planting

Ornamental Gardening
How To Store Acorns For Planting
Modified: January 22, 2024
Learn the best methods for storing acorns for planting in your ornamental garden. Discover helpful tips and techniques to ensure successful growth and cultivation.
(Many of the links in this article redirect to a specific reviewed product. Your purchase of these products through affiliate links helps to generate commission for Chicagolandgardening.com, at no extra cost. Learn more)
Table of Contents
Introduction
Welcome to the world of ornamental gardening! If you have a passion for beautifying your outdoor space with vibrant and visually appealing plants, then you’ve come to the right place. Ornamental gardening is a popular and rewarding hobby that allows you to create stunning displays of color, texture, and form.
Whether you’re a seasoned gardener looking to enhance your existing landscape or a beginner eager to dive into the world of ornamental gardening, this comprehensive guide will provide you with the knowledge and techniques to create a stunning garden that will be the envy of your neighborhood.
Ornamental gardening is all about integrating aesthetics and functionality. It’s about creating a harmonious balance of plants that not only look beautiful but also serve a purpose, whether it’s attracting pollinators, providing shade, or creating privacy. By carefully selecting and arranging plants, you can transform your outdoor space into a breathtaking oasis.
In this guide, we’ll explore various aspects of ornamental gardening, from selecting the right plants for your climate to designing eye-catching flowerbeds and maintaining healthy and thriving plants. We’ll delve into the world of garden design principles, exploring concepts such as color theory, plant texture, and spatial arrangement.
But ornamental gardening is not just about creating visual appeal—it’s also about nurturing and caring for plants to ensure their long-term health and vitality. From proper watering and fertilization techniques to pest and disease control, we’ll cover all the essential practices that will help you maintain a thriving garden.
Whether you have a small balcony, a sprawling backyard, or anything in between, there are ornamental gardening solutions suited to your space. You’ll learn how to make the most of your available area, whether that means maximizing vertical gardening opportunities, incorporating containers, or creating stunning focal points.
So, get ready to unleash your creativity and embark on a journey of transforming your outdoor space into a personal sanctuary. Let’s dive into the captivating world of ornamental gardening and discover the secrets to creating a garden that will bring you joy and admiration for years to come.
Selecting Acorns
When it comes to growing trees from acorns, selecting the right acorns is crucial for success. Healthy and viable acorns will give you the best chance of growing strong and vigorous trees. Here are some tips to help you select the perfect acorns for planting:
- Choose mature acorns: Look for acorns that have fallen naturally from the tree. Avoid picking green or unripe acorns, as they may not have developed fully and may not germinate.
- Inspect for damage: Inspect the acorns for any cracks, holes, or insect damage. Damaged acorns have a lower chance of germination and may be more susceptible to disease.
- Check for plumpness: Healthy acorns are plump and heavy for their size. Avoid acorns that are shriveled, lightweight, or have dried-out caps.
- Assess color: The color of a healthy acorn varies depending on the tree species. Generally, look for acorns that have a rich, brown color. Avoid acorns that are discolored or moldy.
- Consider the source: If possible, collect acorns from trees that exhibit desirable traits, such as good growth, disease resistance, or attractive foliage. This will increase the likelihood of raising strong and resilient trees.
- Choose a variety: Different tree species produce acorns with varying characteristics. Consider the specific species you want to grow and select acorns from those trees. This ensures that you’ll be planting the correct species and maintaining the integrity of your chosen ornamental garden.
Remember, it’s always a good idea to collect more acorns than you anticipate needing. This will account for any acorns that may not germinate or fail to thrive. Plus, you can always share the extras with fellow gardeners or use them for other planting projects.
By carefully selecting healthy and viable acorns, you’re setting the foundation for successful tree growth and the creation of a stunning ornamental garden. Now that you’ve selected your acorns, let’s move on to the next step: harvesting.
Harvesting Acorns
Harvesting acorns is an exciting activity that marks the beginning of your journey to grow magnificent trees in your ornamental garden. Here are some guidelines to help you harvest acorns effectively:
- Timing is key: It’s essential to harvest acorns at the right time. The ideal time to gather acorns is when they have ripened on the tree and are starting to fall naturally. Look for acorns with intact caps, as this indicates that they are mature and ready for harvest.
- Collect fallen acorns: Rather than plucking acorns directly from the tree, collect the ones that have already fallen to the ground. Fallen acorns are more likely to be mature and have a higher chance of germinating successfully.
- Inspect for damage: Examine each acorn carefully and discard any that show signs of damage, such as cracks, insect holes, or mold. Damaged acorns are less likely to germinate and may introduce pests or diseases into your garden.
- Remove debris: Before storing the harvested acorns, remove any leaves, twigs, or other debris. This will help prevent the growth of mold or the emergence of fungi, which can harm the acorns.
- Use a basket or bag: Gather the acorns in a basket or breathable bag. Avoid using plastic bags, as they can trap moisture and cause the acorns to rot. Instead, opt for materials like burlap or mesh.
- Label the collection: If you’re collecting acorns from different tree species, label each batch. This will help you identify and keep track of the different varieties during the storage and planting process.
Remember, it’s important to handle the harvested acorns with care to avoid damaging them. Rough handling or dropping the acorns can impact their viability and success in germination. By following these harvesting guidelines, you’re ensuring that you have a healthy collection of acorns ready for the next steps in the process: cleaning and testing their viability.
Cleaning Acorns
Before storing and planting acorns, it’s crucial to clean them to remove any dirt, debris, or potential contaminants. Cleaning acorns helps promote their viability and minimizes the risk of disease or pests. Here’s a step-by-step guide on how to clean your harvested acorns:
- Start by rinsing: Place the acorns in a colander or strainer and rinse them under cool running water. Gently move the acorns around with your fingers to remove any dirt or loose debris.
- Inspect for mold or discoloration: While rinsing, examine each acorn closely. If you notice any acorns with mold or discoloration, set them aside and discard them. Moldy or diseased acorns can contaminate the rest of the batch.
- Scrub with a brush: For stubborn dirt or debris, use a soft brush (such as a toothbrush) to gently scrub the acorns. This will help remove any residue or encrusted dirt.
- Remove the caps: Some gardeners prefer to remove the caps from the acorns to prevent any potential fungal growth. You can twist or carefully cut off the caps using sanitized pruning shears or a sharp knife. However, leaving the caps intact is also acceptable.
- Dry thoroughly: After cleaning, spread the acorns out on a clean towel or shallow tray. Allow them to air dry completely in a well-ventilated area. Make sure to turn the acorns occasionally to ensure even drying. Avoid direct sunlight and moist environments, as these can promote mold growth.
- Check for remaining debris: Once the acorns are dry, inspect them one final time to ensure no debris or dirt remains. Remove any remaining debris by hand or with a brush.
Properly cleaning the acorns not only enhances their appearance but also helps maintain their viability for successful germination. Once your acorns are clean and dry, you’re ready to move on to the next step: testing their viability to determine which acorns are most likely to sprout.
Testing Acorn Viability
Before embarking on the process of storing and planting acorns, it’s important to test their viability. Not all acorns will germinate, and testing helps you identify which ones are most likely to sprout. Here’s how to test the viability of your acorns:
- Float test: Fill a container with water and place the acorns in it. Healthy, viable acorns will sink to the bottom, while acorns that float are likely hollow or infested with pests. Remove the acorns that float and discard them.
- Discoloration check: Inspect the remaining acorns for signs of discoloration or mold. Discolored or moldy acorns are unlikely to germinate, so it’s best to remove them from your batch.
- Viable acorn appearance: Look for acorns that have plump, firm kernels. A viable acorn should have no visible signs of damage, such as cracks or insect holes.
- Squeeze test: Gently squeeze a few acorns between your thumb and forefinger. If the kernel feels mushy or soft, it may indicate rot or decay inside. Healthy acorns will have a firm and solid feel.
- Germination test: For a more accurate viability test, you can conduct a germination test. Plant a few acorns in a small pot or container filled with moist seed-starting mix. Keep the soil consistently moist and provide adequate sunlight. Within a few weeks, you should see sprouts emerging from viable acorns.
By testing the viability of your acorns, you can ensure that you are storing and planting the healthiest specimens. This process helps prioritize the acorns that have the best chances of successful germination, allowing you to optimize your ornamental gardening efforts.
Now that you’ve tested the viability of your acorns, it’s time to prepare them for storage. The next section will guide you through the process of preparing storage containers and choosing the optimal storage location.
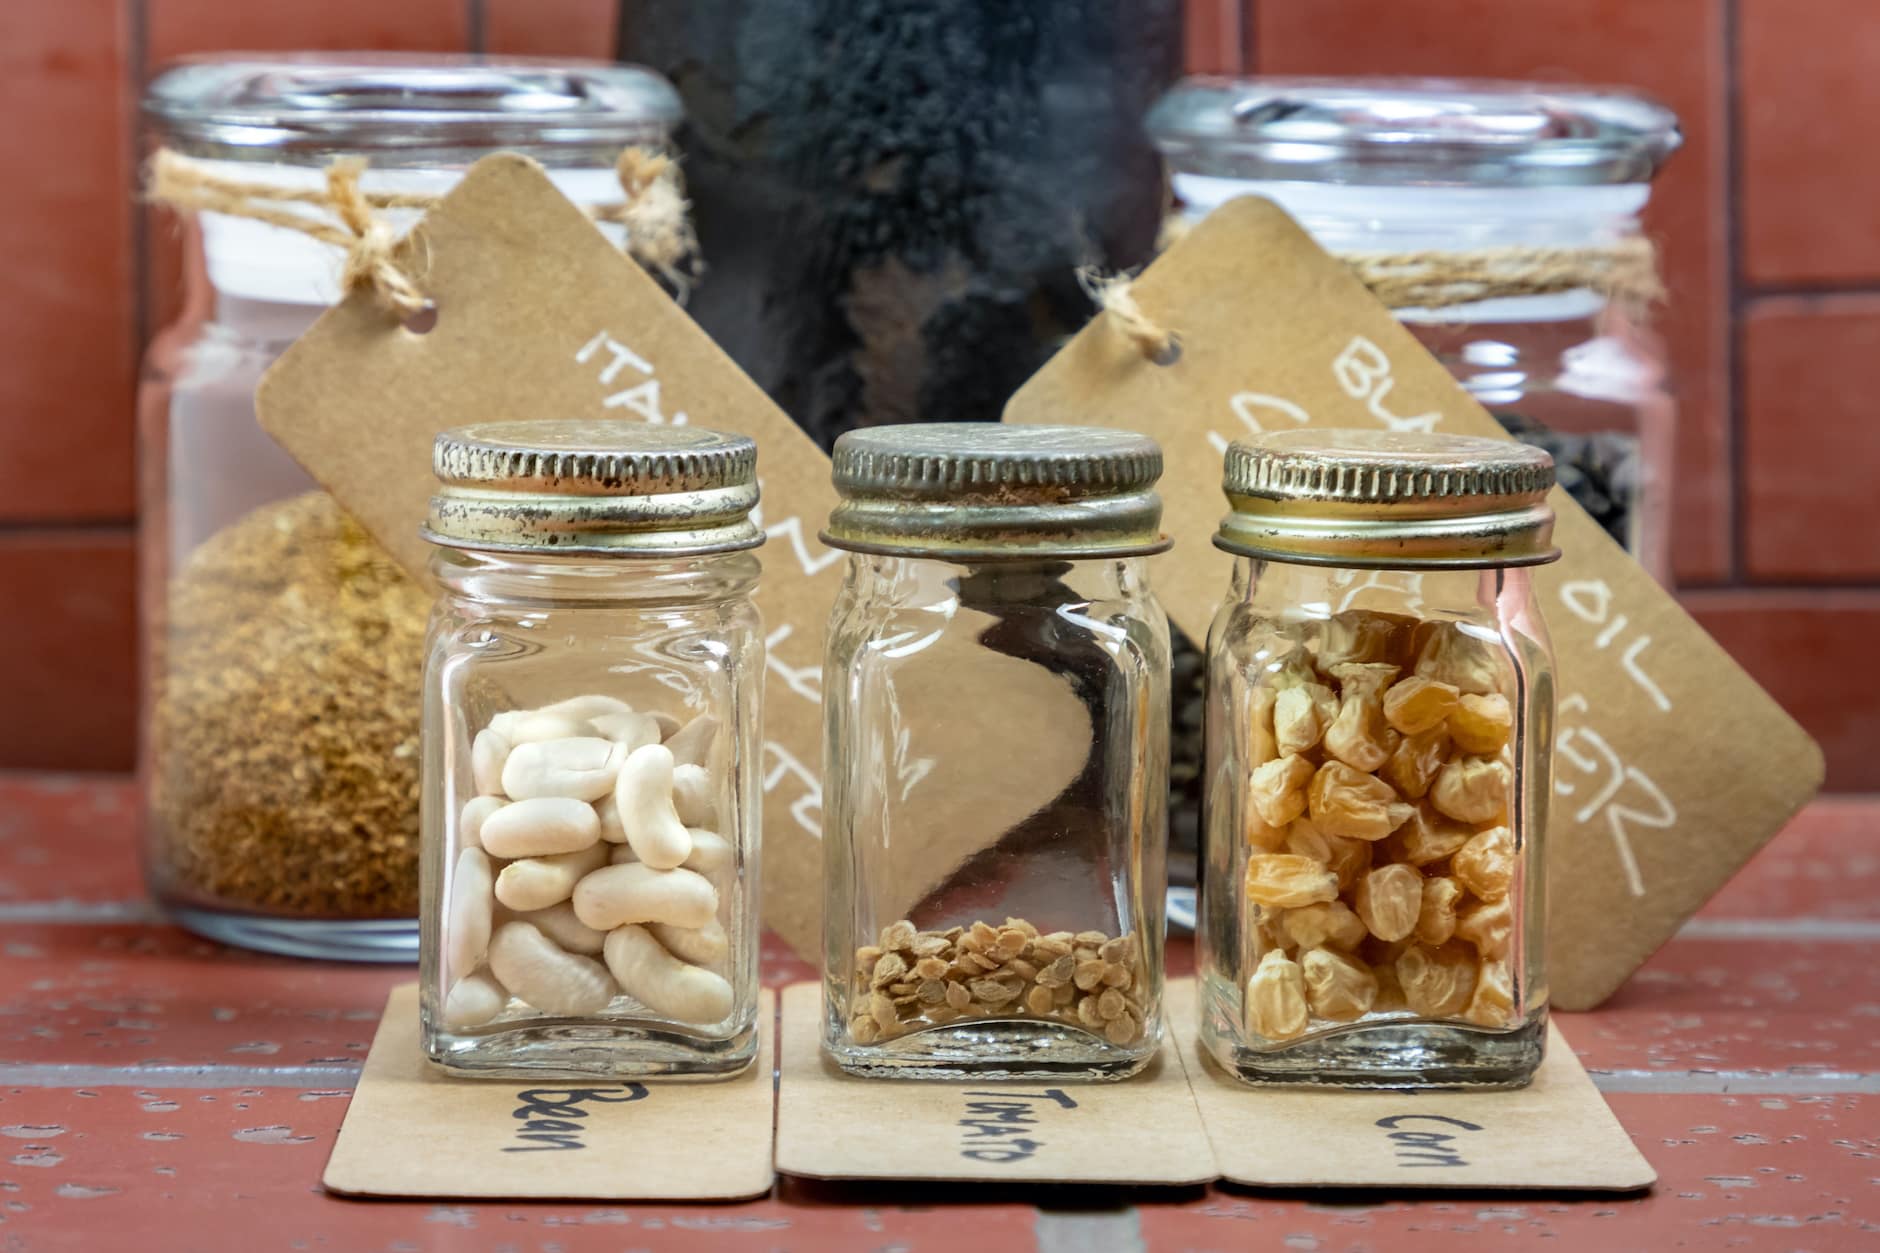
Preparing Storage Containers
Properly preparing storage containers for your acorns is crucial to maintain their viability and prevent any damage during the storage period. Here are some important steps to follow when preparing your storage containers:
- Clean and sanitize: Before using any containers, make sure they are clean and free of any debris or contaminants. Wash the containers with warm soapy water and rinse thoroughly. You can also sanitize the containers by wiping them with a diluted bleach solution (1 part bleach to 10 parts water) and allowing them to air dry.
- Choose breathable containers: Select containers that allow for good airflow to prevent moisture buildup. Perforated plastic bags or breathable fabric bags work well for storing acorns. Avoid using airtight containers, as they can create a humid environment that promotes mold or fungal growth.
- Add moisture-absorbing material: Place a layer of moisture-absorbing material, such as silica gel packets or dry rice, at the bottom of the containers. This helps absorb any excess moisture and prevents the acorns from becoming damp during storage.
- Add a desiccant packet: To further protect against moisture, you can include a desiccant packet in each storage container. Desiccant packets are available at many garden supply stores and help to absorb any moisture remaining in the container.
- Label the containers: Clearly label each container with the tree species and the collection date. This makes it easier to identify and keep track of your stored acorns, especially if you are storing multiple varieties.
- Store in a cool location: Find a cool and dark storage area for your containers. Basements or refrigerators set to a temperature between 32-45°F (0-7°C) are ideal. Avoid storing them in areas prone to extreme temperature fluctuations or direct sunlight, as these can negatively impact the viability of the acorns.
By following these steps, you’re ensuring that your acorns are stored in optimal conditions that promote their long-term viability. Properly prepared storage containers help maintain the quality of the acorns until you’re ready to plant them. In the next section, we’ll explore the importance of selecting the right storage location for your acorns.
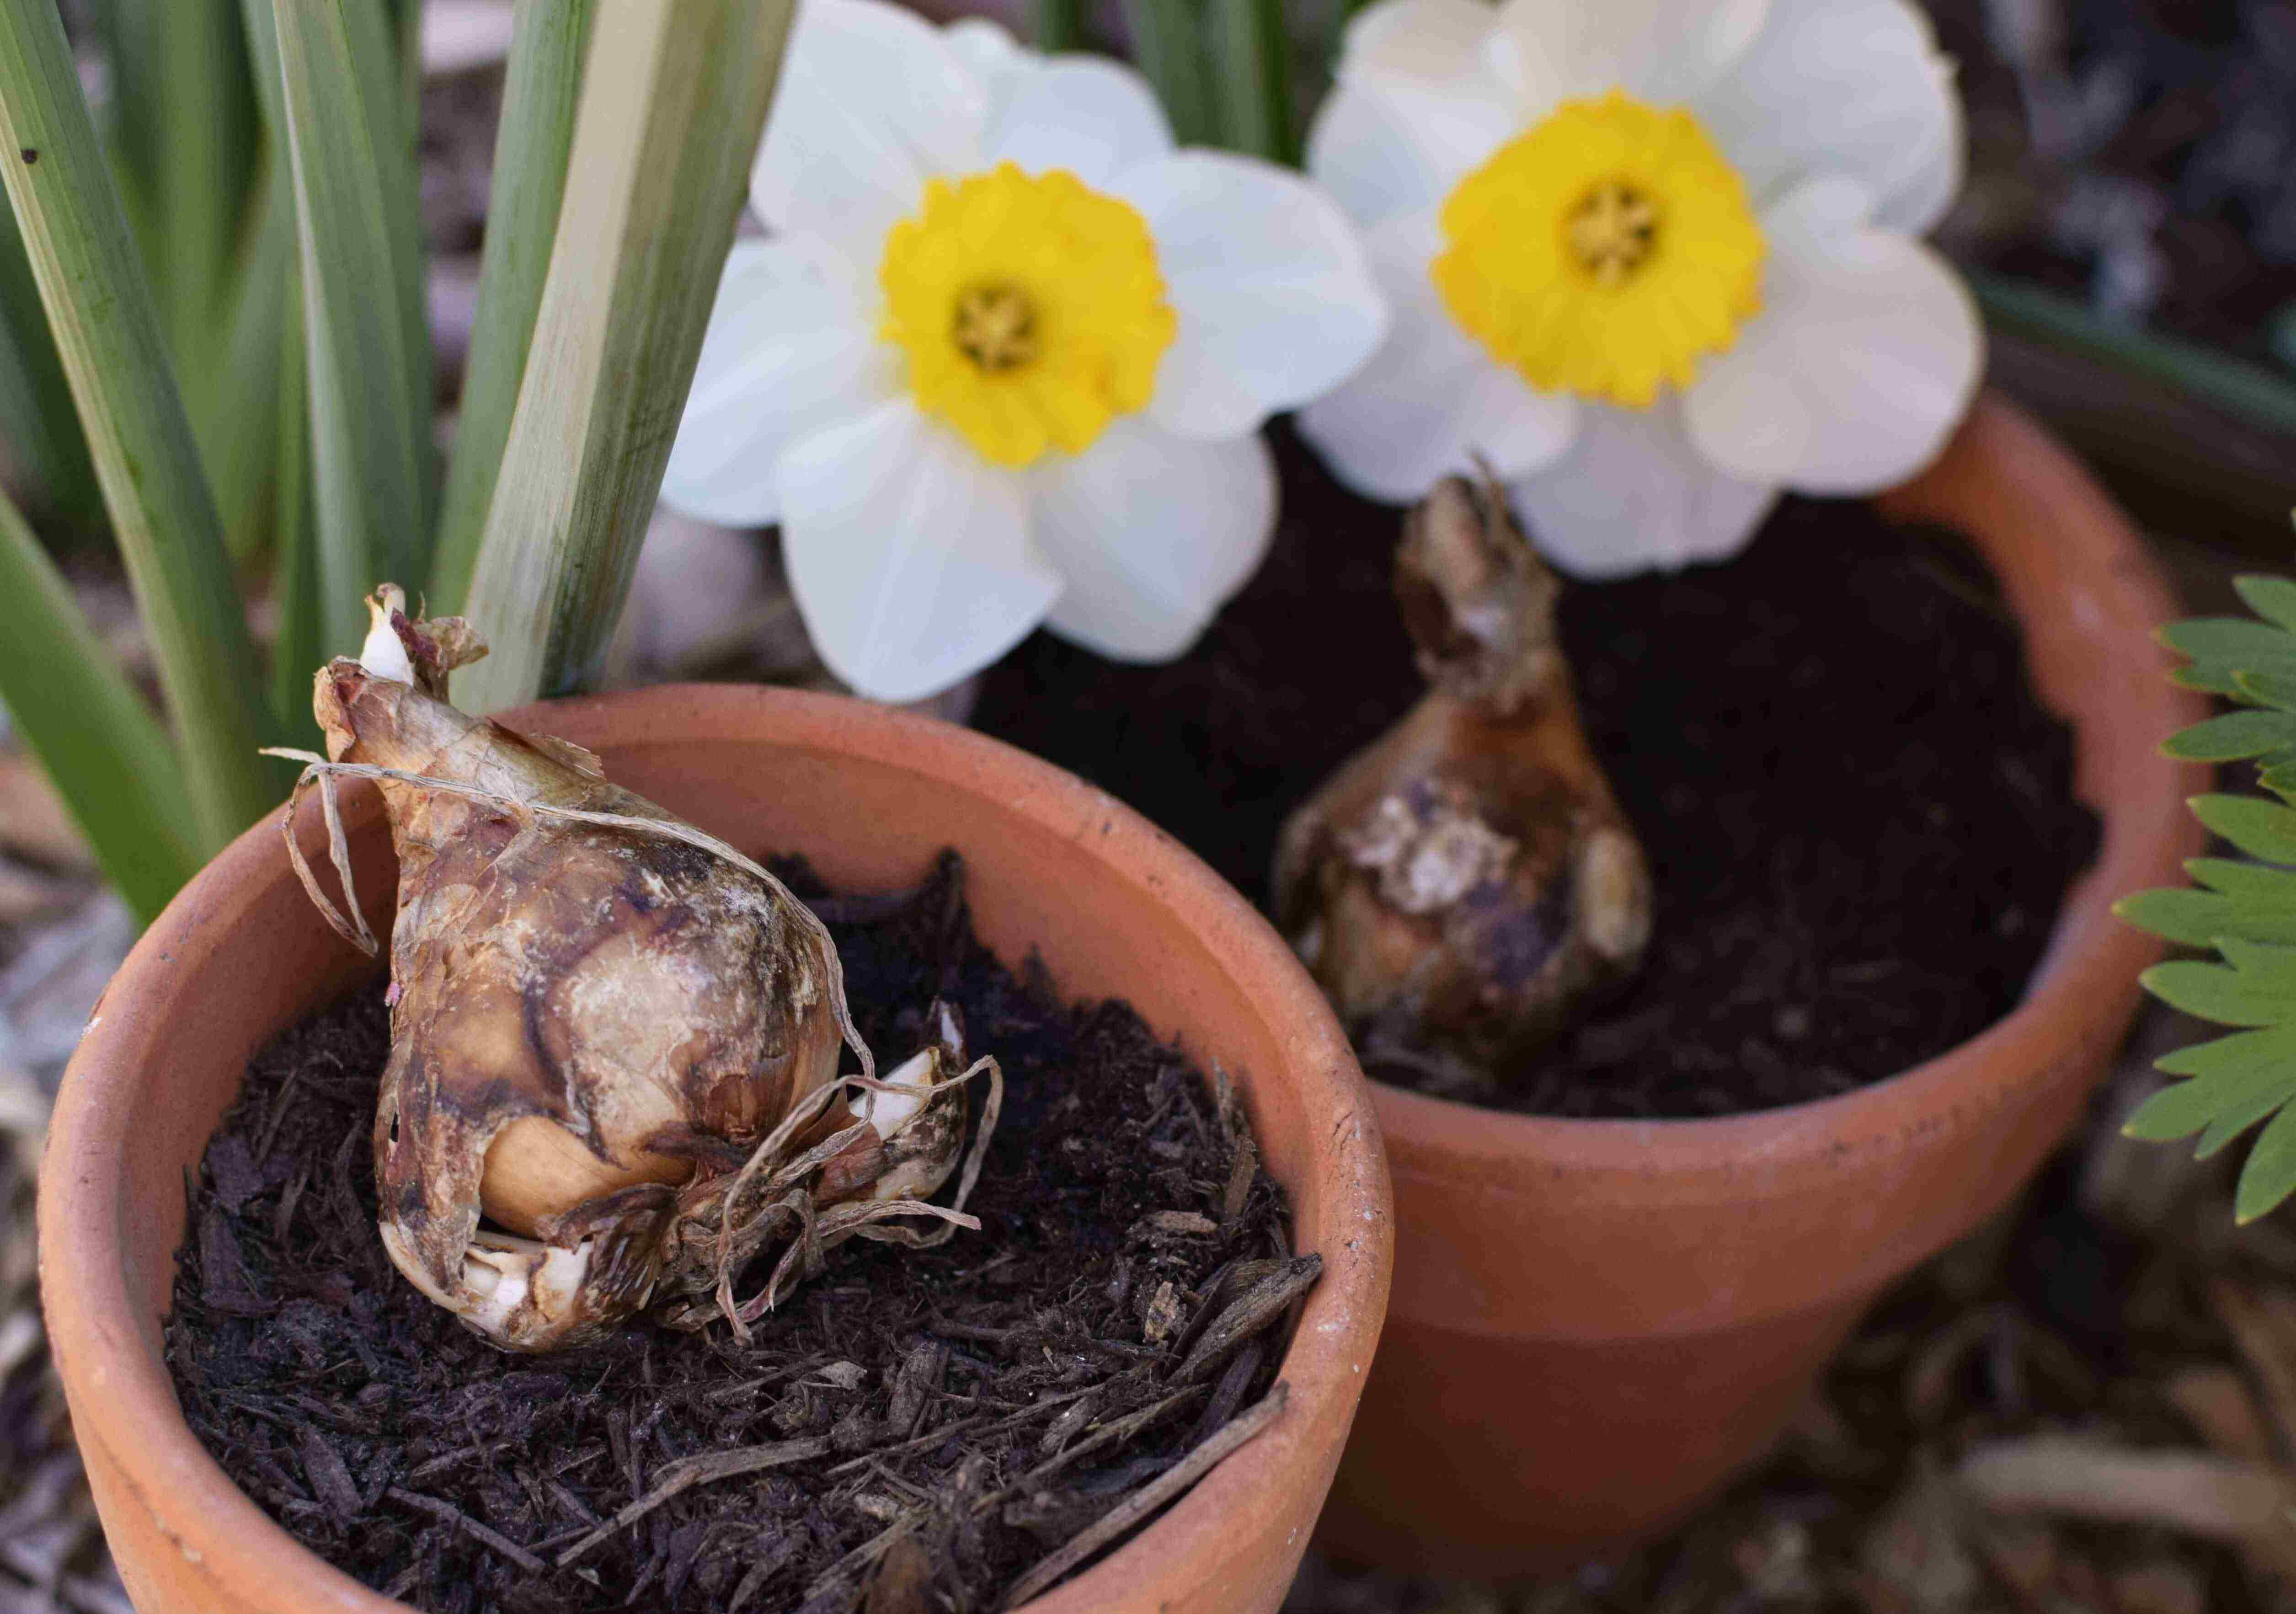
Choosing a Storage Location
When it comes to storing acorns for optimal viability, selecting the right storage location is essential. The storage environment plays a significant role in maintaining the quality and viability of the acorns during the storage period. Here are some factors to consider when choosing a storage location:
- Temperature: A cool and consistent temperature is crucial for preserving the viability of acorns. Ideally, the storage location should be between 32-45°F (0-7°C). Avoid areas prone to extreme temperature fluctuations or high heat, as these conditions can damage the acorns.
- Humidity: Aim for a storage location with low humidity levels. Excess moisture can promote the growth of mold or cause the acorns to become damp, leading to rot. Avoid areas with high humidity, such as basements prone to moisture or damp storage sheds.
- Light exposure: Acorns should be stored in a dark or low-light environment. Exposure to direct sunlight can cause the acorns to dry out and lose their viability. Choose a storage location away from windows or areas with prolonged exposure to bright light.
- Air circulation: Adequate air circulation is important to prevent the buildup of moisture and maintain the freshness of the acorns. Avoid storing the acorns in airtight containers or areas with poor ventilation. Opt for a storage location that allows for some airflow.
- Pest control: Make sure the storage location is free from pests that can damage or contaminate the acorns. Keep the area clean and inspect for any signs of infestations. Using insect-proof containers or adding a mesh barrier can further protect the acorns from pests.
Consider these factors when choosing the storage location for your acorns to ensure optimal conditions for their preservation. A cool, dark, and well-ventilated space, such as a basement or a refrigerator, is often the ideal choice. With the right storage environment, your acorns can maintain their viability and be ready for planting when the time comes.
Now that you’ve prepared your storage containers and chosen the ideal storage location, it’s time to discover how to store acorns for both short-term and long-term storage. The next sections will guide you through these storage methods.
Storing Acorns for Short-Term
If you plan to use your acorns for planting in the near future, storing them for the short-term is the best option. Here’s how to store your acorns for the short-term:
- Place the cleaned and dry acorns in breathable storage containers, such as mesh bags or perforated plastic bags. Avoid using airtight containers, as they can trap moisture and lead to mold or rot.
- Add a layer of moisture-absorbing material, such as silica gel packets or dry rice, to the bottom of each container. This helps absorb any excess moisture and keeps the acorns dry during storage.
- Seal the containers loosely to allow for some airflow. Avoid completely sealing the containers, as this can create a humid environment that is conducive to mold growth.
- Store the containers in a cool and dark location, such as a basement or refrigerator. Ideally, the storage temperature should be between 32-45°F (0-7°C) to maintain the viability of the acorns.
- Regularly check the storage containers for any signs of mold or rot. Remove any acorns that appear damaged or show signs of decay to prevent the spread of disease.
By following these steps, your acorns will remain viable and ready for planting in the short-term. Remember to regularly monitor the acorns’ condition during storage to ensure their health. When you’re ready to plant them, proceed to the next section on planting stored acorns.
Storing Acorns for Long-Term
If you’re looking to store your acorns for an extended period before planting, proper long-term storage techniques are essential to maintain their viability. Here’s how to store your acorns for the long-term:
- Ensure the acorns are clean and dry before storing them. Remove any debris or dirt and allow them to air dry fully.
- Place the acorns in breathable storage containers, such as ventilated plastic bags or mesh bags. Avoid using airtight containers, as they can trap moisture and lead to mold or rot.
- Add a layer of moisture-absorbing material, such as silica gel packets, to the bottom of each container. This helps prevent moisture buildup and keeps the acorns dry.
- Label each container with the tree species and collection date. Proper labeling will help you keep track of the acorns and their specific details.
- Store the containers in a cool and dark location with a consistent temperature of around 32-45°F (0-7°C). Ideal storage places include a refrigerator or a root cellar.
- Check the containers periodically for any signs of mold, decay, or pests. Remove any damaged acorns promptly to prevent the spread of disease.
- Monitor the temperature and humidity levels of the storage area regularly to ensure optimal conditions for the acorns.
By following these steps, you can store your acorns for an extended period while maintaining their viability. Remember to periodically check on the acorns and discard any that show signs of damage or decay. When you’re ready to plant, refer to the next section on planting stored acorns for successful germination and growth.
Monitoring Acorn Storage
Monitoring the storage conditions of your acorns is crucial to ensure their long-term viability. Regular checks will help you identify any potential issues and take necessary actions to preserve the acorns. Here are some key aspects to consider when monitoring acorn storage:
- Temperature: Maintain a consistent and cool temperature for the stored acorns. Fluctuations in temperature can negatively impact their viability. Use a thermometer to monitor the storage area and make adjustments if necessary.
- Humidity: Check the humidity levels in the storage area regularly. High humidity can lead to mold or rot, while low humidity can cause the acorns to dry out. Aim for a moderate level of humidity, and use a hygrometer or humidity meter to monitor the humidity levels.
- Inspect for mold or decay: Regularly inspect the acorns for any signs of mold, decay, or pest infestation. Remove any affected acorns promptly to prevent further damage and the spread of disease. Discard any acorns that are visibly damaged or show signs of decay.
- Air circulation: Ensure that there is proper airflow in the storage area. Stagnant air can contribute to moisture buildup and increase the chance of mold growth. If necessary, use fans or open windows periodically to promote air circulation.
- Check for pests: Monitor the storage containers for any signs of pests, such as insects or rodents. Inspect the containers and surrounding area regularly for any indications of pest activity. Take appropriate measures to address pest issues promptly.
- Record keeping: Keep a record of the storage conditions and any observations you make during the monitoring process. This will help you track the acorns’ storage duration and any changes in their condition.
By regularly monitoring the storage conditions and acorn health, you can ensure the long-term viability of your stored acorns. Making necessary adjustments and taking prompt action will help preserve their quality until you’re ready to plant them. In the next section, we’ll explore the exciting process of planting stored acorns and witnessing the growth of beautiful trees in your ornamental garden.
Planting Stored Acorns
After successfully storing your acorns, it’s time to bring them to life by planting them in your garden. Planting stored acorns follows a similar process to planting fresh-acquired acorns. Here’s a step-by-step guide to help you plant stored acorns:
- Prepare the planting area: Choose a suitable location in your garden that provides the right amount of sunlight and soil drainage for the particular tree species you’re planting. Clear away any weeds, rocks, or debris from the planting area.
- Soak the acorns (optional): If you’ve stored the acorns for an extended period, you can give them a pre-planting soak to rehydrate them. Fill a container with room-temperature water and place the acorns in it. Let them soak for 24 to 48 hours.
- Plant the acorns: Dig a small hole for each acorn, approximately 2 to 3 inches deep. Place a soaked or dry acorn in each hole, with the pointed end facing down. Backfill the hole with soil, gently firming it around the acorn but avoiding compacting the soil too much.
- Provide proper watering: Water the planted acorns thoroughly, ensuring that the soil is evenly moist. However, be careful not to overwater, as excessive moisture can lead to rot. Monitor the moisture levels in the soil and water as needed throughout the germination period.
- Mulch the area: Apply a layer of organic mulch around the newly planted acorns, leaving a small space around the base of each seedling. Mulch helps conserve moisture, suppress weed growth, and regulate soil temperature.
- Monitor and care for seedlings: As the acorns germinate and seedlings emerge, continue to monitor their growth and provide proper care. This includes regular watering, protecting the seedlings from extreme weather conditions, and ensuring they receive adequate sunlight for healthy growth.
- Transplanting seedlings (optional): Once the seedlings have grown a few inches tall and have developed a sturdy root system, they can be transplanted to their permanent position in the garden. Ensure the new planting site meets the specific requirements of the tree species.
By following these planting steps and providing proper care, you will give your stored acorns the best chance to sprout and grow into beautiful ornamental trees. Remember to be patient, as it can take several years for the trees to reach their full size and mature. Enjoy the journey of nurturing and witnessing the growth of these transformed acorns in your ornamental garden!
Conclusion
Ornamental gardening is a rewarding and fulfilling hobby that allows you to create stunning displays of beauty and color in your outdoor space. From selecting and harvesting acorns to properly storing and planting them, you now have the knowledge and techniques to embark on your ornamental gardening journey.
By selecting healthy and viable acorns, you set a solid foundation for successful tree growth. Properly cleaning the acorns ensures their viability, while testing their germination helps you identify the most promising ones to plant.
Preparing storage containers and choosing the right storage location are crucial steps in maintaining the quality and health of your stored acorns. Whether you opt for short-term or long-term storage, monitoring the storage conditions is essential to ensure their viability and address any potential issues that may arise.
Finally, planting your stored acorns and caring for the seedlings allow you to witness the transformation of these humble seeds into magnificent ornamental trees. By providing the appropriate planting conditions and ongoing care, you can enjoy the beauty and splendor of your ornamental garden for years to come.
Remember that ornamental gardening is a continuous learning process. Experiment with different tree species, explore various garden designs, and adapt your techniques as you gain experience. And above all, enjoy the journey of cultivating a space that reflects your creativity and brings you joy.
Now, armed with this comprehensive knowledge of ornamental gardening and acorn storage, it’s time to put your green thumb to work and create a stunning oasis of beauty and tranquility in your outdoor space.