Home>Gardening Basics>Understanding Soil>How To Store Garlic For Planting
Understanding Soil
How To Store Garlic For Planting
Modified: January 22, 2024
Learn how to store garlic for planting and increase your understanding of soil with our helpful guide.
(Many of the links in this article redirect to a specific reviewed product. Your purchase of these products through affiliate links helps to generate commission for Chicagolandgardening.com, at no extra cost. Learn more)
Table of Contents
Introduction
Welcome to our guide on how to store garlic for planting! Garlic is not just a flavor-enhancing ingredient in our culinary adventures; it is also a versatile plant that can be easily grown in home gardens. If you want to enjoy a bountiful harvest of garlic next season, it is crucial to properly store your garlic bulbs until it’s time to plant them.
Storing garlic for planting is an essential step that ensures the bulbs remain healthy and viable. By following the right storage techniques, you can preserve the quality of the garlic bulbs, prolong their shelf life, and maximize their chances of successfully sprouting and growing.
In this article, we will explore the step-by-step process of preparing and storing garlic bulbs for planting. We will discuss how to select the best garlic bulbs, how to prepare them for storage, and the ideal storage conditions to maintain their freshness. We will also provide some useful tips to extend the shelf life of stored garlic. So, let’s dive in and learn how to store garlic bulbs for planting!
(Word count: 152)
Selecting Garlic Bulbs for Planting
Choosing the right garlic bulbs for planting is crucial to ensure a successful harvest. When selecting garlic bulbs, it’s important to look for healthy, disease-free, and high-quality specimens. Here are some tips to help you choose the best garlic bulbs for planting:
- Variety: There are several garlic varieties available, each with its distinct flavor and growth characteristics. Choose a variety that suits your taste preferences and growing conditions. Some popular varieties include softneck garlic, hardneck garlic, and elephant garlic.
- Size: Opt for larger cloves as they tend to produce bigger and healthier garlic bulbs. Avoid small or shriveled cloves, as they may not grow into robust plants.
- Appearance: Look for garlic bulbs that have firm, tight skin and are free from any discoloration, mold, or soft spots. The cloves should be well-formed and tightly packed within the bulb.
- Source: Purchase garlic bulbs from reputable sources like local nurseries or organic seed catalogs. This ensures that you are getting high-quality, disease-free garlic bulbs.
- Organic Garlic: If possible, choose organic garlic bulbs. They are grown without the use of harmful pesticides and chemicals, making them a healthier choice for both you and the environment.
Remember, selecting the right garlic bulbs sets the foundation for a successful garlic harvest. Take your time to find the best bulbs that meet the above criteria, as this can greatly contribute to the overall success of your garlic-growing venture.
(Word count: 201)
Preparing Garlic Bulbs for Storage
Before moving on to storing garlic bulbs, it is crucial to properly prepare them. This preparation process helps ensure the longevity and vitality of the bulbs during storage. Follow these steps to prepare your garlic bulbs for storage:
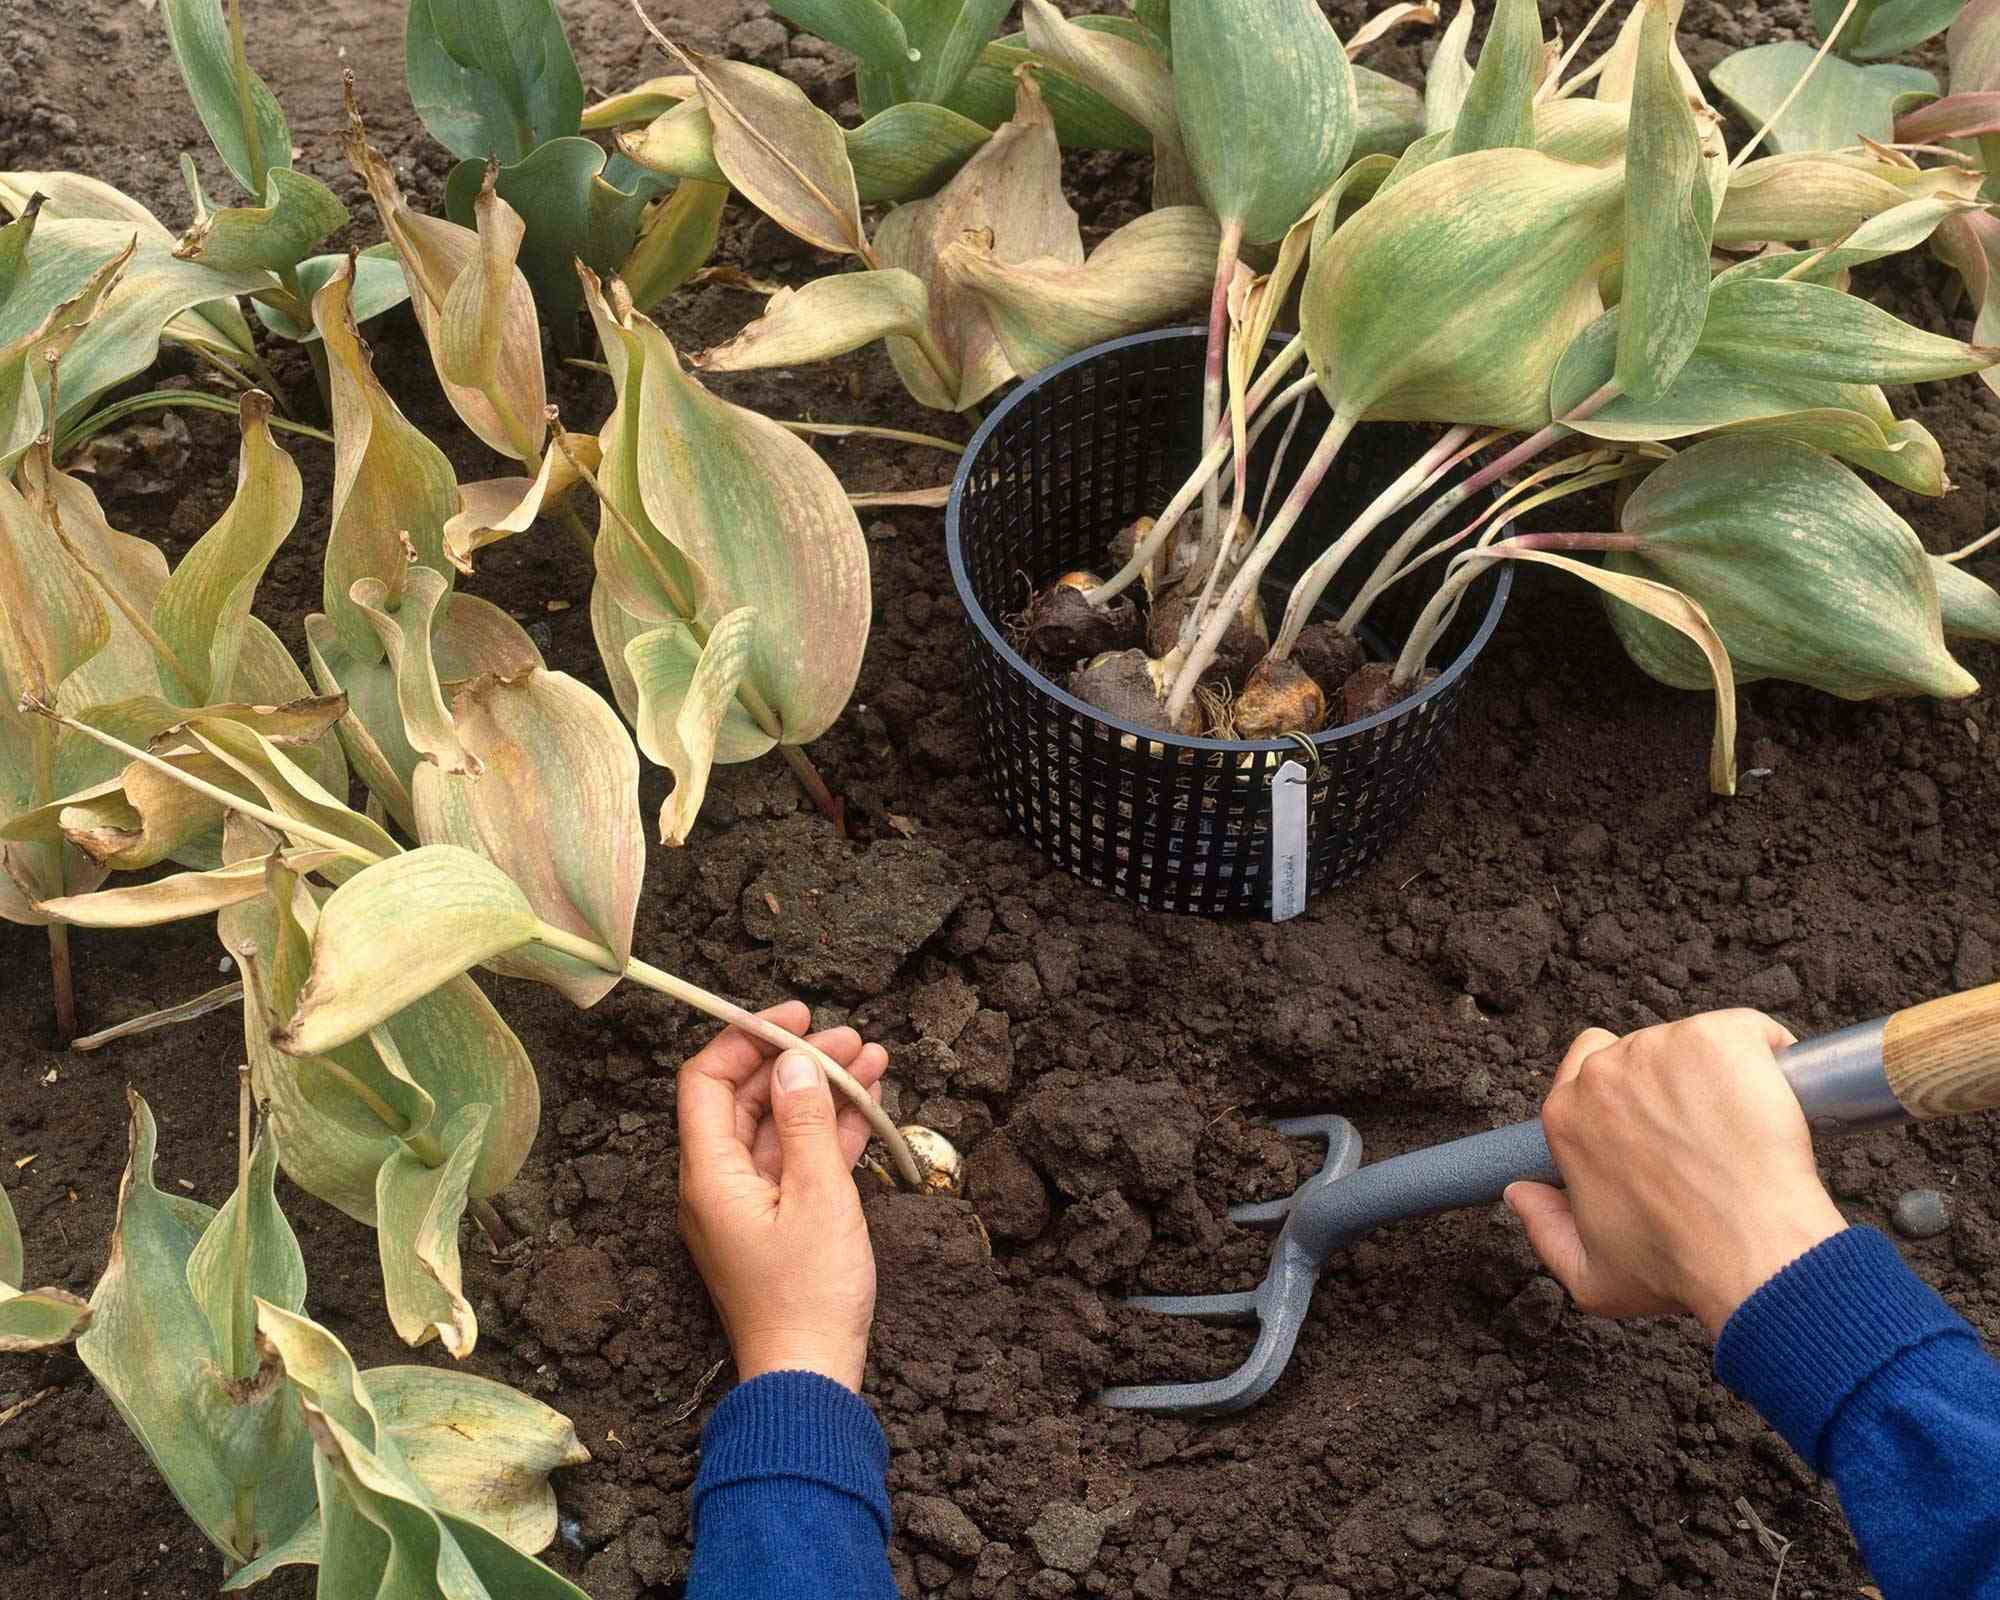
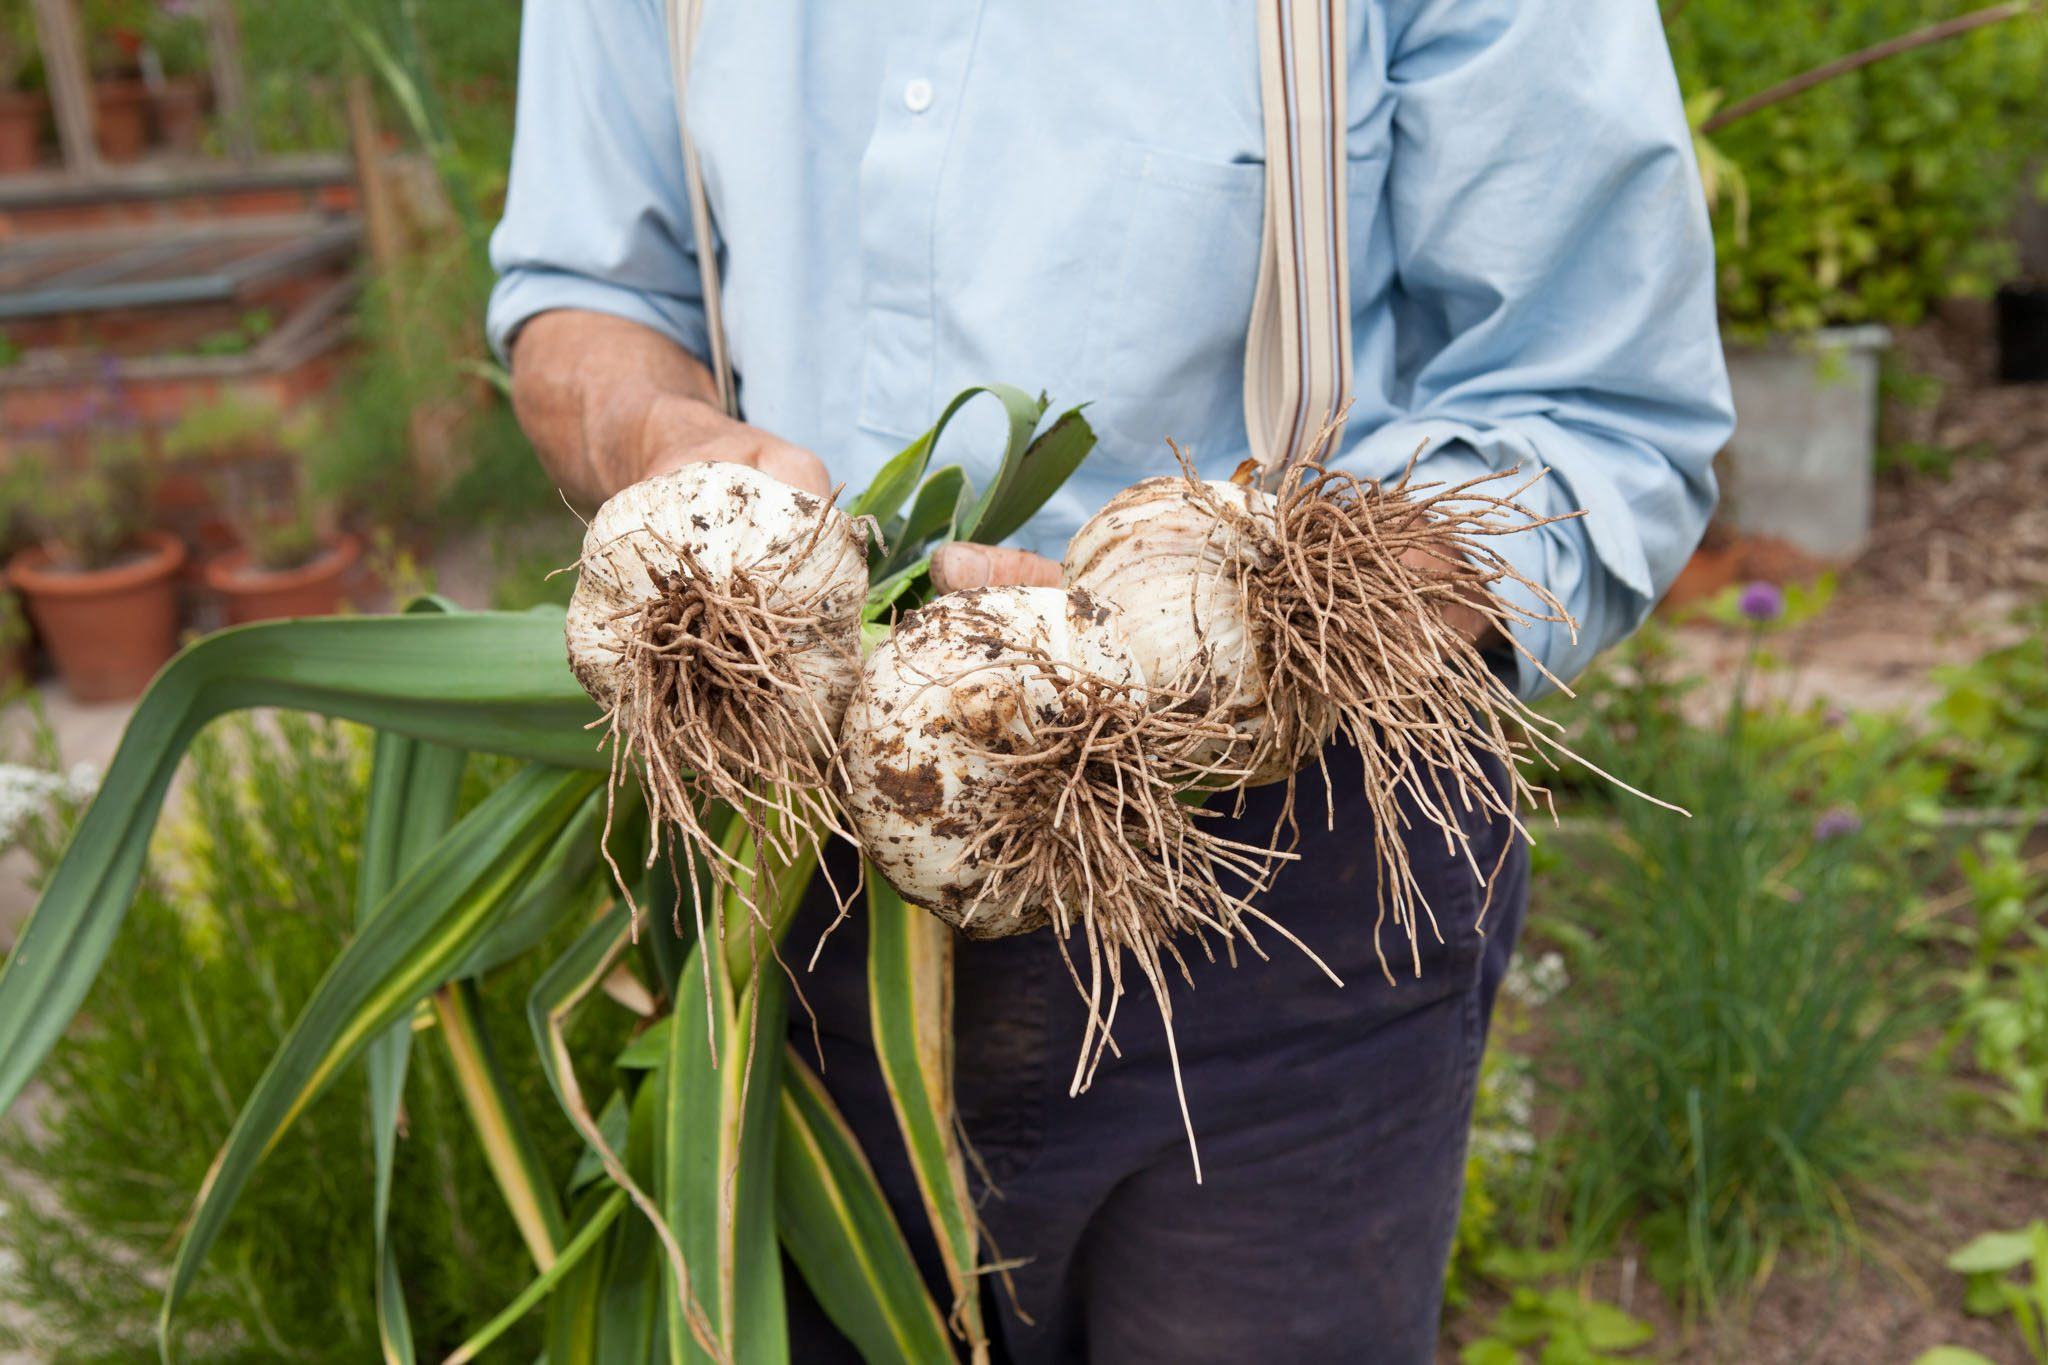
- Curing: After harvesting, allow the garlic bulbs to cure for a few days in a well-ventilated area. This process helps dry out the outer layers of the bulb, reducing the risk of mold and rot during storage. Hang the garlic bulbs in bundles or spread them out on a mesh or wire rack.
- Trimming: Once the garlic bulbs are cured, trim the roots and remove any excess dirt or loose outer layers. Be careful not to damage the cloves while trimming.
- Remove the Scapes (optional): If your garlic plants have produced scapes (curly shoots), you can remove them. Although not necessary, removing the scapes directs the plant’s energy towards bulb development and can result in larger cloves.
- Sanitize: Before placing the garlic bulbs in storage, sanitize them to reduce the risk of fungal or bacterial infections. You can use a dilute solution of hydrogen peroxide or vinegar to gently wipe the bulbs.
- Dry: Ensure that the garlic bulbs are completely dry before storing them. Excess moisture can lead to rot and spoilage. Allow them to air-dry in a cool, dry place or use a fan to accelerate the drying process.
By properly preparing your garlic bulbs for storage, you are providing them with the best conditions to remain healthy and viable until it’s time to plant them. With these steps completed, you can now move on to selecting an appropriate storage location and container for your garlic bulbs.
(Word count: 202)
Choosing a Storage Location
When it comes to storing garlic bulbs, choosing the right location is crucial. The storage environment should be cool, dry, and well-ventilated to maintain the quality and freshness of the bulbs. Here are some factors to consider when selecting a storage location for your garlic:
- Temperature: Garlic bulbs prefer a cool storage temperature between 50°F to 60°F (10°C to 15.5°C). Avoid storing garlic in areas that are prone to extreme temperature fluctuations, such as near heaters or direct sunlight.
- Humidity: Garlic bulbs require a low humidity environment to prevent mold and rot. Aim for a humidity level of around 60-70%. If the storage area is too humid, consider using a dehumidifier or placing a container of desiccant, like silica gel, near the garlic bulbs.
- Air Circulation: Adequate air circulation is crucial to prevent the buildup of moisture and the growth of mold. Choose a storage location that allows for good airflow, avoiding stagnant areas or sealed containers.
- Light: Garlic bulbs should be stored in a dark or dimly lit area. Exposure to light can cause the bulbs to sprout prematurely or develop a bitter taste.
- Away from Foods: Avoid storing garlic near foods with strong odors, as garlic can absorb odors easily. This can affect the flavor of the garlic and the neighboring foods.
Consider these factors when selecting a suitable storage location for your garlic bulbs. A cool basement, garage, or a well-ventilated pantry are all viable options. Remember that maintaining the right storage conditions is crucial to preserving the quality and vitality of your garlic bulbs until they are ready to be planted.
(Word count: 213)
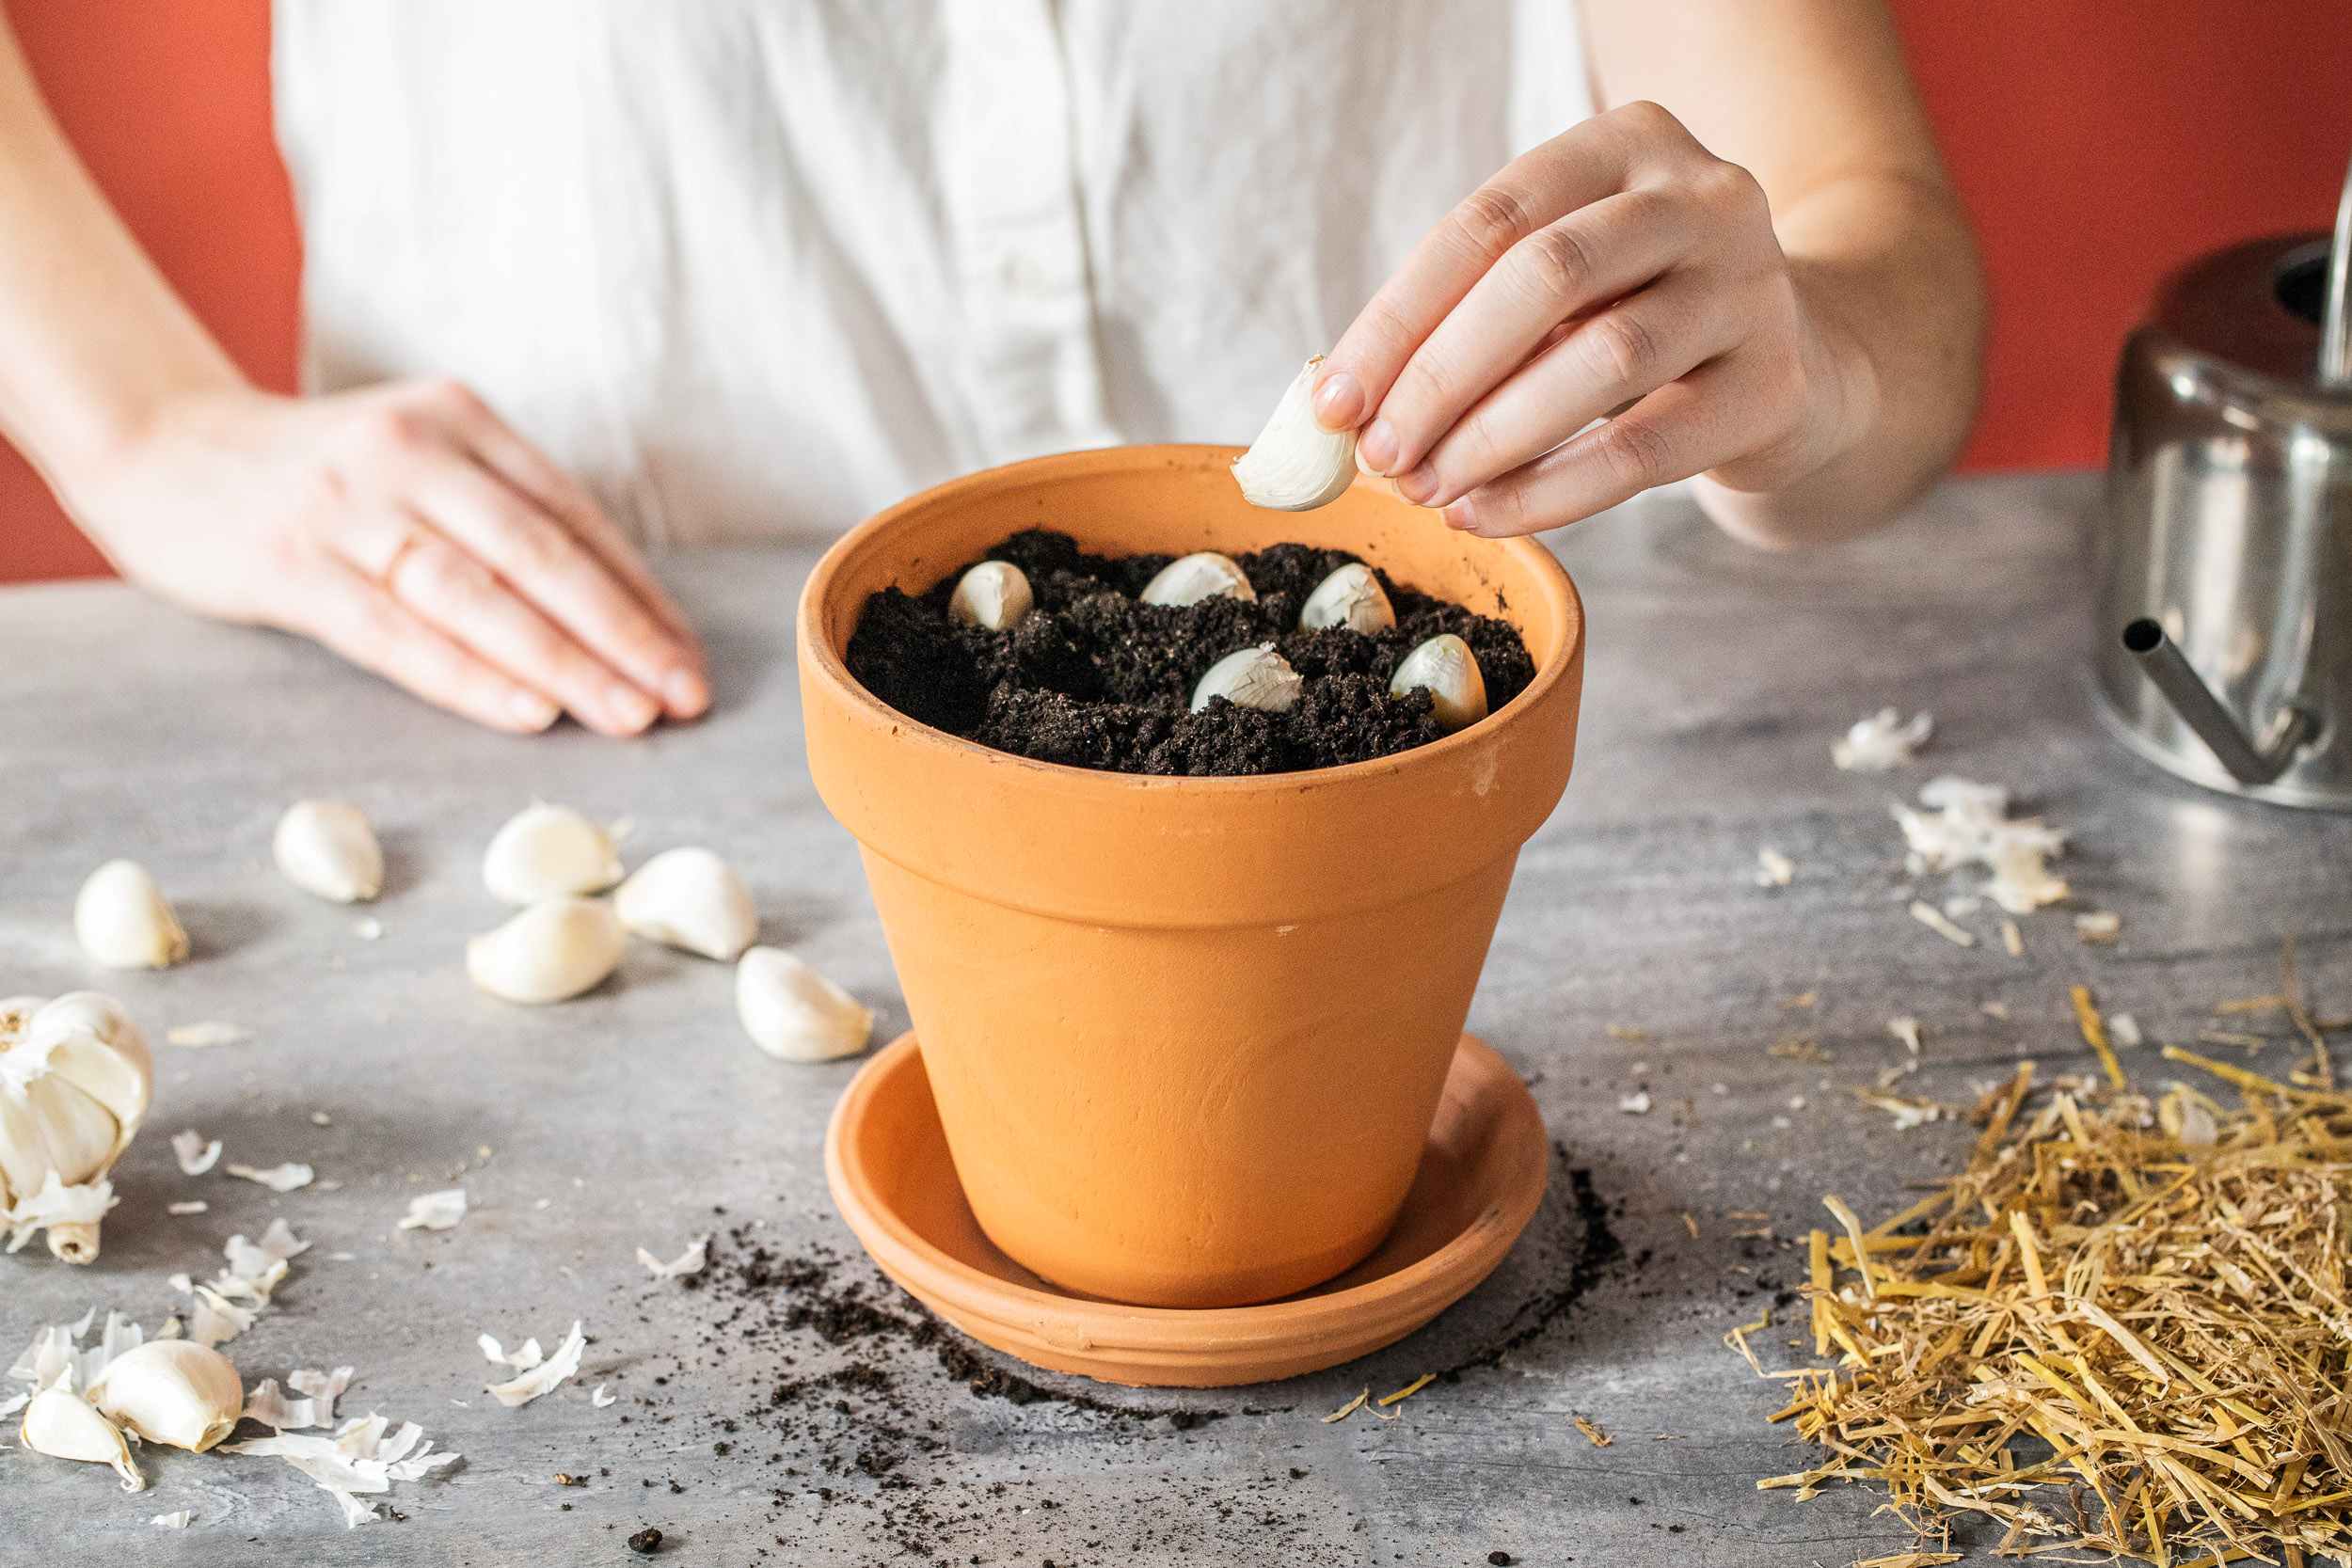
Preparing the Storage Container
Once you’ve selected the ideal storage location for your garlic bulbs, the next step is to prepare the storage container. A suitable container helps maintain the proper storage conditions and protects the bulbs from light, moisture, and pests. Here’s how to prepare the storage container for your garlic:
- Cleanliness: Ensure that your storage container is clean and free from any dirt, dust, or residues. This helps prevent the transfer of contaminants to your garlic bulbs.
- Material: Choose a container made of breathable material to allow for proper air circulation, such as mesh bags, paper bags, or wooden crates. Avoid using airtight containers as they can trap moisture and cause the garlic bulbs to spoil.
- Size: Select a container that provides enough space for the garlic bulbs without crowding them. Overcrowding can lead to increased moisture buildup and fungal growth.
- Labeling: It’s helpful to label your storage container with the variety and harvest date of the garlic bulbs. This information can be useful when planting or using the bulbs later on.
- Pest Prevention: To protect your garlic bulbs from pests, consider placing some natural pest deterrents, such as dried chili peppers or cedar chips, in the storage container. Alternatively, you can place the container in an area that is less prone to pests.
By properly preparing the storage container, you are creating a suitable environment for your garlic bulbs to remain in optimal condition. Remember to choose a breathable container, keep it clean, and take measures to prevent pests. With your storage container ready, it’s time to move on to storing the garlic bulbs until they are ready for planting.
(Word count: 218)
Storing Garlic Bulbs
Now that you have prepared your garlic bulbs and storage container, it’s time to store them correctly. Following proper storage techniques will help maintain the quality and freshness of the bulbs. Here’s how to store your garlic bulbs:
- Arrange in Single Layer: Place the prepared garlic bulbs in a single layer inside the storage container. Avoid stacking or overcrowding the bulbs, as this can lead to increased moisture and mold formation.
- Space Between Bulbs: Leave some space between the garlic bulbs in the container to allow for air circulation and prevent moisture buildup.
- Close the Container: Seal the storage container, ensuring that it is tightly closed but still allows for some airflow. This helps maintain the desired storage conditions and prevents the entry of pests.
- Temperature Check: Monitor the temperature of the storage area regularly to ensure it remains within the recommended range of 50°F to 60°F (10°C to 15.5°C).
- Avoid Moisture: Store garlic bulbs in a dry environment to prevent mold and rot. Moisture can be detrimental to the bulbs’ quality and longevity.
- Dark Storage: Keep the storage container in a dark or dimly lit area to prevent premature sprouting of the garlic bulbs.
Remember to check the stored garlic bulbs periodically, especially during the first few weeks, to ensure they remain in good condition. Discard any bulbs that show signs of rot or disease to prevent the spread to other garlic bulbs.
By following these storage guidelines, you can extend the shelf life of your garlic bulbs and maintain their freshness until it’s time for planting.
(Word count: 214)
Checking Stored Garlic Regularly
While your garlic bulbs are in storage, it’s essential to monitor and check them regularly to ensure they remain in good condition. Regular checks allow you to address any issues promptly and prevent spoilage. Here are some tips on how to check your stored garlic bulbs:
- Inspect for Mold or Rot: Carefully examine the garlic bulbs for any signs of mold or rot. Look for discolored, soft, or mushy areas on the bulbs. If you notice any affected bulbs, remove them immediately to prevent the spread of decay to the rest of the stored garlic.
- Check for Sprouting: Keep an eye out for any sprouting garlic bulbs. It’s normal for a few cloves to sprout during storage, but excessive sprouting might indicate less than ideal storage conditions or older cloves.
- Adjust Storage Conditions if Needed: If you notice any issues like excessive sprouting or mold, assess the storage conditions. Ensure that the temperature, humidity, and air circulation are within the recommended range. Make any necessary adjustments to maintain the ideal storage environment.
- Rotate the Bulbs: Occasionally, gently rotate the garlic bulbs within the container. This helps ensure even air circulation and prevents any areas from becoming stagnant or susceptible to mold growth.
- Remove Remaining Stems or Scapes: If any garlic bulbs still have stems or scapes attached, remove them during your regular checks. This helps redirect the energy to the bulb’s growth rather than the development of the stem or scape.
Regularly checking your stored garlic bulbs allows you to catch any issues early on, ensuring that the majority of your bulbs remain in good condition. With these simple steps, you can maintain the quality and freshness of your garlic bulbs until you are ready to plant them.
(Word count: 231)
Tips for Extending Garlic Shelf Life
Proper storage techniques are essential for extending the shelf life of your garlic bulbs. By following these additional tips, you can maximize the quality and freshness of your stored garlic:
- Keep Bulbs Intact: Avoid breaking the garlic bulbs before storage. By keeping the bulbs intact, you protect the cloves from unnecessary exposure to air and moisture.
- Avoid Refrigeration: While it may be tempting to store garlic in the refrigerator, it is not recommended. Refrigeration can encourage the growth of mold and sprouting, leading to a shorter shelf life.
- Separate Bulbs and Cloves: If you have separated the garlic bulbs into individual cloves, store them separately. This prevents the spread of mold or rot if one clove gets affected.
- Don’t Wash Before Storage: Avoid washing the garlic bulbs before storage as moisture can accelerate decay. Instead, gently brush off any excess dirt or soil.
- Avoid Plastic Bags: Avoid storing garlic in plastic bags, as they can trap moisture and promote mold growth. Opt for breathable containers like mesh bags or paper bags to maintain optimal air circulation.
- Don’t Store with Potatoes: Keep garlic away from potatoes during storage. Potatoes emit moisture and gases that can cause garlic to spoil more quickly.
- Use the Outer Bulbs First: When it’s time to use the stored garlic, start with the outer bulbs first. The outer layers tend to dry out faster, so it’s best to use them before they deteriorate.
- Plant a Portion: To ensure a continuous garlic supply, plant a portion of your stored garlic bulbs in your garden. This allows you to harvest fresh garlic in the following season.
By implementing these tips, you can extend the shelf life of your garlic bulbs, ensuring that they remain fresh and flavorful for a longer period. With proper storage techniques and a little bit of care, you can enjoy the benefits of homegrown garlic throughout the year.
(Word count: 252)
Conclusion
Storing garlic bulbs for planting is a crucial step that ensures the success of your garlic-growing adventure. By following the proper techniques for selecting, preparing, and storing garlic bulbs, you can maintain their quality, freshness, and viability until it’s time for planting.
In this guide, we explored the importance of selecting high-quality garlic bulbs that are free from disease and damage. We discussed the process of preparing the bulbs for storage, including curing, trimming, and sanitizing. We also highlighted the significance of choosing an appropriate storage location and container for your garlic bulbs, considering factors like temperature, humidity, and air circulation.
Furthermore, we provided tips on how to check the stored garlic regularly to identify any issues such as mold, rot, or sprouting. We also offered additional tips for extending the shelf life of your garlic, such as keeping the bulbs intact, avoiding refrigeration, and separating the cloves during storage. Plus, we emphasized the advantage of planting a portion of your stored garlic for future harvests.
With the knowledge and techniques shared in this article, you are well-equipped to store your garlic bulbs effectively. Remember, garlic is not just a kitchen staple; it is also a gratifying plant to grow in your own garden. By maintaining the quality and freshness of your garlic bulbs, you can look forward to a bountiful harvest and enjoy the flavorful, homegrown garlic in your favorite recipes.
(Word count: 224)