Home>Types of Gardening>Edible Gardening>How To Harvest Garlic Bulbs

Edible Gardening
How To Harvest Garlic Bulbs
Published: January 22, 2024
Learn how to harvest garlic bulbs and maximize your edible gardening harvest with expert tips and techniques. Essential guide for growing your own garlic at home.
(Many of the links in this article redirect to a specific reviewed product. Your purchase of these products through affiliate links helps to generate commission for Chicagolandgardening.com, at no extra cost. Learn more)
Table of Contents
Introduction
Welcome to the wonderful world of edible gardening! If you have a green thumb and a love for fresh, aromatic flavors, growing your own garlic can be a rewarding and flavorful experience. Whether you’re a seasoned gardener or a beginner, this article will guide you through the process of harvesting garlic bulbs, from preparing the soil to storing the harvested crop.
Growing garlic in your own backyard offers many benefits. Not only does it provide a bountiful harvest of delicious bulbs for your culinary creations, but it also allows you to take control of the quality and freshness of your ingredients. Plus, there’s something incredibly satisfying about tending to your own garden and enjoying the fruits (or in this case, bulbs) of your labor.
Garlic, a member of the Allium family, is a versatile herb that adds depth and flavor to a wide range of dishes. It’s not only a staple ingredient in many cuisines around the world but also boasts numerous health benefits. Known for its antimicrobial and antioxidant properties, garlic can boost your immune system and promote overall wellness.
To get started on your garlic-growing adventure, you’ll need to learn the proper techniques for planting, caring, and harvesting garlic bulbs. This article will walk you through each step of the process, providing helpful tips and insights along the way.
So, roll up your sleeves, grab your gardening tools, and let’s dive into the world of garlic cultivation. Get ready to cultivate your own delicious, organically grown garlic that will elevate your culinary creations to a whole new level of flavor!
Step 1: Preparing the Soil
Before you start planting garlic, it’s crucial to prepare the soil properly. Garlic grows best in loose, well-draining soil with a pH level between 6 and 7. Here are a few steps to ensure your soil is ready for garlic cultivation:
- Choose the right location: Find an area in your garden that receives full sun and has good air circulation. Avoid areas with standing water or heavy clay soil, as they can cause the garlic bulbs to rot.
- Clear the area: Remove any weeds, rocks, or debris from the planting site. These can hinder the growth of your garlic plants and compete for essential nutrients.
- Loosen the soil: Use a garden fork or tiller to loosen the soil. Break up any compacted areas and remove any large clumps. This will create a loose, crumbly texture that allows for easy root penetration and water drainage.
- Amend the soil: Garlic thrives in nutrient-rich soil. Depending on the quality of your soil, you may need to amend it with organic matter like compost or well-rotted manure. This will improve the soil’s fertility and provide essential nutrients for healthy plant growth.
- Add organic fertilizer: If your soil is lacking in nutrients, consider incorporating an organic fertilizer that is high in nitrogen. This will help promote strong growth and development during the early stages of the garlic plant’s life.
- Test the pH: Use a soil testing kit to determine the pH level of your soil. Garlic prefers a slightly acidic to neutral pH range of 6 to 7. If your soil is too acidic or alkaline, you may need to adjust it by adding lime or sulfur.
Remember, proper soil preparation is the foundation for a successful garlic harvest. Taking the time to ensure your soil is well-prepared will pay off in the long run, as it will provide the optimal conditions for your garlic plants to thrive and produce plump, flavorful bulbs.
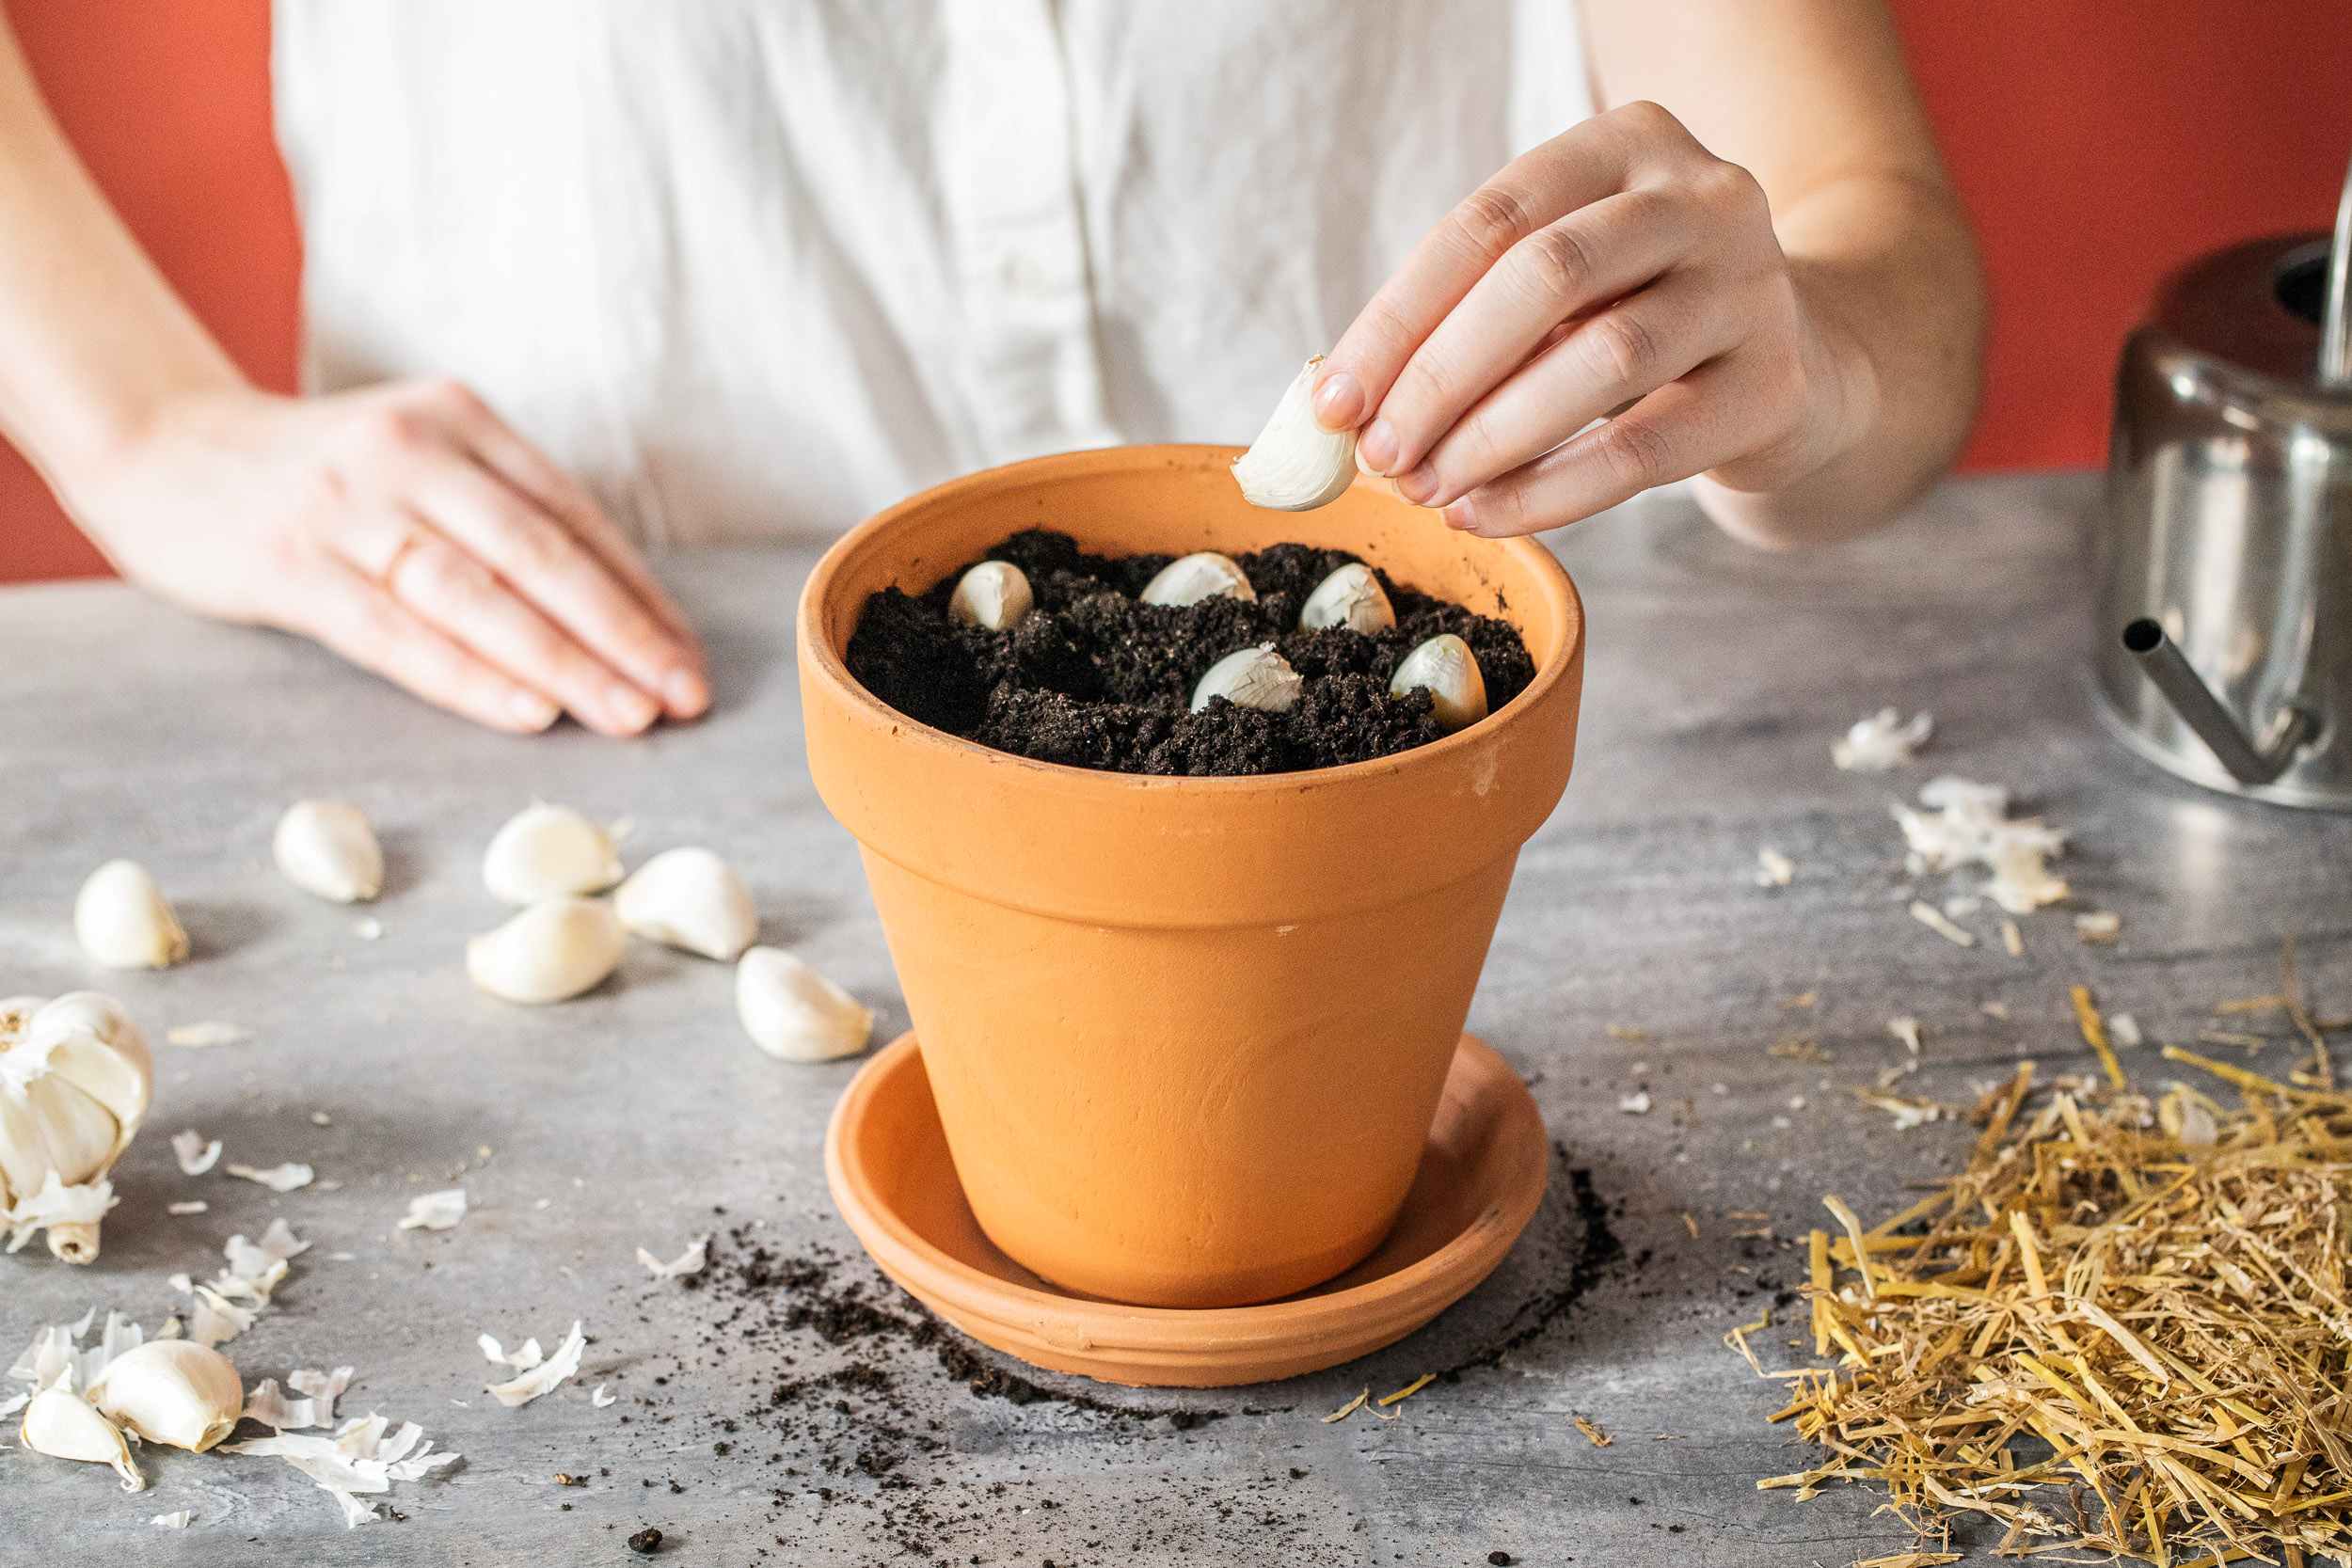
Step 2: Planting Garlic
Now that you’ve prepared the soil, it’s time to plant your garlic bulbs. Follow these steps to ensure proper planting:
- Select the right garlic bulbs: Choose high-quality garlic bulbs from a trusted seed supplier or local nursery. Look for bulbs that are firm, plump, and free from diseases or blemishes. It’s best to select varieties that are suited to your climate and growing conditions.
- Break apart the bulbs: Carefully separate the garlic bulbs into individual cloves. Be gentle to avoid damaging the cloves, as they will serve as the starting point for new plants.
- Choose the planting method: There are two primary methods for planting garlic: direct planting and pre-sprouting. Direct planting involves placing the cloves directly in the ground, while pre-sprouting involves growing the cloves indoors or in containers before transplanting them to the garden.
- Planting depth and spacing: Dig small holes or furrows in the prepared soil, approximately 2-3 inches deep. Place each garlic clove pointed side up and about 4-6 inches apart from one another. Space rows about 12-18 inches apart to provide enough room for the plants to grow.
- Cover and mulch: Gently cover the planted cloves with soil and lightly press it down. Then, apply a layer of organic mulch, such as straw or shredded leaves, to help retain moisture and suppress weed growth.
- Water thoroughly: Give the newly planted garlic cloves a generous amount of water to settle the soil and initiate growth. Keep the soil consistently moist, but avoid overwatering, as excessive moisture can lead to rotting.
Remember to label your garlic rows and keep a record of the planted varieties. This will help you track their growth and harvest them at the right time. With proper planting techniques, your garlic cloves will develop strong roots and begin their journey towards becoming flavorful bulbs.
Step 3: Caring for Garlic Plants
Once you’ve planted your garlic, it’s important to provide proper care and maintenance to ensure healthy growth and optimal bulb development. Here are some essential practices for caring for your garlic plants:
- Watering: Garlic plants require consistent moisture, especially during the first few weeks after planting. Water them regularly, aiming for about 1 inch of water per week. Be mindful not to overwater, as garlic prefers well-draining soil and excessive moisture can lead to fungal diseases.
- Weeding: Keep the area around your garlic plants free from weeds, as they can compete for nutrients and reduce the overall health of the plants. Regularly weed by hand or use a shallow cultivation tool to carefully remove any unwanted growth.
- Fertilizing: Garlic plants benefit from a balanced fertilizer application during their growing season. About a month after planting, you can apply a slow-release organic fertilizer to provide additional nutrients. Follow the recommended instructions for application rates and frequency.
- Scaping: Garlic plants produce flower stalks known as scapes. To redirect the plant’s energy towards bulb development, it’s recommended to remove these scapes. You can cut them off once they start curling, and they make for a delicious addition to many culinary dishes.
- Pest and disease control: Monitor your garlic plants for any signs of pests or diseases, such as aphids or fungal infections. Regularly inspect the leaves, bulbs, and surrounding areas. If necessary, use organic pest control methods or consult with a local gardening expert for appropriate interventions.
- Additional care: As the garlic plants grow, they may need support to prevent bending or falling over. You can provide support with stakes or by creating a framework with twine or garden netting. This will ensure your plants stay upright and have ample airflow.
Caring for your garlic plants throughout their growth cycle will promote vigorous growth, thwarting potential issues, and maximizing bulb development. By providing the right balance of water, nutrients, and attention, you’ll be rewarded with healthy plants and a robust garlic harvest.
Step 4: Recognizing the Right Time to Harvest
After months of nurturing and caring for your garlic plants, it’s important to know when they are ready to be harvested. Timing is crucial, as harvesting too early can result in underdeveloped bulbs, while harvesting too late can lead to bulbs splitting or rotting. Here are some signs to help you recognize the right time to harvest your garlic:
- Observe the leaves: Garlic plants typically have long, green leaves that start to yellow and decline as they approach maturity. When about half of the leaves have turned yellow or brown, it’s a good indication that the bulbs are nearing harvest time.
- Check for bulb size: Gently dig up one of the plants to check the size of the bulb. If the bulb feels firm and the individual cloves have filled out, it’s a sign that the garlic is maturing. However, avoid digging up too many plants to prevent disrupting the remaining ones.
- Consider the variety: Different garlic varieties have varying maturation times. Some early-maturing varieties may be ready for harvest sooner, while late-maturing varieties may require a bit more time. Refer to the instructions provided by the seed supplier or consult with local gardening resources to determine the specific timing for your chosen garlic variety.
- Pay attention to the scape: If you didn’t remove the scapes earlier, they can provide additional clues about when to harvest. As the bulbs mature, the scapes will dry out and turn brown. Once the majority of scapes have dried up, it’s a good sign that the bulbs are ready to be harvested.
It’s important to strike a balance between harvesting at the right time and avoiding leaving the bulbs in the ground for too long. Remember that each day closer to the harvest date can significantly impact the size, flavor, and storage life of your garlic bulbs.
By carefully observing the leaves, checking the bulb size, considering the variety, and paying attention to the scape, you’ll be able to determine the optimal time to harvest your garlic and enjoy the rewards of your hard work and patience.
Step 5: Harvesting Garlic Bulbs
It’s finally time to harvest the fruits of your labor – the garlic bulbs are ready to be harvested! Proper harvesting techniques will ensure that your garlic bulbs are undamaged and can be stored successfully. Follow these steps to harvest your garlic:
- Choose the right day: Select a dry day for harvesting your garlic. Avoid harvesting after a heavy rain or when the soil is excessively wet, as this can increase the chances of disease or rot.
- Loosen the soil: Gently loosen the soil around the base of the garlic plants using a garden fork or a shovel. Be careful not to damage the bulbs as you dig.
- Lift the bulbs: Carefully lift the bulbs out of the ground. You can do this by grabbing the base of the plant near the bulb and gently pulling it upwards.
- Brush off excess soil: Remove any excess soil clinging to the bulbs. Do this gently to avoid damaging the outer layers of the garlic bulbs.
- Leave the foliage intact: Do not remove the leaves or the stalks from the bulbs immediately after harvesting. Leave them attached to the bulbs for a process called curing, which helps improve their flavor and storage life.
It’s crucial to handle harvested garlic with care to prevent bruising or other damage. Avoid dropping or bumping the bulbs, as this can impact their quality and storage potential.
Once you’ve completed the harvesting process, move on to the next step – curing.
Step 6: Curing Garlic Bulbs
After harvesting your garlic bulbs, it’s essential to cure them before storing them for long-term use. Curing involves allowing the garlic to dry in a well-ventilated area, which enhances flavor, extends storage life, and improves the overall quality of the bulbs. Follow these steps to properly cure your garlic:
- Prepare a curing area: Find a well-ventilated and dry area such as a garage, shed, or covered porch. Ensure that the curing space is protected from direct sunlight and excessive moisture.
- Arrange the bulbs: Place the garlic bulbs in a single layer, making sure that they do not touch each other. This allows for proper airflow and prevents the bulbs from rotting.
- Avoid washing: Do not wash the bulbs before curing. Instead, gently brush off any remaining soil or trim off long roots or leaves, leaving about an inch of stem attached to the bulb.
- Allow for airflow: Provide adequate ventilation by using fans or opening windows to ensure good air circulation. This helps prevent the growth of mold or rot during the curing process.
- Monitor the bulbs: Regularly check on the garlic bulbs during the curing period. The curing process typically takes 2-4 weeks, depending on the weather conditions and the size of the bulbs.
- Check for readiness: To determine if the garlic bulbs are properly cured, look for dry outer skins and papery layers. The cloves should feel firm and the tops should be completely dried and brittle.
Once the garlic bulbs have been adequately cured, you can remove any remaining outer layers of dry skin, trim the roots and stems, and prepare them for long-term storage. Properly cured garlic can be stored for several months, allowing you to enjoy the flavors of your garden harvest throughout the year.
With patience and proper curing techniques, your garlic bulbs will be preserved at their best, ready to add exceptional flavor to your culinary delights.
Step 7: Storage and Usage Tips
Now that you’ve harvested and cured your garlic bulbs, it’s time to store them properly to maintain their freshness and flavor. Follow these storage and usage tips to get the most out of your homegrown garlic:
- Choose the right storage conditions: Store garlic bulbs in a cool, dark, and well-ventilated area. Avoid storing them in the refrigerator as the moisture can cause sprouting and loss of flavor.
- Use proper containers: Place the cured garlic bulbs in mesh bags, paper bags, or woven baskets to allow for air circulation. Avoid using sealed plastic bags, as they can trap moisture and contribute to spoilage.
- Avoid moisture and humidity: Garlic bulbs are susceptible to mold and rot in humid conditions. Ensure that the storage area has low humidity to keep the bulbs in optimal condition.
- Store separated bulbs: Avoid storing damaged or bruised bulbs with healthy ones, as they can cause the entire batch to spoil more quickly. Separate any bulbs with visible damage or signs of decay.
- Check for sprouting: Regularly inspect the stored garlic bulbs for signs of sprouting. Remove any sprouted cloves promptly, as they can become bitter in taste.
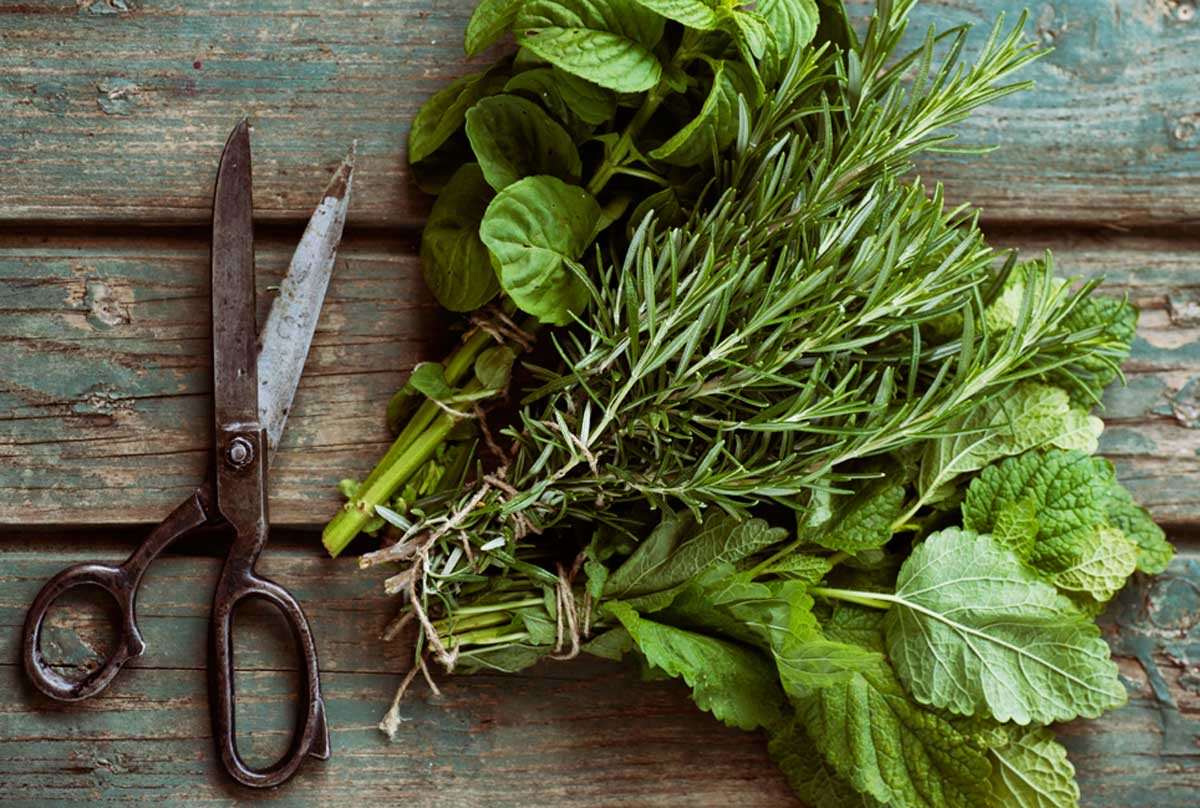
- Utilize garlic scapes: If you left the scapes on your garlic plants during harvest, don’t let them go to waste. Use them in various culinary applications, including stir-fries, salads, or even as a pesto ingredient.
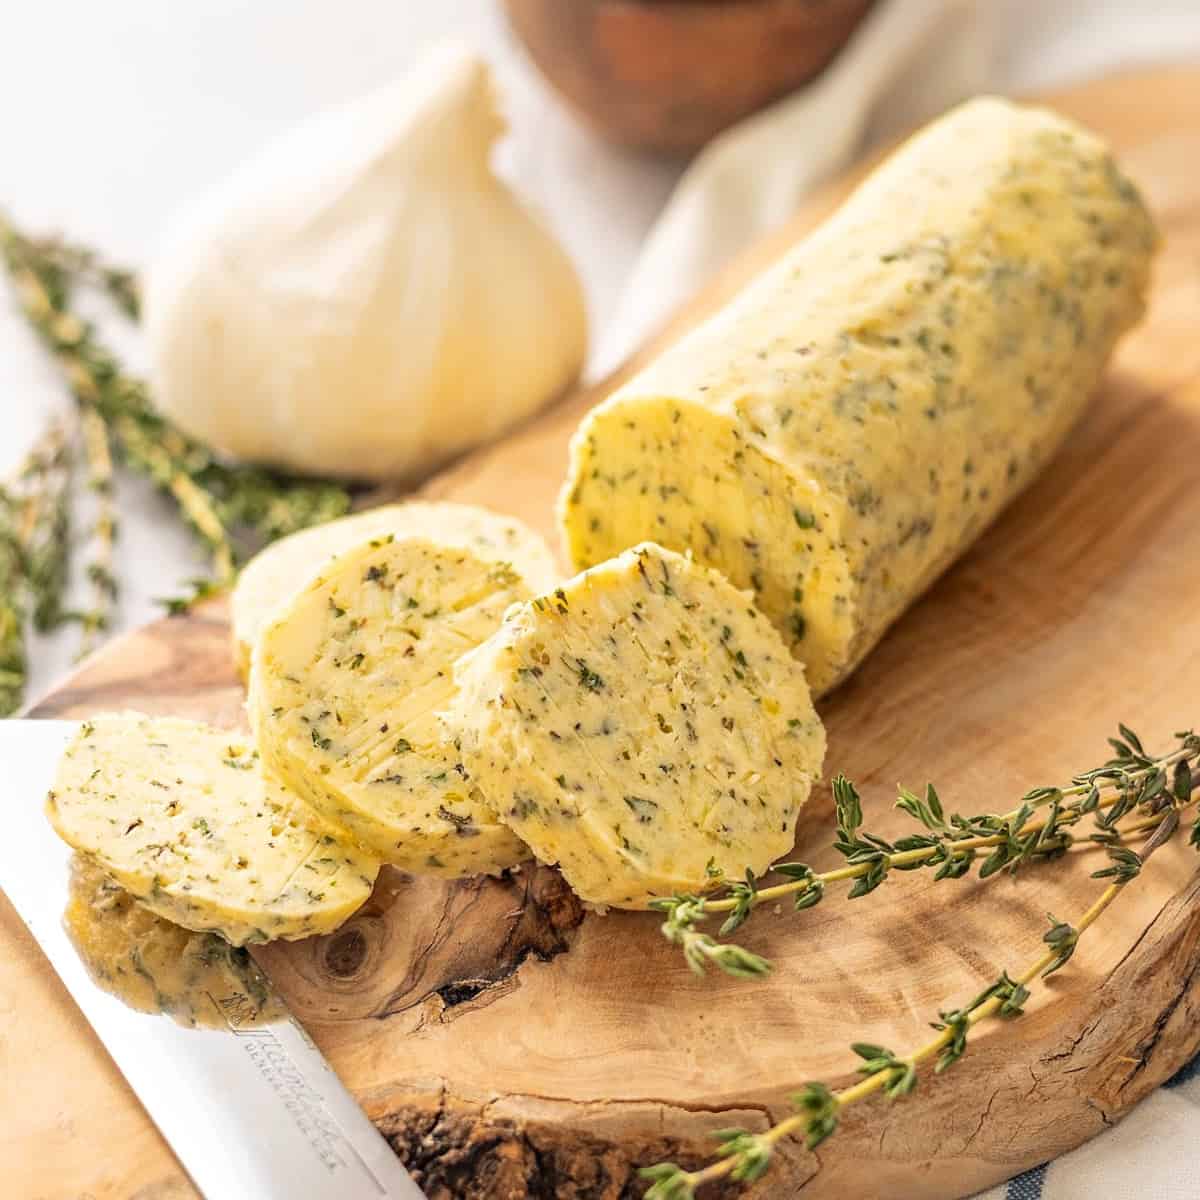
- Experiment with culinary uses: Freshly harvested garlic bulbs offer intense flavor and aroma. Explore their culinary versatility by using them in a variety of dishes, from marinades and dressings to roasted vegetables and savory sauces.
Remember, stored garlic will gradually lose its flavor and potency over time. It’s best to consume the garlic bulbs within several months for optimal taste. As you use your homegrown garlic, make note of the flavors and characteristics of different garlic varieties to tailor your culinary creations.
By following these storage and usage tips, you can savor the taste of your freshly harvested garlic well beyond the harvest season, adding a delightful touch to your favorite recipes and creating a connection to the simple joys of growing your own food.
Conclusion
Congratulations on successfully completing the journey of growing and harvesting your own garlic! Through proper soil preparation, planting, care, and harvest, you’ve nurtured your garlic plants from start to finish. The reward? Plump, flavorful garlic bulbs that will enhance your culinary creations and bring a sense of pride and satisfaction to your gardening endeavors.
By preparing the soil, selecting the right garlic bulbs, and providing adequate care, you’ve set the stage for a successful harvest. Recognizing the signs of maturity and properly harvesting and curing the bulbs have ensured their longevity and storage potential. With proper storage and usage, your homegrown garlic bulbs will continue to delight your taste buds for months to come.
Not only have you reaped the tangible rewards of your hard work and dedication, but you’ve also experienced the joy and satisfaction of edible gardening. Growing your own garlic has allowed you to connect with nature, embrace sustainable practices, and cultivate a deeper appreciation for the food on your plate.
So, as you savor the flavors and aromas of your freshly harvested garlic, take a moment to reflect on the journey you’ve embarked on – from soil preparation to harvest. Celebrate your accomplishment and share your bounty with family and friends, knowing that you’ve cultivated a skill that can be passed down through generations.
And remember, edible gardening is a continuous learning process. Each season brings new opportunities to refine your skills, explore different garlic varieties, and deepen your understanding of the natural world. So, keep experimenting, keep growing, and keep enjoying the abundance that comes with nurturing your own edible garden.
Happy gardening and happy cooking with your homegrown garlic!