Home>Types of Gardening>Ornamental Gardening>How To Harvest Nasturtium Seeds
Ornamental Gardening
How To Harvest Nasturtium Seeds
Modified: January 22, 2024
Learn how to harvest Nasturtium seeds for your ornamental gardening. Save money and grow beautiful flowers in your garden with this easy step-by-step guide.
(Many of the links in this article redirect to a specific reviewed product. Your purchase of these products through affiliate links helps to generate commission for Chicagolandgardening.com, at no extra cost. Learn more)
Table of Contents
Introduction
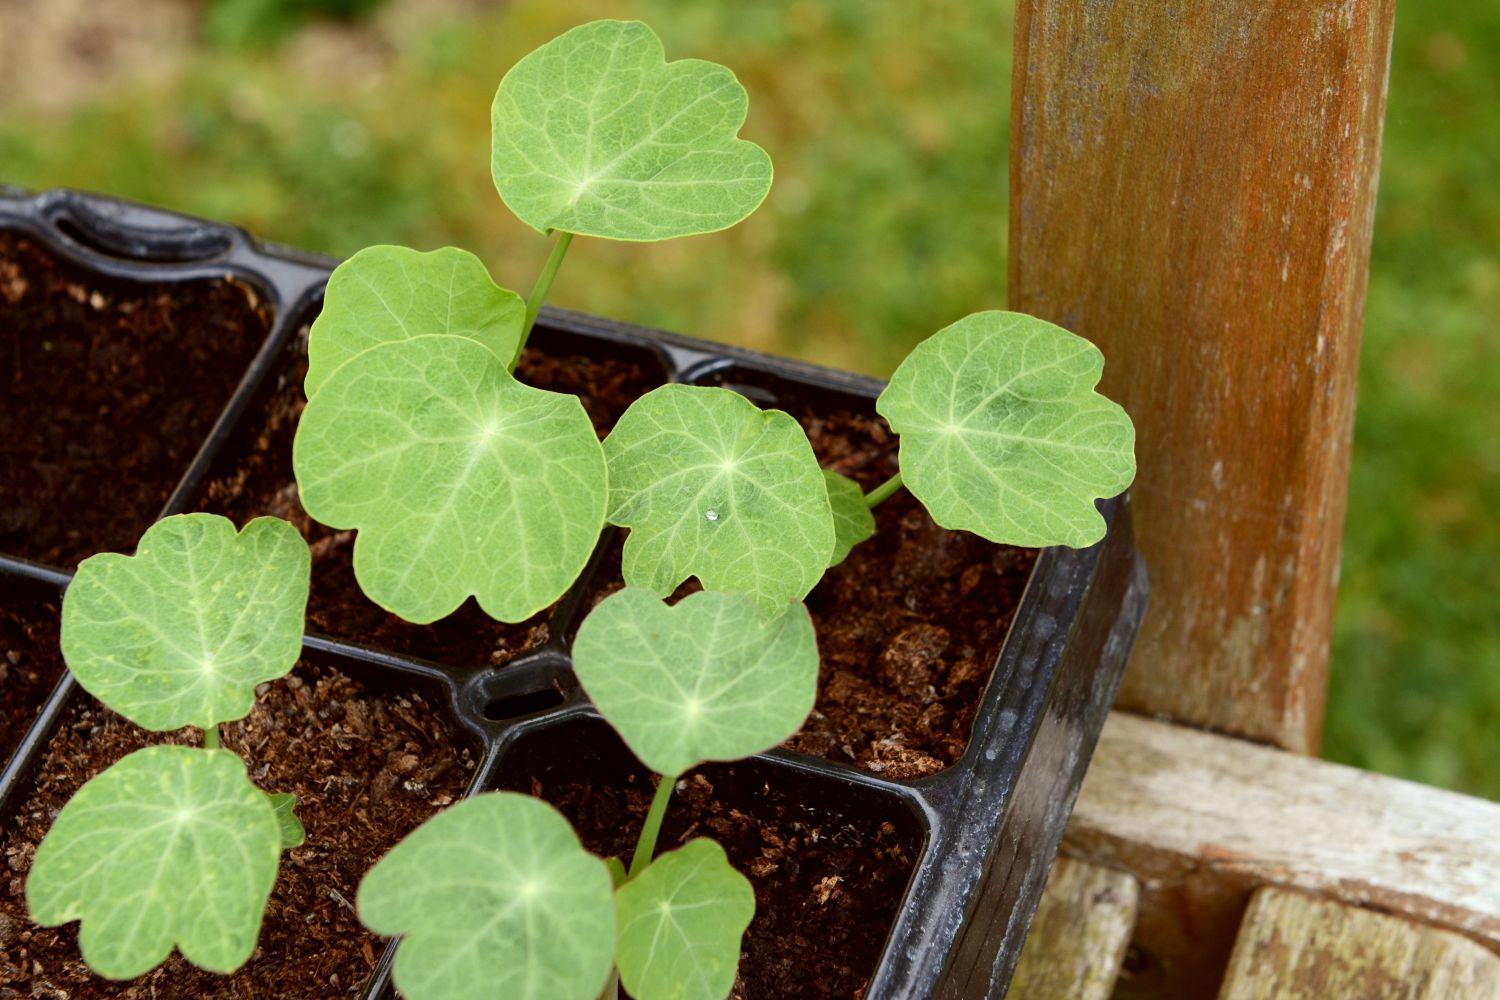
Ornamental gardening is a popular pastime for many enthusiasts who take delight in cultivating beautiful and visually appealing plants. Among the vast array of flowers that grace our gardens, one particularly charming and versatile option is the nasturtium. With its vibrant blooms and lush foliage, it adds a touch of color and elegance to any landscape.
While many gardeners are familiar with growing nasturtiums for their ornamental value, not everyone knows that these exquisite flowers also produce seeds that can be harvested and stored for future use. Nasturtium seeds are not only edible but also have various uses in the kitchen and are often included in gourmet recipes.
Harvesting nasturtium seeds is a rewarding and simple process that allows you to extend the beauty and benefits of these plants beyond their flowering season. By collecting the seeds, you can preserve the unique flavors and ornamental qualities of nasturtiums, ensuring that they grace your garden for years to come.
In this article, we will guide you through the step-by-step process of harvesting nasturtium seeds. From understanding when to harvest to the proper techniques for seed collection and storage, we will equip you with the knowledge and tools to successfully gather and preserve these precious seeds.
What are Nasturtium Seeds?
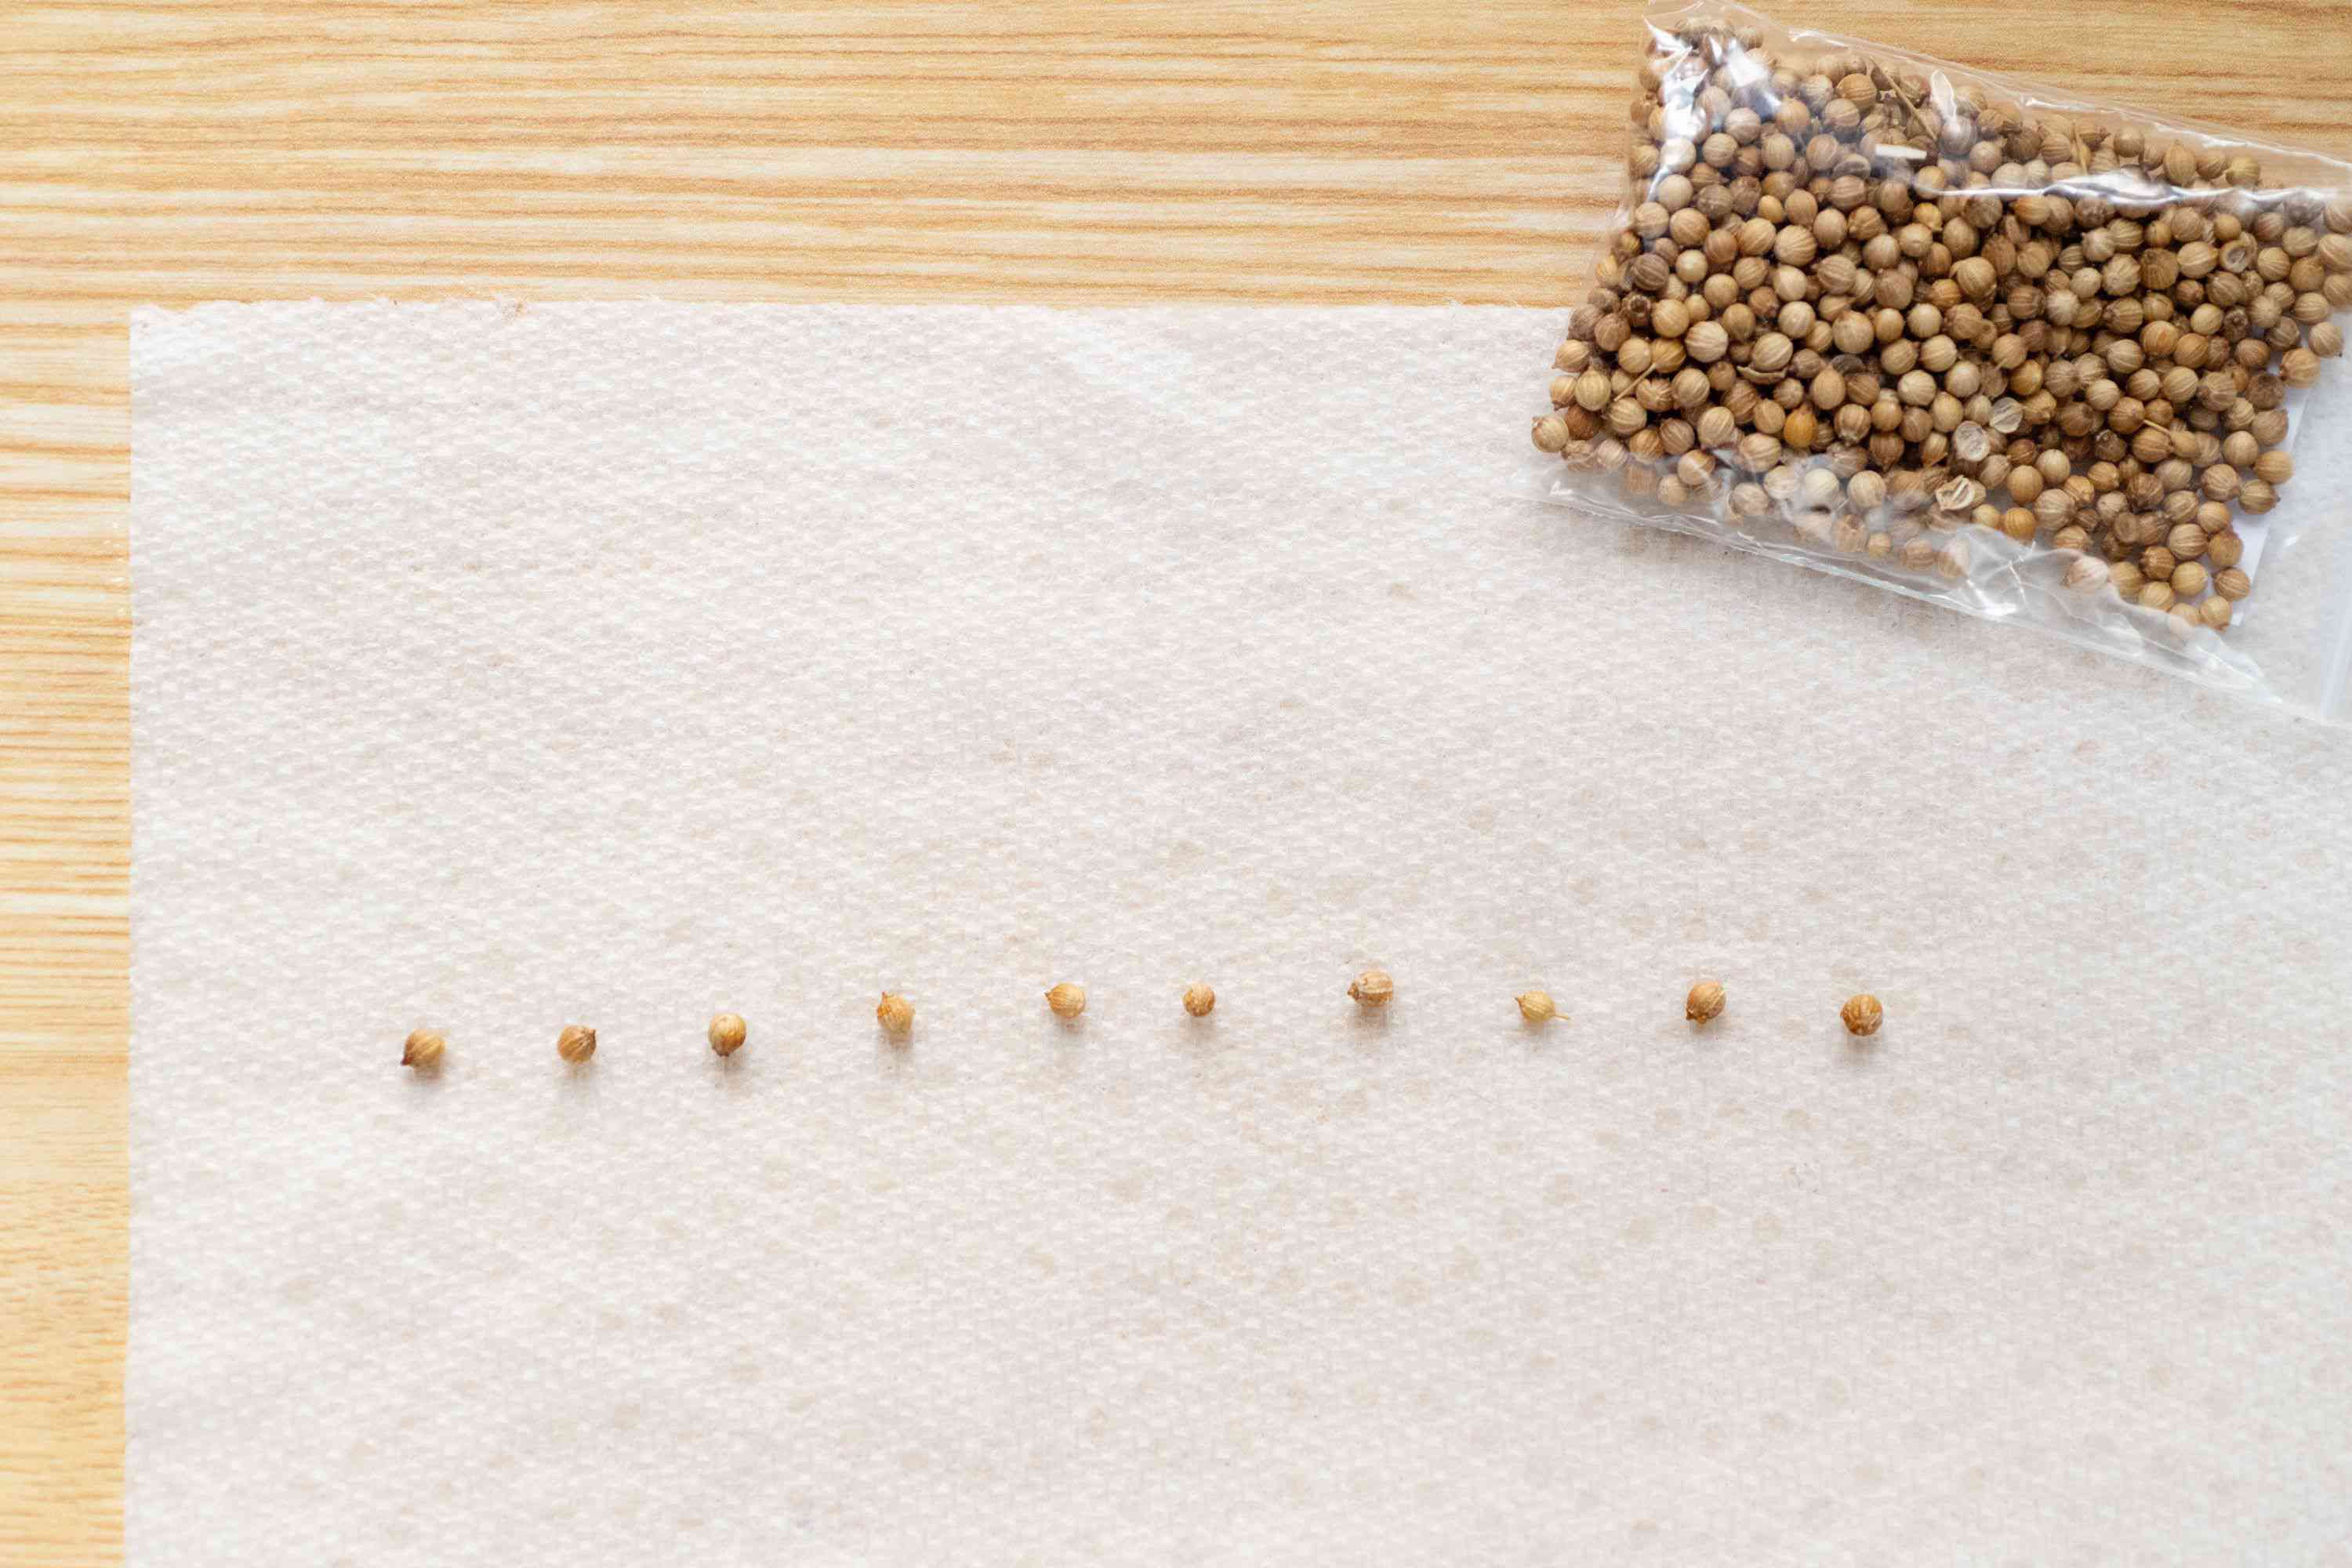
Nasturtium seeds are the small, round, and hard structures that develop within the seed pods of nasturtium plants. These pods form after the flowers have bloomed and are often referred to as “nasturtium seed pods” or “nasturtium fruit.” The seeds themselves are oval-shaped and come in a range of colors, including shades of brown, black, and cream.
Nasturtium seeds are known for their unique and pungent flavor, which is similar to that of watercress. They are commonly used in culinary applications, particularly in garnishes, salads, and sandwiches. The seeds add a peppery, slightly spicy taste that can elevate the flavor profile of a dish.
Aside from their culinary uses, nasturtium seeds also hold value in traditional and herbal medicine practices. They are believed to possess antimicrobial properties and may be used to treat minor infections and inflammation. In some cases, nasturtium seeds have been used as a natural remedy for respiratory and urinary tract infections.
Furthermore, the seeds of the nasturtium plant have aesthetic qualities that make them appealing to gardeners and floral enthusiasts. They can be dried and used in dried flower arrangements, potpourri, and crafts. The unique shapes, colors, and textures of the seeds add visual interest and texture to floral displays and other artistic projects.
Overall, nasturtium seeds are versatile and have multifaceted uses. Whether you’re a food lover, a gardener, or someone interested in natural remedies, these seeds offer a delightful and valuable addition to your repertoire.
Why Harvest Nasturtium Seeds?
Harvesting nasturtium seeds offers several benefits for both culinary and gardening purposes. Here are a few reasons why you should consider collecting these seeds:
- Edible Delicacy: Nasturtium seeds are a delicious and unique addition to your kitchen. They have a peppery, tangy flavor reminiscent of watercress, making them a popular ingredient in salads, soups, and as a garnish for various dishes. Adding these seeds to your culinary repertoire allows you to experiment with new flavors and enhance the taste of your favorite recipes.
- Cost-effective: By harvesting your own nasturtium seeds, you save money by not having to purchase them from specialty stores or nurseries. Growing your own plants and collecting the seeds ensures a steady supply of this culinary delight without the need for additional expenses.
- Extended Garden Beauty: Nasturtiums are prized for their vibrant blooms and attractive foliage. By harvesting the seeds, you can propagate new plants and ensure that their beauty continues to grace your garden year after year. This allows you to cultivate a sustainable and long-lasting display of these stunning flowers without solely relying on purchasing new seedlings.
- Custom Varieties: Harvesting and storing your own nasturtium seeds gives you the opportunity to create custom varieties. Nasturtium plants display a wide range of colors, including shades of red, orange, yellow, and even variegated combinations. By selectively collecting seeds from specific plants, you can preserve and propagate the most unique and visually striking varieties in your garden.
- Crafts and Decorations: Nasturtium seeds have aesthetic qualities that make them ideal for various crafts and decor projects. Dried seeds can be incorporated into floral arrangements, wreaths, and potpourri, adding a touch of natural beauty and texture to your creations. Their interesting shapes, colors, and textures make them visually appealing and versatile for artistic endeavors.
With these compelling reasons in mind, harvesting nasturtium seeds not only enhances your culinary creations but also adds a touch of charm and versatility to your gardening and creative pursuits.
When to Harvest Nasturtium Seeds
The timing of when to harvest nasturtium seeds is crucial to ensure that they are mature, viable, and ready for storage. Here are some key indicators to help you determine when it’s the right time to collect the seeds:
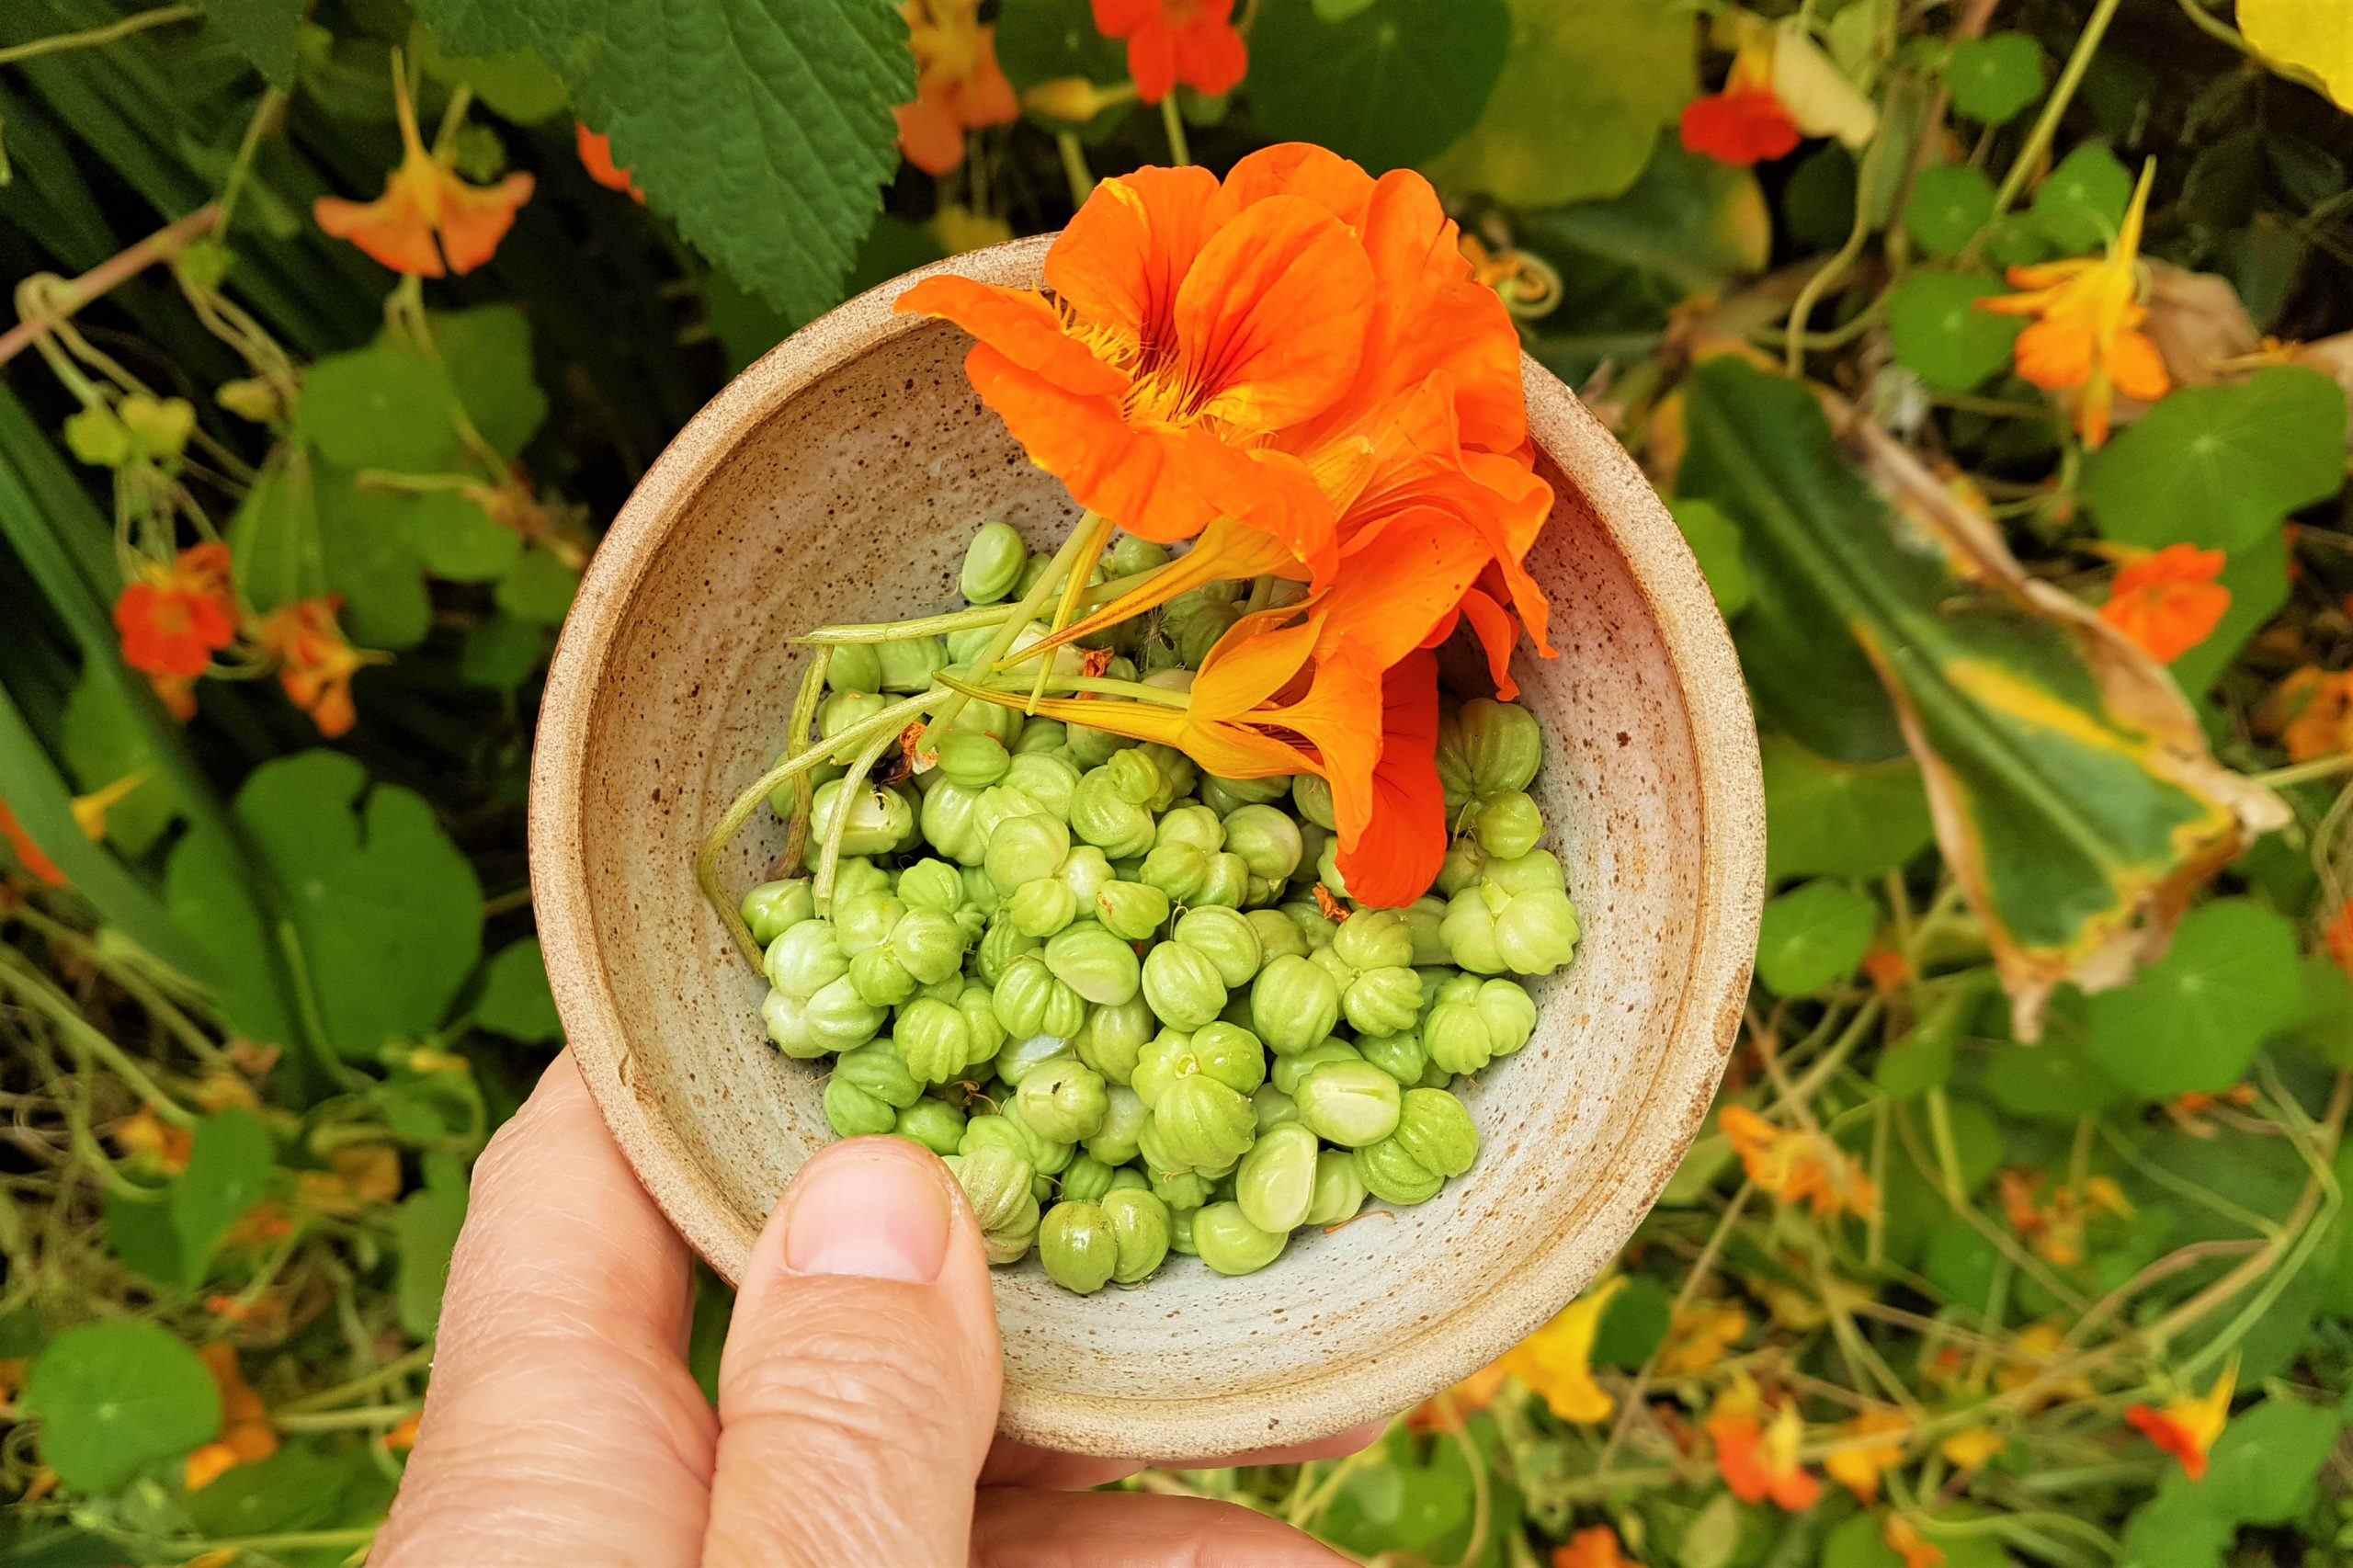
- Seed Pod Development: Nasturtium seed pods start forming after the flowers have bloomed. They are small, rounded structures that grow on the stems where the flowers were. As the seeds mature, the pods will gradually turn from green to yellow or brown, indicating that they are reaching maturity.
- Drying Out: The seed pods should be allowed to dry out on the plant before harvest. This usually takes several weeks after they have turned yellow or brown. If you gently shake the pod and hear a rattling sound, it indicates that the seeds are dry and ready for collection.
- Easily Detached: When the seed pods are ready, they will easily detach from the plant with a gentle twist or tug. If the pod resists or feels firm, give it a bit more time to dry. Only harvest the pods that come off easily to ensure that the seeds have reached their full maturity.
- Mature Seed Color: The color of the nasturtium seeds is an important indicator of their maturity. They should be dark-colored, ranging from dark brown to black. Avoid harvesting seeds that are still pale in color, as they may not be fully developed and may not germinate successfully.
It’s important to keep in mind that seeds from different varieties or individual plants may mature at slightly different rates. Regular monitoring and observation of the seed pods will help you determine the optimal time for harvest. By following these guidelines, you can ensure that you collect fully developed and viable nasturtium seeds for storage and future use.
Materials Needed
Before you begin the process of harvesting nasturtium seeds, gather the following materials to ensure a smooth and efficient process:
- Garden Gloves: Wearing gardening gloves will protect your hands as you handle the prickly stems and pods of the nasturtium plant.
- Pruning Shears or Scissors: Use pruning shears or sharp scissors to snip the mature seed pods from the plant without damaging the stems or surrounding foliage.
- Container or Bag: Have a container or bag handy to collect the harvested seed pods. Choose a container with a lid or a sealable bag to prevent the seeds from scattering during the collection process.
- Labels or Markers: Prepare labels or markers to identify the collected seeds. This step is particularly important if you’re collecting seeds from different varieties or want to keep track of specific plants.
- Paper Bags or Envelopes: Use paper bags or envelopes to allow the harvested seed pods to further dry and mature before removing the seeds. Paper allows for airflow, which is crucial in preventing moisture buildup and mold formation.
- Marker or Pen: Use a marker or pen to note down any relevant information about the seeds, such as the variety, date of harvest, or any specific characteristics you want to remember.
- Cool, Dry Storage Area: Once the seeds have been prepared for storage, you’ll need a cool and dry area to store them until you’re ready to plant them or use them in recipes. Choose a location away from direct sunlight and fluctuating temperatures.
Gathering these materials in advance will help you streamline the process of harvesting nasturtium seeds and ensure that you have everything you need for successful collection and storage.
Step 1: Identifying Ripe Nasturtium Pods
Before you begin harvesting nasturtium seeds, it’s important to identify which seed pods are ripe and ready for collection. Here’s how to determine if the pods are mature:
- Color Change: Look for a change in color of the seed pods. As the seeds mature, the pods will change from green to yellow or brown. Avoid harvesting pods that are still green, as the seeds inside may not be fully developed.
- Texture and Consistency: Gently touch the pods to assess their texture and consistency. Ripe pods will feel dry and crispy to the touch, indicating that the seeds inside have reached their full maturity. Avoid pods that feel soft or moist, as the seeds may not be viable.
- Rattling Sound: Give the pod a gentle shake. If you hear a rattling sound, it indicates that the seeds are loose and have dried inside the pod. This is a good sign that the pods are ready for harvest.
- Easily Detached: Ripe seed pods will easily detach from the plant with a gentle twist or tug. If the pod resists or feels firmly attached, it may not be mature enough for harvesting. Only collect pods that come off easily to ensure that the seeds inside are fully developed.
Take your time to carefully inspect each plant and select the pods that meet these criteria. By identifying ripe nasturtium pods, you can ensure that the collected seeds will be of high quality and ready for storage or use in the future.
Step 2: Harvesting Nasturtium Seeds
Once you have identified the ripe seed pods, it’s time to harvest the nasturtium seeds. Follow these steps for successful seed collection:
- Wear gloves: Put on your gardening gloves to protect your hands from the prickly stems and pods of the nasturtium plant.
- Use sharp pruning shears or scissors: Snip the mature seed pods from the plant, making sure to leave a short stem attached. Avoid damaging the surrounding foliage or other developing seed pods.
- Collect in a container or bag: Place the harvested seed pods in a container or bag, ensuring that it has a lid or is sealable. This will prevent the seeds from scattering during the collection process.
- Label and record: If you’re collecting seeds from different varieties or want to keep track of specific plants, label the container or bag with relevant information such as the variety name, date of harvest, or any descriptive notes you want to remember.
- Further dry in paper bags or envelopes: Once the seed pods are collected, transfer them to paper bags or envelopes to continue drying. Place them in a cool, dry area with good airflow for several weeks. This step allows the seeds to fully mature and ensures their longevity during storage.
Remember, it’s essential to handle the seed pods with care to avoid damaging the seeds inside. By following these steps, you can successfully harvest the nasturtium seeds and prepare them for further processing and storage.
Step 3: Preparing the Seeds for Storage
After harvesting the nasturtium seeds, it’s important to properly prepare them for storage to maintain their viability and quality. Follow these steps to prepare the seeds for long-term storage:
- Remove excess debris: Carefully open the dried seed pods and remove any debris, such as bits of the pod or plant material, that may be clinging to the seeds. Gently shake or tap the pods to dislodge any loose particles.
- Separate the seeds: Separate the seeds from the dried seed pods. You can do this by hand or by gently crushing the pods and using a sieve or colander to separate the seeds from the leftover plant material.
- Clean the seeds: Rinse the separated seeds under cool running water to wash away any remaining debris. Be gentle to avoid damaging the seeds or removing their protective outer coating.
- Dry the seeds: Place the cleaned seeds on a paper towel or a fine mesh drying rack and allow them to air dry completely. This process may take a few days, depending on the humidity levels. Ensure that the seeds are completely dry before moving on to the next step.
- Label and store: Once the seeds are dry, transfer them to labeled envelopes or airtight containers. Include pertinent information such as the variety name and the date of harvest. Store the containers in a cool, dry place away from direct sunlight and extreme temperature fluctuations.
Properly preparing the seeds for storage ensures their longevity and increases the chances of successful germination when you’re ready to plant them. By following these steps, you can maintain the quality and viability of your harvested nasturtium seeds for future use.
Step 4: Storing Nasturtium Seeds
Proper storage is essential to maintain the viability and quality of your harvested nasturtium seeds. Follow these steps to store your seeds for future use:
- Ensure dryness: Before storing the seeds, ensure they are completely dry. Moisture can lead to mold and decrease seed viability. If needed, allow the seeds to air dry for a few additional days to ensure they are moisture-free.
- Choose suitable containers: Transfer the dried seeds to airtight containers such as glass jars, sealed envelopes, or zip-lock bags. Opt for containers that will prevent moisture, pests, and air from entering and compromising the seeds.
- Add desiccants: To further protect the seeds from excess moisture, consider adding desiccants such as silica gel packets or rice grains to the storage containers. These will help absorb any lingering moisture and keep the seeds dry.
- Label the containers: Clearly label each container with the variety name and the date of harvest. This will help you keep track of the seeds and ensure you use the oldest seeds first.
- Choose optimal storage conditions: Store the containers in a cool, dry, and dark place. Ideally, the temperature should be between 32-41°F (0-5°C), which will help prolong the seed viability. Avoid storing the seeds in direct sunlight or areas prone to temperature fluctuations.
- Regularly check for viability: As time passes, it’s a good idea to periodically check the viability of the stored seeds. To do this, perform a germination test by planting a small batch of seeds and observing how many successfully sprout. If the germination rate declines, it may be time to collect fresh seeds.
By following these storage steps, you can help preserve the viability and quality of your harvested nasturtium seeds for future planting seasons. Remember to regularly check the stored seeds to ensure optimal germination rates and freshness.
Conclusion
Harvesting and storing nasturtium seeds is a rewarding process that allows you to extend the beauty and benefits of these lovely plants. From their vibrant blooms to their unique culinary uses, nasturtiums offer an array of possibilities in the garden and kitchen.
By following the step-by-step guide in this article, you can successfully collect and store nasturtium seeds. Start by identifying ripe seed pods, ensuring they have turned the appropriate color and have a dry, crisp texture. Carefully harvest the pods, collecting them in a container or bag while labeling them for easy identification.
After harvesting, prepare the seeds for storage by removing debris, separating them from the pods, and cleaning them gently. Allow the seeds to dry thoroughly before transferring them to labeled envelopes or airtight containers. Store the containers in a cool, dry place away from sunlight and extreme temperature fluctuations.
Remember to regularly check the viability of stored seeds and perform germination tests to ensure their success when planting. If needed, collect fresh seeds if the germination rate declines after a few years.
By understanding when and how to harvest and properly store nasturtium seeds, you can enjoy their ornamental beauty and culinary delights for years to come. So go ahead, harvest those seeds, and bring the joy of nasturtiums into your garden and kitchen!