Home>Types of Gardening>Ornamental Gardening>How To Scarify Seeds
Ornamental Gardening
How To Scarify Seeds
Published: September 13, 2023
Learn how to scarify seeds for ornamental gardening and improve germination rates. Discover the step-by-step process and expert tips for successful seed scarification.
(Many of the links in this article redirect to a specific reviewed product. Your purchase of these products through affiliate links helps to generate commission for Chicagolandgardening.com, at no extra cost. Learn more)
Table of Contents
- Introduction
- What is Seed Scarification?
- Why Should You Scarify Seeds?
- Methods of Seed Scarification
- Mechanical Scarification
- Chemical Scarification
- Hot Water Scarification
- Acid Scarification
- Fire Scarification
- How to Perform Mechanical Seed Scarification
- Tips for Chemical Seed Scarification
- Steps for Hot Water Scarification
- Acid Scarification: A Step-by-Step Guide
- Fire Scarification: Precautions and Instructions
- Conclusion
Introduction
Welcome to the world of ornamental gardening, where beauty blossoms in every corner. With a passion for plants and a desire to create stunning landscapes, many garden enthusiasts find themselves delving into the art of seed scarification. But what exactly is seed scarification, and why is it necessary?
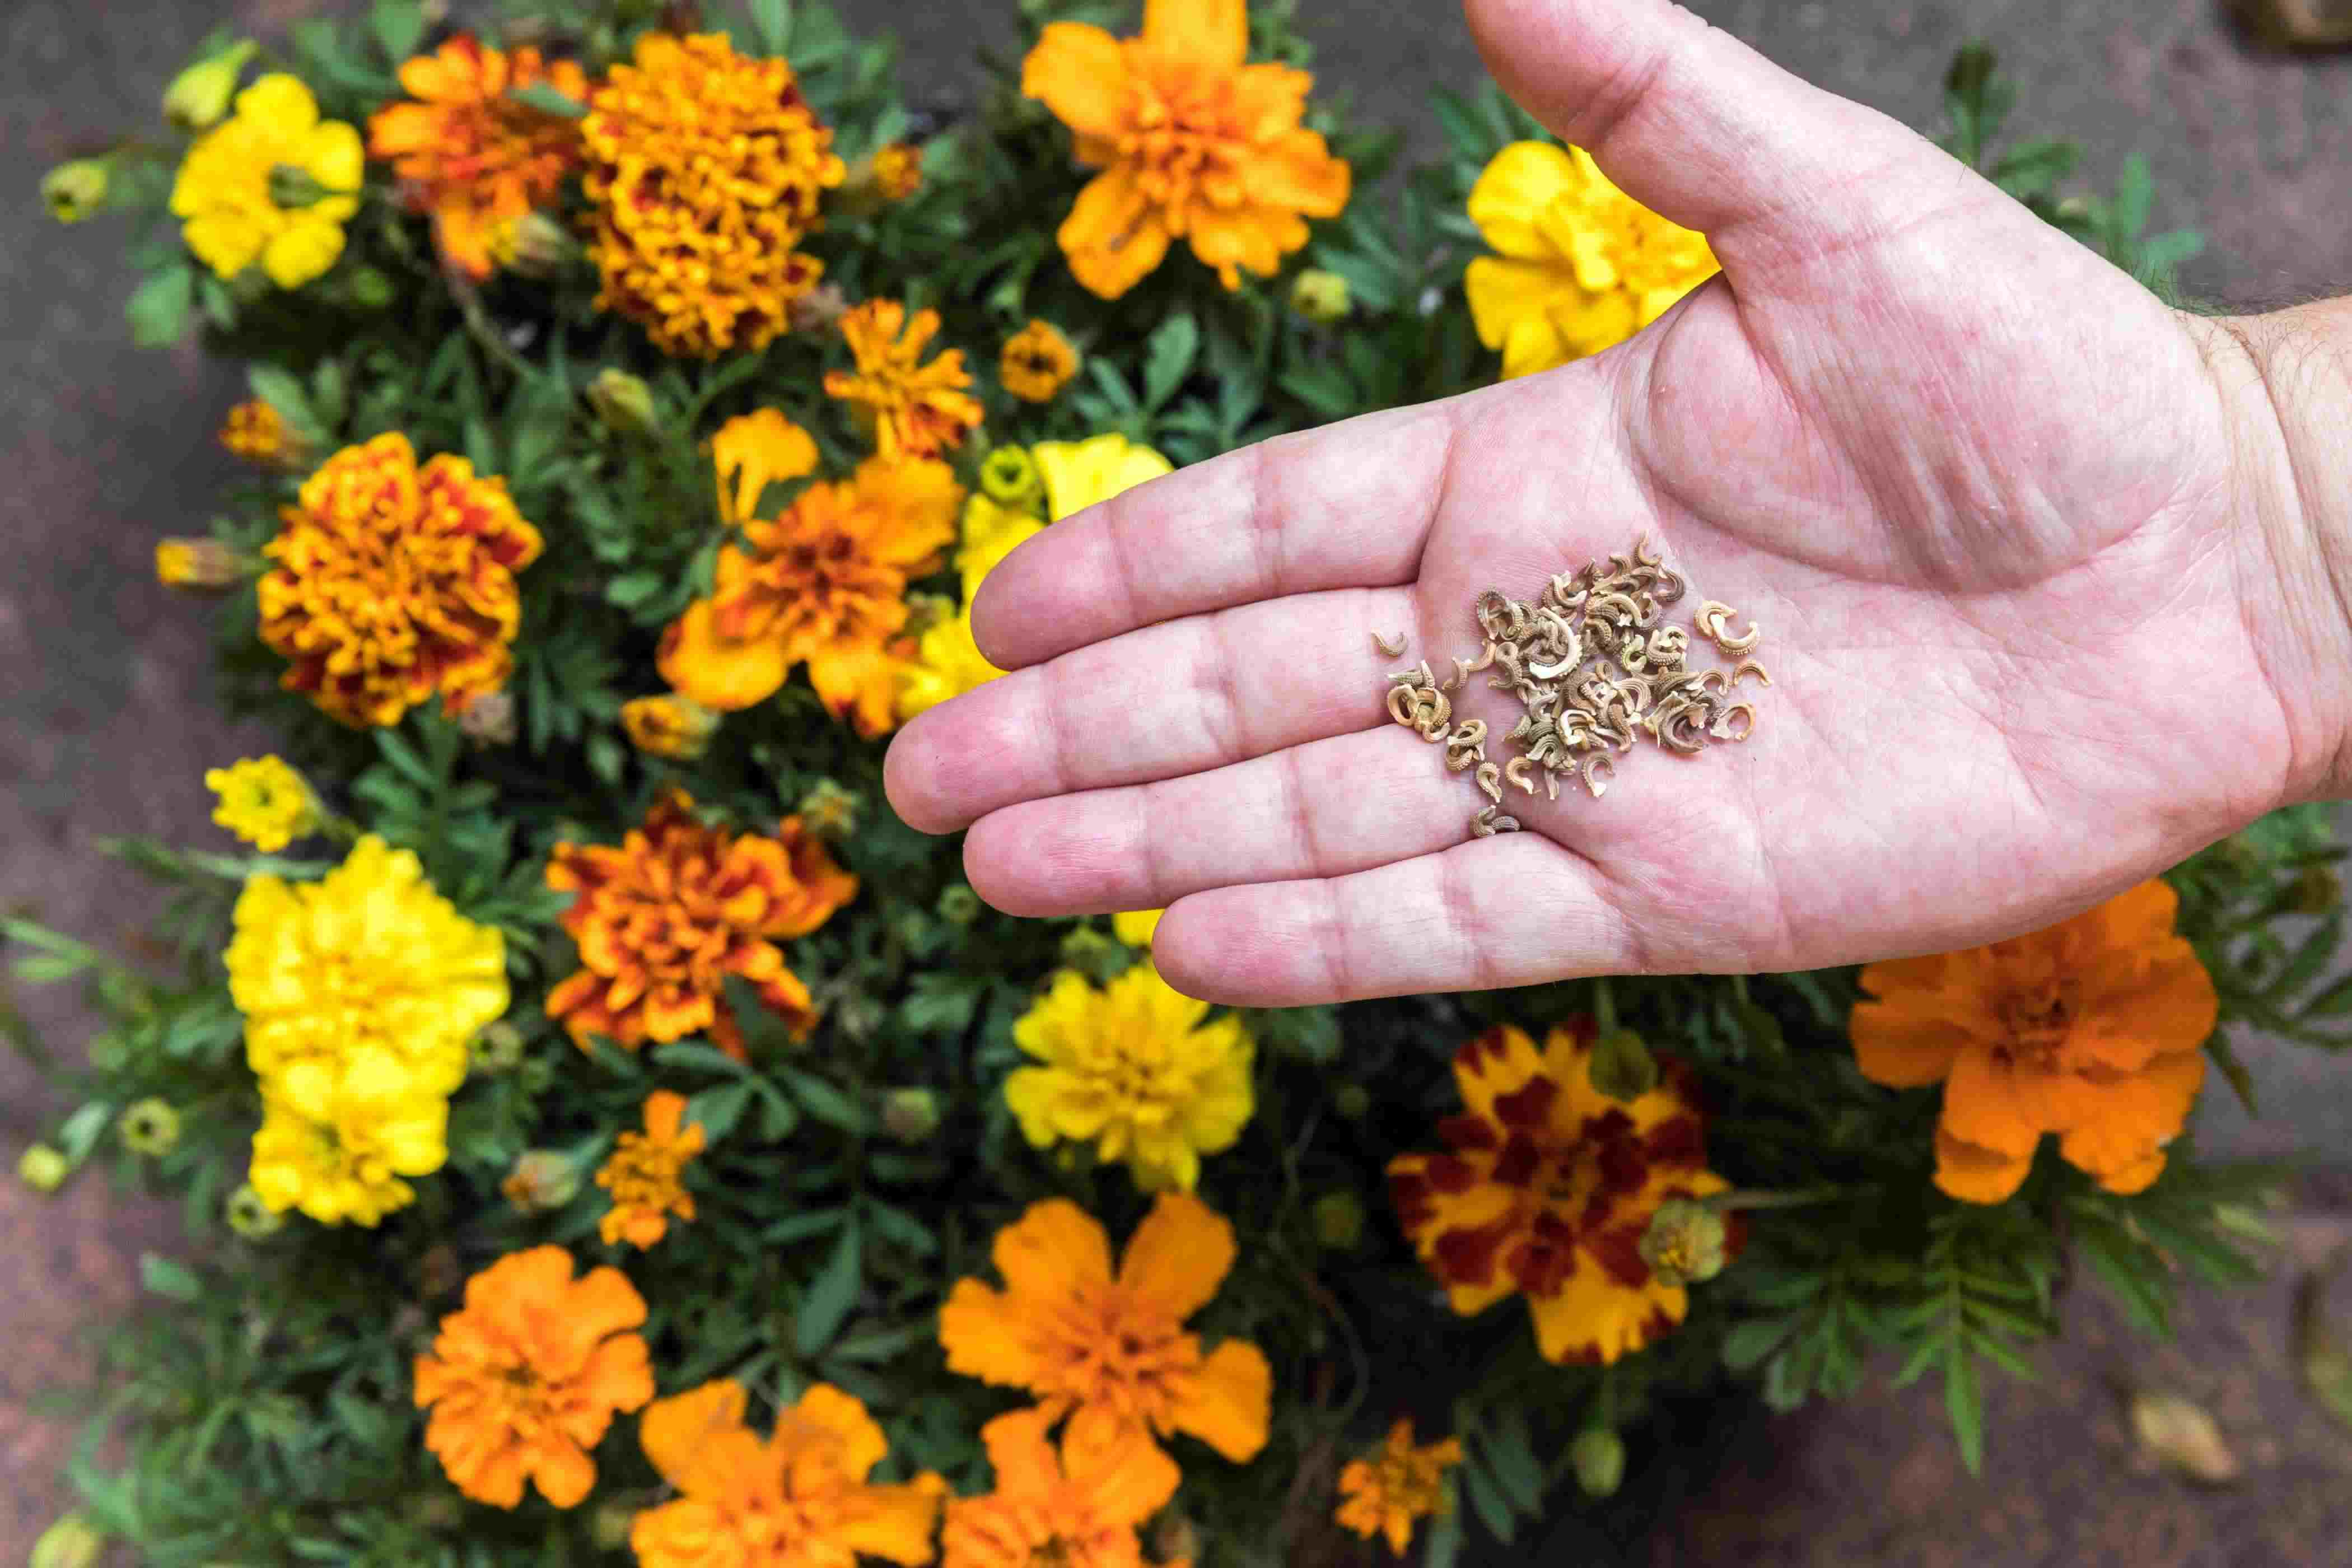
Seed scarification is a technique used to break through the hard outer coating of seeds, allowing them to absorb water and germinate more easily. Many plant species naturally have seeds with a protective seed coat that prevents water from entering and delays germination. By scarifying the seeds, gardeners can simulate the conditions necessary for successful germination.
So why should you bother scarifying seeds? Well, think of it as an investment in the future of your garden. By scarifying seeds, you are giving them the best chance to grow and thrive. It can significantly increase germination rates, shorten germination times, and ultimately lead to healthier, more robust plants.
While some seeds may naturally undergo scarification through processes like freezing and thawing or being passed through the digestive system of animals, many seeds require human intervention to mimic these conditions. This is where the various methods of seed scarification come into play.
In this article, we will explore different techniques for scarifying seeds, including mechanical scarification, chemical scarification, hot water scarification, acid scarification, and even fire scarification. Each method has its own benefits and considerations, so it’s important to choose the most suitable one for the seeds you are working with.
Whether you’re a novice gardener or a seasoned horticulturist, learning the art of seed scarification can unlock a world of possibilities in your ornamental garden. So grab your tools, put on your gardening gloves, and let’s dive into the fascinating world of seed scarification!
What is Seed Scarification?
Seed scarification is a process that involves intentionally breaking or weakening the hard outer coat of a seed, known as the seed coat. The purpose of this technique is to enhance germination rates and speed up the germination process.
Seed coats can be extremely hard and impermeable, making it difficult for water to penetrate and for the embryo inside to emerge. This natural adaptation ensures that the seeds remain protected and dormant until conditions are favorable for growth.
However, for many plant species, this hard seed coat can pose a challenge when it comes to germination. Scarification provides a solution by mimicking the natural processes that would naturally weaken or break the seed coat.
There are several methods of seed scarification, each with its own unique approach to breaking seed coats. Some of the most common methods include mechanical scarification, chemical scarification, hot water scarification, acid scarification, and even fire scarification.
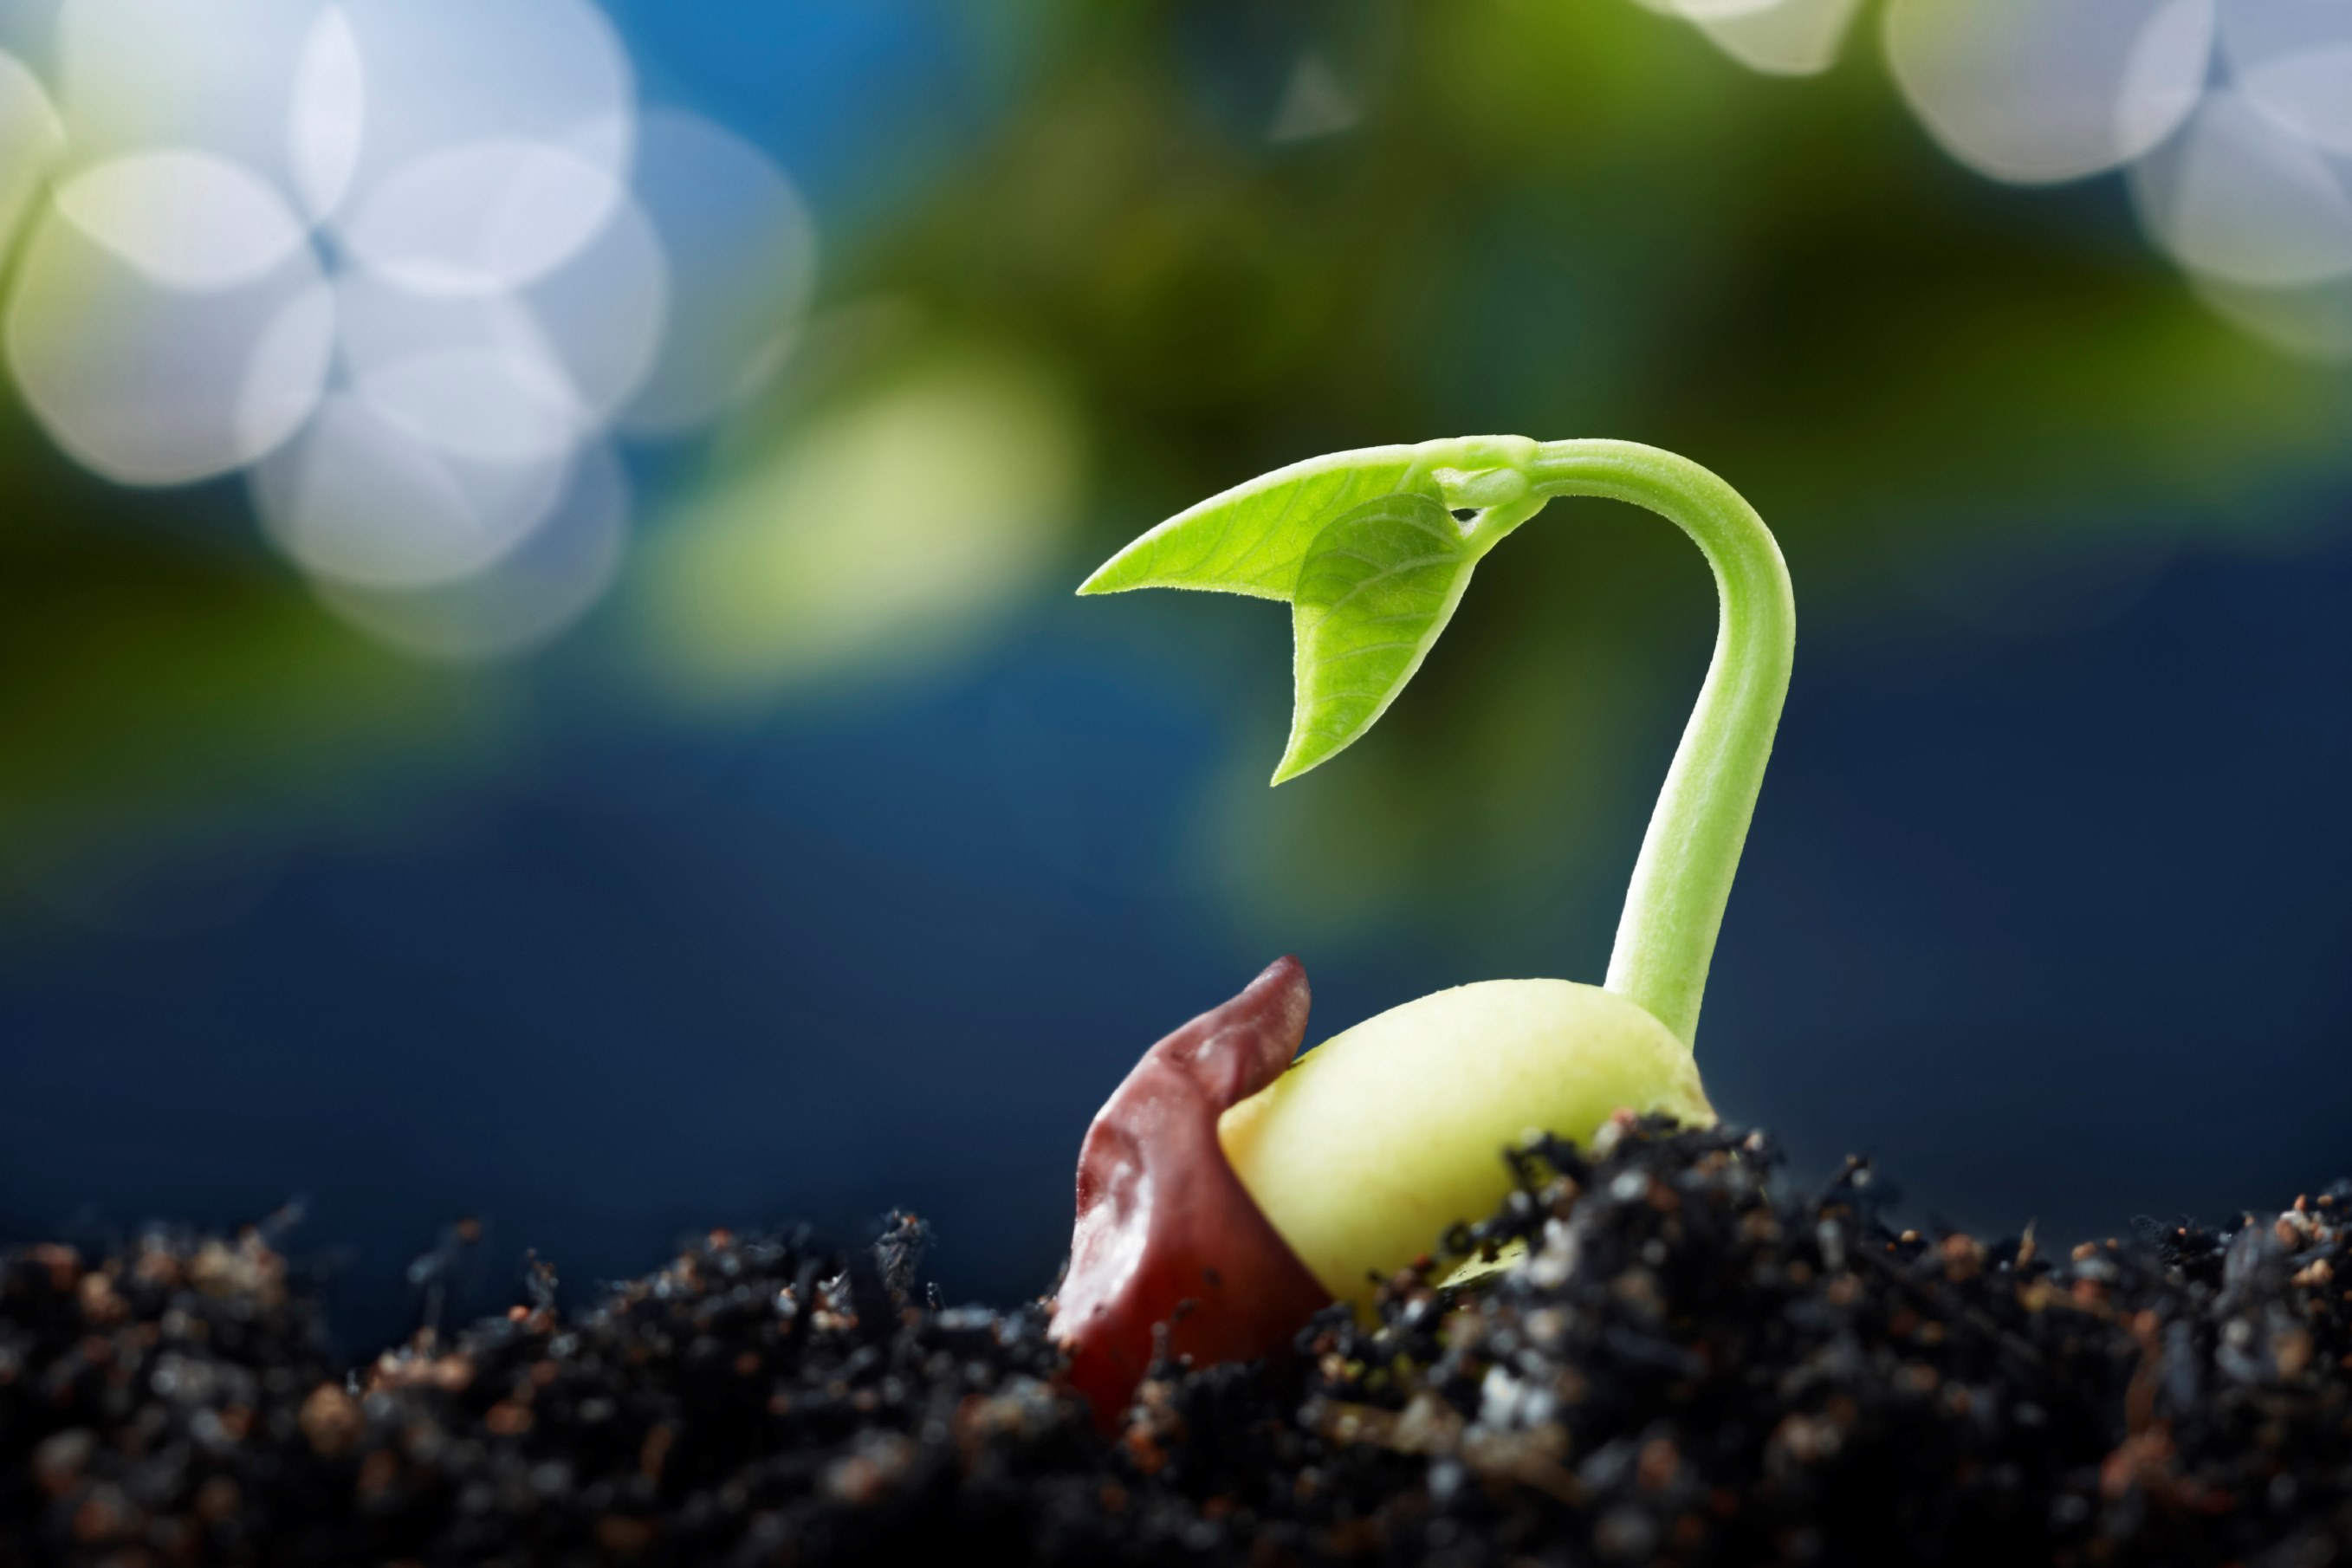
While the specific techniques may vary, the overall goal remains the same: to create small openings or weaken the seed coat, allowing water and oxygen to enter and facilitate the activation of the embryo inside the seed.
Seed scarification is particularly beneficial for species with hard-coated seeds, such as wildflowers, certain shrubs, and trees. In some cases, scarification may also be required for seeds stored for an extended period as they may have developed hard, impermeable seed coats over time.
By scarifying seeds, gardeners can expedite the germination process, reduce germination time, and increase the overall success rate of seed germination. This technique is especially useful for gardeners who want to grow plants from seeds that may have lower germination rates or require specific germination conditions.
Now that you have an understanding of what seed scarification is and its purpose, let’s explore some of the most commonly used methods in more detail, so you can choose the best approach for your seeds.
Why Should You Scarify Seeds?
Scarifying seeds might seem like an extra step in the gardening process, but the benefits it brings to seed germination and plant growth make it well worth the effort. Here are some compelling reasons why you should consider scarifying your seeds:
- Increased Germination Rates: Many seeds have hard outer coatings that prevent water penetration and hinder germination. Scarification breaks through this barrier, allowing water to reach the embryo and kickstarting the germination process. By scarifying seeds, you can significantly boost germination rates and increase the likelihood of successful seedling establishment.
- Faster Germination: Scarification can speed up the germination process by breaking down the dormant seed coat. This allows the moisture and oxygen needed for germination to reach the embryo more quickly. By scarifying seeds, you can shorten the germination time, giving your plants a head start in their growth journey.
- Overcoming Dormancy: Some seeds have built-in dormancy mechanisms that prevent them from germinating too early or in unfavorable conditions. Scarification can help overcome seed dormancy by simulating the natural processes that break dormancy, such as freezing and thawing or passing through an animal’s digestive system. By scarifying seeds, you can remove these dormancy barriers and trigger germination.
- Expanding Plant Variety Options: Certain plant species have hard-coated seeds that require scarification for successful germination. By mastering the technique of seed scarification, you open up a wider range of plant varieties that you can grow in your garden. This allows you to explore unique and exotic plant species that may not be possible to grow from untreated seeds.
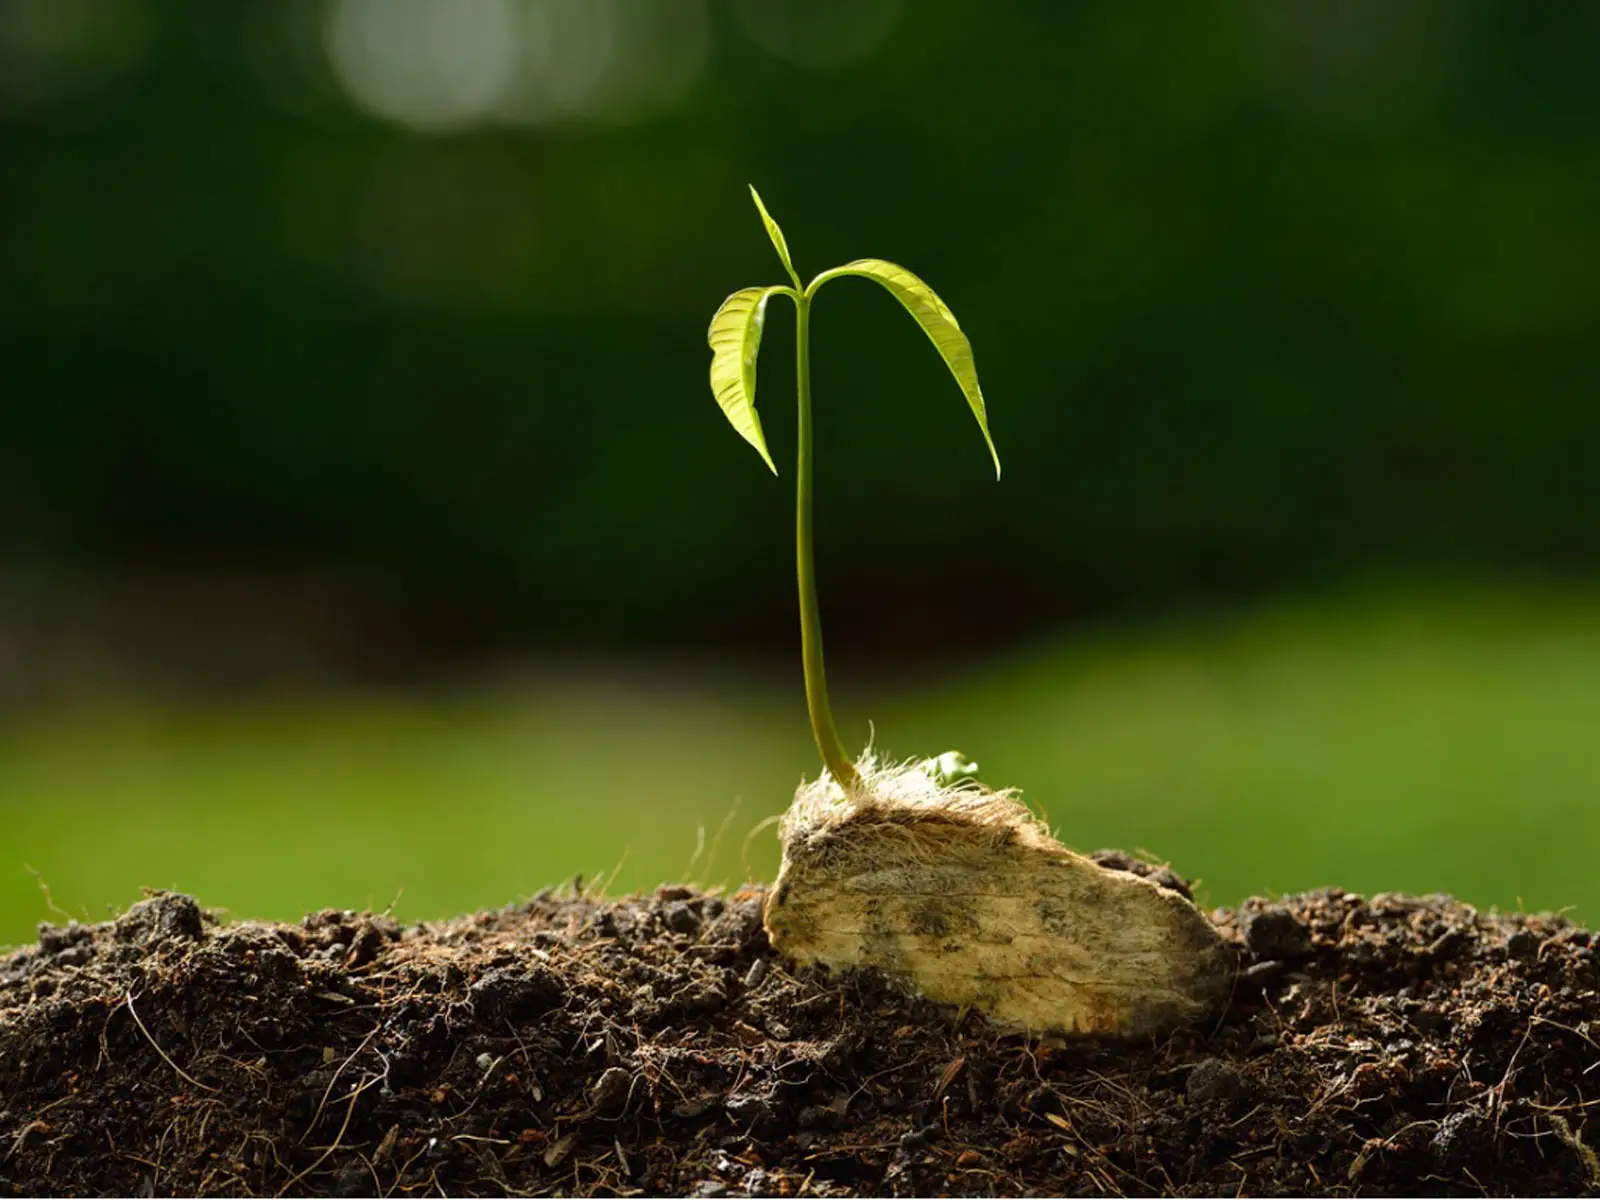
- Improving Overall Plant Health: Scarifying seeds promotes healthier plant growth. When seeds germinate more quickly and efficiently, plants have a better chance of developing strong root systems and establishing themselves firmly in the soil. This, in turn, leads to healthier growth, improved resistance to diseases and pests, and a higher likelihood of producing abundant flowers or fruits.
So, whether you’re starting an ornamental garden or growing plants for food and sustenance, scarifying seeds can greatly benefit your gardening endeavors. It increases germination rates, speeds up the germination process, overcomes dormancy, expands your plant variety options, and ultimately contributes to the overall health and success of your garden.
Methods of Seed Scarification
When it comes to seed scarification, there are various methods to choose from, depending on the type of seed you are working with and the resources available to you. Let’s explore some of the most commonly used methods:
1. Mechanical Scarification
Mechanical scarification involves physically breaking or scratching the hard seed coat to allow moisture to penetrate. This can be done using tools such as sandpaper, a file, or a knife. Gently rubbing the seeds against the rough surface or making small cuts on the seed coat can create micro-openings that facilitate water absorption.
2. Chemical Scarification
Chemical scarification involves the use of chemicals to soften or dissolve the seed coat, promoting germination. One common method is soaking the seeds in a diluted acid solution, such as sulfuric acid or hydrogen peroxide, for a specified period. This treatment helps weaken the seed coat, allowing water to enter and kickstarting germination.
3. Hot Water Scarification
Hot water scarification involves briefly exposing seeds to hot water, usually just below boiling point, to break dormancy. This method is particularly effective for seeds with hard or impermeable seed coats. The hot water treatment helps to soften the seed coat, encouraging the embryo to emerge.
4. Acid Scarification
Acid scarification is similar to chemical scarification but involves using stronger acid solutions, such as sulfuric or nitric acid. However, it is important to exercise caution when using acid scarification, as it can be dangerous if not handled correctly. It’s essential to follow safety guidelines and wear appropriate protective gear when working with acid.
5. Fire Scarification
Fire scarification is a natural method used by certain plants in response to wildfires. This method involves exposing seeds to heat or flame for a short period. Fire scarification is beneficial for the germination of specific plant species, as it helps break dormancy and promote seedling growth.
It’s important to note that not all seeds require scarification. Some seeds may naturally go through scarification in the wild due to environmental conditions, while others have softer seed coats that allow for easy germination without any intervention. It’s best to research the specific requirements of the seeds you are working with to determine if scarification is necessary.
Each method of seed scarification has its own set of considerations, and it’s crucial to follow the appropriate steps and guidelines to ensure success and maintain safety. Now that we’ve explored the various methods, let’s dive deeper into the step-by-step procedures for each technique.
Mechanical Scarification
Mechanical scarification is a common and straightforward method of breaking the hard seed coat using physical means. By creating small openings or abrasions on the seed coat, you allow water to penetrate and initiate the germination process. Here’s a step-by-step guide on how to perform mechanical scarification:
- Select the Right Tools: Choose the appropriate tools for mechanical scarification, such as sandpaper, a file, or a knife. Ensure that the tools are clean and sharp to minimize damage to the seed.
- Prepare the Work Area: Set up a clean and organized work area where you can perform scarification safely. Clear any clutter and have a container on hand to collect the scarified seeds.
- Gently Rub or Scratch the Seed Coat: Take the selected tool and gently rub or scratch the seed coat. Use a back-and-forth or circular motion to create micro-abrasions on the surface of the seed coat. Avoid applying excessive pressure or damaging the seed itself.
- Inspect the Seeds: After scarifying a few seeds, take a moment to examine the extent of the abrasions. The goal is to create enough openings for water absorption without causing excessive damage to the seed.
- Repeat the Process: Continue the scarification process for all the seeds you intend to treat, ensuring each seed receives sufficient abrasion on the seed coat.
- Clean and Store the Scarified Seeds: Once all the seeds have been scarified, gently clean off any debris or dust from the scarified surfaces. Transfer the scarified seeds to a clean, dry container and label them accordingly for future use.
It’s essential to avoid over-scarification, as excessive damage to the seed coat can lead to seed failure or susceptibility to diseases and pests. Remember to follow specific guidelines for the particular plant species you are working with, as some seeds may require more or less scarification than others.
Mechanical scarification can be a very effective method for breaking hard seed coats and stimulating germination. It is a relatively simple and cost-effective technique that can significantly improve germination rates and the overall success of growing ornamental plants from seeds.
Chemical Scarification
Chemical scarification is a method of seed treatment that involves the use of chemicals to weaken or dissolve the hard seed coat, promoting germination. This technique can be especially useful for seeds with extremely hard or impermeable seed coats. Here’s a step-by-step guide on how to perform chemical scarification:
- Prepare the Chemical Solution: Select an appropriate chemical for scarification, such as sulfuric acid or hydrogen peroxide. Follow the recommended dilution ratio and safety precautions outlined in the specific instructions or guidelines provided with the chemical.
- Soak the Seeds: Place the seeds in a container and add the prepared chemical solution. Ensure that the seeds are completely submerged in the solution. The length of the soaking time will depend on the specific plant species and the instructions provided for scarification.
- Monitor the Soaking Process: Keep a close eye on the seeds while they are soaking in the chemical solution. Check for any signs of damage or excessive softening of the seed coat. It’s important to follow the recommended soaking time to avoid overexposure to the chemical.
- Rinse and Clean the Seeds: After the recommended soaking time has elapsed, carefully drain the chemical solution and rinse the seeds thoroughly with clean water. This step is crucial to remove any remnants of the chemical and prevent potential harm to the seeds or subsequent plant growth.
- Dry and Store the Scarified Seeds: Once the seeds are clean and free from the chemical solution, spread them out on a clean, dry surface to air dry. Ensure that the seeds are completely dry before storing them in a sealed, airtight container. Label the container with the necessary information for future reference.
It’s important to exercise caution when working with chemical scarification, as some chemicals can be toxic or corrosive. Follow the safety guidelines provided with the chemical and wear appropriate protective gear, such as gloves and eye protection, throughout the process. Work in a well-ventilated area to minimize exposure to any fumes or vapors.
Chemical scarification allows for effective seed coat softening, making it easier for water to penetrate and germination to occur. This method can be particularly useful for challenging plant species with hard-coated seeds, increasing germination rates and ensuring successful seedling establishment.
Hot Water Scarification
Hot water scarification is a simple and effective method used to break seed dormancy by subjecting the seeds to hot water. This technique is especially beneficial for seeds with hard or impermeable seed coats. Here’s a step-by-step guide on how to perform hot water scarification:
- Boil Water: Start by boiling water and then allowing it to cool slightly until it reaches a temperature just below boiling point. The specific temperature required will vary depending on the plant species, so it’s crucial to research the ideal hot water treatment temperature for the seeds you are working with.
- Place the Seeds in Water: Put the seeds into a container or a heat-resistant bag, and pour the hot water over them, completely submerging them. Make sure to use enough water to cover all the seeds without overcrowding.
- Soak the Seeds: Let the seeds soak in the hot water for the recommended period according to the plant species you are working with. The soaking time can range from a few minutes to several hours, depending on the seed requirements.
- Drain and Cool the Seeds: After the soaking time is complete, drain the hot water and rinse the seeds with cool water. This will cool down the seeds and ensure they are safe to handle.
- Dry and Store the Scarified Seeds: Spread the scarified seeds on a clean paper towel or a dry surface to air dry. Make sure they are completely dry before storing them in a labeled, airtight container for future use.
Hot water scarification can be an effective method for breaking seed dormancy and promoting germination. By subjecting the seeds to hot water, the hard seed coat softens, allowing water to penetrate and stimulate the embryo to grow.
It’s important to note that not all seeds respond well to hot water scarification, and some may require specific temperature and soaking time considerations. Proper research and understanding of the plant species’ requirements are essential for successful hot water scarification.
With the hot water scarification method in your gardening toolkit, you can enhance the germination process for seeds that have hard seed coats, leading to improved seedling establishment and a more thriving garden.
Acid Scarification
Acid scarification is a method of seed treatment that involves the use of acid solutions to weaken or dissolve the hard seed coat and promote germination. This technique can be particularly effective for seeds with thick or impermeable seed coats. Here’s a step-by-step guide on how to perform acid scarification:
- Choose the Right Acid and Prepare the Solution: Select a suitable acid for scarification, such as sulfuric acid or nitric acid. It’s important to handle acids with extreme caution as they can be dangerous. Follow the specific instructions provided with the acid for preparing the proper dilution and safety precautions.
- Soak the Seeds in the Acid Solution: Place the seeds in a container and carefully add the prepared acid solution, ensuring that the seeds are fully submerged. The recommended soaking time will vary depending on the plant species and the specific acid being used. Be sure to follow the instructions to avoid overexposure to the acid.
- Monitor the Soaking Process: Keep a close eye on the seeds while they are soaking in the acid solution. Check for any signs of excessive damage or softening of the seed coat. It’s crucial to strike the right balance to weaken the seed coat without harming the embryo inside.
- Rinse and Clean the Seeds: After the recommended soaking time, carefully drain the acid solution and thoroughly rinse the seeds with clean water to remove any traces of the acid. This step is essential to prevent any potential harm to the seeds or subsequent plant growth.
- Dry and Store the Scarified Seeds: Spread out the scarified seeds on a clean, dry surface to air dry. Make sure the seeds are completely dry before storing them in a labeled, airtight container. Include the necessary information for future reference.
It is crucial to exercise utmost caution when working with acid scarification due to the potential hazards involved. Always wear appropriate protective gear, including gloves and eye protection, and work in a well-ventilated area to minimize exposure to fumes or vapors.
Acid scarification can be an effective method for breaking hard seed coats and promoting germination. By using acid solutions to weaken or dissolve the seed coat, you create favorable conditions for water absorption and the activation of the embryo within the seed.
Remember to research and understand the specific requirements of the plant species you are working with, as acid scarification may not be suitable for all seeds. With proper knowledge and precautions, acid scarification can be a valuable technique to enhance seed germination and cultivate a thriving garden.
Fire Scarification
Fire scarification is a natural method of breaking dormancy in certain seeds that have evolved to require exposure to heat or flames to initiate germination. This technique mimics the effects of wildfires that some plants depend on for seed dispersal and germination. Here’s a step-by-step guide on how to perform fire scarification:
- Research Fire Adapted Plants: Identify plant species that have evolved with fire-dependent germination requirements. It’s crucial to choose the right seeds that benefit from fire scarification.
- Create Controlled Heat: Prepare a controlled fire in a safe and appropriate outdoor open space. Use caution and follow local regulations and safety guidelines when working with fire.
- Place the Seeds in the Fire: Carefully place the seeds within the controlled fire. It’s important to ensure that the seeds will not be burned completely but are exposed to the heat of the flames.
- Monitor the Seed Treatment: Keep a close eye on the seeds as they are exposed to the fire. The duration of exposure will depend on the specific plant species and their fire adaptation requirements. Refer to reliable sources or research the ideal fire scarification time for the seeds you are working with.
- Extinguish the Fire: Once the seeds have been exposed to the appropriate amount of heat, extinguish the fire completely to prevent any risk of spreading or causing harm. Allow the fire scarified seeds to cool down before handling.
- Store the Scarified Seeds: After the seeds have cooled down, store them in a labeled container. Ensure that the container is dry and airtight, protecting the scarified seeds until you are ready to sow them.
Fire scarification can be a tricky method to perform and may not be suitable for all gardeners due to safety concerns. It’s vital to consider the local laws, regulations, and safety precautions when attempting fire scarification.
This method is mainly utilized for plant species that have evolved to rely on fire for successful germination. Fire scarification breaks seed dormancy and allows for germination to occur, leading to the growth of fire-adapted plants.
If you are interested in fire scarification but have concerns about safety or access to controlled fire, it is advisable to seek alternative seed scarification methods that can effectively mimic the natural fire-driven germination processes. Always prioritize safety and adhere to local regulations to prevent any accidents or harm.
How to Perform Mechanical Seed Scarification
Mechanical scarification is a widely used method for breaking the hard seed coat and enhancing germination. This technique involves physically scratching or abrading the seed coat to create small openings that allow water to penetrate. Here’s a step-by-step guide on how to perform mechanical seed scarification:
- Gather the Necessary Tools: Obtain the tools required for mechanical scarification, such as sandpaper, a file, or a knife. Make sure the tools are clean and sharp to avoid damaging the seeds.
- Prepare the Work Area: Set up a clean and organized work area where you can perform the scarification process safely. Ensure you have a container to collect the scarified seeds and a surface to work on.
- Choose the Seeds: Select the seeds that require scarification. Research the specific requirements of each seed species to determine if mechanical scarification is suitable.
- Start Scarifying: Take one seed at a time and gently rub it against the rough surface of the sandpaper, file, or make small cuts on the seed coat using a knife. Apply light pressure and avoid excessive force to prevent damage to the seed.
- Observe the Progress: Check the seed carefully to see if the hard seed coat has been sufficiently scratched or abraded. The goal is to create openings without causing extensive damage to the seed.
- Continue Scarification: Repeat the scarification process for each seed, ensuring that all seeds receive adequate treatment. Take breaks if needed to maintain accuracy and precision.
- Clean and Collect the Scarified Seeds: Once all the seeds have been scarified, gently clean off any debris or dust from the scarified surfaces. Collect the scarified seeds in a labeled container for further use.
Remember that not all seeds require scarification, so it is crucial to research the specific needs of each seed species you are working with. Additionally, some seeds may require specific scarification techniques or treatment durations. Follow the guidelines and recommendations for each seed to achieve the best scarification results.
By following these steps and exercising care and precision, you can effectively perform mechanical seed scarification. This technique breaks the hard seed coat, enabling water absorption and promoting successful germination. With practice and experience, you can harness the power of mechanical scarification to enhance the growth of a variety of ornamental plants.
Tips for Chemical Seed Scarification
Chemical seed scarification is a method that involves treating seeds with chemicals to break the hard seed coat and improve germination. As it involves working with potentially hazardous substances, it’s essential to follow safety guidelines and ensure proper execution. Here are some tips to help you successfully perform chemical seed scarification:
- Choose the Right Chemical: Select the appropriate chemical for scarification based on the specific requirements of the seeds you are treating. Different acids or chemical solutions may be suitable for different plant species. Research and understand the effects and safety precautions associated with each chemical.
- Handle Chemicals Safely: Always follow safety protocols when handling chemicals. Use protective gear such as gloves, goggles, and a lab coat to protect yourself from potential harm. Work in a well-ventilated area to minimize exposure to fumes, and dispose of chemical waste properly.
- Dilute the Chemical Correctly: Dilute the chemical according to the instructions provided by the manufacturer or based on reliable resources. Proper dilution is crucial to avoid damaging the seeds or compromising their viability.
- Control Soaking Time: Respect the recommended soaking time for the chemical scarification. Overexposure to the chemical can harm the seeds, while insufficient soaking may not effectively break the seed coat. Follow the guidelines specific to the plant species you are working with.
- Monitor Seed Condition: Regularly check the seeds during the soaking process. Watch for signs of damage, discoloration, or excessive softening. Adjust the soaking time if necessary to prevent overexposure or damage to the seeds.
- Thoroughly Rinse the Seeds: After the soaking period, rinse the scarified seeds with clean water to remove any residue from the chemical solution. This step is crucial to prevent potential harm to the seeds or subsequent plant growth.
- Dry Seeds Completely: Ensure that the scarified seeds are fully dried before storing them. Spread them in a single layer on a clean paper towel or surface to allow for air drying. Storing damp seeds can lead to mold or fungal growth, reducing their viability.
- Label and Store Properly: Place the scarified seeds in a labeled, airtight container to protect them from moisture, pests, and other environmental factors. Include relevant information such as the plant species and the date of scarification for future reference.
Following these tips will help you carry out chemical seed scarification safely and effectively. Remember to research and understand the specific requirements of the plant species you are working with and consult reliable sources or experts for guidance if needed. Chemical scarification can be a powerful tool for enhancing seed germination, but it requires careful attention to detail and adherence to safety protocols.
Steps for Hot Water Scarification
Hot water scarification is a method used to break seed dormancy by subjecting the seeds to hot water. This technique can be particularly useful for seeds with hard or impermeable seed coats. Here are the steps involved in hot water scarification:
- Boil Water: Start by boiling water and then allowing it to cool slightly until it reaches a temperature just below boiling point. The specific temperature required will depend on the plant species, so it’s crucial to research the ideal hot water treatment temperature for the seeds you are working with.
- Prepare the Container: Find an appropriate container that can withstand the hot water. It should be large enough to hold the seeds you intend to scarify and allow them to be fully submerged in the hot water.
- Place the Seeds in the Container: Put the seeds into the container and carefully pour the hot water over them, ensuring that they are completely submerged. It’s important to use enough water to fully cover all the seeds without overcrowding them.
- Soak the Seeds: Allow the seeds to soak in the hot water for the recommended period according to the plant species you are working with. The soaking time can range from a few minutes to several hours, so it’s crucial to refer to reliable sources or research the ideal duration for the seeds you are treating.
- Monitor the Soaking Process: Keep a close eye on the seeds as they soak in the hot water. Make sure the water temperature is maintained within the appropriate range and adjust as needed. This will help ensure the most effective scarification process.
- Drain and Cool the Seeds: After the soaking time is complete, carefully drain the hot water from the container. Rinse the seeds with cool water to cool them down and prevent any harm during handling.
- Dry and Store the Scarified Seeds: Spread out the scarified seeds on a clean surface or paper towel and allow them to air dry completely. Make sure they are fully dry before transferring them to a labeled, airtight container for storage. Include relevant information such as the plant species and scarification date for future reference.
Remember to research the specific requirements of the plant species you are working with, as the recommended temperature and soaking time may vary. Hot water scarification can be a highly effective method to break seed dormancy and promote germination, but it’s important to follow the appropriate steps and guidelines for each seed type.
With the process of hot water scarification mastered, you can successfully treat seeds with hard seed coats, leading to improved germination rates and the growth of healthy, vibrant plants in your garden.
Acid Scarification: A Step-by-Step Guide
Acid scarification is a method of seed treatment that uses acid solutions to weaken or dissolve the hard seed coat and promote germination. This technique can be particularly effective for seeds with thick or impermeable seed coats. Here’s a step-by-step guide on how to perform acid scarification:
- Choose the Right Acid: Select the appropriate acid for scarification based on the specific requirements of the seeds you are treating. Sulfuric acid and nitric acid are commonly used options, but it’s essential to research and understand which acid is suitable for the particular plant species you are working with.
- Follow Safety Precautions: Before working with acids, ensure that you have proper safety equipment including gloves, goggles, and a lab coat. Set up your workspace in a well-ventilated area to minimize exposure to fumes. It’s crucial to prioritize safety at all times.
- Prepare the Acid Solution: Dilute the acid according to the instructions provided by the manufacturer or based on reliable resources. Use a suitable container and measure the appropriate amount of acid and water to create the desired concentration. Always add acid to water and not the other way around to prevent splashes and potential hazards.
- Soak the Seeds in the Acid Solution: Place the seeds in a container and pour the prepared acid solution over them. Make sure the seeds are fully submerged. The recommended soaking time will vary depending on the plant species and the specific acid used, so consult reliable sources or expert guidance for the particular seeds you are treating.
- Monitor the Soaking Process: Keep a close eye on the seeds while they are soaking in the acid solution. Watch for any signs of excessive damage or softening of the seed coat. It’s important to strike the right balance, weakening the seed coat without compromising the integrity of the seed.
- Rinse the Seeds: After the recommended soaking time, carefully drain the acid solution and thoroughly rinse the seeds with clean water to remove any remaining acid residue. This step is crucial to prevent potential harm to the seeds or subsequent plant growth.
- Dry and Store the Scarified Seeds: Spread the scarified seeds on a clean, dry surface to air dry completely. Ensure they are fully dried before transferring them to a labeled, airtight container for storage. Remember to include relevant information such as the plant species and the date of scarification.
Acid scarification can be a powerful method for breaking hard seed coats and promoting germination. However, it’s essential to handle acids with extreme caution, follow the necessary safety precautions, and consult reliable resources or experts when working with acid scarification. With proper execution, acid scarification can significantly improve germination rates and lead to successful seedling establishment.
Fire Scarification: Precautions and Instructions
Fire scarification is a natural method that mimics the effects of wildfires to break seed dormancy and promote germination. While it can be an effective technique for specific plant species, it requires careful consideration and safety precautions. Here are some important precautions and instructions to follow when conducting fire scarification:
- Check Local Regulations: Before attempting fire scarification, research and understand the local regulations regarding the use of fire outdoors. Ensure that you have the necessary permits and are adhering to any restrictions or guidelines implemented by your local authorities.
- Choose a Safe Outdoor Location: Select a safe and appropriate outdoor location to perform the fire scarification. The area should be well-ventilated and free from any flammable objects or structures that could pose a fire hazard. Keep a fire extinguisher or other fire safety equipment nearby as a precaution.
- Build a Controlled Fire: Prepare a controlled fire by using dry kindling or other suitable materials. Avoid using materials that produce excessive smoke or flames that could become uncontrollable. Remember to always prioritize safety and exercise caution when working with fire.
- Place the Seeds in the Fire: Carefully place the seeds within the controlled fire. Ensure that they are exposed to the heat without being burned completely. The goal is to subject the seeds to the heat of the flames, mimicking the natural conditions that trigger germination.
- Monitor the Seeds: Keep a close eye on the seeds as they are exposed to the fire. The duration of exposure will depend on the specific plant species and their fire adaptation requirements. Consult reliable sources or experts to determine the ideal fire scarification time for the seeds you are working with.
- Extinguish the Fire: Once the seeds have been exposed to the appropriate amount of heat, extinguish the fire completely. Use water or sand to ensure that there are no remaining embers or flames. Allow the fire scarified seeds and the surrounding area to cool down before handling.
- Store the Scarified Seeds: Once the seeds have cooled down, transfer them to a labeled container for storage. Ensure that the container is dry and airtight, protecting the fire scarified seeds until you are ready to sow them.
Fire scarification can be a dangerous task if not performed with caution. It’s important to prioritize safety at all times, closely follow safety guidelines and local regulations, and maintain a controlled and safe environment when working with fire. If you have concerns about safety or access to controlled fire, consider seeking alternative seed scarification methods that can produce similar results. Always prioritize safety and adhere to local regulations to prevent accidents or harm.
Conclusion
Seed scarification is a technique that allows gardeners to overcome the challenges posed by hard seed coats and promote successful germination. By breaking or weakening the seed coat, scarification enhances water absorption and initiates the germination process. Different methods of scarification, such as mechanical, chemical, hot water, acid, and fire scarification, offer gardeners a range of options to choose from depending on the specific requirements of the seeds they are working with.
Mechanical scarification involves physically scratching or abrading the seed coat, while chemical scarification uses acid solutions to weaken or dissolve the coating. Hot water scarification utilizes hot water to break seed dormancy, acid scarification involves the use of acids to soften the seed coat, and fire scarification mimics the effects of wildfires to trigger germination.
When practicing seed scarification, it is crucial to prioritize safety and follow proper procedures. Understanding the specific requirements of each plant species is essential to determine the most suitable scarification method. Additionally, careful observation and monitoring during the scarification process will help ensure the best results.
By implementing seed scarification techniques, gardeners can significantly increase germination rates, shorten germination times, and achieve healthier and more robust plants. Whether you are an ornamental gardener looking to beautify your landscape or a horticulturalist aiming to grow a wide variety of plant species, mastering seed scarification opens up endless possibilities for successful seed germination.
Remember, always conduct thorough research and consult reliable sources to understand the specific scarification requirements of the seeds you are working with. By combining knowledge, patience, and care, you can unlock the full potential of your seeds and create a vibrant and flourishing garden.