Home>Types of Gardening>Ornamental Gardening>How To Plant Seeds In A Pot
Ornamental Gardening
How To Plant Seeds In A Pot
Modified: February 9, 2024
Learn the best techniques for planting seeds in a pot and enhance your ornamental gardening skills. Discover expert tips and step-by-step instructions for successful seed propagation.
(Many of the links in this article redirect to a specific reviewed product. Your purchase of these products through affiliate links helps to generate commission for Chicagolandgardening.com, at no extra cost. Learn more)
Table of Contents
Introduction
Welcome to the wonderful world of ornamental gardening! If you have a green thumb and a love for all things beautiful, then this article is for you. Ornamental gardening is not only a rewarding hobby but also a way to enhance the aesthetics of your indoor or outdoor space. With a little patience, creativity, and the right tools, you can transform a simple pot into a vibrant showcase of nature’s beauty.
Ornamental gardening involves the cultivation of plants that are primarily grown for their visual appeal. This can include flowers, foliage, or a combination of both. Whether you want to create a stunning floral display on your balcony or add a touch of color to your indoor space, planting seeds in a pot is an excellent way to get started.
In this article, we will guide you through the process of planting seeds in a pot, from choosing the right container to nurturing your plants as they grow. We’ll provide you with helpful tips and insights to ensure the success of your ornamental gardening endeavors. So, let’s dive in and discover the joy of watching your seeds sprout and bloom into beautiful flowers or lush foliage!
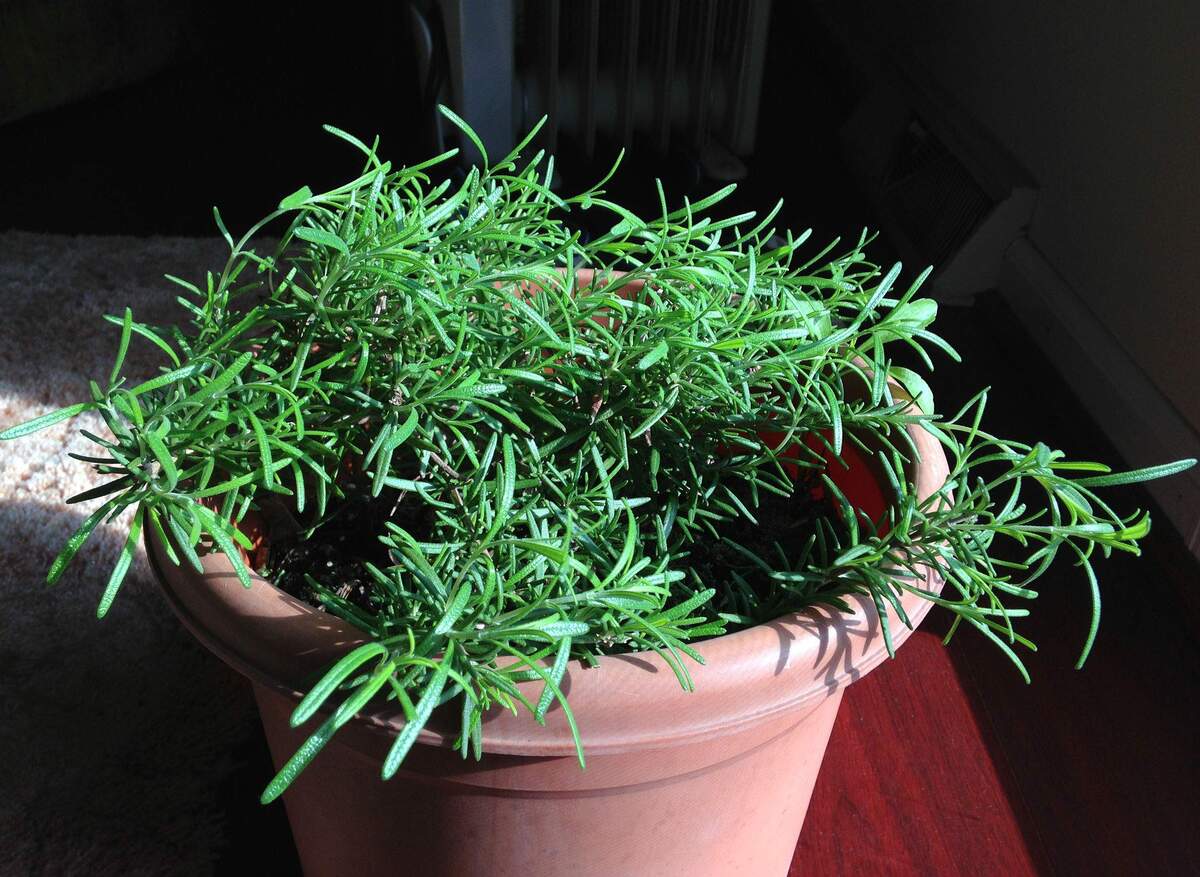
Choosing the Right Pot
When it comes to planting seeds in a pot, selecting the right container is crucial for the health and growth of your plants. Here are a few factors to consider when choosing the perfect pot:
- Size: The size of the pot will depend on the type of plant you wish to grow. For small plants or herbs, a smaller pot will suffice. However, larger plants or those with extensive root systems will require a bigger pot to provide ample space for growth.
- Drainage: Proper drainage is essential to prevent waterlogging and root rot. Look for pots that have drainage holes at the bottom or consider adding a layer of gravel or broken pottery shards to facilitate drainage.
- Material: Pots come in various materials such as clay, plastic, or ceramic. Each material has its pros and cons. Clay pots are porous and allow for better air circulation, while plastic pots are lightweight and retain moisture. Choose a material that suits your plant’s needs and the environment it will be placed in.
- Aesthetics: Don’t forget to consider the visual appeal of the pot. Choose a style or color that complements your personal taste and the overall theme of your garden or living space.
Additionally, consider the location where the pot will be placed. If it will be exposed to direct sunlight for long periods, opt for a pot made of a material that can withstand UV rays and heat. Similarly, if the pot will be placed indoors, choose a material that is suitable for indoor use and won’t damage your floors or furniture.
By carefully considering these factors, you’ll be able to select a pot that provides the ideal environment for your seeds to thrive and grow into stunning ornamental plants.
Selecting Seeds
The next step in planting seeds in a pot is choosing the right seeds to cultivate. This decision will greatly impact the overall look and feel of your ornamental garden. Here are some important factors to consider when selecting seeds:
- Plant Type: Determine whether you want to grow flowers, foliage plants, or a combination of both. Consider the colors, textures, and heights of the plants you envision in your garden.
- Climate Compatibility: Take into account the climate of your region and choose seeds that are suitable for your specific climate conditions. Some plants thrive in hot and dry climates, while others prefer cooler temperatures.
- Growing Season: Consider the length of your growing season and the time it takes for the chosen seeds to mature. If you have a shorter growing season, opt for seeds that have a shorter maturity period or choose fast-growing varieties.
- Seed Quality: Purchase seeds from reputable nurseries or online sellers to ensure their quality. Look for seeds that are fresh, properly packaged, and labeled with the necessary information, such as planting instructions and expiration dates.
- Personal Preferences: Don’t forget to consider your personal preferences when selecting seeds. Choose plants that resonate with your taste and will bring you joy as you watch them grow and bloom.
It’s also worth considering whether you want to start with seeds or with seedlings. Starting with seeds allows you to witness the entire growth process from its earliest stages, while purchasing seedlings can provide a head start and ensure a higher success rate.
Remember to choose a variety of seeds to create interest and diversity in your ornamental garden. Mixing different flower shapes, colors, and heights will add visual appeal and create a dynamic and vibrant space.
By carefully selecting seeds that align with your preferences and considering their compatibility with your climate, you’ll be well on your way to creating a stunning and harmonious ornamental garden.
Preparing the Pot
Before planting the seeds, it’s important to properly prepare the pot to create an optimal environment for your plants to thrive. Here are the steps to prepare the pot:
- Clean the Pot: Start by cleaning the pot to remove any dirt, dust, or debris. Wash it with mild soap and warm water, and rinse thoroughly. This step helps prevent the growth of harmful microorganisms that could affect your plants.
- Disinfect the Pot: If you’ve previously used the pot to grow other plants, it’s a good idea to disinfect it to eliminate any potential pests or diseases. You can do this by soaking the pot in a solution of one part bleach to nine parts water for about 30 minutes. Rinse the pot thoroughly after disinfecting.
- Provide Drainage: Ensure that your pot has proper drainage. Place a layer of small stones or pebbles at the bottom to facilitate water drainage and prevent waterlogging.
- Add a Potting Mix: Fill the pot with a high-quality potting mix. Avoid using garden soil, as it may not provide adequate nutrients and drainage. A well-draining potting mix enriched with organic matter will provide a good growing medium for your seeds.
- Soak the Potting Mix: Before planting the seeds, moisten the potting mix evenly. Avoid overwatering, as excess moisture can lead to fungal growth or rotting of the seeds.
Preparing the pot in advance creates a clean, nutrient-rich environment for your seeds to germinate and grow. It helps ensure the best possible conditions for healthy plant development.
Filling the Pot with Soil
Once you’ve prepared the pot, it’s time to fill it with soil. The quality and composition of the soil are crucial for the successful growth of your ornamental plants. Here’s how to properly fill the pot with soil:
- Choose the Right Soil: Select a high-quality potting soil or a blend specifically formulated for container gardening. These soils are designed to provide proper drainage, aeration, and nutrient retention for potted plants.
- Fill the Pot: Start by adding a layer of soil to the bottom of the pot, leaving enough space for the roots of your plants to spread. Then, gently place your plants or sow the seeds according to the planting instructions.
- Level the Soil: Use your hands or a gardening tool to level the soil to create a smooth and even surface. Ensure that the soil is firm enough to support the plants but not too compacted, as it should still retain moisture and allow for root growth.
- Leave Room for Watering: Leave a small space at the top of the pot to allow for watering without overflowing. This space will also prevent the soil from spilling over when you water the plants.
When filling the pot with soil, avoid compacting it too much, as this can impede water drainage and air circulation. Remember, a well-draining soil allows the roots to breathe and prevents water from pooling, which can lead to root rot.
Take note of the specific soil requirements of the plants you are growing. Some plants may prefer a more moisture-retentive soil, while others may require a well-draining mix. Adjust the type and composition of the soil accordingly to meet the needs of your plants.
Filling the pot with the appropriate soil provides a nutrient-rich foundation for your plants to establish their roots and thrive throughout their growth cycle.
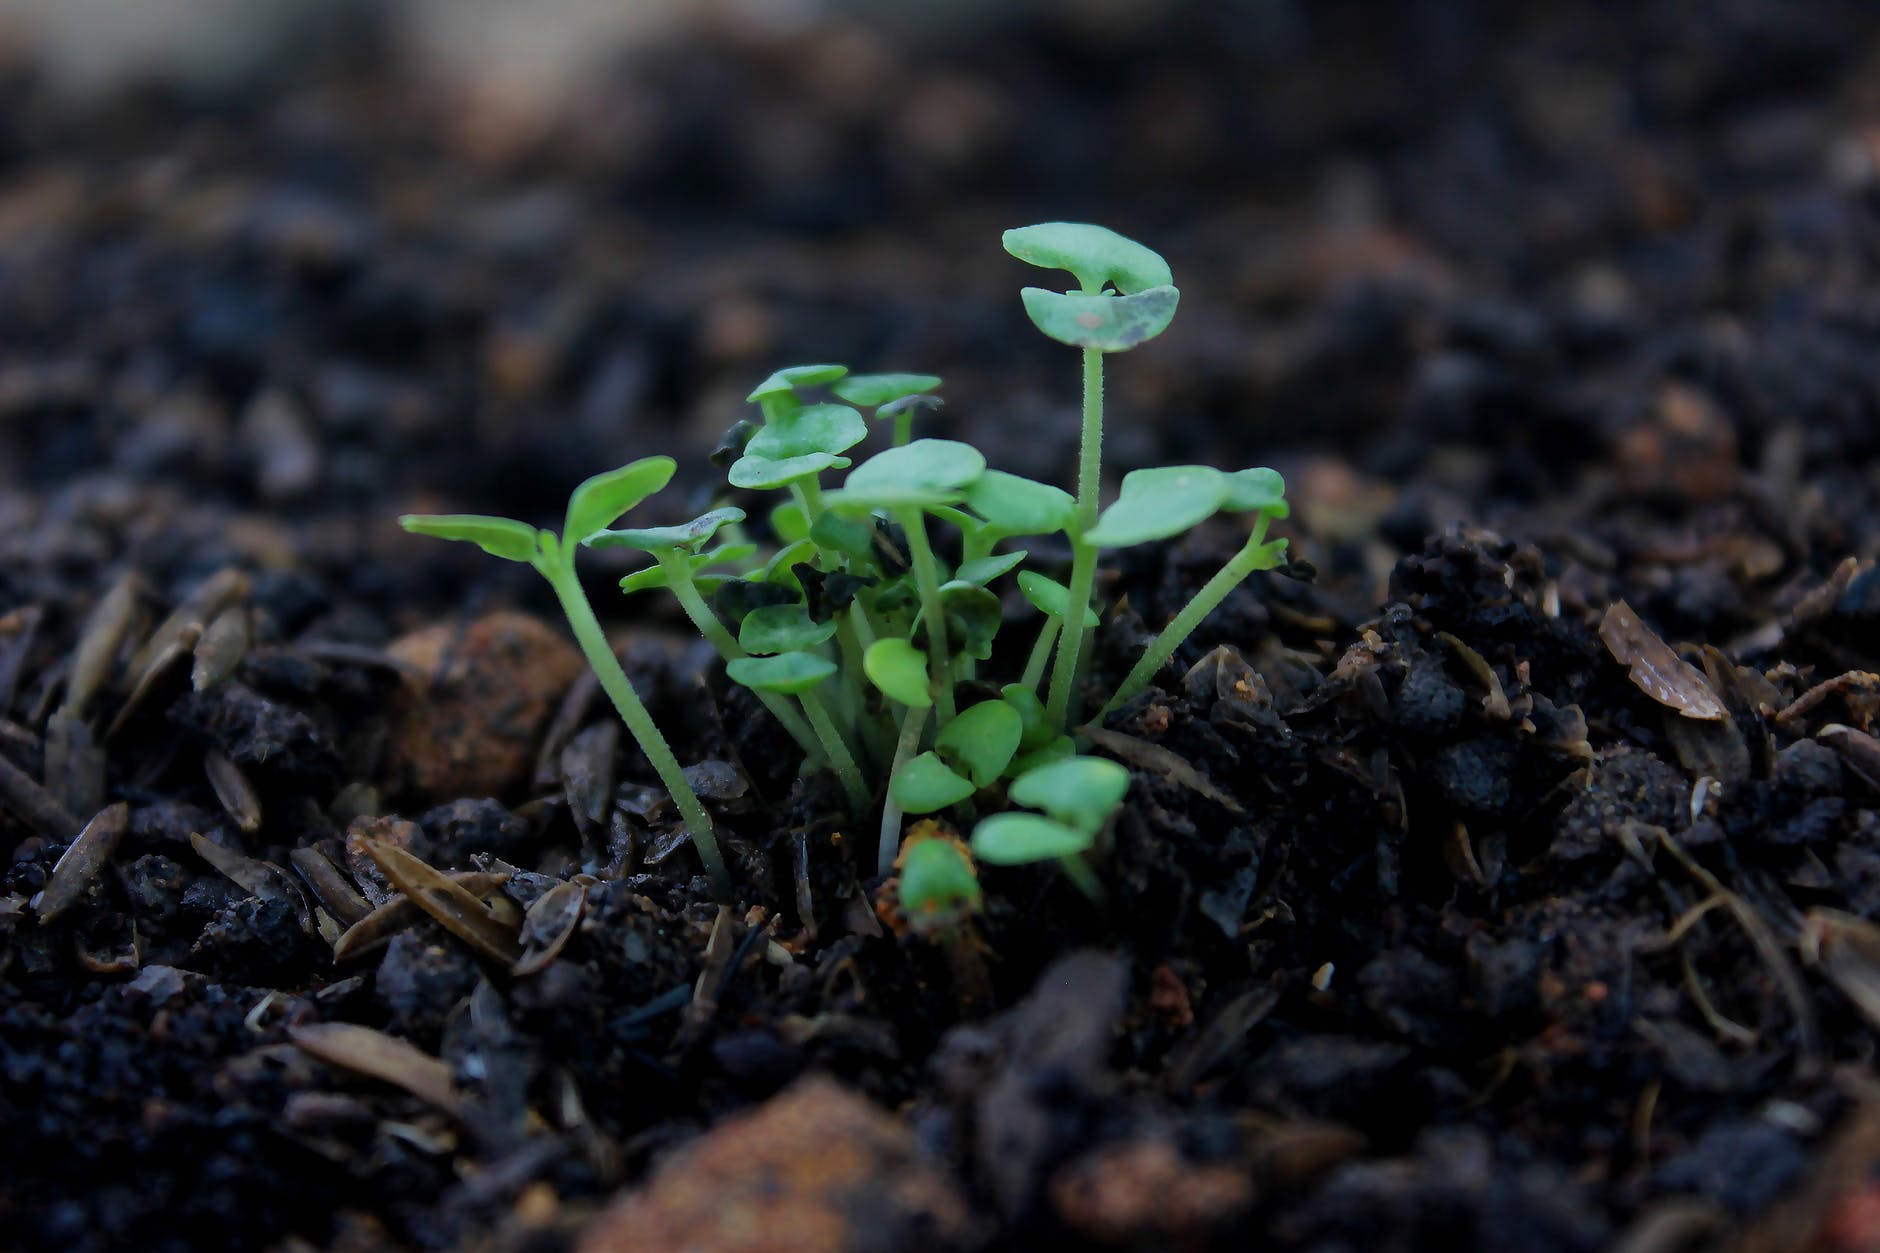
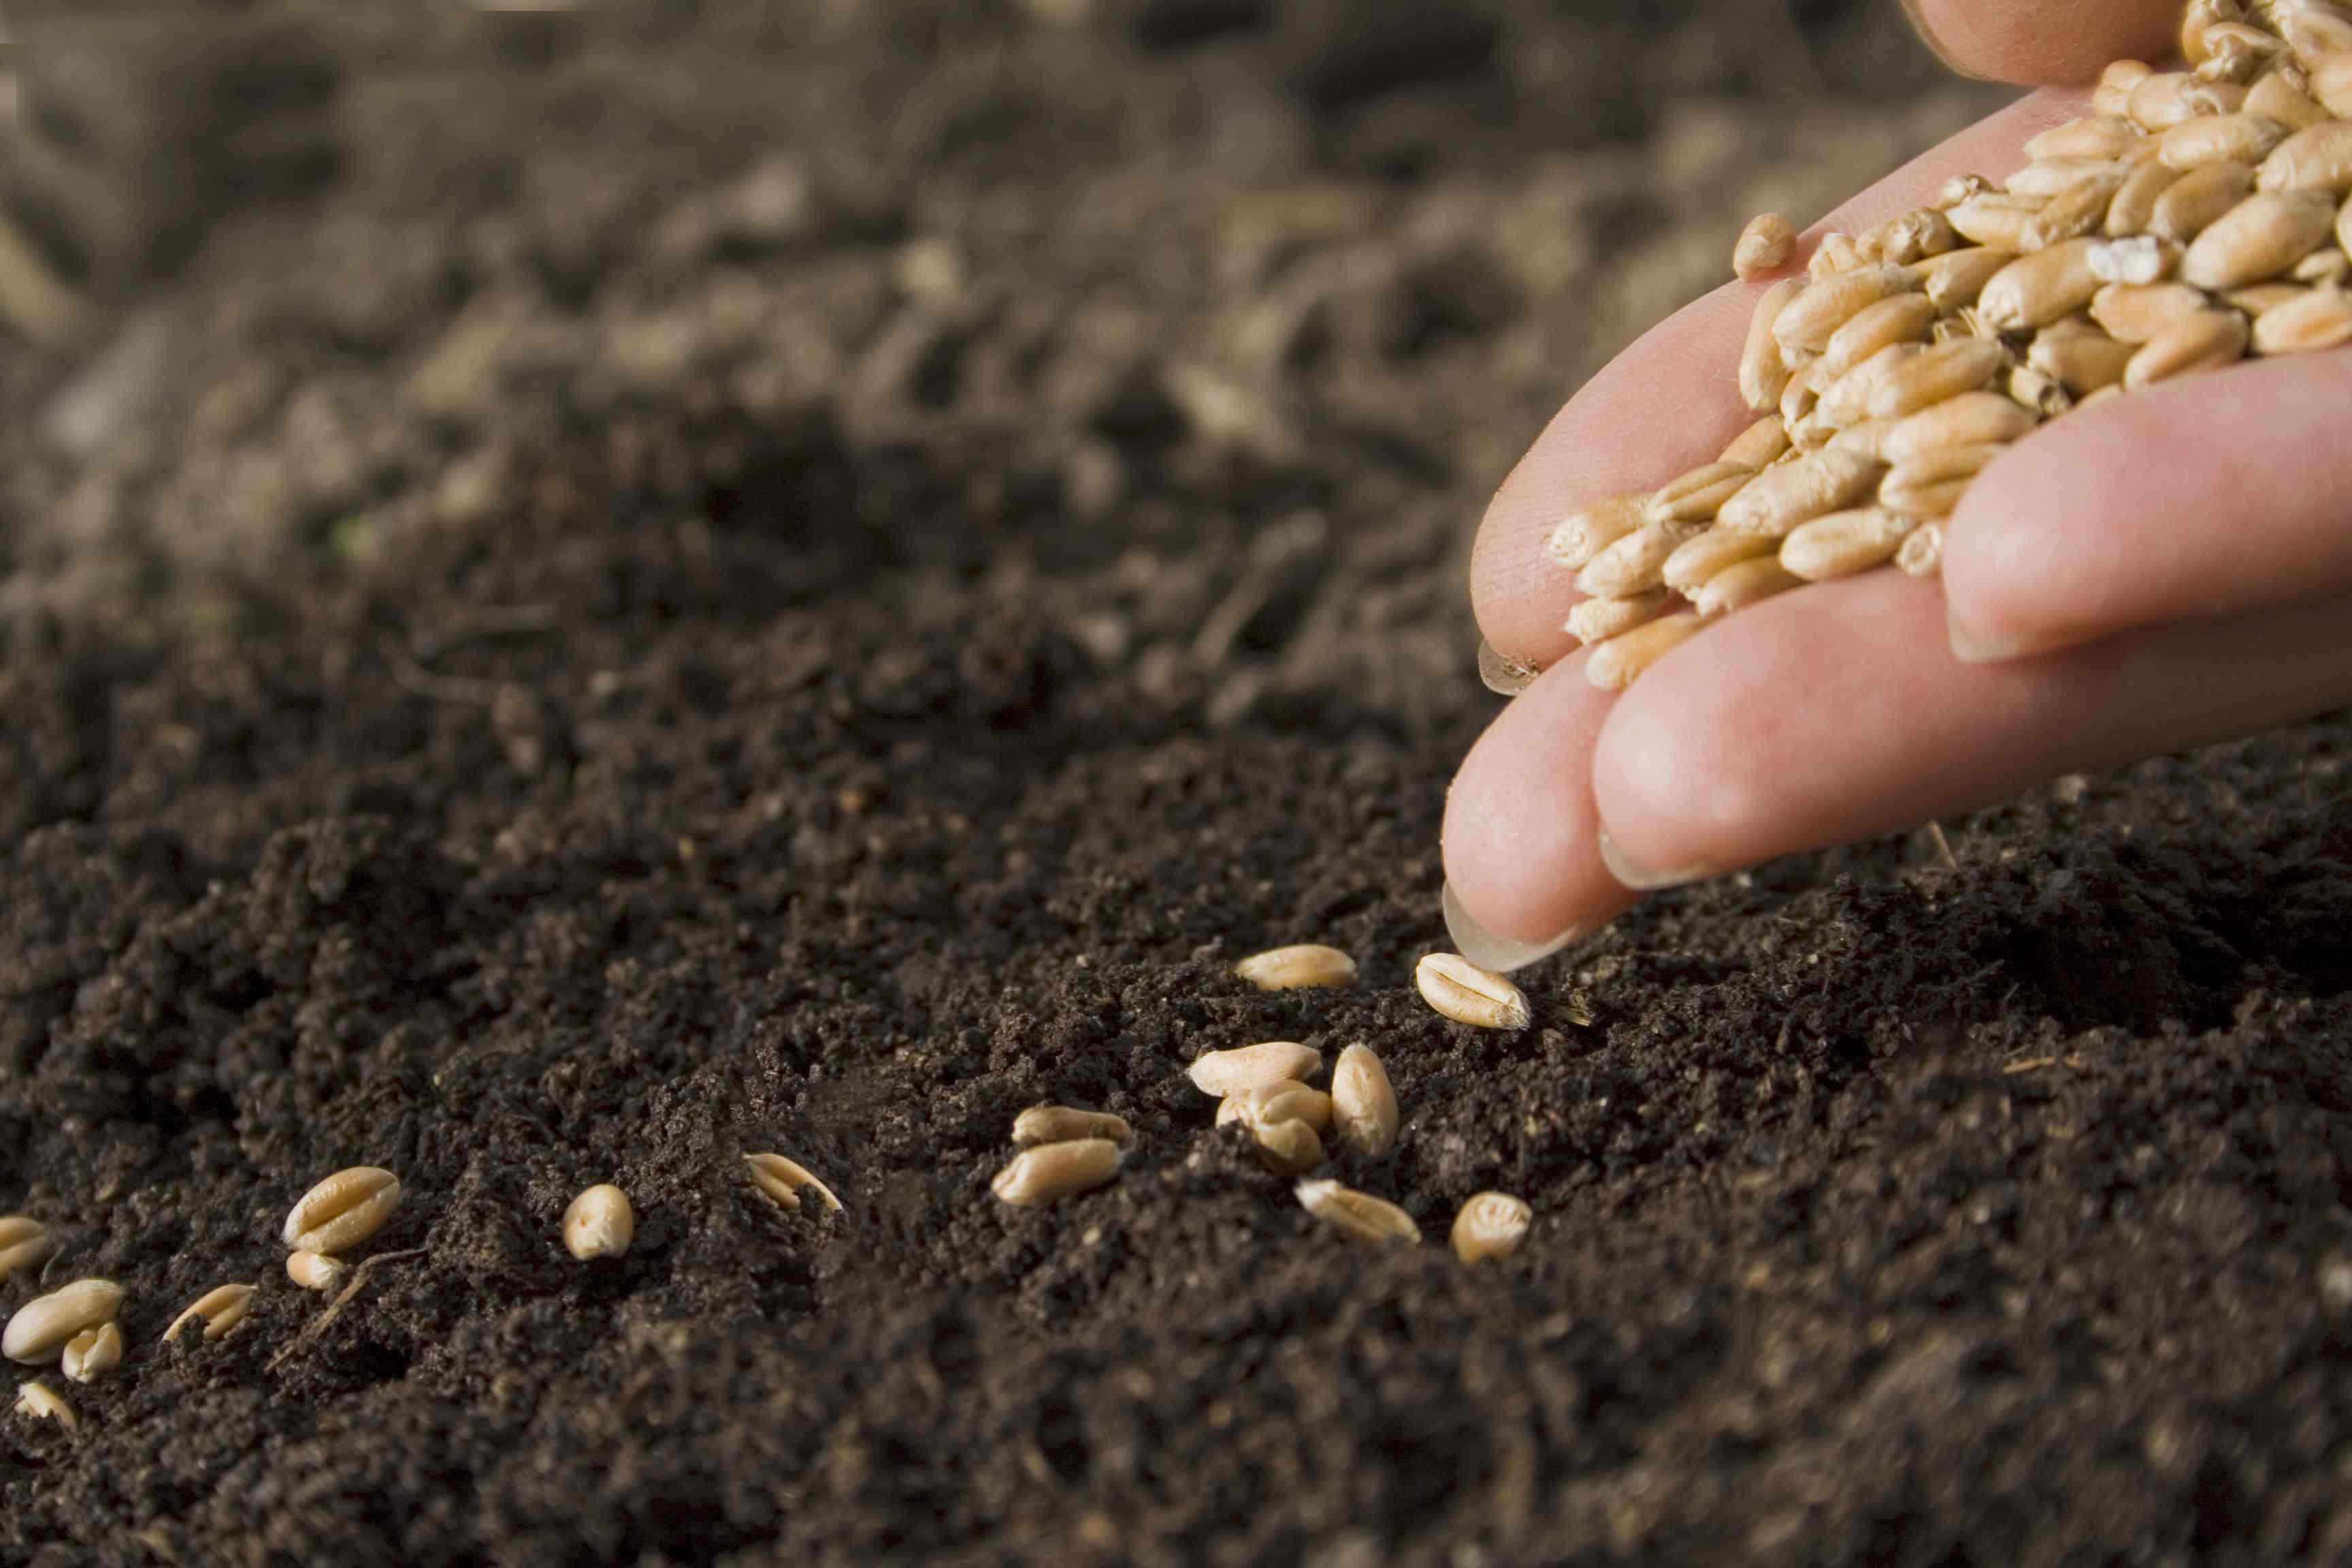
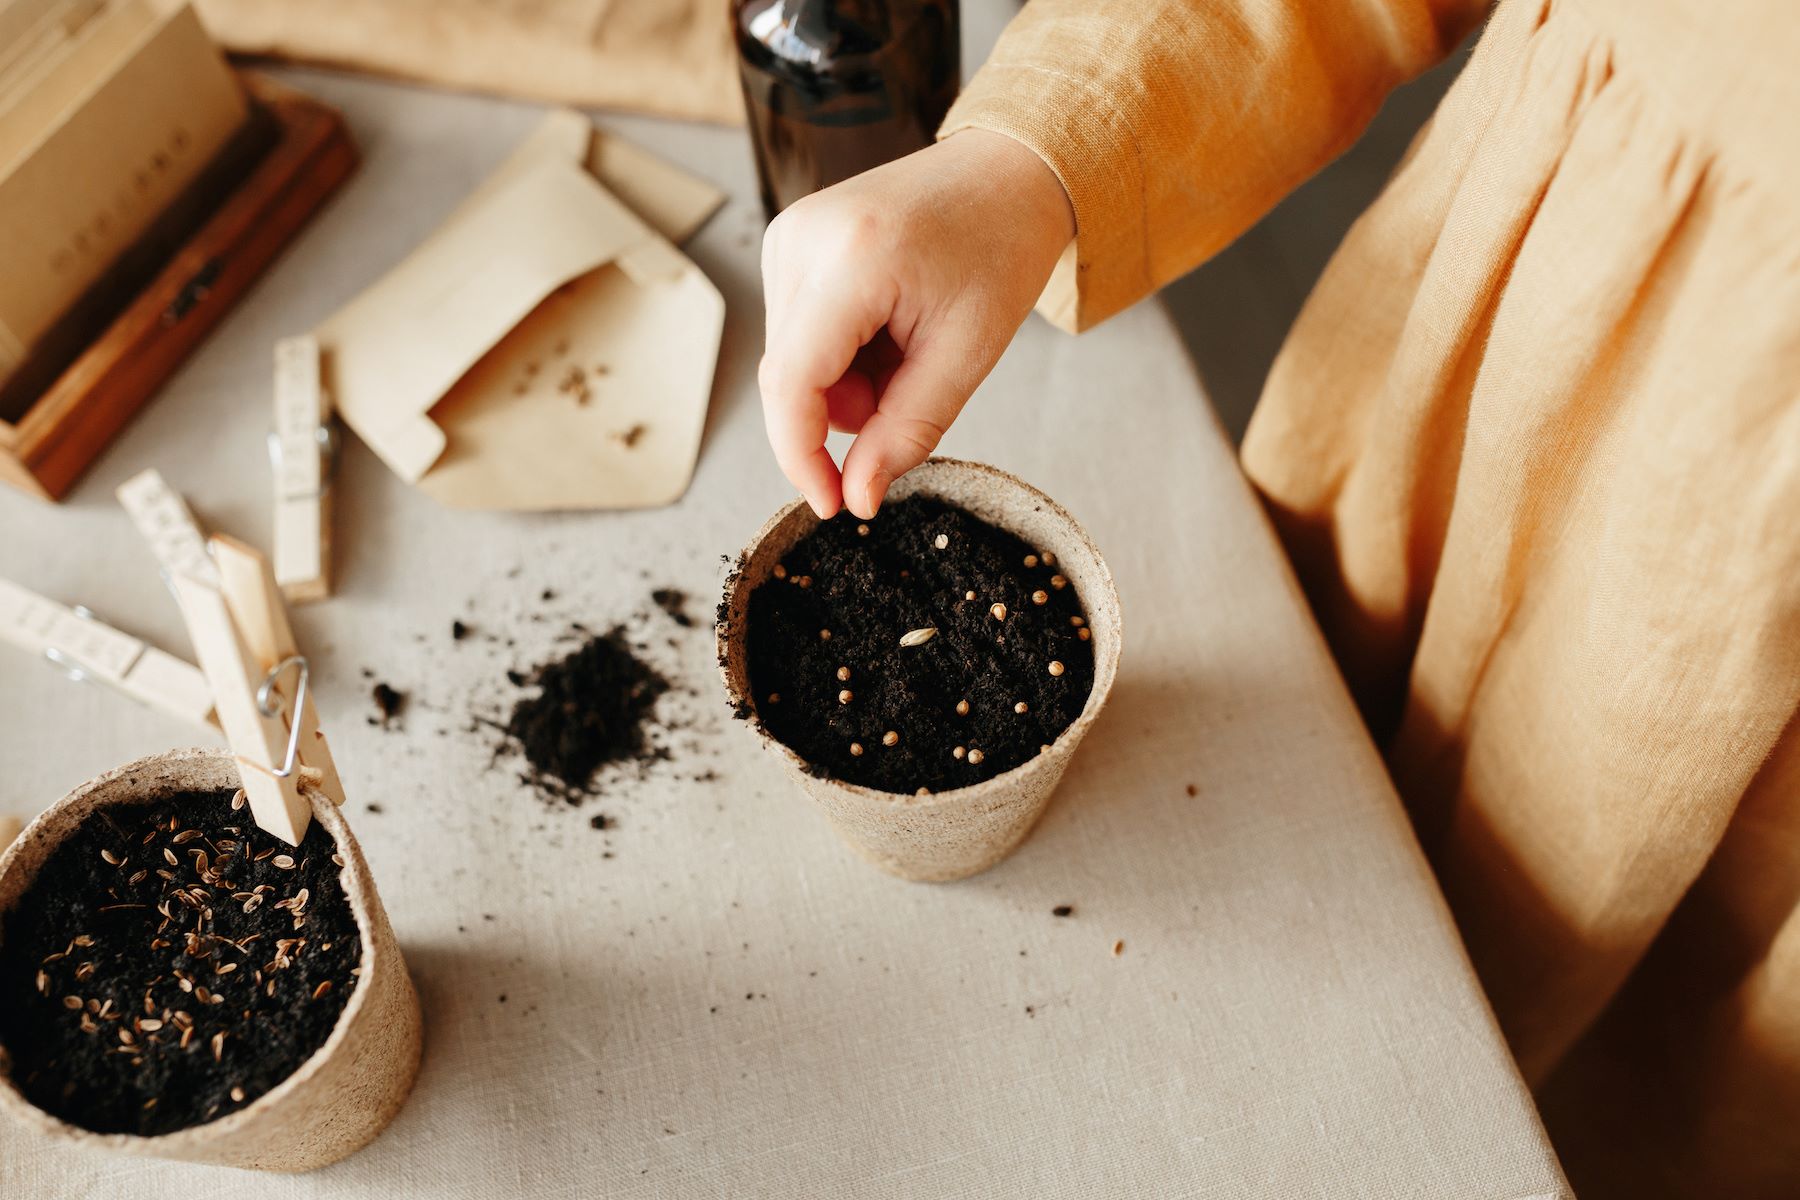
Planting the Seeds
Now that you have prepared the pot and filled it with soil, it’s time to plant the seeds. Properly planting the seeds ensures that they have the best chance of germinating and growing into healthy plants. Here’s how to plant the seeds:
- Read the Instructions: Start by reading the seed packet or any accompanying instructions. Different seeds may have specific planting requirements in terms of planting depth, spacing, and germination conditions.
- Planting Depth: Generally, the rule of thumb is to plant the seeds at a depth that is approximately two to three times their size. Use your finger or a small gardening tool to create shallow holes according to the recommended planting depth.
- Spacing: Follow the spacing instructions provided on the seed packet to ensure proper airflow and room for the plants to grow. Overcrowding can lead to competition for resources and hinder their growth.
- Planting: Place the seeds carefully into the prepared holes, one seed per hole. Gently cover the seeds with soil, ensuring they are adequately covered but not buried too deeply.
- Watering: After planting the seeds, water the pot gently to provide moisture and initiate the germination process. Use a watering can or a gentle spray nozzle to avoid displacing the seeds or causing soil erosion.
- Labeling: It’s helpful to label your pot with the name of the seeds or plant variety. This ensures that you can track and identify the plants as they grow and allows you to make any necessary adjustments to care and maintenance.
Remember to be patient and consistent with watering. Keep the soil moist but not waterlogged, as excessive moisture can lead to root rot. As the seeds germinate and the plants grow, adjust the watering frequency to meet their specific needs.
Find an appropriate location for the pot based on the light requirements of the seeds you’ve planted. Some seeds may thrive in full sun, while others may prefer partial shade. Place the pot accordingly to provide the optimal growing conditions for your seeds.
By following these steps, you are on your way to nurturing your seeds and watching them sprout into beautiful ornamental plants that will bring joy and natural beauty to your space.
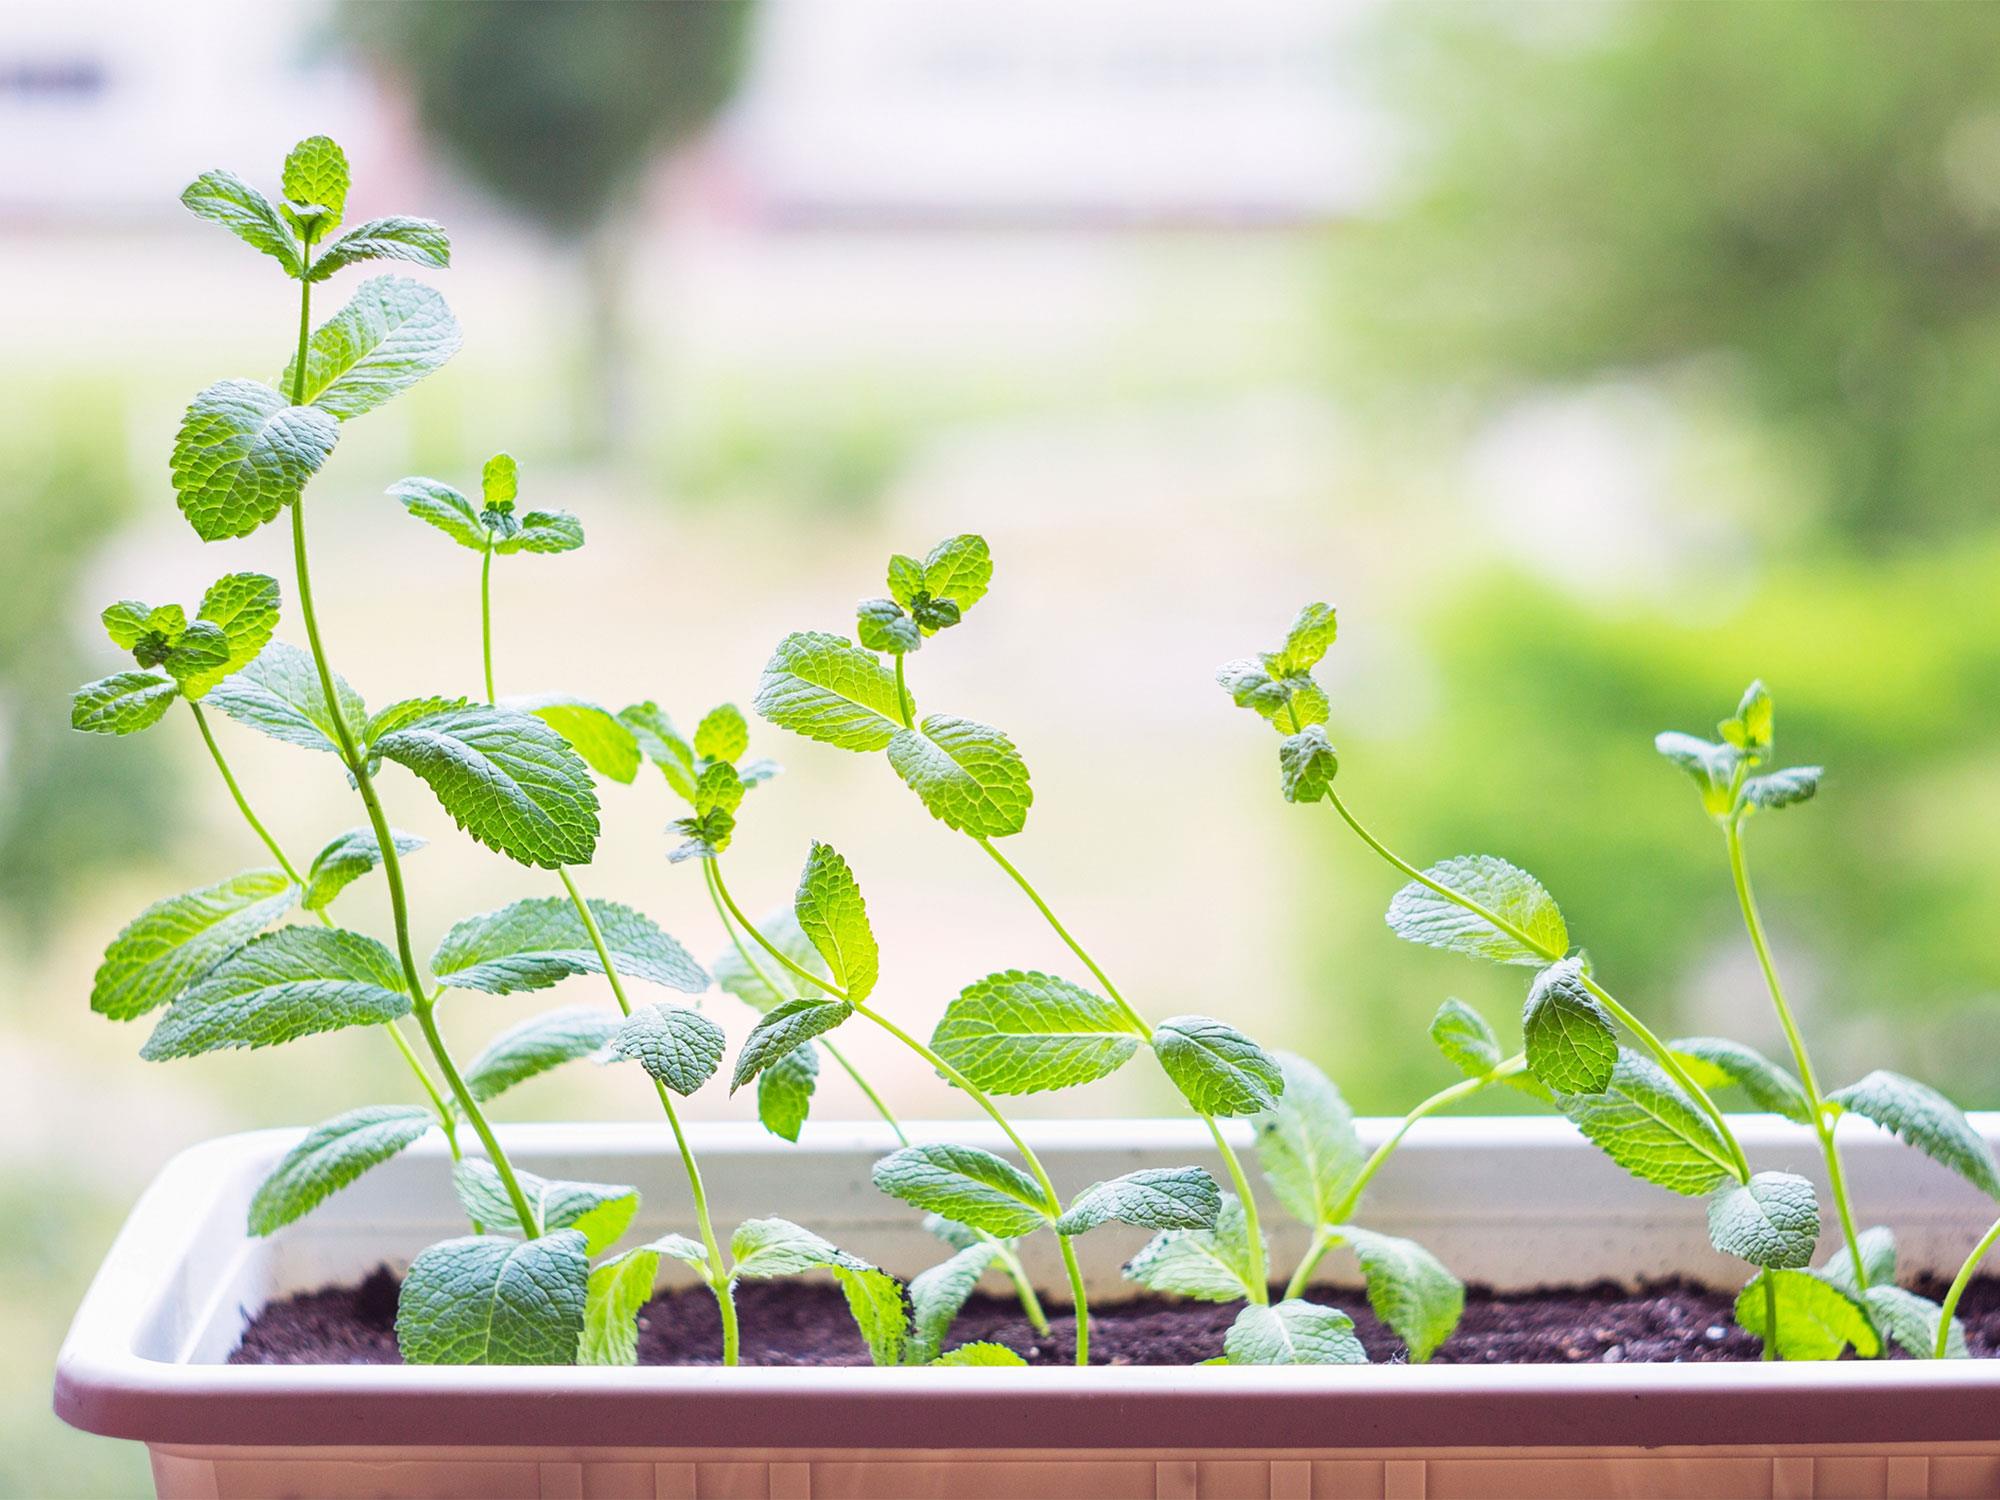
Watering and Providing Care
Proper watering and care are essential for the healthy growth and development of your ornamental plants. Here are some guidelines to follow when it comes to watering and providing care for your potted seeds:
- Watering: Water your plants consistently but avoid overwatering. Check the moisture level of the soil regularly by inserting your finger into the soil. If it feels dry, it’s time to water. Water the plants at the base, aiming for the soil rather than the leaves to prevent fungal diseases. Adjust the frequency of watering based on the specific needs of the plant species you are growing.
- Drainage: Ensure that your pot has proper drainage to prevent waterlogging. If excess water accumulates in the saucer or tray, remove it to avoid root rot. Proper drainage allows the roots to access oxygen and prevents the soil from becoming overly saturated.
- Light Exposure: Place your potted plants in an area that provides the appropriate amount of light for their specific needs. Some plants prefer full sun, while others thrive in partial or indirect sunlight. Avoid exposing delicate plants to harsh midday sun, as it can scorch the leaves.
- Fertilization: As your plants start growing, you may need to introduce fertilizers to provide them with essential nutrients. Choose a balanced fertilizer or a formula specifically formulated for flowering or foliage plants. Follow the instructions on the fertilizer package and avoid over-fertilizing, as it can damage the plants.
- Pruning: Regularly trim and prune your plants to encourage bushier growth and maintain their desired shape. Remove any dead or diseased leaves or flowers to prevent the spread of diseases. Pruning also allows for better air circulation within the plant, reducing the risk of fungal infections.
- Pest Control: Monitor your plants for any signs of pest infestation, such as yellowing leaves, holes in leaves, or webs. If you notice any pests, use organic pest control methods or insecticidal soaps to eliminate them. Regularly inspecting your plants helps in early detection and prevention of potential pest problems.
Observing and responding to the specific needs of your plants is crucial for their overall health and longevity. Remember, each plant species may have unique care requirements, so it’s important to research and familiarize yourself with the specific needs of the plants you are growing.
Ultimately, providing consistent care, including proper watering, light exposure, fertilization, pruning, and pest control, will create an environment where your ornamental plants can flourish and thrive.
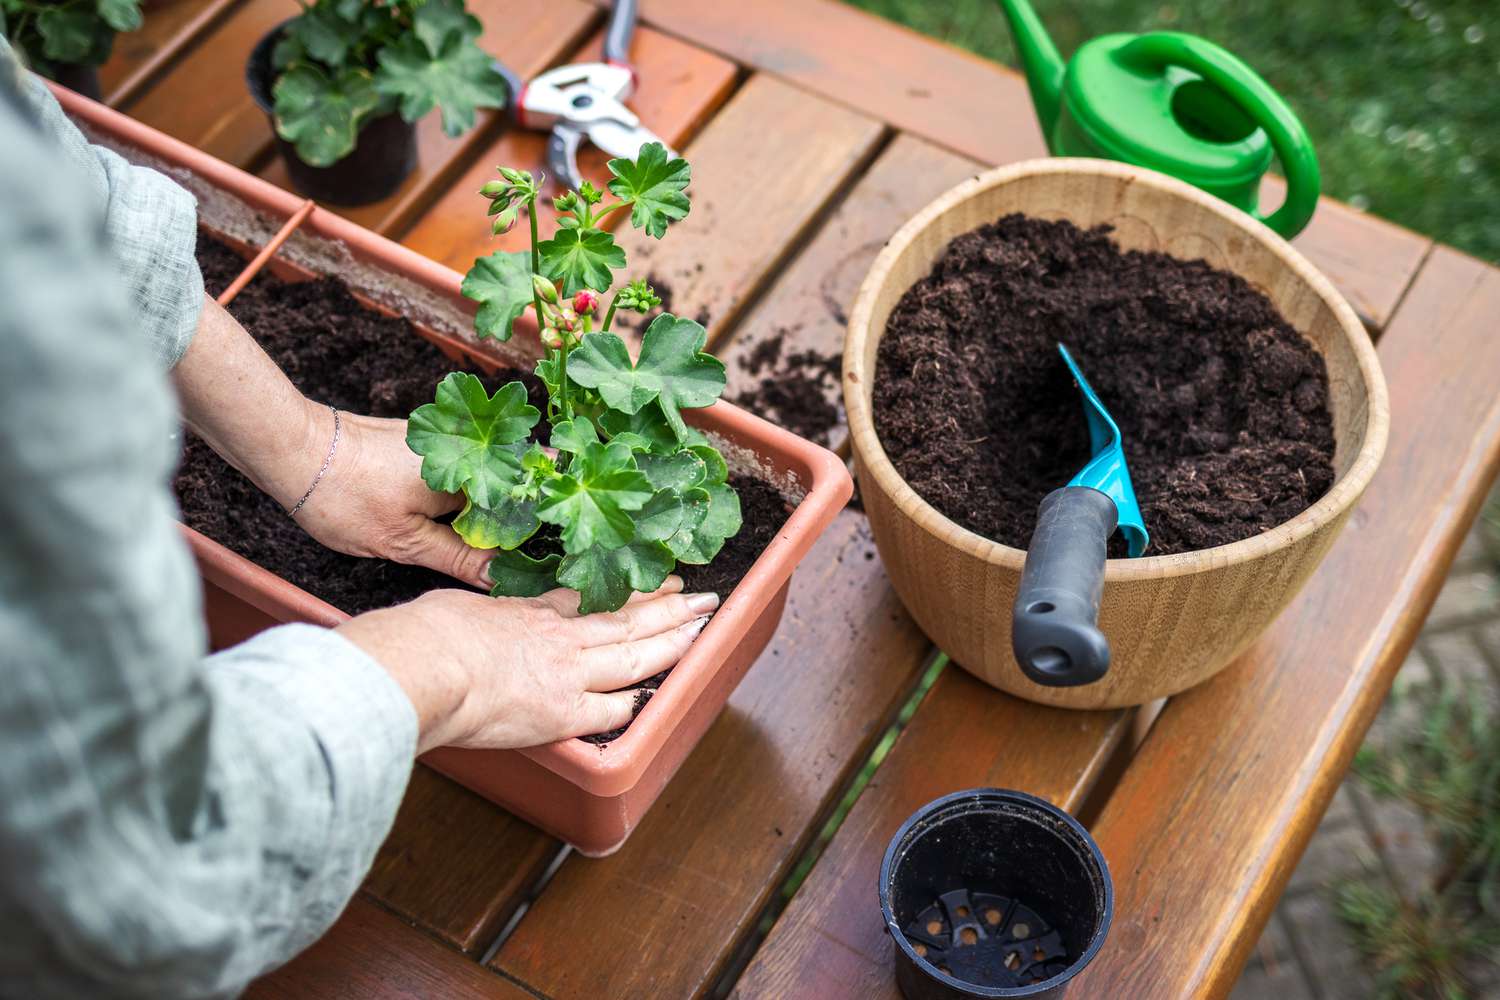
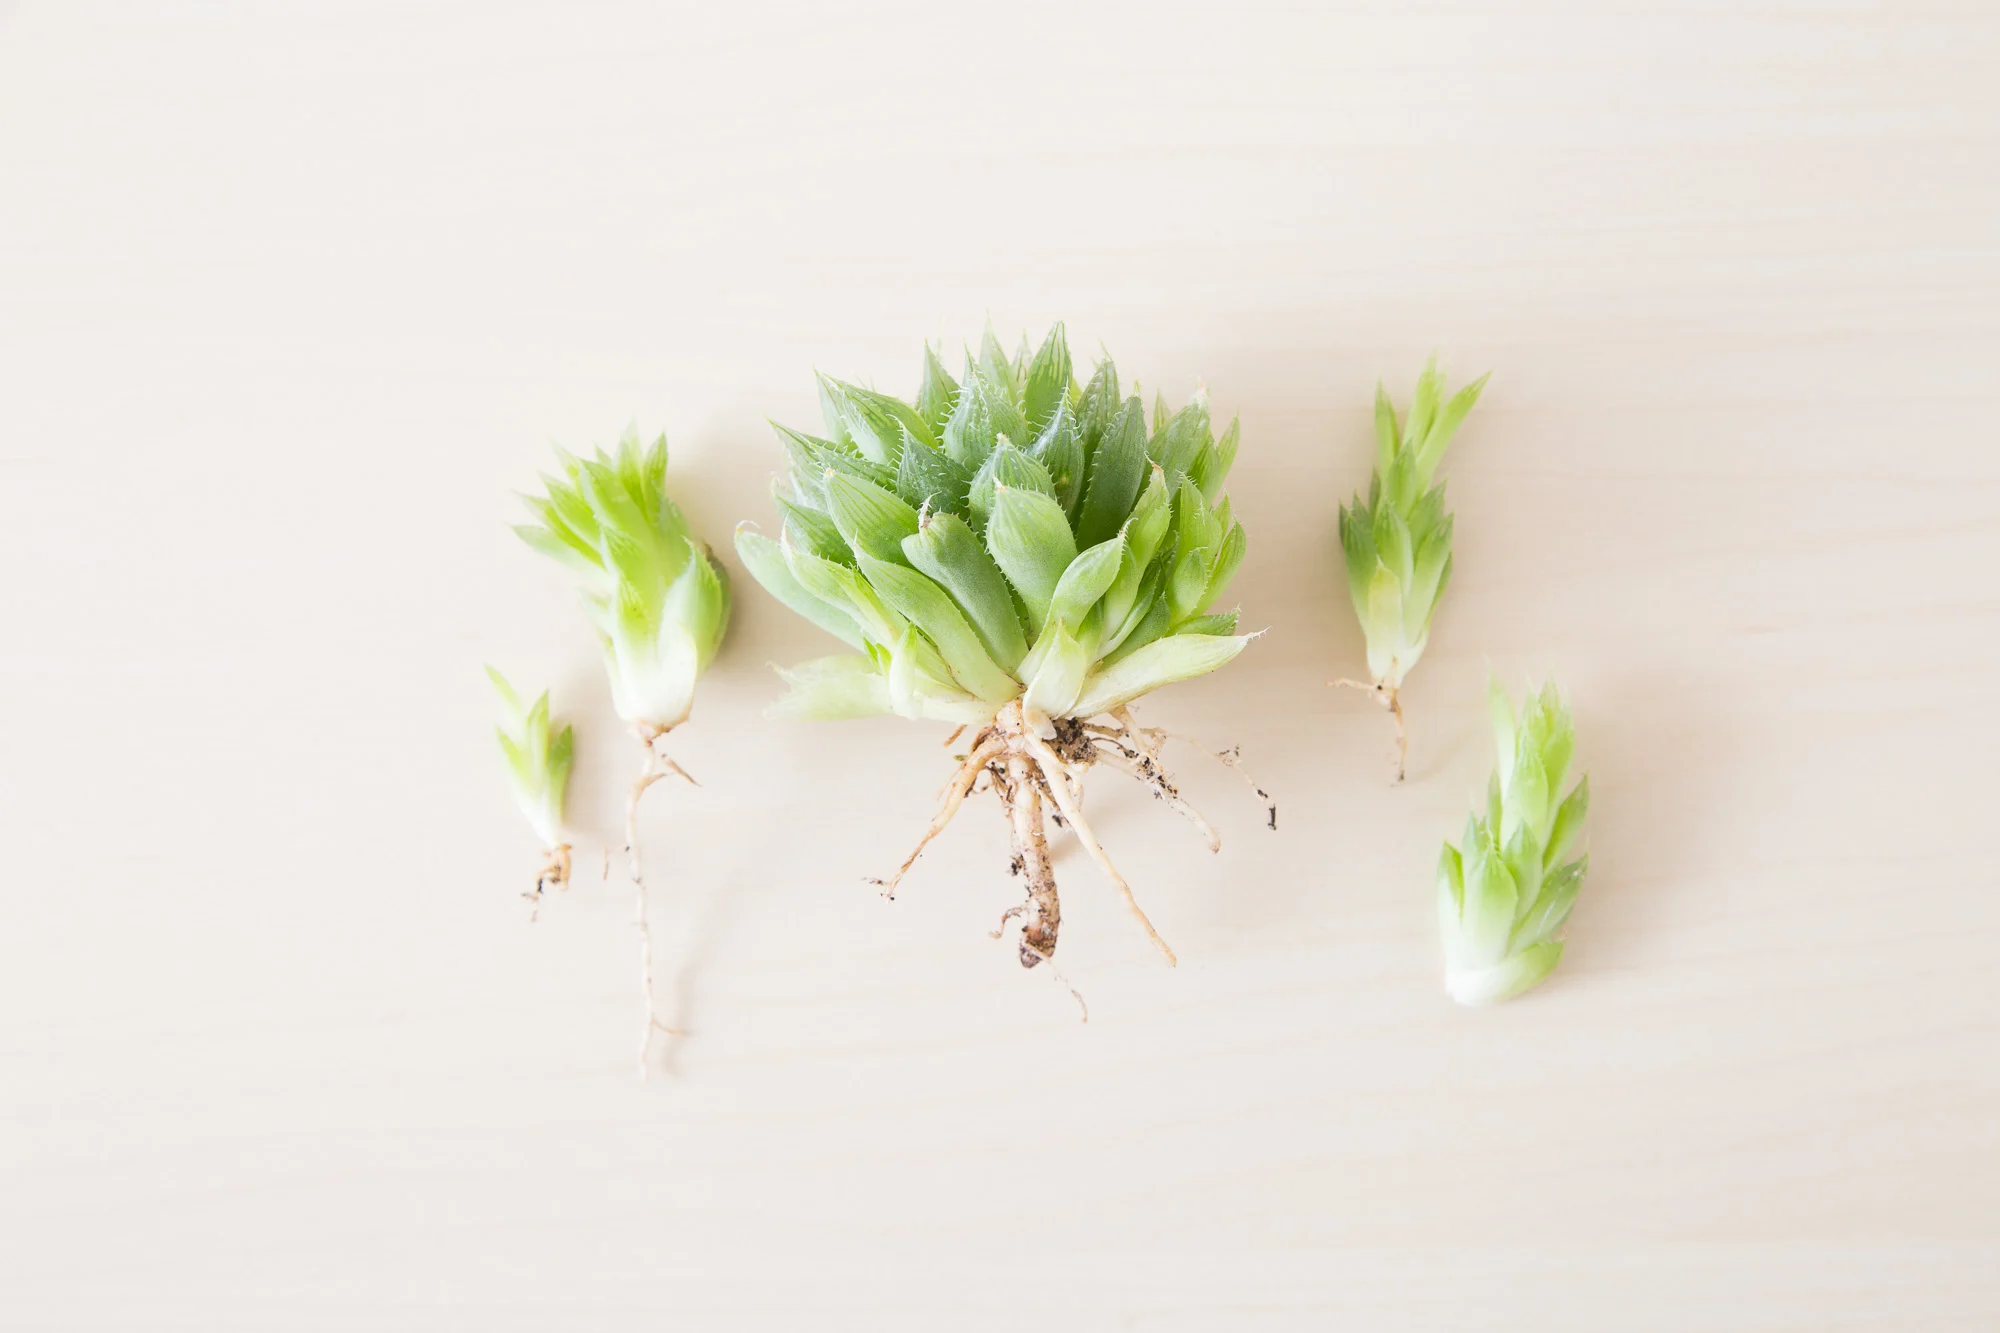
Transferring Seedlings (if applicable)
If you started your seeds in a smaller container or seed tray, it may become necessary to transfer the seedlings to larger pots as they outgrow their initial homes. This process, known as transplanting, helps provide more space for root development and ensures that the plants have enough room to grow. Here’s how to transfer seedlings:
- Choose the Right Time: Wait until the seedlings have developed their first set of true leaves before transplanting them. This usually occurs a few weeks after germination.
- Prepare the New Pot: Select a larger pot with proper drainage holes. Fill the new pot with a nutrient-rich potting mix, leaving enough space at the top for watering.
- Water the Seedlings: Water the seedlings gently before removing them from their original container. This helps loosen the soil and reduces the risk of root damage during the transplanting process.
- Remove the Seedlings: Carefully loosen the soil around the seedlings in their initial pot. Gently lift each seedling by the leaves or use a small gardening tool to lift them by the root ball, being cautious not to damage the fragile roots.
- Planting in the New Pot: Dig a hole in the new pot that is slightly larger than the root ball of the seedling. Place the seedling in the hole, making sure the soil level matches the level it was in the original pot. Gently pack the soil around the seedling to secure it in place.
- Watering: After transferring the seedlings, water them thoroughly to help the soil settle and reduce stress on the plants. Ensure that the water reaches the roots and provides moisture to the newly transplanted seedlings.
- Provide Care: Place the newly transferred seedlings in an appropriate location with the right amount of light and continue to provide proper care, including watering, fertilizing, and maintaining optimal growing conditions.
Transferring seedlings to larger pots provides them with the space they need to develop robust root systems and accommodate their growth. This process allows the plants to thrive and ensures their long-term health.
Monitor the seedlings closely after transplanting and make necessary adjustments to their care routine, such as adjusting watering frequency or providing additional support. With proper care, the seedlings will continue to grow and flourish in their new pots.
Conclusion
Congratulations! You’ve learned the essential steps for successfully planting seeds in a pot and nurturing them into beautiful ornamental plants. With the right pot, quality seeds, proper preparation, and care, your indoor or outdoor space can be transformed into a vibrant oasis.
Remember to choose the right pot size and material, ensuring adequate drainage for your plants. Select seeds that are compatible with your climate and growing season, and provide them with the optimal soil and growing conditions. Water your plants correctly, adjusting the frequency based on their needs, and be mindful of light exposure, fertilization, pruning, and pest control.
If you started with seedlings in smaller containers, be sure to transplant them to larger pots when they outgrow their initial homes to allow for proper root development. This will give your plants the necessary space to flourish.
Through your love for ornamental gardening, you have the power to create a visually stunning and enchanting environment. Watching your seeds sprout, grow, and blossom into vibrant blooms or lush foliage is truly a rewarding experience.
So, grab your pot, select some beautiful seeds, and get started on your ornamental gardening journey. With patience, care, and a touch of creativity, you’ll create a space that brings you joy and inspires others to appreciate the beauty of nature.