Home>Types of Gardening>Edible Gardening>How To Plant Arugula Seeds
Edible Gardening
How To Plant Arugula Seeds
Modified: January 22, 2024
Learn how to plant arugula seeds and start growing your own edible garden. Discover expert tips and techniques for successful cultivation.
(Many of the links in this article redirect to a specific reviewed product. Your purchase of these products through affiliate links helps to generate commission for Chicagolandgardening.com, at no extra cost. Learn more)
Table of Contents
Introduction
Welcome to the world of edible gardening! If you’re looking to add a vibrant and nutritious plant to your garden, arugula is a fantastic choice. This leafy green vegetable is not only easy to grow, but it also adds a peppery twist to your salads and dishes. Whether you’re a seasoned gardener or just starting out, planting arugula seeds can be a rewarding experience.
Arugula, also known as rocket or salad rocket, is a member of the Brassicaceae family. It is native to the Mediterranean region and has been used in cooking for centuries. The popularity of arugula has soared in recent years due to its distinct taste and health benefits.
One of the great things about arugula is that it can be grown in a variety of climates, making it a versatile option for gardeners around the world. Whether you have a large backyard or limited space on a balcony or windowsill, arugula can be successfully cultivated in containers or directly in the ground.
In this article, we will guide you through the process of planting arugula seeds step by step. From selecting the right seeds to harvesting the flavorful leaves, you’ll learn everything you need to know to have a successful arugula garden.
So, grab your gardening tools and let’s dive in! It’s time to start growing your own delicious arugula.
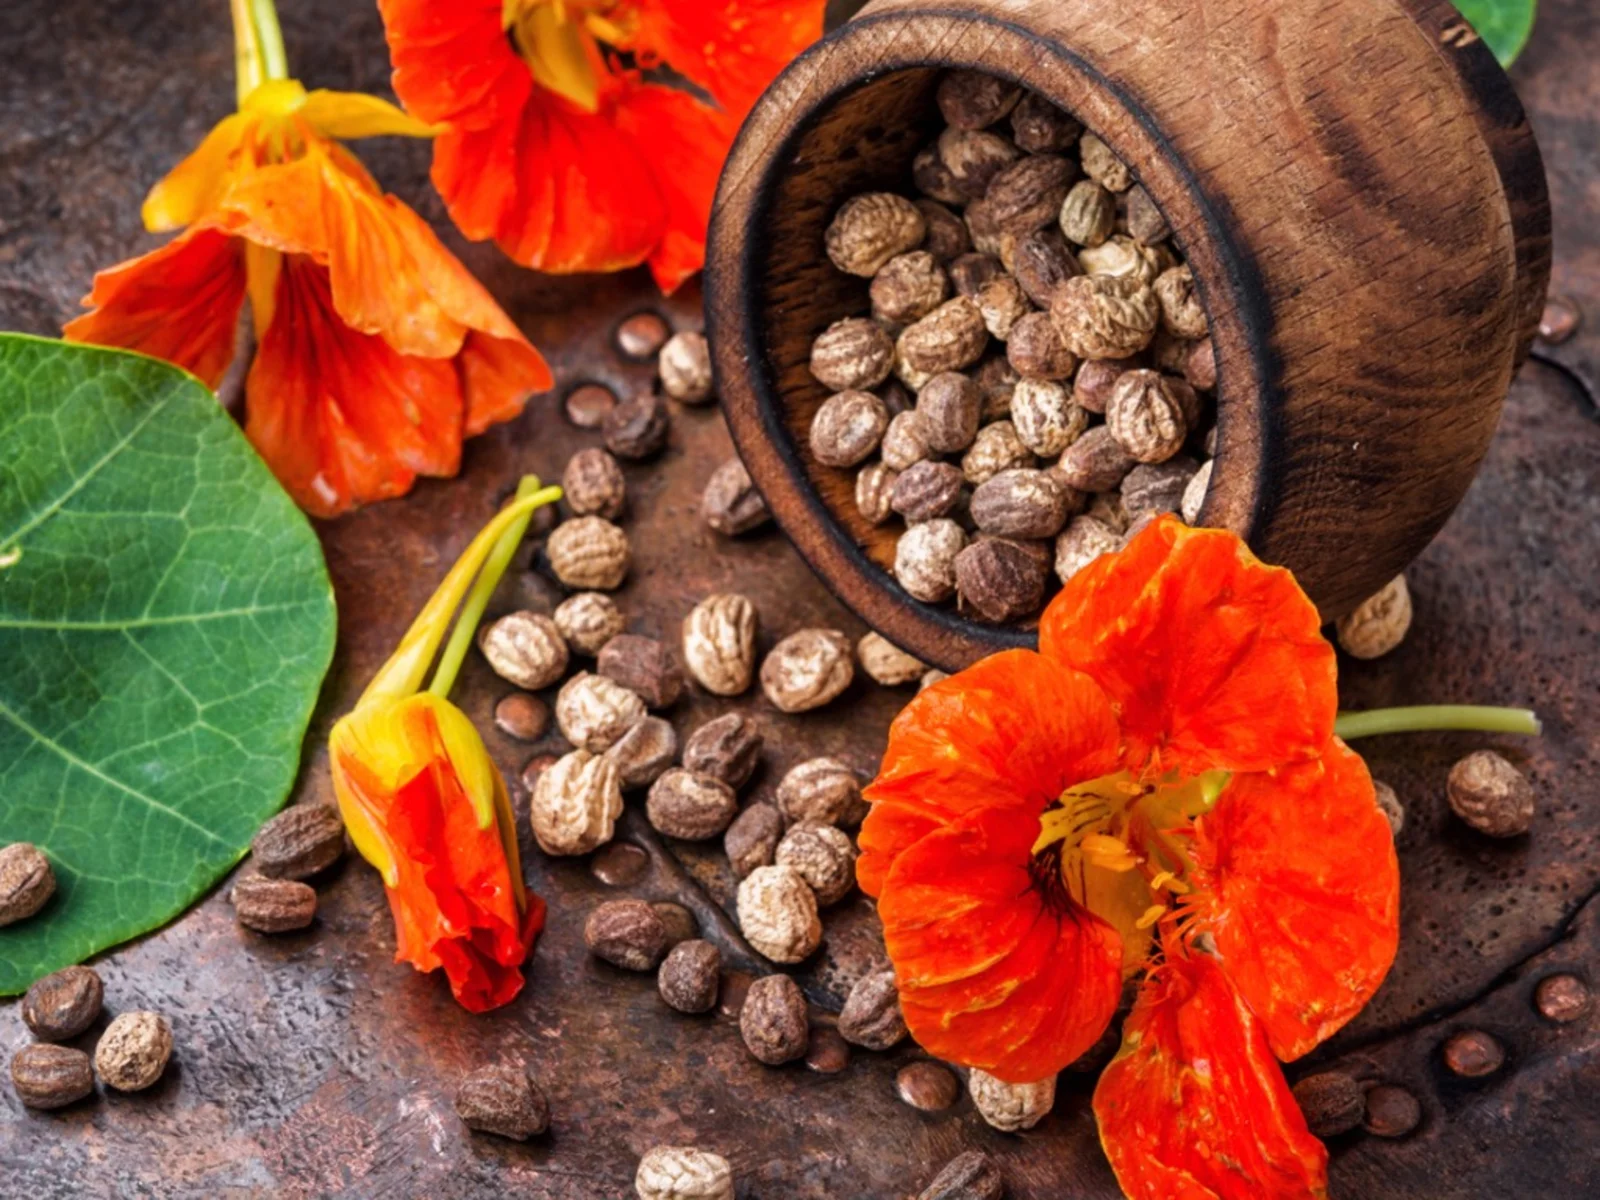
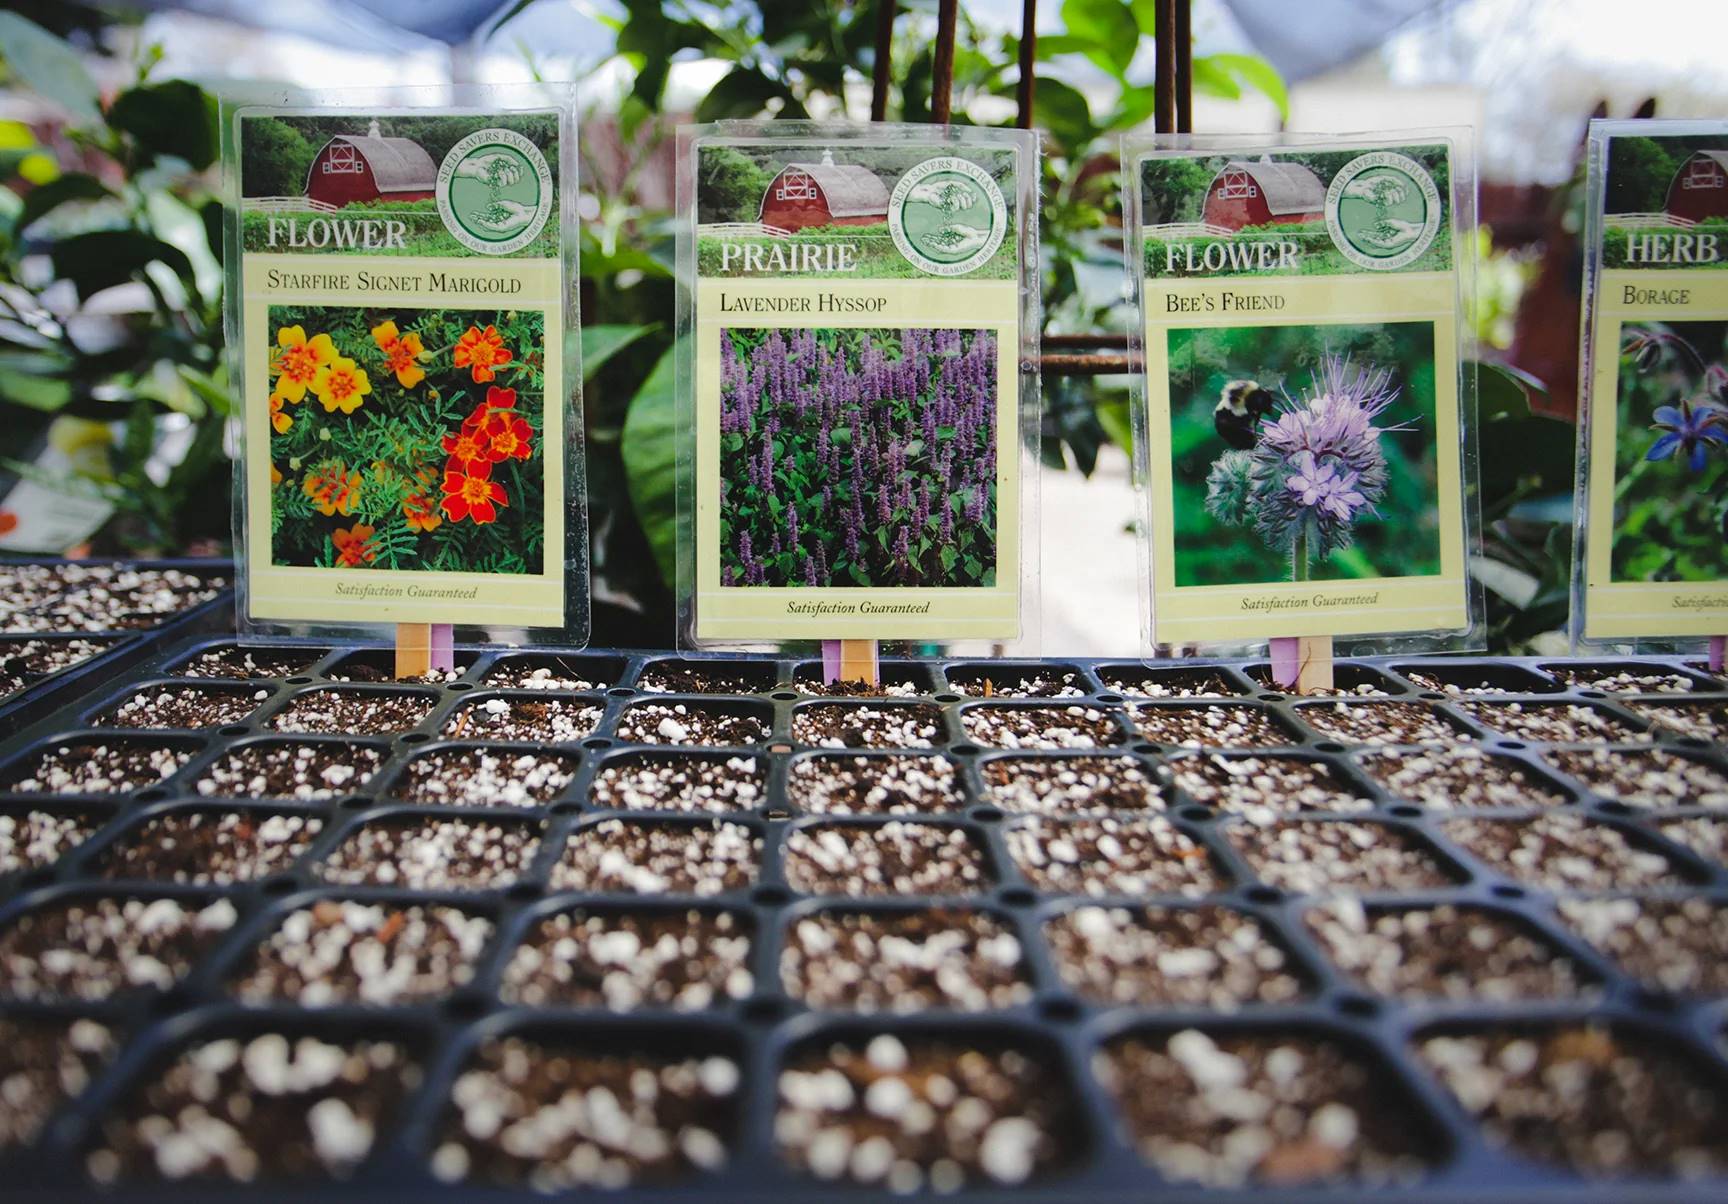
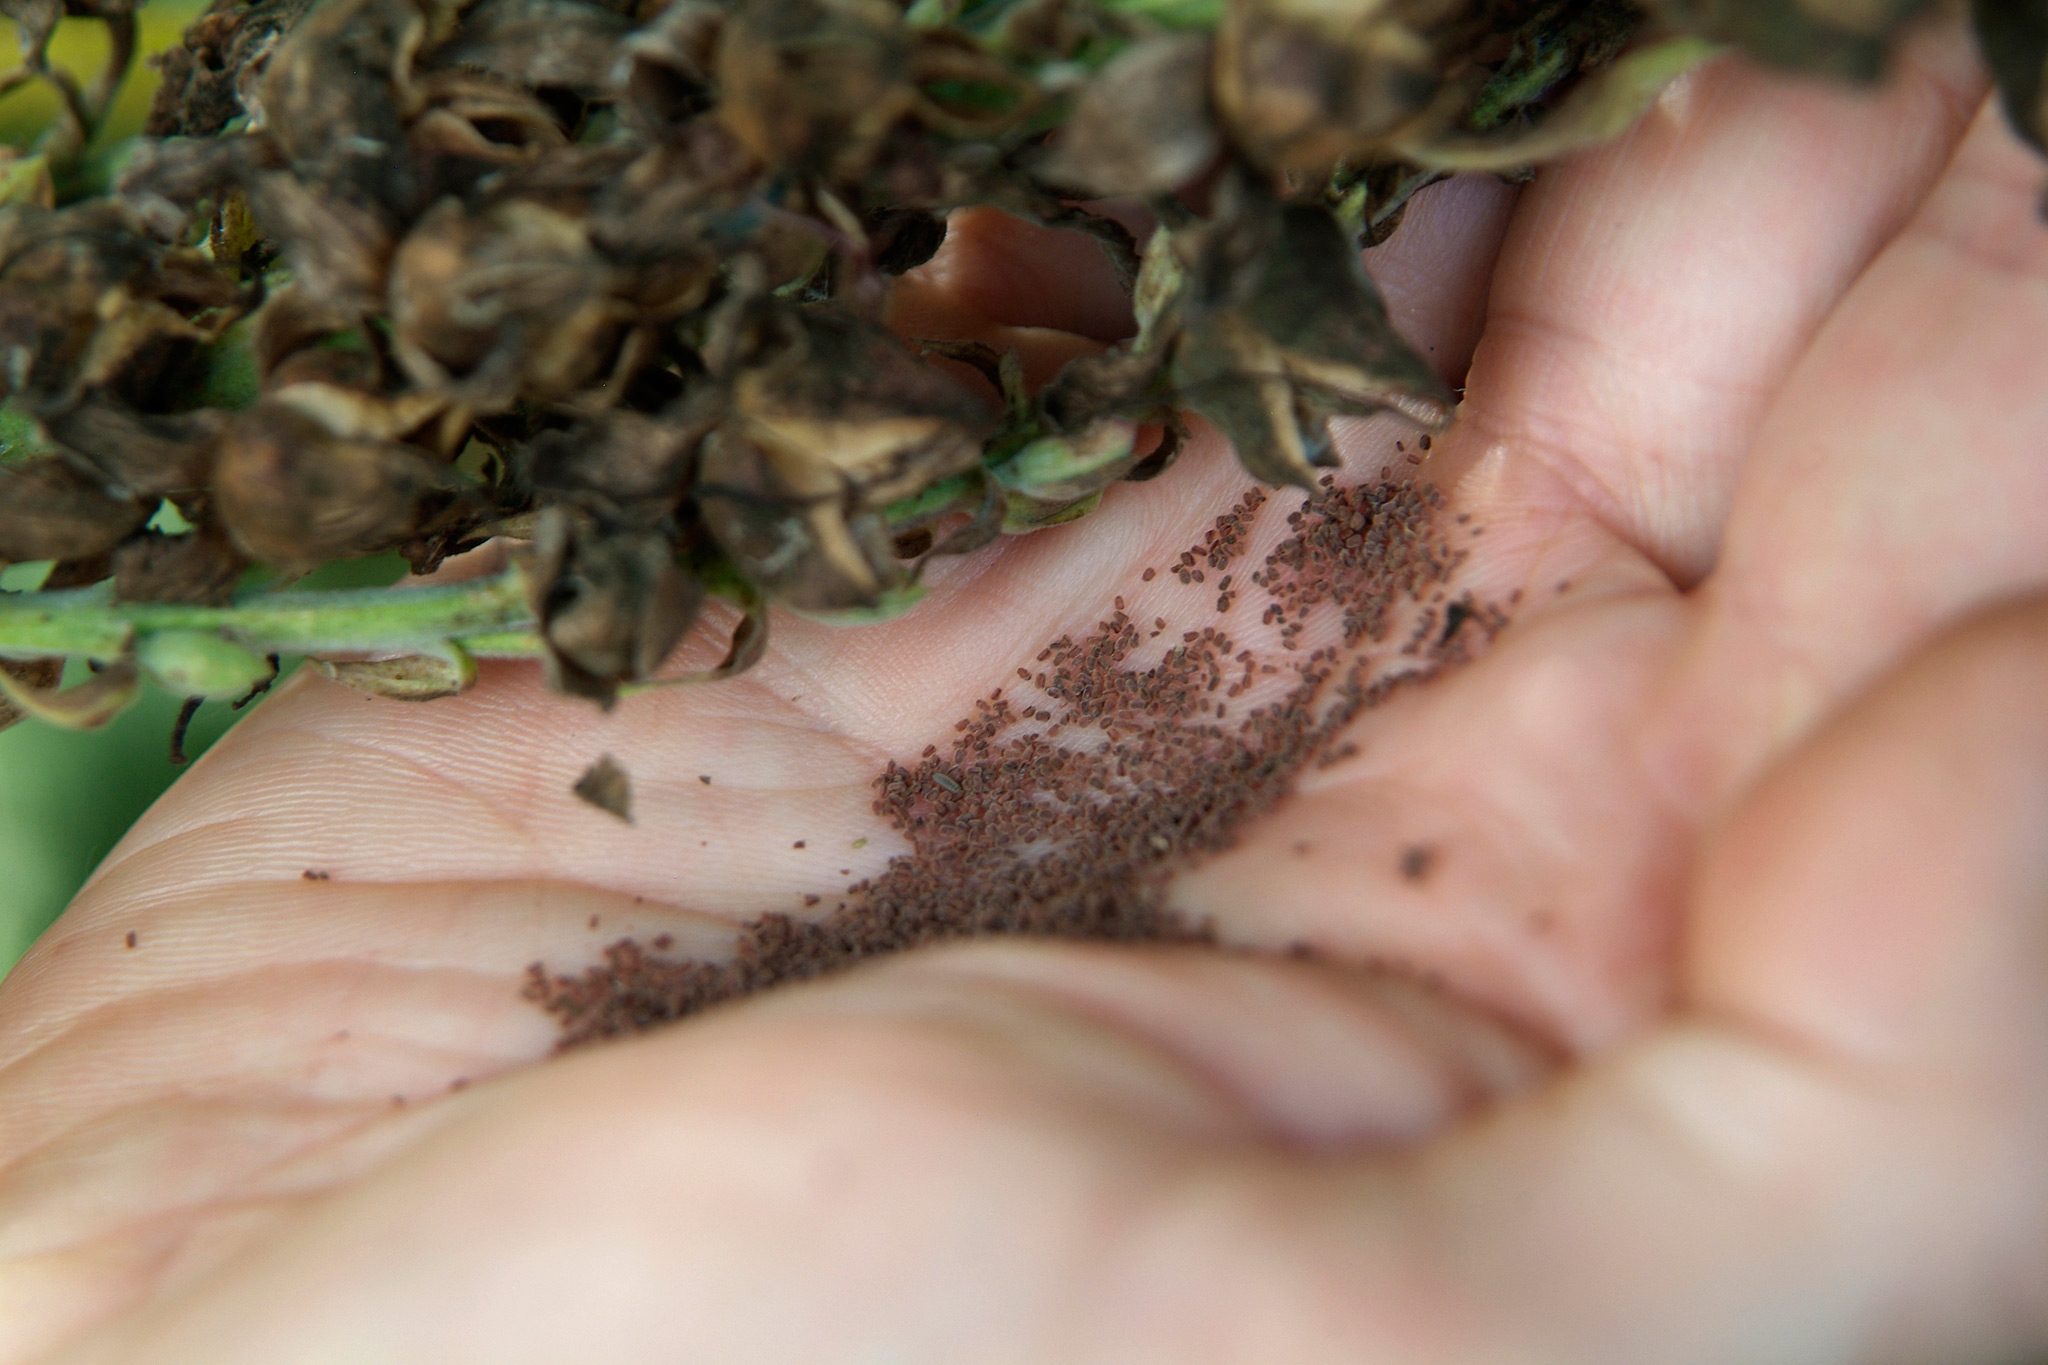
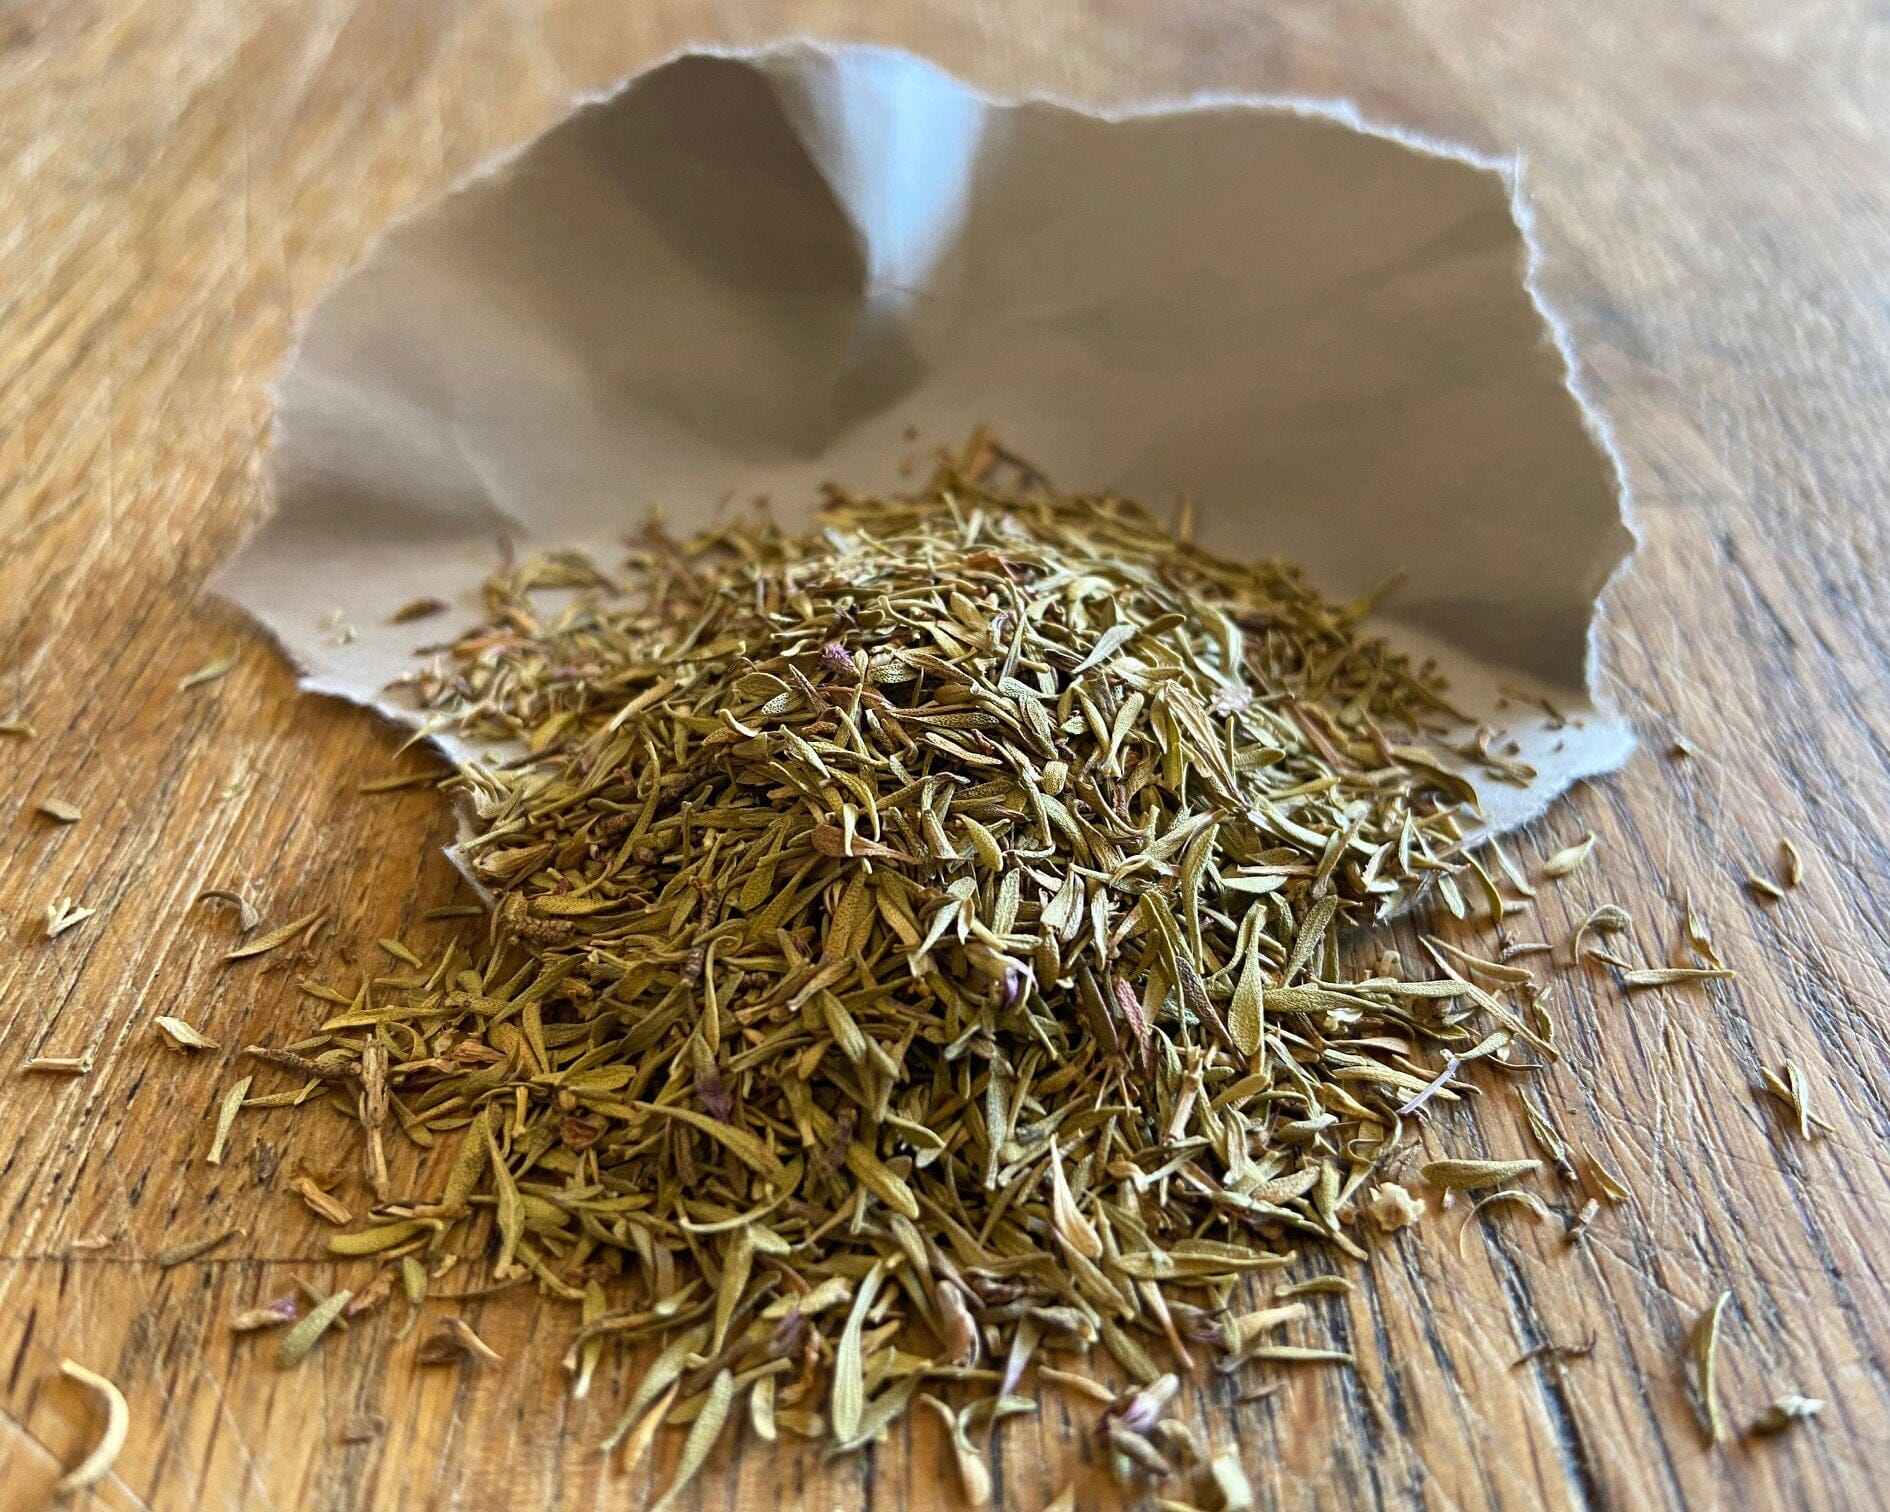
Step 1: Choosing the Right Arugula Seeds
When it comes to growing arugula, selecting the right seeds is crucial for a successful harvest. With so many varieties available, it’s important to consider a few factors before making your choice.
1. Choose heirloom or organic seeds: Opt for heirloom or organic arugula seeds whenever possible. These seeds are free from genetically modified organisms (GMOs) and have not been treated with chemicals. They are more likely to produce robust and flavorful plants.
2. Consider the growth habit: Arugula can have a bushy or rosette-like growth habit. Bushy varieties tend to have more leaves and are ideal for continuous harvesting. Rosette types are more compact and are suitable for small spaces or container gardening.
3. Check the maturity time: Arugula can be harvested at different stages, from baby leaves to fully mature plants. Consider the maturity time listed on the seed packet to determine when you can expect to start harvesting.
4. Evaluate flavor profiles: Arugula varieties can vary in taste, from mild and nutty to intensely peppery. Read descriptions and reviews of different varieties to select the flavor that appeals to you.
5. Look for disease resistance: Some arugula varieties have been bred to resist common diseases, such as downy mildew. Choosing disease-resistant seeds can help ensure the health and longevity of your plants.
6. Consider your climate: Take into account your local climate and growing season when selecting arugula seeds. Some varieties are better suited to cool or warm climates, so choose accordingly to maximize your chances of success.
Remember to read the seed packet carefully for specific instructions on planting depth, spacing, and other details. Additionally, keep in mind that arugula seeds have a relatively short shelf life, so it’s best to purchase fresh seeds each growing season for optimal results.
Now that you have chosen the perfect arugula seeds, it’s time to prepare the soil for planting. Get your gardening gloves on and let’s move on to the next step!
Step 2: Preparing the Soil for Planting
Before you start planting your arugula seeds, it’s important to prepare the soil properly. Healthy soil provides the necessary nutrients and drainage for your plants to thrive. Follow these steps to ensure your arugula has the best growing conditions:
1. Choose a sunny location: Arugula thrives in full sun but can tolerate partial shade. Select a spot in your garden that receives at least 4 to 6 hours of sunlight per day.
2. Clear the area: Remove any weeds, rocks, or debris from the planting area. Arugula prefers well-drained soil, so ensure there is no water pooling or standing in the area.
3. Test the soil: It’s helpful to know the pH and fertility of your soil. Arugula prefers slightly acidic to neutral soil with a pH range of 6 to 7. If needed, amend the soil with organic matter or compost to improve its fertility and structure.
4. Loosen the soil: Use a garden fork or tiller to loosen the soil to a depth of about 6 to 8 inches (15 to 20 cm). This allows the roots to penetrate easily and ensures good drainage.
5. Add organic matter: Incorporate well-rotted compost or aged manure into the soil. This helps improve soil fertility, structure, and moisture-holding capacity. Aim to add about 2 to 3 inches (5 to 7.5 cm) of organic matter and mix it thoroughly into the topsoil.
6. Rake the soil: Use a garden rake to level the soil surface and remove any remaining clumps or large stones. This creates a smooth, even bed for planting.
7. Water the soil: Give the soil a thorough watering to ensure it is evenly moist before planting. This helps settle it and provides a good environment for the arugula seeds to germinate.
By following these soil preparation steps, you are laying the foundation for healthy arugula plants. Once the soil is properly prepared, it’s time to move on to the exciting part – planting the arugula seeds!
Step 3: Planting the Arugula Seeds
Now that you have prepared the soil, it’s time to plant your arugula seeds. Follow these steps to ensure successful germination and establishment of your arugula plants:
1. Determine the spacing: Arugula plants need enough space to grow and develop. Check the seed packet for the recommended spacing between plants. Generally, arugula should be spaced about 4 to 8 inches (10 to 20 cm) apart in rows that are 12 to 18 inches (30 to 45 cm) apart.
2. Sow the seeds: Create shallow furrows in the prepared soil using a small garden hoe or your fingers. Sow the arugula seeds thinly and evenly along the furrows. Aim for a seed depth of about ¼ inch (6 mm).
3. Cover and firm the soil: Gently cover the seeds with soil or compost and lightly firm it down. Avoid compacting the soil too much, as this can hinder germination. The goal is to provide good seed-to-soil contact.
4. Water the seeds: After planting, give the arugula seeds a gentle but thorough watering. This helps settle the soil around the seeds and initiates the germination process. Ensure that the soil stays moist, but not waterlogged, throughout the germination period.
5. Mark the rows: To keep track of where you planted the seeds, it’s helpful to mark the rows with garden stakes or labels. This prevents accidentally disturbing the soil or overwatering the area.
6. Provide protection (optional): If you live in an area with hot summers or cooler temperatures, you may want to provide some shade or protection for the newly planted arugula seeds. This can be done with the help of shade cloth, row covers, or even an improvised shelter using garden materials.
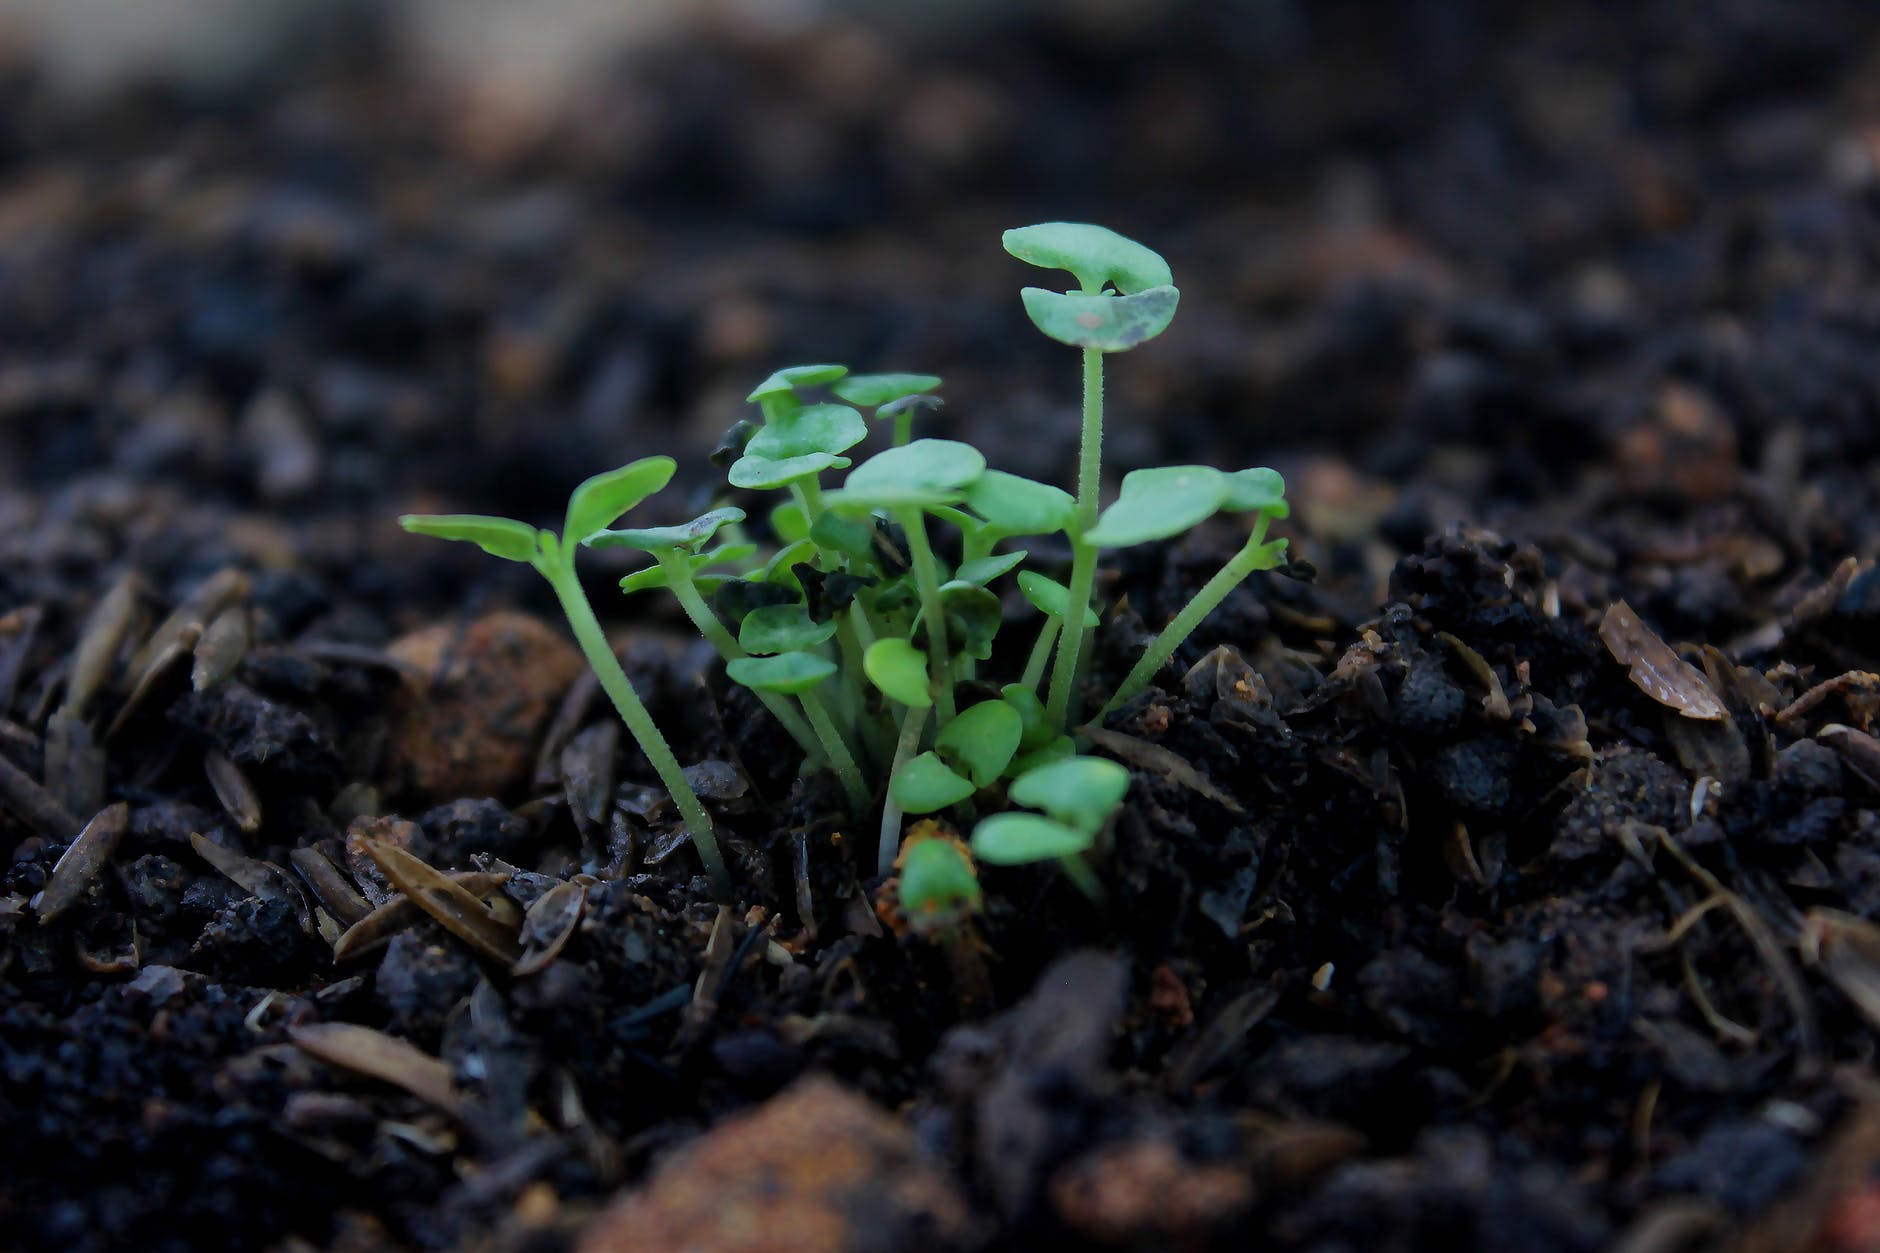
7. Watch for germination: Arugula seeds typically germinate within 7 to 14 days, depending on the temperature and conditions. Keep an eye on the soil and celebrate the sight of tiny green shoots breaking through the surface.
By following these steps, you are well on your way to growing your own arugula. As the seeds germinate and the seedlings begin to grow, you can move on to the next step of caring for your arugula plants.
Step 4: Watering and Caring for the Arugula Seedlings
Now that your arugula seedlings have emerged, it’s important to provide them with proper care to ensure healthy growth and abundant harvest. Follow these guidelines for watering and caring for your arugula plants:
1. Water regularly: Arugula plants have shallow roots, so it’s important to keep the soil evenly moist. Water your seedlings regularly, especially during dry spells or hot weather. Aim for about 1 inch (2.5 cm) of water per week, either through rainfall or supplemental watering.
2. Mulch the soil: Apply a layer of organic mulch around your arugula plants to help conserve moisture, suppress weeds, and regulate soil temperature. Use materials like straw, shredded leaves, or grass clippings. Avoid mulching directly against the seedlings, leaving a small space around the stems to prevent rot.
3. Thin the seedlings: If you have sown your seeds densely, it’s important to thin out the seedlings to provide adequate space for each plant to grow. Thin the arugula seedlings when they have 2 to 3 true leaves by removing the weaker plants, leaving the strongest ones spaced according to the recommended guidelines.
4. Fertilize as needed: Arugula is a relatively low-maintenance plant, but it can benefit from a balanced fertilizer application during its growth. Use a slow-release organic fertilizer or side dress the plants with compost every 4 to 6 weeks. Avoid over-fertilizing, as it can lead to excessive leaf growth and a bitter taste.
5. Monitor for pests and diseases: Keep an eye out for common pests like flea beetles, aphids, and caterpillars. Inspect the leaves regularly and take appropriate measures if any pest infestation is detected. Arugula is generally resistant to diseases, but it’s still important to maintain good garden hygiene and remove any damaged or diseased leaves promptly.
6. Harvest leaves regularly: Once your arugula plants reach a desirable size, you can start harvesting the leaves. Snip the outer leaves from each plant, leaving the inner leaves to continue growing. Regular harvesting encourages new growth and ensures a continuous supply of fresh arugula leaves for your meals.
7. Extend the season: In hotter climates, arugula tends to bolt and turn bitter as temperatures rise. To extend the growing season, consider providing shade or growing arugula in raised beds or containers that can be moved to a cooler spot. You can also plan multiple plantings throughout the season to ensure a steady supply of fresh arugula.
By following these watering and care tips, your arugula plants will flourish and provide you with a bountiful harvest of delicious and nutritious leaves. Now, let’s move on to the final step – harvesting the arugula leaves!
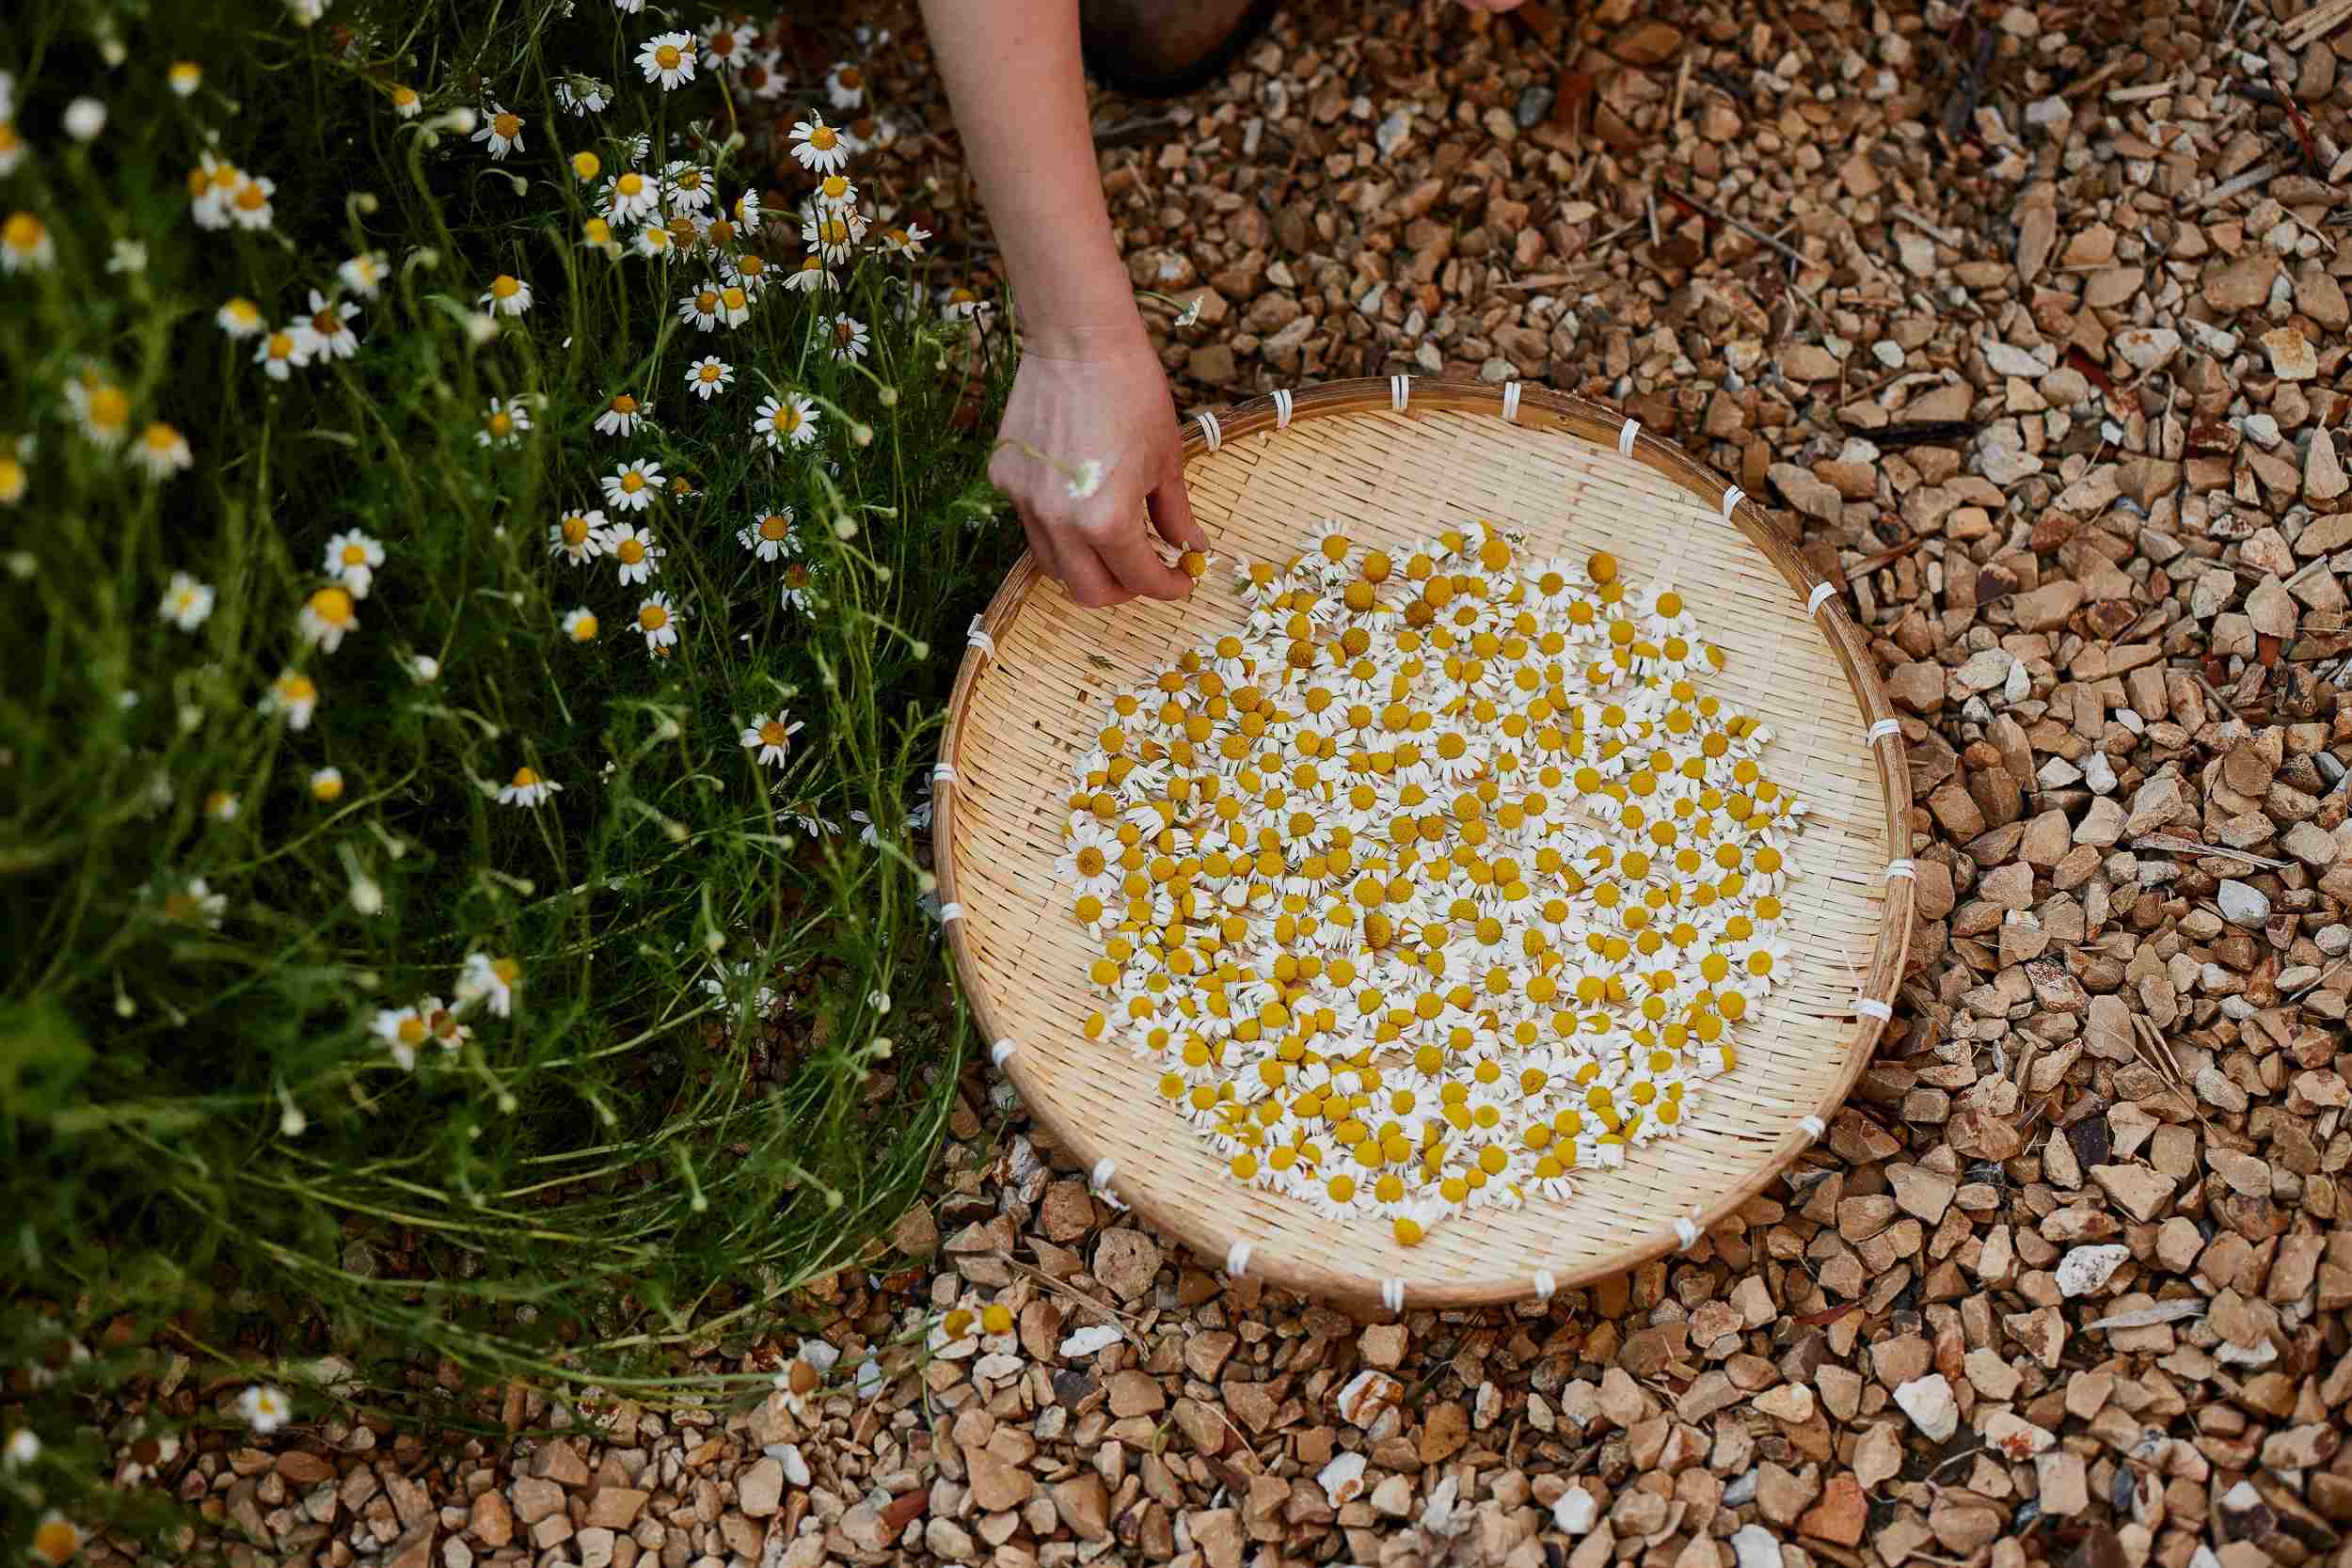
Step 5: Harvesting the Arugula Leaves
Congratulations on reaching the stage where your arugula plants are ready for harvest! Harvesting arugula leaves at the right time ensures peak flavor and tenderness. Follow these steps to harvest your arugula leaves:
1. Wait for the right time: Arugula leaves can be harvested at any stage of growth, from baby leaves to mature plants. Younger leaves are more tender and milder in flavor, while more mature leaves have a stronger, peppery taste. Harvest according to your preference.
2. Start with outer leaves: Begin by harvesting the outer leaves of the plant. Use a pair of sharp scissors or garden snips to cut the leaves close to the base, leaving the inner leaves to continue growing. Avoid cutting too much of the plant in one go as it may hinder its ability to regrow.
3. Harvest from the bottom: As the plant grows, continue harvesting the outer leaves from the bottom of the plant. This allows the inner leaves to develop and ensures a continuous supply of fresh arugula. Repeat this process every few days or as needed.
4. Don’t let it bolt: Arugula tends to bolt and turn bitter in hot weather. To prevent premature bolting, harvest the leaves frequently and keep the plants well-watered. If flowering stalks appear, it’s a sign that the plant is maturing and may have a bitter taste.
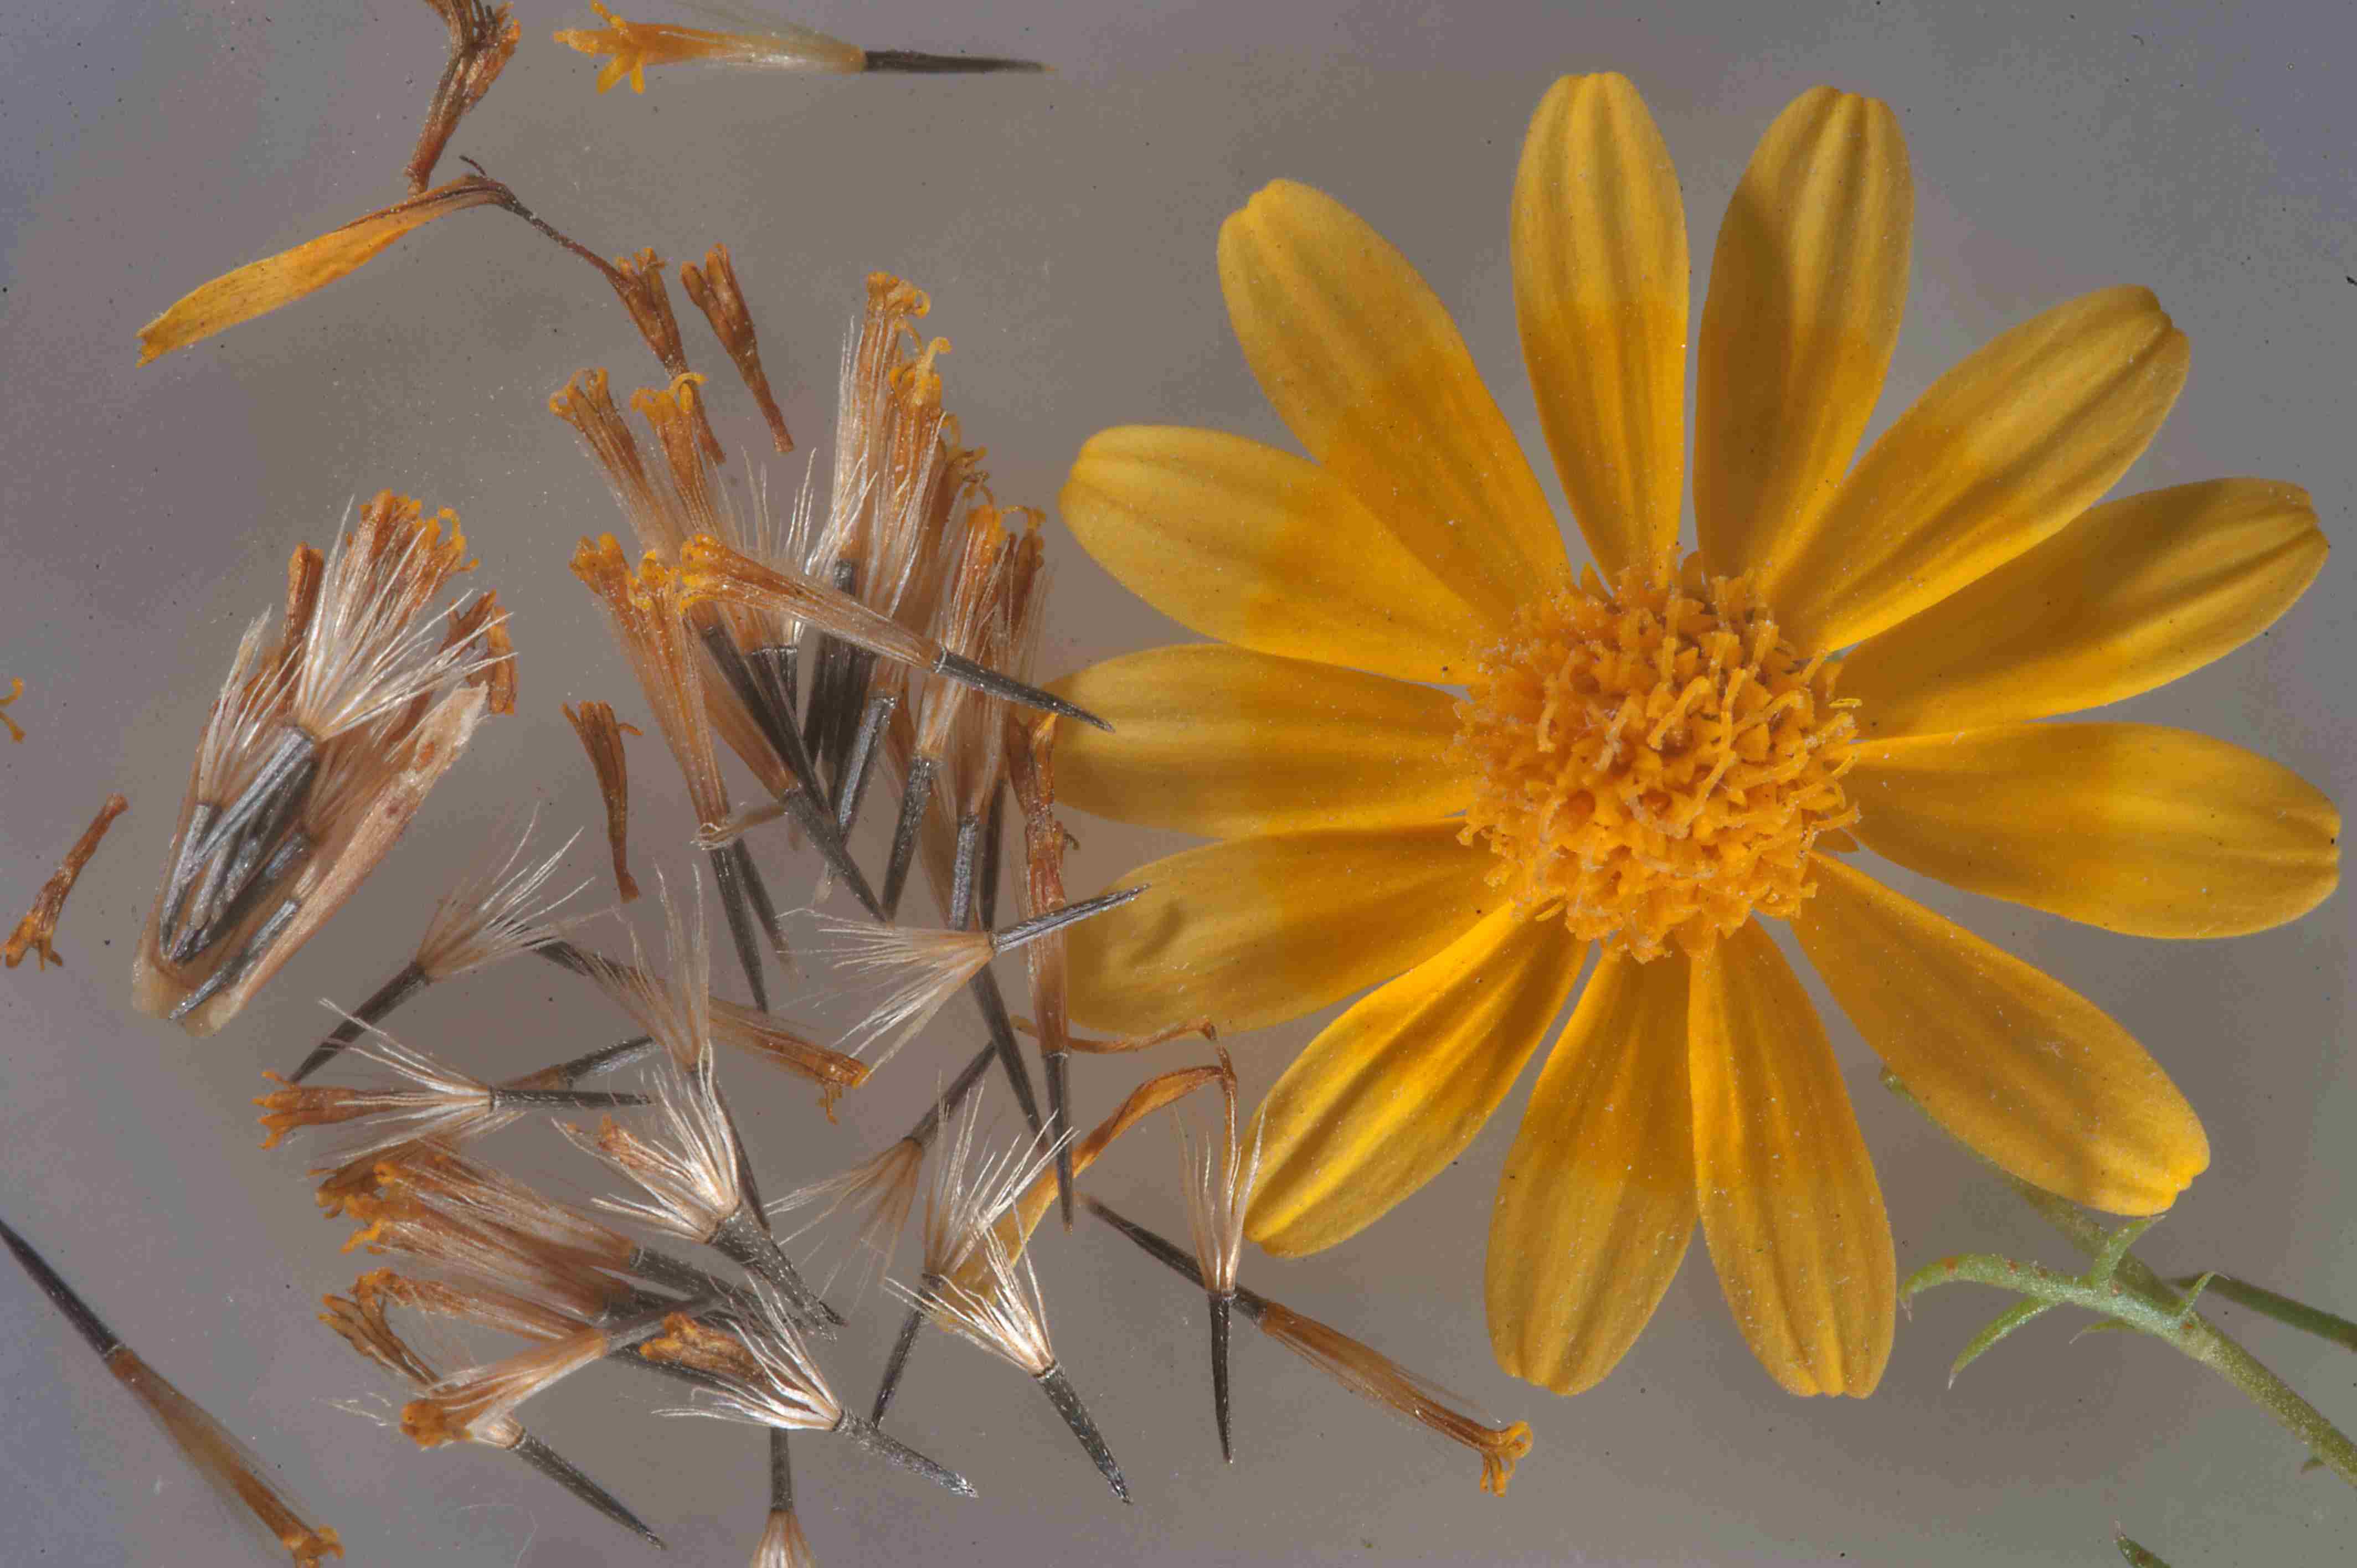
5. Enjoy the flowers: If your arugula plants do bolt and produce flowers, don’t fret! The flowers are edible and have a similar peppery taste to the leaves. They can be used to add a unique touch to salads or as a garnish for various dishes.
6. Store and use: After harvesting, gently rinse the arugula leaves and pat them dry. Store them in a resealable bag or container in the refrigerator. Freshly harvested arugula can typically be stored for up to a week, but it’s best to use it as soon as possible for the most flavor and nutritional value.
Remember, harvesting arugula leaves regularly promotes new growth and ensures a continuous supply throughout the growing season. So, don’t be afraid to trim and enjoy the flavorful bounty from your arugula garden!
Conclusion
Congratulations! You have successfully learned how to plant, care for, and harvest arugula in your own edible garden. Arugula is a versatile and delicious leafy green that adds a peppery kick to your salads, sandwiches, and other dishes.
By choosing the right arugula seeds, preparing the soil properly, sowing the seeds at the right depth, and providing consistent watering and care, you have set yourself up for a plentiful arugula harvest. Remember to monitor for pests and diseases, and adjust your gardening practices accordingly.
As you continue to nurture your arugula plants, don’t forget to enjoy the process! Gardening is a fulfilling and rewarding experience that connects us to nature and the food we eat. Spend some time observing your plants, smelling the fresh aroma of arugula leaves, and appreciating the beauty of your garden.
Harvesting your arugula at the right time ensures the best flavor and tenderness. Whether you prefer young, mild leaves or mature, peppery ones, you can continuously harvest arugula by starting with the outer leaves and allowing the inner leaves to grow.
Now that you are armed with the knowledge and skills to grow your own arugula, it’s time to put it into practice. Get out in your garden, sow those arugula seeds, and watch as they transform into vibrant, flavorful plants that you can enjoy in your meals.
Remember, gardening is a continuous learning process, and each season provides an opportunity for growth and improvement. Embrace the journey, experiment with different varieties, and adapt your techniques to suit your unique garden conditions.
So, go ahead and embark on this edible gardening adventure. Plant some arugula, allow it to flourish, and reap the rewards of your efforts by enjoying the taste of fresh, homegrown arugula. Happy gardening!