Home>Types of Gardening>Edible Gardening>How To Preserve Seeds For Planting
Edible Gardening
How To Preserve Seeds For Planting
Modified: January 22, 2024
Learn how to preserve seeds for planting in your edible gardening journey. Explore effective methods to save and store seeds for future harvest.
(Many of the links in this article redirect to a specific reviewed product. Your purchase of these products through affiliate links helps to generate commission for Chicagolandgardening.com, at no extra cost. Learn more)
Table of Contents
Introduction
Welcome to the world of edible gardening, where the joy of growing your own food is just a few seeds away! If you’re new to gardening or have been practicing it for years, the concept of preserving seeds for planting may not be on your radar. However, it’s an essential step that allows you to continue your gardening journey and reap the benefits of a sustainable and bountiful harvest year after year.
Preserving seeds involves carefully collecting, cleaning, drying, and storing them to maintain their viability and ensure successful germination in the future. By preserving your own seeds, you can save money, maintain the genetic diversity of plants, and have control over the quality and characteristics of the crops you grow.
In this article, we’ll explore the importance of preserving seeds for planting, provide tips on selecting and collecting seeds, discuss the cleaning and drying process, recommend proper storage containers, and share insights on labeling and organizing your seeds. Additionally, we’ll delve into the topic of maintaining seed viability and offer some valuable tips and tricks for successful seed preservation.
Whether you’re an experienced gardener looking to expand your knowledge or a novice eager to embark on your edible gardening journey, this guide will equip you with the knowledge necessary to preserve seeds and ensure a thriving garden for years to come.
Why Preserving Seeds is Important
Preserving seeds serves a crucial role in maintaining the sustainability and biodiversity of our edible gardens. Here are several key reasons why preserving seeds is important:
- Saving Money: Preserving seeds allows you to save money by eliminating the need to purchase new seeds each planting season. Instead, you can rely on the seeds you collected and preserved from your previous harvests, reducing your annual gardening expenses.
- Genetic Diversity: Seed preservation helps maintain the genetic diversity of plant varieties. Commercially available seeds often prioritize specific traits, resulting in a limited selection. By preserving seeds from heirloom or rare plants, you contribute to preserving unique genetic variations and promoting biodiversity in our gardens.
- Adapting to Local Conditions: Through seed preservation, you can develop a collection of seeds that have adapted to your local climate and growing conditions. Over time, these seeds become better equipped to withstand pests, diseases, and specific environmental challenges, resulting in more resilient and productive plants.
- Preserving Traditional and Heritage Varieties: Many traditional and heirloom plant varieties are at risk of being lost over time. By preserving and growing these varieties, you contribute to the preservation of cultural and agricultural heritage, ensuring their availability for future generations.
- Fostering Self-Sufficiency: When you have a well-preserved supply of seeds, you gain the ability to be self-sufficient in your gardening endeavors. You no longer rely on external sources for seeds, giving you more independence and control over your garden’s future.
By understanding the importance of preserving seeds, you can embrace the role you play in preserving biodiversity, tradition, and sustainability in the world of edible gardening. Let’s explore how you can choose and collect seeds for preservation.
Choosing and Collecting Seeds for Preservation
Choosing and collecting seeds for preservation is an exciting and essential step in the seed preservation process. Here are some guidelines to help you make the best choices:
- Selecting Open-Pollinated or Heirloom Varieties: Open-pollinated and heirloom varieties are ideal for seed preservation as they generally produce offspring with traits similar to the parent plant. These varieties often have unique characteristics and offer a wide range of flavors, colors, and growth habits to explore.
- Avoiding Hybrid Varieties: Hybrid varieties, which result from crossbreeding different plant types, may not produce offspring with consistent traits. Therefore, it’s best to avoid collecting and preserving seeds from hybrid plants.
- Choosing Healthy and Vigorous Plants: When selecting plants for seed collection, choose specimens that are healthy, disease-free, and well-adapted to your growing conditions. Healthy plants are more likely to produce high-quality seeds.
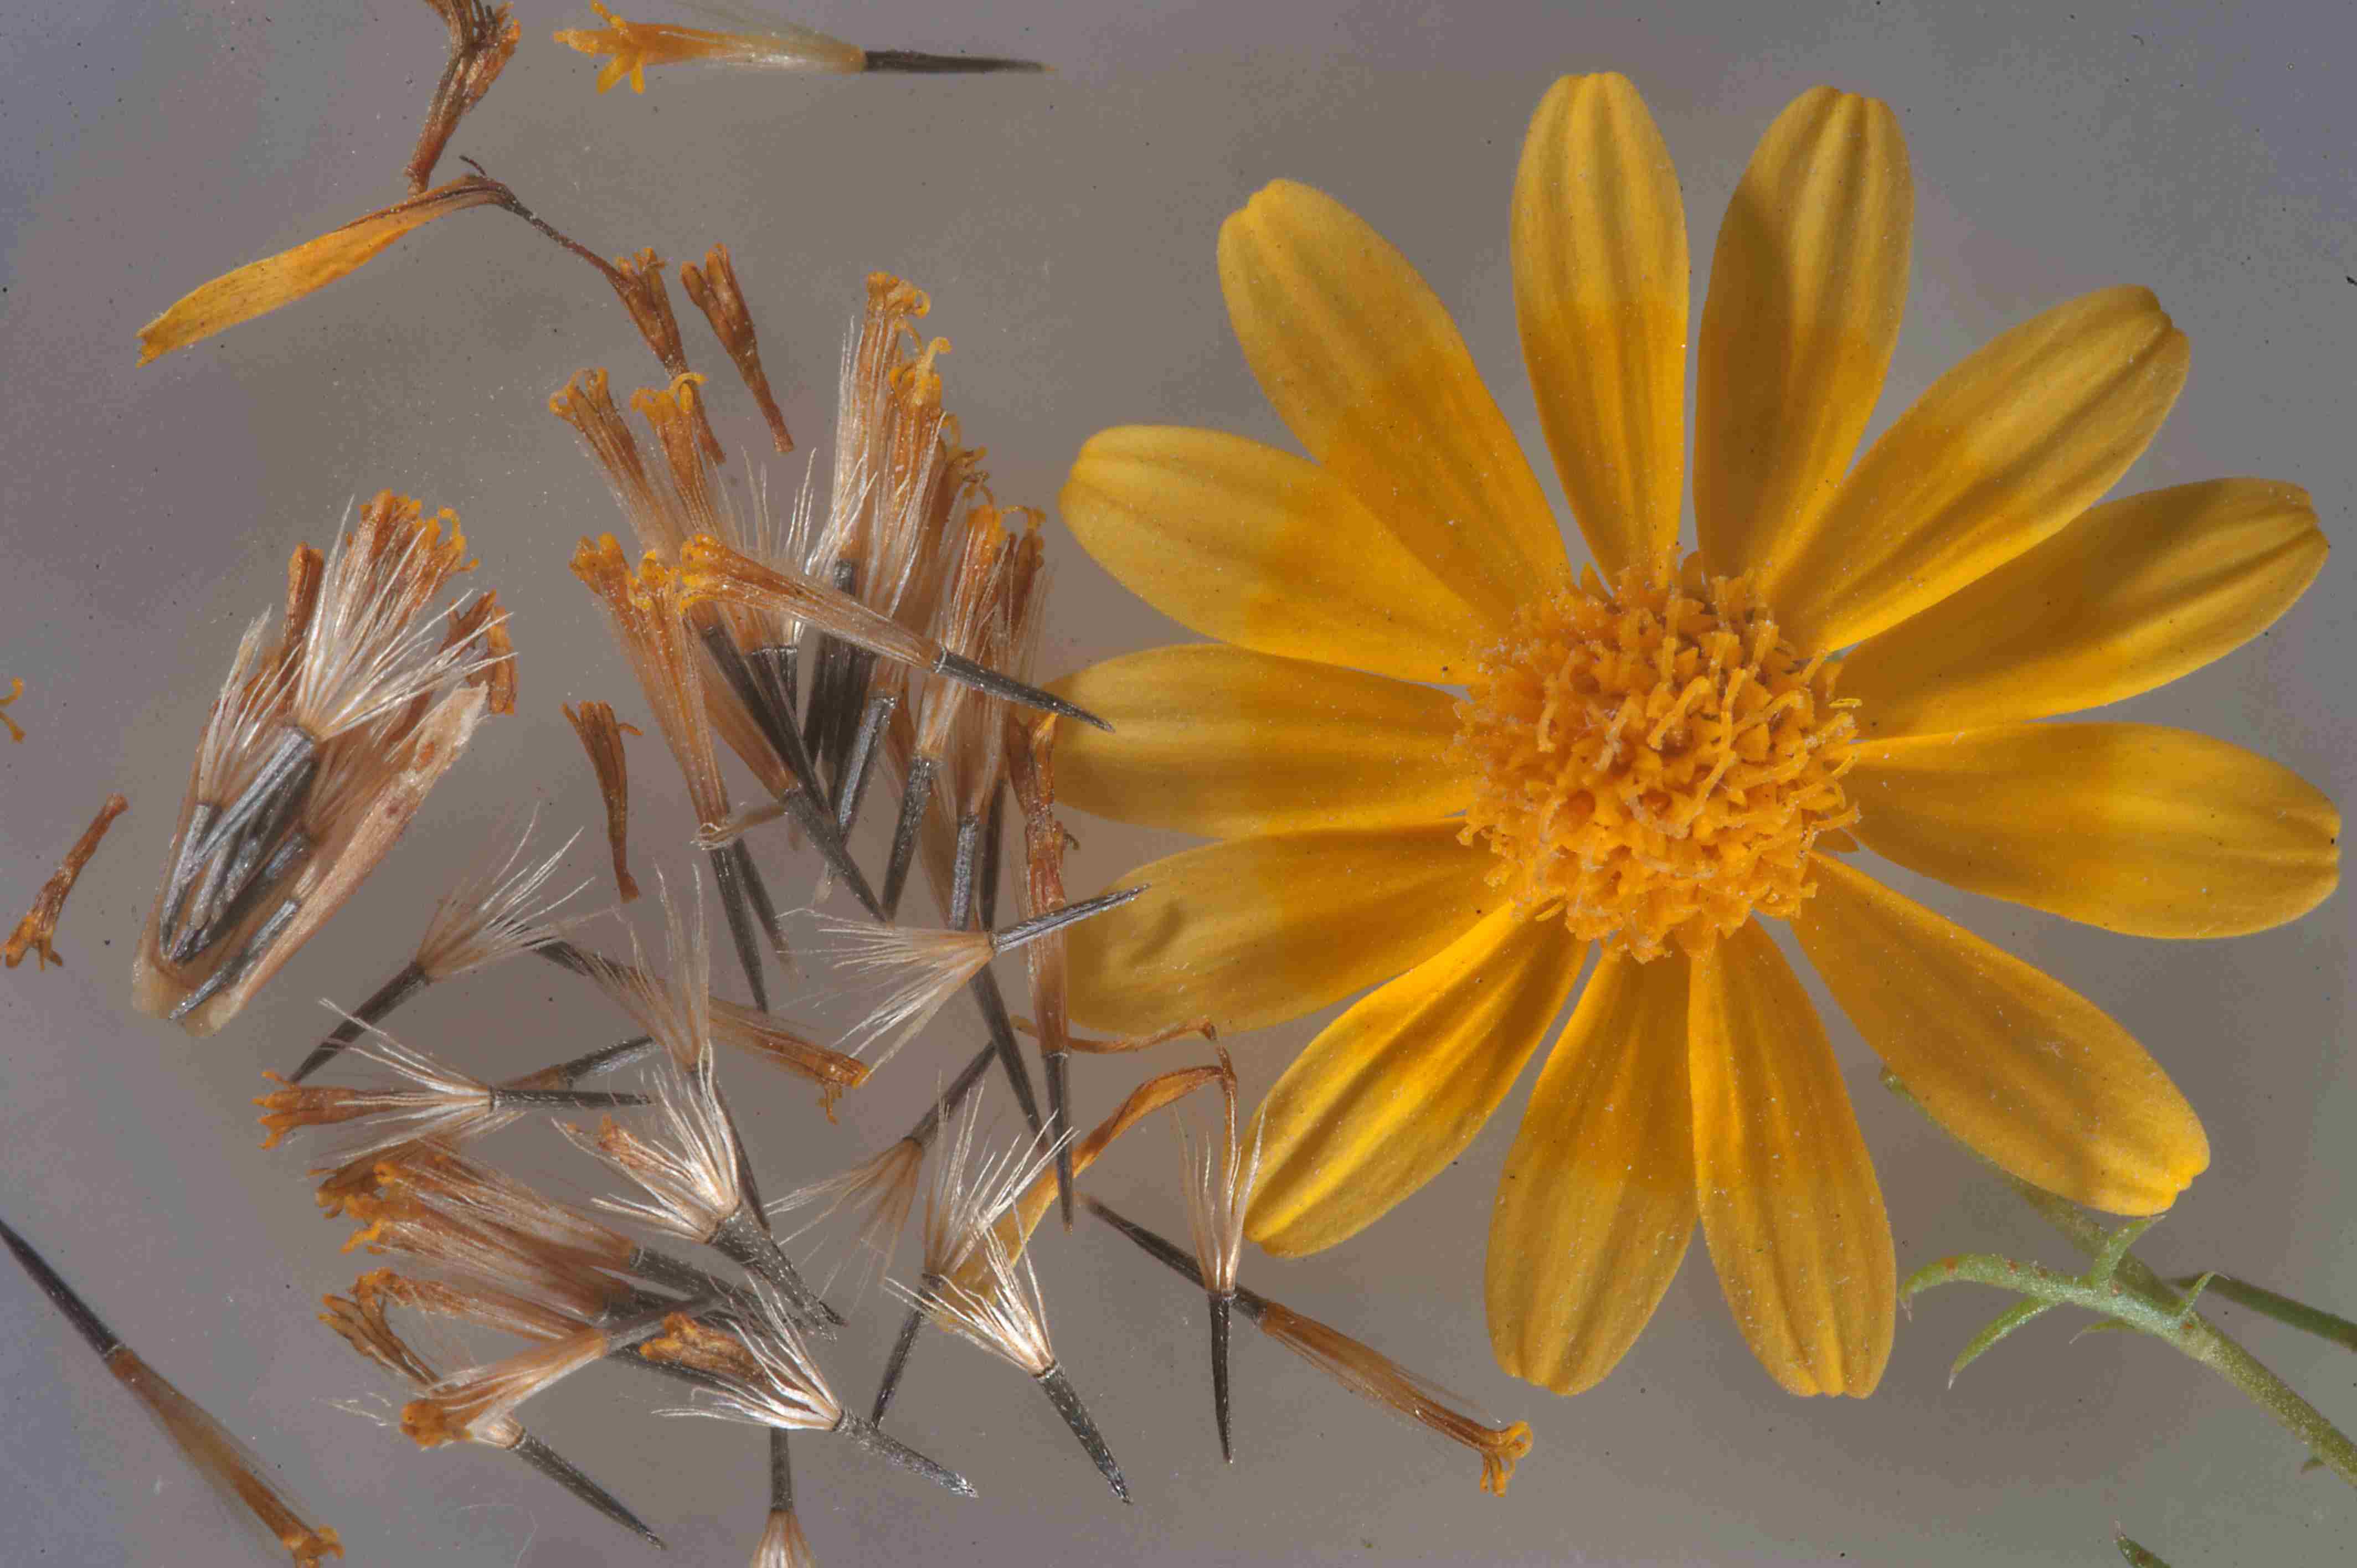
- Collecting Seeds at the Right Time: Different plants have specific times for seed maturity. It’s crucial to familiarize yourself with the optimal time to collect seeds for each plant variety. In general, seeds are ready for collection when they are fully mature, dry, and have turned their characteristic color.
- Using Proper Techniques for Seed Collection: Depending on the plant, seed collection techniques may vary. Some common methods include shaking the seeds directly into a container, cutting seed heads, or gently removing pods or fruits. Ensure that you collect seeds in a clean, pest-free environment to maintain their quality.
- Considering Seed Viability: Seeds from some plant varieties have a relatively short lifespan, while others can remain viable for several years. Take note of each variety’s typical seed viability and prioritize collecting seeds from those with shorter lifespans.
By choosing and collecting seeds with these considerations in mind, you are well on your way to building a diverse and sustainable collection for seed preservation. Next, let’s explore the crucial steps of cleaning and drying seeds to prepare them for long-term storage.
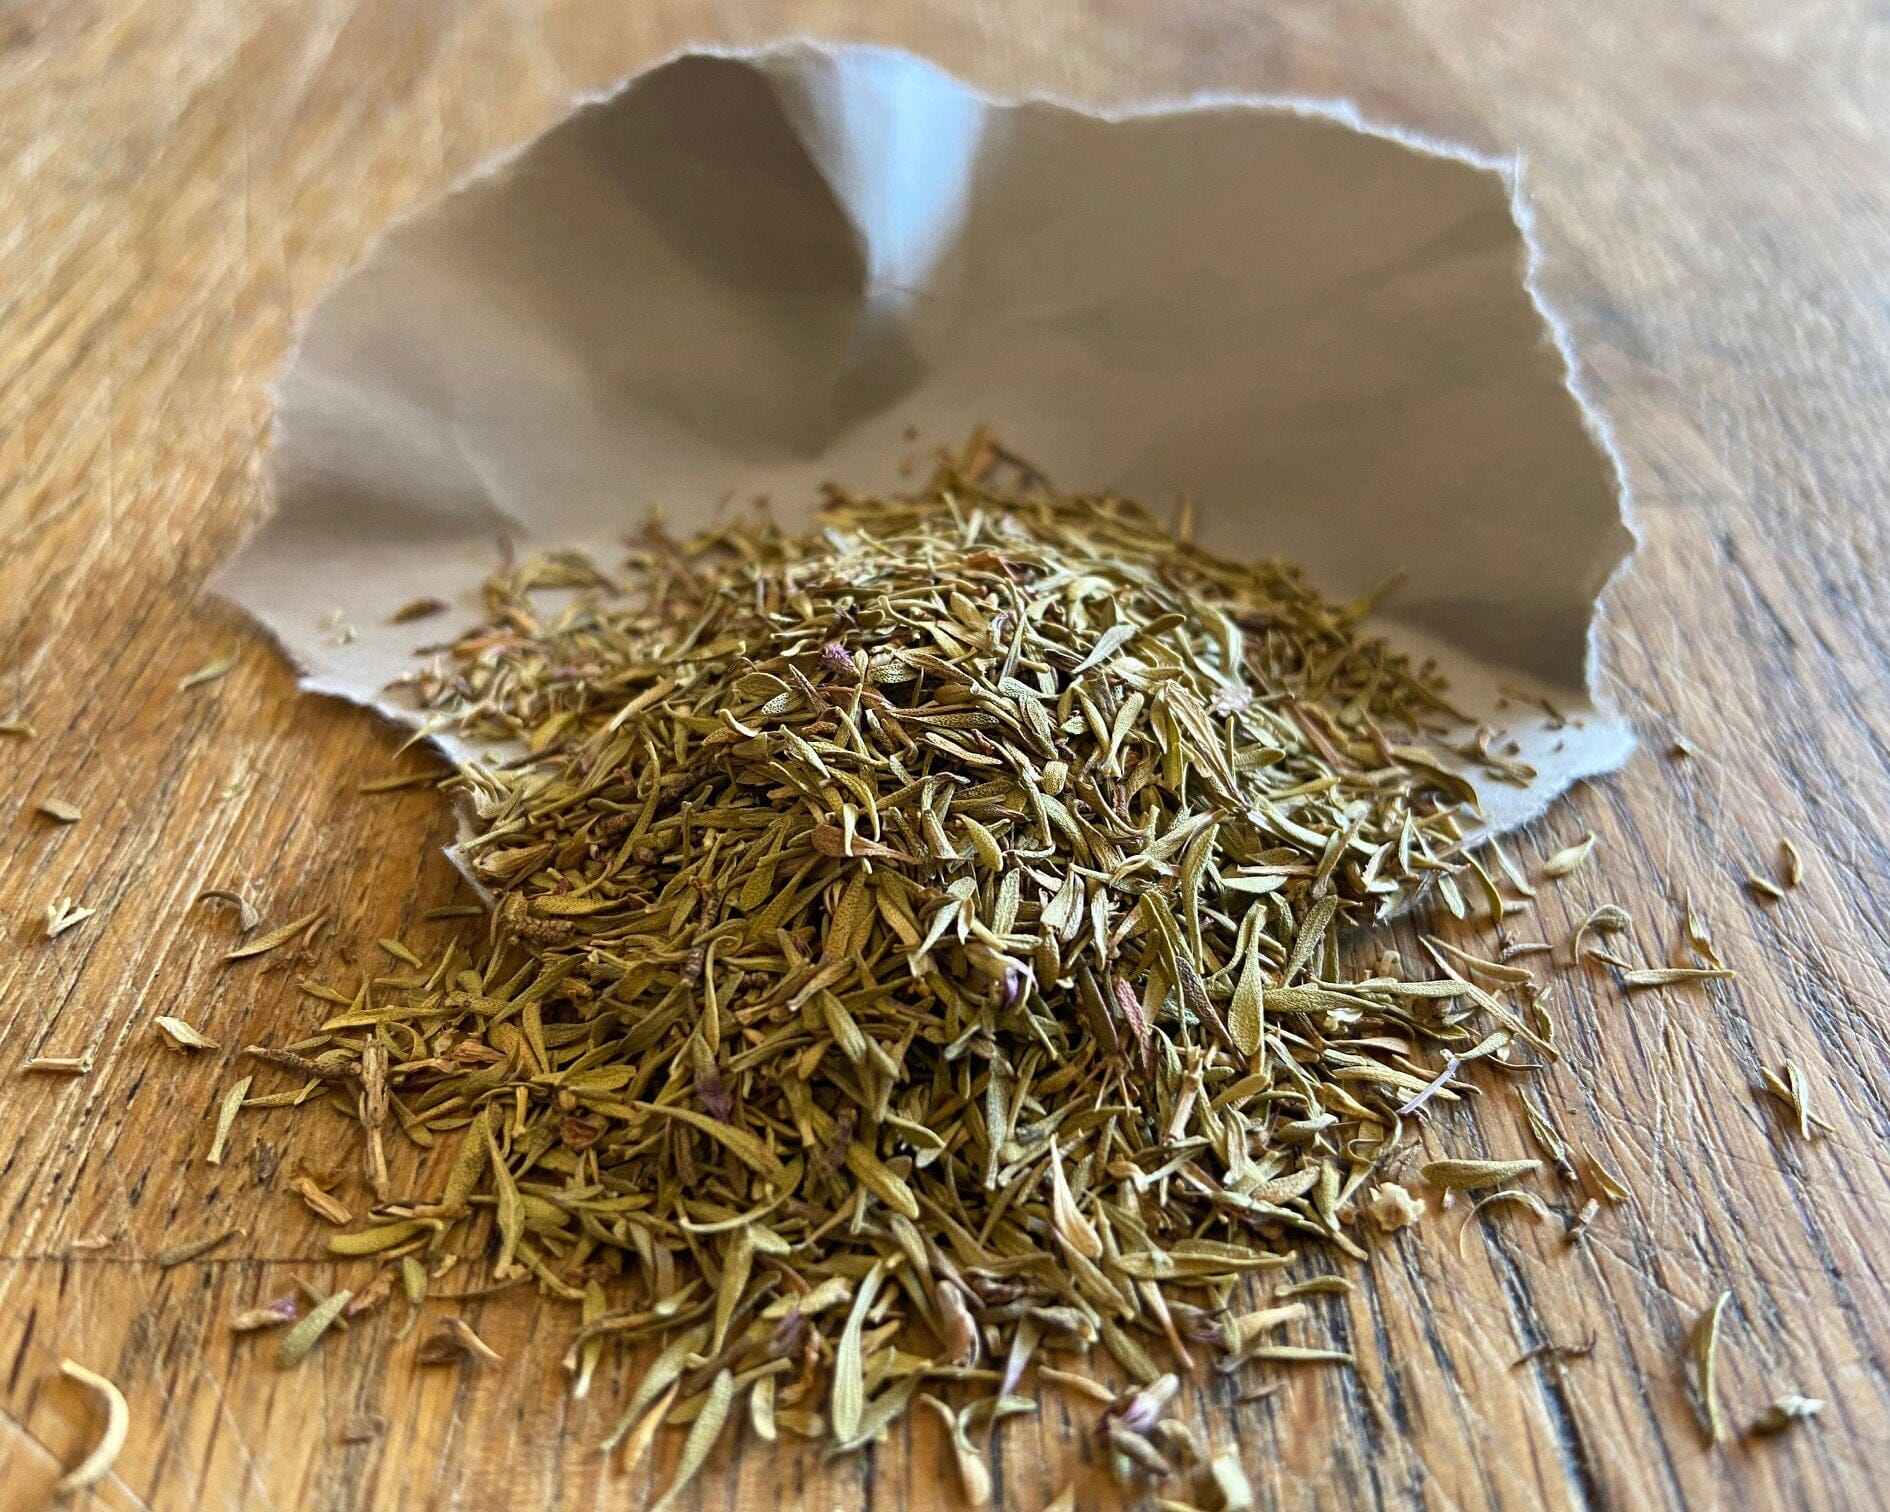
Cleaning and Drying Seeds
Once you have collected your seeds for preservation, the next step is to clean and dry them properly. Cleaning and drying seeds helps remove any debris, pests, or excess moisture, ensuring their quality and longevity. Here’s how to clean and dry seeds effectively:
- Remove Debris: Start by removing any plant debris, such as petals, leaves, or stalks, from the collected seeds. This can be done by gently shaking or sifting the seeds through a fine-mesh sieve or using your fingers to separate them from the debris.
- Wash Seeds (if necessary): Some seeds may benefit from a gentle wash to remove any remaining pulp or flesh. Use water and a soft scrubbing brush or your fingers to clean the seeds. However, not all seeds require washing, so be sure to research the specific cleaning needs of each plant variety.
- Dry Seeds in a Single Layer: After cleaning, spread the seeds out in a single layer on a clean and dry surface. This can be a tray, a metal screen, or a piece of parchment paper. Avoid using paper towels or tissue as they can stick to the seeds. Ensure good airflow around the seeds to facilitate drying.
- Avoid Direct Sunlight and Excess Heat: Place the seeds in a well-ventilated area away from direct sunlight and excessive heat. Excessive heat can damage the viability of the seeds, so aim for a temperature between 60-75°F (15-24°C) for optimal drying.
- Monitor and Rotate: Check on the seeds regularly and gently rotate or stir them to ensure even drying. This helps prevent mold or mildew formation and promotes uniform drying throughout the batch.
- Achieve Proper Seed Moisture Content: The goal is to achieve the appropriate moisture content for each seed variety. Seeds should be thoroughly dry before storing to prevent them from rotting. To check if the seeds are adequately dried, they should snap or break easily when bent.
Remember to exercise patience during the drying process, as it may take anywhere from a few days to a few weeks depending on the seed type and environmental conditions. Once the seeds are properly cleaned and dried, the next step is to store them in suitable containers to maintain their viability over time. Let’s explore the different types of storage containers ideal for seed preservation.
Proper Storage Containers
Choosing the right storage containers is crucial for maintaining the viability and longevity of your preserved seeds. Here are some important considerations when selecting proper storage containers for your seeds:
- Airtight Containers: It is essential to store seeds in airtight containers to protect them from moisture, humidity, and pests. This prevents the seeds from deteriorating or getting exposed to unfavorable conditions that can reduce their viability.
- Glass Jars with Rubber Seals: Glass jars with rubber seals are excellent options for seed storage. They provide airtight and moisture-resistant environments, ensuring the seeds remain dry and safe from external elements. Mason jars or canning jars are popular choices.
- Seed Envelopes: Seed envelopes made of paper or fabric are simple and convenient containers for storing seeds. They allow for proper airflow, preventing moisture buildup, and they are easy to label and organize. Ensure the envelopes are tightly sealed to keep pests out.
- Ziplock Bags: If using plastic bags, opt for high-quality, sealable ziplock bags. Press out excess air before sealing and consider double-bagging to provide an extra layer of protection. Keep in mind that plastic bags may not offer long-term storage as airtight as other options.
- Silica Gel or Desiccant Packs: Add silica gel packets or desiccant packs to your storage containers to absorb any residual moisture, further protecting the seeds from mold or moisture-related damage. Ensure the packets are labeled as safe for direct contact with food.
Regardless of the container you choose, it’s important to keep the seeds in a cool, dark, and dry location. Store them away from direct sunlight, heat sources, and extreme temperature fluctuations, as these can diminish their viability. It is also helpful to include an indication of the seed variety and the date of collection on the storage containers for easy identification and reference.
Proper storage containers are just one component of preserving seeds. Labeling and organizing your seeds effectively is equally important to ensure easy access and maintain a well-managed seed collection. Let’s explore the best practices for labeling and organizing seeds in the next section.
Labeling and Organizing Seeds
Labeling and organizing seeds is essential for easy identification and efficient management of your seed collection. Here are some best practices to consider when labeling and organizing your preserved seeds:
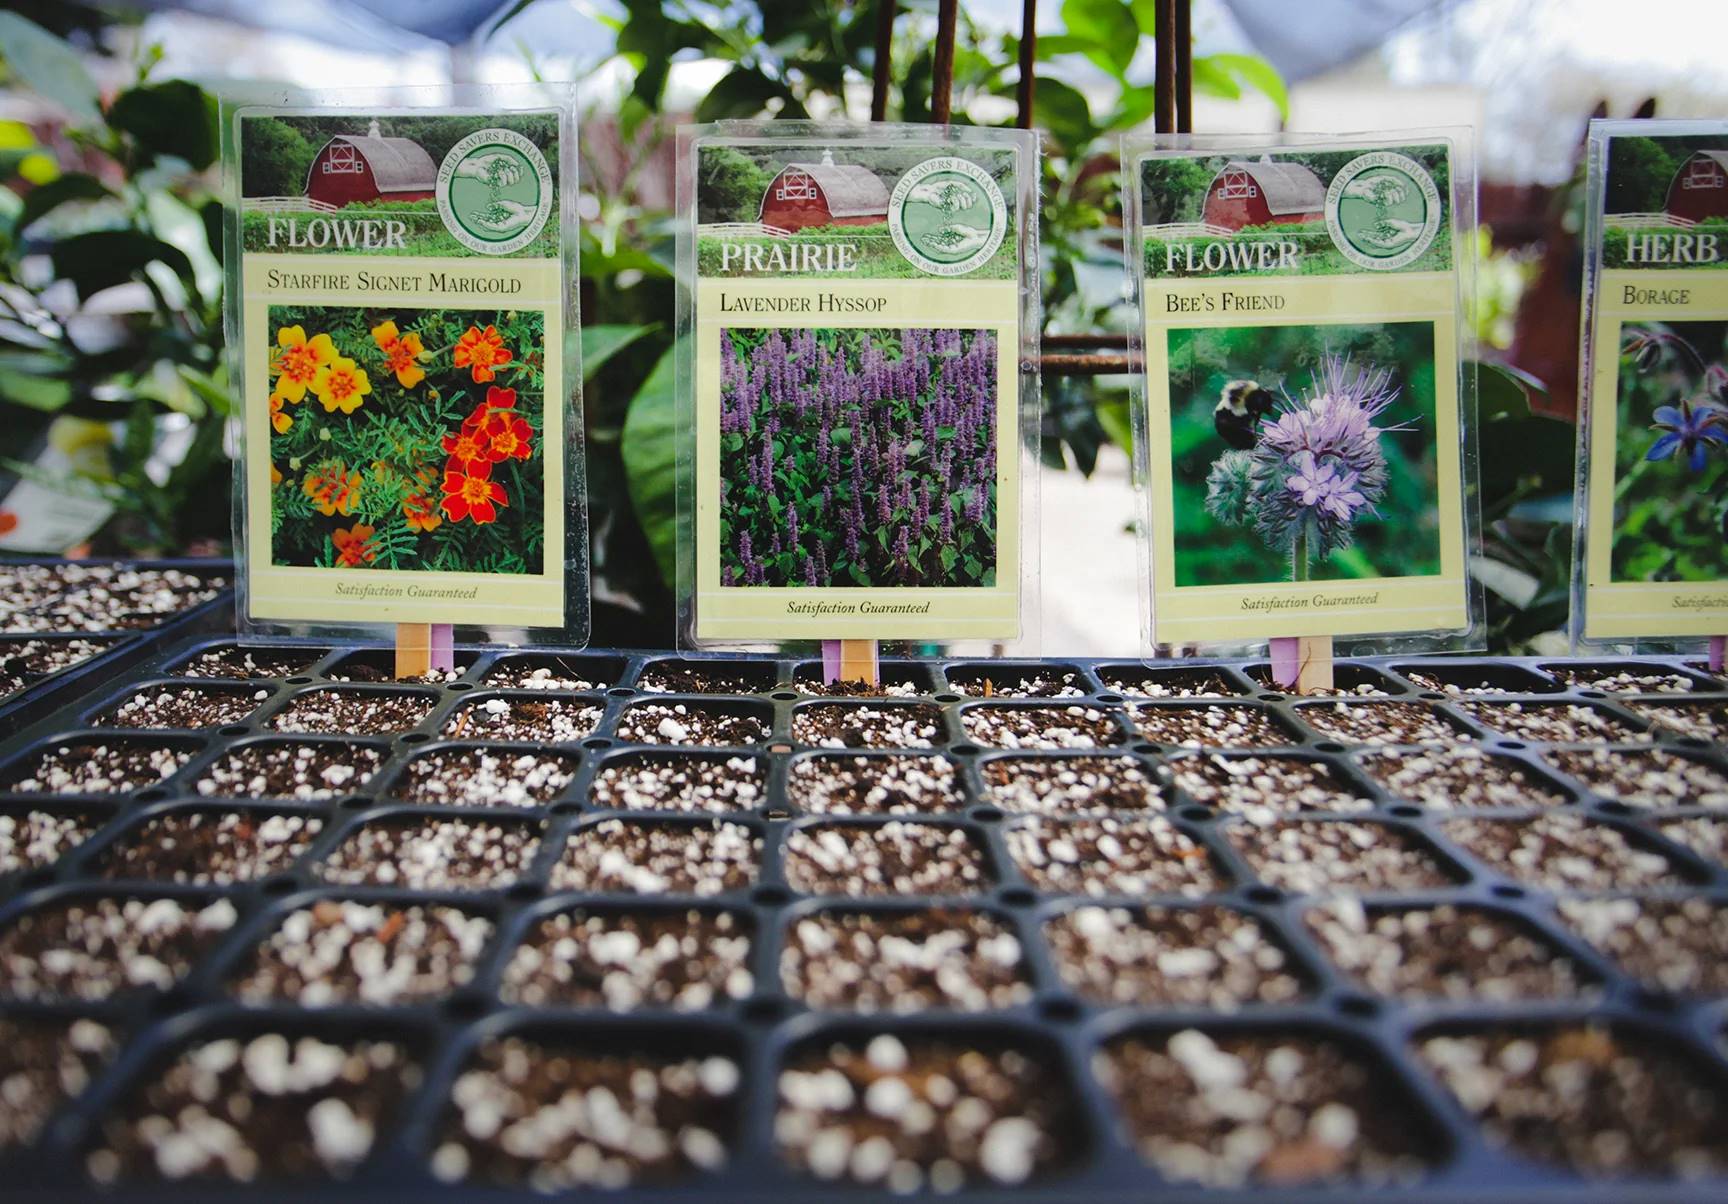
- Clear and Legible Labels: Use waterproof and fade-resistant labels or markers to ensure long-lasting visibility. Make sure the labels are clear and legible, including the plant name, variety, and the date of collection. Consider using label tags, sticky labels, or waterproof tape directly on the seed containers.
- Organize by Plant Type or Variety: Group seeds by plant type or variety to create a systematic arrangement. This makes it easier to locate and retrieve specific seeds when needed. Consider using separate containers or sections within a storage box or cabinet for different plant types.
- Alphabetical or Numerical Order: Organize seeds alphabetically or numerically within each plant type or variety category. This approach allows for quick and logical retrieval. Use dividers or index cards to separate the different letters or numerical sections.
- Record Keeping: Keep a seed inventory or catalog where you track important details such as plant names, varieties, sources, dates of collection, and any specific observations or notes. This record will serve as a valuable reference and aid in planning future plantings or seed exchanges.
- Storage System Accessibility: Ensure that your storage system is easily accessible and appropriately labeled. Avoid overcrowding containers, as this can cause damage to the seeds or make it difficult to retrieve specific varieties without disturbing others. Consider using storage boxes, racks, or cabinets specifically designed for seed organization.
- Regular Maintenance: Regularly review and update your seed collection. Discard any old or damaged seeds that are unlikely to germinate or have passed their lifespan. Add new seeds to their respective categories and update labels or records accordingly.
By implementing effective labeling and organizing practices, you’ll have a well-managed seed collection that is easily navigated and maintained. Now, let’s discuss how to ensure seed viability and offer some tips and tricks for successful seed preservation.
Maintaining Seed Viability
Maintaining seed viability is crucial to ensure successful germination and a thriving garden. Here are some tips to help you maintain the viability of your preserved seeds:
- Store Seeds in a Cool and Dry Environment: Proper storage conditions are essential to preserve seed viability. Keep your seeds in a cool and dry location with a stable temperature between 35-50°F (1-10°C) and low humidity. Avoid areas prone to temperature fluctuations, such as basements or attics.
- Check for Seed Viability: Periodically test the viability of your stored seeds to assess their germination rate. Place a small sample of seeds on a damp paper towel or seed starting mix and observe their germination. If a low percentage of seeds germinate, it may be time to refresh your seed collection with new seeds.
- Rotate and Use the Oldest Seeds First: To maintain seed freshness, practice the “first in, first out” principle. Use the oldest seeds first before moving on to the newer ones. This ensures that seeds are constantly rotated, reducing the chances of deterioration due to prolonged storage.
- Avoid Excessive Handling: Minimize excessive handling of your preserved seeds, as it can damage their delicate structures. When sowing, take care to prevent any physical damage to the seeds, such as crushing or bruising.
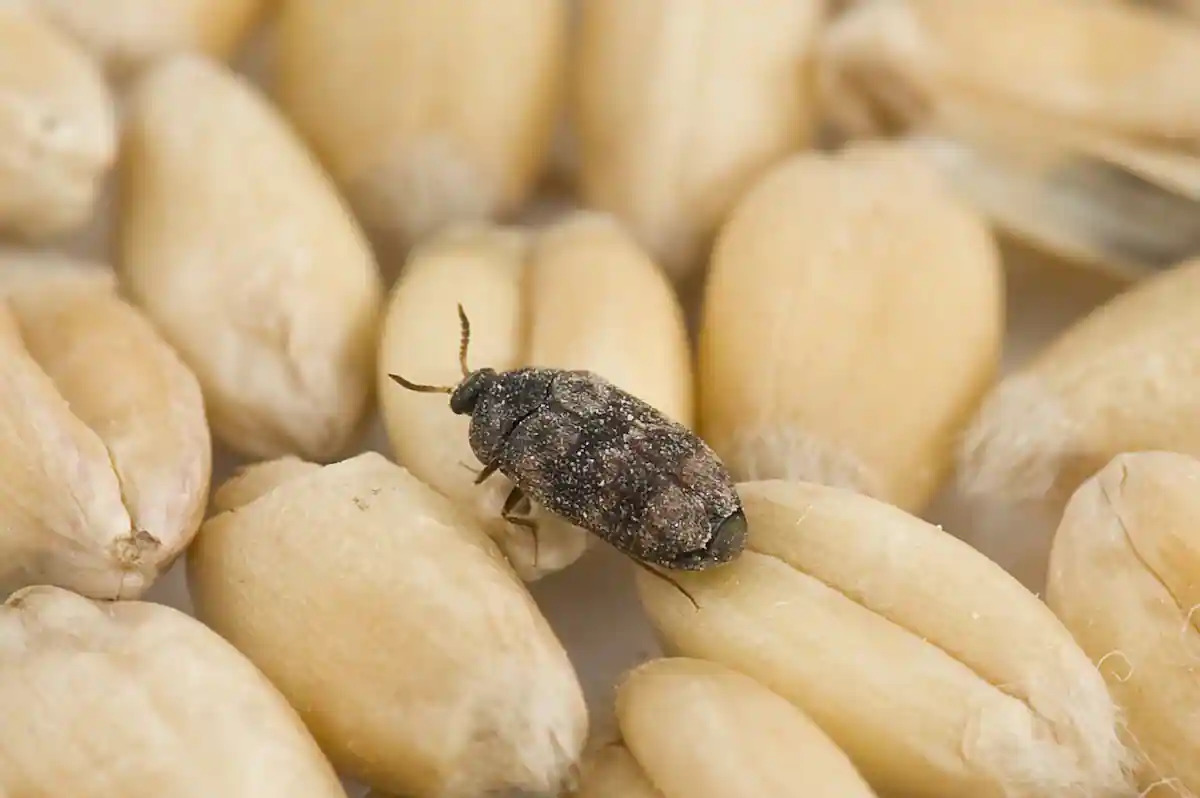
- Keep Pests at Bay: Regularly inspect your seed storage containers for any signs of pests, such as insects or rodents. Use natural pest deterrents like bay leaves or silica gel packs to keep pests away. If you notice any infestation, remove the affected seeds immediately to prevent further damage.
- Properly Reseal Containers: After each use, ensure that your seed storage containers are properly sealed to maintain an airtight environment. This prevents moisture from entering and helps to maintain the optimum humidity level for seed preservation.
By following these practices, you can enhance the longevity and viability of your preserved seeds, ensuring an abundance of healthy and thriving plants in your garden. Now, let’s explore some additional tips and tricks for successful seed preservation.
Tips and Tricks for Successful Seed Preservation
Preserving seeds for planting is a rewarding endeavor that requires careful attention to detail. Here are some additional tips and tricks to ensure successful seed preservation:
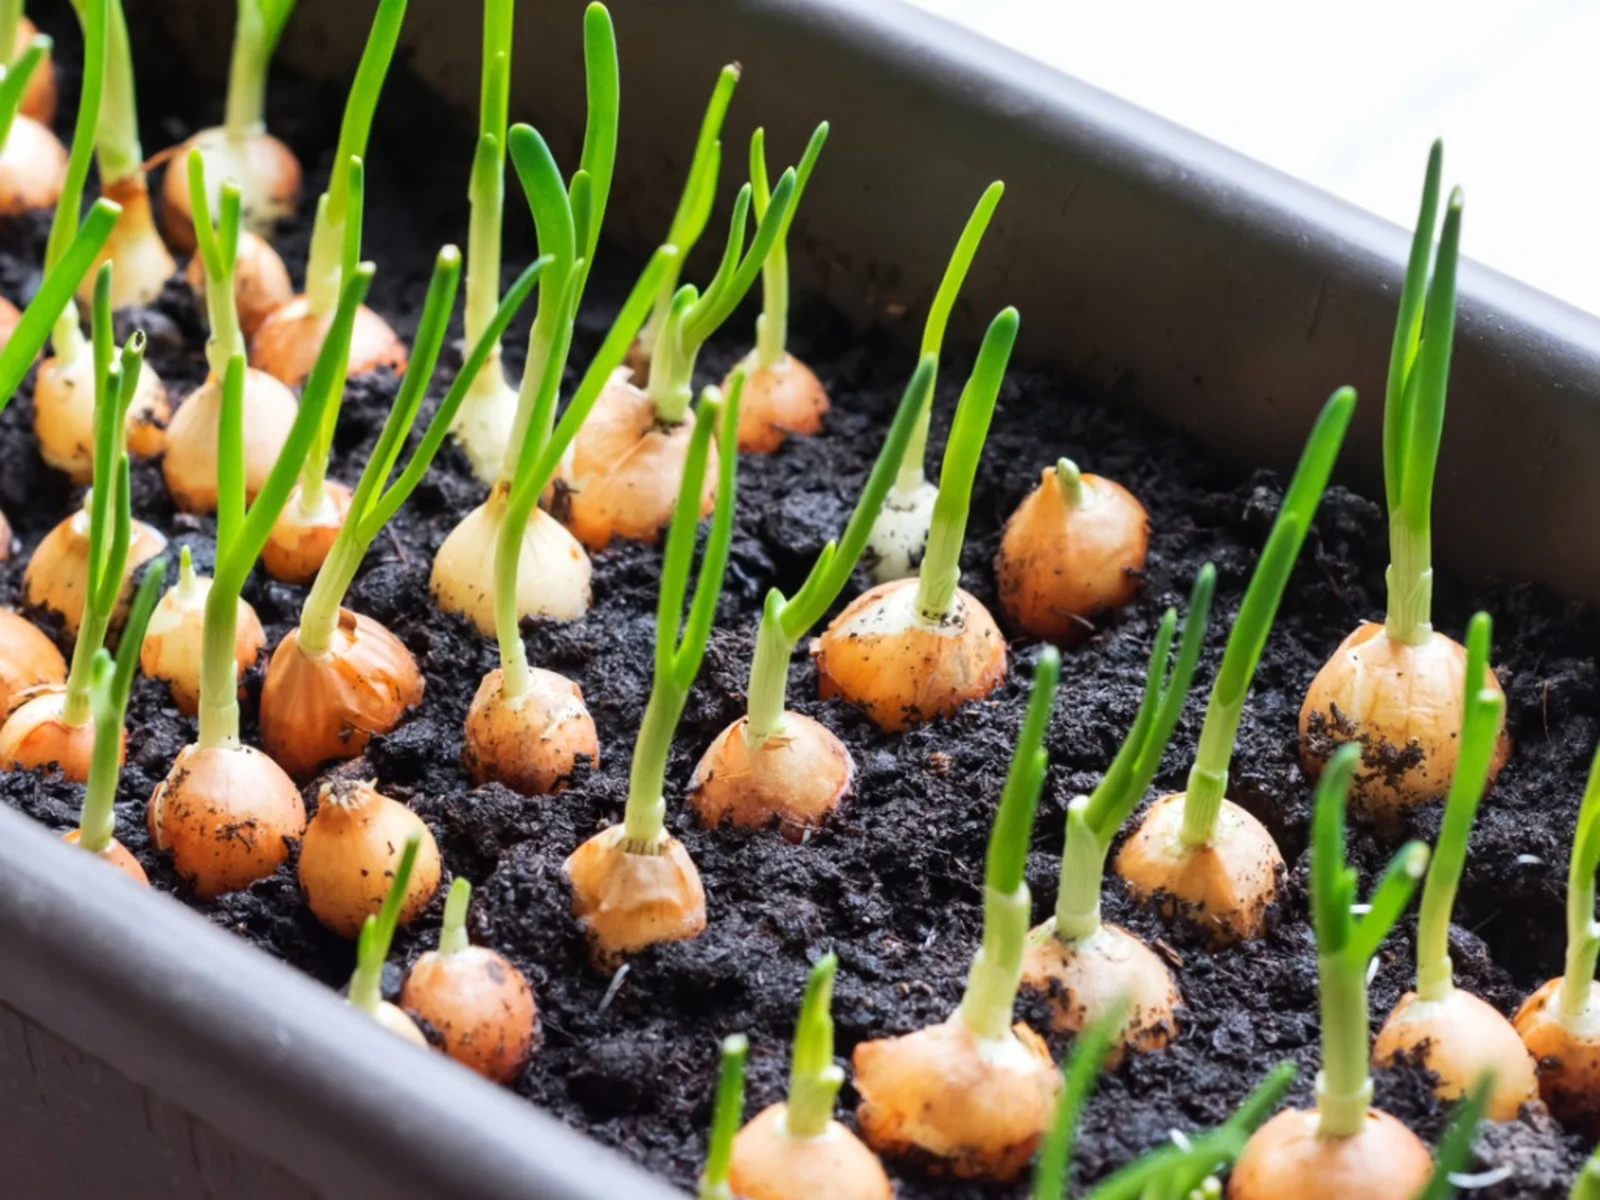
- Know Your Seeds’ Lifespan: Different seeds have varying lifespans. Some seeds, like onions or leeks, remain viable for a year or two, while others, such as beans or tomatoes, can remain viable for several years. Research the specific viability of each seed variety to prioritize your collection and usage.
- Practice Proper Seed Extraction: When extracting seeds from fruits or pods, ensure that the seeds are fully mature. Immature seeds may not germinate effectively. Additionally, allow the seeds to dry completely before removing them from the plant material to avoid potential mold or rot issues.
- Consider Seed Treatment for Longevity: Some seeds benefit from treatments to enhance their longevity. For example, stratification involves exposing seeds to cold temperatures to simulate natural winter conditions and improve germination rates. Research specific treatment methods for the seeds you are preserving for optimal results.
- Participate in Seed Exchanges: Engage with the gardening community by participating in seed exchanges. Sharing your preserved seeds with others not only fosters a sense of community but also allows you to diversify your collection with unique varieties from fellow gardeners.
- Label Seeds with Planting Instructions: Along with the essential details on the label, consider including specific planting instructions for each seed variety. This can include recommended soil conditions, planting depth, and spacing. These instructions will serve as a handy reference when it’s time to sow your preserved seeds.
- Experiment and Learn: As you navigate the world of seed preservation, feel free to experiment with different techniques, varieties, and growing conditions. Gardening is a continuous learning process, and by experimenting, you’ll gain valuable insights and become a more skilled seed preserver.
Remember, successful seed preservation requires patience, attention to detail, and a willingness to learn. Enjoy the process, embrace the beauty of growing your own food from saved seeds, and savor the satisfaction of a bountiful harvest season after season.
Conclusion
Preserving seeds for planting is not only a practical and cost-effective approach to gardening but also a way to contribute to the sustainability and diversity of our edible landscapes. By carefully choosing, collecting, cleaning, and storing seeds, we can ensure the continuity of our favorite plant varieties, save money, and maintain a thriving garden for years to come.
In this article, we explored the importance of seed preservation and the benefits it offers, including saving money, maintaining genetic diversity, and fostering self-sufficiency. We discussed the process of choosing and collecting seeds, emphasizing the selection of open-pollinated or heirloom varieties, and the importance of seed viability.
We also delved into the essential steps of cleaning and drying seeds, stressing the need for proper storage containers that provide an airtight and pest-resistant environment. We discussed the significance of labeling and organizing our preserved seeds for easy access and efficient management.
To ensure seed viability, we highlighted the importance of storing seeds in cool, dry environments, checking seed viability periodically, and using the oldest seeds first. Furthermore, we provided additional tips and tricks for successful seed preservation, encouraging experimentation and participation in seed exchanges.
By following these guidelines and embracing the art of seed preservation, you can embark on a journey of self-reliance, sustainability, and horticultural exploration. Preserving seeds not only connects us to the time-honored traditions of generations past but also empowers us to shape the future of our gardens, one seed at a time.