Home>Types of Gardening>Edible Gardening>How To Preserve Pumpkin Seeds For Planting
Edible Gardening
How To Preserve Pumpkin Seeds For Planting
Modified: January 22, 2024
Learn how to preserve pumpkin seeds for planting in your edible garden with our step-by-step guide. Maximize your harvest and enjoy fresh pumpkins year after year.
(Many of the links in this article redirect to a specific reviewed product. Your purchase of these products through affiliate links helps to generate commission for Chicagolandgardening.com, at no extra cost. Learn more)
Table of Contents
Introduction
Welcome to the exciting world of edible gardening! One of the joys of growing your own food is the opportunity to save seeds and continue the cycle of life in your garden. If you’re a fan of pumpkins and want to grow your own, learning how to preserve pumpkin seeds for planting is a valuable skill to possess. By preserving the seeds, you not only ensure a sustainable source of future plants, but you also have the chance to select and propagate the best specimens from your harvest.
Pumpkin seeds are not only tasty snack options, but they also hold the key to growing healthy and productive pumpkin plants. Preserving pumpkin seeds involves a few easy steps that will provide you with a ready supply of seeds for the next planting season. Whether you’re a seasoned gardener or a beginner, this article will guide you through the process of harvesting, cleaning, and storing pumpkin seeds, as well as testing their viability before planting.
Preserving pumpkin seeds not only saves you money but also allows you to maintain the characteristics and flavor profile of your favorite pumpkin varieties. It’s important to note that preserving pumpkin seeds is different from saving seeds from hybrid varieties, as they may not produce plants with the same characteristics as the parent plant.
Ready to dive into the world of pumpkin seed preservation? Let’s get started with the first step: harvesting and cleaning pumpkin seeds.
Step 1: Harvesting and Cleaning Pumpkin Seeds
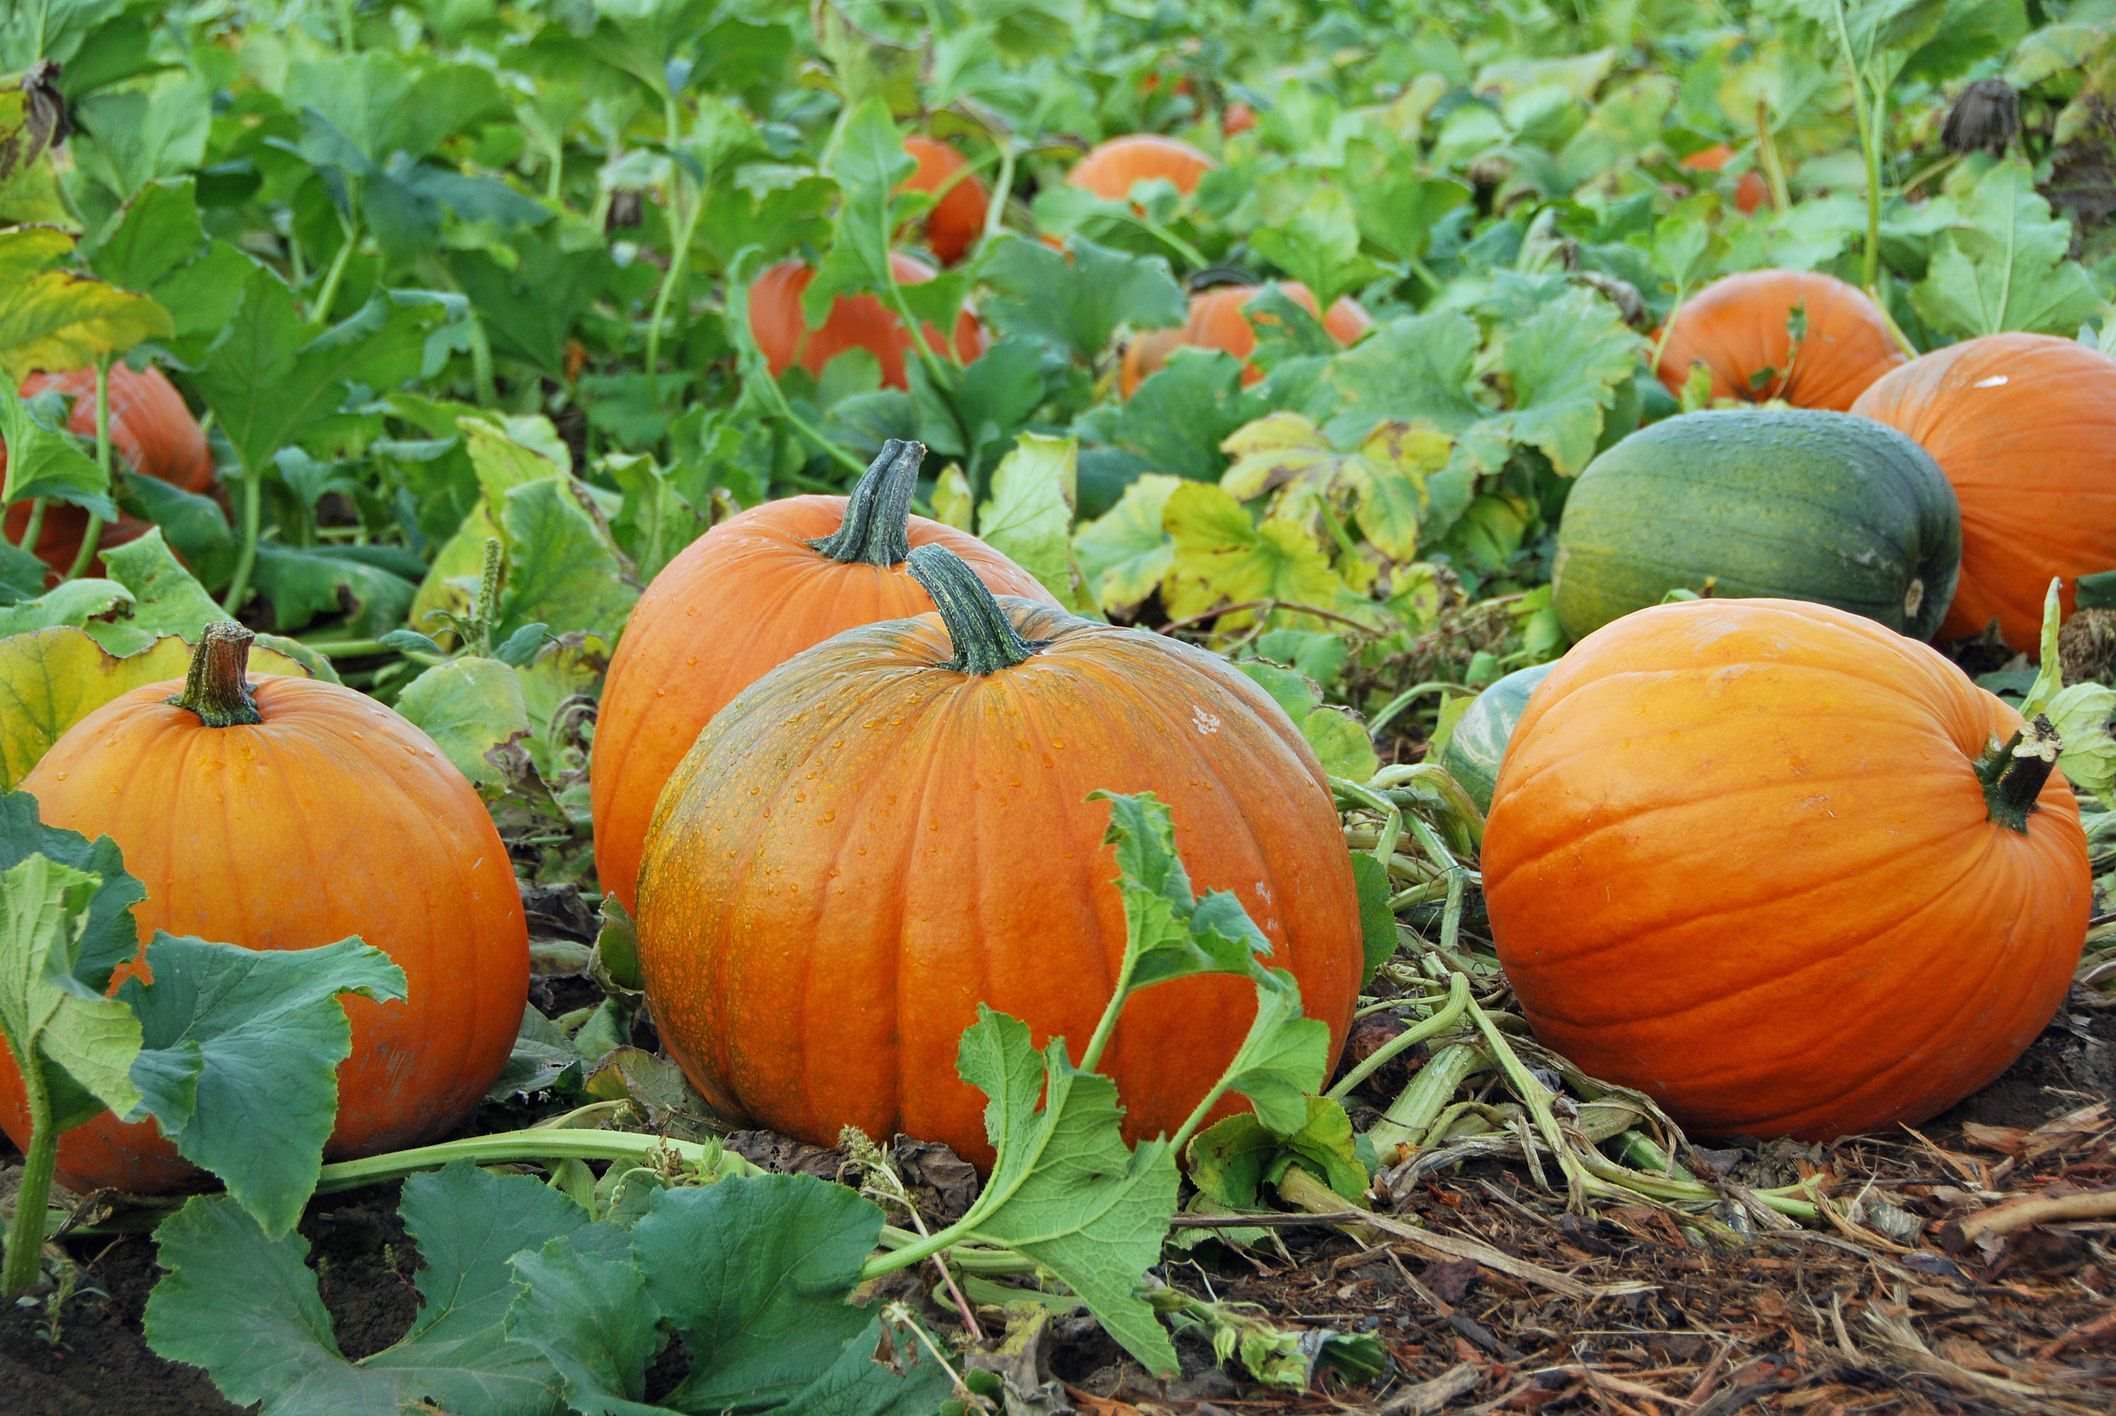
Harvesting pumpkin seeds is typically done at the end of the growing season when the pumpkins are ripe and ready for consumption or decoration. Follow these steps to ensure you gather the freshest and most viable seeds for preserving:
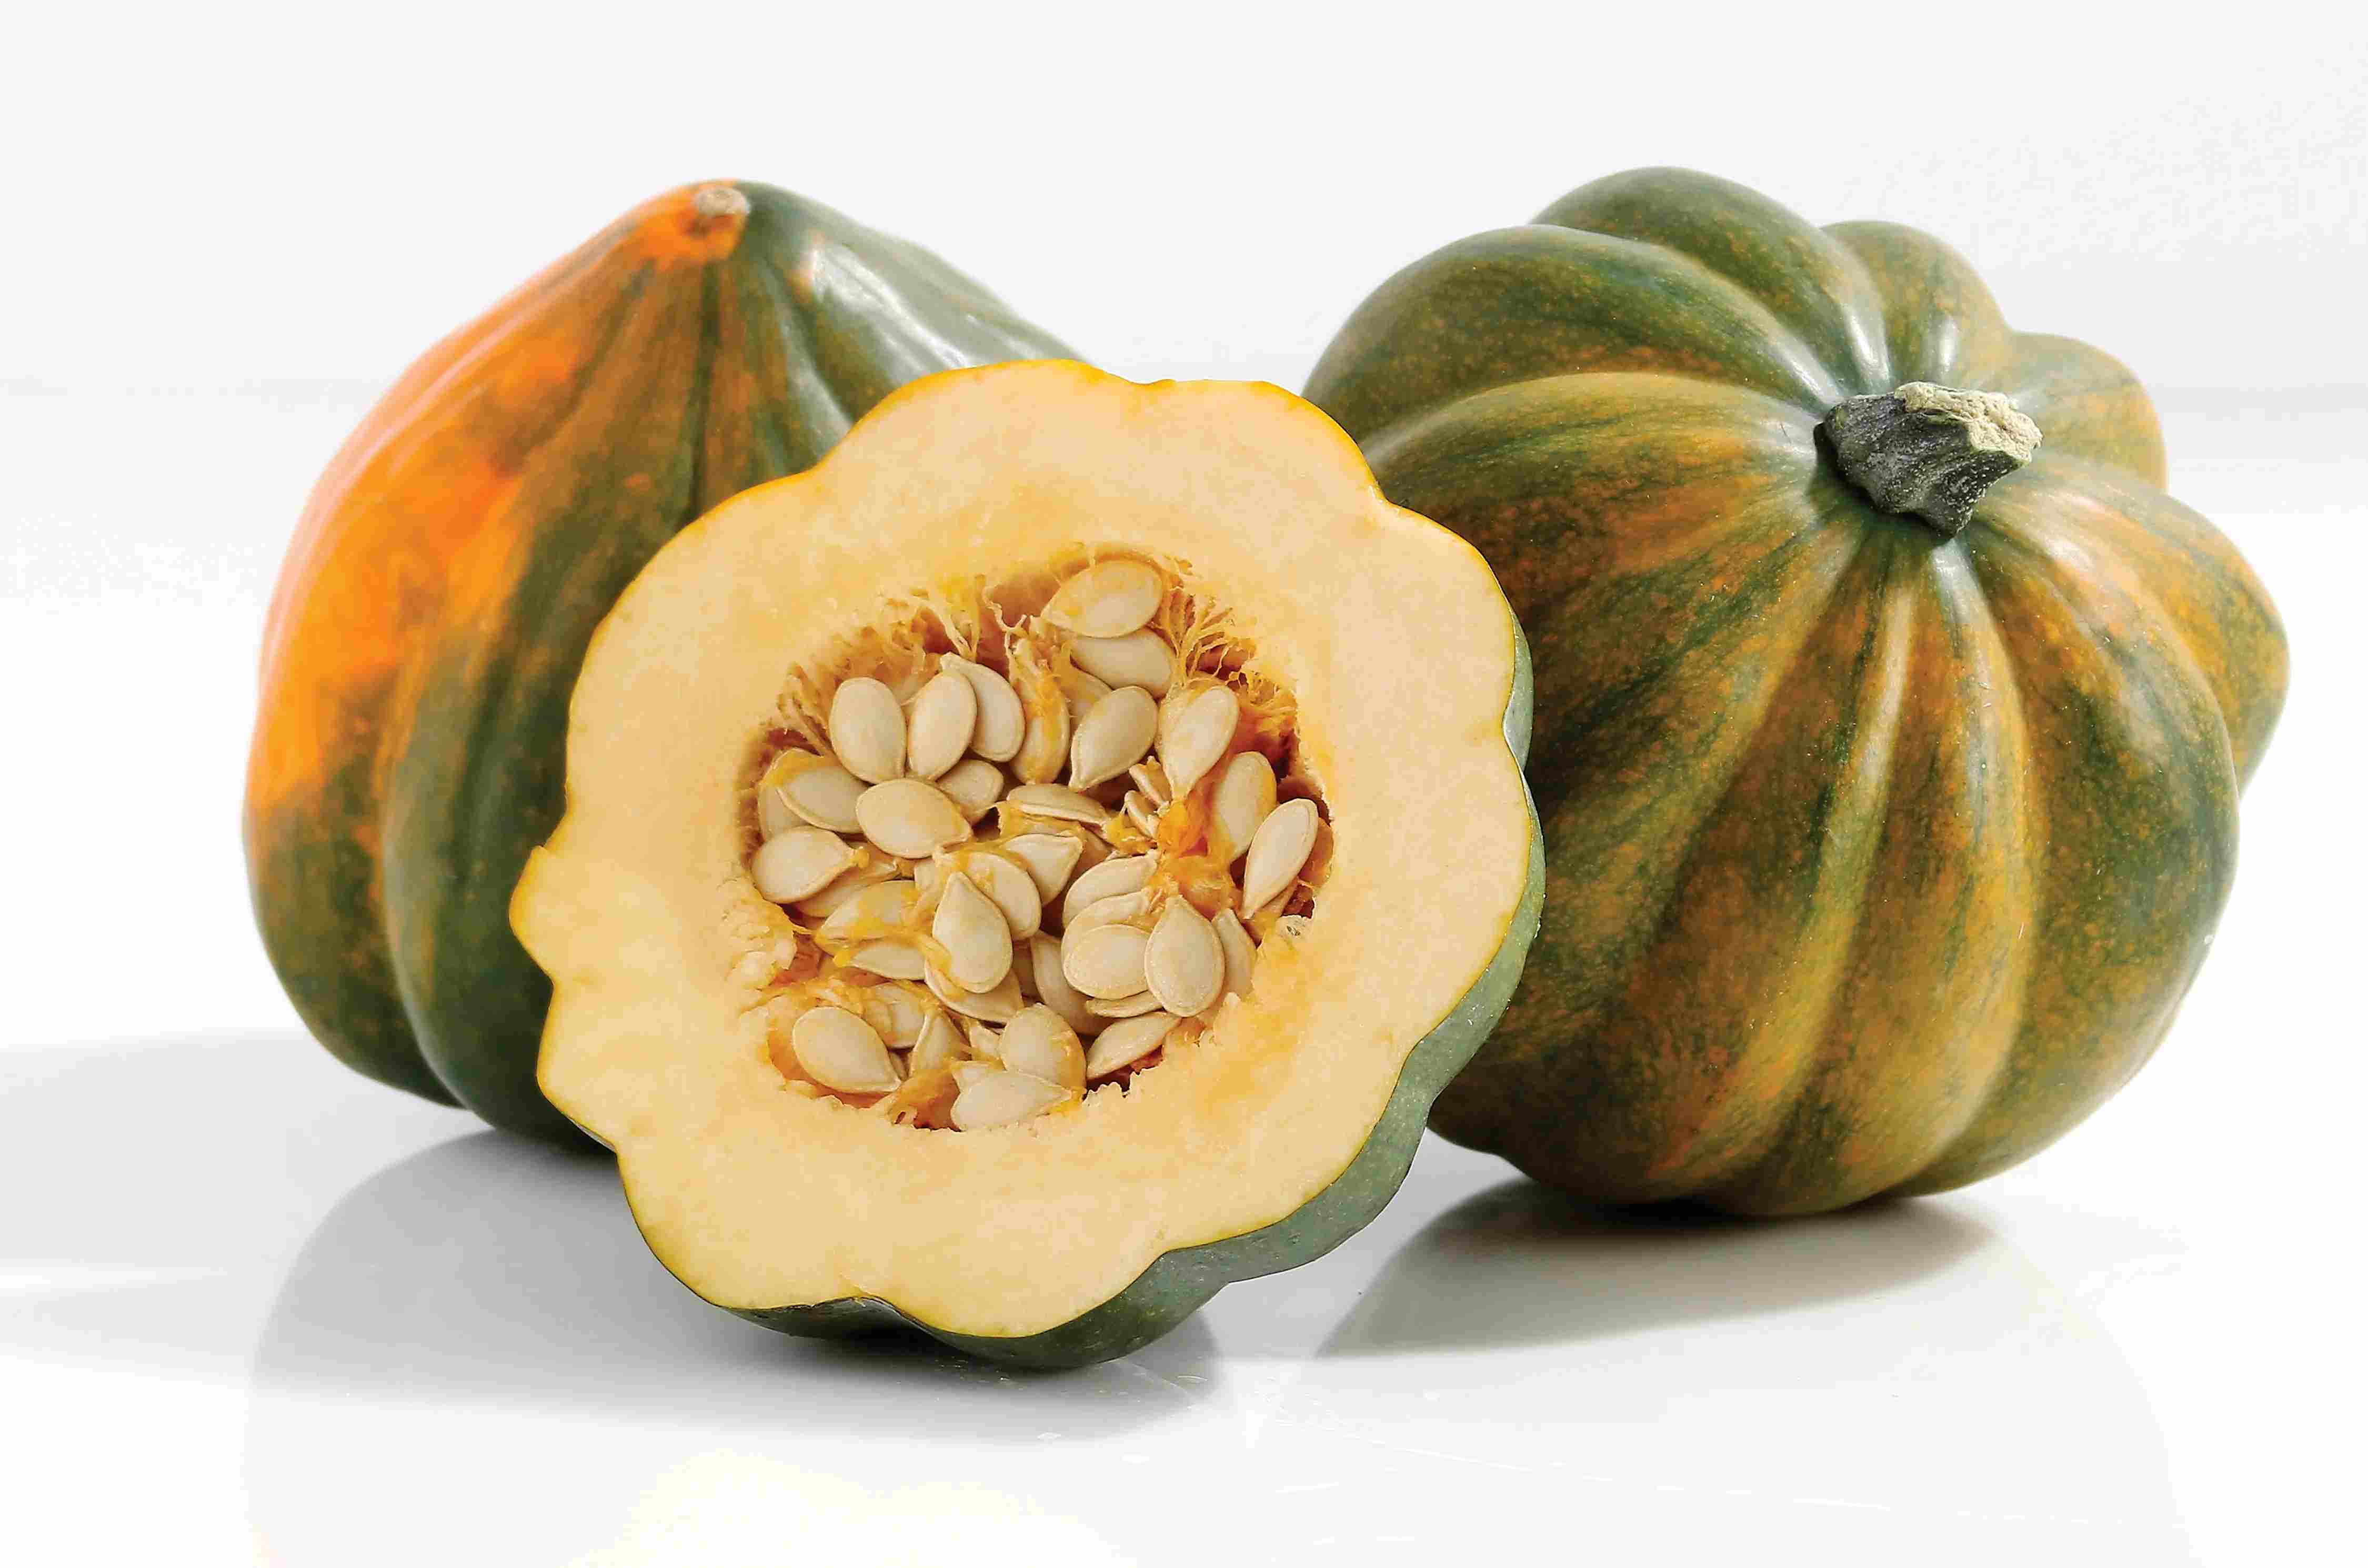
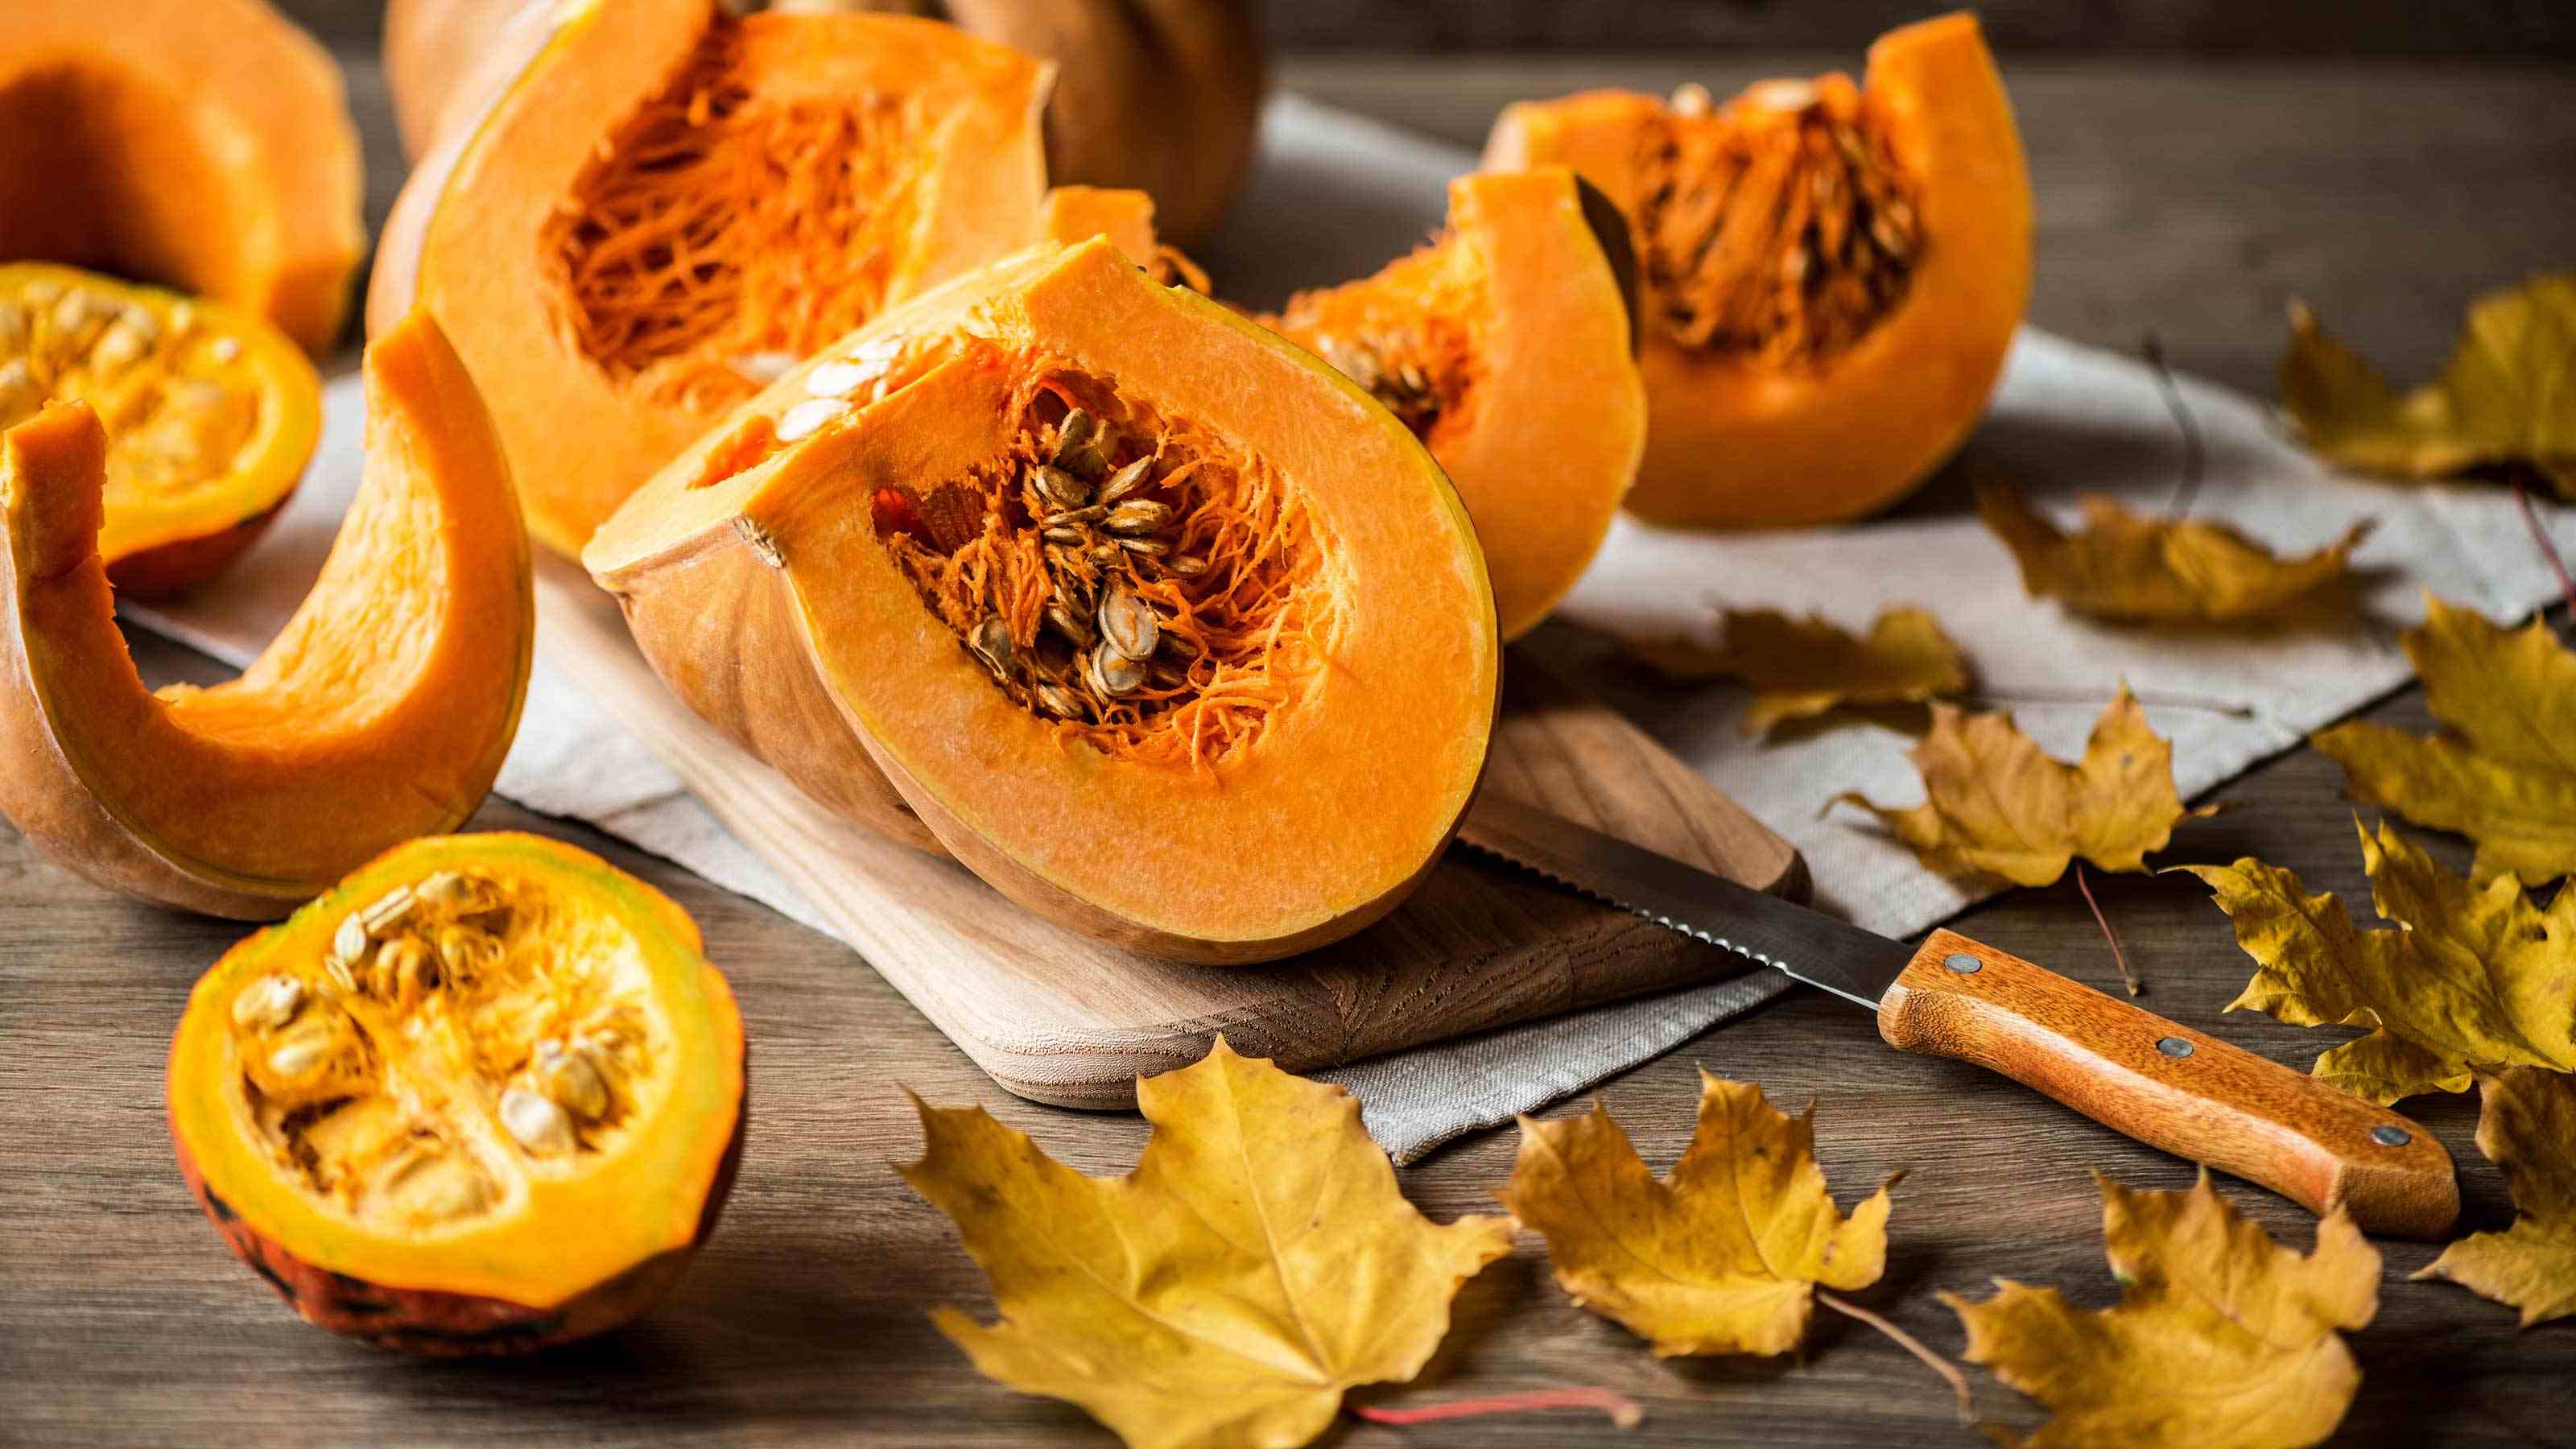
- Selecting the right pumpkin: Choose a healthy, fully ripe pumpkin from your garden or purchase one from a local farmer’s market. Look for pumpkins with firm skin and vibrant color. Avoid using pumpkins that have any signs of disease or rot.
- Preparing the pumpkin: Use a sharp knife to carefully cut the pumpkin open. Start by cutting around the stem, creating a circle, and then gently pry off the top. Make sure to do this on a clean surface to avoid any contamination.
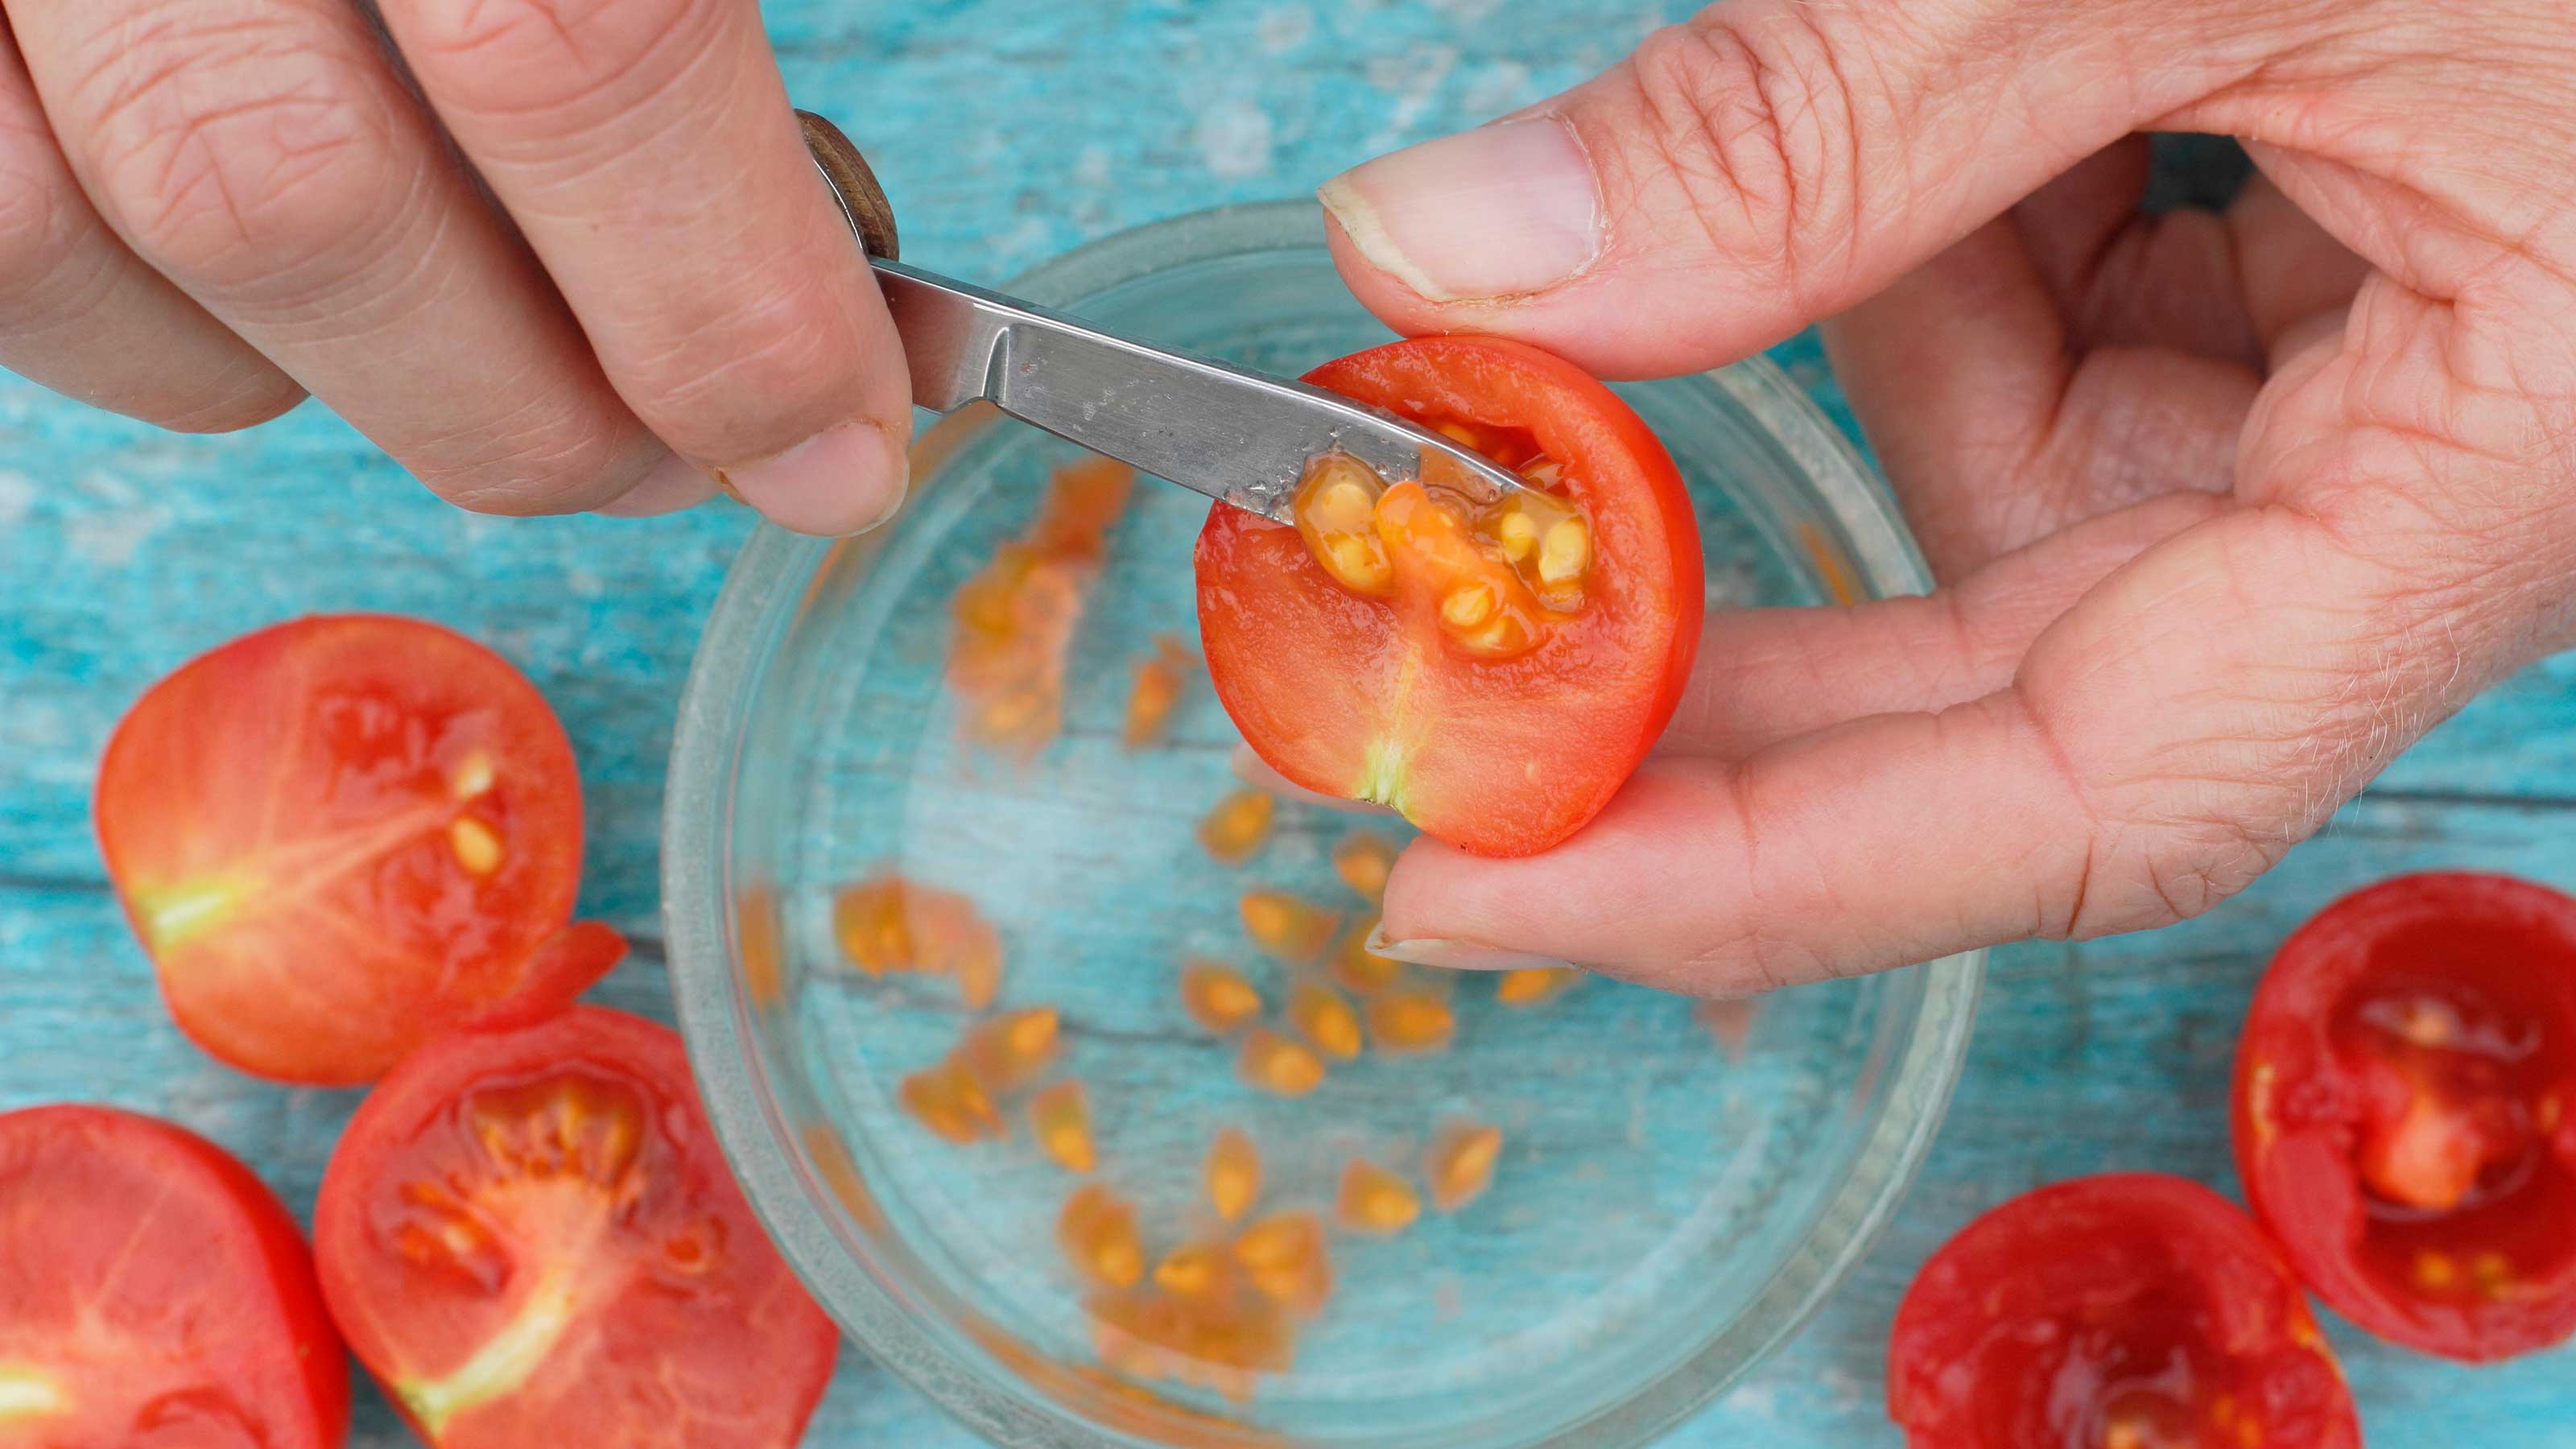
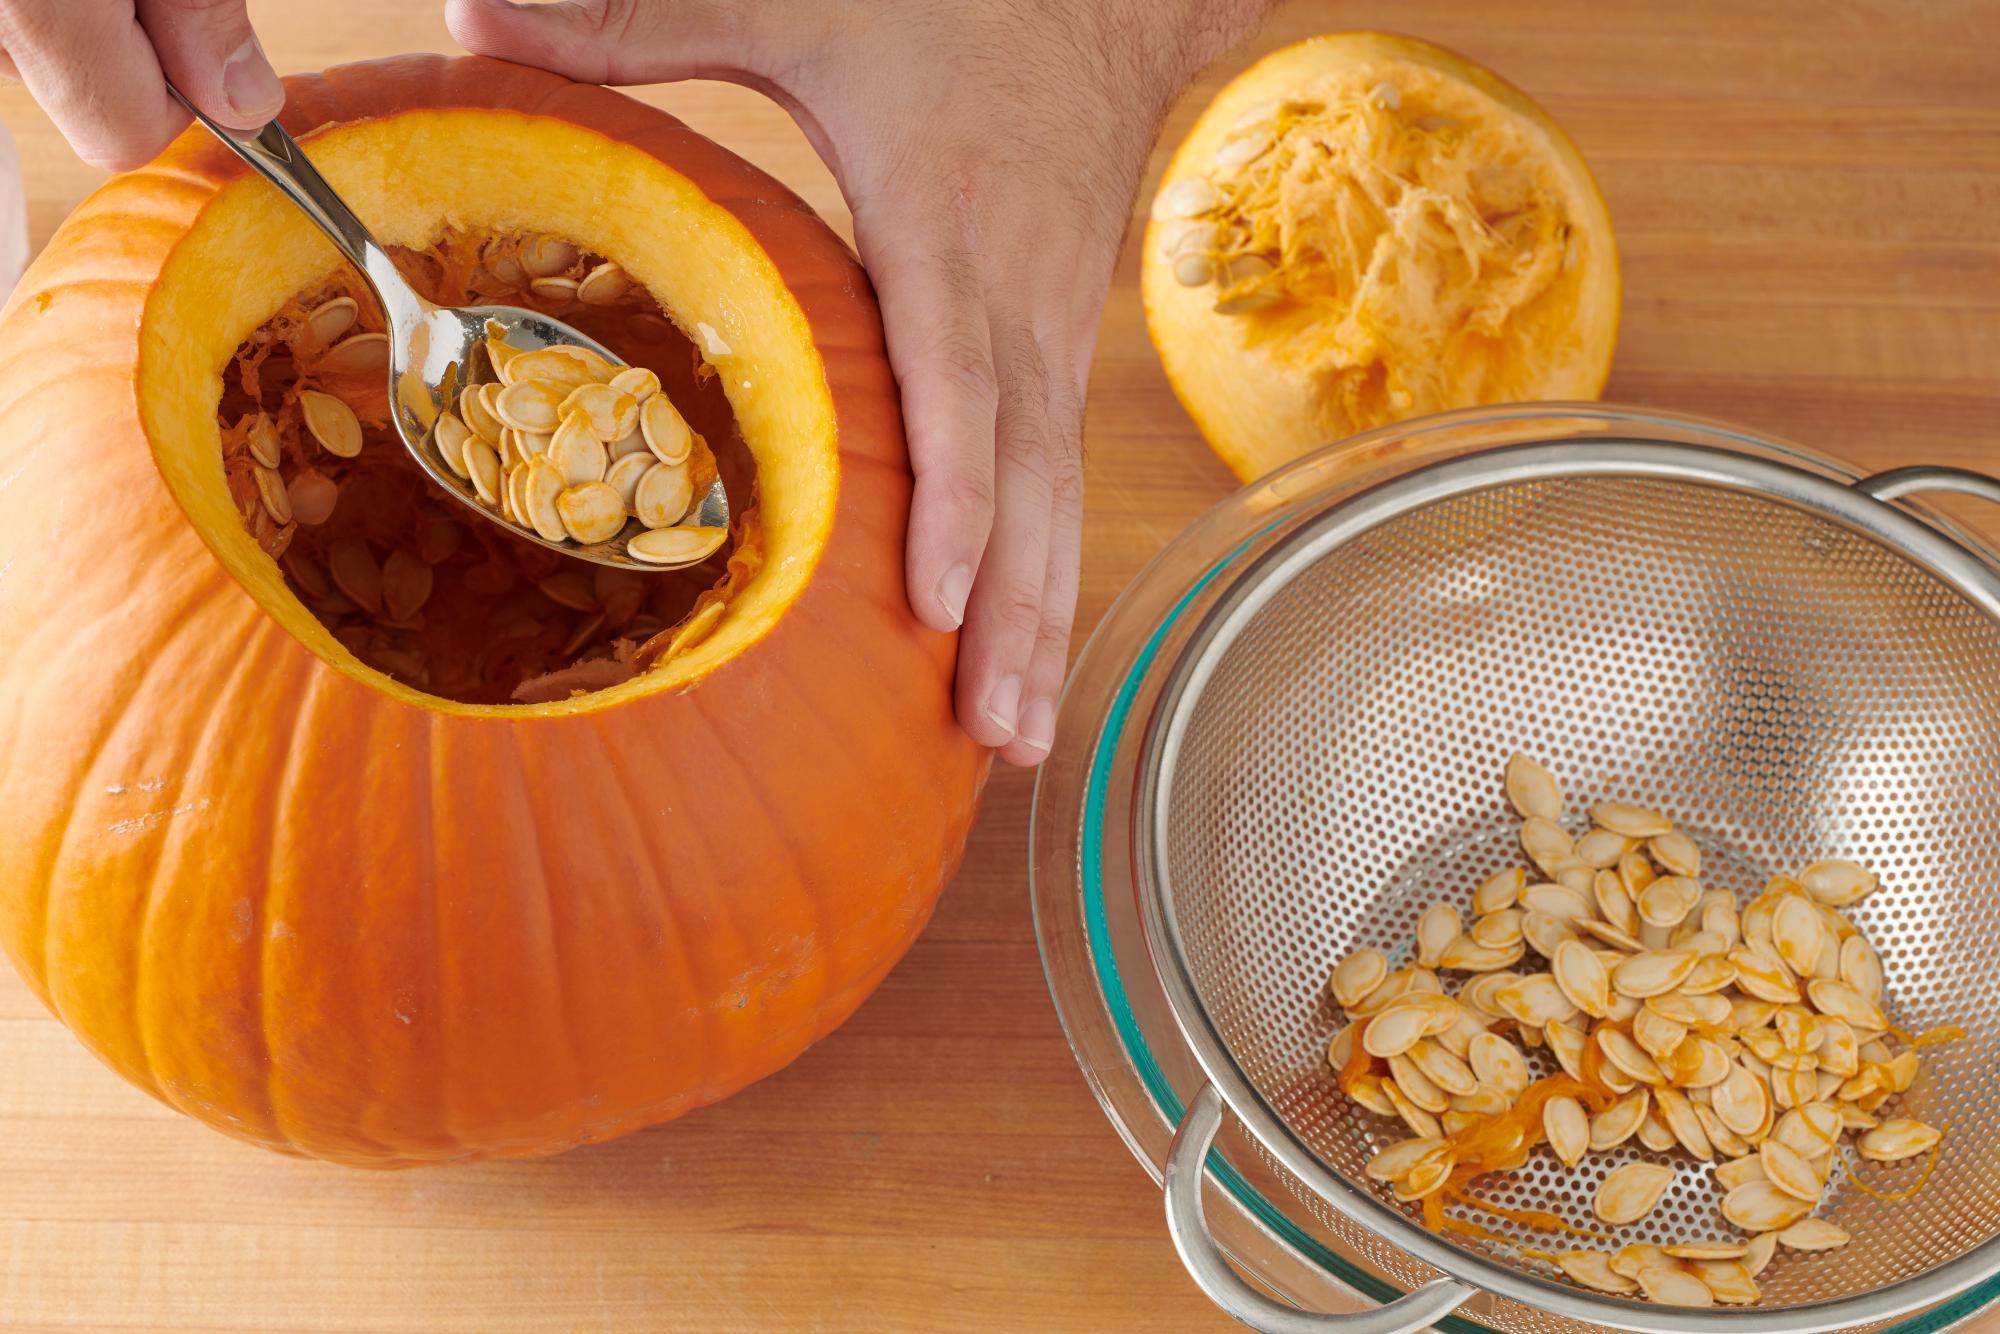
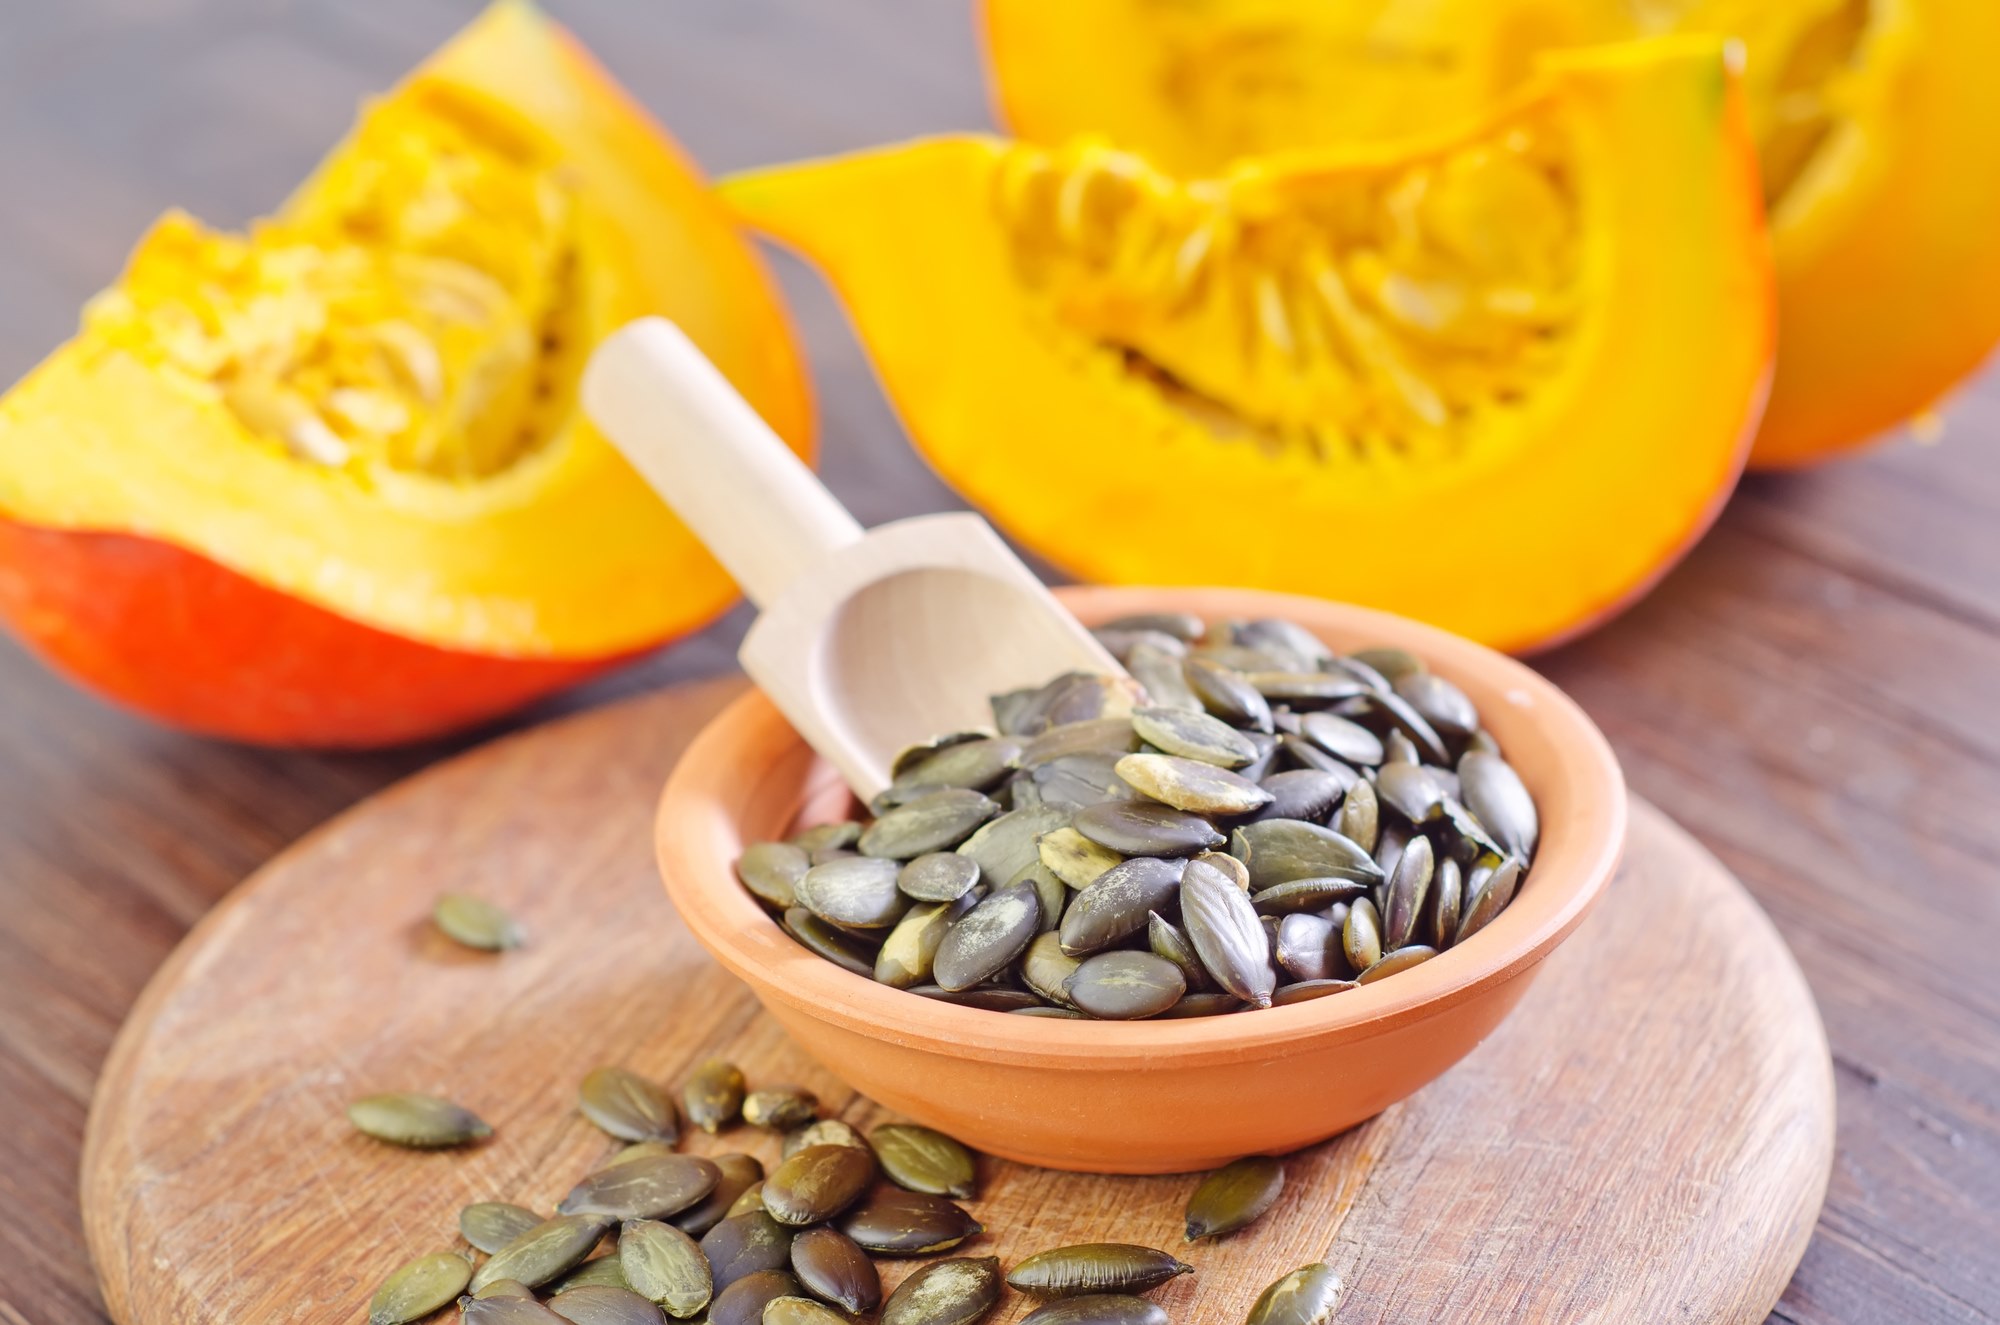
- Seed removal: Scoop out the seeds and the stringy pulp from the pumpkin using a spoon or your hands. Place them in a clean bowl or bucket. Don’t worry about completely separating the seeds from the pulp at this stage. The cleaning process will take care of that later.
- Pulp removal: Fill the bowl or bucket with water and then use your hands or a spoon to separate the seeds from the pulp. The seeds will sink to the bottom while the pulp and any remaining debris will float to the top. Skim off the debris and pulp, then drain the water using a fine mesh sieve or colander.
- Final cleaning: Rinse the separated seeds under running water to remove any remaining pulp. Gently rub the seeds between your fingers while rinsing to ensure they are thoroughly cleaned. Discard any remaining debris or damaged seeds that float to the surface.
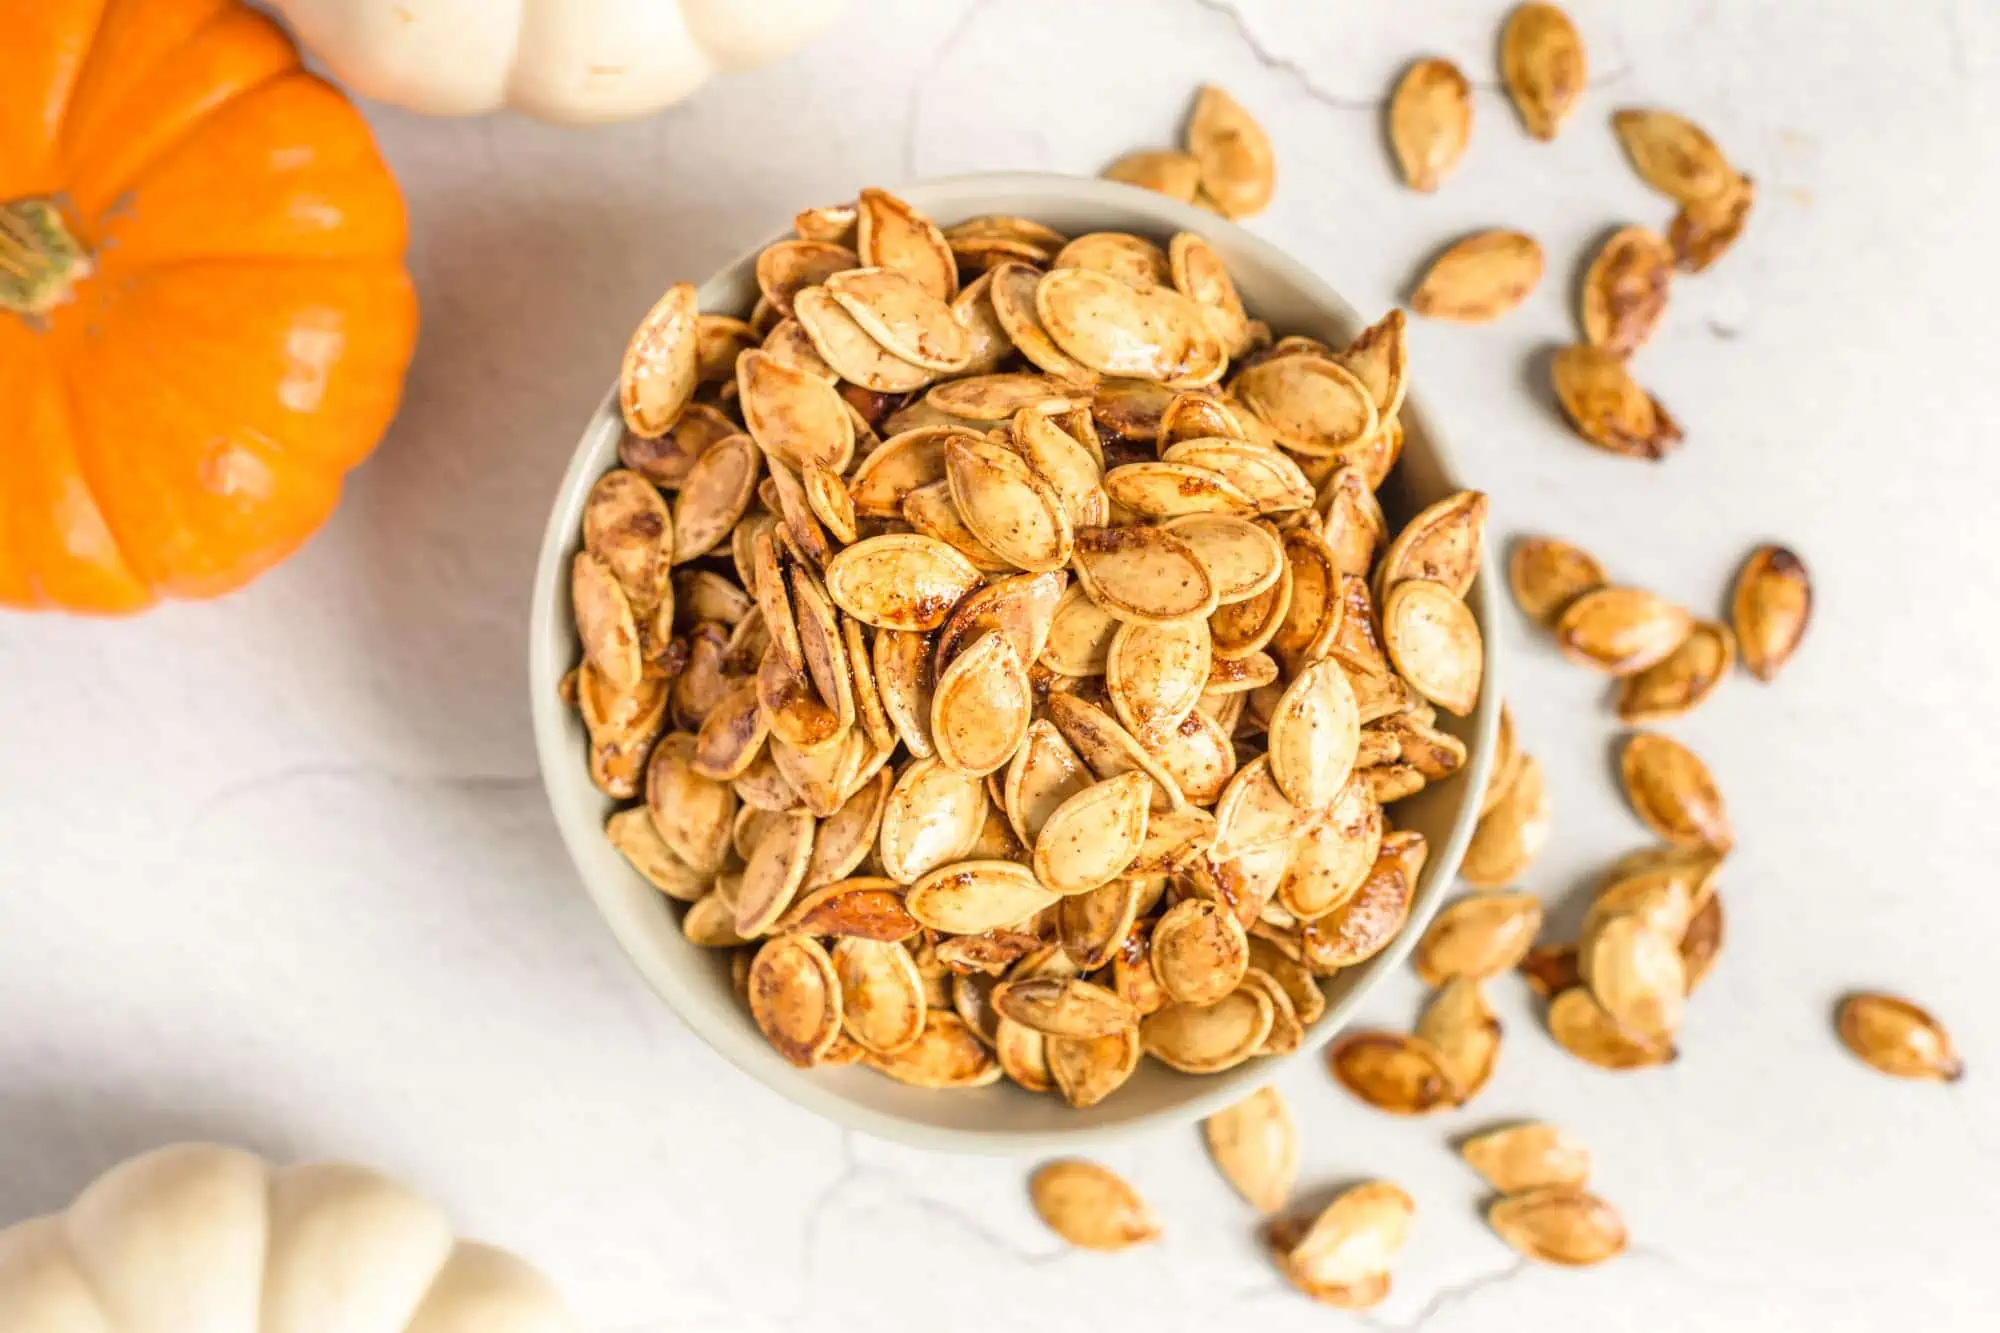
- Drying the seeds: Spread the cleaned seeds in a single layer on a flat surface, such as a baking sheet or paper towel. Allow them to air dry completely at room temperature for about a week. Make sure the seeds are fully dry to prevent mold or rot during storage.
Once the pumpkin seeds are dry, you can move on to the next step of the preservation process: preparing the seeds for storage.
Step 2: Preparing the Seeds for Storage
Preparing pumpkin seeds for storage is an important step in ensuring their longevity and viability. Follow these guidelines to properly prepare your seeds:
- Separating the good seeds: Inspect the dried seeds and remove any that are discolored, misshapen, or damaged. It’s important to only store seeds that are healthy and free from any signs of disease or pests.
- Labeling and organizing: Use small envelopes, seed packets, or storage containers to keep the seeds separated and organized by variety. Label each container with the name of the pumpkin variety and the date of harvest. This will help you keep track of the seed’s age and characteristics.
- Seed maturity: It’s a good idea to let the seeds age for a few weeks before storing them. This allows them to fully mature and increase their chances of successful germination when planted.
- Seed moisture: Ensure that the seeds are completely dry before storing them. Moisture can lead to mold and rot, causing the seeds to become unusable. If you’re unsure about the seed’s moisture content, you can conduct a simple test. Squeeze a few seeds between your fingers – if they break or snap cleanly, they are dry and ready for storage. If they bend or squash, they may still contain moisture and need further drying.
By following these steps, your pumpkin seeds will be properly prepared for storage, prolonging their viability and increasing the chances of successful germination when planted. The next step is to learn how to dry the seeds before storing them.
Step 3: Drying the Pumpkin Seeds
Drying pumpkin seeds is a crucial step in preserving their longevity and preventing mold or rot during storage. Here’s how you can effectively dry your pumpkin seeds:
- Spread the seeds: After separating and preparing the seeds, spread them in a single layer on a flat surface. You can use a baking sheet, paper towel, or mesh drying rack. Make sure the seeds are not touching each other to allow air circulation.
- Avoid direct sunlight: Place the drying surface in a cool, dry, and well-ventilated area. Avoid exposing the seeds to direct sunlight as it can cause them to become too hot and lose their viability.
- Patience is key: Allow the seeds to air dry naturally for at least one to two weeks. During this time, you may gently stir or flip the seeds occasionally to promote even drying. The seeds are considered fully dry when they are hard, brittle, and make a distinct snapping sound when cracked.
It’s important to note that you should not use artificial heat sources, such as ovens or dehydrators, to speed up the drying process. High heat can damage the seeds and reduce their chances of successful germination.
Once the pumpkin seeds are completely dry, it’s time to move on to the next step: storing the seeds for future use.
Step 4: Storing the Pumpkin Seeds
Proper storage is crucial for maintaining the viability of pumpkin seeds over time. Follow these guidelines to ensure your preserved pumpkin seeds stay viable for future planting:
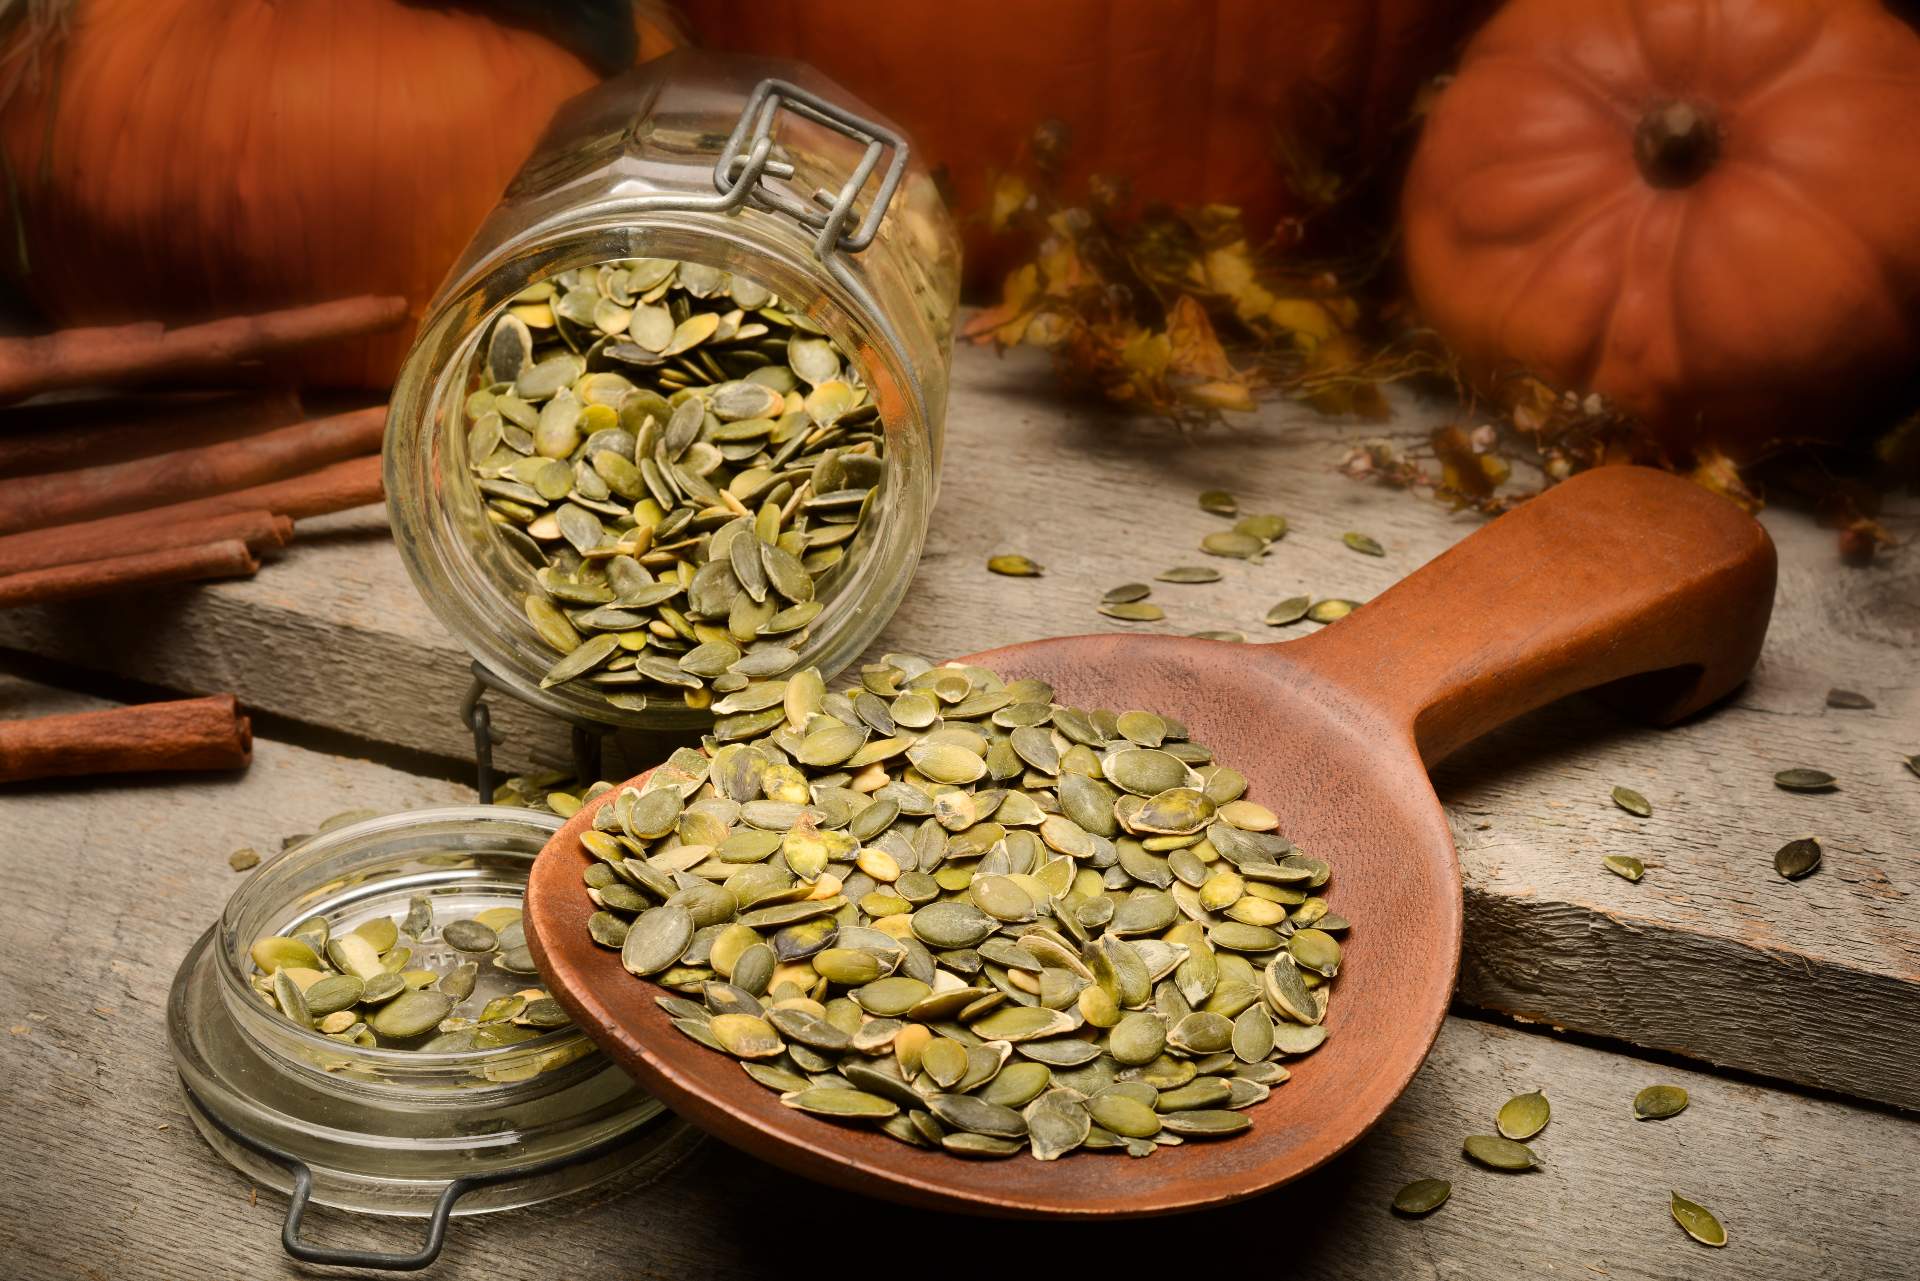
- Choose appropriate containers: Use small, airtight containers made of glass, plastic, or metal to store your pumpkin seeds. These containers will help protect the seeds from moisture, pests, and air exposure.
- Label the containers: Label each container with the variety of pumpkin seeds and the date of harvest. This information will make it easier for you to identify and keep track of the seeds in your collection.
- Store in a cool, dry place: Find a cool, dark, and dry location for storing the containers. A pantry, basement, or refrigerator are good options. Be sure to keep the seeds away from direct light and fluctuating temperatures.
- Absorb moisture: To further protect the stored seeds from moisture, you can place a small packet of silica gel or a desiccant in the container. These can be easily found in craft stores or purchased online.
- Avoid humidity: It is essential to store pumpkin seeds in an environment with low humidity levels. High humidity can cause the seeds to become soft and susceptible to mold or premature sprouting.
By following these storage practices, your preserved pumpkin seeds can remain viable for up to five years, depending on the variety. However, it’s a good idea to check the seeds’ viability before each planting season. Let’s move on to the next step, which involves testing the seed viability.
Step 5: Testing Seed Viability
Before planting your preserved pumpkin seeds, it’s essential to test their viability to determine if they are still capable of germinating and producing healthy plants. Follow these steps to conduct a simple seed viability test:
- Prepare a damp paper towel: Moisten a paper towel or a piece of a coffee filter with water until it is damp but not soaking wet. Fold it in half or quarters to create a smaller, manageable size.
- Place the seeds: Take a few preserved pumpkin seeds and place them evenly spaced on one half of the damp paper towel. Fold the other half over to cover the seeds.
- Seal and label: Carefully place the folded paper towel with the seeds into a plastic baggie. Seal the baggie, ensuring it is airtight. Label the baggie with the seed variety and the date of testing, so you can easily identify it later.
- Observe and wait: Put the sealed baggie in a warm area, ideally around 70 to 80 degrees Fahrenheit. Check the baggie every few days to monitor seed activity and make sure the paper towel remains damp. Germination rates can vary, so be patient and allow the seeds ample time to sprout.
- Record the results: After about 7 to 10 days, carefully unfold the paper towel and observe if any seeds have germinated. A sprouted seed with a small root emerging indicates viability. Count the number of sprouted seeds to determine the germination rate.
If the germination rate is high, you can confidently plant the preserved pumpkin seeds in your garden. However, if the viability is low, it may be best to acquire fresh seeds to ensure a successful harvest.
Now that you have tested the viability of your preserved pumpkin seeds, it’s time to move on to the final step: planting them and enjoying the journey of growing your pumpkins!
Step 6: Planting Preserved Pumpkin Seeds
Congratulations! You have reached the final step in the process of preserving and preparing your pumpkin seeds. Now it’s time to put your preserved seeds to use and plant them in your garden. Follow these steps for successful planting:
- Choose the right time: Wait until all danger of frost has passed and the soil temperature has reached at least 60 degrees Fahrenheit before planting your pumpkin seeds. Pumpkins thrive in warm weather, so planting them too early can result in poor growth and low yields.
- Prepare the planting area: Select a sunny spot in your garden with well-draining soil. Pumpkins require ample space for their sprawling vines to grow, so make sure there is plenty of room. Prepare the soil by loosening it with a garden fork or tiller and removing any rocks or debris.
- Sow the seeds: Dig small holes in the soil or create mounds if you prefer. Plant two to three preserved pumpkin seeds per hole or mound, about 1 inch deep. Space the holes or mounds 2 to 3 feet apart to allow for adequate plant growth.
- Water and care: Gently water the planting area after sowing the seeds to ensure the soil is moist. Throughout the growing season, keep the soil evenly moist but not waterlogged. Water deeply when necessary and avoid overhead watering to prevent disease. Keep weeds at bay by mulching around the plants.
- Support and prune: As the pumpkin plants grow, they may benefit from the support of trellises, fences, or stakes. Additionally, prune the vines if necessary to encourage better air circulation and prevent overcrowding.
- Harvest and repeat: Depending on the variety, pumpkins typically take 75-120 days to reach maturity. Harvest the pumpkins once the fruit is fully colored and the stems start to dry. Remember to save some seeds from your harvested pumpkins for the next planting season, continuing the cycle of preserving and growing your pumpkins.
By following these planting techniques and providing the right care and maintenance, you can enjoy a bountiful pumpkin harvest from your preserved seeds. Remember to rotate where you plant your pumpkins each year to prevent disease buildup in the soil.
Now that you are equipped with the knowledge to preserve, plant, and grow your own pumpkins, it’s time to put it into practice and experience the rewards of edible gardening!
Conclusion
Preserving pumpkin seeds for planting is a rewarding process that allows you to continue the cycle of growth and harvest in your garden. By following the steps outlined in this guide, you can successfully preserve, store, and plant your own pumpkin seeds, ensuring a continuous supply of fresh, delicious pumpkins for years to come.
From harvesting and cleaning the seeds to drying and storing them, each step plays a crucial role in preserving the seeds’ viability and ensuring successful germination. Testing the seed viability before planting is a necessary step to determine the quality of your preserved seeds and make necessary adjustments if needed.
Once you have prepared and tested your preserved pumpkin seeds, it’s time to plant them in a suitable location in your garden. With proper care, including adequate watering, support, and pruning, you can watch your pumpkin plants grow and flourish throughout the growing season.
Remember to always label your preserved seeds and store them in a cool, dry place to maintain their quality. By saving seeds from your harvested pumpkins, you can continue the tradition and delight of growing your own pumpkins year after year.
So, what are you waiting for? Take the plunge into the world of preserving pumpkin seeds and experience the joy and satisfaction of growing your own pumpkins. Get started and let your garden flourish with the beauty and abundance of these magnificent gourds!