Home>Types of Gardening>Edible Gardening>How To Save Pumpkin Seeds
Edible Gardening
How To Save Pumpkin Seeds
Modified: January 22, 2024
Learn how to save and store pumpkin seeds for future planting in your edible gardening journey. Discover helpful tips and techniques for preserving the seeds in the most efficient and effective way.
(Many of the links in this article redirect to a specific reviewed product. Your purchase of these products through affiliate links helps to generate commission for Chicagolandgardening.com, at no extra cost. Learn more)
Table of Contents
Introduction
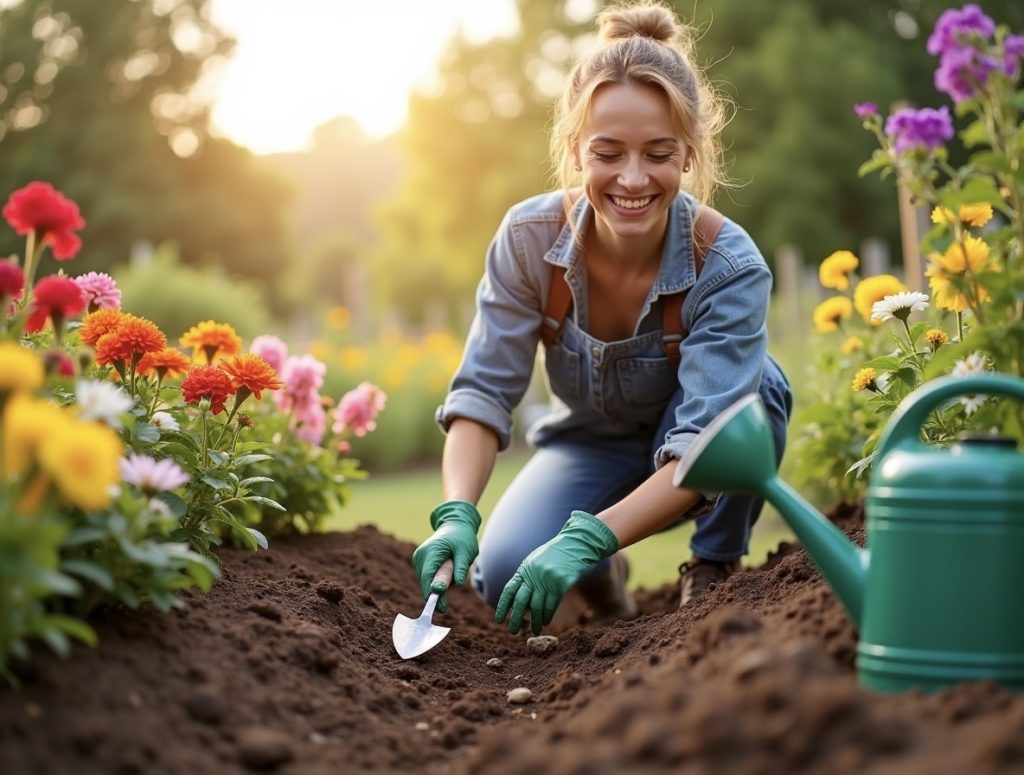
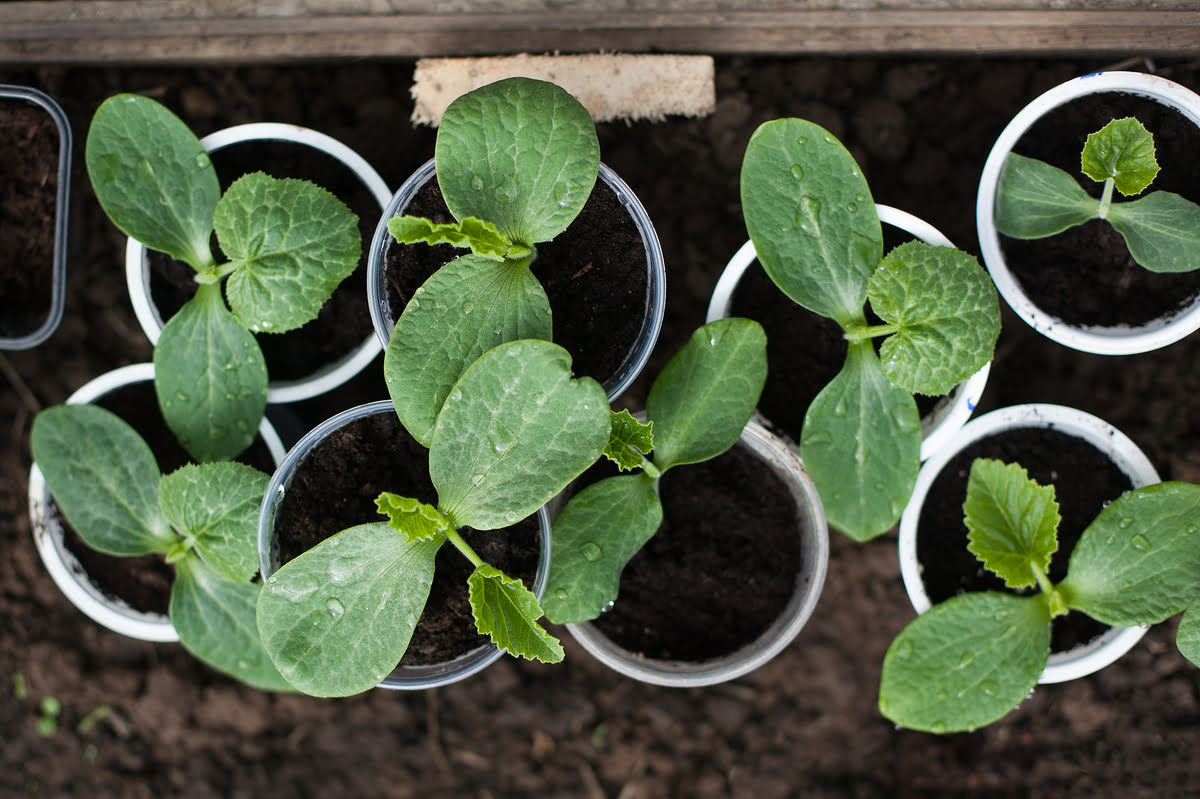
Welcome to the wonderful world of edible gardening! Growing your own food is not only a rewarding experience but also a great way to connect with nature and enjoy the freshest produce possible. One of the most satisfying aspects of edible gardening is being able to save and preserve seeds from your favorite crops for future planting. In this article, we will focus on the process of saving pumpkin seeds, a popular and versatile vegetable that can be used for cooking, baking, and even carving during Halloween.
When you save pumpkin seeds, you not only ensure a continuous supply of pumpkins for years to come, but you also have the opportunity to select and cultivate seeds from plants that exhibit desirable traits, such as size, flavor, or disease resistance. By following a few simple steps, you can harvest, clean, dry, and store pumpkin seeds effectively, allowing you to replicate the success of your favorite pumpkin varieties in your garden.
Whether you have just harvested your first pumpkin or you have been growing pumpkins for years, learning how to save pumpkin seeds will empower you to take control of your own gardening destiny. So, put on your gardening gloves, grab a pumpkin, and let’s dive into the fascinating journey of saving pumpkin seeds!
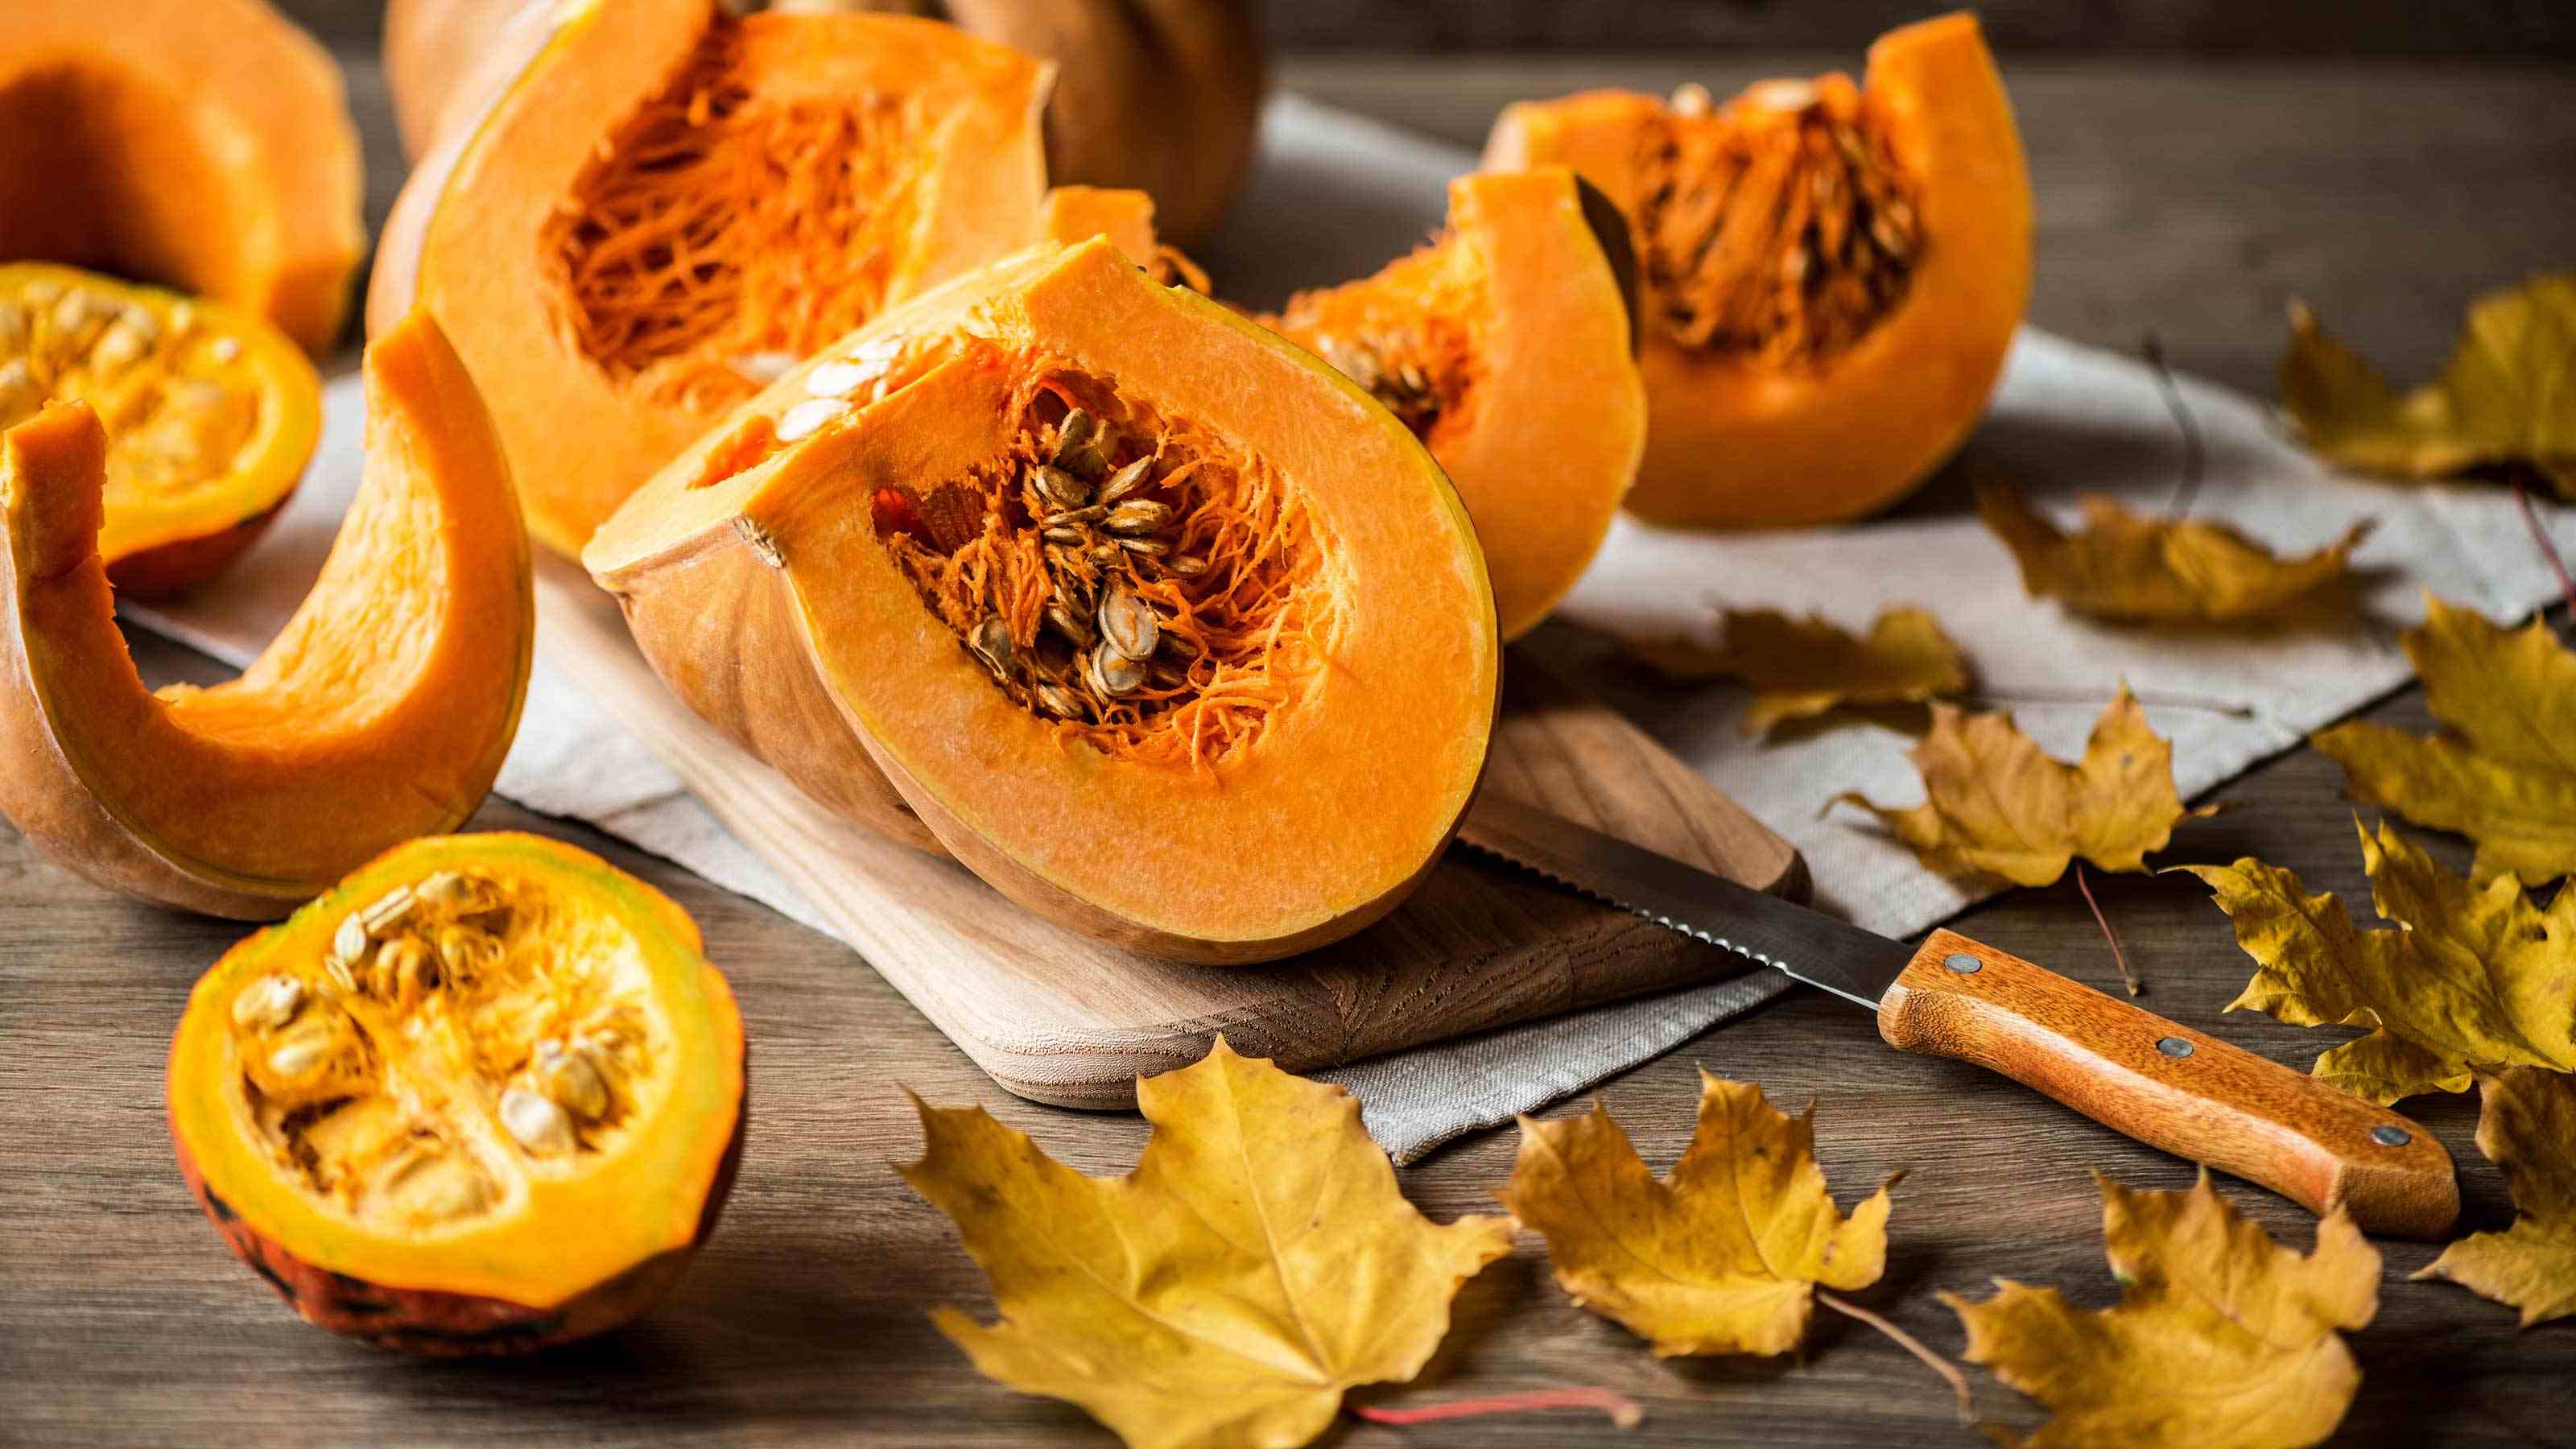
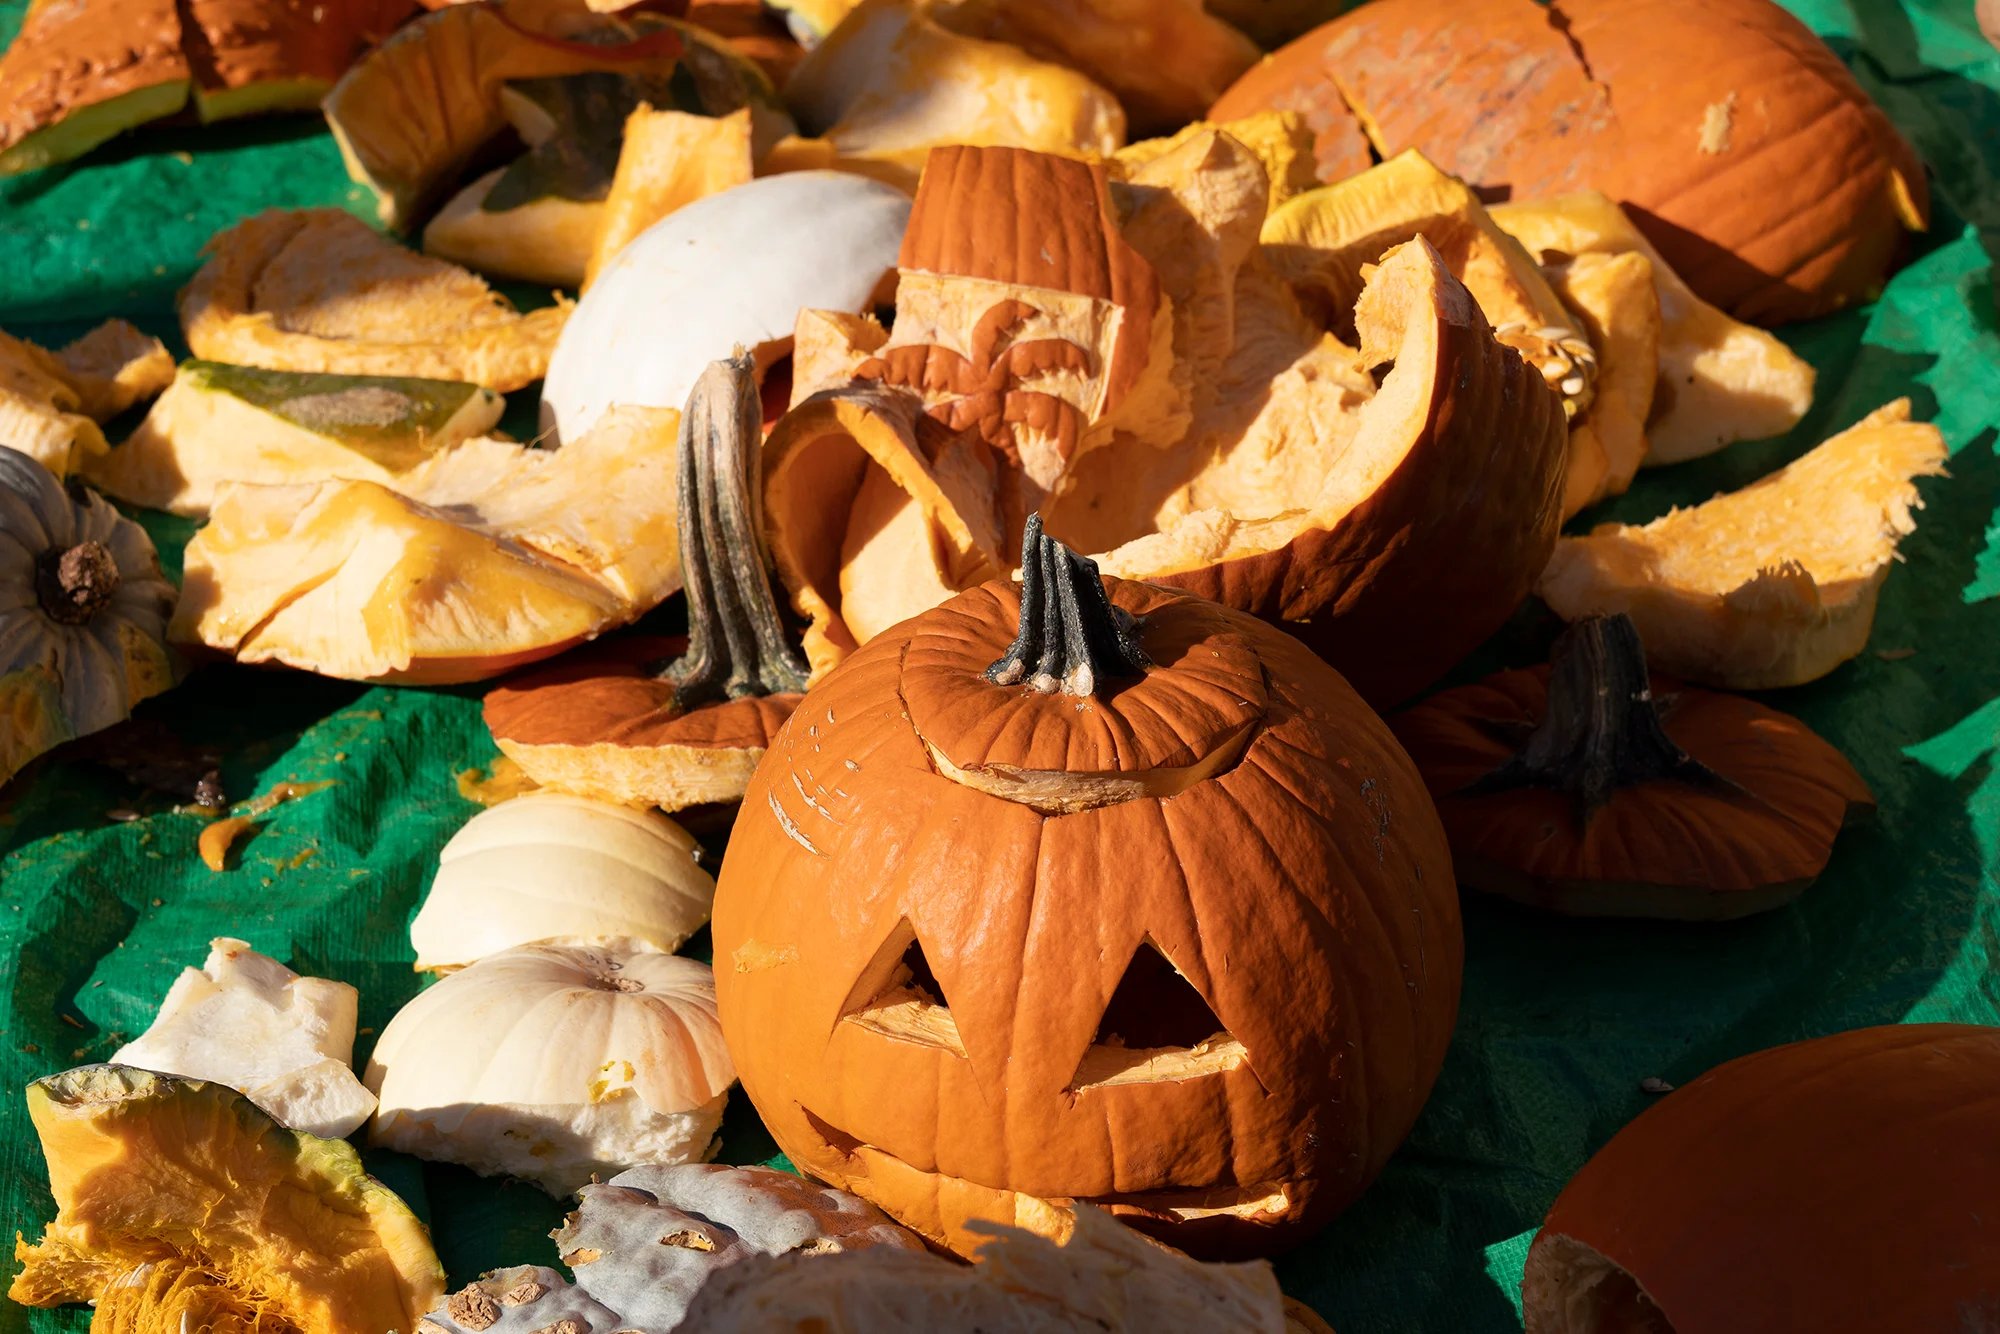
Step 1: Harvesting the Pumpkin
Before you can save pumpkin seeds, you need to start by harvesting a mature pumpkin. This ensures that the seeds inside the pumpkin have fully developed and are ready for extraction. Here’s how you can harvest your pumpkin:
- Choose the right time: Wait until your pumpkin is fully ripe before harvesting. This is usually indicated by a deep orange color and a hard rind.
- Prepare for harvesting: Use a pair of pruning shears or a sharp knife to cut the pumpkin from the vine. Leave a few inches of stem attached to the pumpkin to prevent rotting.
- Handle with care: Be cautious when handling the pumpkin to avoid bruising or damaging the skin. A healthy, undamaged pumpkin has a better chance of producing viable seeds.
- Store in a dry, cool place: Place the harvested pumpkin in a well-ventilated area with low humidity. This allows the pumpkin to cure and further develop its flavor and texture.
Once you have successfully harvested your pumpkin, you are ready to move on to the next step—extracting and cleaning the seeds.
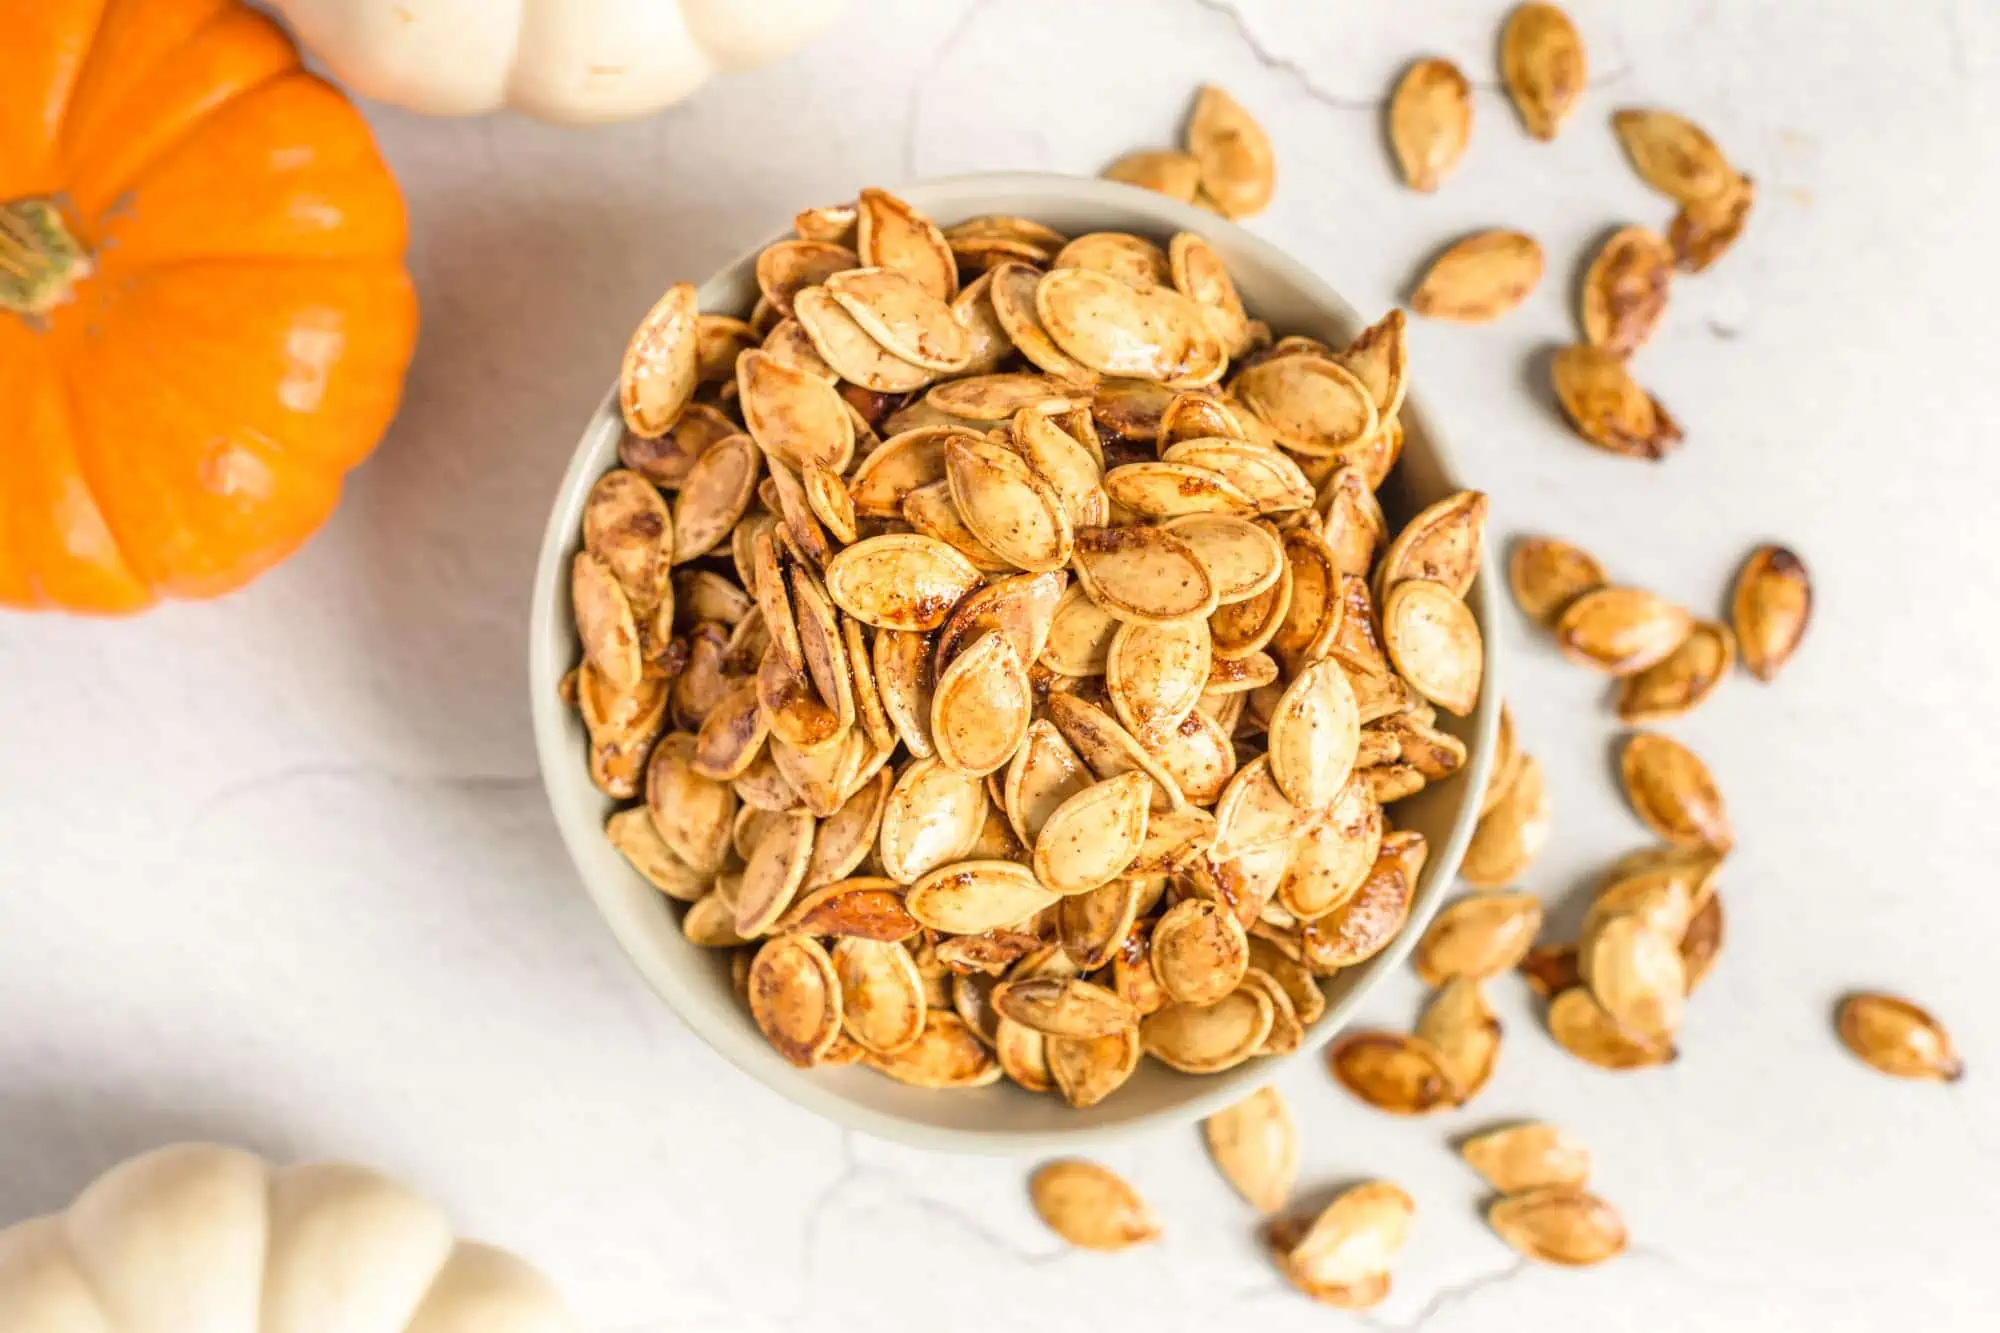
Step 2: Cleaning the Seeds
After harvesting the pumpkin, it’s time to extract and clean the seeds. Here’s a step-by-step guide on how to clean pumpkin seeds:
- Remove the seeds: Cut open the pumpkin using a sharp knife. Scoop out the seeds and pulp using a spoon or your hands. Place the seeds in a bowl, separating them from the pulp as much as possible.
- Rinse the seeds: Fill the bowl with water and use your hands to agitate the seeds. This will help separate the remaining bits of pulp from the seeds. Drain the water and repeat this process until the seeds are clean.
- Pat dry the seeds: Use a paper towel or a clean cloth to pat the seeds dry. Avoid rubbing the seeds vigorously to prevent damage. It’s important for the seeds to be completely dry before moving on to the next step.
By cleaning the pumpkin seeds thoroughly, you remove any excess pulp or debris that could inhibit their ability to dry properly. Once the seeds are clean and dry, you can proceed to the next step—drying them.
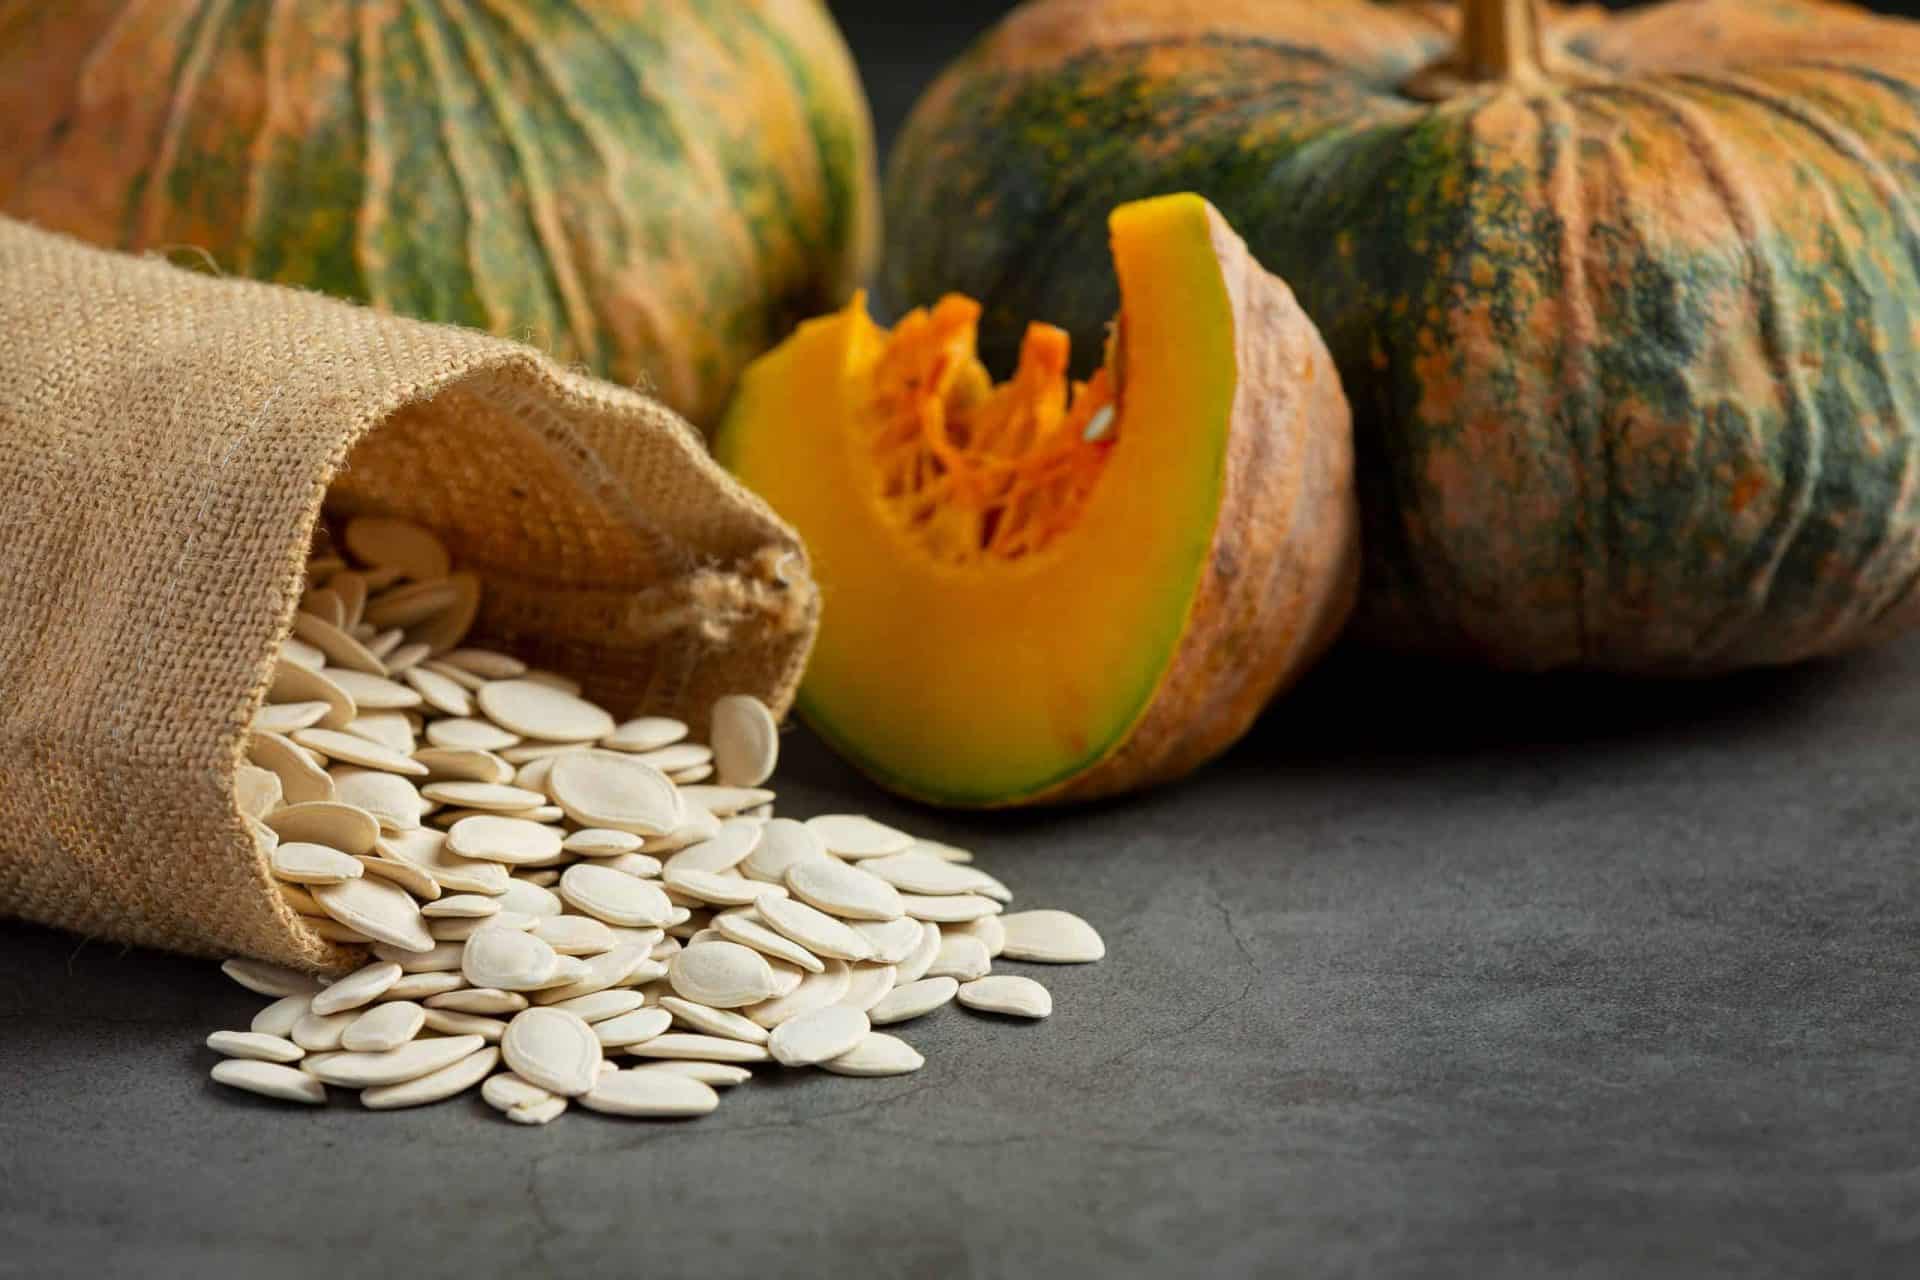
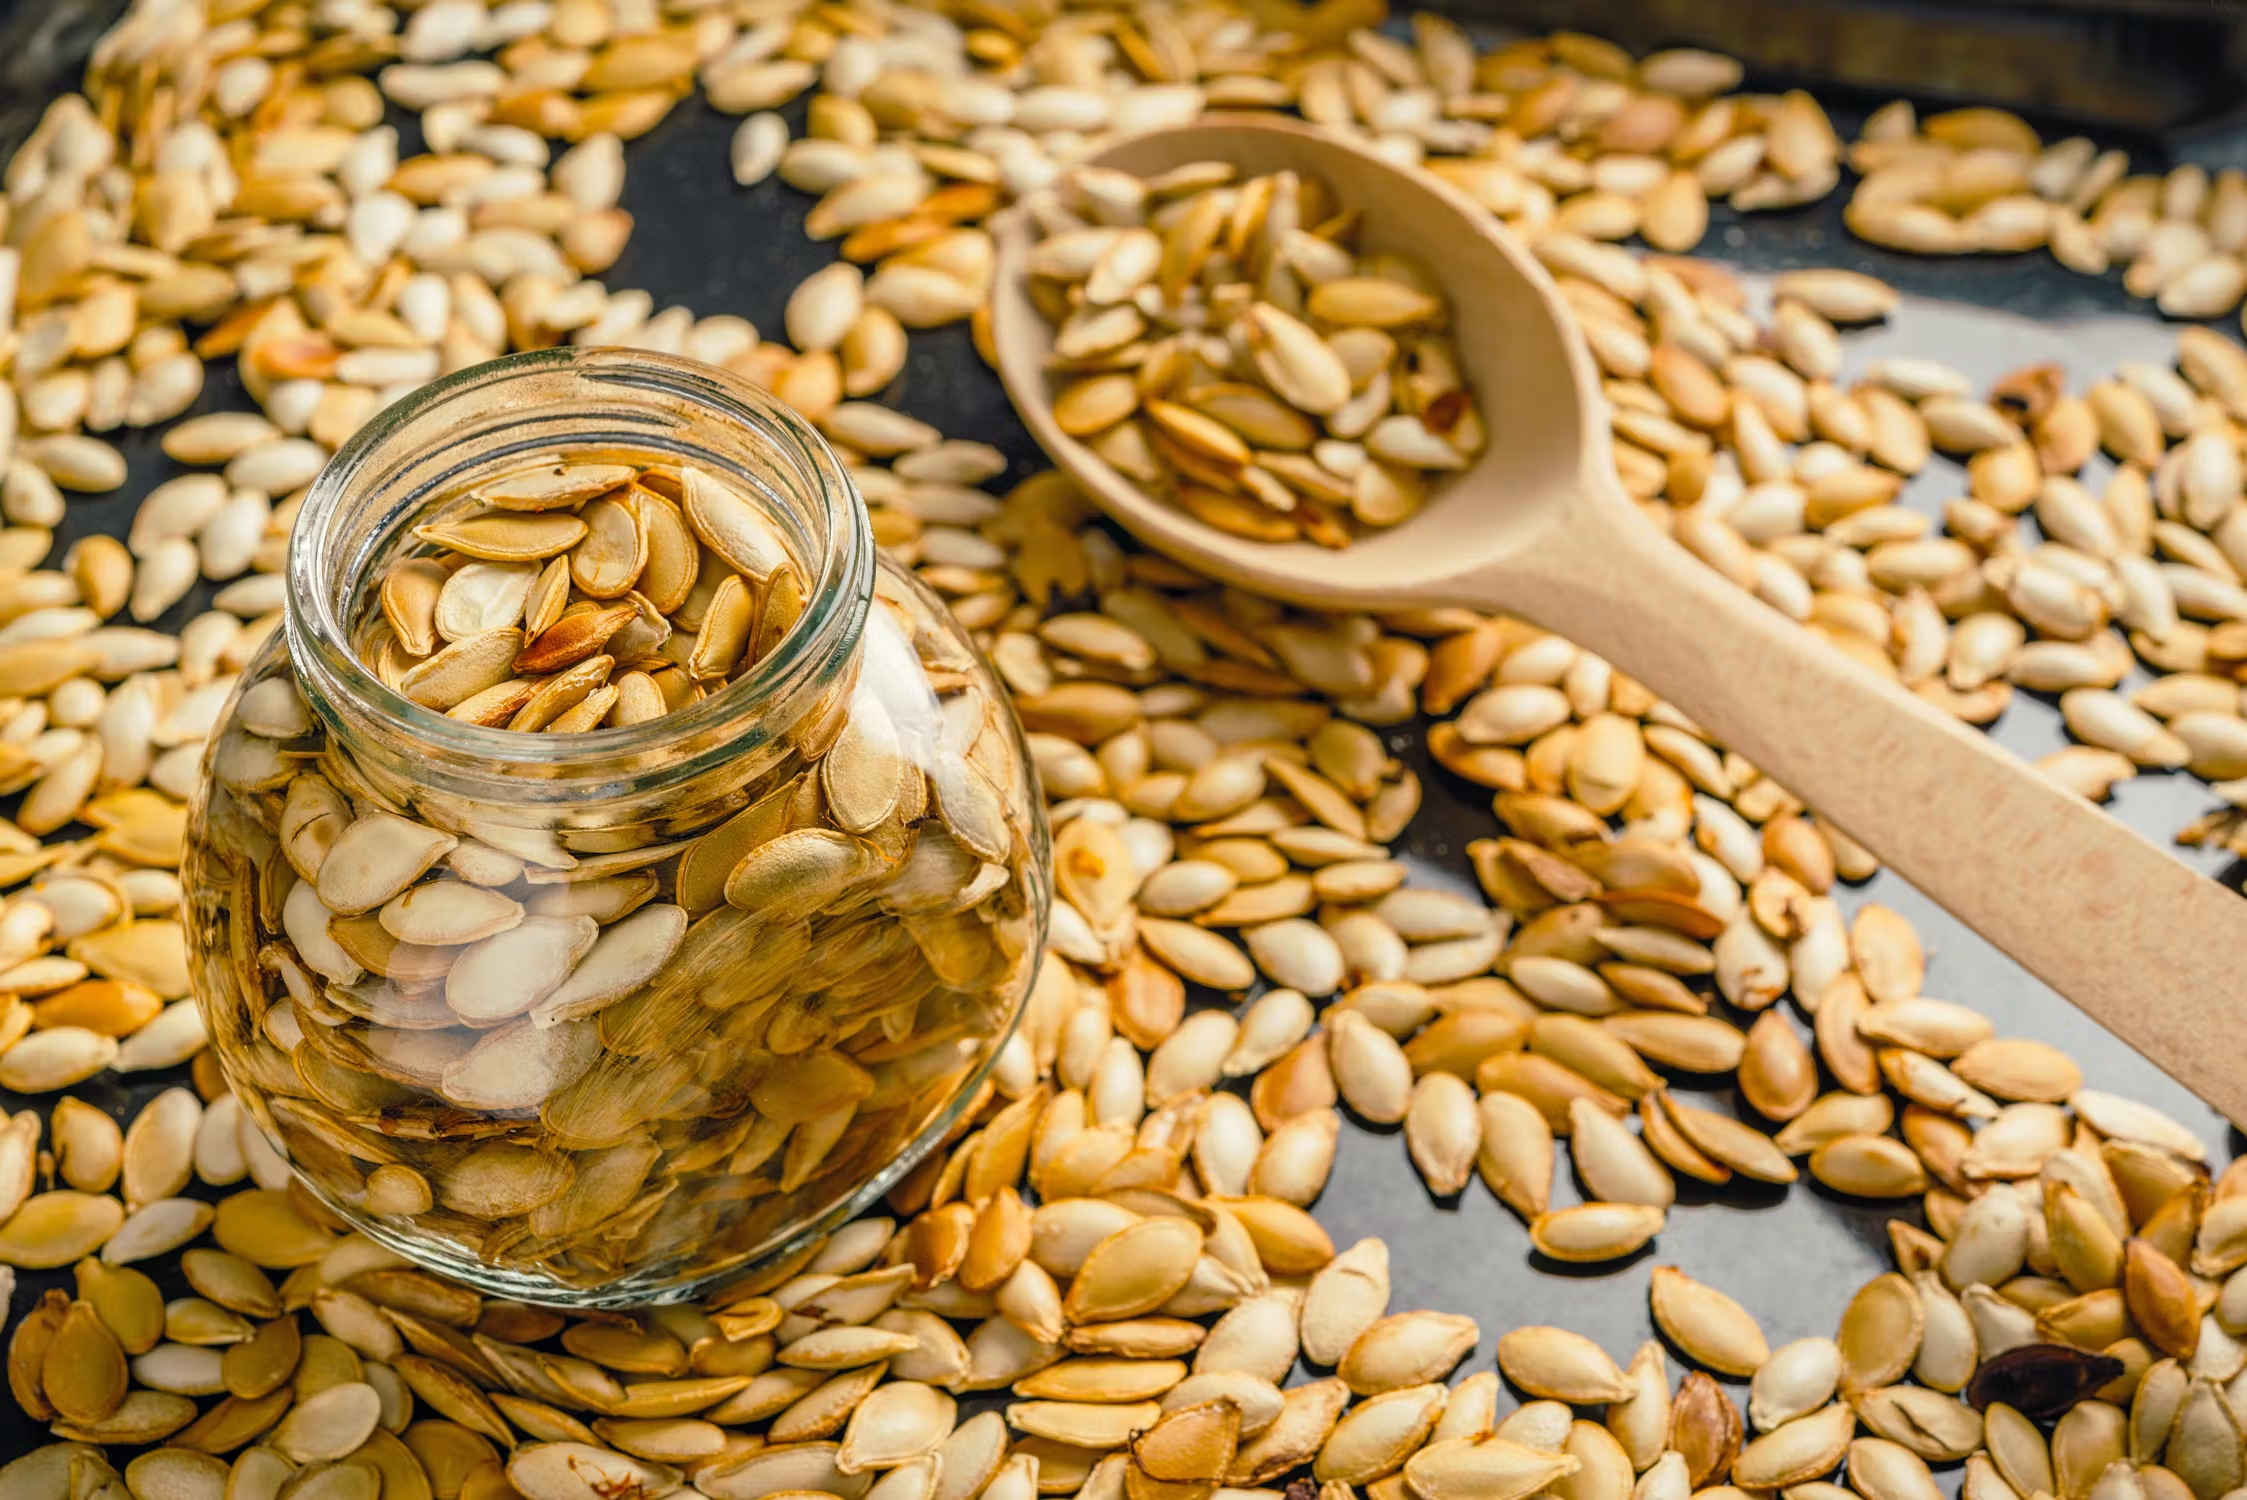
Step 3: Drying the Seeds
Properly drying the pumpkin seeds is crucial to ensure their long-term viability. Here’s how you can effectively dry your pumpkin seeds:
- Spread the seeds: Spread the clean and dry pumpkin seeds in a single layer on a flat surface such as a baking sheet or a fine mesh screen. Avoid overcrowding the seeds to ensure proper airflow and prevent mold formation.
- Air drying method: Allow the seeds to air dry naturally in a well-ventilated and dry area. This method can take up to a week or more, depending on the humidity levels in your environment.
- Seed drying rack: Alternatively, you can use a seed drying rack, which provides better airflow around the seeds. Place the seeds on the rack and allow them to dry completely.
- Check for dryness: To ensure the seeds are thoroughly dried, gently press on a few seeds. If they feel hard and do not leave any moisture residue on your fingers, they are ready for storage. If they are still soft or damp, give them more time to dry.
It’s important to make sure that the seeds are completely dry before storing them. Moisture can lead to mold growth and reduce the seed’s viability. Once the seeds are dry, it’s time to move on to the final step—properly storing the pumpkin seeds.
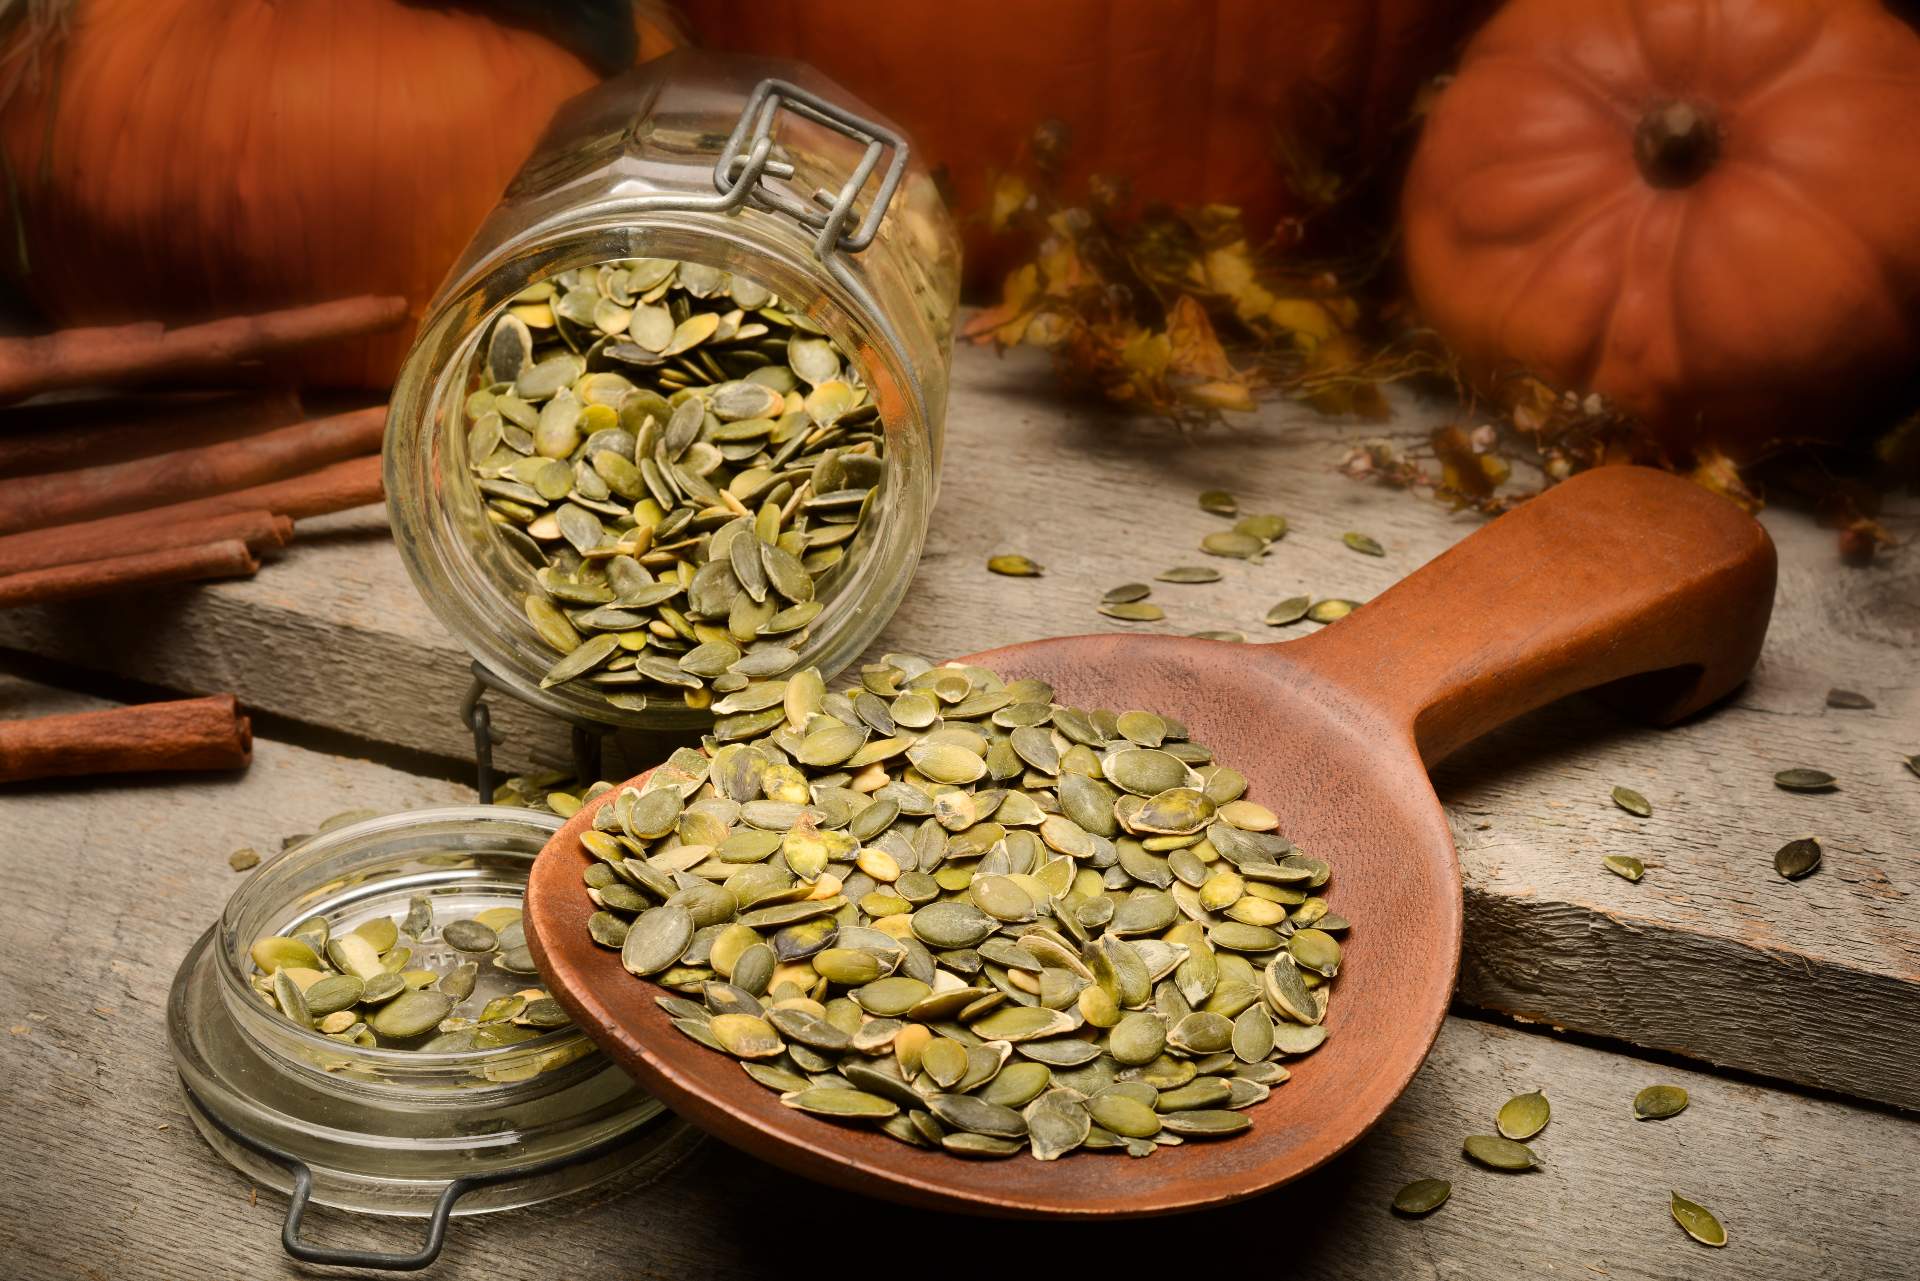
Step 4: Storing the Seeds
Proper storage is essential for maintaining the viability of pumpkin seeds over an extended period. Here’s how you can store your pumpkin seeds:
- Label and package: Start by labeling a small, airtight container or an envelope with the name of the pumpkin variety and the date of seed collection. This ensures you keep track of the seeds and their freshness.
- Seal the seeds: Place the completely dried pumpkin seeds into the labeled container or envelope. Seal it tightly to prevent any moisture or air from entering, which can cause the seeds to deteriorate.
- Store in a cool, dark place: Find a cool and dark location for storing your pumpkin seeds. The ideal temperature range is between 32°F (0°C) and 41°F (5°C). Avoid storing them in areas that are prone to temperature fluctuations or exposure to direct sunlight.
- Check for viability: Periodically, check the stored seeds for any signs of mold or insect infestation. Discard any seeds that appear unhealthy or damaged to avoid contamination of the entire batch.
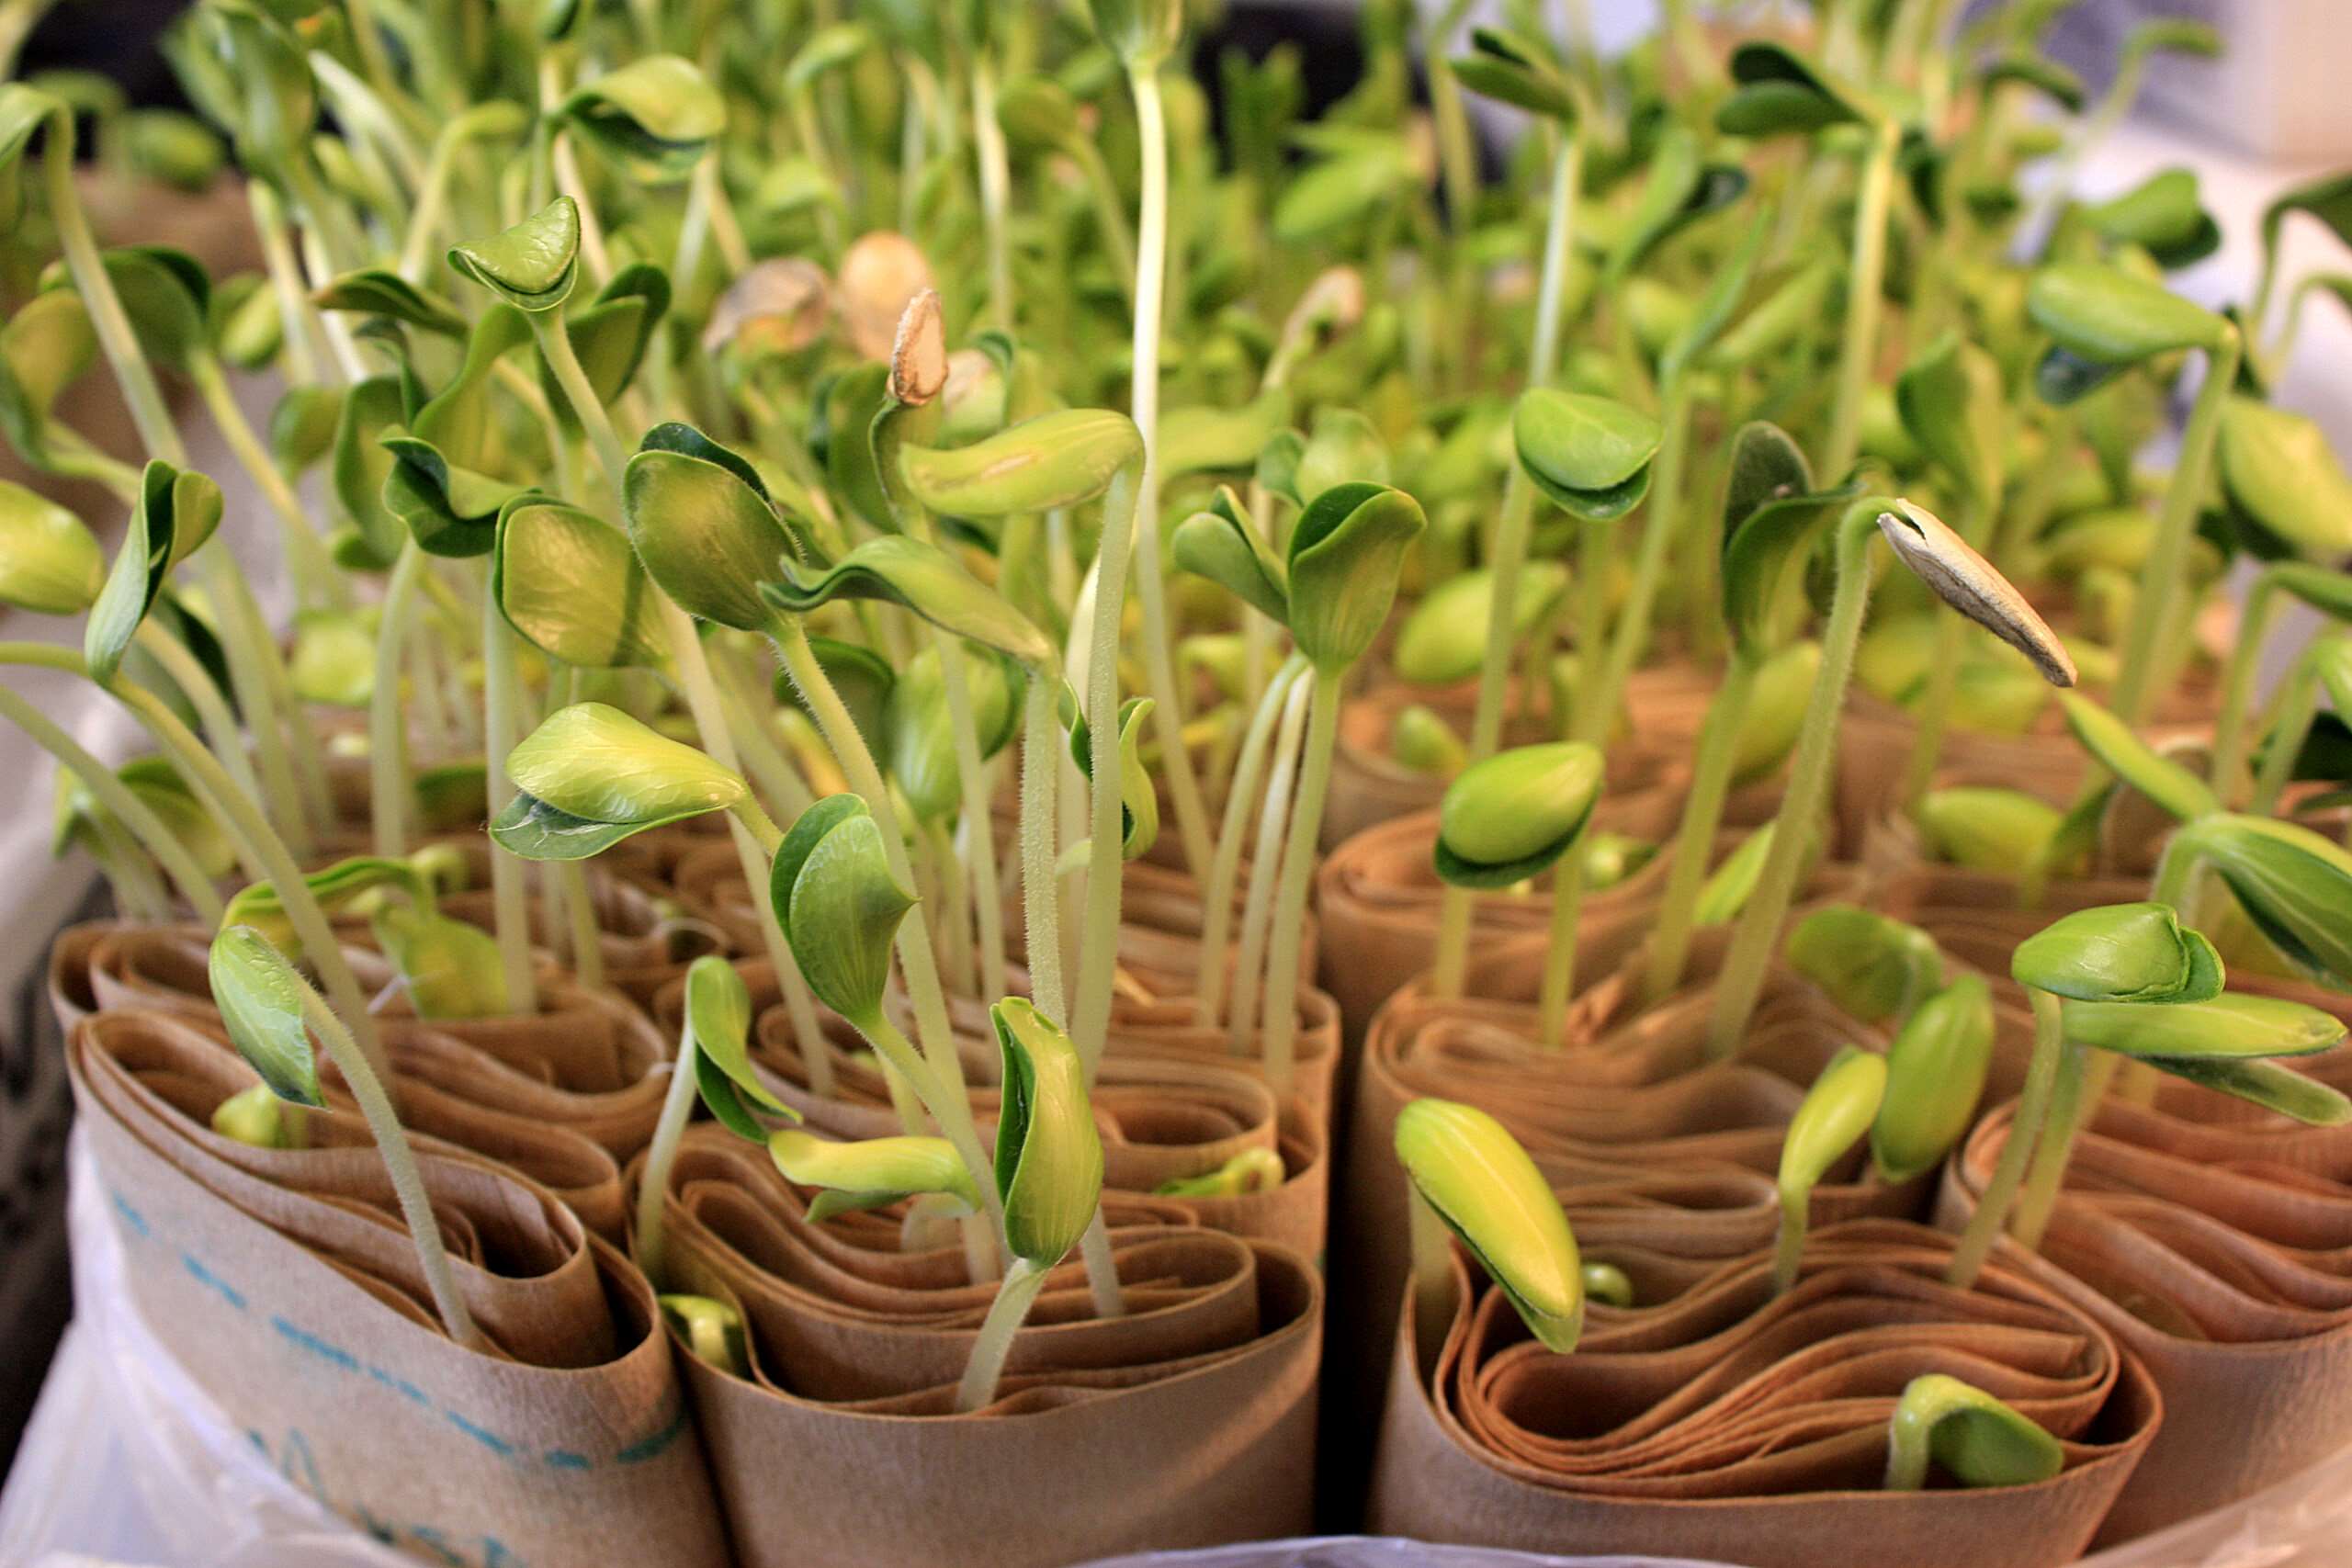
Remember to store your pumpkin seeds in a location where they won’t be exposed to extreme temperatures or fluctuations. With proper storage conditions, pumpkin seeds can remain viable for several years, allowing you to sow them when the next planting season arrives.
By following these steps, you can successfully save and store pumpkin seeds from your garden harvests, ensuring a continuous supply of delicious pumpkins year after year.
Conclusion
Congratulations, you have now mastered the art of saving pumpkin seeds! By following the simple steps of harvesting, cleaning, drying, and storing, you can preserve the seeds from your favorite pumpkin varieties and ensure a bountiful supply for future planting.
Saving pumpkin seeds not only allows you to maintain a continuous cycle of growth and harvest but also gives you the opportunity to select and cultivate seeds from plants with desirable characteristics. Whether you’re looking for larger pumpkins, unique flavors, or disease-resistant varieties, saving seeds allows you to enhance and customize your gardening experience.
Remember to handle the pumpkin with care during the harvesting process to avoid damaging the seeds. Cleaning the seeds thoroughly ensures that no debris or pulp hinder their drying process. Properly drying the seeds in a well-ventilated area or using a seed drying rack is crucial for their long-term viability. Finally, storing the dried seeds in an airtight container in a cool, dark location will maintain their quality until the next planting season.
So, what are you waiting for? Start saving those pumpkin seeds and embark on a journey of self-sufficiency and sustainability in your edible garden. Enjoy the pleasure of growing your own pumpkins from seed and savor the satisfaction of knowing that you have played a part in every step of this magical process.
Happy gardening!