Home>Types of Gardening>Edible Gardening>How To Separate Pumpkin Seeds From Pulp
Edible Gardening
How To Separate Pumpkin Seeds From Pulp
Published: September 10, 2023
Learn how to separate pumpkin seeds from pulp in this informative guide on edible gardening. Discover the best techniques for harvesting and preparing your own pumpkin seeds.
(Many of the links in this article redirect to a specific reviewed product. Your purchase of these products through affiliate links helps to generate commission for Chicagolandgardening.com, at no extra cost. Learn more)
Table of Contents
Introduction
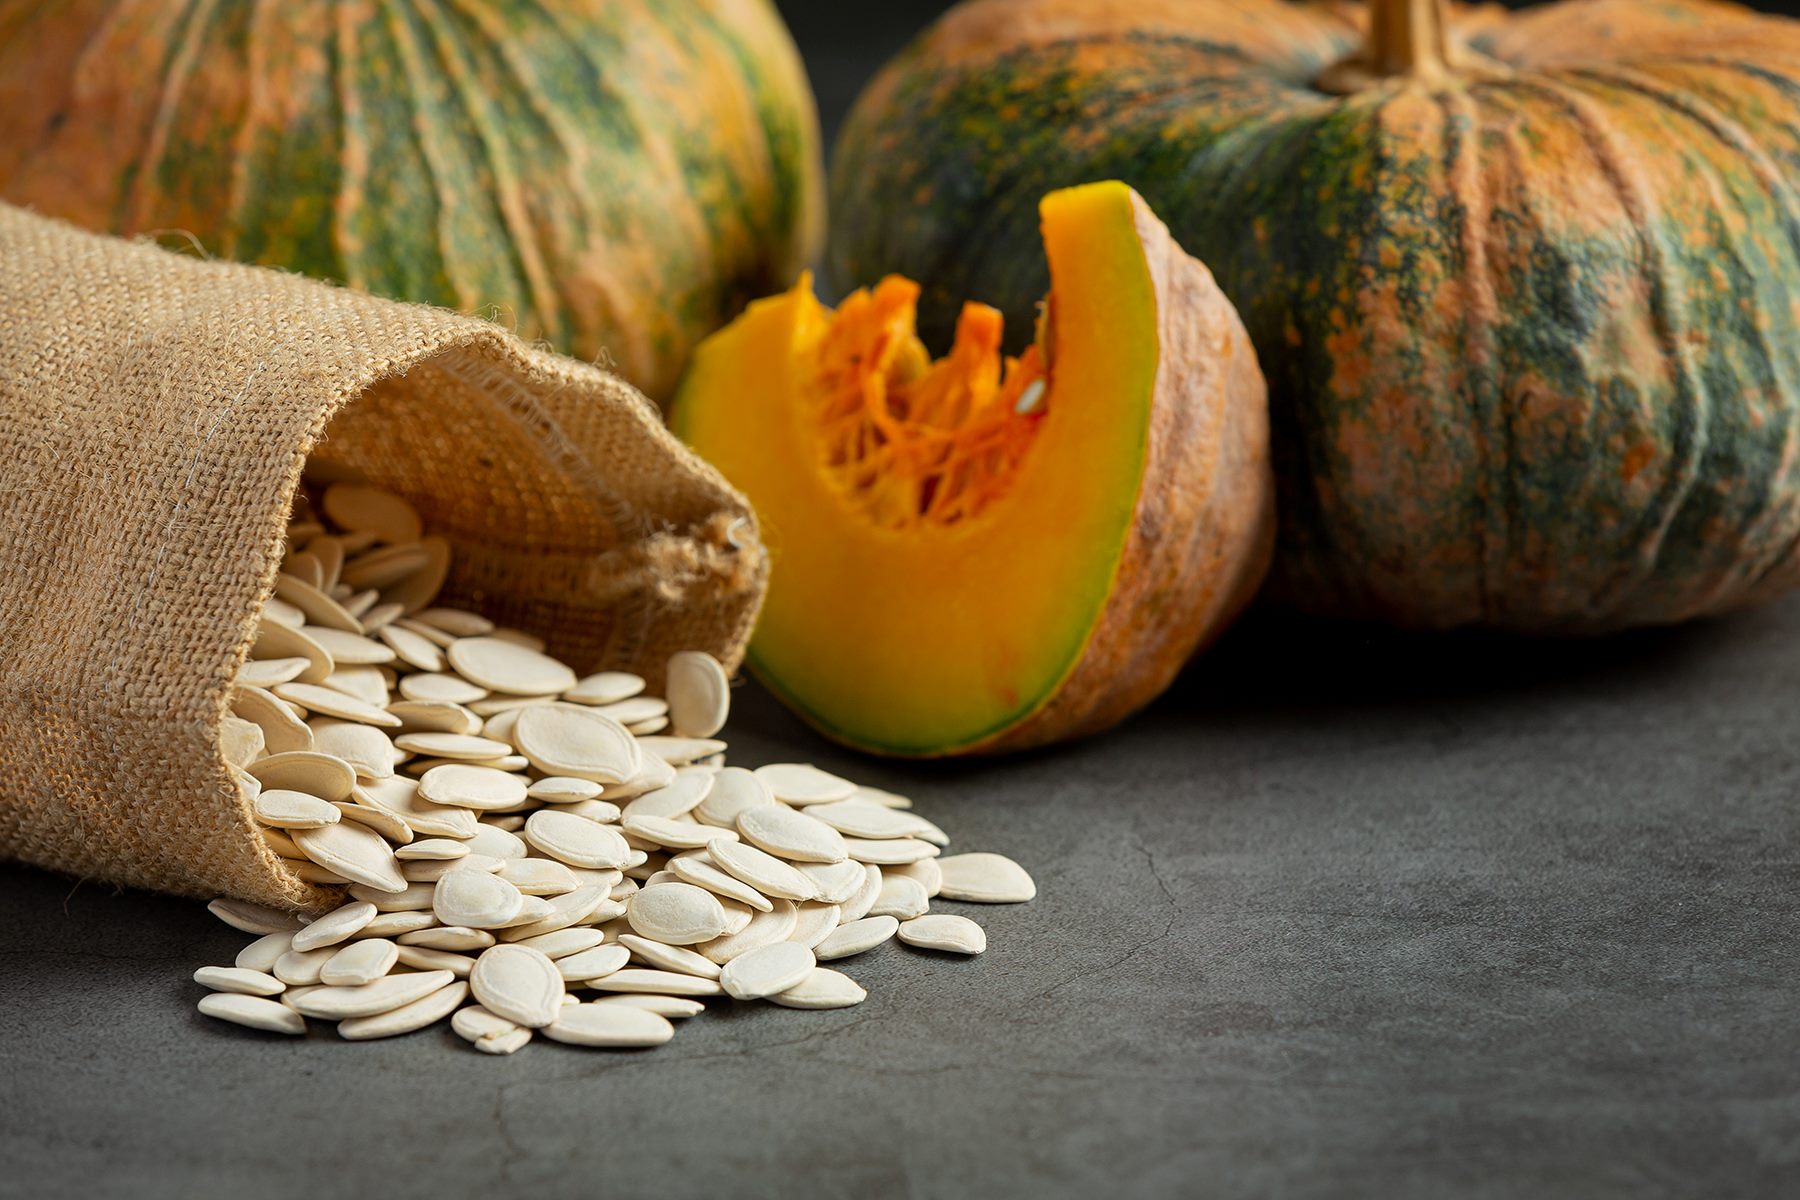
Are you a gardening enthusiast looking to grow your own delicious pumpkins? One of the first steps to starting your pumpkin-growing journey is to separate the seeds from the pulp. While it may seem like a daunting task, with the right tools and techniques, you can easily extract those precious seeds and get them ready for planting. In this article, we will guide you through the process of separating pumpkin seeds from the pulp, ensuring that you have a bountiful harvest of healthy pumpkin plants.
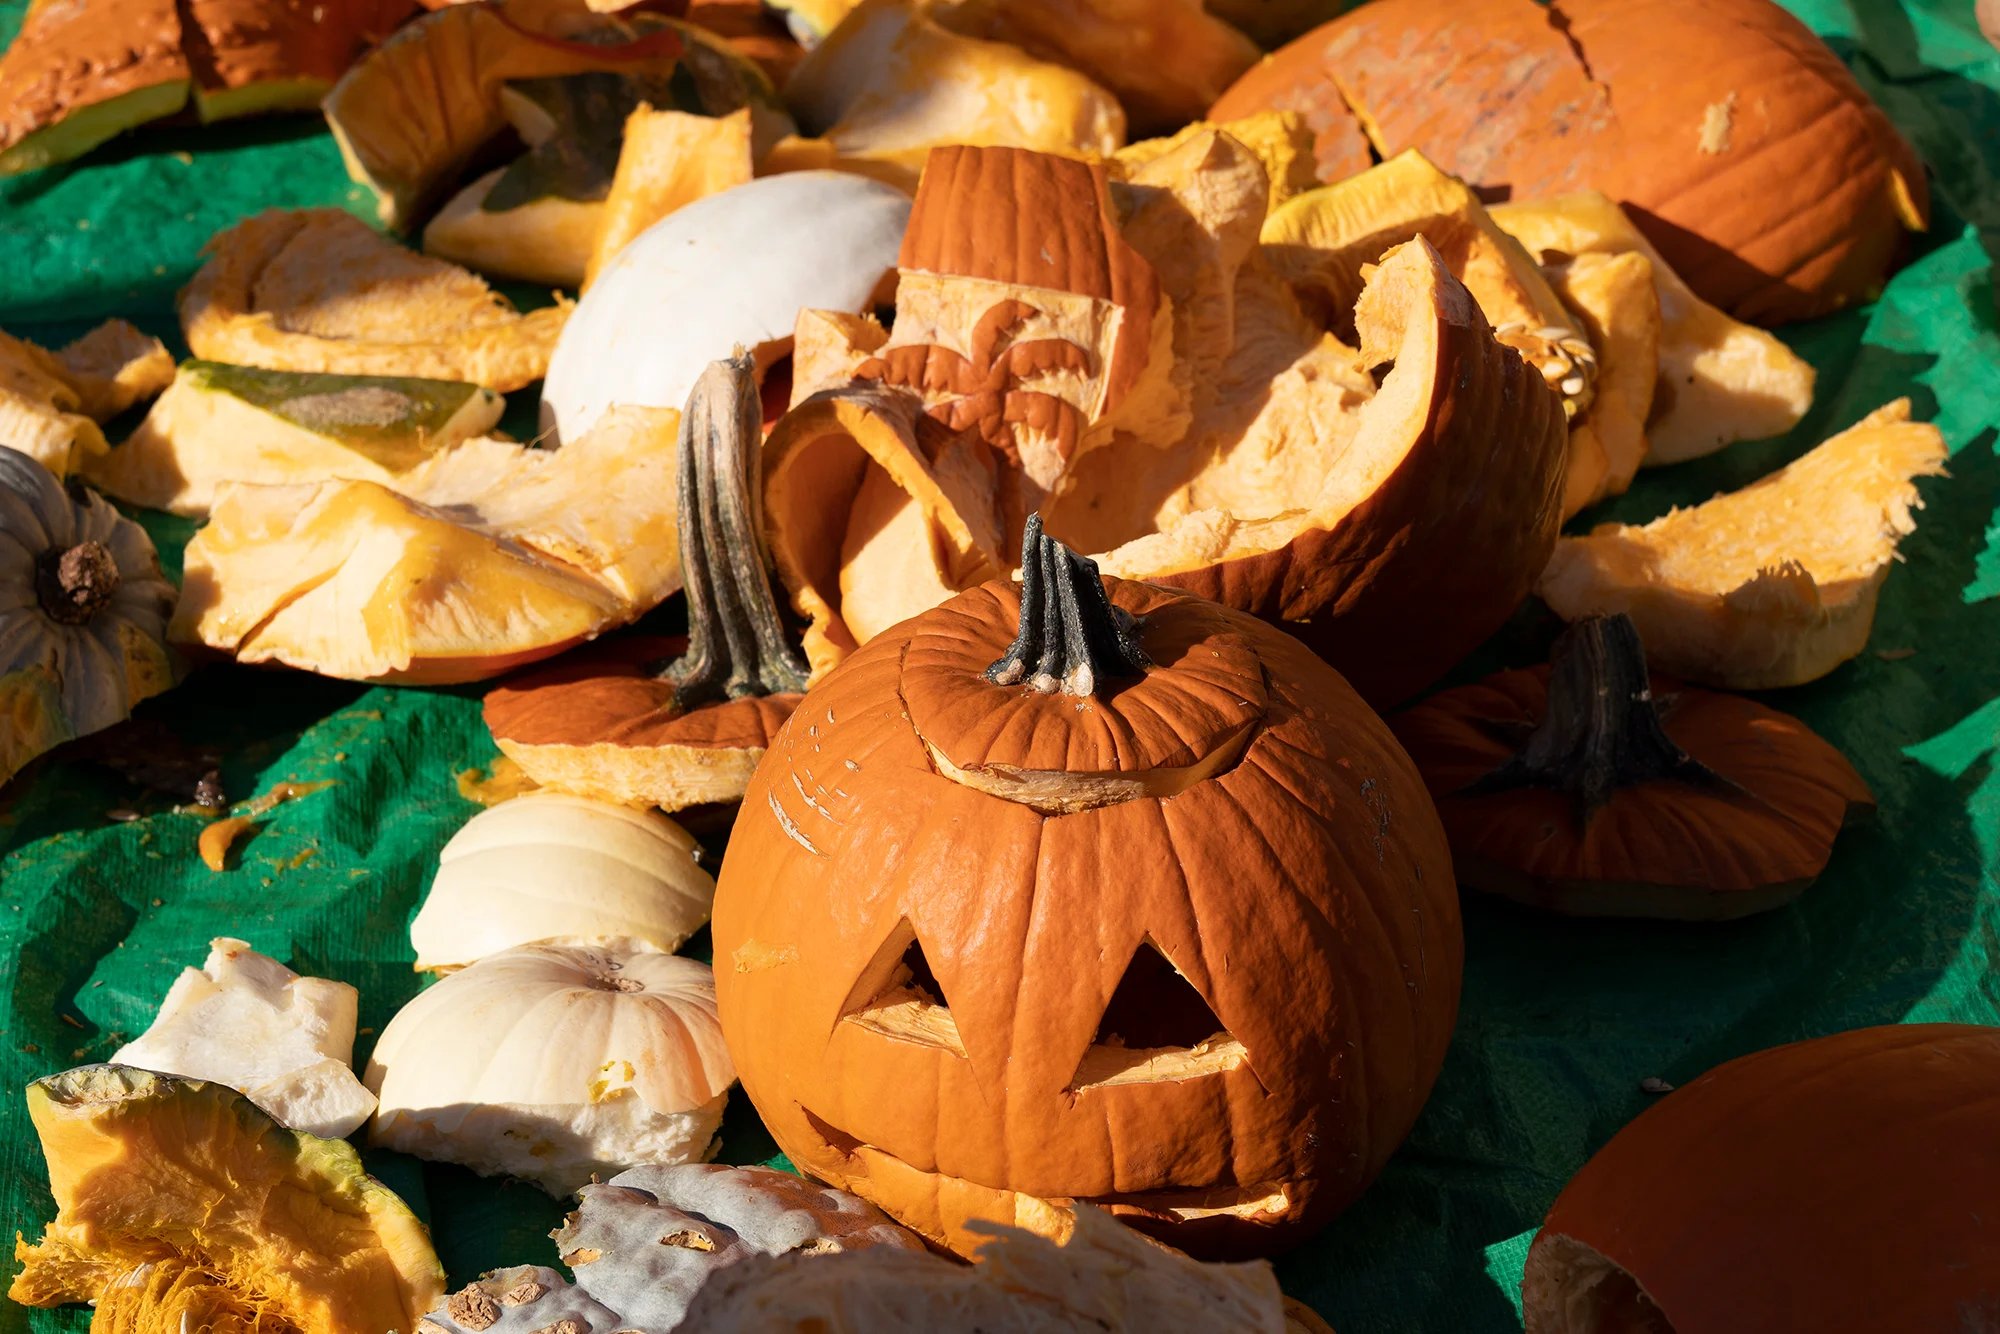
Not only are pumpkins a wonderful addition to Halloween decorations and fall festivities, but they are also a nutritious and versatile vegetable. The seeds, in particular, are packed with essential nutrients like protein, fiber, and healthy fats. By saving and planting your own pumpkin seeds, you can enjoy the satisfaction of growing your own food and save money in the process.
Before we dive into the step-by-step process of separating pumpkin seeds from the pulp, it’s important to gather the necessary tools and materials. Having these on hand will make the process more efficient and enjoyable.
Tools and Materials Needed
In order to efficiently separate pumpkin seeds from the pulp, you will need a few essential tools and materials. Fortunately, these items are readily available and easy to find. Here’s what you’ll need:
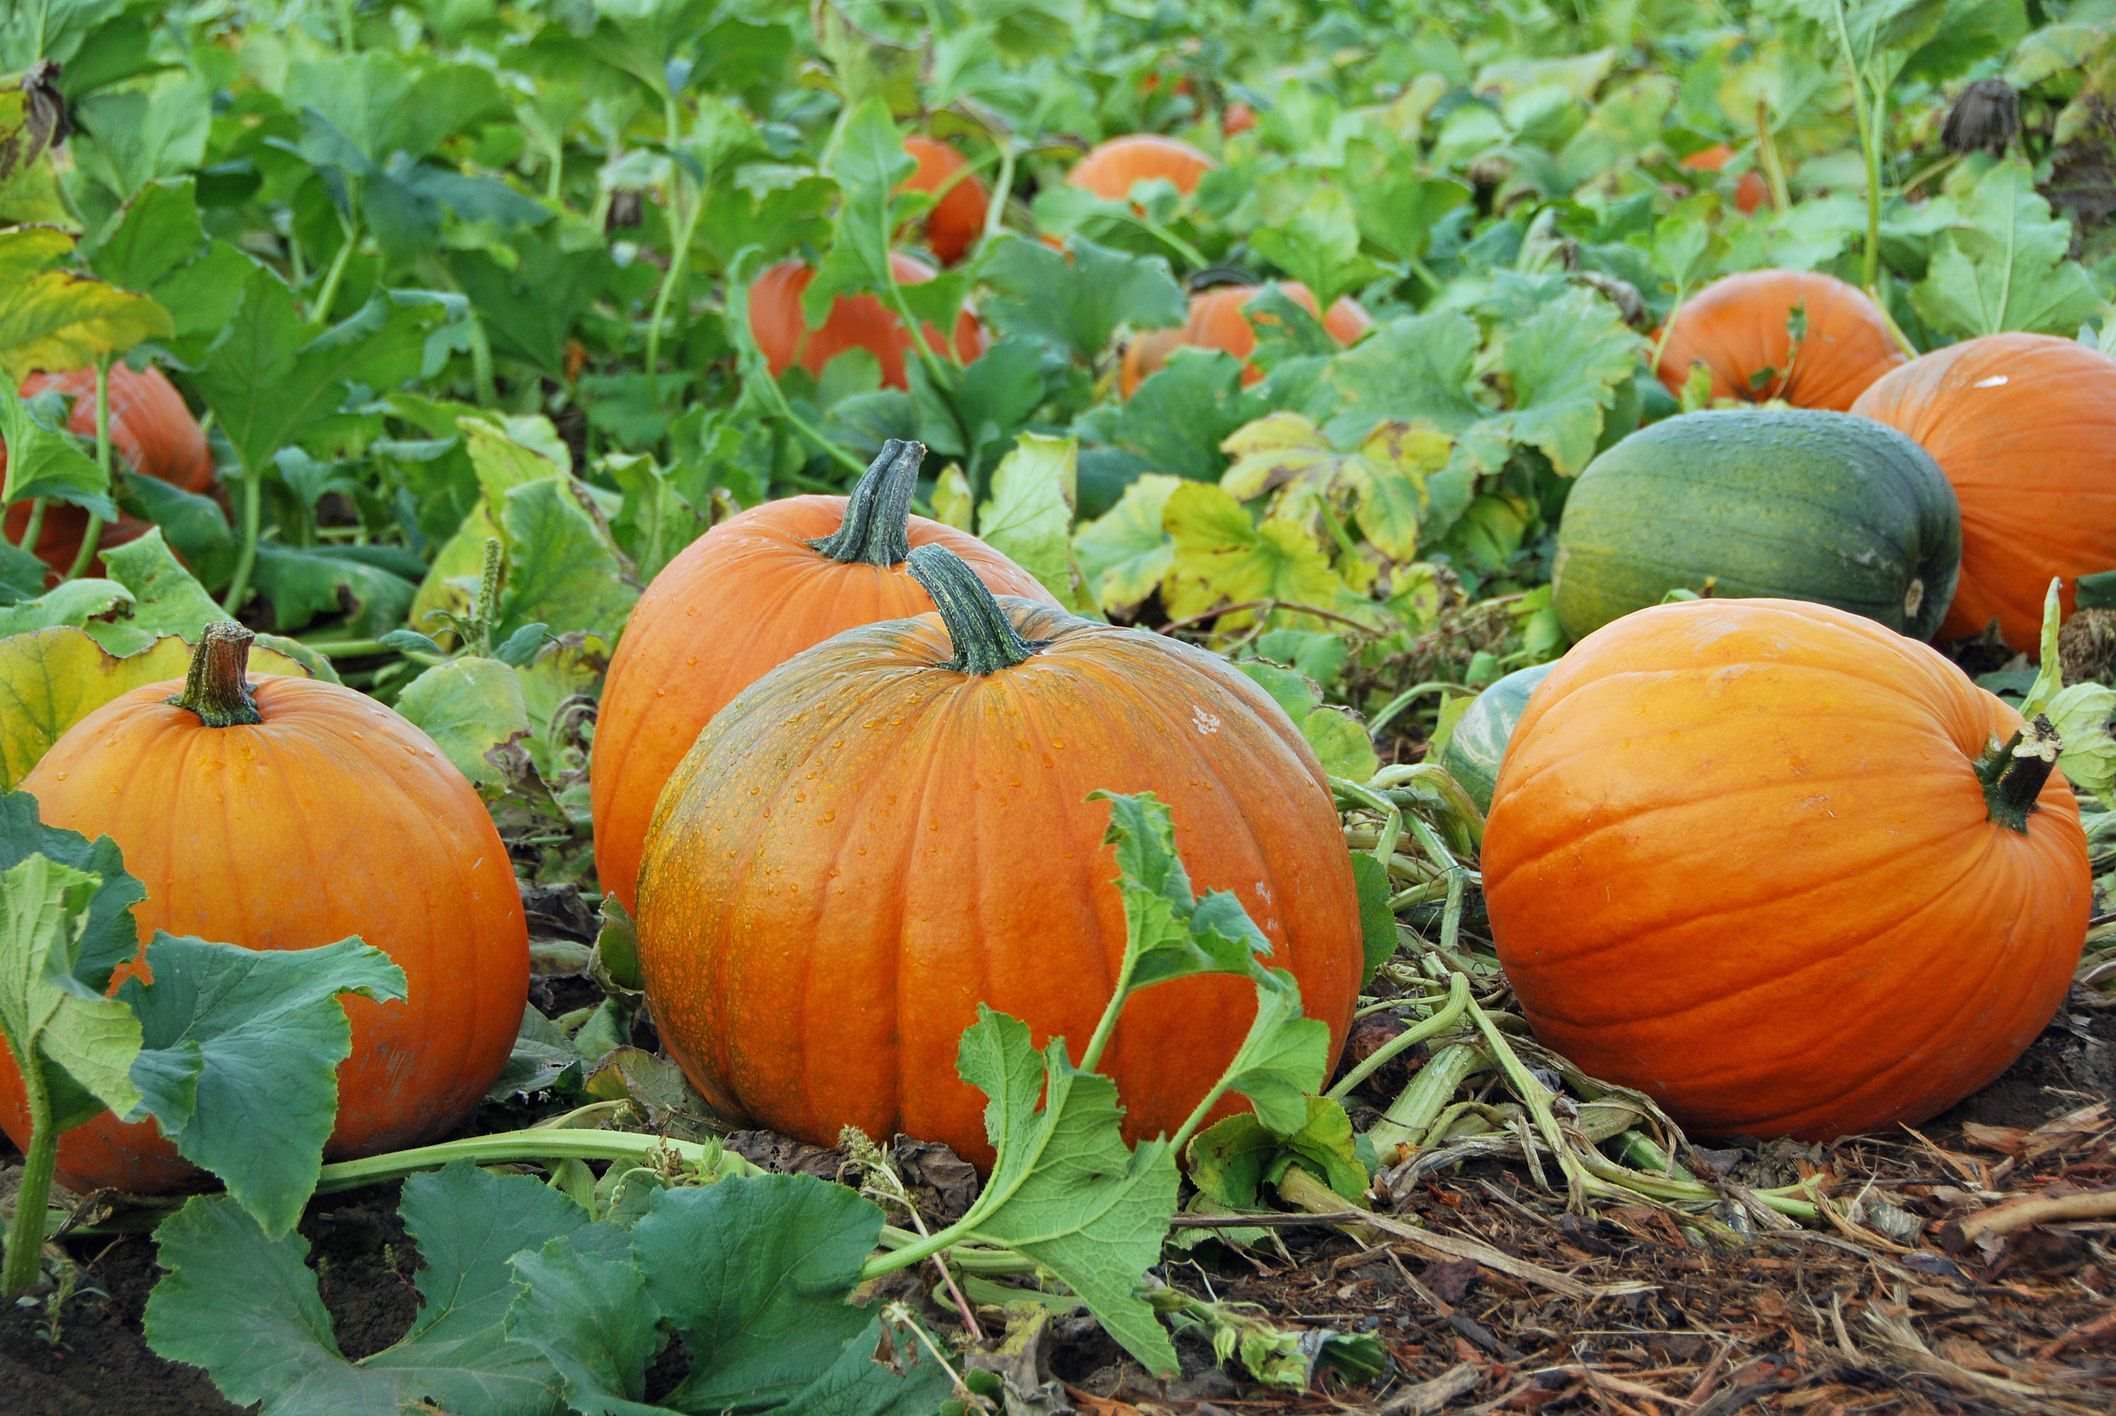
- A medium-sized pumpkin: Choose a healthy pumpkin that is fully ripe.
- A sharp knife or pumpkin carving tool: This will be used to remove the top of the pumpkin.
- A spoon or ice cream scoop: Use this to scoop out the pulp and seeds from the pumpkin.
- A large bowl or container: This will be used to hold the pulp and seeds.
- A colander or sieve: This will help you separate the seeds from the pulp.
- Water: You will need water for soaking and cleaning the seeds.
- Paper towels or a clean cloth: These will be used to dry the seeds.
- A baking sheet or tray: This is used for drying the seeds.
- Airtight containers or envelopes: These will be used for storing the dried seeds.
Make sure to gather all these tools and materials before you start the process. It’s essential to have everything prepared to ensure a smooth and hassle-free seed separation process.
Step 1: Removing the Top
The first step in separating pumpkin seeds from the pulp is to remove the top of the pumpkin. This will provide you with easy access to the seeds and pulp inside. Follow these steps:
- Place the pumpkin on a stable surface, making sure it is secure and won’t roll around.
- Take a sharp knife or a pumpkin carving tool and carefully cut around the stem at a 45-degree angle.
- Gently lift off the top of the pumpkin, being cautious not to damage the seeds or the surrounding pumpkin flesh.
- Set aside the pumpkin top; you can use it as a lid when storing the seeds later.
By removing the top of the pumpkin, you create an opening that allows you to easily access the seeds and pulp inside. Now that the top is off, you’re ready to move on to the next step: scooping out the pulp.
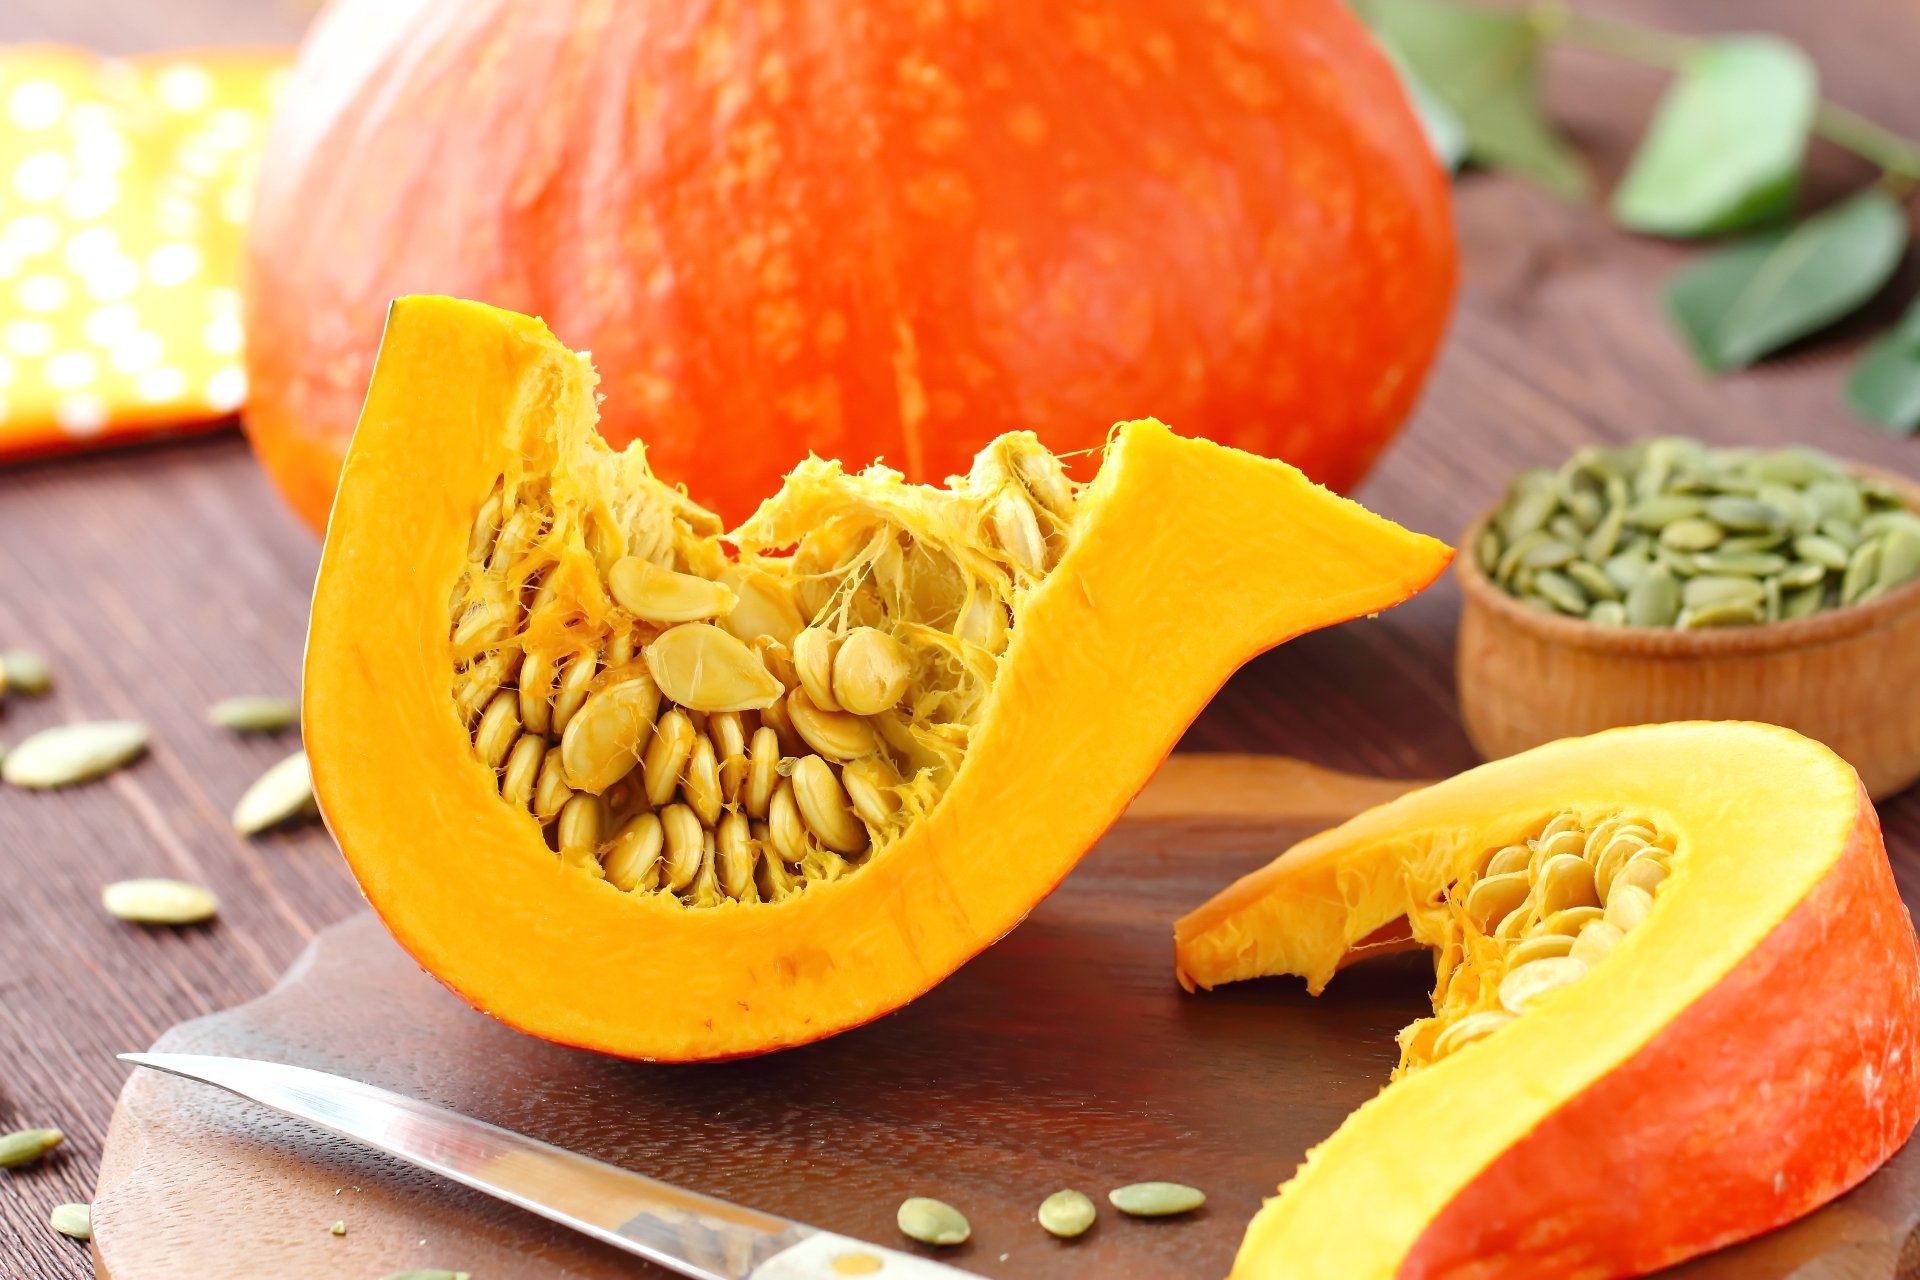
Step 2: Scooping out the Pulp
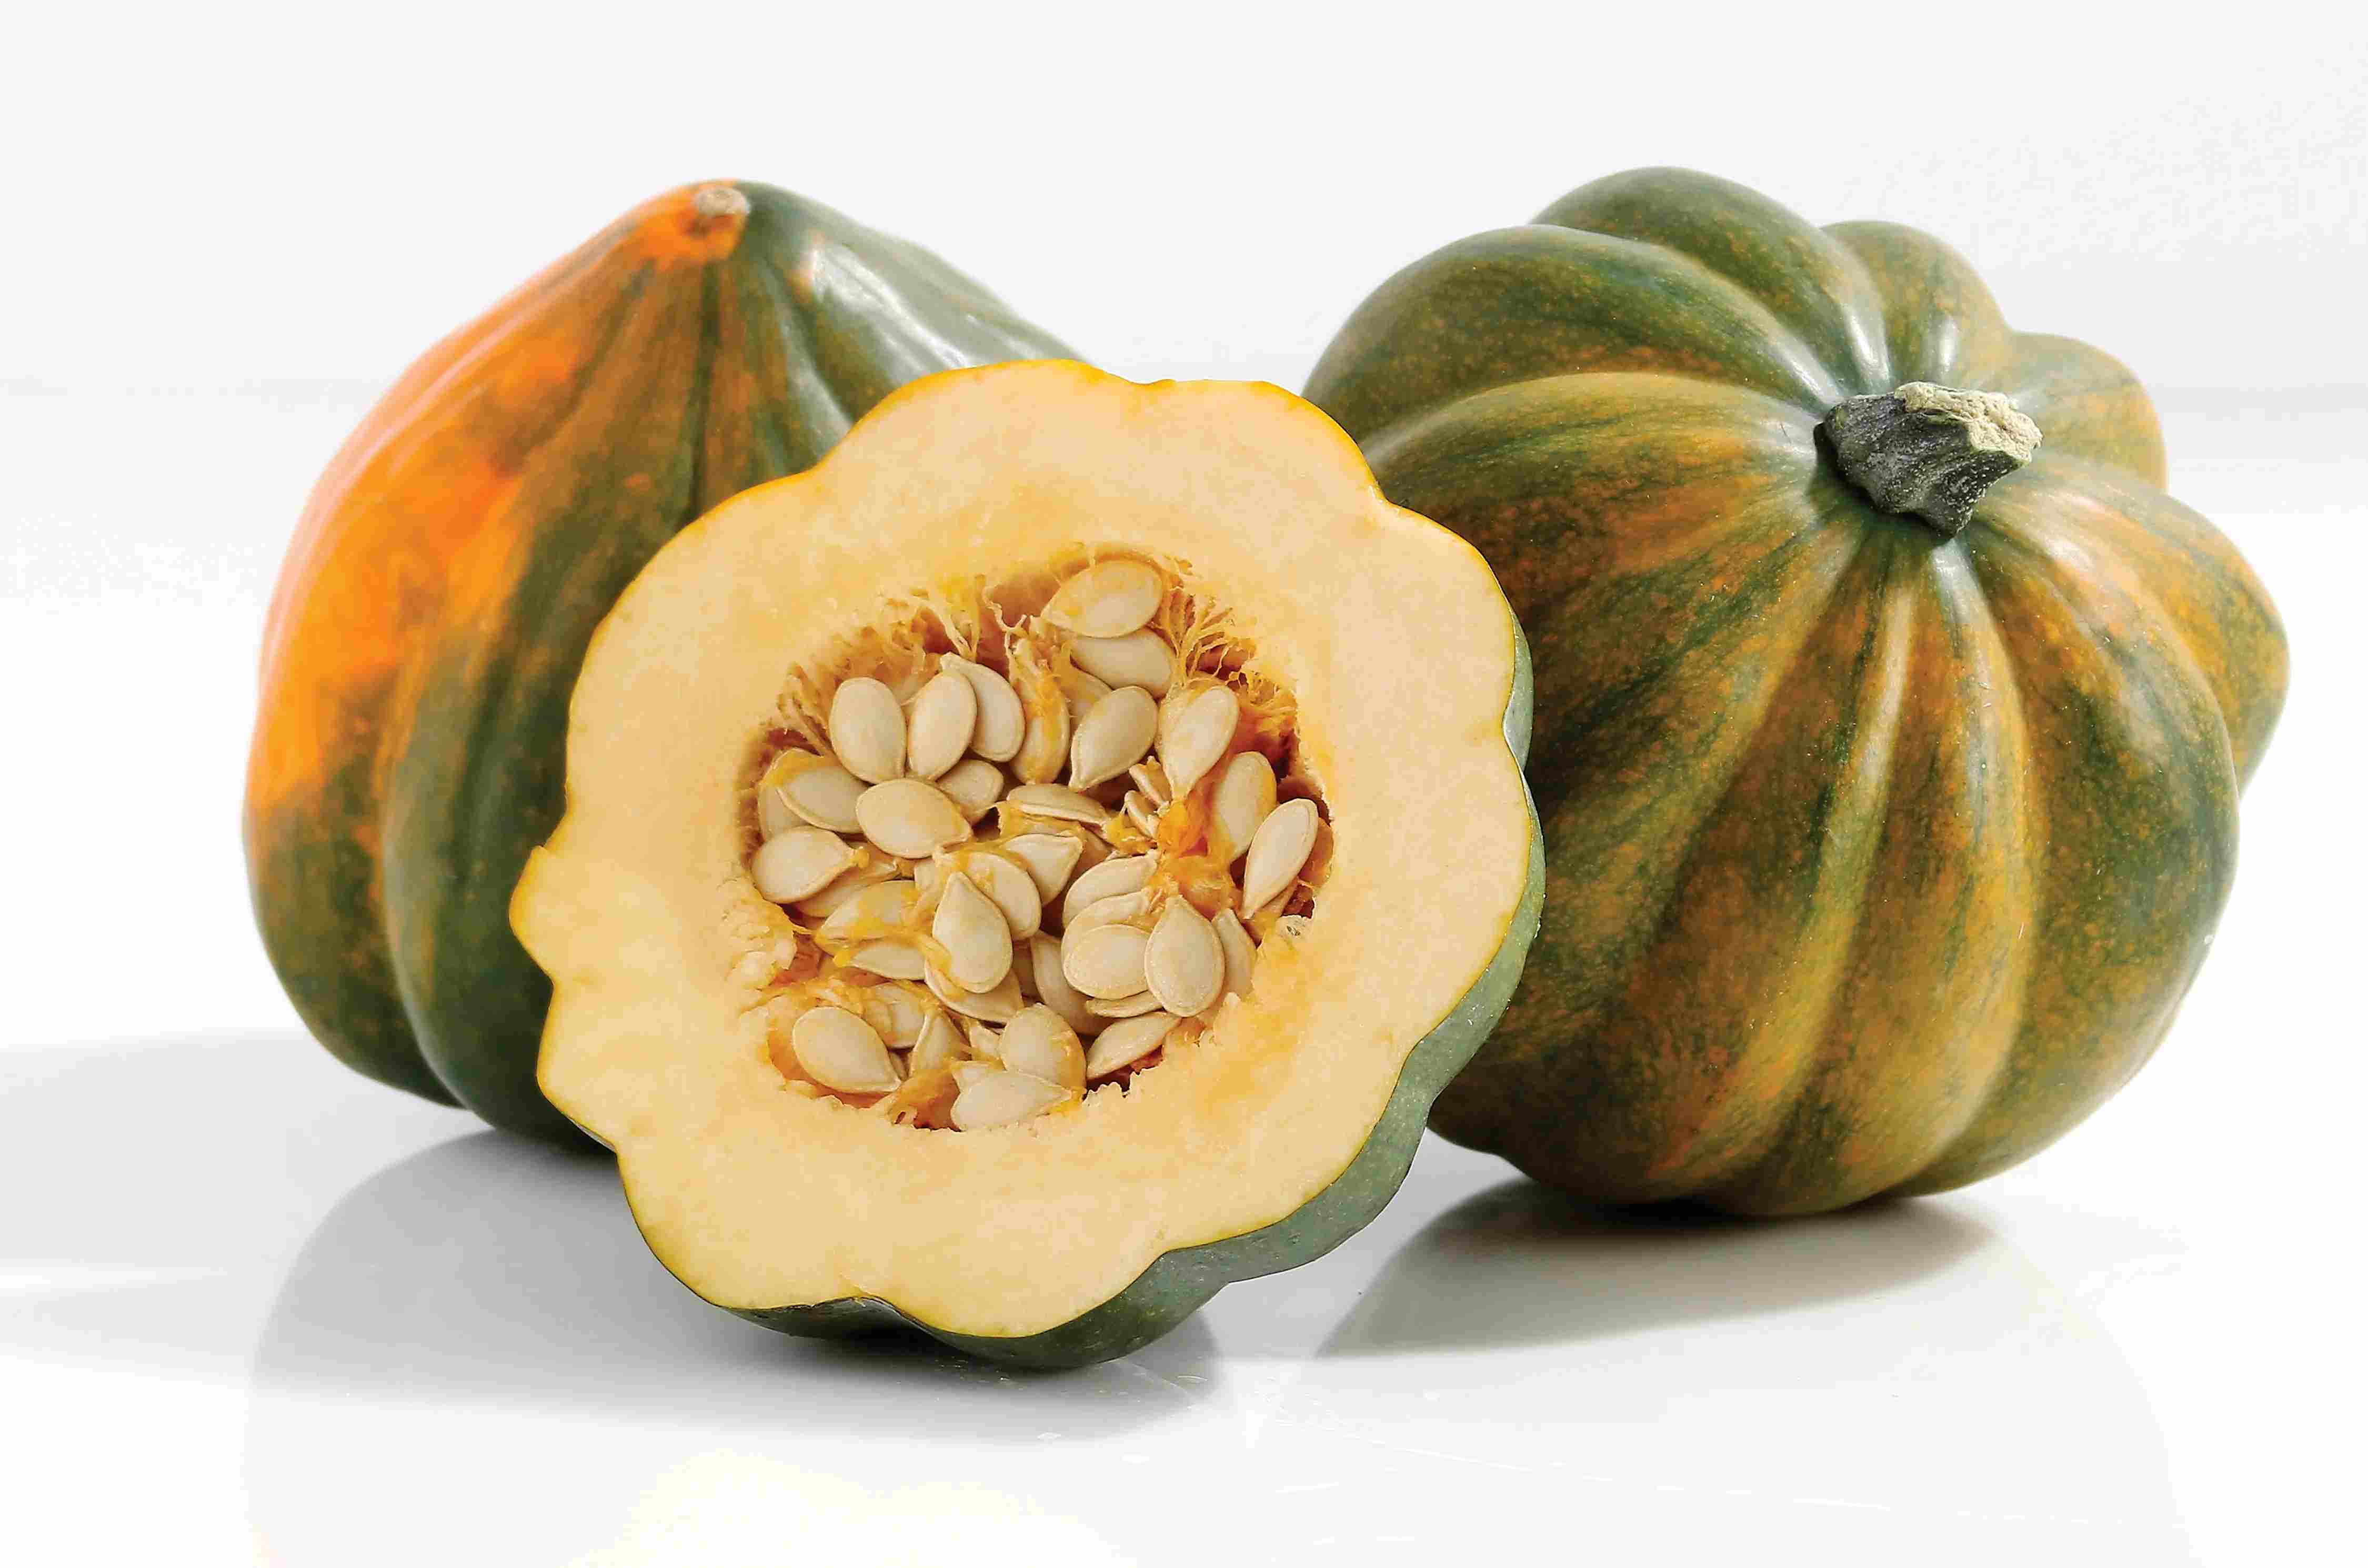
With the top of the pumpkin removed, it’s time to scoop out the pulp and seeds. Follow these steps to ensure a clean and thorough removal of the pulp:
- Take a spoon or an ice cream scoop and start scooping out the pulp from the pumpkin. Begin from the center and work your way towards the sides.
- Be gentle to avoid damaging the seeds while removing the pulp. You can use your hands to separate any clinging pulp from the seeds carefully.
- Transfer the scooped-out pulp and seeds into a large bowl or container. This will make it easier to separate the seeds from the pulp in the next step.
- Continue to remove the pulp until you have cleared out the majority of it from the pumpkin.
It’s essential to remove as much of the pulp as possible to ensure clean and healthy seeds. While a little residual pulp is fine, removing the majority of it will result in better seed separation and prevent any potential rotting or molding.
Now that you’ve successfully scooped out the pumpkin pulp and seeds, it’s time to move on to the next step: soaking the seeds.
Step 3: Soaking the Seeds
After scooping out the pulp, it’s important to soak the pumpkin seeds to help loosen any remaining pulp and make the separation process easier. Follow these steps to properly soak the seeds:
- Transfer the pulp and seed mixture into a colander or sieve.
- Hold the colander under running water and rinse the seeds thoroughly. Use your hands to gently rub and separate any clinging pulp from the seeds.
- Once rinsed, transfer the seeds into a large bowl or container filled with water. Make sure the seeds are completely submerged.
- Allow the seeds to soak for at least 24 hours. This soaking period will help loosen any remaining pulp and make it easier to separate the seeds in the next step.
Soaking the seeds not only helps in separating them from the remaining pulp but also helps to clean and remove any additional residue from the seeds’ surface. It’s important to give the seeds enough time to soak to ensure an effective separation process.
Now that the seeds have been soaked and cleaned, it’s time to move on to the next step: separating the seeds from the pulp.
Step 4: Separating the Seeds from Pulp
With the seeds soaked and ready for separation, it’s time to remove them from the remaining pulp. Follow these steps to effectively separate the pumpkin seeds:
- Take the bowl or container with the soaked seeds and pour them back into the colander or sieve.
- Hold the colander under running water and use your fingers to gently rub and separate any remaining pulp from the seeds. The water will help to flush away the pulp.
- Continue rinsing and rubbing the seeds until all the pulp has been removed.
- Once the seeds are clean, transfer them to a paper towel or a clean cloth to dry. Spread them out in a single layer, ensuring they are not touching each other.
Separating the seeds from the pulp is a crucial step to ensure that you have clean and healthy seeds for planting. Take your time during this process to ensure that all the pulp is removed and the seeds are thoroughly cleaned.
Now that you have successfully separated the pumpkin seeds from the pulp, it’s time to move on to the next step: cleaning the seeds.
Step 5: Cleaning the Seeds
After separating the seeds from the pulp, it’s essential to clean them thoroughly to remove any remaining debris or residue. Follow these steps to ensure your pumpkin seeds are clean and ready for drying:
- Transfer the seeds from the paper towel or clean cloth into a bowl or colander.
- Fill the bowl or colander with water and swish the seeds around to further rinse them.
- Use your fingers or a gentle rubbing motion to remove any remaining debris from the seeds.
- Once cleaned, transfer the seeds onto a fresh paper towel or cloth to dry.
It’s important to ensure that the seeds are thoroughly cleaned to prevent any potential mold or fungal growth during the drying process. Taking the time to clean the seeds will contribute to their overall health and viability for planting.
Now that the seeds are clean, it’s time to move on to the next step: drying the seeds.
Step 6: Drying the Seeds
Once the pumpkin seeds have been cleaned, it’s important to ensure that they are properly dried before storing them. Follow these steps to effectively dry your pumpkin seeds:
- Transfer the cleaned seeds onto a baking sheet or tray lined with a fresh paper towel or clean cloth.
- Spread the seeds out in a single layer, making sure they are not touching each other.
- Place the baking sheet or tray in a cool, dry place with good air circulation. Avoid direct sunlight as it can negatively affect the quality of the seeds.
- Leave the seeds to air dry for about a week, or until they are thoroughly dry. Gently turn them over every day to ensure even drying.
- Check the seeds regularly for any signs of mold or spoilage. If you notice any, remove those seeds immediately.
Proper drying is crucial to prevent the seeds from rotting or developing mold during storage. Drying them thoroughly will also increase their chances of successful germination when it’s time to plant them.
Now that the seeds are fully dried, it’s time to move on to the final step: storing the seeds.
Step 7: Storing the Seeds
After drying the pumpkin seeds, it’s important to store them properly to maintain their viability until it’s time to plant them. Follow these steps to ensure long-term storage of your pumpkin seeds:
- Ensure that the seeds are completely dry before proceeding with storing them. Any residual moisture can lead to mold or spoilage.
- Transfer the dried seeds into airtight containers or envelopes. Make sure the containers are clean and dry to prevent any moisture from entering.
- Label each container or envelope with the variety and date of harvesting. This will help you keep track of the seeds and their viability.
- Store the containers or envelopes in a cool, dry, and dark place. A pantry or a basement with stable temperature and low humidity is ideal.
- Avoid storing the seeds in extreme temperatures or areas with fluctuations in temperature, such as a garage or near a heater.
- Check the stored seeds periodically for any signs of moisture, mold, or insect infestation. Discard any seeds that show signs of damage or spoilage.
Proper storage is crucial for maintaining the quality and viability of pumpkin seeds. Following these steps will ensure that your seeds remain viable for planting in the next growing season.
By properly separating, cleaning, drying, and storing your pumpkin seeds, you can enjoy the satisfaction of growing your own pumpkins year after year. Saving and planting your own seeds not only saves money but also allows you to maintain the unique characteristics of the pumpkin variety you’ve grown. So get started on saving those precious pumpkin seeds and get ready for a bountiful harvest!
Conclusion
Growing your own pumpkins can be a rewarding experience, and separating the seeds from the pulp is an essential step to ensure a successful harvest. By following the step-by-step process outlined in this article, you can easily extract the seeds and get them ready for planting.
From removing the top of the pumpkin to scooping out the pulp, soaking the seeds, separating them from the pulp, cleaning and drying them, and finally storing them properly, each step is crucial in ensuring healthy and viable seeds.
Remember to gather all the necessary tools and materials before getting started, as it will make the process more efficient. Take your time during each step to be thorough and gentle with the seeds, ensuring they are free from debris and fully dry before storing them.
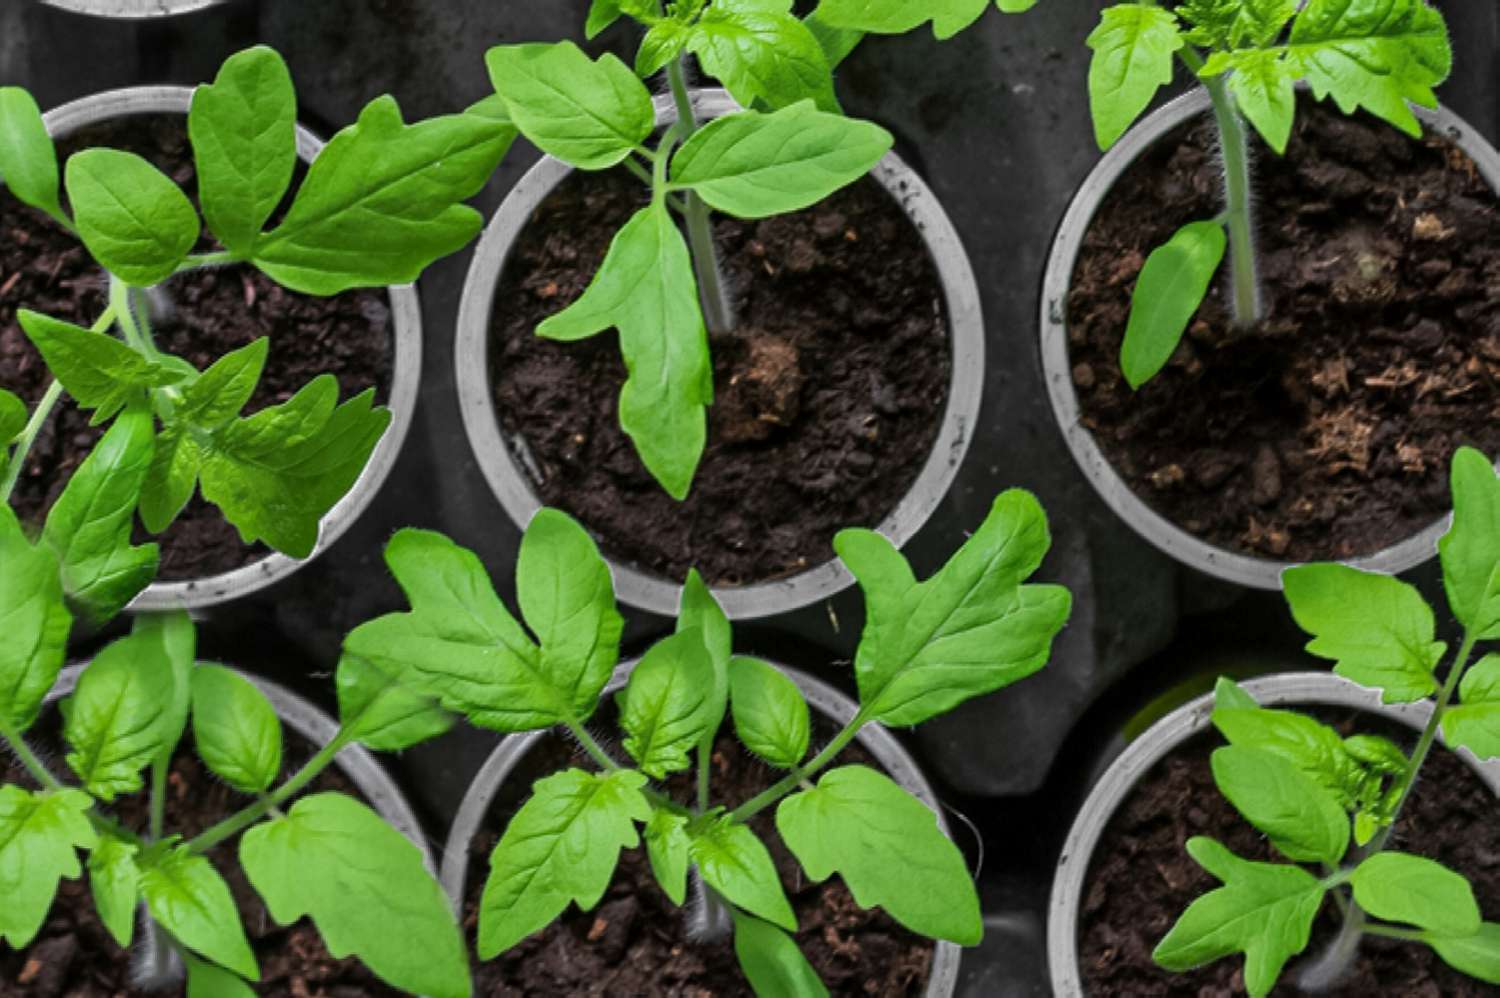
By saving and planting your own pumpkin seeds, you have the opportunity to continue the cycle and enjoy the satisfaction of growing your own food. Whether you’re planning on using the pumpkins for Halloween decorations, delicious recipes, or simply for their ornamental appeal, the process of separating the seeds from the pulp sets you on the path to a successful pumpkin-growing journey.
So, put on your gardening gloves, grab your tools, and start separating those pumpkin seeds from the pulp. With a little patience and care, you’ll soon be on your way to growing your own beautiful pumpkins and enjoying the fruits of your labor.