Home>Gardening Techniques>DIY Projects>How To Compost Pumpkin
DIY Projects
How To Compost Pumpkin
Modified: January 22, 2024
Learn how to compost pumpkin at home with this informative guide. Discover easy DIY projects to turn your pumpkin waste into nutrient-rich compost for your garden.
(Many of the links in this article redirect to a specific reviewed product. Your purchase of these products through affiliate links helps to generate commission for Chicagolandgardening.com, at no extra cost. Learn more)
Table of Contents
Introduction
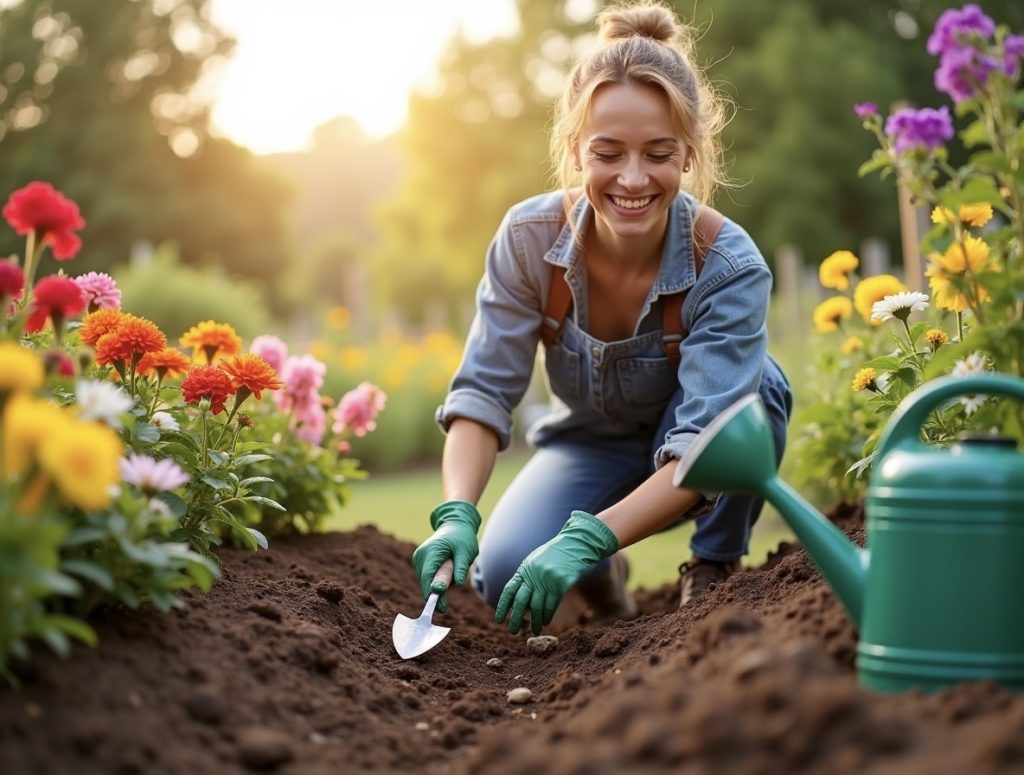
Welcome to the world of DIY composting, where you can turn your kitchen scraps and yard waste into nutrient-rich soil. In this article, we will dive into the wonderful world of composting pumpkin, a seasonal favorite that often goes to waste after the Halloween or Thanksgiving season. By composting this versatile vegetable, you can not only reduce waste but also contribute to the health of your garden and the environment.
Composting is the process of breaking down organic matter, such as food scraps and yard waste, into a nutrient-rich soil amendment called compost. This natural fertilizer is a valuable resource for gardeners and provides numerous benefits for plants and the overall ecosystem.
Pumpkin is an excellent candidate for composting due to its organic composition and rich nutrient content. Instead of allowing your carved or uneaten pumpkins to end up in the landfill, why not transform them into a valuable resource for your garden?
In this article, we will guide you through the process of composting pumpkins, from preparation to maintenance and finally using the harvested compost. Whether you are a seasoned gardener or a beginner, our comprehensive guide will equip you with the knowledge and tools necessary to embark on your composting journey.
Before we dive into the details, it is important to note that composting pumpkin is not only environmentally friendly but also a cost-effective and sustainable practice. By reusing and recycling these seasonal decorations, you are minimizing waste and reducing the need for chemical fertilizers.
So, grab your gardening gloves and let’s get started on this exciting adventure of composting pumpkin!
Benefits of Composting Pumpkin
Composting pumpkin offers a range of benefits for both your garden and the environment. Let’s explore why you should consider composting this seasonal vegetable:
- Reduced Waste: By composting your pumpkins instead of throwing them away, you are diverting organic waste from the landfill. This helps to decrease the amount of greenhouse gases produced and reduces the strain on landfill space.
- Nutrient-Rich Compost: Pumpkins are high in organic matter, which means they break down quickly and contribute valuable nutrients to your compost pile. The resulting compost will be rich in essential elements like nitrogen, phosphorus, and potassium, providing your plants with the nourishment they need for healthy growth.
- Improved Soil Structure: Composting pumpkin helps improve soil structure by adding organic matter. This enhances soil’s ability to retain moisture and nutrients, promotes healthy root growth, and prevents erosion. It also aids in breaking up compacted soil, allowing for better drainage and aeration.
- Pests and Disease Management: Compost created from pumpkin can help suppress pests and diseases in your garden. The beneficial microorganisms present in the compost support a healthy soil ecosystem, which can naturally combat common garden pests and diseases.
- Reduced Dependency on Chemical Fertilizers: By composting pumpkin and using the resulting compost in your garden, you can reduce reliance on synthetic fertilizers. This promotes organic gardening practices, which are better for the environment and can help protect water sources from chemical runoff.
- Cost-Effective Solution: Composting pumpkin is an economical way to nourish your plants and improve soil fertility. By utilizing natural resources and reducing the need for store-bought fertilizers, you can save money in the long run while still achieving healthy and vibrant plants.
These benefits make composting pumpkin a win-win situation, benefiting both your garden and the planet. So, instead of discarding your pumpkins, consider composting them and reaping the rewards of nutrient-rich soil and sustainable gardening practices.
Preparing the Pumpkin for Composting
Before you begin composting your pumpkins, it’s important to properly prepare them for the composting process. Here are the steps to follow:
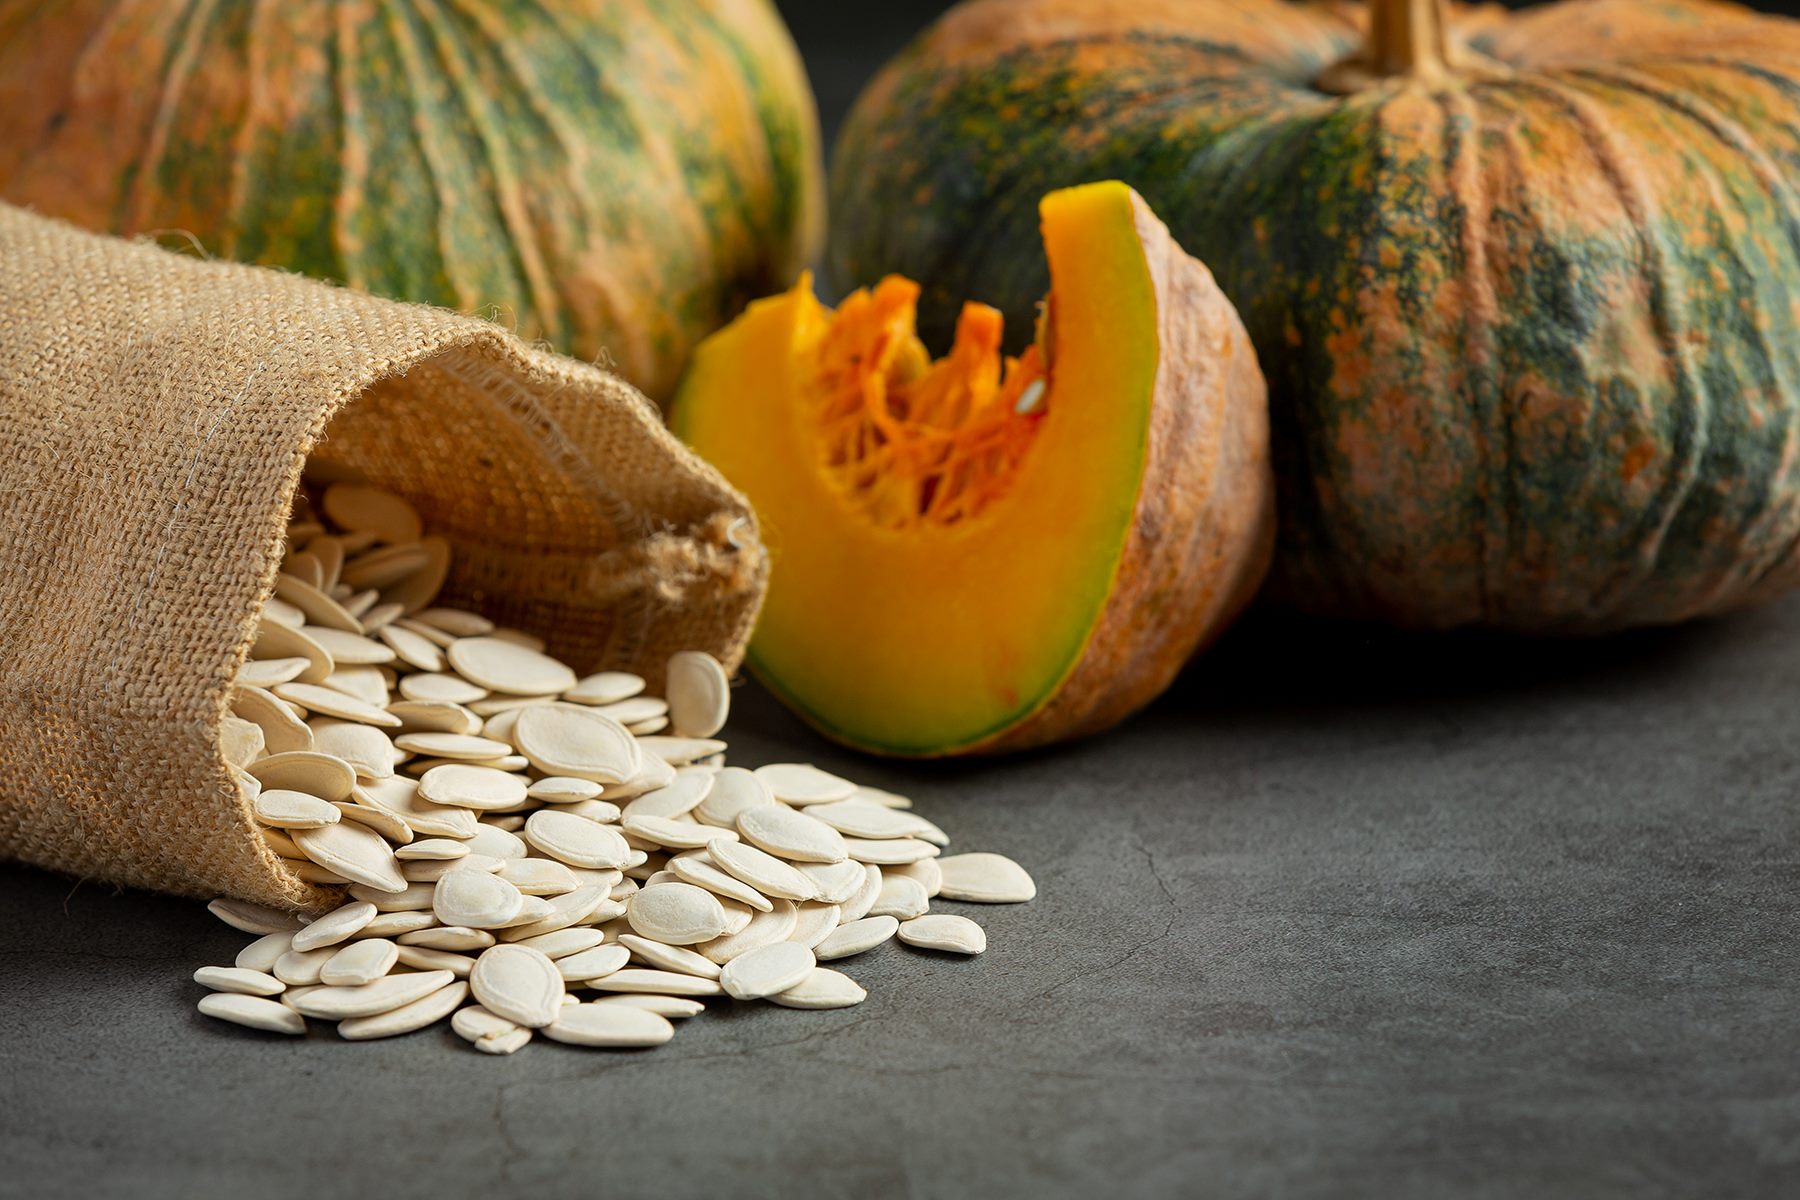
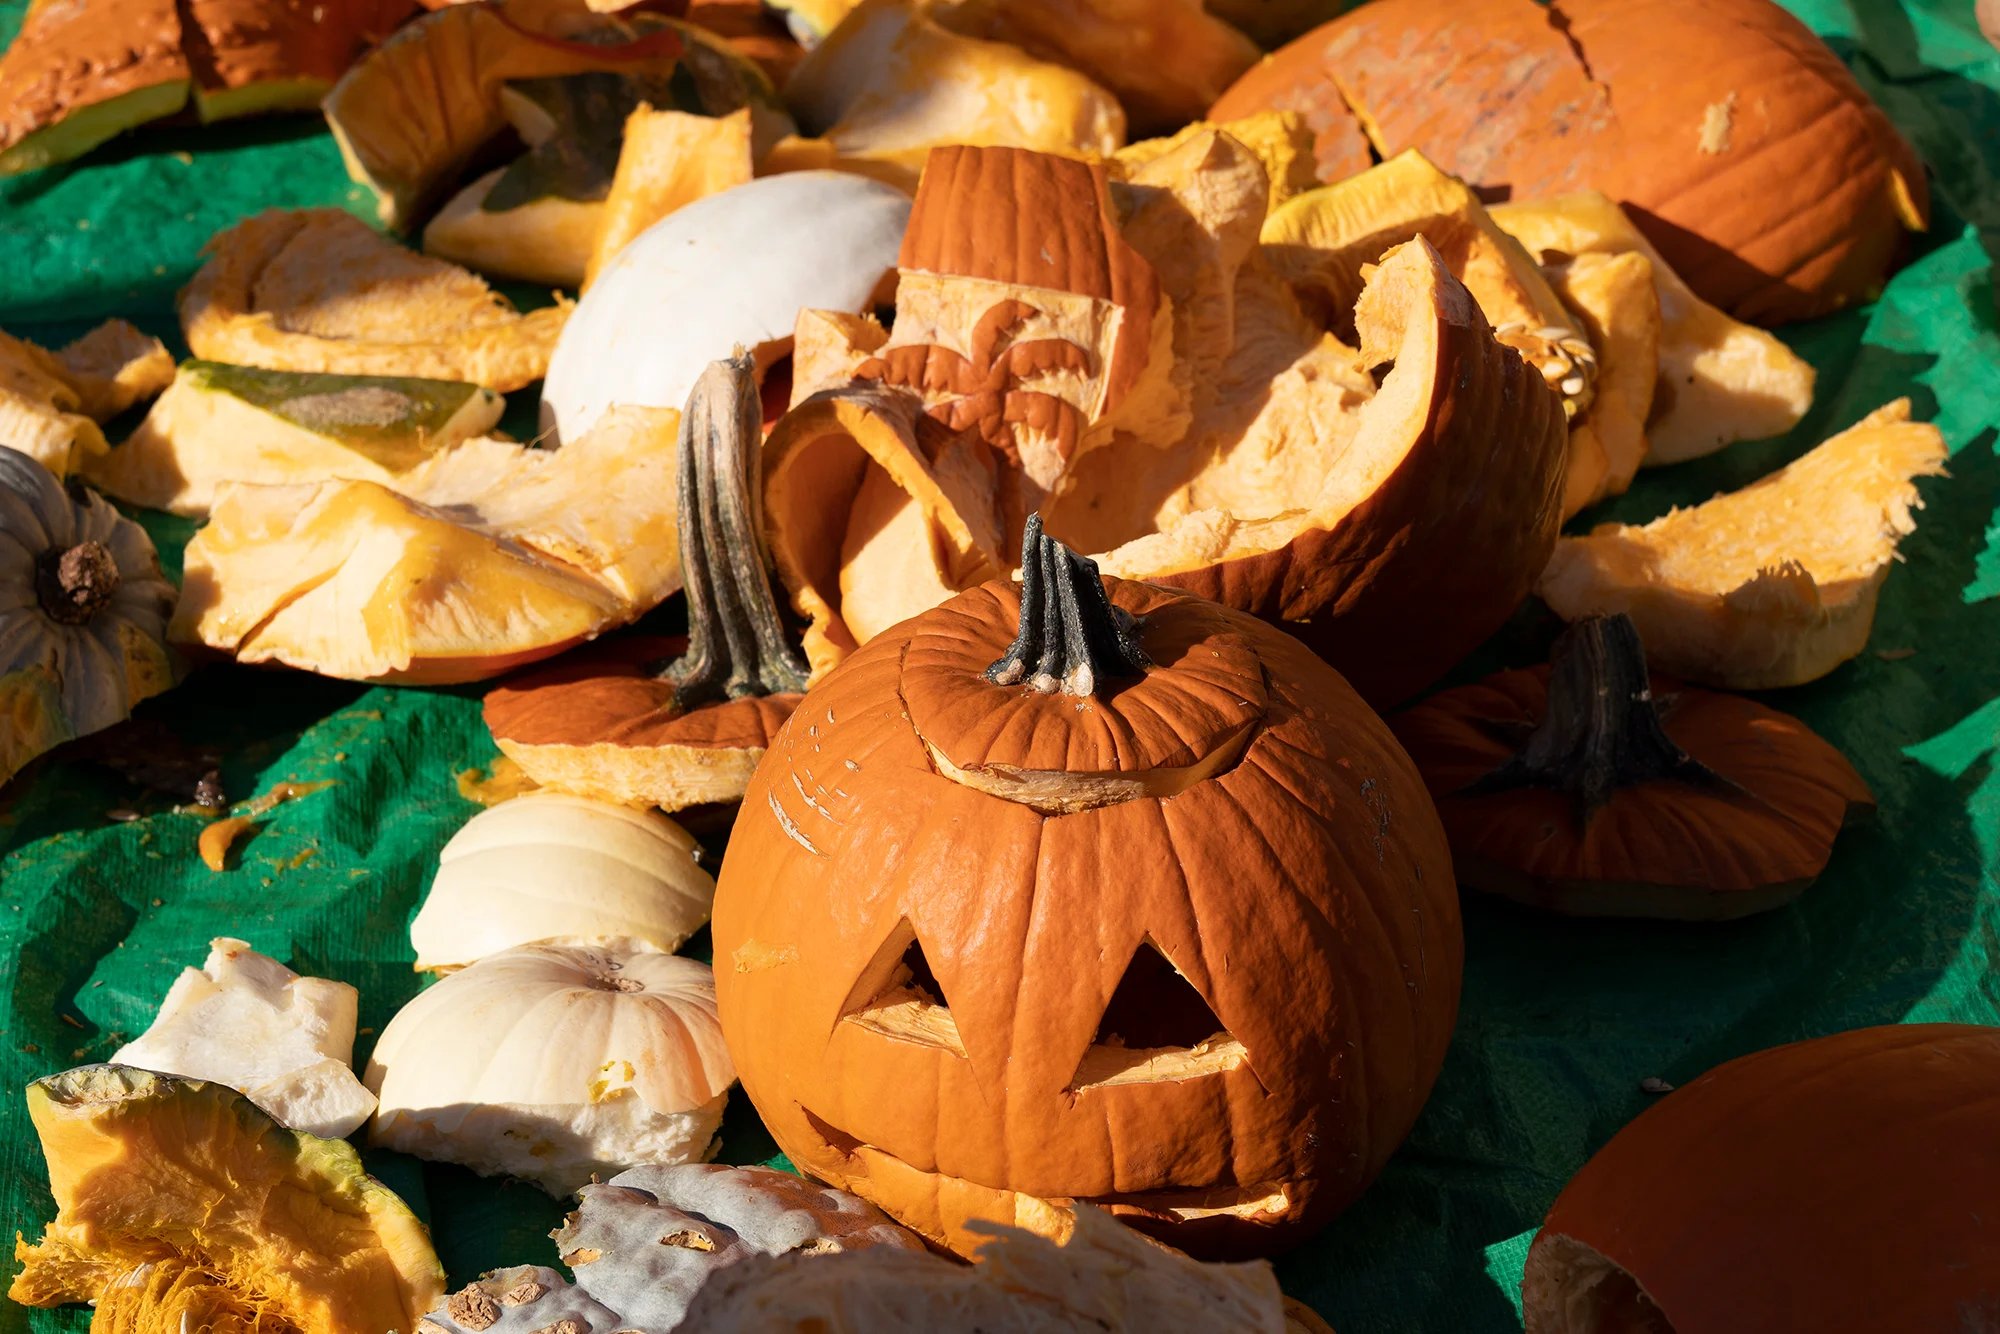
- Remove any decorations: If you have used your pumpkin for decorative purposes, such as painting or adding non-compostable accessories, make sure to remove them before composting. Only the organic parts of the pumpkin, including the flesh and seeds, should be composted.
- Cut the pumpkin into smaller pieces: To accelerate the breakdown process, it’s recommended to cut the pumpkin into smaller pieces. This will create more surface area, allowing for faster decomposition. You can use a knife or a sturdy garden tool to cut the pumpkin into manageable chunks.
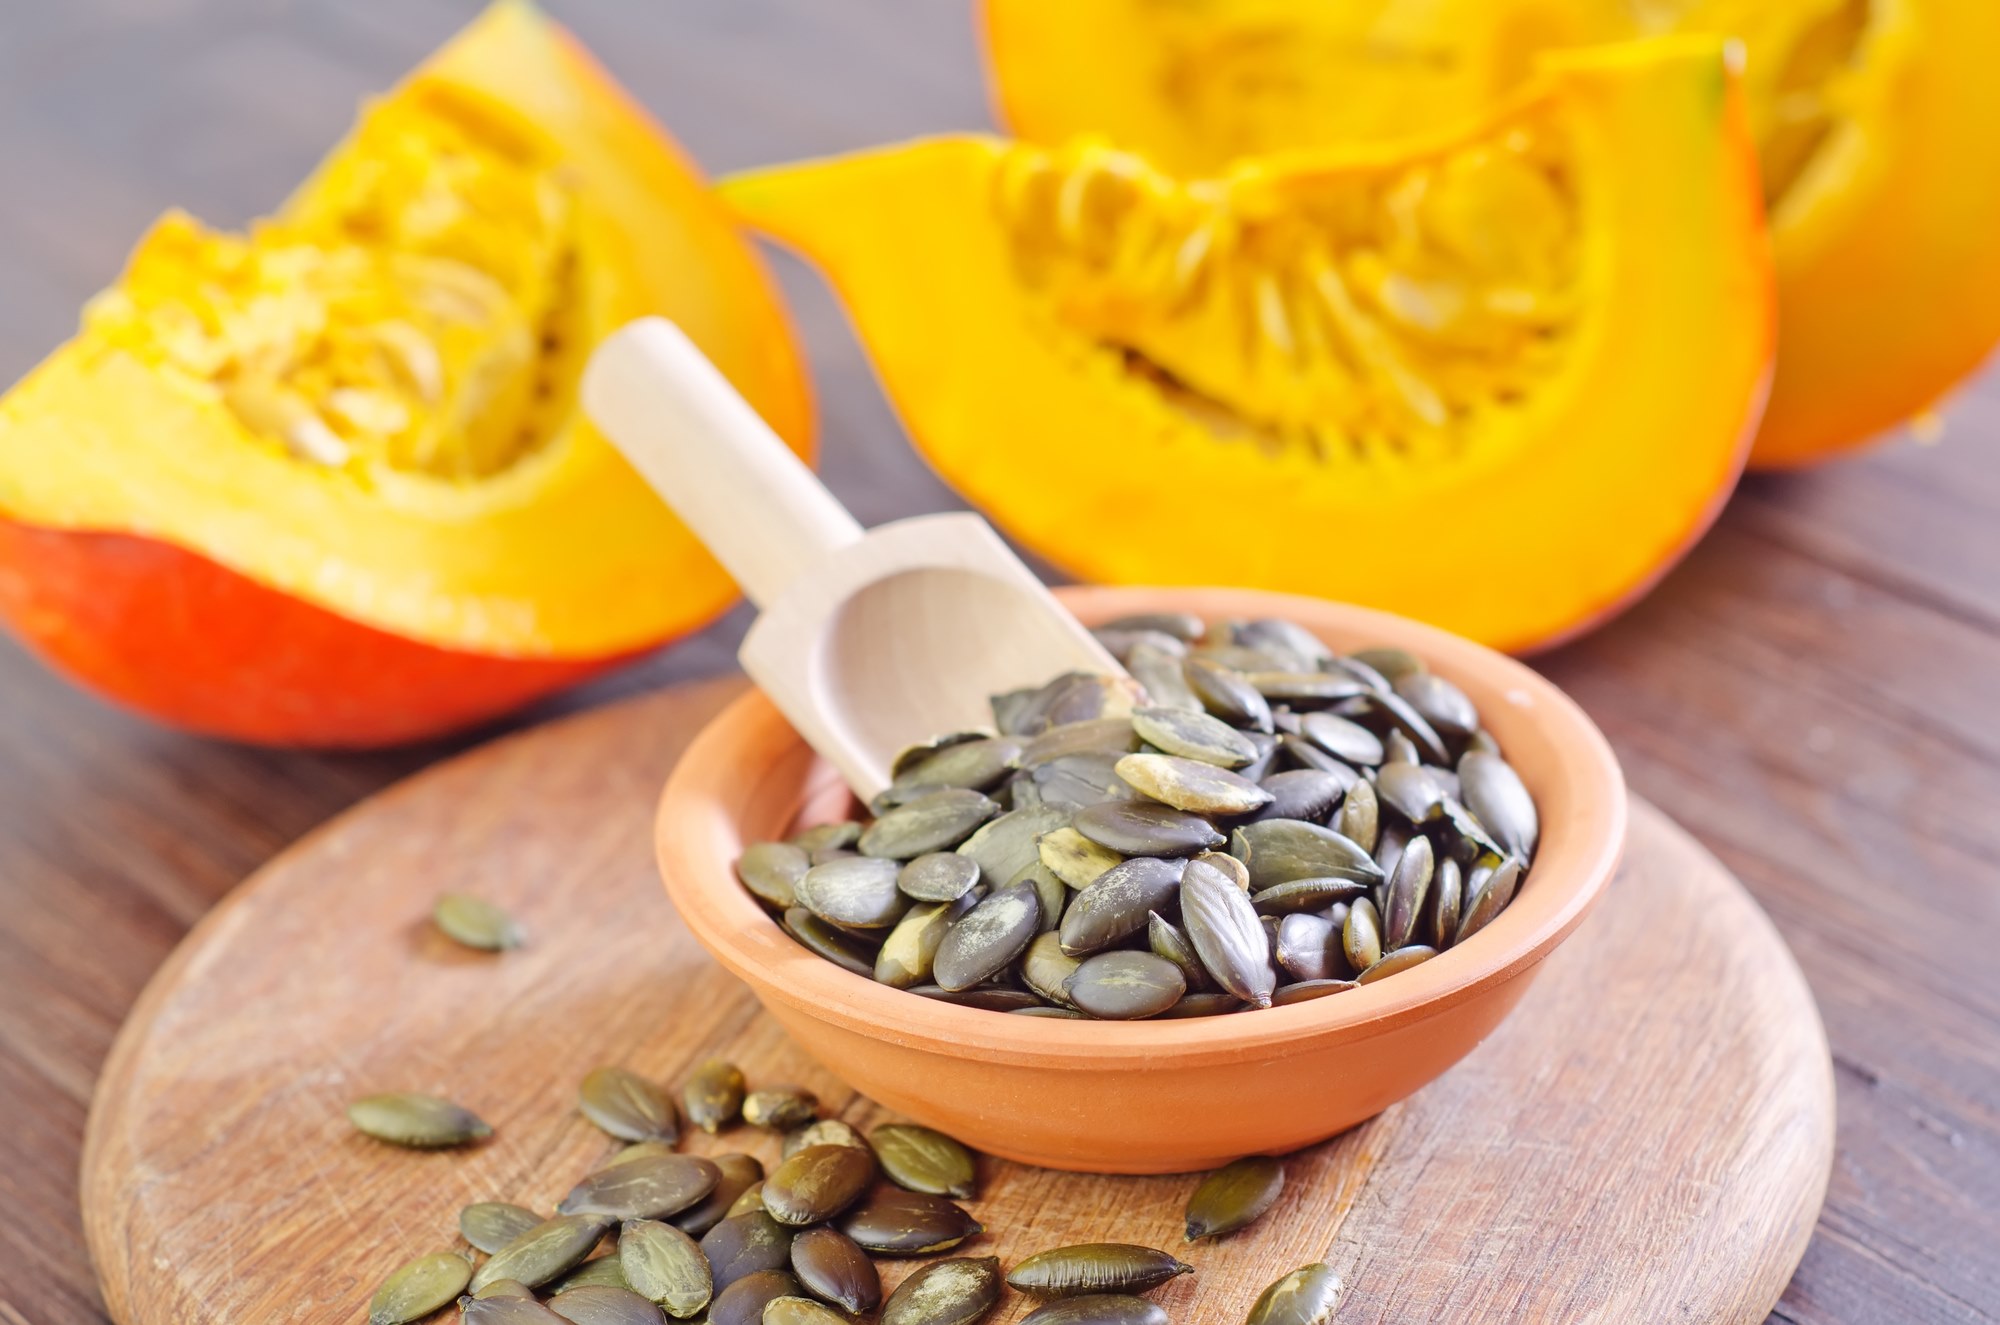
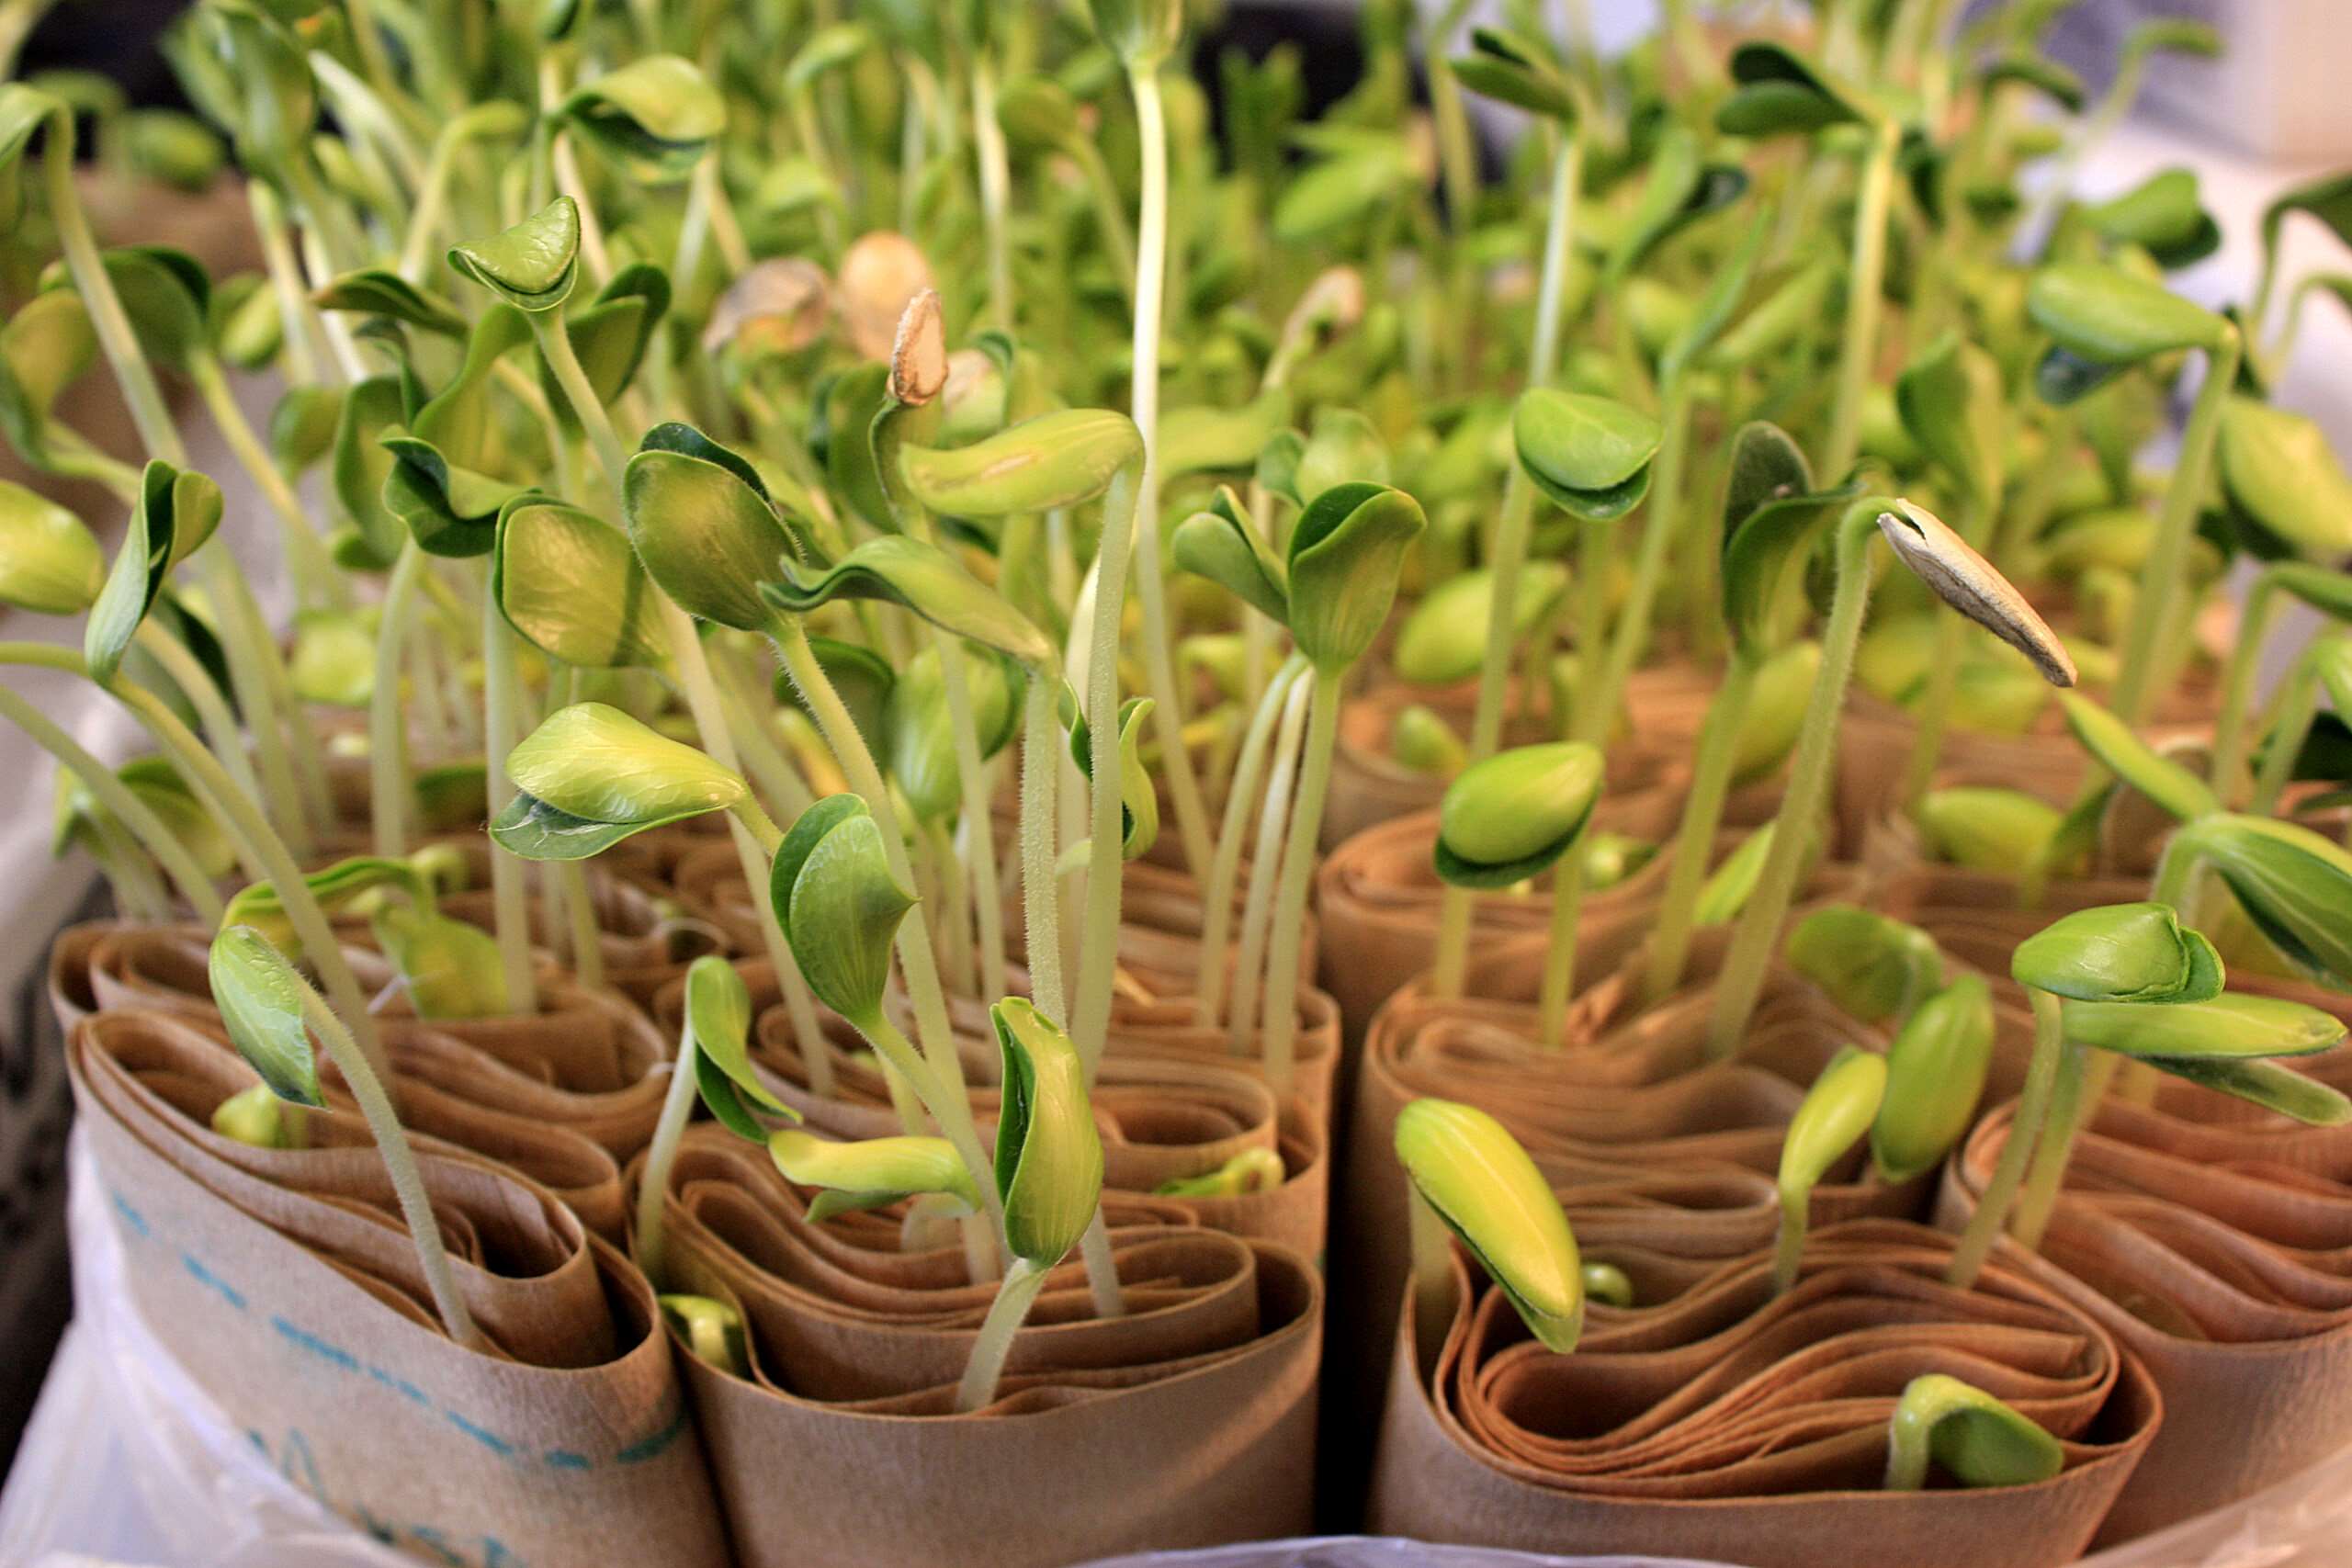
- Remove the seeds: While pumpkin seeds can be composted, they may sprout and grow in your compost pile. If you don’t want pumpkin plants popping up in unexpected places, consider removing the seeds before adding the pumpkin to your compost bin or pile.
- Break down large chunks: If you have larger pieces of pumpkin that are difficult to cut, consider breaking them down further. You can use a hammer or mallet to gently break the pumpkin into smaller chunks. Remember to wear gloves and be cautious when using tools.
- Mix with other compostable materials: To ensure a balanced compost, it’s important to mix the pumpkin with other compostable materials. This includes brown materials like dried leaves, straw, or shredded cardboard, and green materials like kitchen scraps or grass clippings. The ideal carbon-to-nitrogen ratio for compost is roughly 30:1, so aim to have a good mix of both types of materials.
- Avoid adding oily or high-fat pumpkins: Pumpkins that have been used for cooking or contain oils/fats should be avoided in composting. These can attract pests and slow down the composting process. Instead, dispose of them in the trash or see if they can be recycled as food waste in your area.
By following these steps, you will ensure that your pumpkins are properly prepped for composting. Remember, the more you break down the pumpkin and mix it with other compostable materials, the faster it will decompose and transform into nutrient-rich compost.
Choosing the Right Composting Method
When it comes to composting pumpkins, there are several methods you can choose from, depending on your available space, resources, and preferences. Here are three popular composting methods to consider:
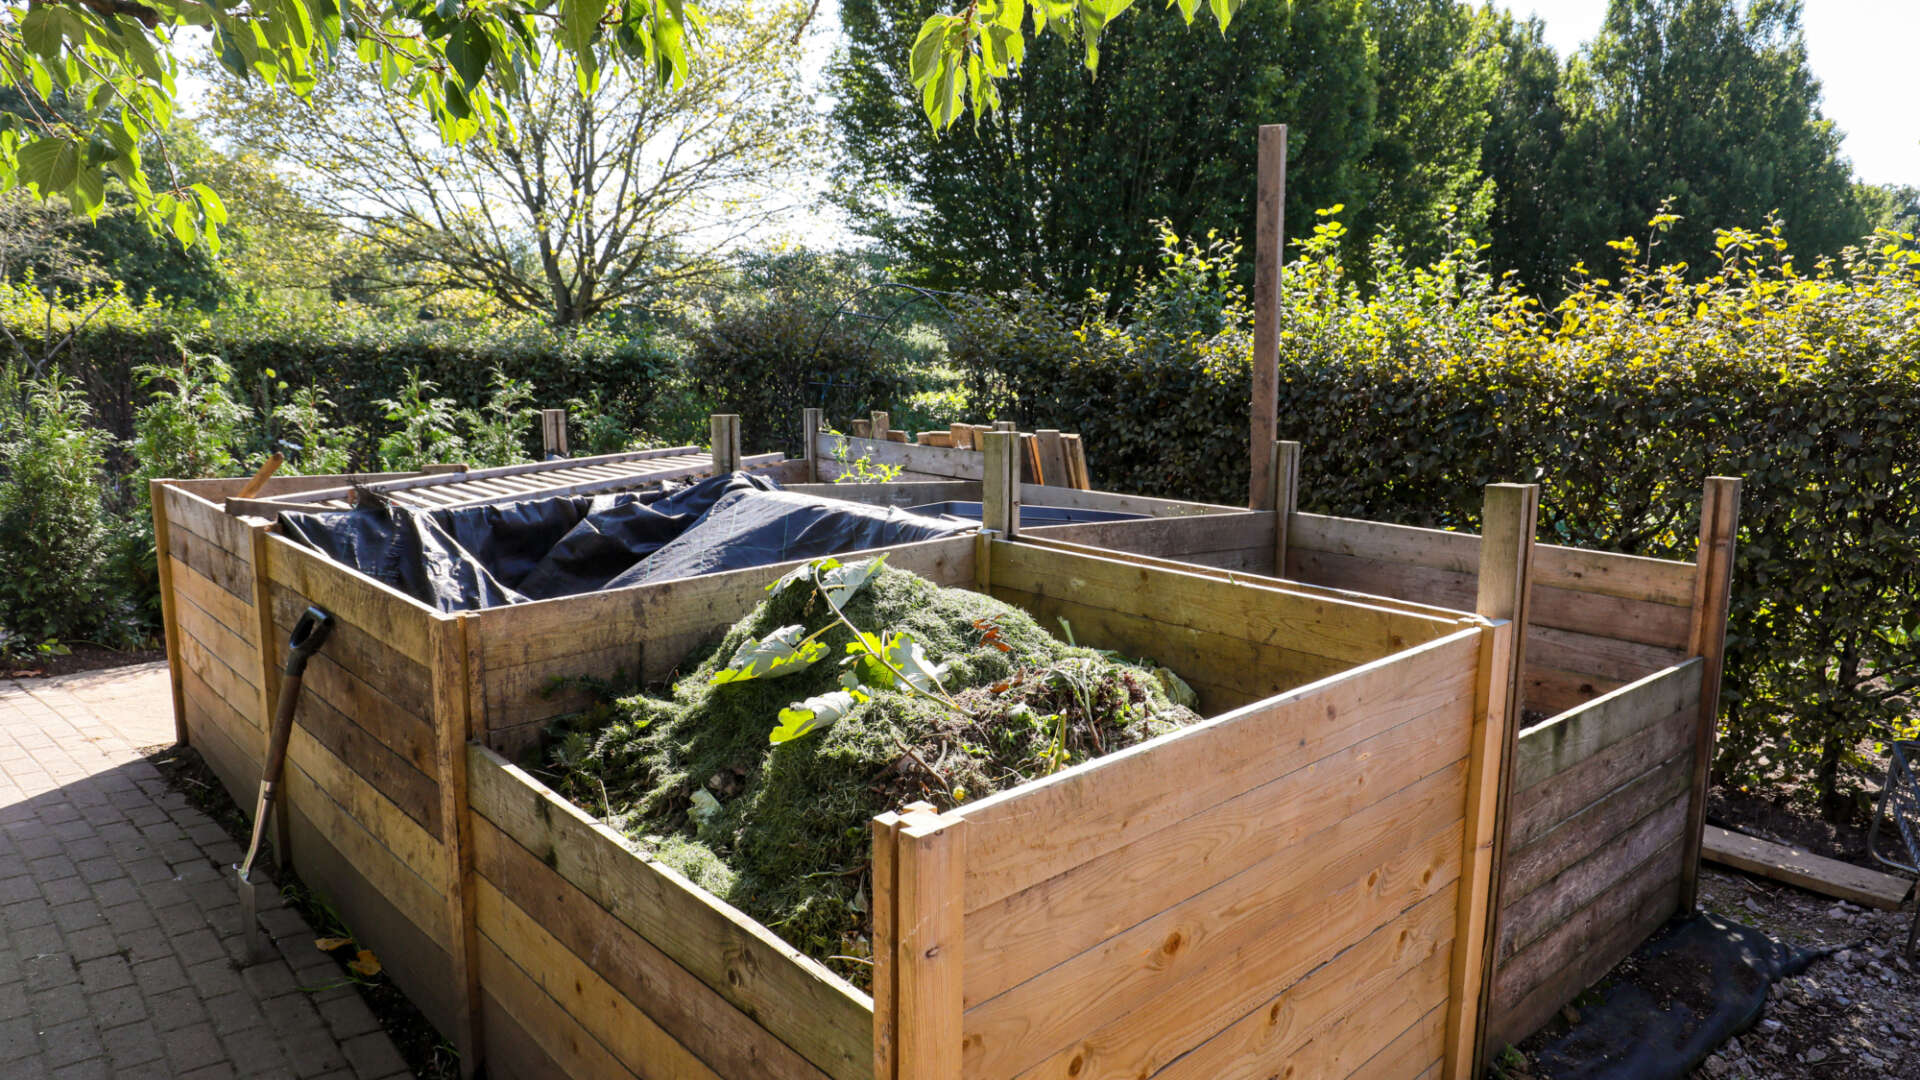
- Backyard Composting: This method involves creating a compost pile or using a compost bin in your backyard. It is ideal for those with ample outdoor space. To compost pumpkins using this method, simply add the prepared pumpkin pieces to your compost pile along with other compostable materials like leaves, kitchen scraps, and yard waste. Ensure that the pile is regularly turned or mixed to facilitate decomposition.
- Vermicomposting: Vermicomposting is a process that uses worms to break down organic matter. It is an excellent option for those with limited outdoor space or who want to compost indoors. To compost pumpkins using vermicomposting, chop the pumpkin into small pieces and feed them to the worms in a specially designed vermicomposting bin. Make sure to create a balanced environment for the worms by adding bedding material like shredded newspaper or coconut coir.
- Trench Composting: If you have a garden bed or an area dedicated to growing vegetables, trench composting can be a convenient option. To trench compost pumpkins, dig a trench or hole in your garden bed, bury the pumpkin pieces, and cover them with a layer of soil. This method allows the pumpkin to decompose directly in the soil, enriching it with nutrients over time. It is important to rotate the location of trench composting each year to ensure even distribution of nutrients.
Select the composting method that aligns with your preferences and available resources. All three methods have their advantages and can effectively compost pumpkins. Take into consideration factors such as space, time, and the desired use of the compost.
Remember, regardless of the composting method you choose, it’s important to monitor the moisture levels and provide proper aeration for the compost pile. Maintaining the right conditions will speed up the decomposition process and help you produce high-quality compost.
Creating a Compost Pile with Pumpkin
Now that you have prepared your pumpkin and chosen the composting method that best suits your needs, it’s time to create a compost pile or add the pumpkin to an existing pile. Here’s a step-by-step guide to help you:
- Choose a suitable location: Find a level spot in your backyard or garden where you can create your compost pile. Ideally, this area should be easily accessible and away from structures or trees that could be affected by the composting process.
- Prepare the base: Start by creating a layer of brown materials, such as dried leaves or shredded cardboard, at the bottom of your compost pile. This will help with aeration and drainage.
- Add the pumpkin: Place the prepared pumpkin pieces on top of the base layer. Ensure you spread them evenly across the pile to facilitate decomposition and prevent any clumping. If necessary, add additional compostable materials like kitchen scraps, grass clippings, or yard waste to create a balanced mix.
- Add more layers: Continue layering the pumpkin with alternating green and brown materials. This will help maintain the carbon-to-nitrogen ratio necessary for proper decomposition. Water each layer lightly to ensure the pile remains moist but not waterlogged.
- Turn the pile: To speed up the decomposition process and ensure even breakdown, regularly turn or mix the compost pile. This will help distribute oxygen and promote the activity of beneficial microorganisms.
- Maintain moisture and aeration: Throughout the composting process, monitor the moisture levels of your pile. It should be damp, like a well-wrung sponge. If it becomes too dry, water it lightly. Conversely, if it becomes too wet, add more dry materials like leaves or shredded paper to improve aeration.
- Monitor and adjust: Keep an eye on your compost pile and make any necessary adjustments. If the pile becomes too hot or smells unpleasant, it may need more aeration. If it’s not decomposing, it may need more nitrogen-rich materials. Balancing the ingredients and providing the right conditions will help your pumpkin compost break down efficiently.
With these steps, you can create a compost pile with your pumpkin, allowing it to decompose and transform into nutrient-rich compost over time. Regularly tending to the pile and providing the necessary moisture and aeration will help speed up the process, allowing you to harvest the finished compost sooner.
Maintaining the Compost Pile
Maintaining your compost pile is essential for successful decomposition and the production of high-quality compost. Here are some key tips to help you effectively maintain your compost pile:
- Monitor moisture levels: Regularly check the moisture content of your compost pile. It should be moist like a well-wrung sponge. If it’s too dry, add water to ensure proper decomposition. Alternatively, if it’s too wet and soggy, add more dry materials like dried leaves, straw, or shredded newspaper to improve aeration and drainage.
- Aerate the pile: Proper aeration is crucial for the breakdown of organic materials. Turn or mix your compost pile regularly using a pitchfork or compost turning tool to introduce oxygen and promote the activity of beneficial microorganisms. Aeration helps prevent the pile from becoming compacted and ensures even decomposition.
- Balance green and brown materials: Strive to maintain a balance between green and brown materials in your compost pile. Green materials, such as kitchen scraps and grass clippings, provide nitrogen, while brown materials, like dried leaves and shredded paper, provide carbon. Aim for a carbon-to-nitrogen ratio of roughly 30:1 to facilitate decomposition.
- Manage temperature: Composting generates heat as organic materials break down. This heat is essential for efficient decomposition and the destruction of potential pathogens and weed seeds. Monitor the temperature of your compost pile with a compost thermometer. Ideally, the temperature should reach around 130-160°F (55-71°C) for optimal decomposition.
- Avoid adding problematic materials: Certain materials can disrupt the composting process and should be avoided. These include meat, dairy products, oily foods, and pet waste. These can attract pests, create foul odors, and slow down decomposition. Stick to adding plant-based materials like fruits, vegetables, garden waste, and eggshells.
- Keep the pile covered: Covering your compost pile helps retain moisture, regulate temperature, and prevent excess water from entering. An uncovered pile can dry out too quickly or become waterlogged during heavy rains. Use a tarp, compost bin with a lid, or straw as a cover to maintain the ideal moisture levels and protect the pile from extreme weather conditions.
- Be patient and persistent: Composting takes time, and the decomposition process can vary depending on factors like temperature, moisture, and the materials used. Be patient and consistent with the maintenance of your compost pile. Regularly add compostable materials, turn the pile, and monitor its progress. With time and effort, you will be rewarded with rich, crumbly compost.
By following these maintenance tips, you can ensure that your compost pile remains healthy, active, and on track to producing nutrient-rich compost. Remember, a well-maintained compost pile will yield better results and benefit your garden and the environment.
Troubleshooting Common Composting Issues
Composting is a natural process, and sometimes, issues may arise along the way. Don’t worry! Here are some common composting problems and their solutions:
- Slow decomposition: If your compost pile is not breaking down as quickly as expected, it may be due to a lack of nitrogen or proper aeration. Add more nitrogen-rich materials like grass clippings or kitchen scraps and turn the pile more frequently to introduce oxygen.
- Foul odor: A smelly compost pile can be caused by an imbalance of materials, excessive moisture, or inadequate aeration. Add more dry materials like dried leaves or shredded paper to absorb excess moisture. Turn the pile more frequently to improve aeration and incorporate any compacted areas.
- Pest issues: If pests are attracted to your compost pile, it may be due to the presence of food scraps or oily materials. Avoid adding meat, dairy, or oily foods and bury any food waste well within the pile. Consider using a compost bin with a secure lid to deter pests.
- Weed seeds or fungal growth: If you notice an increase in weed seeds or a fungal growth in your compost pile, it’s likely due to incomplete decomposition or improper temperature. Ensure that your compost pile reaches and maintains a temperature of 130-160°F (55-71°C) to kill weed seeds and pathogens. Avoid adding mature weed plants and use a compost thermometer to monitor the temperature.
- Excessive moisture: If your compost pile becomes too wet, it can create a soggy environment and slow down decomposition. Add more dry materials like dried leaves or shredded newspaper to improve aeration and absorb excess moisture. Ensure the pile has proper drainage to prevent waterlogging.
- Unpleasant pests: If you encounter unwanted pests like flies or ants, it may be due to exposed or uncovered food scraps. Make sure to bury any food waste deep within the compost pile to deter pests. Consider using a compost bin with a lid to further prevent pests from accessing the pile.
- Unbalanced carbon-to-nitrogen ratio: A compost pile that is too high in nitrogen can result in a soggy, smelly pile. On the other hand, a pile that is too high in carbon may break down slowly. Adjust the carbon-to-nitrogen ratio by adding more green materials for nitrogen or more brown materials for carbon until the desired balance is achieved.
Remember that composting is a dynamic process, and it may take some trial and error to find the right balance. If you encounter any issues, don’t be discouraged. With observation, adjustments, and patience, you can troubleshoot common composting problems and achieve successful decomposition.
Harvesting and Using the Compost
After patiently tending to your compost pile, the time will come to reap the rewards of your efforts. Here’s how to harvest and use your finished compost:
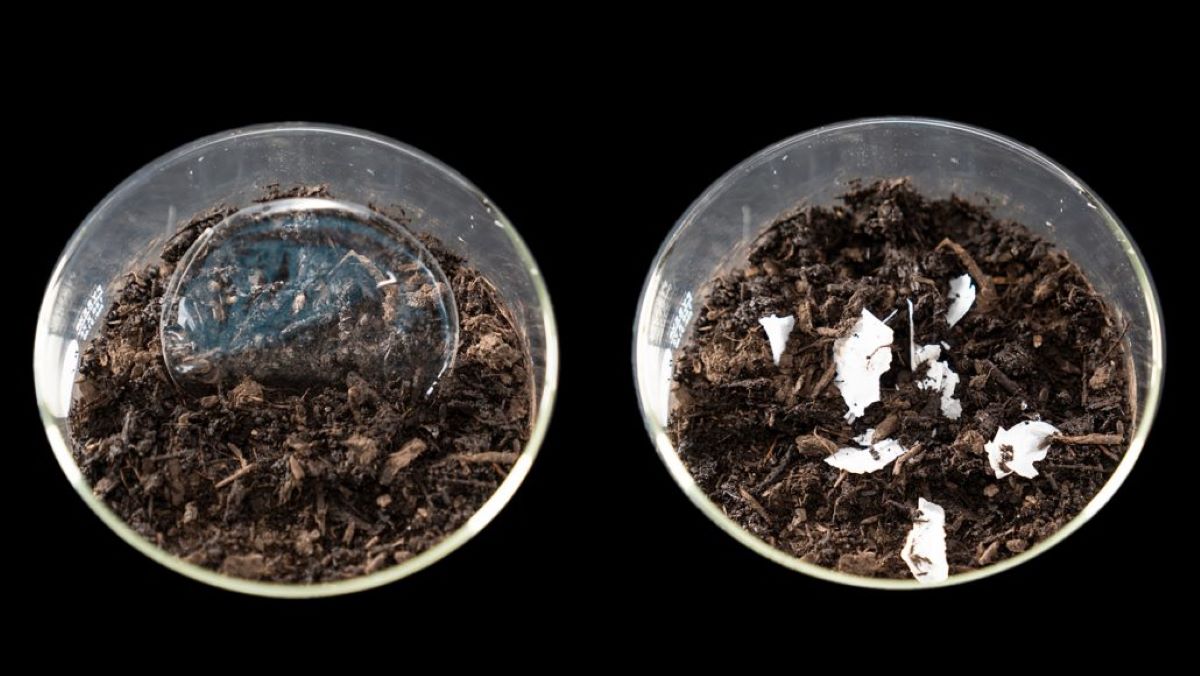
- Wait for the compost to mature: Composting is a natural process that takes time. It typically takes anywhere from several months to a year for compost to fully mature. You’ll know it’s ready when the original materials have broken down, and the compost has a dark, earthy smell and a crumbly texture.
- Separate the compost from unfinished materials: Before harvesting, remove any recognizable, unfinished materials from the compost pile. These can include bits of woody sticks or larger chunks of pumpkin that have yet to decompose fully. Set these aside to be added back into your compost pile for further breakdown.
- Use a harvesting method: There are various methods for harvesting compost, depending on the size and setup of your compost pile. Some options include using a compost screen to sift out larger particles, using a pitchfork to scoop out the ready compost from the bottom of the pile, or simply using your hands to pick out the finished compost. Choose the method that works best for you.
- Apply the compost to your garden: Once you’ve harvested the finished compost, it’s time to put it to use. Spread a layer of compost over your garden beds, around trees and shrubs, or mix it into the soil before planting. The nutrient-rich compost will enhance soil fertility, improve water retention, and promote healthy plant growth.
- Store any excess compost: If you have more compost than you can use at once, store it in a covered container or compost bin. This will help maintain its quality until you’re ready to apply it to other areas of your garden or share it with fellow gardeners.
- Continue composting: Once you have harvested the finished compost, don’t forget to start a new compost pile or add fresh materials to the existing one. Composting is an ongoing process, and by continuously adding organic waste, you can ensure a steady supply of nutrient-rich compost for your garden.
By following these steps, you can effectively harvest and utilize the compost you’ve worked hard to create. Enjoy the benefits of your efforts as your plants thrive in the nutrient-rich soil, courtesy of your homemade compost.
Conclusion
Composting pumpkin is a fantastic way to reduce waste, improve soil health, and nourish your garden. By following the steps outlined in this article, you can transform your pumpkins from seasonal decorations into valuable compost that will benefit your plants and the environment.
We explored the benefits of composting pumpkin, including reduced waste, nutrient-rich compost, improved soil structure, and reduced dependency on chemical fertilizers. By composting pumpkins, you can contribute to a more sustainable and eco-friendly gardening practice.
In order to prepare the pumpkin for composting, we discussed the importance of removing decorations, cutting the pumpkin into smaller pieces, and avoiding oily or high-fat pumpkins. These steps ensure that the pumpkin can break down efficiently and contribute to the composting process.
Choosing the right composting method, be it backyard composting, vermicomposting, or trench composting, allows for flexibility based on space, resources, and personal preference. Each method offers its own benefits and can help you effectively compost your pumpkins.
We emphasized the importance of maintaining the compost pile, including monitoring moisture levels, aerating the pile, balancing carbon-to-nitrogen ratios, and addressing common composting issues that may arise along the way. By taking proper care of your compost pile, you can accelerate the decomposition process and produce high-quality compost.
When the time comes, harvesting the compost and using it in your garden is a satisfying reward for your composting efforts. Applying the finished compost to your garden beds, around plants, and mixing it into the soil will enhance fertility and promote healthy plant growth.
Remember, composting is an ongoing process. As you continue to compost, you can further reduce waste, improve soil health, and create a sustainable cycle of nourishment for both your garden and the environment.
So, don’t let your pumpkins go to waste. Embrace the art of composting and unlock the potential of these seasonal favorites. Start composting your pumpkins today and embark on a journey towards a greener, thriving garden.