Home>Types of Gardening>Edible Gardening>How Do You Dry Pumpkin Seeds
Edible Gardening
How Do You Dry Pumpkin Seeds
Published: September 9, 2023
Discover how to dry pumpkin seeds and make the most of your edible gardening efforts. Explore valuable tips and techniques for preserving this nutritious snack.
(Many of the links in this article redirect to a specific reviewed product. Your purchase of these products through affiliate links helps to generate commission for Chicagolandgardening.com, at no extra cost. Learn more)
Table of Contents
Introduction
Edible gardening is a rewarding and fulfilling hobby that allows you to grow your own fresh and nutritious produce. Among the many delights that nature provides is the pumpkin, a versatile vegetable that can be enjoyed in various dishes, from hearty soups to delectable pies.
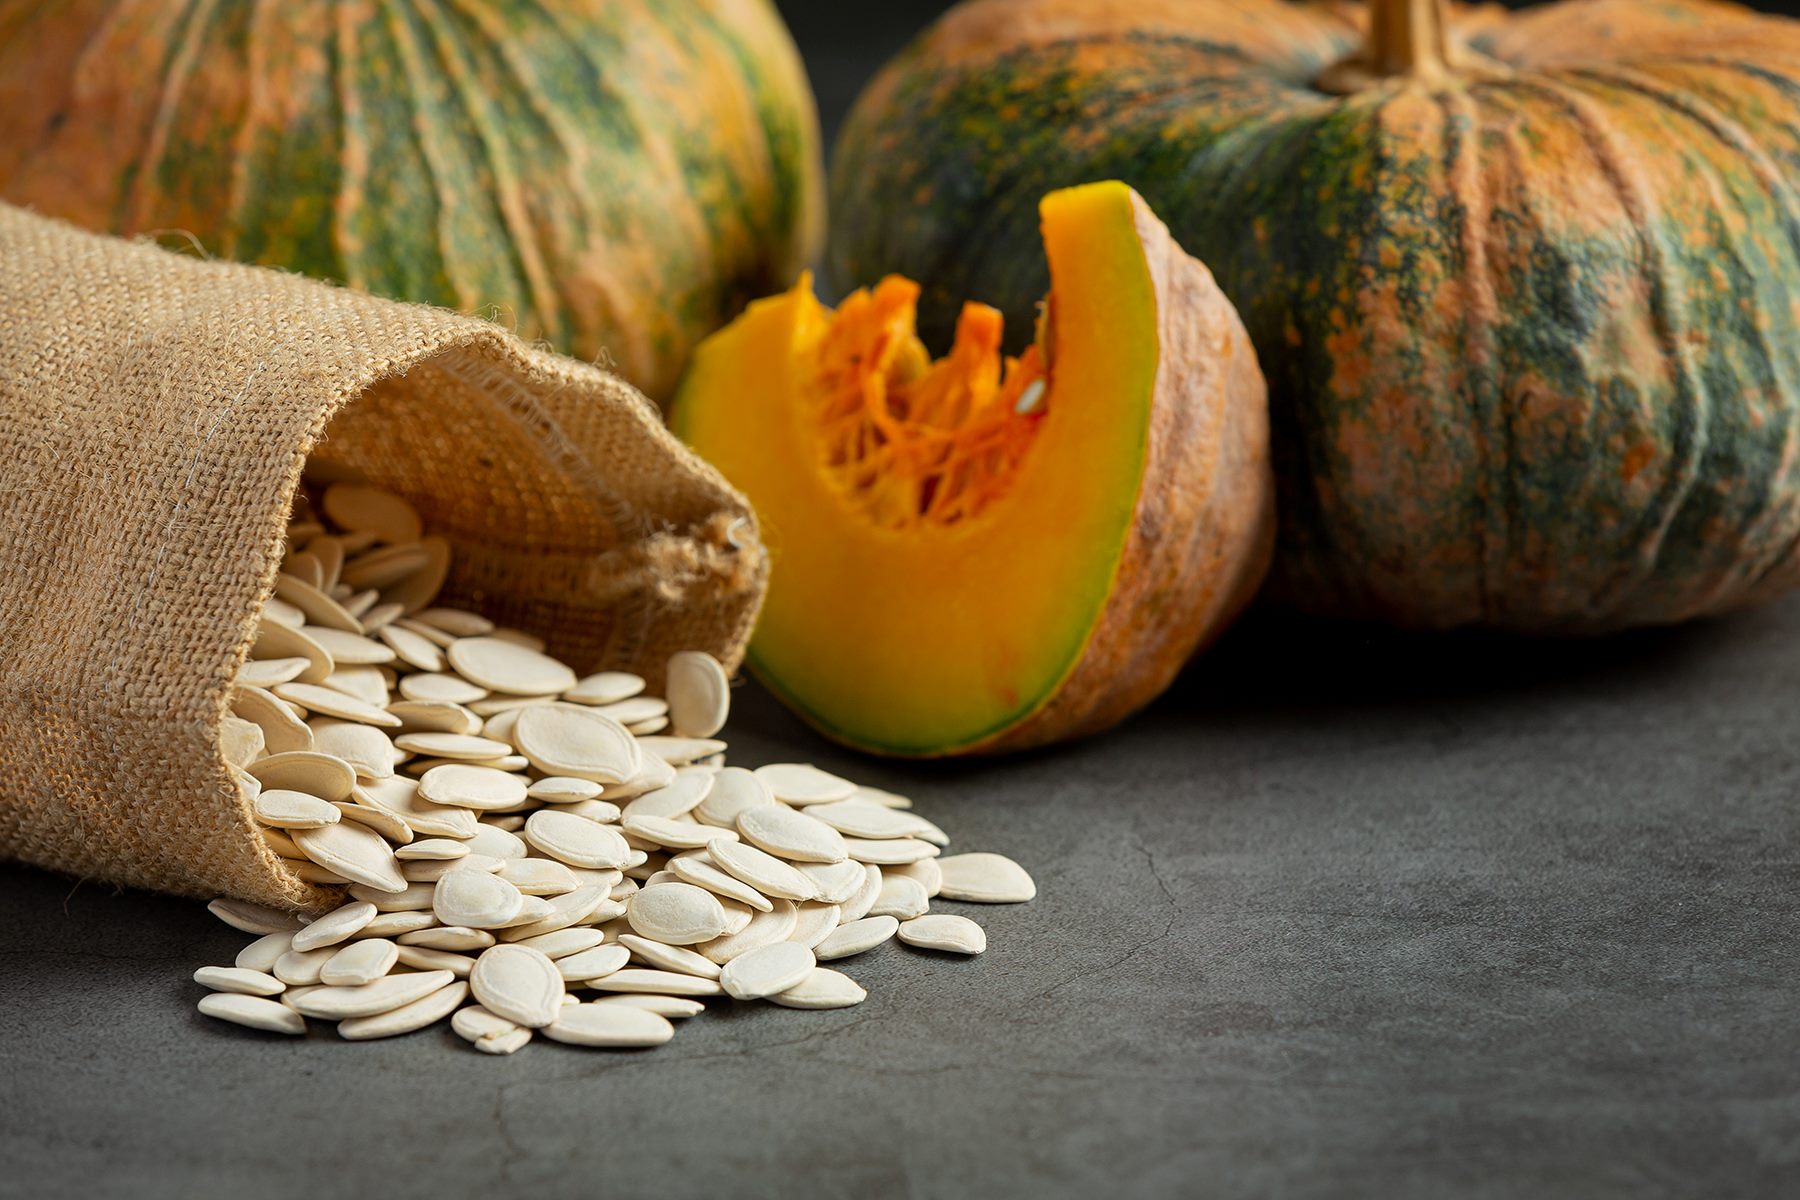
While most people are familiar with the sweet and savory uses of pumpkins, not many realize that the seeds within these gourds are not only edible but also incredibly nutritious. Pumpkin seeds are packed with essential vitamins, minerals, and antioxidants that offer a range of health benefits.
In this article, we will explore the process of drying pumpkin seeds, a simple yet effective method of preserving them for prolonged use. We will discuss why drying the seeds is necessary, how to harvest and clean them, and the different methods of drying to suit your preferences and resources.
Whether you have a plentiful pumpkin harvest from your garden or simply want to make the most of store-bought pumpkins, drying the seeds allows you to enjoy their deliciousness and reap their nutritional benefits all year round.
So, let’s roll up our sleeves and dig into the fascinating world of drying pumpkin seeds!
Why Dry Pumpkin Seeds?
Drying pumpkin seeds serves multiple purposes and offers several advantages. Here are a few reasons why you should consider drying your pumpkin seeds:
- Preservation: Drying pumpkin seeds is an excellent preservation method that allows you to store them for an extended period. By removing the moisture from the seeds, you prevent them from spoiling or becoming rancid, ensuring their long-term usability.
- Convenience: Dried pumpkin seeds are incredibly convenient to have on hand. Once dried, they become lightweight and compact, making them easy to store and transport. You can pack them in lunchboxes, take them on camping trips, or simply enjoy them as a healthy snack whenever you desire.
- Extended Shelf Life: Fresh pumpkin seeds have a relatively short shelf life due to their high moisture content. By drying them, you significantly extend their shelf life, allowing you to enjoy the nutritional benefits and unique flavor of pumpkin seeds throughout the year.
- Enhanced Flavor and Texture: Drying pumpkin seeds enhances their flavor and texture. The seeds become crisp and crunchy, making them a delightful addition to salads, granola, baked goods, or as a standalone snack. The intensified nutty flavor adds depth to your culinary creations.
- Nutritional Benefits: Pumpkin seeds are nutrient powerhouses, packed with essential vitamins, minerals (such as magnesium, zinc, and iron), healthy fats, and protein. Drying pumpkin seeds preserves these nutrients, allowing you to incorporate them into your diet even when pumpkins are out of season or not readily available.
By drying your pumpkin seeds, you not only ensure their long-term usability but also unlock their full potential in terms of flavor and nutrition. With these benefits in mind, let’s move on to the next section and learn how to harvest and clean pumpkin seeds for drying.
Harvesting and Cleaning Pumpkin Seeds
Harvesting and cleaning pumpkin seeds is a crucial first step in preparing them for drying. Follow these simple steps to gather and clean your pumpkin seeds:
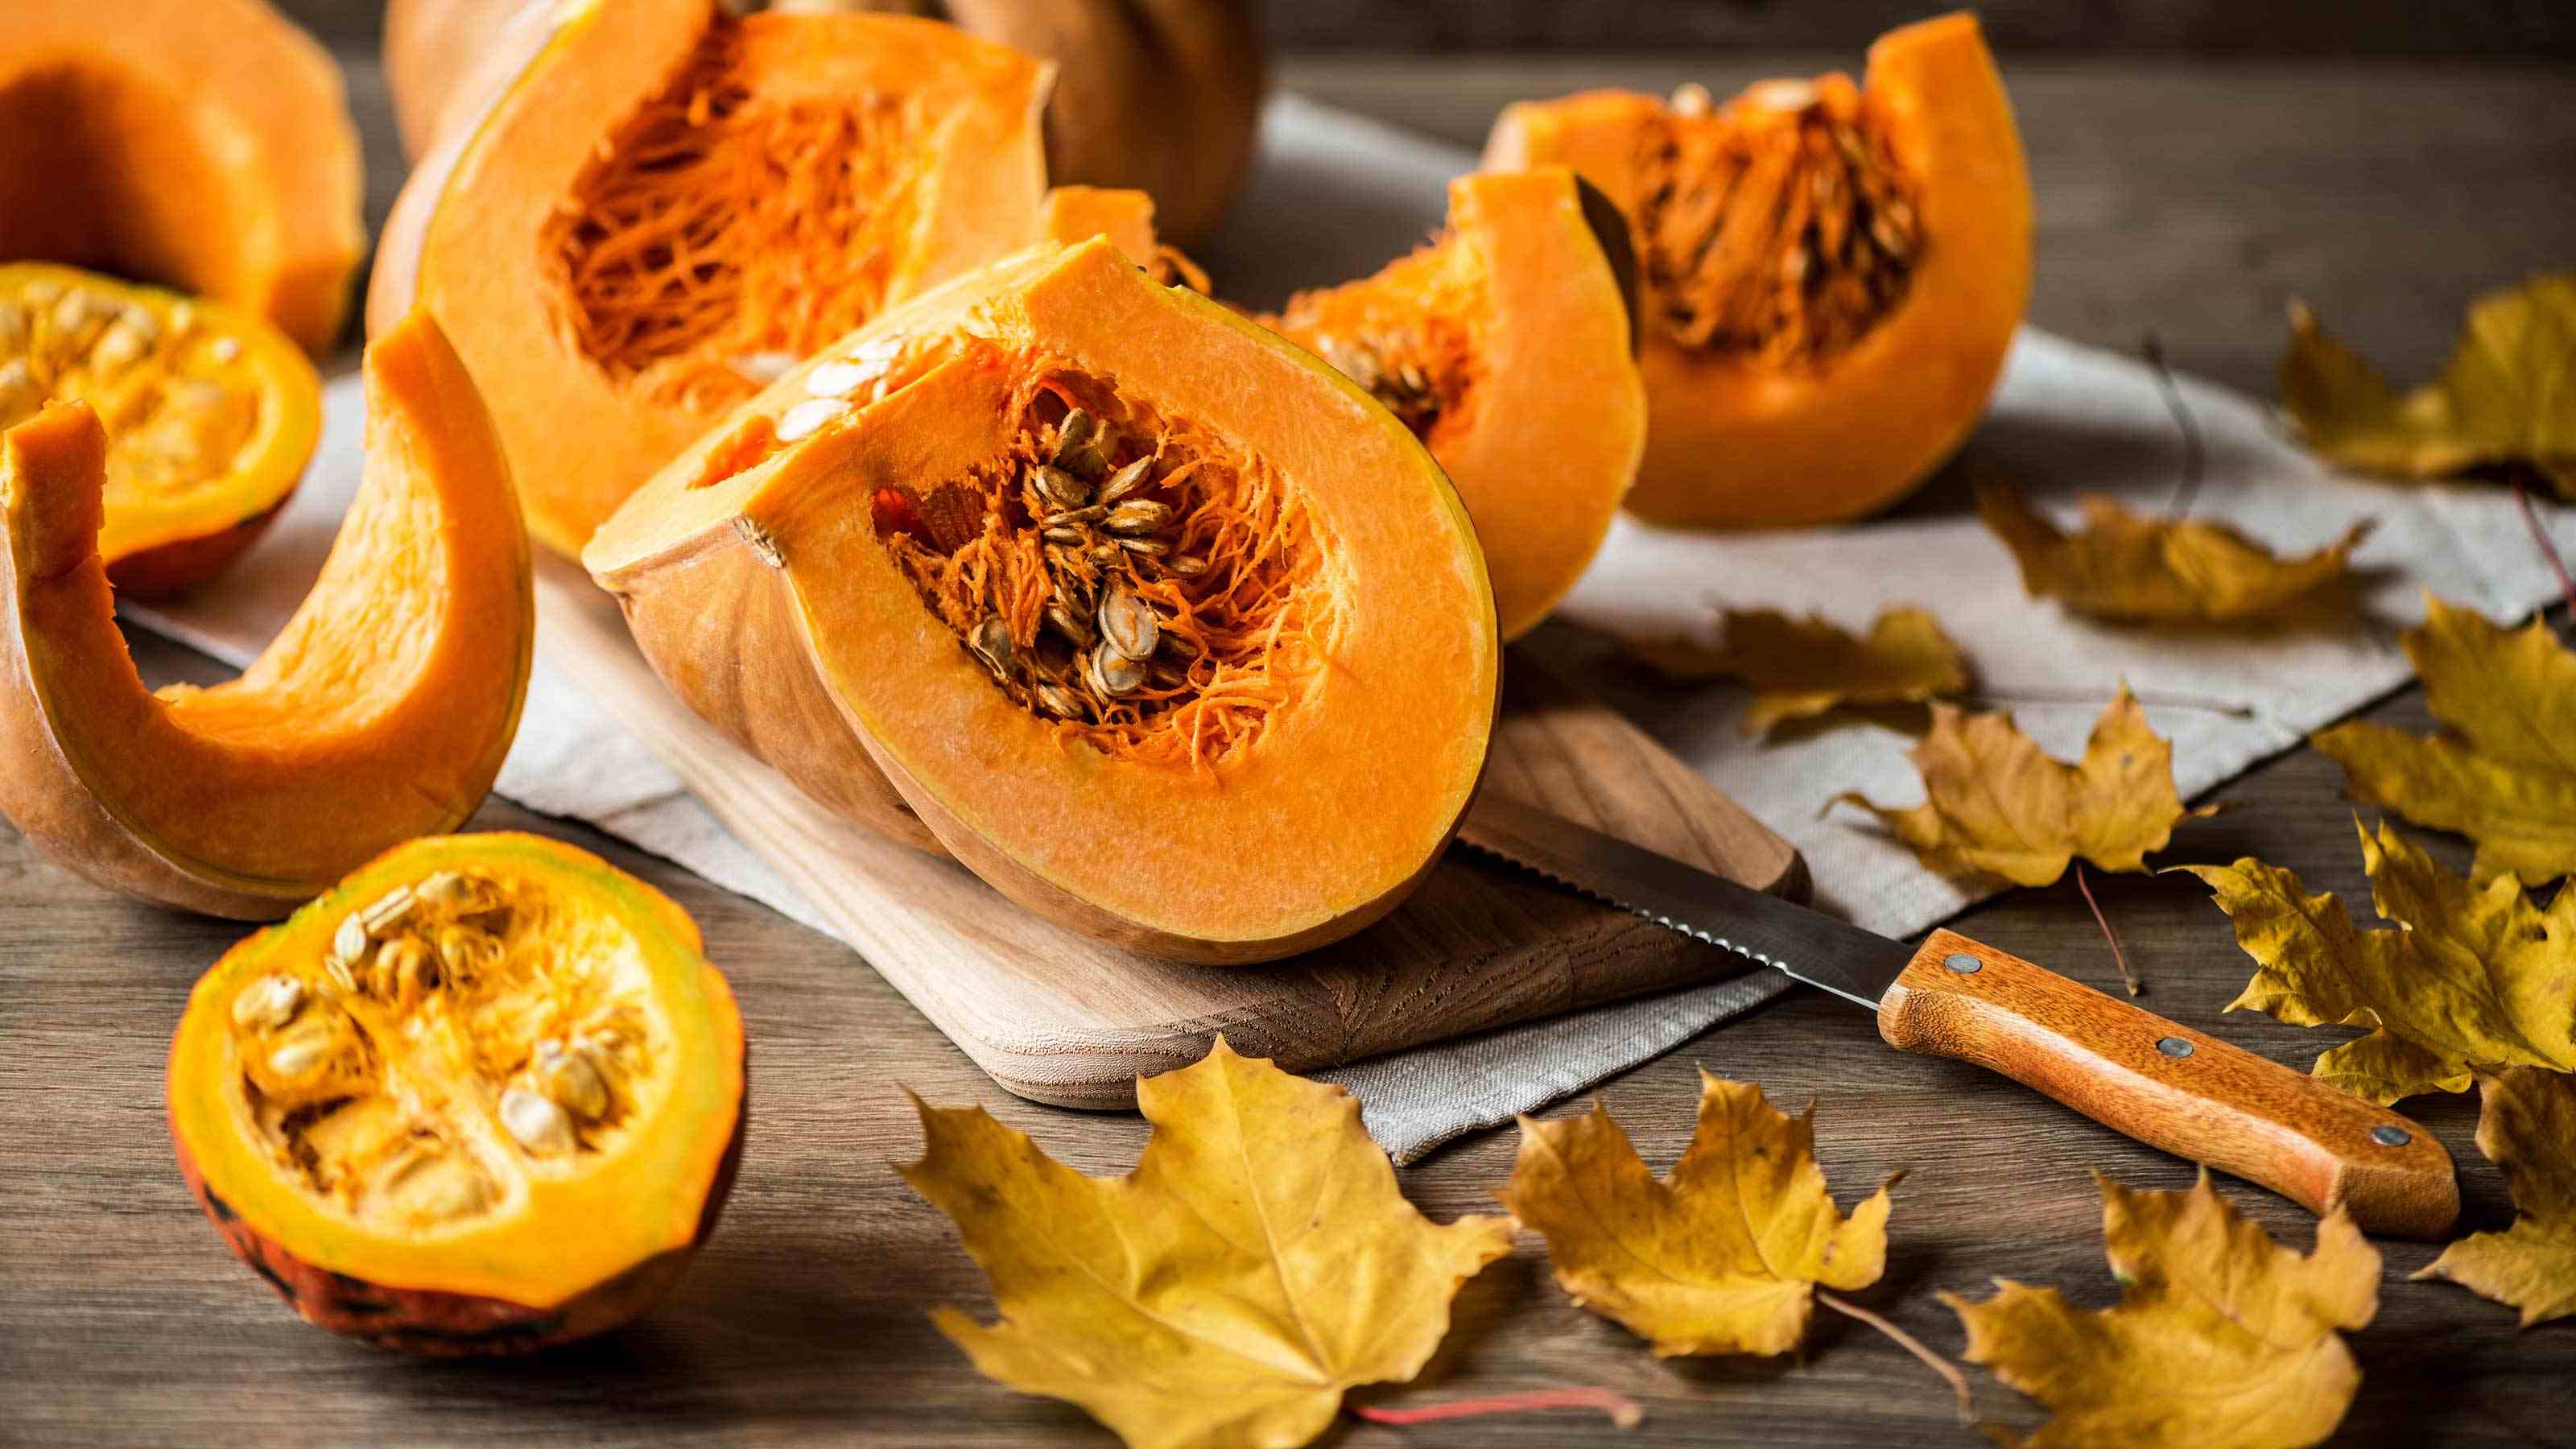
- Harvesting: Begin by selecting mature, fully-grown pumpkins for seed harvesting. Look for pumpkins that have reached their peak ripeness, as indicated by a deep color and a hard outer shell. Avoid using pumpkins with soft spots or signs of decay.
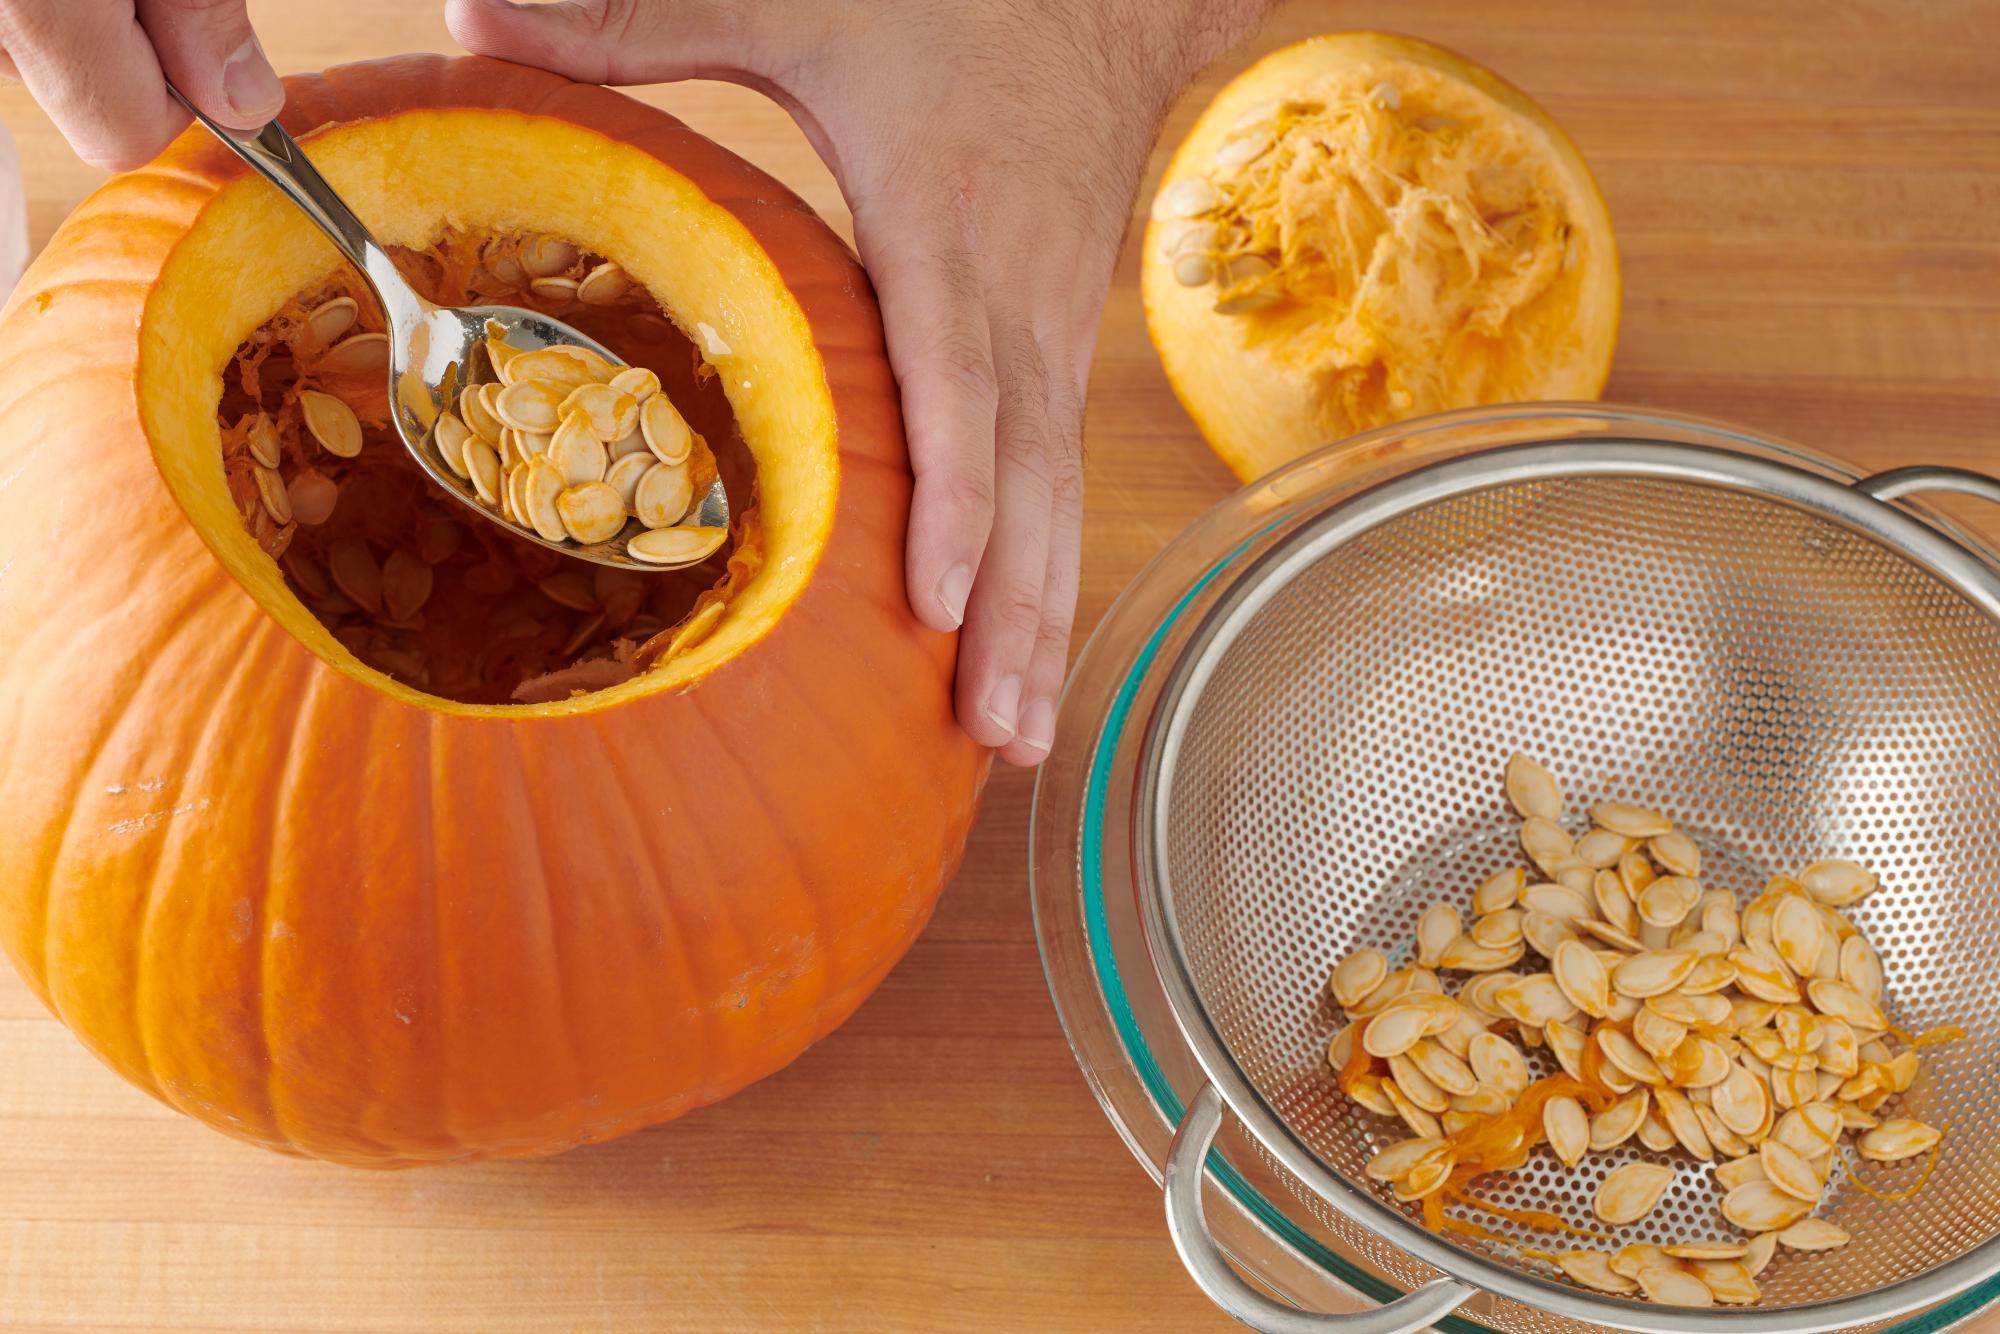
- Seed Extraction: Once you have the perfect pumpkin, cut it open using a sharp knife. Use a spoon or your hands to scoop out the seeds and the surrounding pulp. Place the seeds in a large bowl, separating them from the pulp as much as possible.
- Pulp Removal: To remove any remaining pulp, fill the bowl containing the seeds with water. Swirl the mixture gently to loosen the pulp, and then use your hands to separate the seeds from it. The viable seeds will sink to the bottom, while the pulp and any floating debris can be discarded.
- Cleaning: Once the seeds are free from pulp, give them a thorough rinse under cold water. Use your fingers or a strainer to remove any remaining traces of pulp. Be sure to remove any excess moisture from the seeds to prevent mold or rot during the drying process.
- Drying: At this point, you can choose to either dry the seeds immediately or move on to seasoning and roasting them before drying. If you prefer to season and roast the seeds, you can skip to the next section. Otherwise, proceed to the drying methods mentioned in the following sections.
By following these steps, you can effectively harvest and clean your pumpkin seeds, preparing them for the drying process. Now let’s explore the various methods you can use to dry your pumpkin seeds, ranging from the oven to air drying and even using a dehydrator.
Oven Drying Method
The oven drying method is a popular and efficient way to dry pumpkin seeds. Follow these steps to dry your seeds using this method:
- Preparation: Preheat your oven to 300°F (150°C) and line a baking sheet with parchment paper or a silicone baking mat.
- Seeding Spreading: Spread the cleaned pumpkin seeds evenly in a single layer on the prepared baking sheet. Make sure the seeds are not overlapping or clumped together, as this will hinder the drying process.
- Seasoning (optional): If you prefer flavored pumpkin seeds, this is the time to add your desired seasonings. You can sprinkle them with salt, garlic powder, paprika, or any other spices of your choice. Toss the seeds gently to ensure even coating.
- Baking: Place the baking sheet with the seeds in the preheated oven and bake for about 20-30 minutes. Check on the seeds regularly and stir them every 10 minutes to prevent uneven drying and ensure they don’t burn.
- Testing for Dryness: To determine if the seeds are fully dried, remove a few from the oven and let them cool for a few minutes. Then, crack one open. If the seed inside is dry and crunchy, they are ready. If it appears soft or moist, continue baking for a few more minutes.
- Cooling and Storing: Once the seeds are fully dried, remove the baking sheet from the oven and let the seeds cool completely. Store the dried pumpkin seeds in an airtight container or a resealable bag. Properly stored, they can last for several months.
The oven drying method provides a quick and efficient way to dry pumpkin seeds while allowing you to add your desired seasoning for an extra flavor boost. However, if you prefer a less energy-intensive method, you can also consider air drying or using a dehydrator. Let’s explore these methods next.
Air Drying Method
The air drying method is a simple and natural way to dry pumpkin seeds without the need for any special equipment. Follow these steps to air dry your pumpkin seeds:
- Preparation: After cleaning the pumpkin seeds, spread them out on a clean kitchen towel or a tray in a single layer. Ensure that they are evenly spread out and not touching or overlapping each other.
- Drying Location: Find a well-ventilated area in your home where the seeds can dry undisturbed. Ideally, choose a warm and dry room with good air circulation. Avoid humid areas, as excessive moisture can hinder the drying process.
- Drying Period: Allow the pumpkin seeds to air dry for about one to two weeks. During this time, turn the seeds every couple of days to ensure even drying and to prevent any mold or mildew from forming.
- Testing for Dryness: After the drying period, take a sample of seeds and check their dryness. They should be hard and give a hollow sound when tapped. If they are still moist or soft, allow them to continue drying for a few more days.
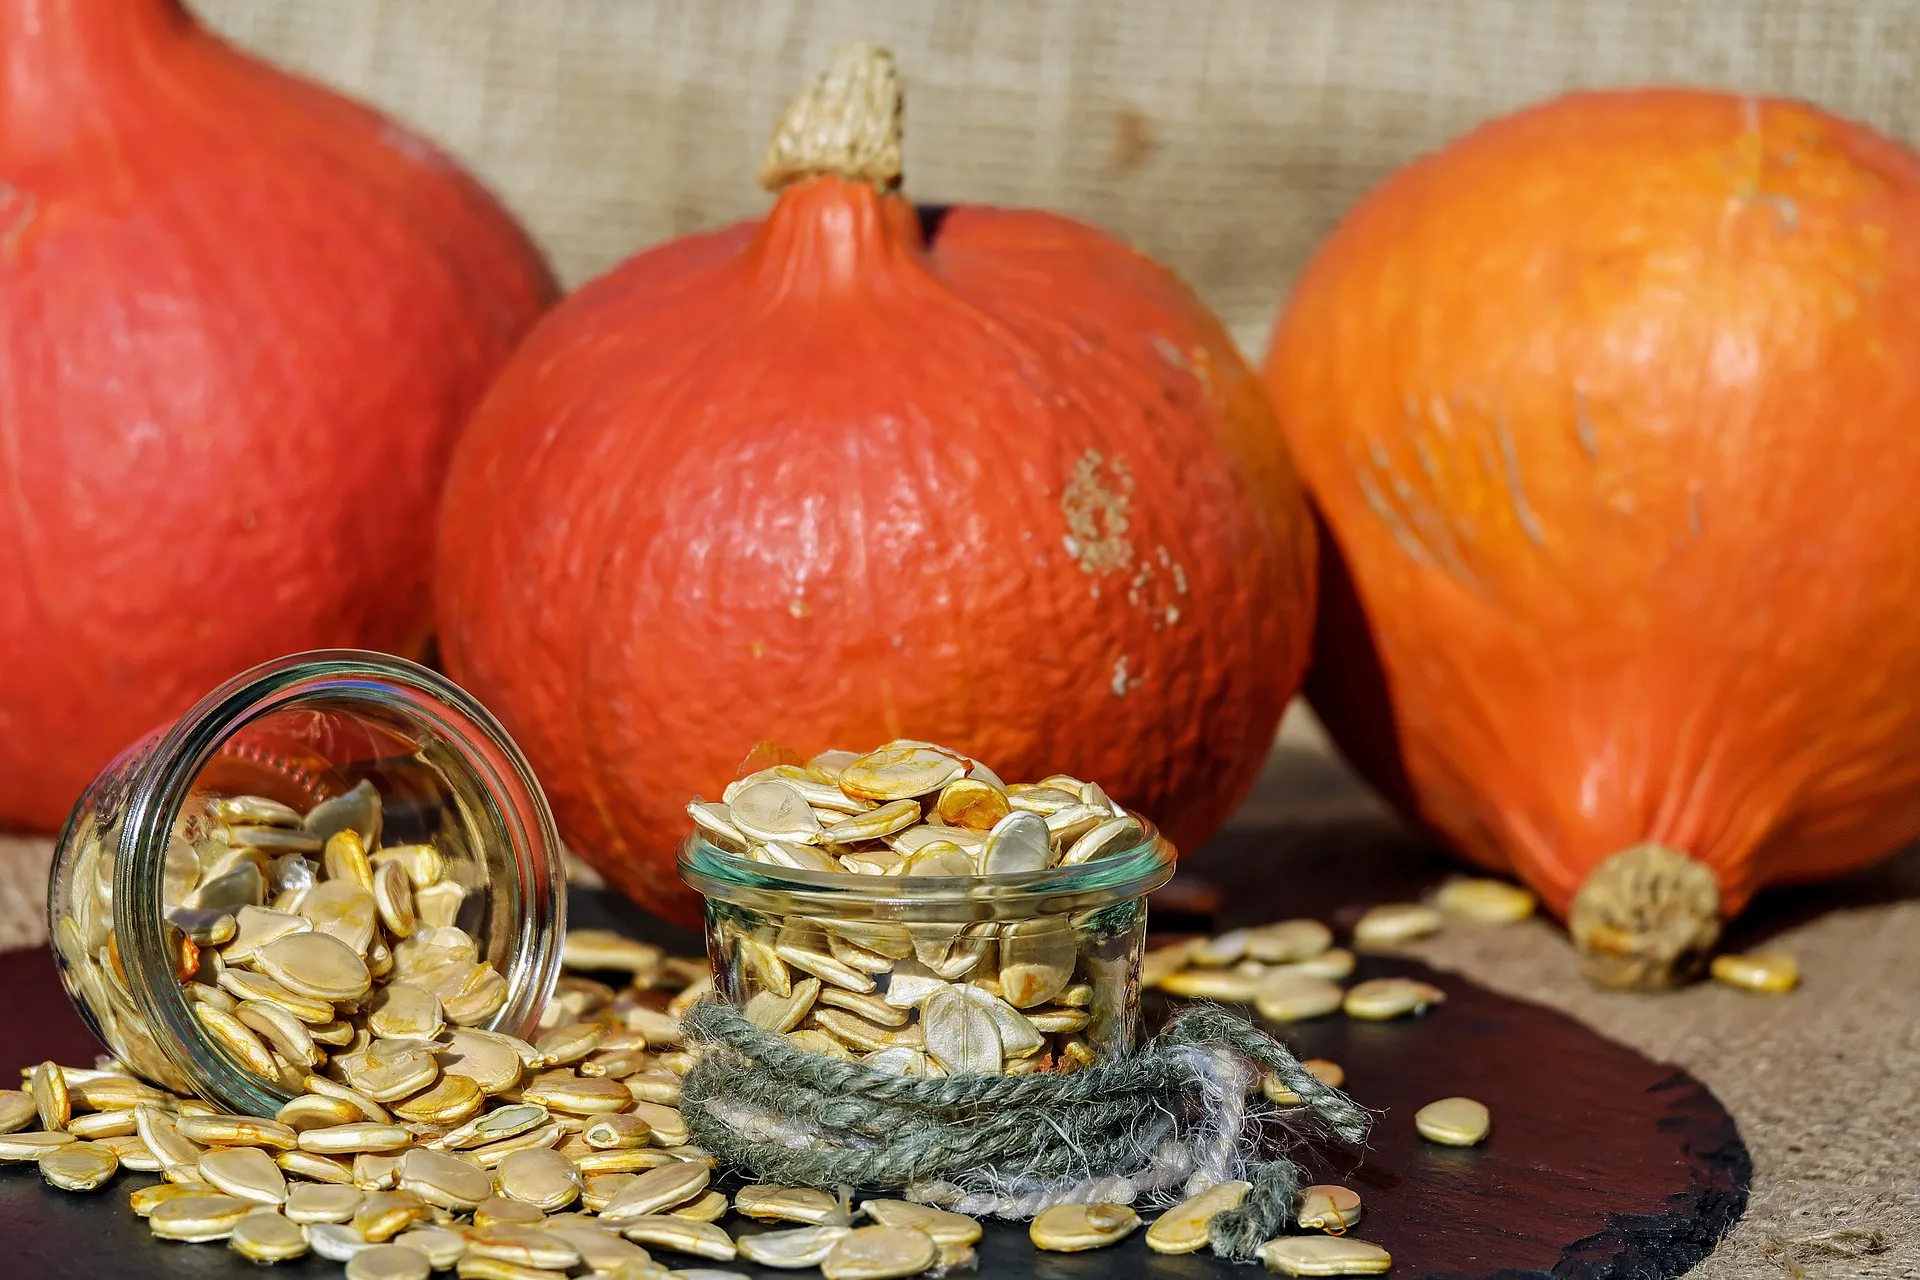
- Cooling and Storing: Once the pumpkin seeds are fully dried, transfer them to an airtight container or a resealable bag. Store them in a cool, dry place away from direct sunlight. Properly dried and stored, the seeds can last for several months.
The air drying method requires patience, as it takes longer compared to other drying methods. However, it is a cost-effective and simple technique that allows the seeds to dry naturally, preserving their flavor and nutritional benefits. Now, let’s explore another option – using a dehydrator.
Dehydrator Method
If you have a dehydrator, it can be a convenient and effective tool for drying pumpkin seeds. Follow these steps to use a dehydrator for drying your seeds:
- Preparation: After cleaning the pumpkin seeds, spread them out in a single layer on the dehydrator trays. Make sure the seeds are evenly spaced and not overlapping.
- Temperature and Timing: Set the dehydrator to a low temperature, around 115°F (46°C). The drying time will vary depending on the dehydrator model, but it can range from 4 to 8 hours.
- Testing for Dryness: Check the seeds periodically during the drying process. They should be dry and crisp to the touch. If they still feel slightly moist, continue drying for a little longer.
- Cooling and Storing: Once the pumpkin seeds are fully dried, remove them from the dehydrator and let them cool completely. Transfer the seeds to an airtight container or a resealable bag, and store them in a cool, dry place away from direct light or heat.
The dehydrator method offers precise control over the drying temperature and timing, ensuring consistent and efficient drying of the pumpkin seeds. This method is especially useful if you have a large batch of seeds to dry or if you frequently engage in preserving various foods using a dehydrator.
Now that you are familiar with the different drying methods, let’s move on to the next section, where we will discuss seasoning and storing the dried pumpkin seeds.
Seasoning and Storing Dried Pumpkin Seeds
Once you have dried your pumpkin seeds using your preferred method, you can take them to the next level by adding delicious seasonings. Here’s how you can season and store your dried pumpkin seeds:
- Basic Seasoning: For a simple and classic flavor, you can choose to sprinkle your dried pumpkin seeds with a bit of salt. This enhances their natural taste and brings out their nutty flavor.
- Spice Blends: Get creative and experiment with different spice blends to add a burst of flavor to your pumpkin seeds. Some popular combinations include garlic powder, paprika, cayenne pepper, cinnamon, or even a dash of soy sauce for an umami twist.
- Herbs and Seasonings: If you prefer a more herbal touch, try tossing your dried pumpkin seeds with dried herbs like rosemary, thyme, or oregano. These herbs will infuse the seeds with a delightful aroma and unique taste.
- Sweet Treats: If you have a sweet tooth, consider adding a touch of sweetness to your dried pumpkin seeds. You can sprinkle them with cinnamon and a dusting of sugar or even drizzle them with melted chocolate for a decadent treat.
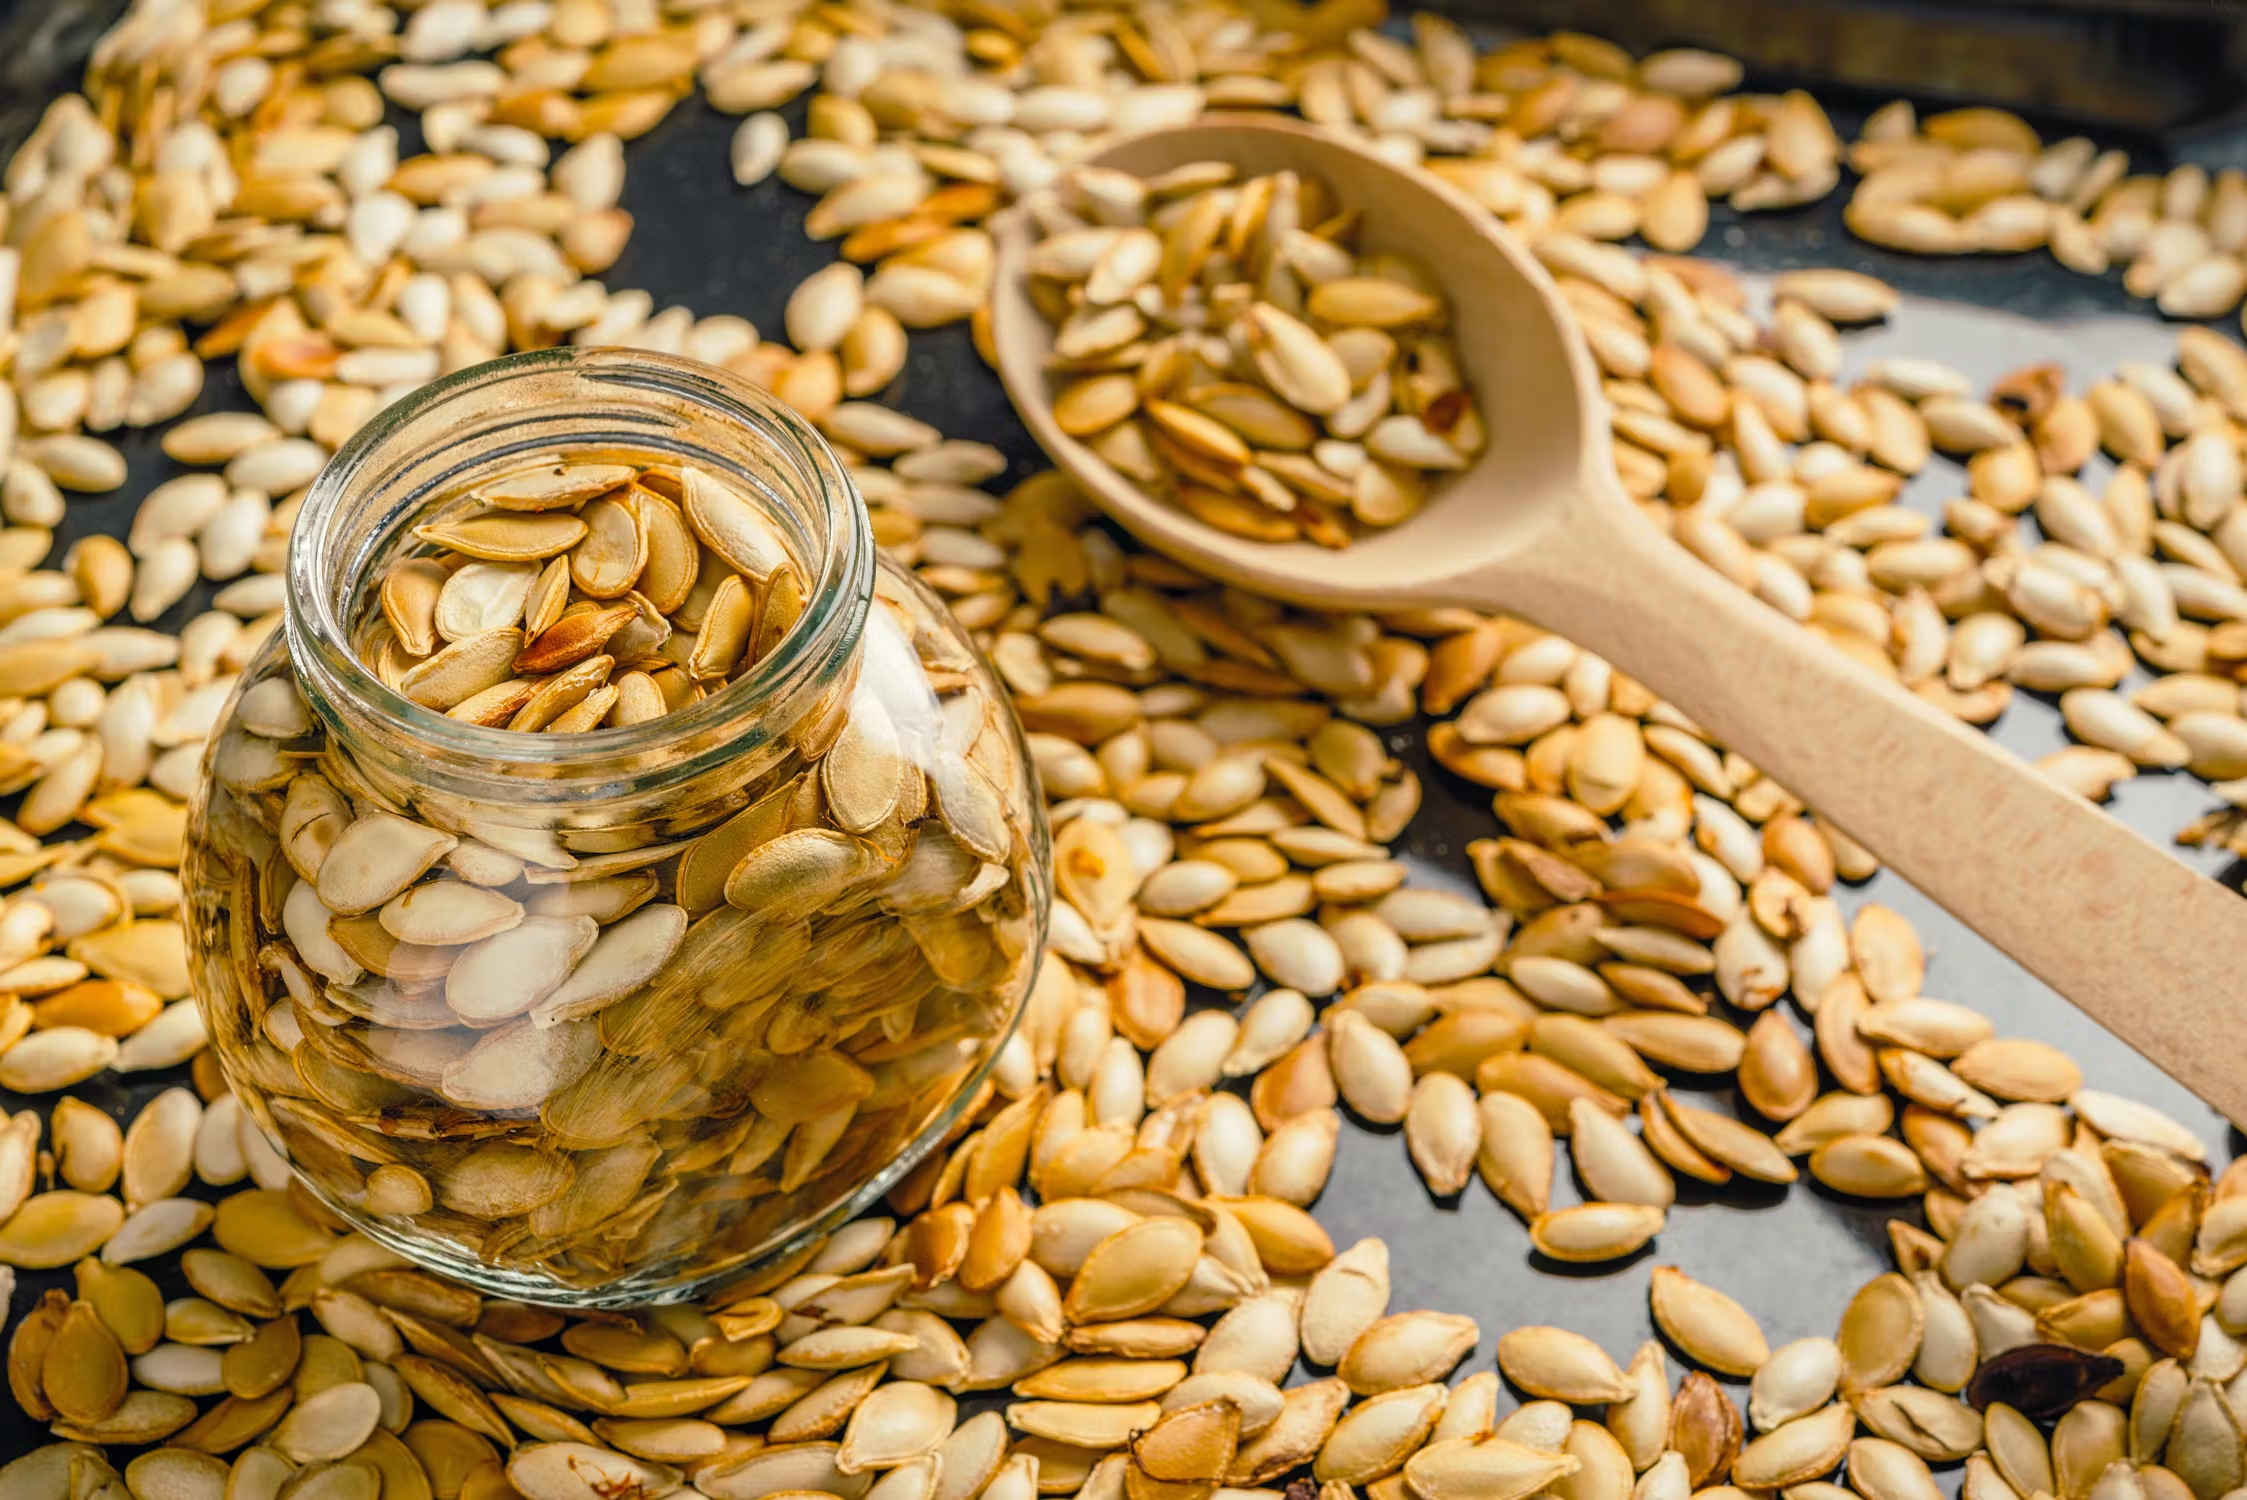
- Storage: After seasoning your pumpkin seeds, allow them to dry for a few more minutes to set the flavors. Once they are completely dry, transfer them to an airtight container or a resealable bag. Store them in a cool, dry place away from direct sunlight.
- Shelf Life: Properly dried and stored pumpkin seeds can last for several months. However, keep in mind that the seeds may lose some of their crispness and flavor over time. It’s best to consume them within a few months for the optimal taste and texture.
Experiment with different seasonings and flavor combinations to find your favorite way to enjoy the dried pumpkin seeds. Whether you prefer savory or sweet, there are endless possibilities to make these crunchy treats a delightful snack for any occasion.
Now that you know how to season and store your dried pumpkin seeds, you can enjoy them as a healthy and delicious snack, sprinkle them on salads, or incorporate them into your favorite recipes all year round.
Conclusion
Drying pumpkin seeds is a fantastic way to preserve them, ensuring you can enjoy their nutritional benefits and delicious flavor long after the pumpkin season has ended. Whether you opt for the oven drying method, air drying, or using a dehydrator, each technique provides a simple and effective way to dry your seeds to perfection.
By harvesting and cleaning the seeds properly, you can remove any pulp or debris, preparing them for the drying process. The oven drying method offers convenience and allows you to add your desired seasonings, while air drying provides a natural and cost-effective approach. Using a dehydrator ensures efficient and consistent drying.
Once dried, the pumpkin seeds can be customized with various seasonings to suit your taste preferences – from classic salt to savory spice blends or even sweet treats. Properly storing the dried seeds in a cool, dry place will ensure their longevity, allowing you to enjoy them as a wholesome snack or as a versatile ingredient in your cooking and baking endeavors.
So, the next time you find yourself surrounded by pumpkins, don’t forget to save those seeds and embark on the delightful process of drying them. You’ll be rewarded with a stash of crunchy, flavorful, and nutrient-rich treats that will elevate your edible gardening experience and nourish your body and soul.
Happy drying and happy snacking!