Home>Gardening Techniques>Plant Care>How Do You Plant Apple Seeds
Plant Care
How Do You Plant Apple Seeds
Modified: February 9, 2024
Learn the best plant care techniques for planting apple seeds. Discover step-by-step instructions to successfully grow your own apple tree at home.
(Many of the links in this article redirect to a specific reviewed product. Your purchase of these products through affiliate links helps to generate commission for Chicagolandgardening.com, at no extra cost. Learn more)
Table of Contents
Introduction
Planting apple seeds is a rewarding and exciting venture for any plant enthusiast. There’s something truly special about growing a tree from a tiny seed and watching it flourish into a beautiful and fruitful apple tree.
However, it’s important to note that planting apple seeds is not the same as growing apple trees from grafts or cuttings. When you grow apple trees from seeds, you’re essentially creating a new, unique genetic variety that may not produce the same type of apples as its parent tree. This unpredictability is part of the charm and mystery of seed-grown apple trees.
In this article, we’ll guide you through the step-by-step process of planting and caring for apple seedlings. From collecting the seeds to harvesting your own apples, we’ll provide you with all the essential information you need to successfully grow apple trees from seeds.
Before we dive into the details, it’s worth mentioning that growing apple trees from seeds requires patience. It can take several years for the trees to mature and bear fruit. But don’t let that discourage you! The journey is filled with learning experiences and the satisfaction of nurturing a tree from its humble beginnings.
So, if you’re ready to embark on this horticultural adventure, let’s get started on learning how to plant apple seeds and watch them transform into magnificent apple trees.
Step 1: Collecting Apple Seeds
The first step in planting apple seeds is collecting them. You can obtain apple seeds from the apples you eat or from local orchards. Here’s how to collect apple seeds:
- Choose ripe apples: Select fully ripened apples from healthy trees. Look for apples that are firm, without any signs of rot or damage.
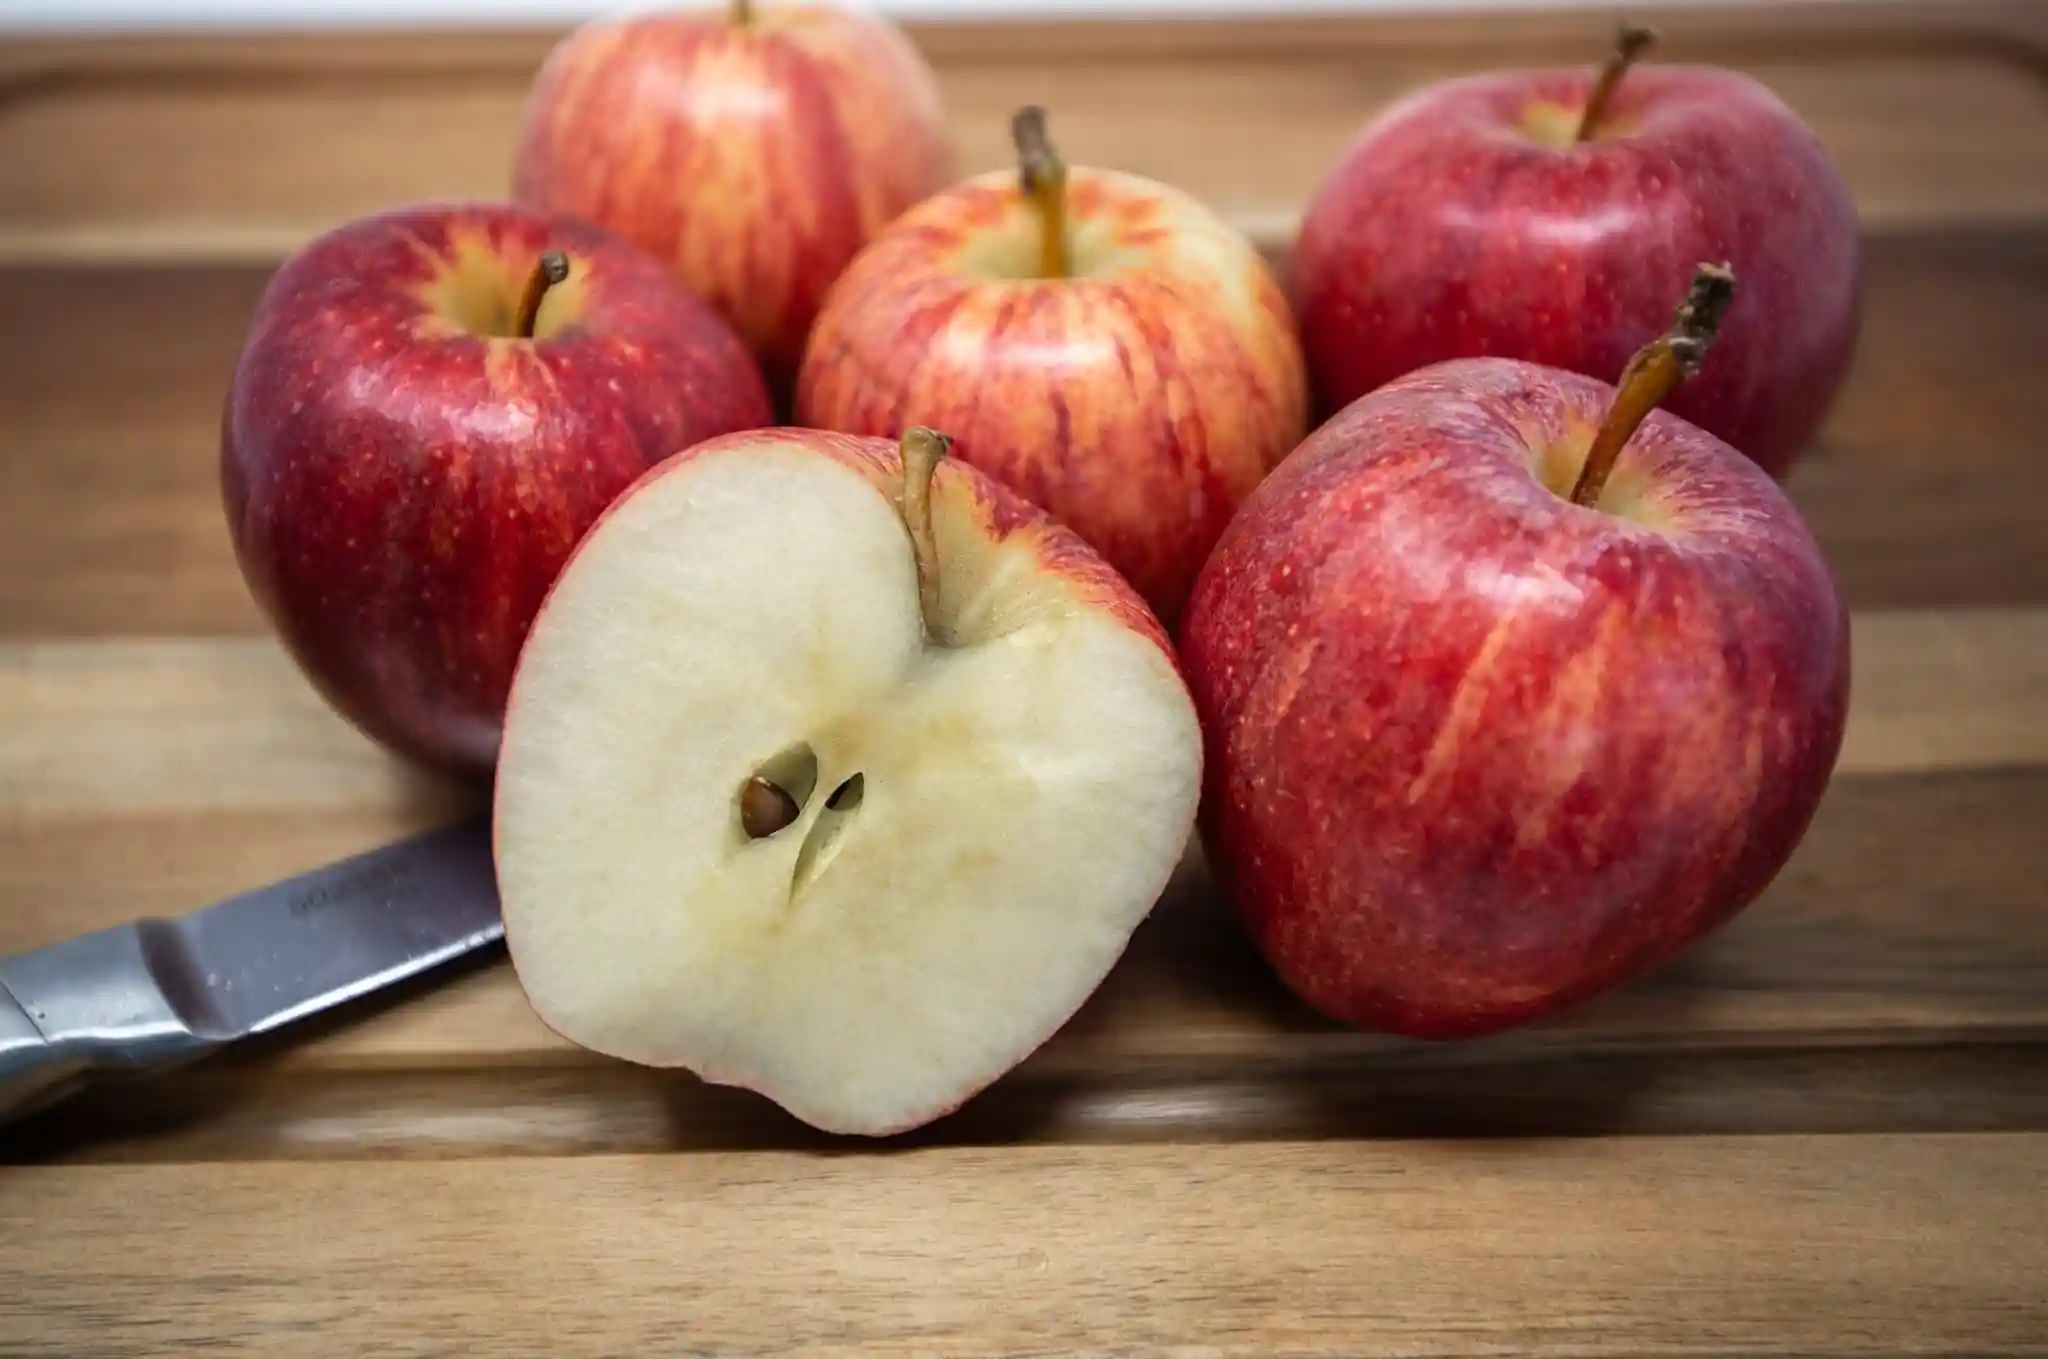
- Extract the seeds: Cut open the apple and gently remove the seeds. You can use a knife or spoon to scoop them out. Try to keep the seeds intact and avoid damaging them.
- Clean the seeds: Rinse the seeds under running water to remove any pulp or residue. Pat them dry with a clean towel and make sure they are completely dry before proceeding.
- Store the seeds: Place the seeds in a labeled envelope or airtight container. Store them in a cool, dry location, such as a refrigerator, until you are ready to plant them.
It’s important to note that apple seeds need to go through a period of cold stratification before they can germinate. This mimics the natural process that occurs when seeds are exposed to winter temperatures. Cold stratification helps break the seed’s dormancy and prepares it for germination.
Now that you have collected and prepared the apple seeds, it’s time to move on to the next step: preparing the seeds for planting.
Step 2: Preparing the Seeds for Planting
Once you have collected apple seeds, it’s essential to properly prepare them for planting. This step helps improve their chances of germination and ensures successful growth. Follow these guidelines to prepare your apple seeds:
- Scarify the seeds: Apple seeds have a hard outer shell that can inhibit germination. To help break this dormancy, gently scarify the seeds using sandpaper or a small file. This creates small scratches on the seed coat, allowing water to penetrate more easily.
- Soak the seeds: After scarification, place the seeds in a bowl of room temperature water. Let them soak for about 24 hours. This soaking process helps soften the seed coat and encourages germination.
- Stratify the seeds: After soaking, transfer the seeds to a resealable plastic bag or a seed tray filled with dampened peat moss or paper towels. Seal the bag or cover the tray to create a humid environment. Then, refrigerate the seeds for at least 60 days. This mimics the cold stratification process and helps break seed dormancy.
- Check for germination: After the stratification period, check for signs of germination. Some seeds may have started sprouting. If you see small roots emerging, it’s time to move on to the next step: planting the apple seeds.
By properly preparing your apple seeds, you create favorable conditions for germination and increase the chances of successful seedling growth. Once the seeds have been through the stratification process, you’re ready to move on to the exciting part – planting the apple seeds!
Step 3: Choosing a Planting Method
When it comes to planting apple seeds, you have a few options to choose from. The method you select will depend on your preference, available resources, and the space you have for growing apple trees. Here are three common planting methods:
- In-Ground Planting: This traditional method involves planting the apple seeds directly in the ground. Choose a sunny location with well-draining soil. Dig a hole that is deep enough to accommodate the seed, usually around 2-3 inches deep. Place the seed in the hole, cover it with soil, and gently pat it down. Water the area thoroughly and keep the soil consistently moist until the seedling emerges.
- Pot Planting: If you have limited space or want more control over the growing conditions, consider planting the apple seeds in pots. Fill a clean, well-draining pot with a mixture of potting soil and compost. Make a small hole in the soil and place the seed inside. Cover it with soil and water gently. Place the pot in a sunny spot and keep the soil moist. As the seedling grows, you may need to transplant it to a larger pot or into the ground.
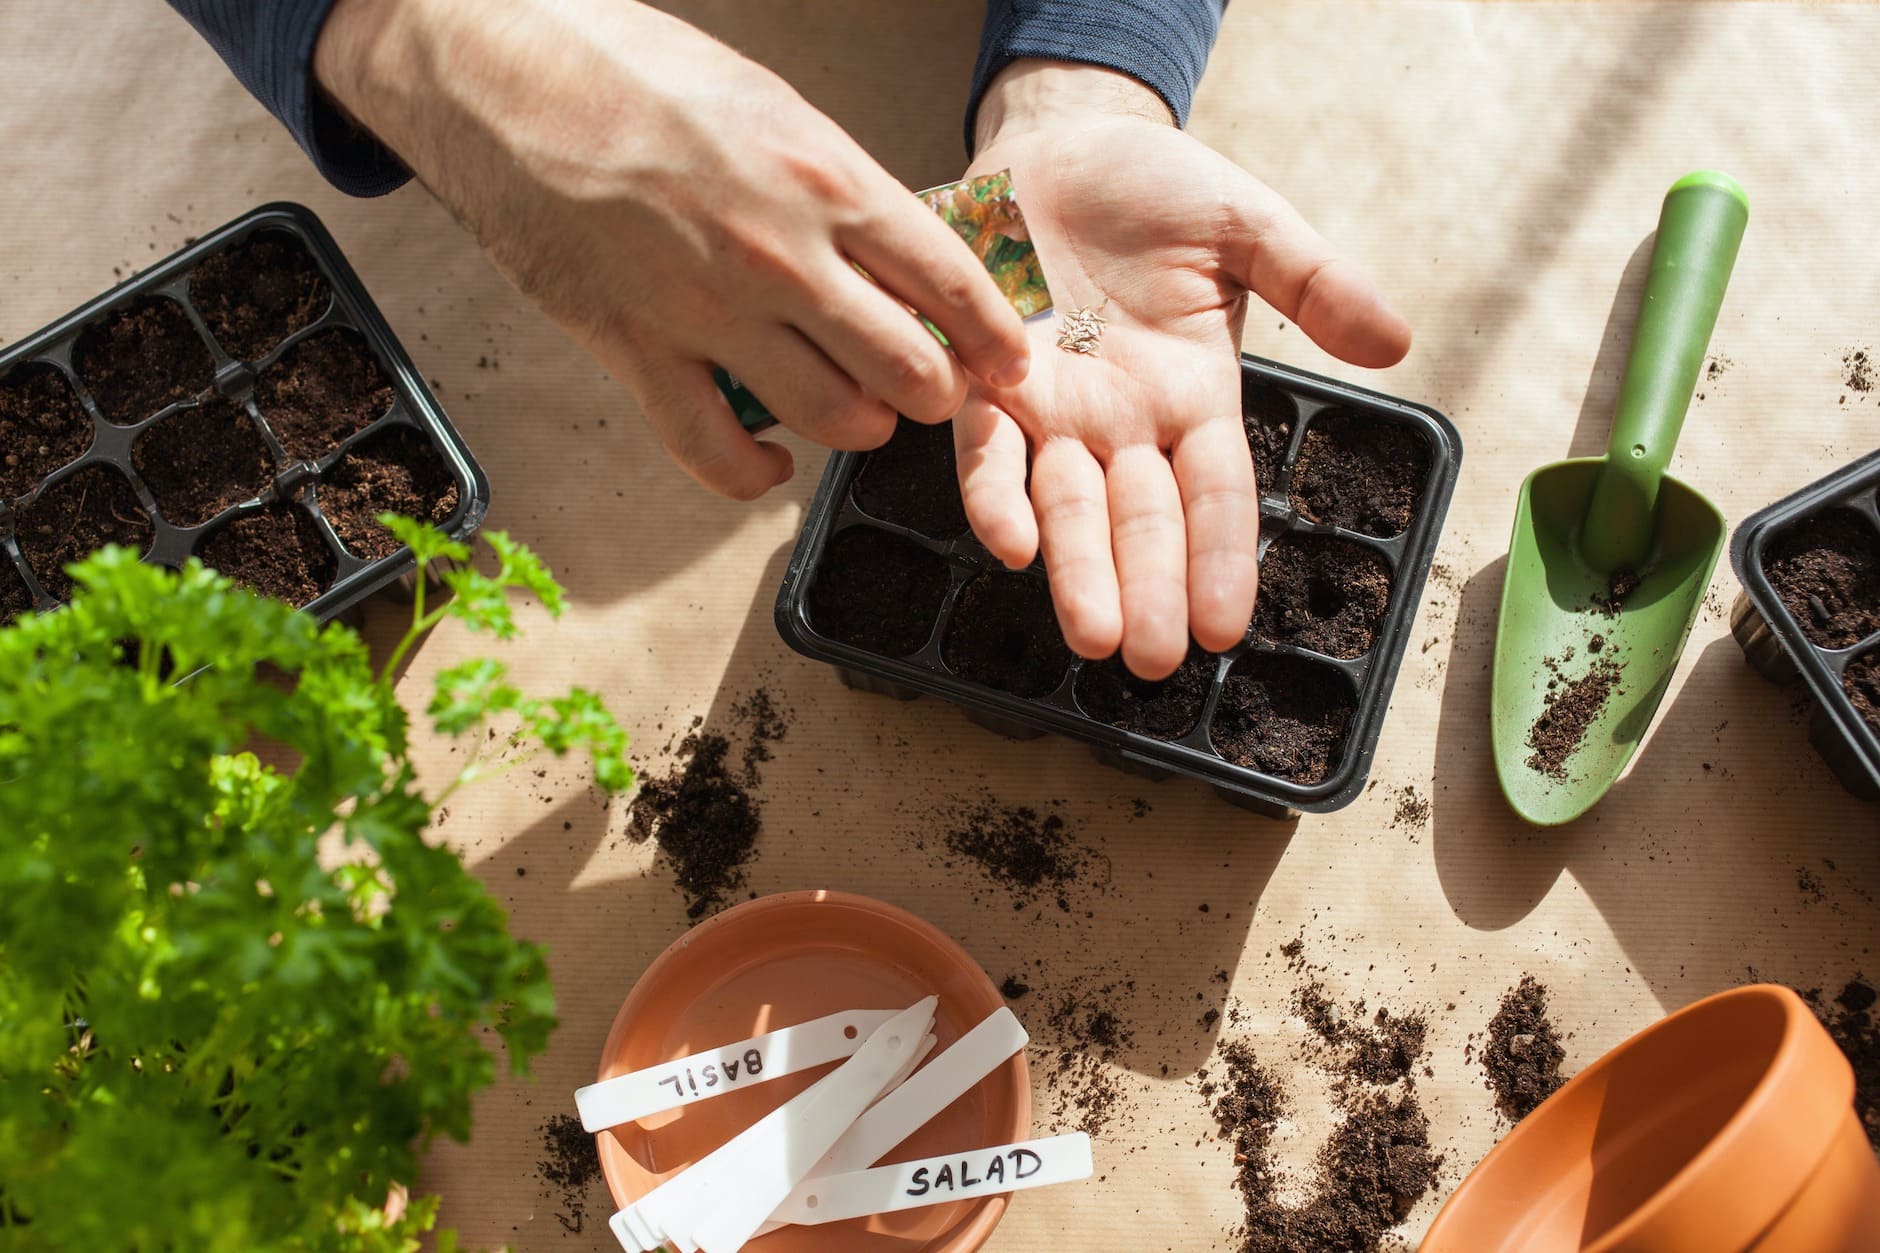
- Seed Trays: Seed trays are a convenient option, especially for those who want to start multiple apple seedlings at once. Fill a seed tray with a seed starting mix or a moistened mixture of peat moss and vermiculite. Make small indentations in the soil using your finger or a pencil, and place a seed in each indentation. Cover the seeds lightly with the soil mixture and mist the tray with water. Keep the tray in a warm location and ensure the soil remains moist. Once the seedlings have developed several sets of leaves, they can be transplanted into individual pots or into the ground.
Each planting method has its advantages and considerations. In-ground planting provides a more natural and permanent setting, while pots and seed trays offer greater control and flexibility. Choose the method that best suits your needs and resources.
Now that you have chosen a planting method, it’s time to move on to the exciting part – planting the apple seeds!
Step 4: Planting the Apple Seeds
With your chosen planting method in mind, it’s time to dive into the process of planting the apple seeds. Follow these steps to ensure a successful planting:
- Prepare the planting site: If you have chosen in-ground planting, prepare the planting site by clearing away any weeds or grass. Loosen the soil using a garden fork or tiller to promote good root growth.
- Plant the seeds: Dig holes or create indentations in the soil, following the guidelines specific to your chosen planting method. Place the seeds in the holes, ensuring they are spaced apart to allow for proper growth. Cover the seeds with soil, gently firming it down to eliminate air pockets.
- Water the area: Give the newly planted seeds a good watering to settle the soil and ensure proper moisture. Keep the soil consistently moist but avoid overwatering, which can lead to root rot.
- Provide sun and shade: Apple seeds, like all plants, require a balance of sunlight and shade. Choose a location that offers at least six hours of direct sunlight but also provides some protection from intense midday sun if necessary.
- Maintain proper care: As the seedlings emerge and start growing, continue to provide adequate water and monitor the soil moisture level. Avoid overwatering or allowing the soil to dry out completely.
It’s important to note that not all apple seeds will germinate, but with patience and proper care, you can increase your chances of success. It may take several weeks or even months for the seedlings to emerge, so be patient and keep a watchful eye on your newly planted apple seeds.
Now that you have successfully planted the apple seeds, it’s time to move on to the next step – caring for the apple seedlings.
Step 5: Caring for Apple Seedlings
Once your apple seedlings have emerged, it’s crucial to provide them with proper care to ensure their healthy growth. Follow these guidelines to care for your apple seedlings:
- Watering: Apple seedlings require consistent moisture to thrive. Water the seedlings regularly, ensuring that the soil is moist but not waterlogged. Avoid letting the soil dry out completely between waterings.
- Fertilizing: As the seedlings grow, they will benefit from a balanced fertilizer specifically formulated for young plants. Follow the package instructions for application rates and frequency. Be careful not to overfertilize, as this can damage the delicate roots.
- Pruning: As your apple seedlings grow, they may develop multiple stems or branches. To encourage a strong central leader and proper structure, prune away any competing branches or suckers. This will help the seedling focus its energy on developing a strong main stem.
- Protecting from pests and diseases: Monitor the seedlings regularly for signs of pests or diseases. Common pests that can affect young apple trees include aphids, caterpillars, and mites. If you notice any signs of damage or infestation, take appropriate measures to control the pests, such as using organic insecticides or introducing beneficial predators.
- Providing support: As the seedlings grow taller, they may need support to prevent bending or breaking. Install stakes or small wooden dowels near the seedlings and gently tie them to provide support and stability.
Remember, apple seedlings require patience and time to grow into healthy and productive trees. Over the course of several years, continue to provide care and attention to your seedlings, adjusting watering and fertilizing as necessary.
Now that you know how to care for your apple seedlings, it’s time to learn about the next step in the journey – transplanting them to their permanent location.
Step 6: Transplanting Apple Seedlings
Transplanting apple seedlings is an important step in their growth journey as it involves transitioning them from their temporary pots or trays to their permanent location. Here are the steps to successfully transplant your apple seedlings:
- Timing: Transplant your apple seedlings when they are around 8-12 inches tall and have developed a sufficient root system. This is usually after the first growing season.
- Choose the right location: Select a suitable spot for your apple trees with full sun exposure and well-draining soil. Consider the mature size of the apple tree and ensure there is enough room for it to grow and spread its branches.
- Prepare the planting hole: Dig a hole that is wider and deeper than the root ball of the seedling. Loosen the soil in the hole and remove any weeds or grass.
- Remove the seedling from its container: Gently tap or squeeze the sides of the pot to loosen the soil and ease the seedling out. For seedlings grown in trays, carefully lift them using a small trowel or your hands, being careful not to damage the delicate roots.
- Place the seedling in the hole: Set the seedling in the hole, making sure it sits at the same depth it was growing in the container or tray. The root collar, where the roots meet the stem, should be level with or just above the soil surface.
- Backfill and firm the soil: Fill the hole with soil, firming it gently around the roots to eliminate air pockets. Avoid compacting the soil too tightly, as this can hinder root growth.
- Water thoroughly: After transplanting, give the seedling a thorough watering to settle the soil and ensure good root-to-soil contact. Continue to water regularly during the first few weeks to help the seedling establish itself.
- Provide support if necessary: If the seedling is tall or exposed to strong winds, you may need to stake it to provide support. Secure the tree to the stake using soft tree ties, ensuring not to tie it too tightly.
Transplanting can be a stressful process for seedlings, so it’s important to minimize shock and provide them with proper care afterward. Water regularly, mulch around the base of the tree to conserve moisture and suppress weeds, and monitor for any signs of stress or nutrient deficiencies.
With the successful transplanting of your apple seedlings, you are one step closer to enjoying the fruits of your labor. Now, let’s move on to the final step – harvesting apples from your seed-grown trees.
Step 7: Harvesting Apples from Seed-Grown Trees
After years of nurturing and caring for your seed-grown apple trees, it’s finally time to reap the rewards of your efforts and enjoy the delicious fruits. Here’s what you need to know about harvesting apples from your seed-grown trees:
- Timing: Apples are typically ready for harvest in late summer or early fall, depending on the specific variety and climate. Look for signs of maturity, such as a change in color, firmness, and the ease of fruit removal from the tree.
- Check the maturity: Gently cup an apple in your hand and lift it upward. If the apple easily detaches from the branch, it is likely ready for harvest. Take care not to pull or twist the fruit forcefully, as this can damage the tree or cause premature dropping of other apples.
- Harvesting technique: Hold the apple with one hand and use your other hand to twist and lift the fruit from the branch. Avoid dropping or throwing the apples into the harvest container, as this can bruise or damage them. Handle the apples with care to ensure their quality is preserved.
- Storing the apples: After harvesting, sort the apples based on their condition. Remove any bruised, damaged, or diseased fruits and set them aside for immediate consumption or processing. Store the undamaged apples in a cool, dark location with good ventilation. Apples can be stored in racks, baskets, or in a refrigerator to extend their shelf life.
- Enjoying your harvest: Seed-grown apple trees can produce a range of unique and interesting apple varieties, each with its own flavor and characteristics. Experiment with different recipes, such as apple pies, apple crumbles, or simply enjoy them fresh as a healthy snack.
It’s essential to note that apples grown from seeds may exhibit some variability in taste, texture, and appearance. This is due to the genetic diversity that arises from growing trees from seeds rather than grafting. Embrace the unique qualities of your seed-grown apples – they may surprise you with their distinct flavors and characteristics!
With proper care and patience, the journey of growing apples from seeds can be a rewarding and fulfilling experience. Whether you’re a beginner or an experienced gardener, the satisfaction of nurturing a seedling into a fruitful tree is truly something special.
Congratulations on successfully harvesting apples from your seed-grown trees! Now, it’s time to celebrate the fruits of your labor and enjoy the delicious taste of your homegrown apples.
Conclusion
Planting apple seeds and growing your own apple trees is a rewarding and fulfilling journey that requires patience, care, and a love for nature. From collecting the seeds to harvesting the apples, each step in the process brings you closer to the joy of witnessing your seedlings transform into thriving trees.
Throughout this article, we have explored the step-by-step process of planting apple seeds, preparing them for planting, choosing a suitable planting method, and caring for the seedlings. We have also discussed the importance of transplanting the seedlings to their permanent location and finally, harvesting the apples from your seed-grown trees.
It’s important to remember that growing apple trees from seeds introduces an element of unpredictability. The resulting trees may not produce the same type of apples as their parent trees. However, this is part of the charm and excitement of seed-grown apple trees, as they bring forth unique and unexpected flavors.
As you embark on this horticultural adventure, don’t forget to enjoy the process itself. Take the time to nurture your seedlings, marvel at their growth, and savor the moments when you bite into the first apple from your own trees.
Whether you have a sprawling garden or a small balcony, planting apple seeds opens up a world of possibilities. It allows you to connect with nature, learn about the marvels of plant growth, and experience the satisfaction of creating life.
So, gather your apple seeds, choose a planting method, provide proper care, and watch as your seedlings grow into magnificent apple trees. Let the magic unfold and enjoy the journey of growing your own apples from seeds.
Happy planting and may your seed-grown apple trees bring you years of joy, beauty, and delicious harvests!