Home>Types of Gardening>Edible Gardening>How Do You Prepare A Peach Seed For Planting?
Edible Gardening
How Do You Prepare A Peach Seed For Planting?
Modified: January 22, 2024
Learn how to prepare a peach seed for planting in your edible garden. Discover the step-by-step process for successfully growing your own peach tree.
(Many of the links in this article redirect to a specific reviewed product. Your purchase of these products through affiliate links helps to generate commission for Chicagolandgardening.com, at no extra cost. Learn more)
Table of Contents
Introduction
Welcome to the world of edible gardening! There’s nothing quite as satisfying as growing your own fruit and vegetables, and one popular addition to any garden is a peach tree. The sweet and juicy peaches that can be harvested from these trees make for a delicious treat in the summer months.
But before you can start enjoying those delectable peaches, you need to know how to properly prepare a peach seed for planting. While it may seem like a simple task, there are a few important steps to follow to ensure the best chance of success.
In this article, we will guide you through the process of selecting a ripe peach, extracting the seed, cleaning it, stratifying it, and finally planting it. We will also provide tips on caring for the peach seedling as it grows into a healthy and productive tree.
Whether you are a seasoned gardener or just starting out, this article will equip you with the knowledge and techniques to successfully prepare peach seeds for planting and enjoy the rewards of a thriving peach tree.
Selecting a Ripe Peach
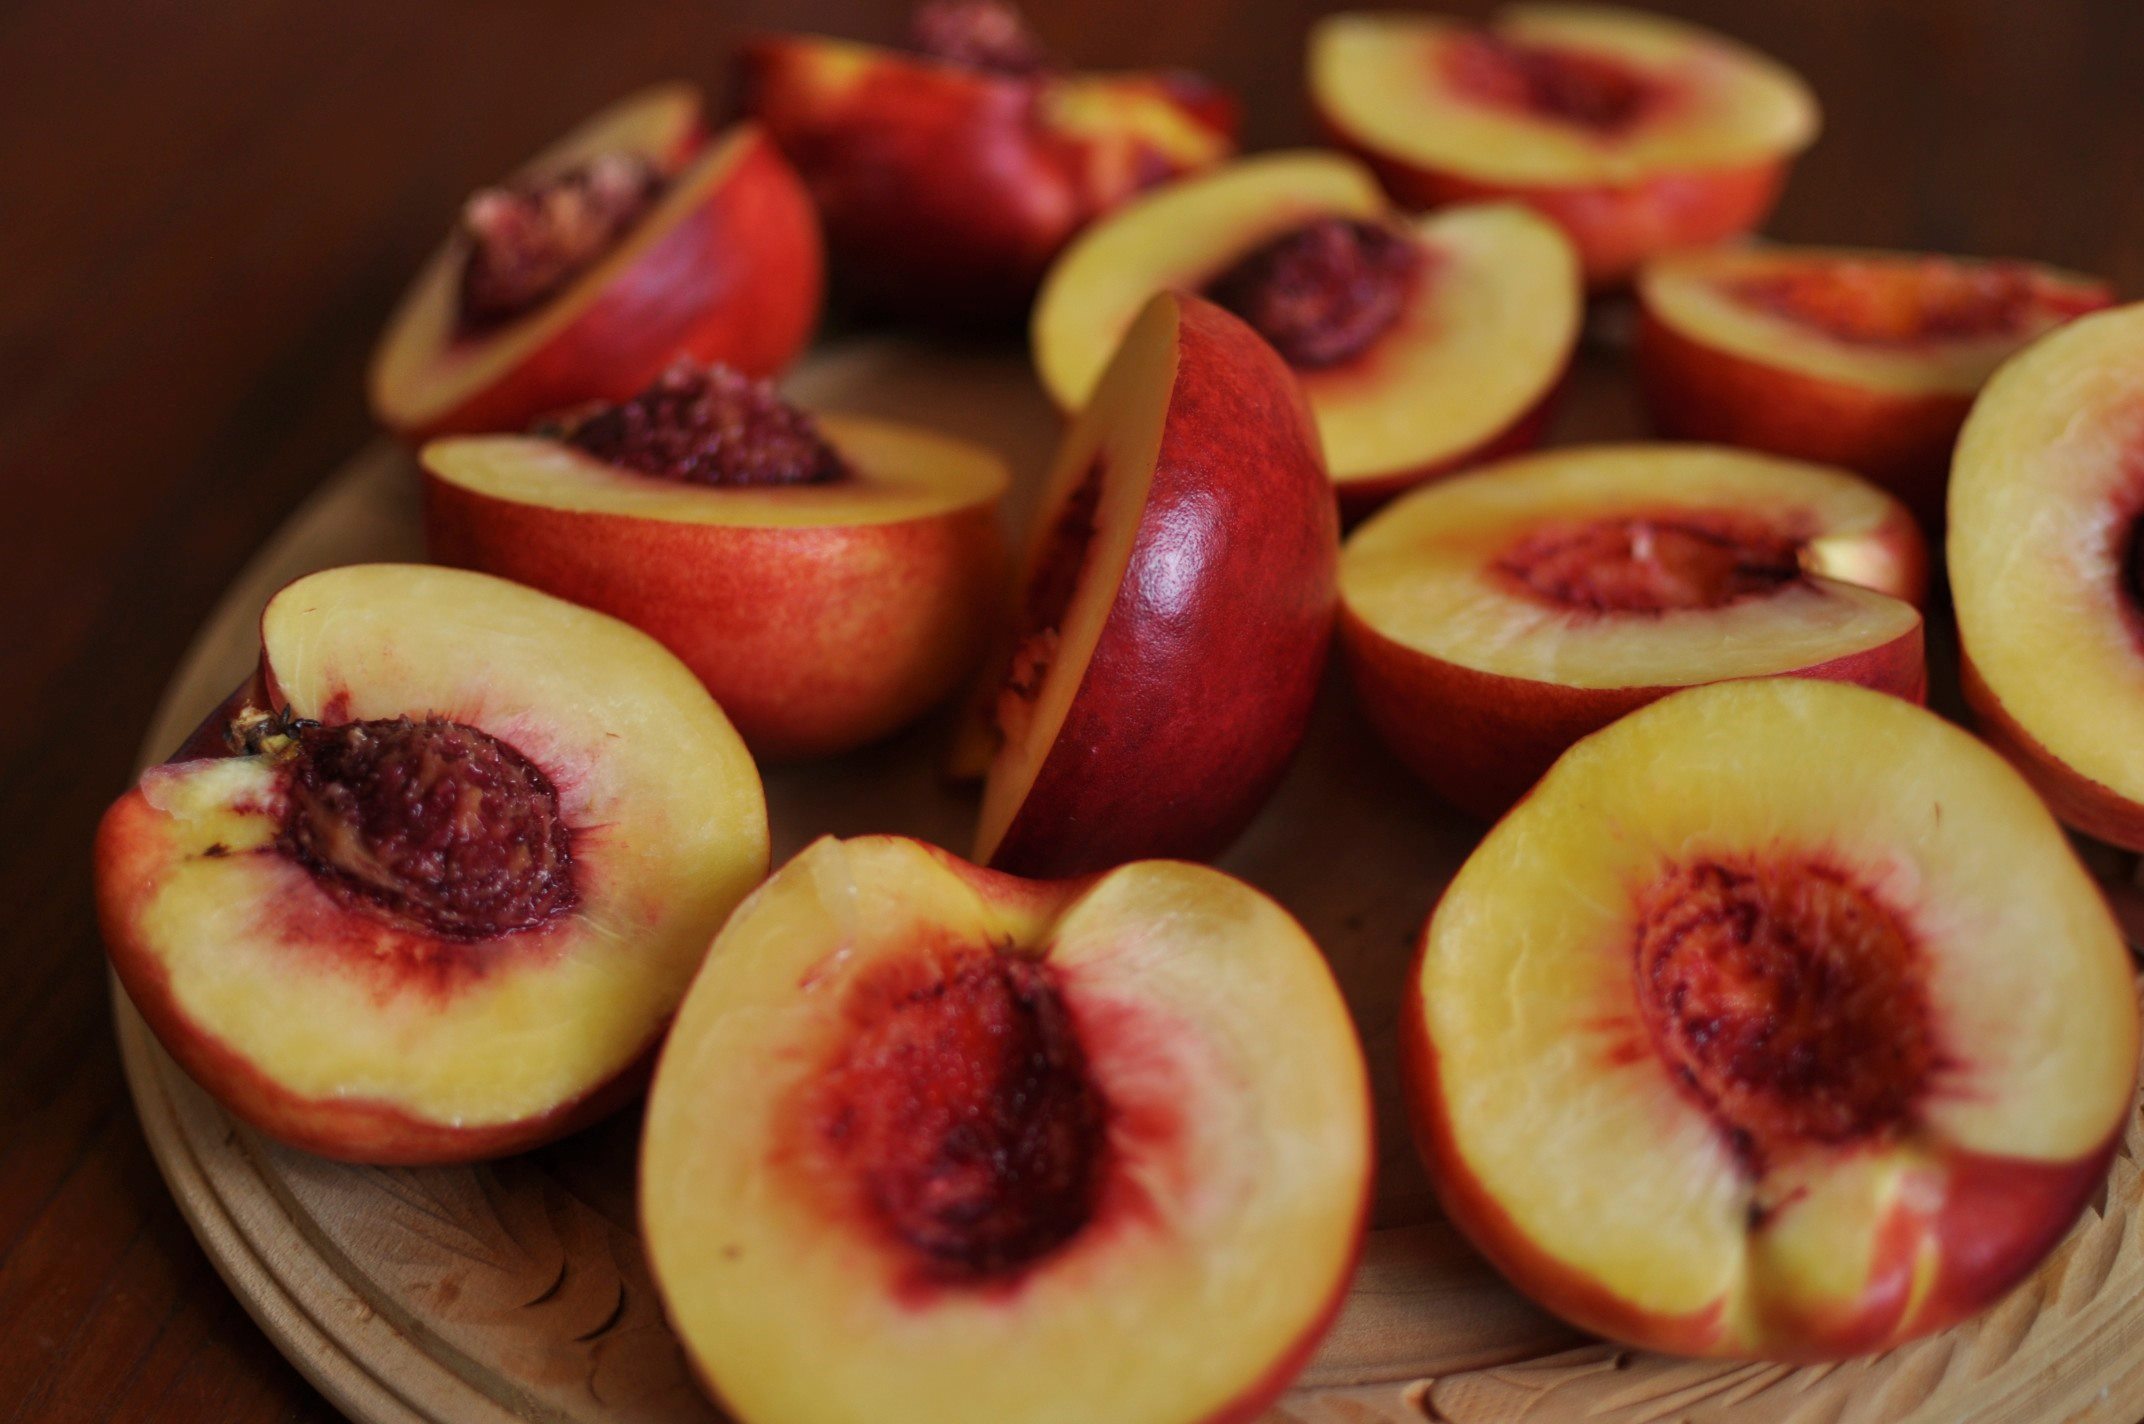
The first step in preparing a peach seed for planting is selecting a ripe peach from which to extract the seed. Choose a peach that is fully ripened and has a vibrant color, such as yellow or orange, with no green tones. The fruit should also have a slight give when gently pressed, indicating that it is juicy and ready to eat.
When selecting a peach, consider the variety as well. Different peach varieties have different flavors and characteristics, so choose one that appeals to your taste preferences. Some popular peach varieties include Elberta, Redhaven, and Hale’s Early.
To ensure the best quality seed for planting, it’s best to select a peach that is grown organically or hasn’t been treated with pesticides. This will help prevent any potential negative effects on germination or the growth of the resulting seedling.
If you don’t have access to organic peaches, you can also wash the peach thoroughly before extracting the seed. This will help remove any surface residues, although it won’t eliminate any internal chemical treatments the peach may have received.
Once you have chosen the perfect ripe peach, it’s time to move on to the next step: extracting the seed.
Extracting the Seed from the Peach
Now that you have selected a ripe peach, it’s time to extract the seed. This may seem like a straightforward task, but there are a few techniques that can help you successfully remove the seed without damaging it.
The first method is the “twist and pull” technique. Hold the peach in one hand and gently twist it until the flesh separates from the pit. In some cases, the pit may easily come loose, allowing you to simply pull it out. If the pit is stubborn, use a small knife or spoon to carefully pry it away from the flesh.
Another method is the “cut and scoop” technique. Cut the peach along the seam all the way around, making sure to avoid cutting through the pit. Once the peach is cut in half, use a spoon or your fingers to scoop out the flesh, leaving the pit behind.
Regardless of which method you choose, it’s important to handle the seed with care. Avoid applying excessive pressure or twisting motions that could potentially damage the seed. The goal is to extract the seed intact, as any damage to the seed may affect germination.
Once the seed is successfully removed from the peach, it’s time to move on to the next step: cleaning the seed.
Cleaning the Peach Seed
After extracting the seed from the peach, it’s important to clean it thoroughly before proceeding with the planting process. Cleaning the seed helps remove any residual flesh or sugars that could potentially lead to mold or rot during germination.
Start by rinsing the seed under cool running water. Gently rub the seed with your fingers or use a soft toothbrush to remove any remaining fruit pulp. Be careful not to scrub too vigorously, as this can damage the seed coat.
Next, prepare a solution of mild dish soap and water. Dip the seed into the soapy water and gently swirl it around for a few seconds. This will help remove any stubborn residue. Rinse the seed again under clean water to ensure all soap is removed.
Once the seed is clean, you can further disinfect it by soaking it in a diluted bleach solution. Mix one part bleach with nine parts water and place the seed in the solution for about 10 minutes. This step helps eliminate any potential pathogens on the seed surface.
After the bleach soak, rinse the seed thoroughly under running water to remove any remaining bleach. Pat the seed dry with a clean paper towel or allow it to air dry completely before moving on to the next step of stratification and planting.
Remember, proper cleaning and disinfection of the peach seed is crucial to ensure the health and success of the seedling. By taking these simple steps, you are preparing the seed for optimal germination and growth.
Stratifying the Peach Seed
After cleaning the peach seed, the next step in preparing it for planting is stratification. Stratification is a process that mimics the natural winter conditions necessary for peach seed germination. It helps break dormancy and promotes even and successful sprouting.
To stratify the peach seed, you will need a damp substrate and a container. The substrate can be a mixture of equal parts peat moss and perlite or vermiculite. Alternatively, you can use sand or even a damp paper towel. The container should have drainage holes to prevent excess moisture buildup.
Start by placing a layer of the damp substrate at the bottom of the container. Then, gently place the cleaned peach seed on top of the substrate. Make sure the seed is surrounded by the substrate but not completely buried. Add more substrate to cover the seed by about 1/2 to 1 inch.
Once the peach seed is properly positioned in the container, cover it with a plastic wrap or place it in a sealable plastic bag. This helps create a controlled environment and maintain moisture levels during stratification.
Now, it’s time to provide the seed with the necessary cold treatment. Place the container in the refrigerator, ideally at a temperature between 32 and 41 degrees Fahrenheit (0-5 degrees Celsius). The stratification period typically lasts for around 8 to 12 weeks, mimicking the winter season.
Regularly check the container during the stratification period to ensure the substrate remains damp. If it starts to dry out, lightly mist it with water to maintain moisture levels. Avoid overwatering as it may increase the risk of fungal growth.
Once the stratification period is complete, the peach seed is ready for planting. Remove it from the refrigerator and allow it to come to room temperature for a few days before proceeding with planting.
By stratifying the peach seed, you are simulating the conditions necessary for dormancy breakage and promoting successful germination and growth of the seedling.
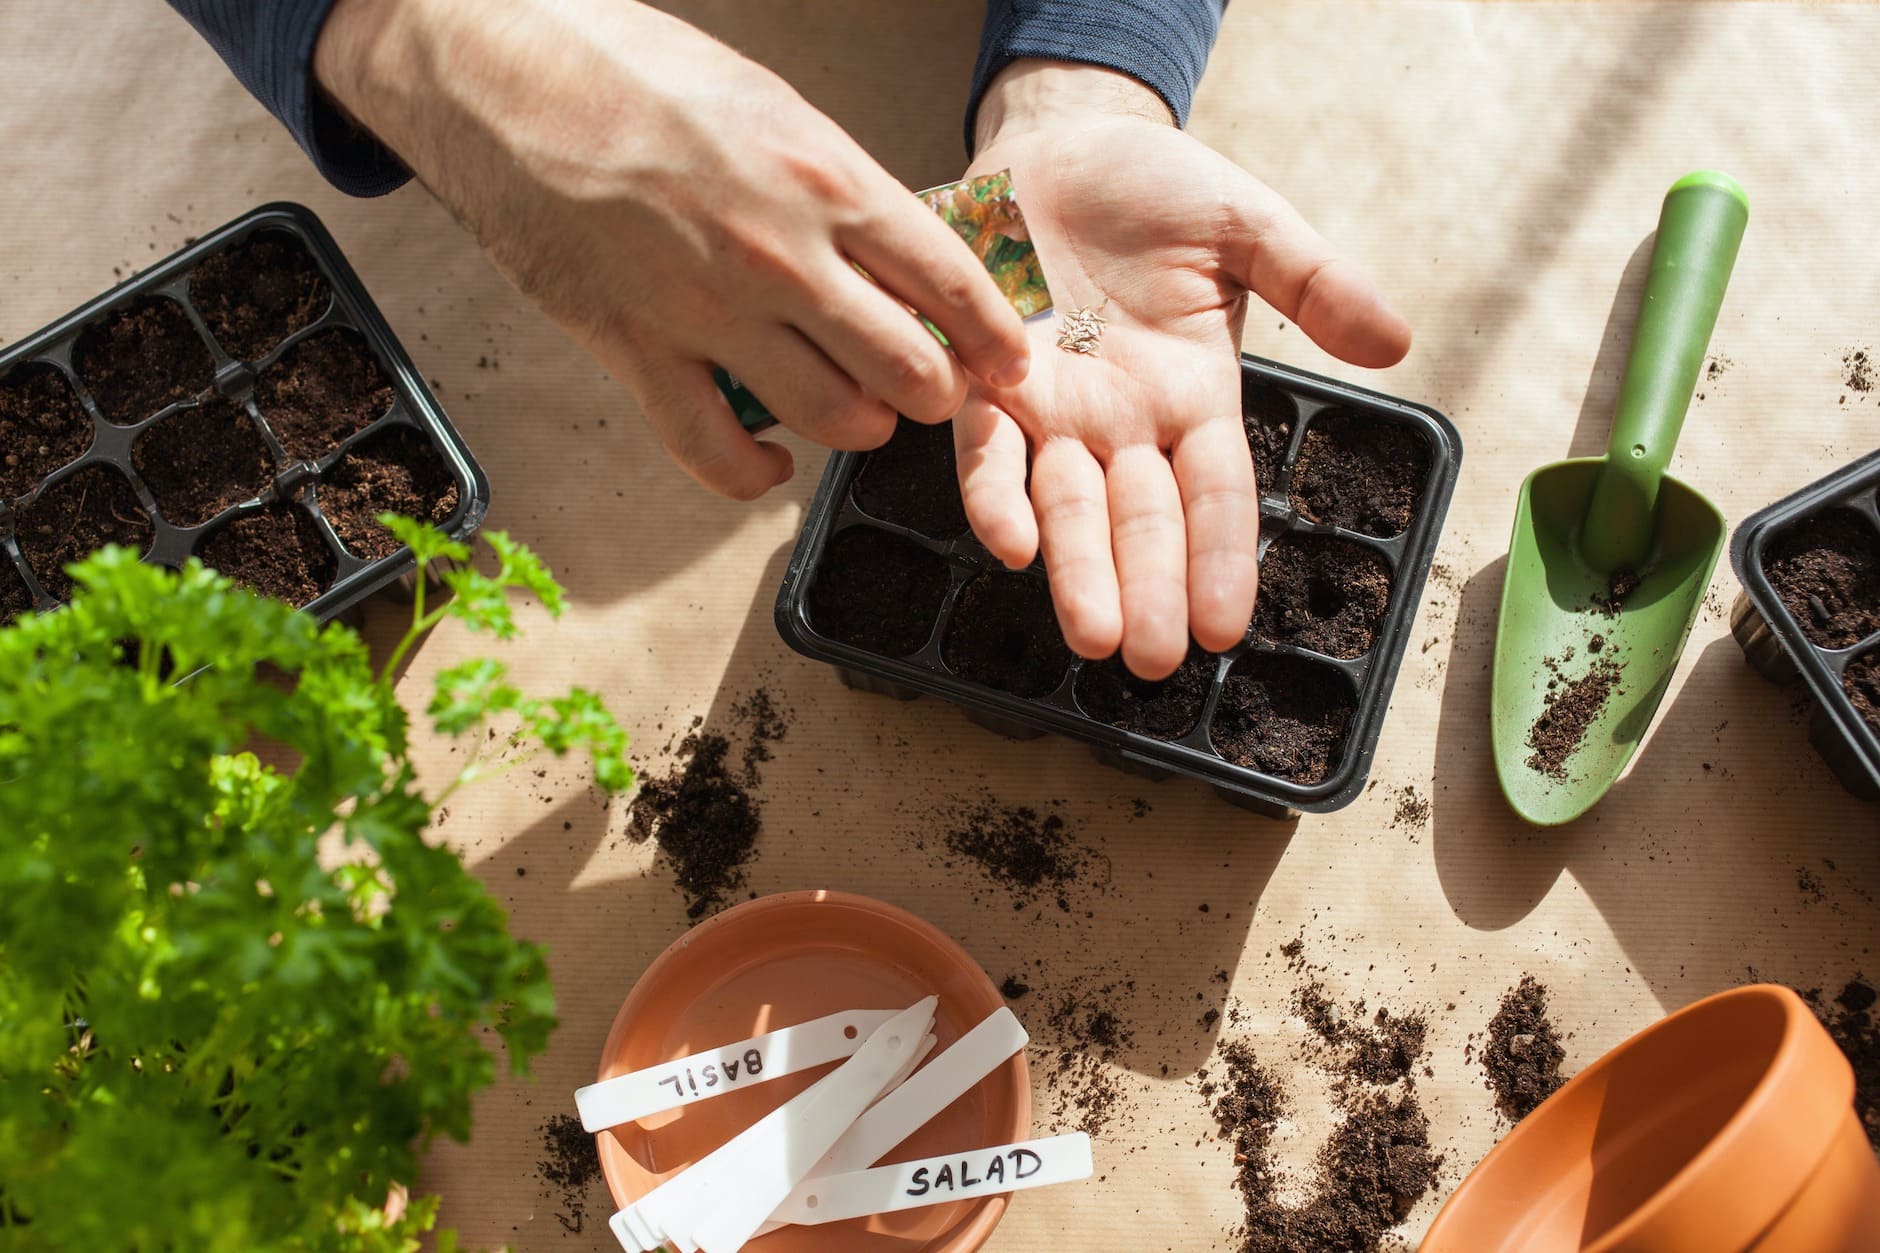
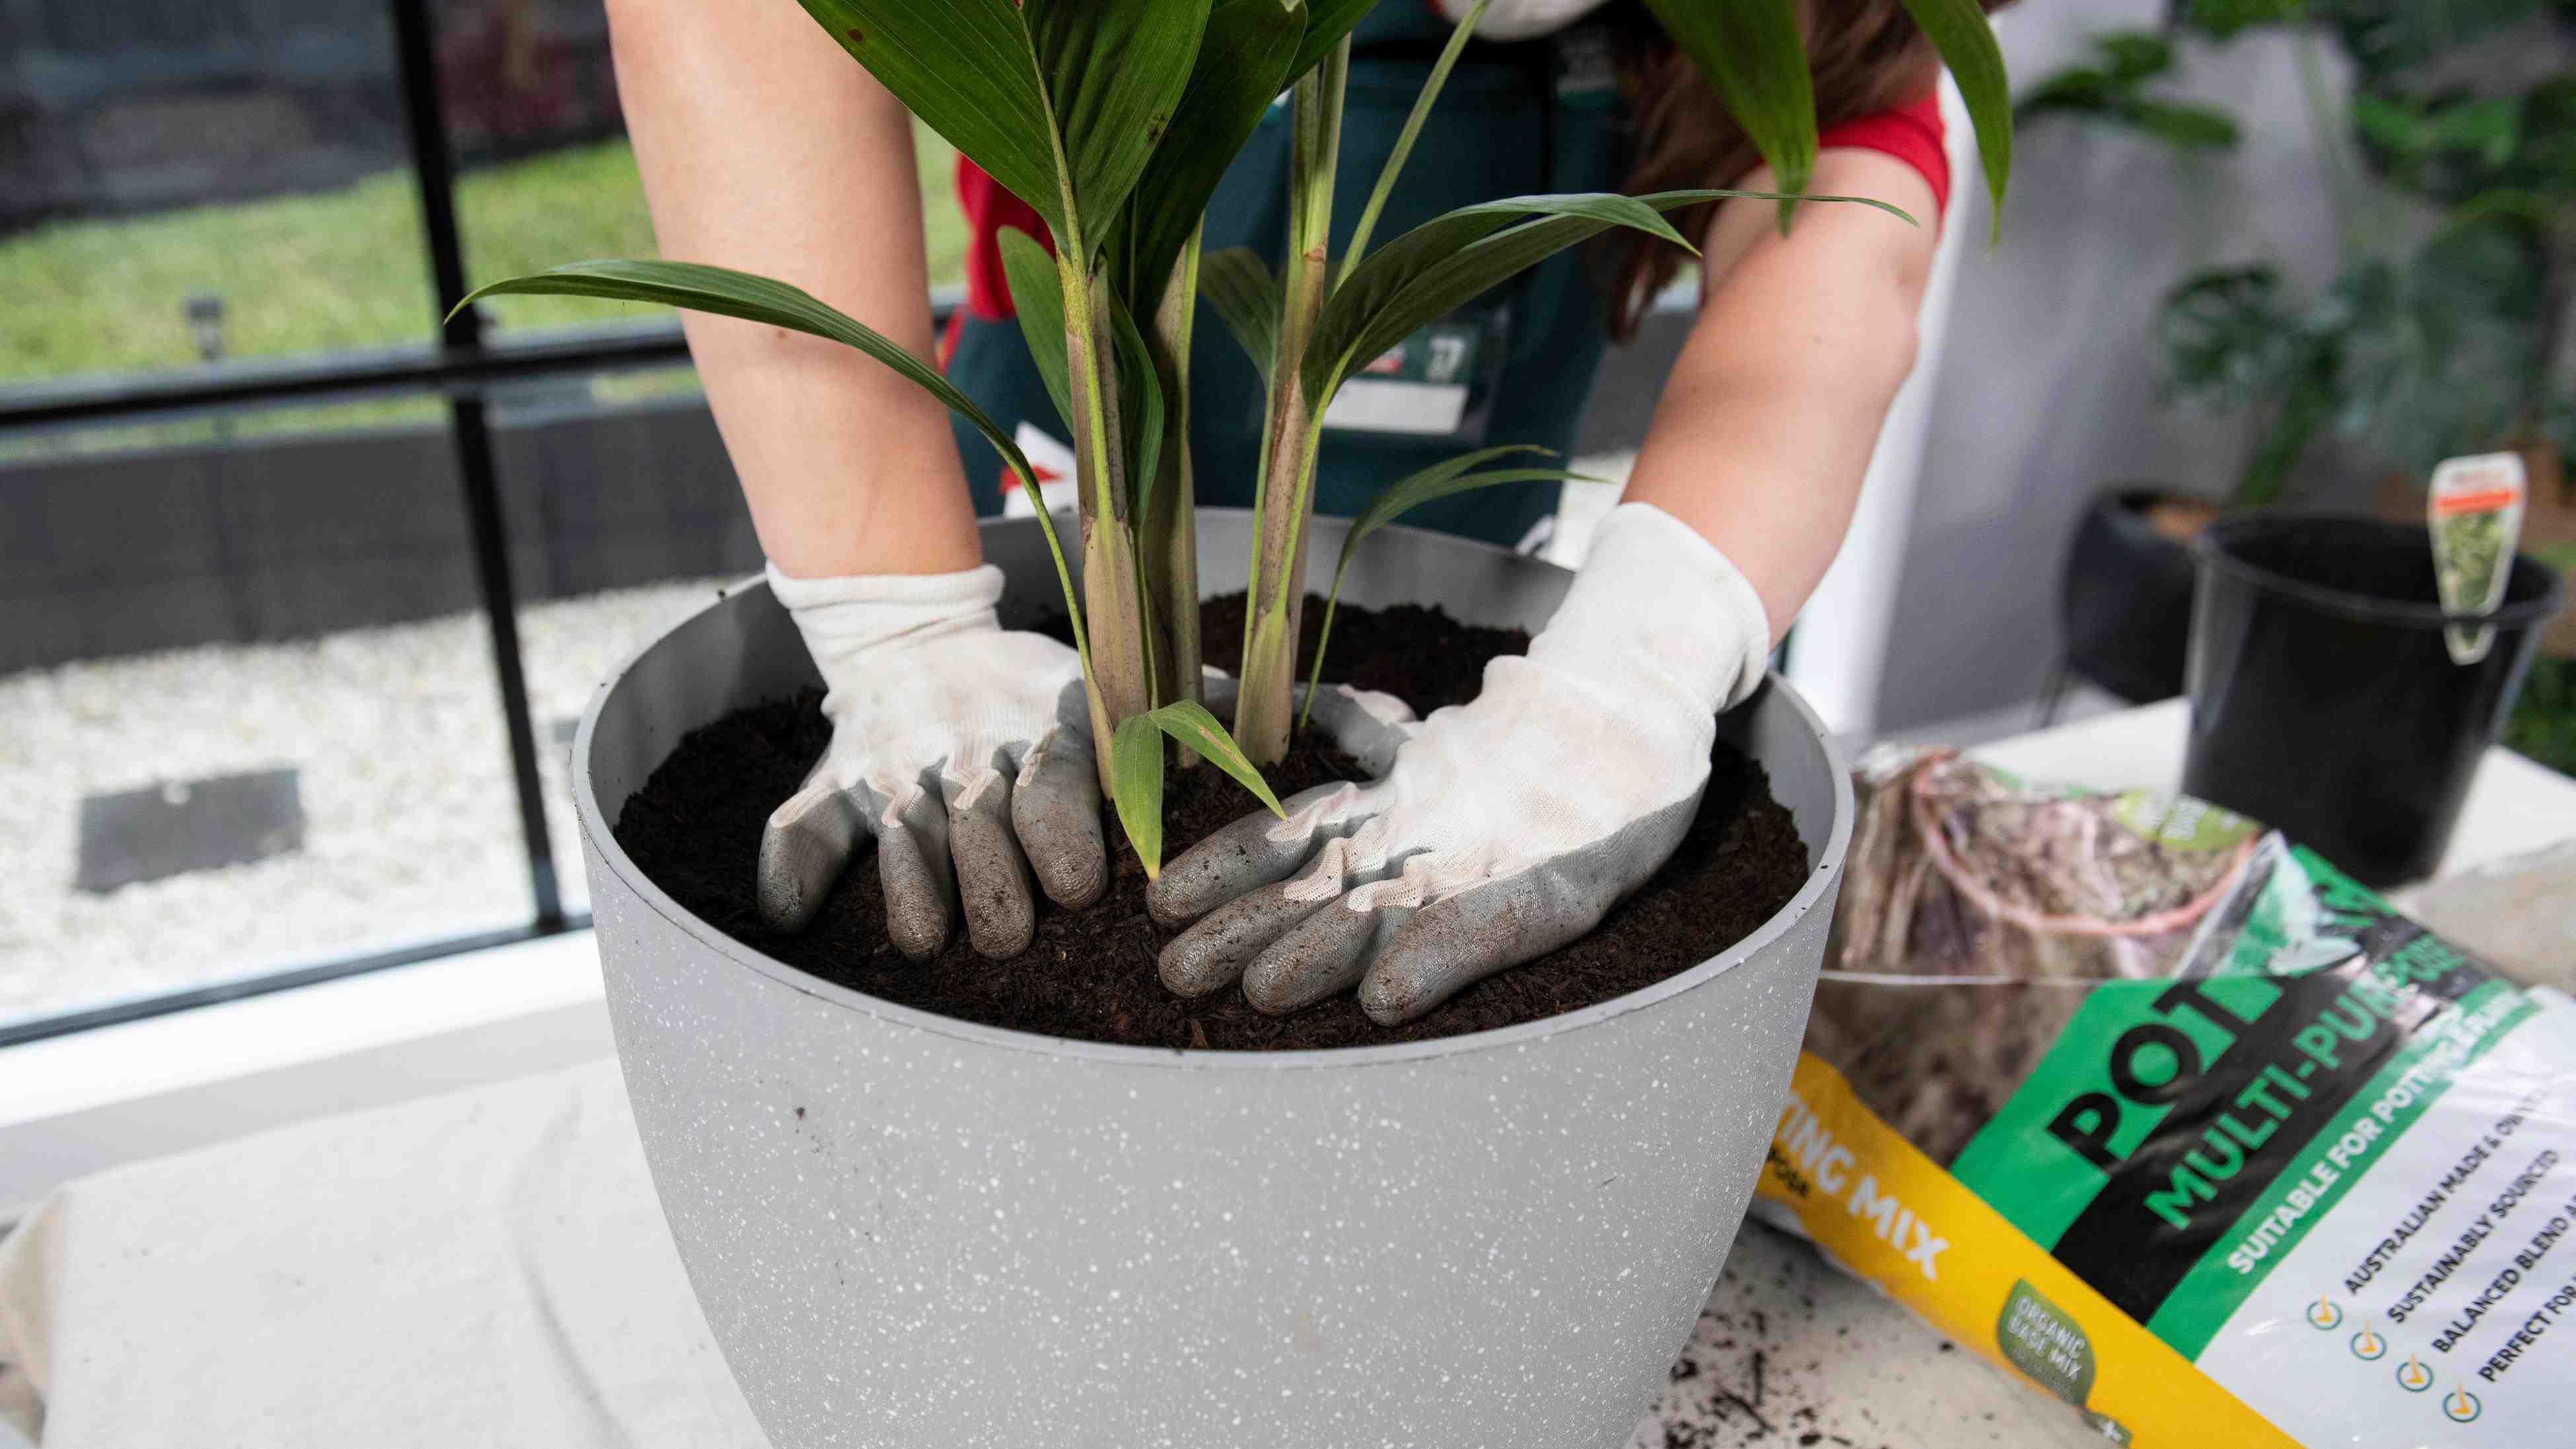
Planting the Peach Seed
Now that you have stratified the peach seed and it’s ready for planting, it’s time to prepare a suitable growing environment and carefully plant the seed.
First, choose a location for planting the peach seed that receives full sun exposure. Peaches thrive in warm and sunny conditions, so select a spot in your garden or yard that gets at least 6-8 hours of direct sunlight daily.
Prepare the soil by loosening it with a garden fork or tiller to a depth of about 12 inches. Remove any weeds or debris and amend the soil with compost or well-rotted manure to improve its fertility and drainage.
Next, dig a hole that is large enough to comfortably accommodate the peach seed. The hole should be about 2-3 inches deep. Gently place the seed in the hole, with the pointed end facing downwards and the rounder end facing upwards.
Cover the seed with soil, filling the hole and ensuring that the seed is completely covered. Lightly press down the soil to secure the seed in place, but avoid compacting it too firmly as this can hinder germination.
Water the planted seed thoroughly to provide moisture and help settle the soil around the seed. Keep the soil consistently moist but not waterlogged throughout the germination and seedling stages. Use a gentle spray or misting nozzle to avoid displacing the seed.
Consider protecting the planting area with a layer of mulch to help conserve moisture, regulate soil temperature, and inhibit weed growth. Apply a layer of organic mulch, such as straw or wood chips, around the base of the seedling, being careful not to cover the seedling itself.
Now, it’s time for patience and care. It may take several weeks for the peach seed to germinate and emerge as a seedling. During this time, continue to monitor soil moisture levels and provide regular, light irrigation as needed.
As the seedling grows, gradually increase watering frequency, ensuring the soil remains consistently moist but not waterlogged. Monitor the seedling for any signs of pests or diseases and take necessary actions to protect its health.
Remember, growing peach trees from seeds may result in variations in fruit quality, as they are not true to the parent plant. However, it can be a fun and rewarding experience to observe the growth and development of your very own peach tree from seed.
With proper planting and care, your peach seedling will gradually mature into a fruitful tree, bringing you the joy of homegrown peaches in the future.
Caring for the Peach Seedling
Once the peach seedling emerges and establishes itself, it’s important to provide ongoing care to ensure its healthy growth and development. Here are some essential care tips for your peach seedling:
1. Watering: Proper watering is crucial for the health of your peach seedling. Water deeply and consistently, keeping the soil evenly moist but not waterlogged. Monitor the moisture level regularly, especially during hot and dry periods, and adjust the watering frequency accordingly.
2. Fertilizing: Peach trees benefit from regular fertilization, especially during their early years. Use a balanced fertilizer specifically formulated for fruit trees, following the package instructions. Apply the fertilizer in early spring, just as the new growth starts, and again in late spring or early summer.
3. Pruning: Pruning plays a vital role in shaping the growth of your peach tree and promoting fruit production. Prune the seedling in its dormant season, removing any dead, damaged, or crossed branches. Pruning also helps maintain an open canopy and improve air circulation, reducing the risk of disease.
4. Pest and Disease Control: Monitor your peach seedling for any signs of pests, such as aphids, mites, or peach tree borers. Use organic pest control methods whenever possible, like introducing beneficial insects or using insecticidal soaps. Regularly check for signs of diseases, such as leaf curl or brown rot, and take appropriate measures to prevent or treat them.
5. Thinning Fruits: As your peach tree grows and starts bearing fruits, it’s essential to thin the fruit clusters. This allows the remaining fruits to develop better and reduces the risk of branches breaking under the weight. Thin the fruits when they are about the size of a marble, leaving an adequate distance between them.
6. Winter Protection: Peach trees can be vulnerable to cold winter temperatures. Consider providing extra protection, such as wrapping the trunk with burlap or using protective covers, during the winter months. This helps prevent frost damage and keeps the tree healthy.
7. Mulching: Apply a layer of organic mulch around the base of the peach seedling to conserve moisture, suppress weed growth, and regulate soil temperature. Keep the mulch a few inches away from the trunk to avoid creating a moist environment that could lead to rot or disease.
By following these care practices, you can ensure that your peach seedling grows into a robust and productive tree, providing you with a bountiful harvest of juicy and flavorful peaches.
Conclusion
Growing a peach tree from a seed can be a rewarding and fulfilling experience. By following the steps outlined in this guide, you can successfully prepare a peach seed for planting and nurture it into a healthy seedling. From selecting a ripe peach and extracting the seed to cleaning, stratifying, and finally planting the seed, each step plays a crucial role in the plant’s journey.
Remember to provide the proper care for your peach seedling, including watering, fertilizing, pruning, and protecting it from pests and diseases. With dedication and attention to detail, you can help your seedling thrive and grow into a fruitful peach tree.
While growing a peach tree from a seed may not guarantee the same characteristics and quality as the parent tree, it offers the joy of witnessing the growth and development of a unique plant. The process itself can deepen your understanding of plants and cultivation, giving you a deeper connection to the natural world.
So, why not embark on this edible gardening adventure and start your own peach tree from a seed? Enjoy the journey of nurturing a tiny seed into a thriving tree and savor the sweet rewards of homegrown peaches for years to come.