Home>Types of Gardening>Edible Gardening>How To Prepare Strawberry Seeds For Planting
Edible Gardening
How To Prepare Strawberry Seeds For Planting
Modified: February 9, 2024
Learn how to prepare strawberry seeds for planting and enhance your edible gardening skills with this step-by-step guide.
(Many of the links in this article redirect to a specific reviewed product. Your purchase of these products through affiliate links helps to generate commission for Chicagolandgardening.com, at no extra cost. Learn more)
Table of Contents
Introduction
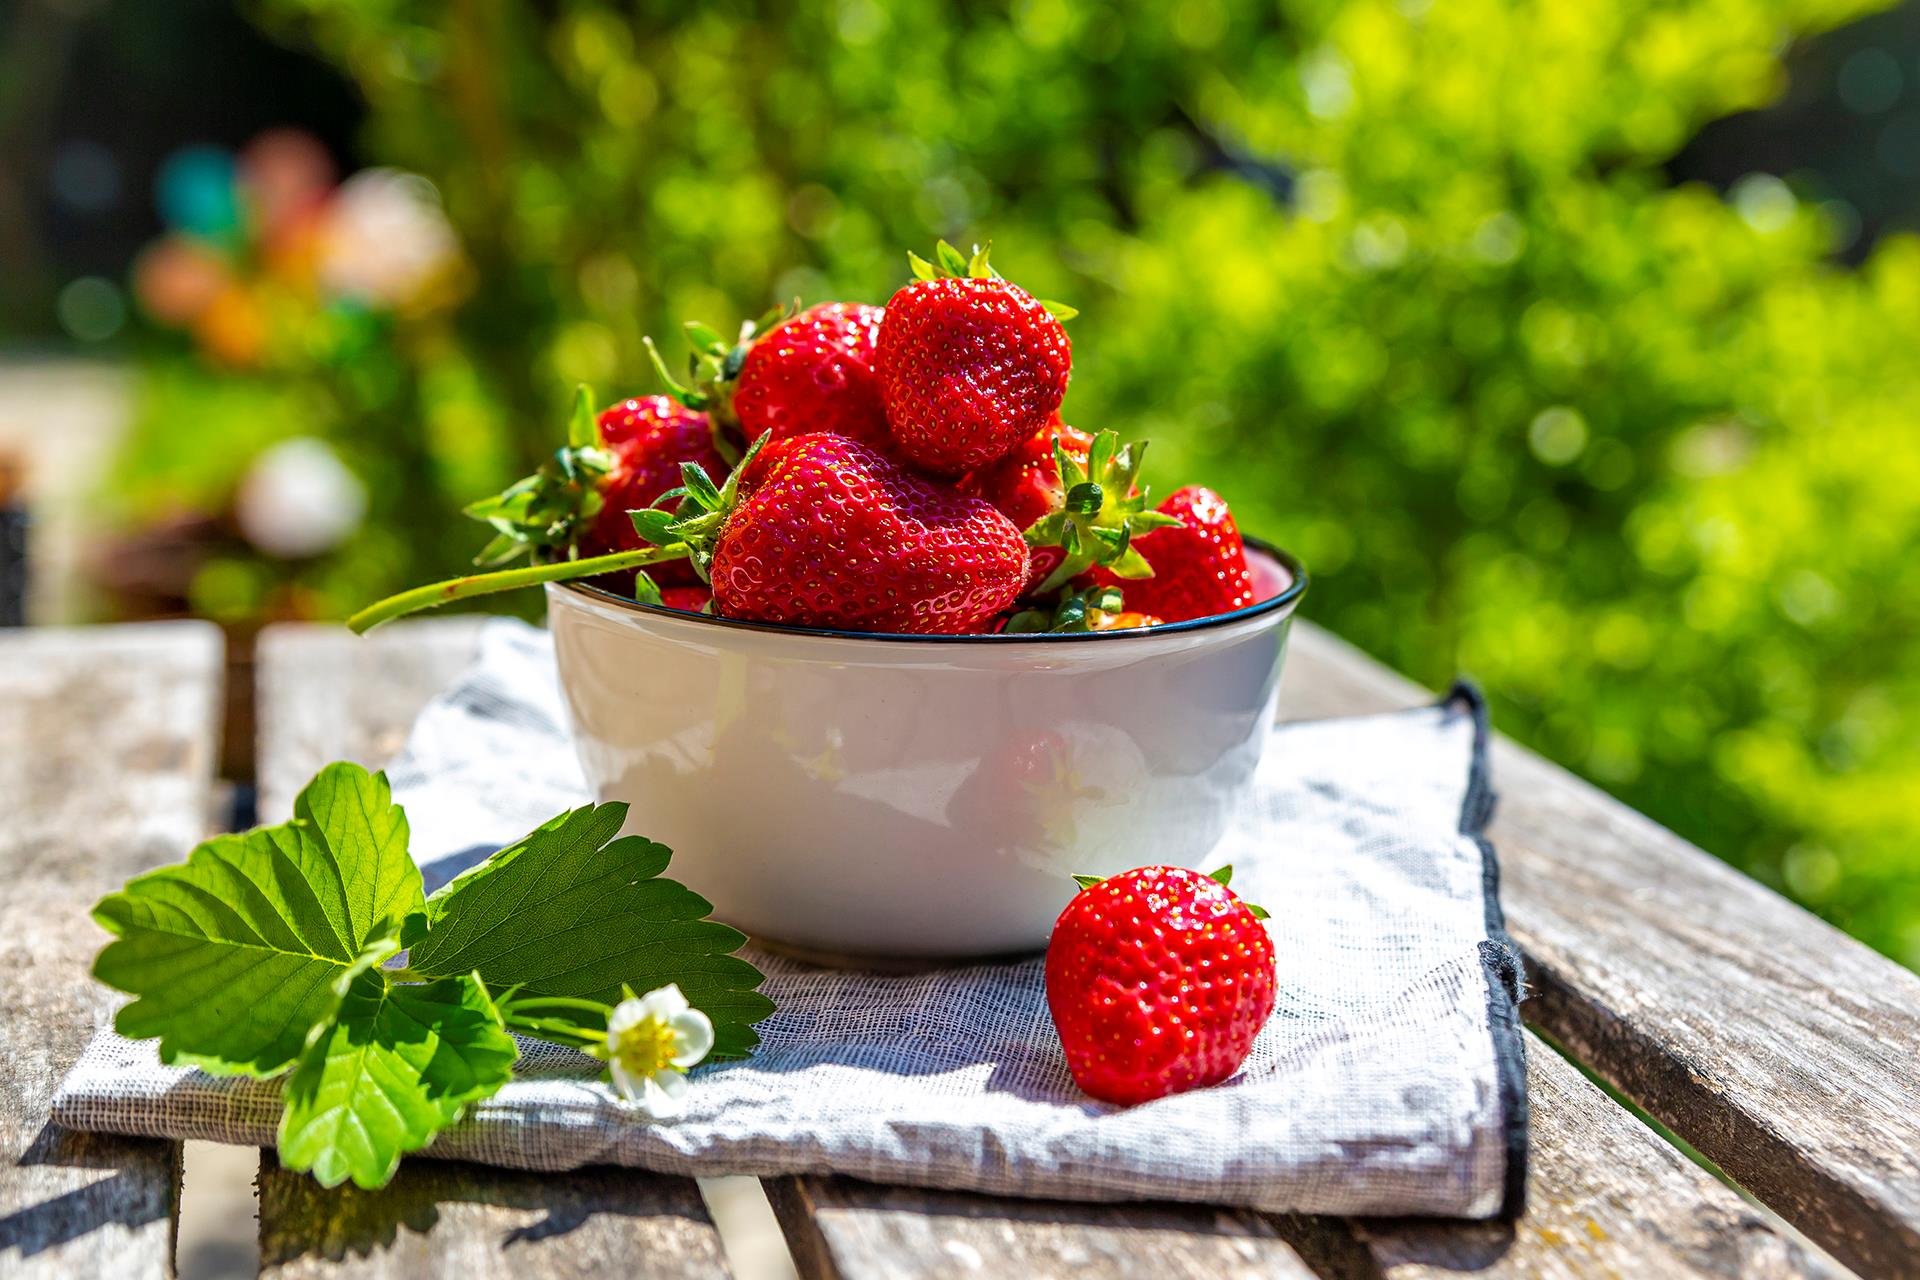
Welcome to the wonderful world of edible gardening! If you have a passion for growing your own food and love the idea of enjoying fresh, juicy strawberries right from your backyard, then this article is for you. Strawberry plants are not only a beautiful addition to your garden but also provide delicious, nutritious fruits that can be grown easily from seeds.
In this article, we will guide you through the process of preparing and planting strawberry seeds, ensuring that your future strawberry plants thrive and yield bountiful fruits. From gathering and cleaning the seeds to stratifying, germinating, and ultimately planting the seedlings, we will cover every step to set you up for success.
Before we dive into the specifics, it’s important to note that growing strawberries from seeds requires patience and dedication. Unlike other plants, strawberries have a unique growth cycle and require special care throughout their development. However, the rewards are well worth the effort, as homegrown strawberries often taste sweeter and more flavorful than store-bought varieties.
So, let’s get started on this exciting journey of growing your own strawberry plants from seeds. By following the steps outlined in this article and putting in a bit of love and attention, you’ll soon be enjoying the delicious fruits of your labor.
Gathering Strawberry Seeds
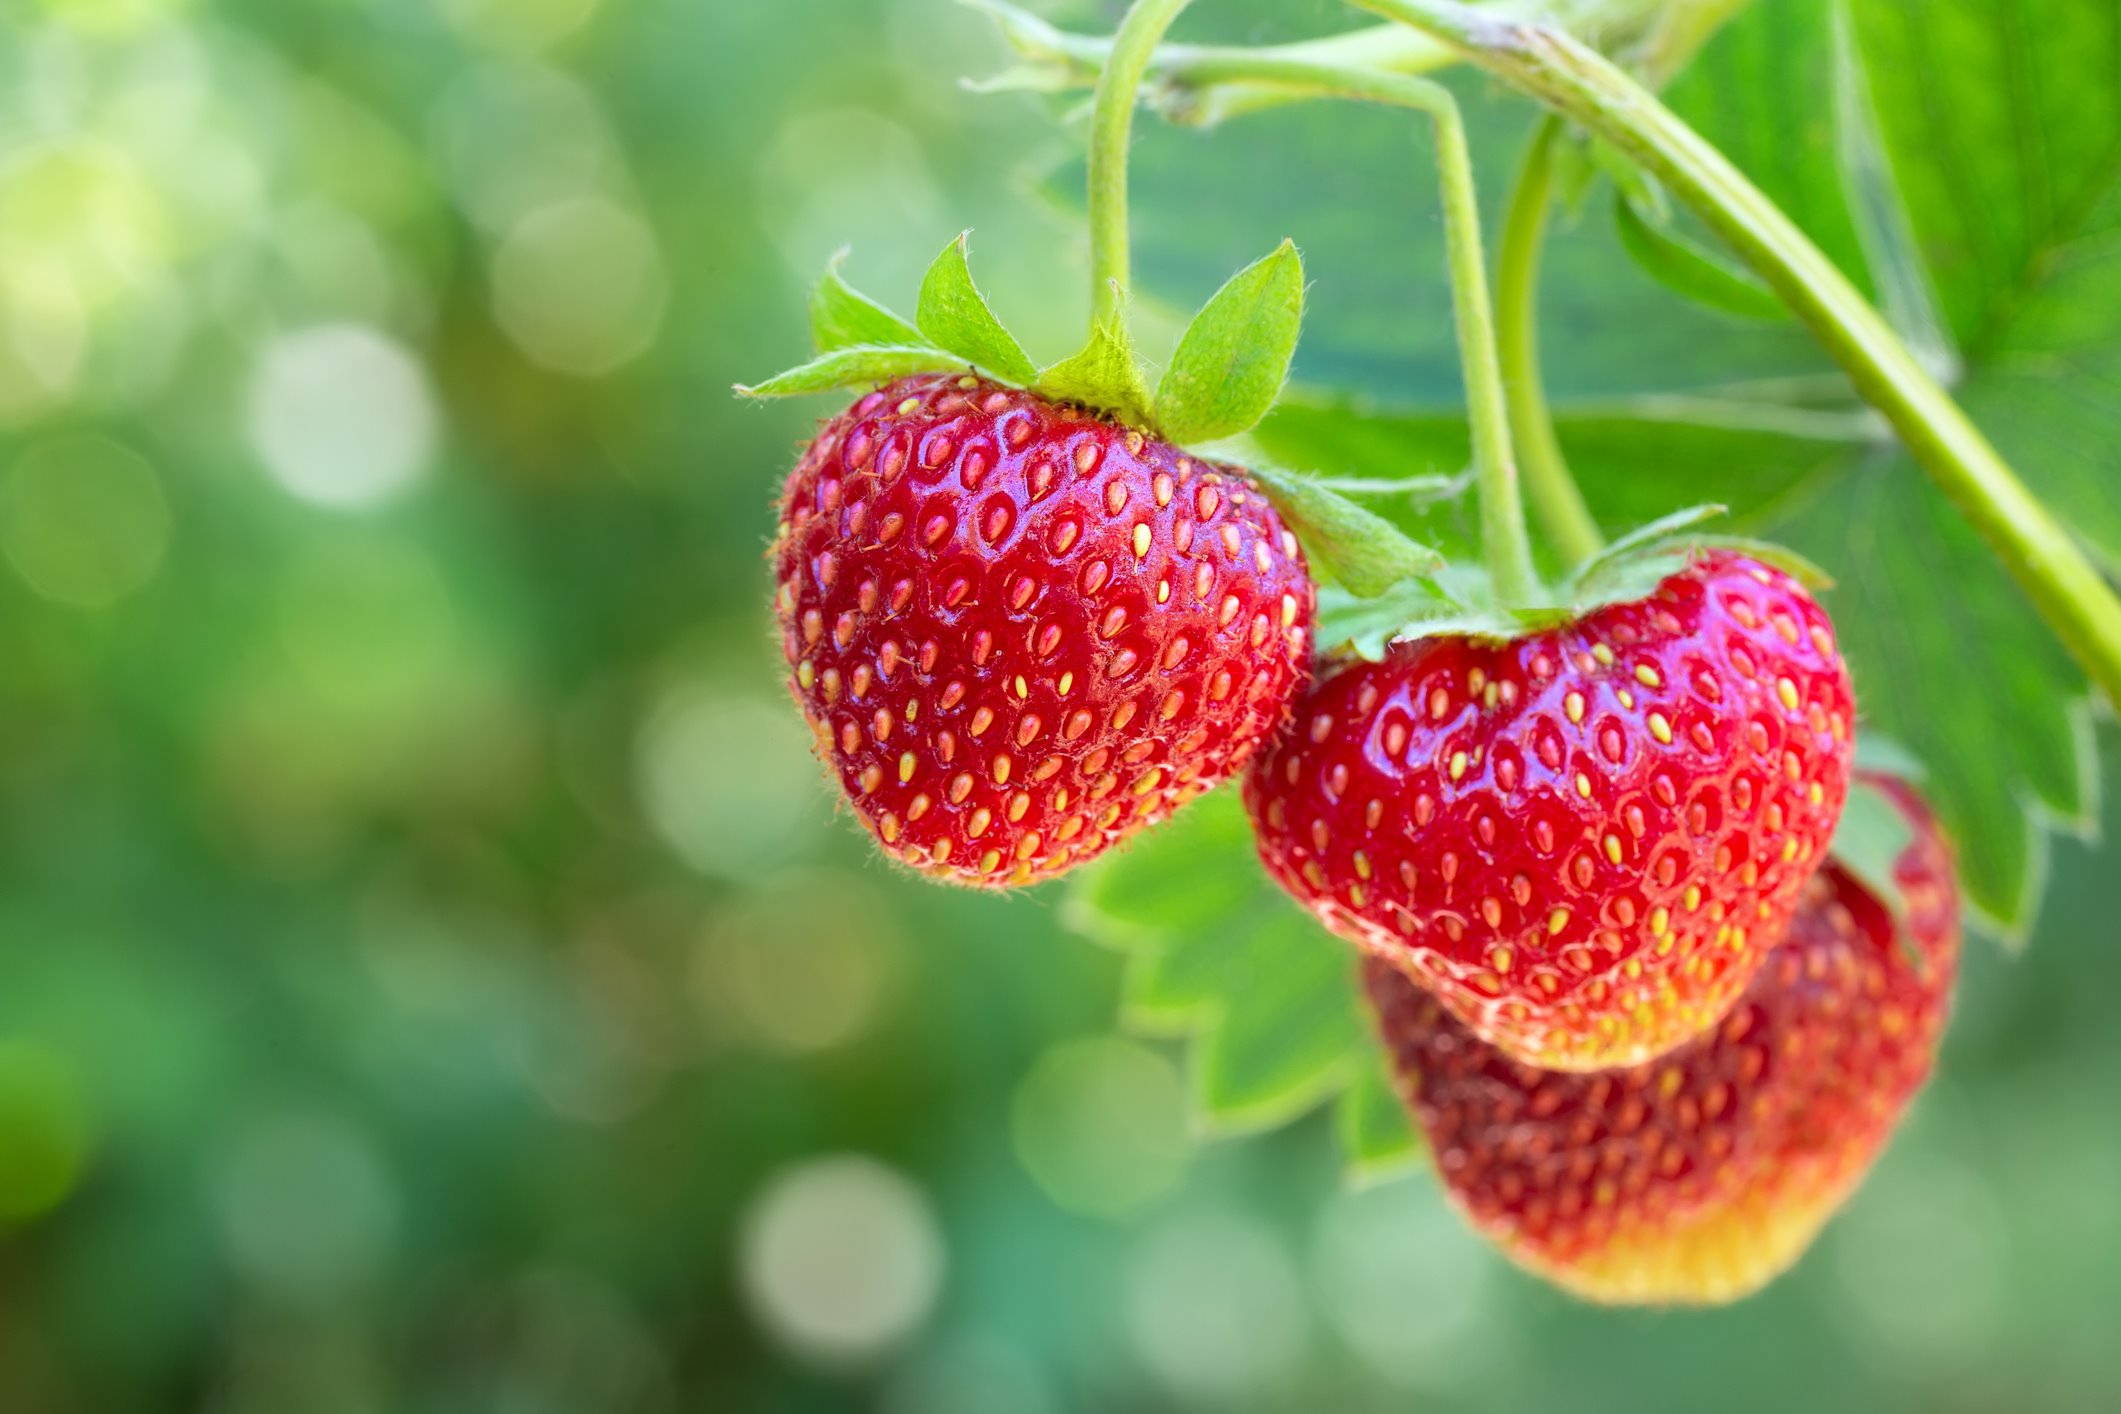
The first step in preparing strawberry seeds for planting is to gather them from ripe strawberries. Once your strawberry plants have produced fruits, select a few healthy, fully ripened strawberries from which to collect the seeds.
To begin, gently remove the green leafy top of the strawberry, known as the calyx. This can be done by pinching it between your thumb and forefinger and pulling it off. Set aside the calyx as it is not needed for seed collection.
Next, slice the strawberry in half horizontally, revealing its juicy interior. Take a close look at the seeds embedded in the flesh of the strawberry. These tiny seeds are what we will be saving for planting.
Using a small spoon or a knife with a flat edge, carefully scrape the seeds from the flesh of the strawberry. Place the collected seeds in a clean, dry container, such as a small jar or an envelope. Be sure to label the container with the variety of strawberry seeds you have collected to keep track of different varieties if you have multiple plants.
Repeat the process with the remaining ripe strawberries, ensuring that you are collecting seeds only from healthy and fully ripened fruits. Avoid using strawberries that are overripe or damaged, as their seeds may not produce healthy plants.
It’s worth noting that gathering and saving strawberry seeds from hybrid strawberry plants may not yield the same characteristics as the parent plant. If you want to replicate the exact qualities of hybrid strawberries, it is best to purchase certified seeds from a reputable supplier.
Now that you have successfully gathered strawberry seeds, it’s time to move on to the next step: cleaning the seeds to remove any remaining pulp and debris.
Cleaning the Strawberry Seeds
After gathering the strawberry seeds, it’s important to clean them to remove any remaining pulp or debris. This step is crucial for ensuring healthy germination and preventing mold or fungal growth.
To clean the strawberry seeds, start by placing them in a fine-mesh sieve or strainer. Gently rinse the seeds under running water, using your fingers to rub away any pulp or flesh still clinging to them. Be careful not to apply too much pressure, as this may damage the seeds.
Continue rinsing the seeds until the water runs clear, indicating that most of the pulp has been removed. You may need to lightly agitate the seeds in the sieve to dislodge any stubborn bits.
Once the seeds are clean, transfer them to a sheet of paper towel or a clean, dry cloth. Spread them out in a single layer and pat them gently to absorb any excess moisture. Allow the seeds to air dry completely, which usually takes about 24-48 hours.
During the drying process, it’s essential to keep the seeds in a well-ventilated area away from direct sunlight. This will promote proper drying while avoiding the risk of overheating or causing damage to the seeds.
As the seeds dry, they may stick together. To prevent clumping, give them a gentle stir or shake the paper towel occasionally to separate them. This will ensure that each seed is able to germinate independently when the time comes.
Once the strawberry seeds are completely dry, check them one last time to ensure that all pulp and debris have been removed. Discard any seeds that appear damaged, discolored, or unhealthy, as they are unlikely to germinate successfully.
Now that your strawberry seeds are clean and ready for the next step, it’s time to move on to the process of stratification, which mimics the natural conditions necessary for the seeds to germinate.
Stratifying Strawberry Seeds
Stratification is an essential step in preparing strawberry seeds for successful germination. This process mimics the natural conditions that the seeds would experience during winter, which helps break the seed’s dormancy and stimulates germination.
To stratify the strawberry seeds, you can choose from various methods depending on your preference and available resources. Here are a couple of common stratification methods:
- Refrigeration Method: Place the clean and dry strawberry seeds in a sealed container or plastic bag with a slightly moistened paper towel. Make sure the container is labeled with the variety of seeds and the date of stratification. Then, store the container in the refrigerator at temperatures between 35-40°F (2-4°C) for a period of 3-4 weeks. This cold period will simulate winter conditions and break the seed’s dormancy.
- Natural Stratification Method: If you have a cold climate and freezing temperatures, you can utilize the power of nature for seed stratification. After cleaning and drying the seeds, plant them directly in a prepared outdoor garden bed or container. Nature will take care of providing the required cold stratification during winter, allowing the seeds to naturally germinate in spring.
Regardless of the method you choose, it is essential to check your seeds during the stratification period. Ensure that the paper towel remains slightly moist and not completely dried out. If necessary, lightly mist the paper towel with water to maintain the moisture level.
Remember, stratification is a critical step to break the seed’s dormancy, promote even germination, and increase the chances of successful seedling development. After the recommended stratification period, it’s time to move on to the exciting next step: germinating the strawberry seeds.
Germinating Strawberry Seeds
Germinating strawberry seeds is an exciting stage in the journey of growing strawberries from seed. After stratification, the seeds are primed and ready to sprout tiny, delicate seedlings. Here’s how you can successfully germinate your strawberry seeds:
1. Choose a Germination Method: There are a few different methods you can use to germinate strawberry seeds. One common method is to use seed-starting trays or pots with a well-draining starting mix. Alternatively, you can use moistened paper towels placed inside a resealable plastic bag. Both methods can yield successful germination; choose the one that suits you best.
2. Prepare the Germination Medium: If using seed-starting trays or pots, fill them with a moistened starting mix that is light and airy. Avoid using heavy garden soil, as it can hinder seedling growth. If opting for the paper towel method, dampen the paper towel with water without making it too soggy.
3. Sow the Seeds: Spread the strawberry seeds evenly over the germination medium, leaving a small gap between each seed to allow room for growth. For seed-starting trays, lightly press the seeds into the surface of the soil, but avoid burying them too deeply. For the paper towel method, place the seeds on one half of the towel and fold the other half over to cover them.
4. Provide Optimal Conditions: Place the seed-starting trays or the plastic bag with the paper towel in a warm and well-lit location, but away from direct sunlight. The ideal temperature for strawberry seed germination is around 70-75°F (21-24°C). Ensure that the germination medium remains consistently moist but not waterlogged, as excess moisture can cause fungal issues.
5. Monitor and Wait: It’s important to be patient during this stage as germination can take anywhere from 1 to 3 weeks. Check the germination medium regularly and mist it with water if it starts to dry out. Avoid overwatering, as it can lead to rotting or damping off of the seedlings.
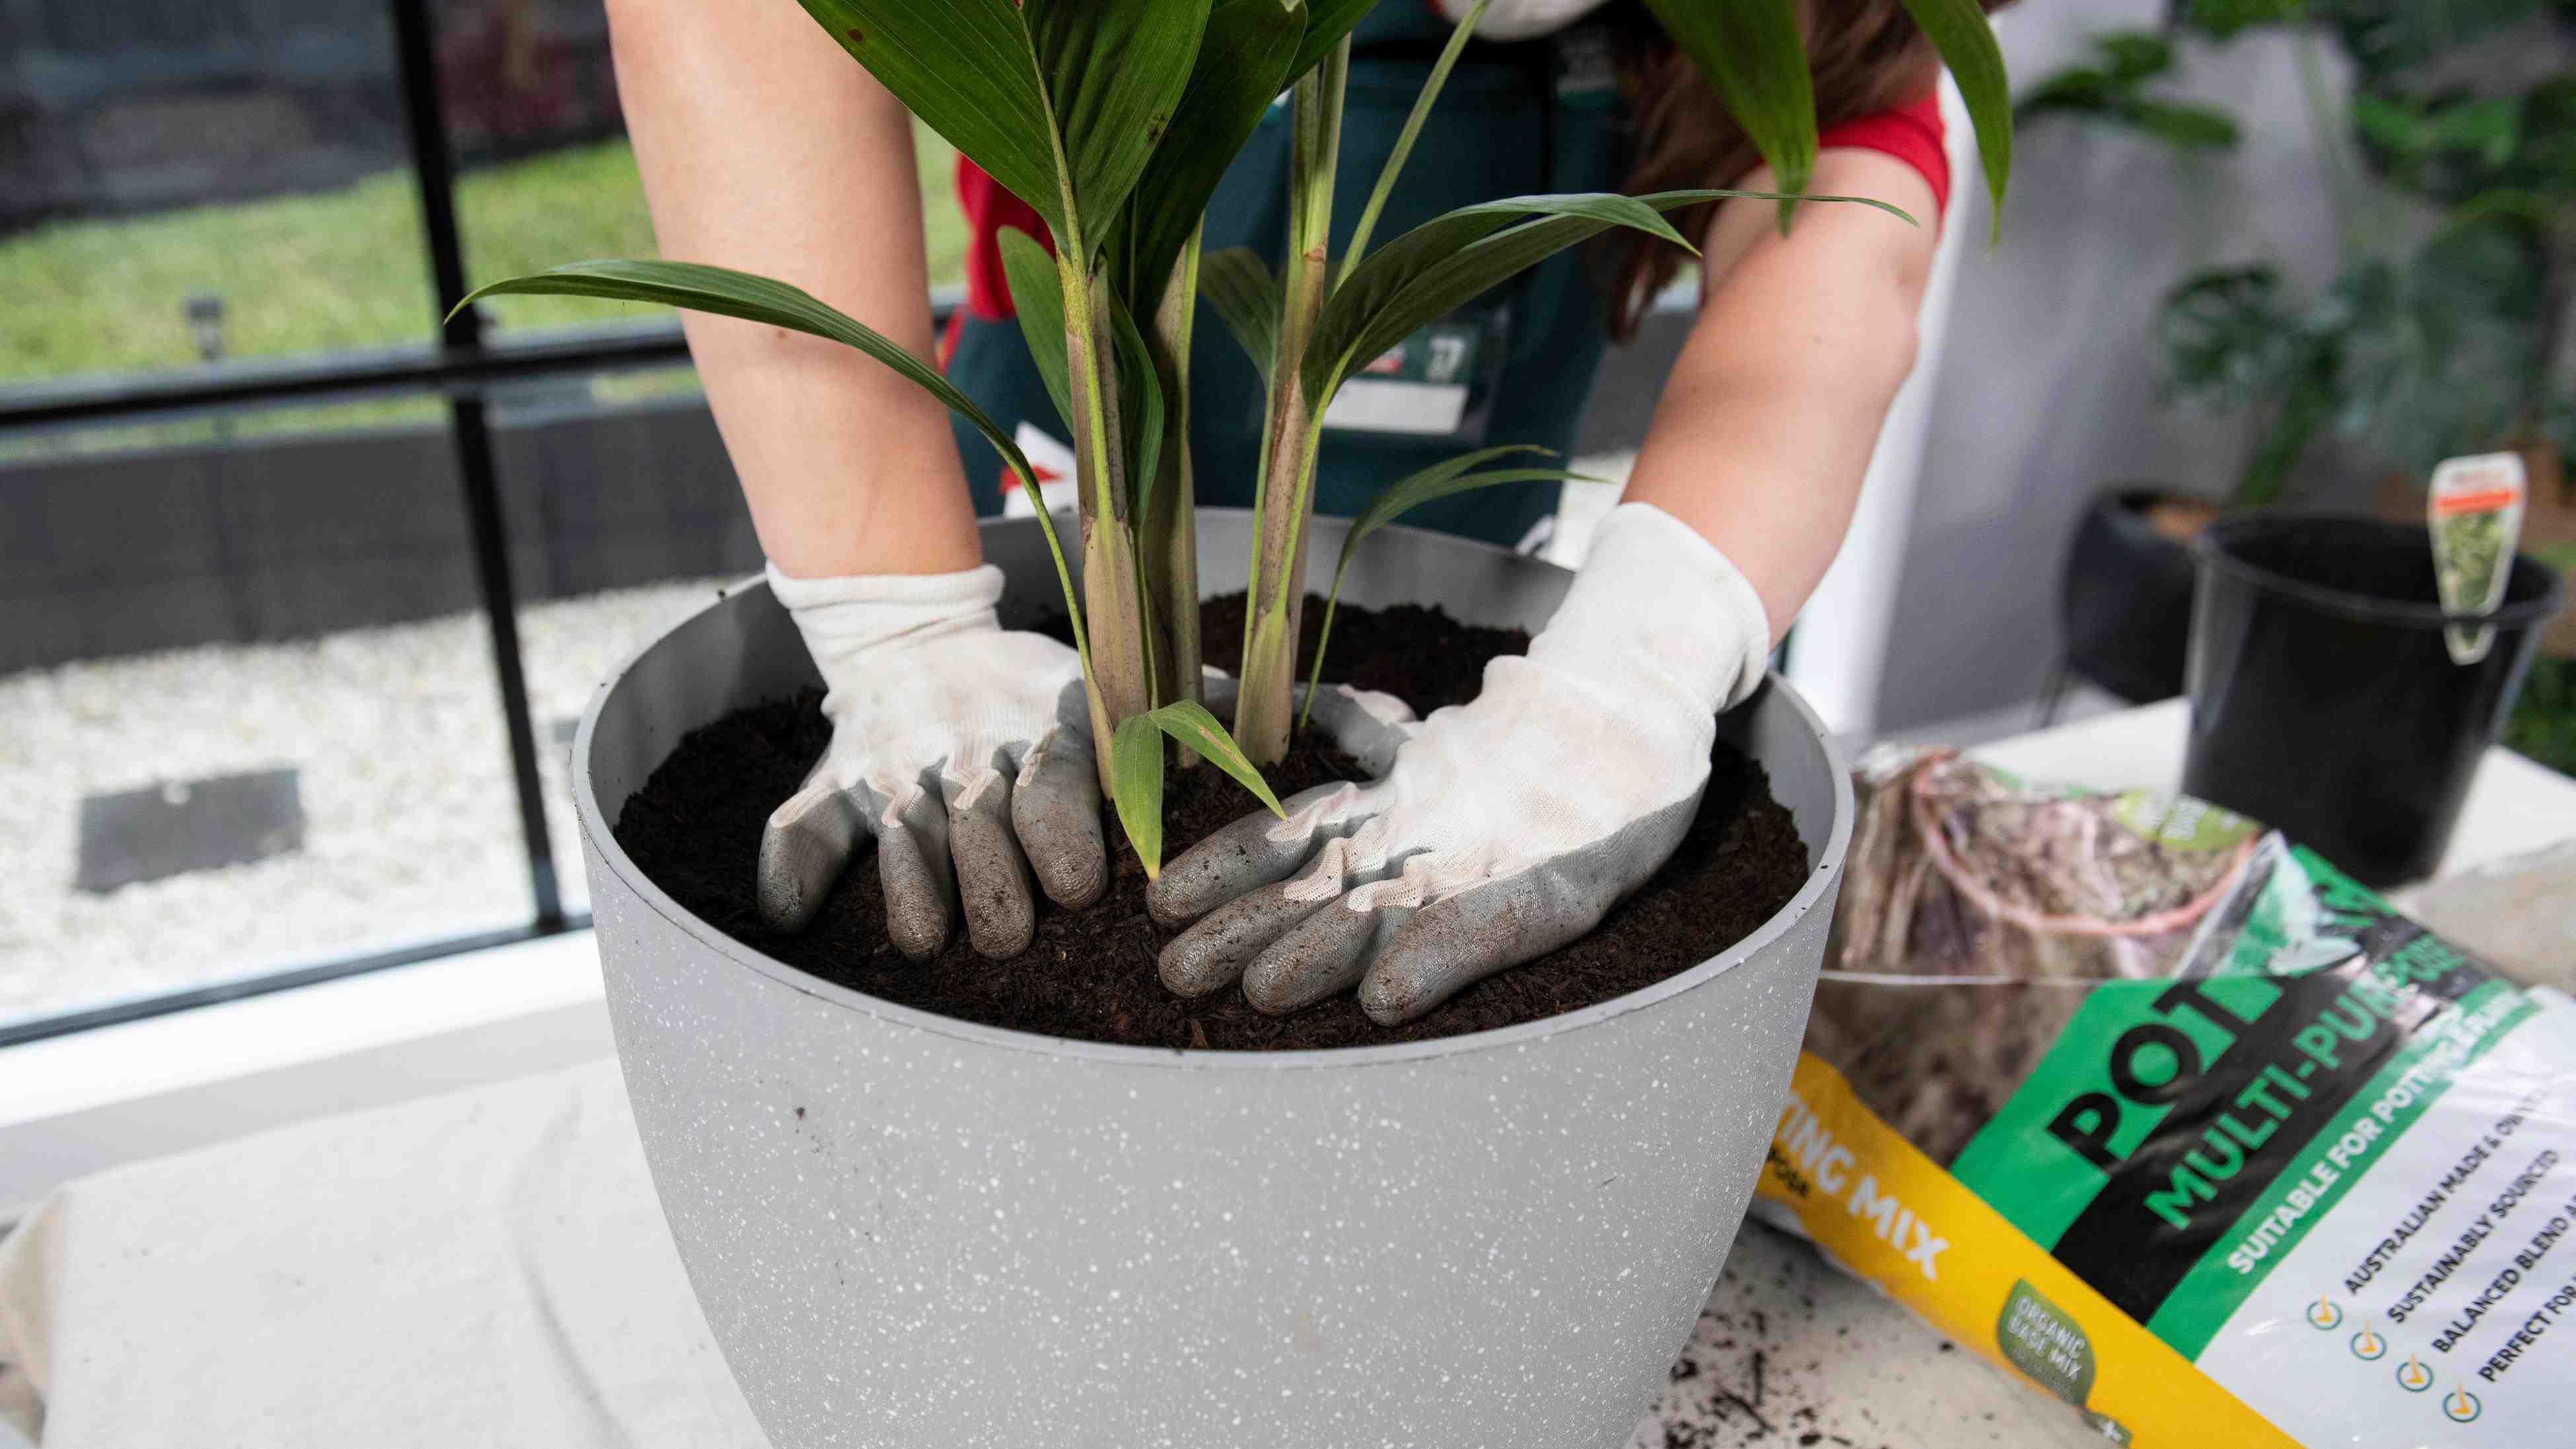
6. Transfer Seedlings: Once the seedlings have two to three true leaves, it’s time to transplant them into individual pots or containers with a well-draining potting mix. This will provide them with more space to grow and develop strong root systems.
By following these steps and providing the right conditions, you’ll soon see tiny strawberry seedlings emerging, bringing you one step closer to enjoying the fruits of your labor.
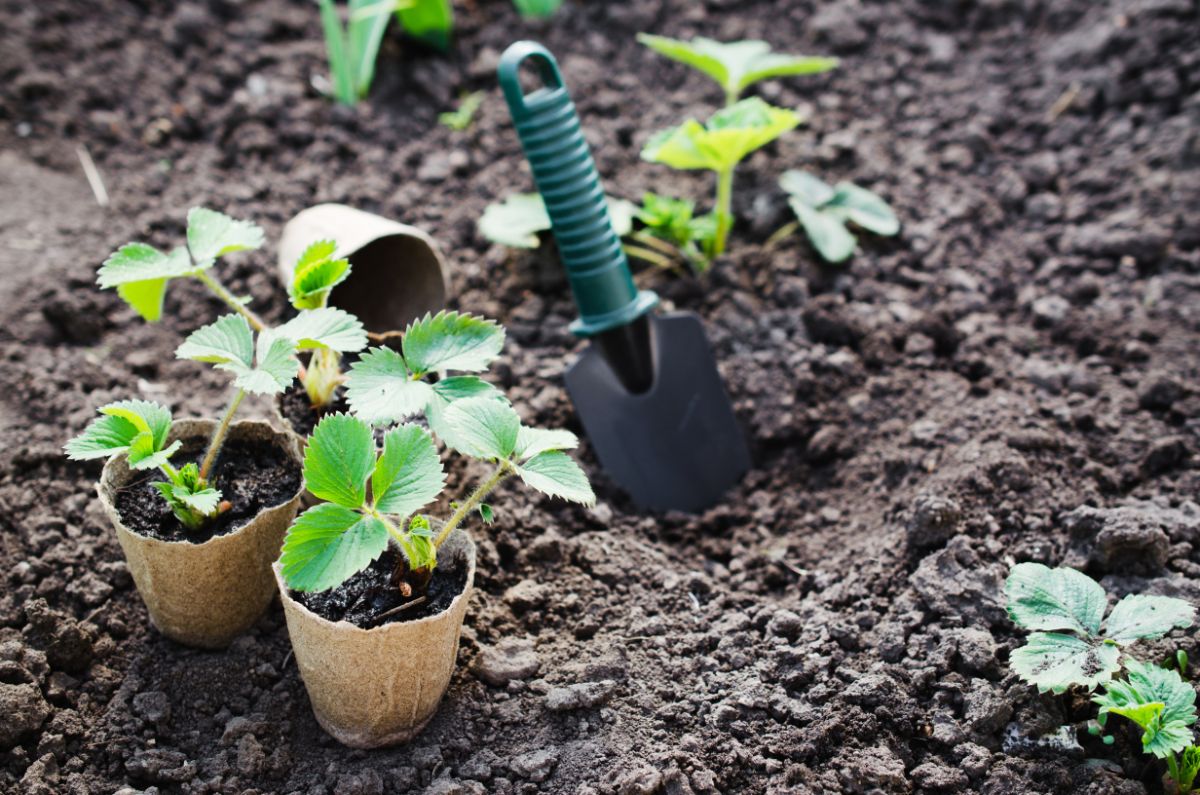
Planting Strawberry Seeds
Now that your strawberry seeds have successfully germinated and developed into seedlings, it’s time to plant them and watch them grow into thriving strawberry plants. Follow these steps to ensure proper planting:
1. Choose the Right Location: Select a sunny spot in your garden that receives at least 6-8 hours of direct sunlight each day. Ensure the soil is well-draining and rich in organic matter. If your soil is heavy clay or poorly draining, consider creating raised beds or using containers.
2. Prepare the Soil: Prepare the planting area by removing any weeds, rocks, or debris. Loosen the soil to a depth of around 8-10 inches (20-25 cm) and incorporate organic matter, such as compost or well-rotted manure, to improve fertility and drainage.
3. Transplant the Seedlings: Gently remove the seedlings from their current containers or pots, keeping the soil around their roots intact. Dig a hole in the prepared soil that is large enough to accommodate the root system. Place the seedling in the hole, making sure the crown (the point where the stems meet the roots) is level with the soil surface. Backfill the hole and lightly firm the soil around the plant.
4. Water and Mulch: Once all the seedlings are planted, water them thoroughly, ensuring the soil is evenly moist. Apply a layer of organic mulch, such as straw or wood chips, around the base of the plants to help conserve moisture, suppress weeds, and regulate soil temperature.
5. Provide Care and Maintenance: Regularly water your strawberry plants to keep the soil consistently moist but not waterlogged. Avoid overhead watering, as wet foliage can increase the risk of fungal diseases. Feed the plants with a balanced fertilizer according to the manufacturer’s instructions to promote healthy growth and fruiting.
6. Monitor for Pests and Diseases: Keep an eye out for common pests such as slugs, snails, aphids, and strawberry root weevils. Take appropriate measures to control them if they become a problem. Also, watch for signs of diseases like powdery mildew or gray mold, and promptly treat any issues to prevent the spread.
By following these steps and providing proper care, your strawberry seedlings will establish themselves and begin to produce the delicious, sweet berries you’ve been waiting for. Remember to be patient, as it may take some time for the plants to mature and bear fruit, but the rewards will be worth it.
Caring for Strawberry Seedlings
Caring for your strawberry seedlings is crucial to ensure their healthy growth and development into productive strawberry plants. Here are some essential tips to help you properly care for your seedlings:
1. Watering: Keep the soil consistently moist but not waterlogged. Strawberries have shallow root systems, so regular watering is important, especially during hot and dry periods. Avoid overhead watering, as wet foliage can promote the spread of diseases. Instead, water directly at the base of the plants.
2. Mulching: Apply a layer of organic mulch, such as straw or wood chips, around the base of the plants. Mulching helps retain moisture, suppress weeds, and regulate soil temperature. Ensure the mulch is not piled against the stems, as this can lead to rotting.
3. Fertilizing: Feed your strawberry seedlings with a balanced fertilizer to provide them with essential nutrients. Use a slow-release fertilizer or apply a liquid fertilizer every few weeks during the growing season. Follow the manufacturer’s instructions for the appropriate dosage and application method.
4. Weed Control: Regularly inspect the planting area and remove any weeds that compete with the strawberry seedlings for nutrients and sunlight. Weeds can also harbor pests and diseases, so it’s essential to keep the area weed-free.
5. Pest and Disease Management: Monitor your strawberry seedlings for common pests like slugs, snails, aphids, and strawberry root weevils. Use organic pest control methods or targeted insecticides if necessary. Additionally, be vigilant for signs of diseases like powdery mildew or gray mold. Remove any infected plant material and apply appropriate treatments to prevent the spread of diseases.
6. Pruning Runners: As your strawberry seedlings grow, they may produce runners, which are long stems that grow outwards from the parent plant. If you want to control the spread of the plants or redirect the energy towards fruit production, you can trim or remove these runners as needed.
7. Winter Protection: In colder climates, provide winter protection for your strawberry seedlings to ensure their survival. Apply a layer of straw or mulch around the plants to insulate the roots and protect them from freezing temperatures.
By following these care guidelines, you will establish strong and healthy strawberry plants that will reward you with abundant harvests of delicious, homegrown strawberries.
Transplanting Strawberry Seedlings
Transplanting strawberry seedlings is a critical step in their growth journey, as it allows them to establish themselves in a permanent location for optimal development and fruit production. Here are the steps to successfully transplant your strawberry seedlings:
1. Timing: Choose the right time to transplant your strawberry seedlings. It’s best to wait until the seedlings have developed a strong root system and have a few sets of true leaves. Typically, this is about 4-6 weeks after germination.
2. Prepare the New Planting Area: Select a well-drained and sunny location in your garden for the strawberry plants. Prepare the soil by removing any weeds, rocks, or debris and loosening it to a depth of about 8-10 inches (20-25 cm). Amend the soil with organic matter, such as compost or well-rotted manure, to improve fertility and drainage.
3. Digging Holes: Dig individual planting holes for each strawberry seedling, making them wide and deep enough to accommodate the root system without cramping or bending the roots. Space the holes about 12-18 inches (30-45 cm) apart in rows that are around 2-3 feet (60-90 cm) apart.
4. Transplanting: Carefully remove the seedlings from their current containers, keeping the soil around their roots intact. Gently place each seedling into a planting hole, ensuring the crown (where the stems meet the roots) is level with the soil surface. Backfill the holes with soil, lightly firming it around the plants. Avoid burying the crown too deeply, as it may lead to rotting.
5. Watering: After transplanting, water the newly planted strawberry seedlings thoroughly. This helps settle the soil around the roots and ensures good soil-to-root contact. Continue to water regularly, keeping the soil moist but not waterlogged, especially during dry spells.
6. Mulching: Apply a layer of organic mulch, such as straw or wood chips, around the base of the plants. Mulching helps conserve moisture, suppress weeds, and regulate soil temperature. It also helps keep the strawberries clean and prevents direct contact with the soil, reducing the risk of disease.
7. Provide Care and Maintenance: Continue to care for your transplanted strawberry seedlings as you would for established plants. This includes regular watering, fertilizing, weed control, and pest and disease management.
By following these steps, you will ensure a smooth transition for your strawberry seedlings into their new permanent home. With proper care and attention, these transplanted seedlings will grow into thriving plants that will reward you with delicious, homegrown strawberries.
Conclusion
Congratulations! You have learned the essential steps to prepare, germinate, and care for strawberry seedlings, bringing you closer to enjoying the delights of homegrown strawberries. By following these guidelines, you can cultivate healthy and productive strawberry plants right in your own garden.
Remember, gathering ripe strawberry seeds, cleaning them thoroughly, and stratifying them will ensure successful germination. From there, planting the seedlings in well-drained soil, providing proper care such as watering, fertilizing, and pest control, will help the plants thrive.
Transplanting the strawberry seedlings into their permanent location is a significant milestone, allowing them to establish strong root systems and produce an abundant harvest. With regular maintenance and attention to watering, fertilizing, and protecting the plants from pests and diseases, you will reap the rewards of your efforts in the form of sweet, juicy strawberries.
Growing strawberries from seeds is a rewarding and enjoyable experience. Not only do you get to witness the entire life cycle of the plant, but you also get to savor the exquisite flavors of freshly picked strawberries. Experiment with different varieties, such as June-bearing or everbearing, to extend your harvest season and explore a range of flavors.
Whether you have a sprawling garden or limited space, strawberries can thrive in containers, raised beds, or dedicated garden plots. With their cascading foliage and vibrant red fruits, strawberry plants also add beauty and charm to your outdoor spaces.
So, get your hands dirty, embrace the art of edible gardening, and embark on the journey of growing your own strawberries from seeds. With a little patience, care, and dedication, you’ll enjoy the sweet rewards of nature’s bountiful gift and experience the joy of homegrown strawberries.