Home>Types of Gardening>Edible Gardening>How To Plant Strawberries From Seeds
Edible Gardening
How To Plant Strawberries From Seeds
Modified: January 22, 2024
Learn the step-by-step process of planting strawberries from seeds in your own edible garden. Discover expert tips and tricks for successful edible gardening.
(Many of the links in this article redirect to a specific reviewed product. Your purchase of these products through affiliate links helps to generate commission for Chicagolandgardening.com, at no extra cost. Learn more)
Table of Contents
- Introduction
- Step 1: Selecting the Right Strawberry Seeds
- Step 2: Preparing the Seedbed
- Step 3: Planting the Strawberry Seeds
- Step 4: Providing Proper Watering and Sunlight
- Step 5: Fertilizing the Strawberry Plants
- Step 6: Managing Weeds and Pests
- Step 7: Transplanting Strawberry Seedlings
- Step 8: Caring for Strawberry Plants during Growth
- Step 9: Harvesting Strawberries
- Conclusion
Introduction
Welcome to the world of edible gardening! If you’re looking to add a burst of flavor and freshness to your meals, growing your own strawberries from seeds is a rewarding and delicious choice. Not only do homegrown strawberries taste better than store-bought ones, but they also provide the satisfaction of nurturing a plant from its early stages to a bountiful harvest. Whether you’re a seasoned gardener or a beginner, this comprehensive guide will walk you through the steps of planting strawberries from seeds.
Strawberries are a popular fruit in many households, loved for their vibrant color, juicy texture, and sweet flavor. They can be enjoyed fresh, used in desserts, added to salads, or made into jams and sauces. While it’s common to buy strawberry plants from nurseries, starting from seeds offers an affordable and exciting way to grow these delightful fruits in your own garden or even in containers on your balcony.
Planting strawberries from seeds requires patience, as it takes time for the seeds to germinate and develop into mature plants. However, the process is relatively simple and can be done by gardeners of all skill levels. By following the steps outlined in this guide, you’ll be on your way to enjoying a bounty of homegrown strawberries.
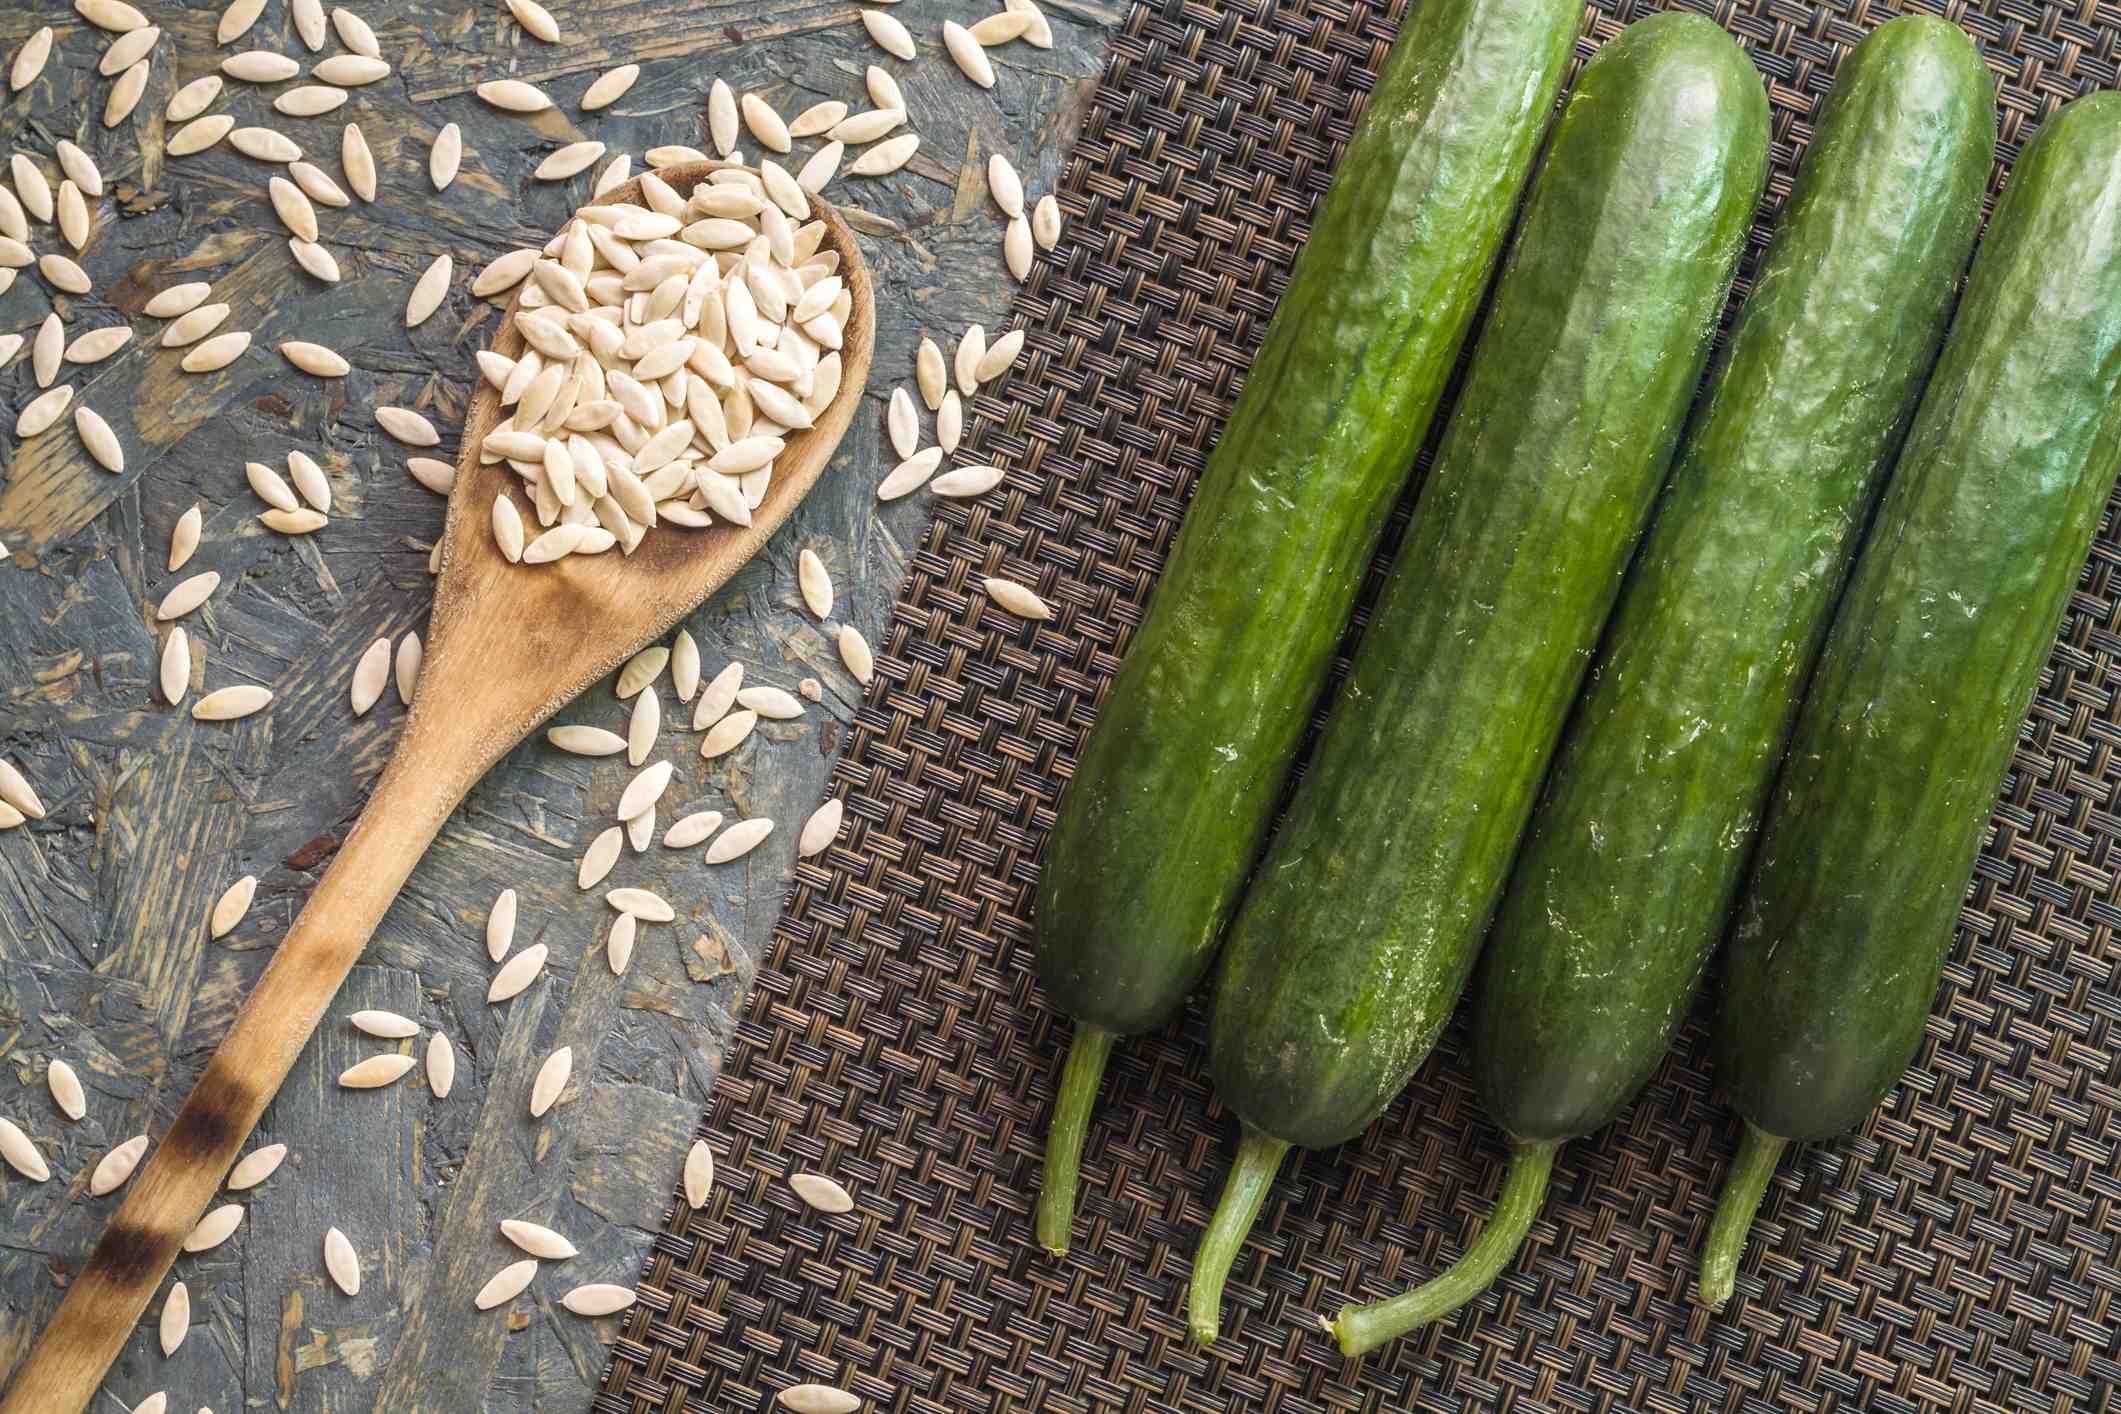
Step 1: Selecting the Right Strawberry Seeds
The first step in planting strawberries from seeds is to select the right seeds for your garden. When choosing strawberry seeds, it’s important to consider factors such as climate compatibility, variety, and seed quality.
1. Climate Compatibility: Strawberries are adaptable plants, but they thrive in specific climates. Determine your hardiness zone to identify the best strawberry varieties for your region. Some varieties are better suited for cooler climates, while others thrive in hotter climates. Choosing seeds that are suitable for your climate will increase the chances of success.
2. Variety Selection: There are numerous strawberry varieties available, each with its own characteristics. Consider factors such as size, flavor, disease resistance, and yield when selecting a variety. Popular varieties include ‘Albion’, ‘Chandler’, ‘Eversweet’, and ‘Fragaria’. Research the qualities of different varieties to find one that suits your taste preferences and growing conditions.
3. Seed Quality: Quality seeds are essential for a successful harvest. Ensure that you source your seeds from reputable suppliers. Look for seeds that are fresh and have a high germination rate. Check for any signs of damage or decay, as unhealthy seeds may have a lower chance of successfully growing into plants.
When purchasing strawberry seeds, it’s also worth considering if you’d like to grow them organically. Look for seeds labeled as organic to ensure that they have been produced without the use of chemical pesticides or fertilizers. This is an excellent choice if you’re passionate about organic gardening and want to prioritize the health and sustainability of your strawberry plants.
Once you have selected the right strawberry seeds, you’ll be ready to move on to the next step in the process: preparing the seedbed.
Step 2: Preparing the Seedbed
Preparing the seedbed is a crucial step in ensuring the success of your strawberry plants. Creating the ideal growing conditions will help the seeds germinate and establish strong root systems. Follow these steps to prepare the seedbed:
1. Choose the Right Location: Strawberries thrive in full sun, so select a location in your garden that receives at least 6-8 hours of direct sunlight per day. Ensure that the area has well-draining soil to prevent waterlogging, which can lead to root rot.
2. Clear the Area: Remove any weeds, rocks, or debris from the chosen location to create a clean and clear space for planting. Weeds can compete with the strawberry plants for water and nutrients, so it’s important to eliminate them before planting.
3. Test and Amend the Soil: Conduct a soil test to determine its pH level and nutrient content. Strawberries prefer slightly acidic soil with a pH between 5.5 and 6.5. If necessary, amend the soil by adding organic matter, such as compost or well-rotted manure, to improve its structure and fertility.
4. Loosen and Level the Soil: Use a garden fork or a tiller to loosen the soil to a depth of 8-10 inches. Break up any large clumps and remove any rocks or debris. Once the soil is loosened, level the surface using a rake to create a smooth and even seedbed.
5. Create Raised Beds or Mounds: If your soil has poor drainage, consider creating raised beds or mounds to improve water drainage. This can be done by forming 6-8 inch high beds that are about 2-3 feet wide. Ensure that the tops of the beds are flattened to provide a stable surface for planting.
By properly preparing the seedbed, you are setting the stage for healthy and thriving strawberry plants. The next step in the process is to plant the strawberry seeds.
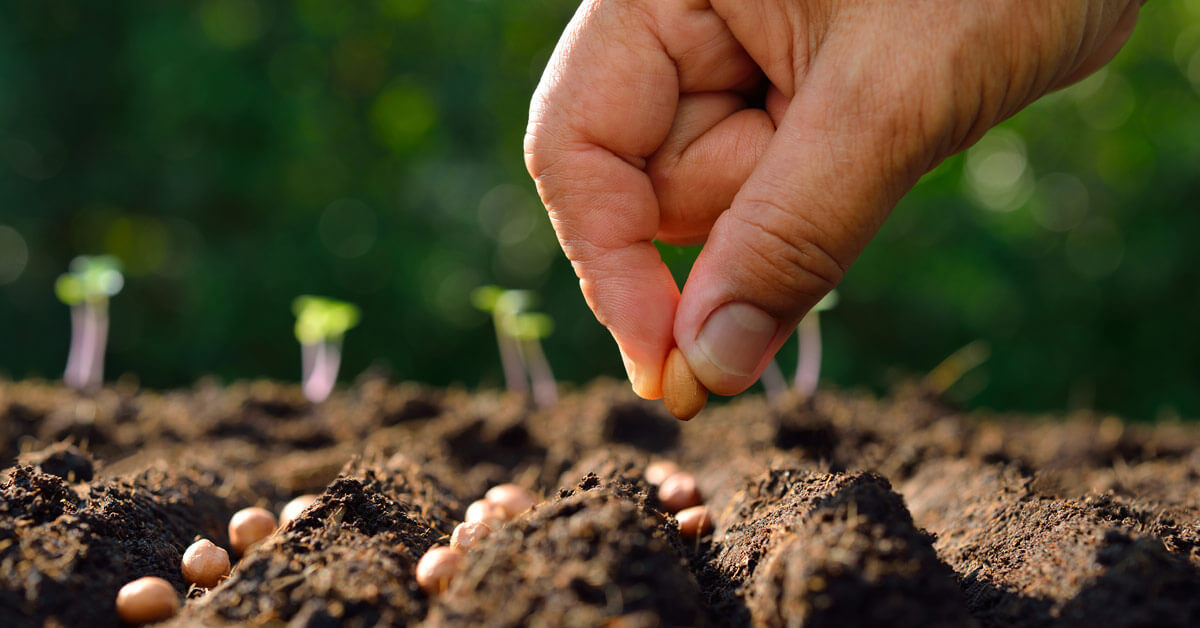
Step 3: Planting the Strawberry Seeds
Now that you have prepared the seedbed, it’s time to plant your strawberry seeds. Follow these steps to ensure successful germination and growth:
1. Timing: Planting strawberry seeds should ideally be done in early spring or late summer, depending on your climate. The seeds need a consistent temperature between 60-75°F (15-24°C) for optimal germination.
2. Spacing: Leave adequate space between each seed to allow for healthy growth and airflow. The recommended spacing is about 12-18 inches (30-46 cm) between each seed. This will give the plants room to spread out and produce runners, which are the horizontal stems that produce new strawberry plants.
3. Planting Depth: Plant the seeds about ¼ inch deep into the soil. Avoid burying them too deep, as this might hinder their germination. Cover the seeds lightly with soil, gently pressing down to ensure good contact with the soil.
4. Watering: After planting, give the seedbed a thorough watering to moisten the soil. Ensure that the soil remains consistently moist but not waterlogged throughout the germination process. Use a spray bottle or a gentle watering method to prevent disturbing the seeds.
5. Provide Shade: To prevent the seeds from drying out or being exposed to harsh sunlight, consider covering the seedbed with a light shade cloth or using a shade structure. This will help create a more favorable environment for germination.
6. Patience and Care: Germination can take anywhere from 2-3 weeks, so it’s important to be patient. Monitor the seedbed regularly, and water as needed to maintain consistent moisture levels. Once the seedlings emerge, remove any shading and continue to provide adequate water and sunlight.
By following these steps, you are well on your way to growing your own strawberry plants from seeds. The next step in the process is to provide proper watering and sunlight to ensure the healthy growth of your strawberry plants.
Step 4: Providing Proper Watering and Sunlight
Proper watering and sunlight are crucial factors in nurturing healthy strawberry plants. These steps will help you ensure that your plants receive the right amount of water and sunlight:
1. Watering:
- During the germination stage, it’s important to keep the seedbed consistently moist. Avoid overwatering, as this can lead to fungal diseases or root rot. Use a gentle watering method, such as a misting spray, to prevent disturbing the delicate seedlings.
- As the plants grow, adjust your watering routine to provide about 1-1.5 inches (2.5-3.8 cm) of water per week. This can be done through regular watering or by utilizing drip irrigation systems.
- Water the plants at the base to avoid wetting the leaves, which can promote fungal infections. Mulching around the plants can also help retain moisture and suppress weed growth.
- Monitor the soil moisture regularly, and adjust watering as needed based on the weather conditions and the moisture level of the soil. Be cautious not to let the soil become waterlogged. The goal is to maintain consistently moist, but not soggy, soil.
2. Sunlight:
- Strawberry plants require full sun to thrive and produce an abundant harvest. Ensure that your plants receive at least 6-8 hours of direct sunlight each day.
- If you’re growing strawberries in containers, place them in a location that gets the maximum amount of sunlight, such as a south-facing balcony or patio.
- During hot summer days, strawberries may benefit from some afternoon shade to prevent the plants from wilting or drying out. Consider using shade cloth or strategically positioning the plants near taller plants or structures to provide some protection from intense sunlight.
Proper watering and sunlight are essential for healthy strawberry plant growth, flower production, and fruit development. The next step in the process is to learn about fertilizing the strawberry plants to ensure optimal nutrition.
Step 5: Fertilizing the Strawberry Plants
Fertilizing your strawberry plants is crucial for providing them with the essential nutrients they need to grow and produce a bountiful harvest. Proper fertilization can enhance plant health, yield, and fruit quality. Follow these guidelines for fertilizing your strawberry plants:
1. Understanding Nutrient Requirements: Strawberries have specific nutrient needs, with an emphasis on potassium (K), phosphorus (P), and nitrogen (N). Nitrogen promotes healthy leaf and stem growth, while phosphorus enhances root development and flower formation. Potassium helps with overall plant growth and disease resistance.
2. Timing: The timing of fertilizer application is crucial. Apply a balanced fertilizer, such as a 10-10-10 or 14-14-14 formula, when the plants are actively growing. Start fertilizing approximately 4-6 weeks after planting and continue every 4-6 weeks during the growing season. Avoid fertilizing dormant plants or during extreme weather conditions.
3. Application Rates: Follow the package instructions for the specific fertilizer you are using. Generally, sprinkle the fertilizer evenly around the base of the plants, maintaining a distance of about 6 inches (15 cm) from the crown to prevent burning. Use a garden fork or cultivate the soil gently to incorporate the fertilizer into the top layers of soil. Water the plants thoroughly after fertilizing to help the nutrients penetrate the roots.
4. Organic Fertilizers: If you prefer to use organic fertilizers, options like compost, well-rotted manure, or fish emulsion can be beneficial. Organic fertilizers release nutrients slowly and improve the overall soil structure. Apply them following the same guidelines as synthetic fertilizers, adjusting the application rates based on the product recommendations.
5. Foliar Feeding: To supplement fertilization, you can also use foliar sprays. These liquid fertilizers are sprayed directly onto the leaves and are absorbed by the plants. Foliar feeding can be especially beneficial during periods of rapid growth or stress. Follow the instructions on the product label for proper dilution and application rates.
Remember that over-fertilization can be harmful to strawberry plants. Be cautious not to apply excessive amounts of fertilizer, as it can lead to nutrient imbalances, burning of the roots, and reduced fruit production. Regularly monitor the health of your plants and adjust your fertilization routine accordingly.
The next step in successfully growing strawberries is to manage weeds and pests, which can potentially hinder plant growth and fruit development.
Step 6: Managing Weeds and Pests
Managing weeds and pests is crucial for maintaining the health and productivity of your strawberry plants. Weeds compete with the plants for water, nutrients, and sunlight, while pests can cause damage to the leaves, flowers, and fruits. Here are some strategies to effectively manage weeds and pests in your strawberry garden:
1. Weed Control:
- Regularly inspect your strawberry patch and remove any weeds promptly. Hand-pull the weeds, being careful not to disturb the shallow roots of the strawberry plants.
- Apply a layer of mulch, such as straw or wood chips, around the base of the plants. Mulch helps suppress weed growth, retain soil moisture, and maintain a more consistent temperature.
- Consider using landscape fabric or plastic mulch to further reduce weed growth. These materials can be laid down before planting, with holes cut out for the strawberry plants.
2. Pest Management:
- Monitor your strawberry plants regularly for signs of pests such as aphids, slugs, snails, or spider mites. Early detection allows for prompt intervention.
- Encourage beneficial insects, such as ladybugs and lacewings, which help control pest populations naturally. Planting companion flowers, like marigolds or alyssum, can attract these helpful insects to your garden.
- Install physical barriers, such as floating row covers or netting, to prevent birds, rabbits, or other small animals from accessing the strawberry plants and damaging the fruits.
- Consider using organic or natural pest control methods, such as neem oil, insecticidal soap, or homemade solutions like garlic spray or chili pepper spray. Be sure to follow the instructions and precautions when using any commercial or homemade pest control products.
3. Crop Rotation:
- Practice crop rotation by not planting strawberries in the same location every year. This helps disrupt pest and disease cycles and reduces the buildup of harmful pathogens in the soil.
- Rotate your strawberry beds with other non-susceptible plants, such as vegetables, herbs, or flowers. This break in the strawberry planting cycle can help reduce the risk of pest infestations or diseases.
By managing weeds and pests effectively, you can create a healthier growing environment for your strawberry plants and ensure a better yield and quality of fruits. The next step in the process is to learn about transplanting strawberry seedlings into their permanent growing location.
Step 7: Transplanting Strawberry Seedlings
Once your strawberry seedlings have grown strong and are ready to be moved into their permanent growing location, it’s time to transplant them. Transplanting allows the plants to establish deeper roots and continue their growth towards fruit production. Follow these steps for successful transplanting:
1. Timing: Transplant your strawberry seedlings once they have developed a few sets of true leaves and a sturdy root system. This is usually around 4-6 weeks after germination. Choose a day when the weather is cool and overcast, or transplant in the early morning or late afternoon to avoid exposing the plants to direct sunlight and extreme heat.
2. Preparing the Planting Site: Ensure that the soil in the planting site is well-prepared as discussed in previous steps. Remove any weeds, loosen the soil, and amend it with organic matter if needed. Keep the strawberry plants moist before and during the transplanting process.
3. Digging Holes: Dig holes in the planting area that are wide and deep enough to accommodate the root systems of your strawberry seedlings. Space the holes about 12-18 inches apart, allowing sufficient room for the plants to spread and develop runners.
4. Transplanting: Gently remove the seedlings from their containers or seedbed, being careful not to damage the delicate roots. Place each seedling in a hole, making sure the crown (where the stem meets the roots) is level with or slightly above the soil surface. Backfill the hole with soil, firming it gently around the seedling. Water thoroughly after transplanting to help settle the soil and eliminate air pockets.
5. Mulching: Mulch around the transplanted seedlings with a layer of straw or wood chips. This helps conserve moisture, suppress weed growth, and protect the plants’ roots.
6. Care and Maintenance: After transplanting, continue to provide proper watering, sunlight, and fertilization as discussed in earlier steps. Monitor the plants regularly for any signs of stress, such as wilting or yellowing leaves, and address any issues promptly.
It’s important to note that the first season after transplanting may have a lighter strawberry harvest, as the plants focus their energy on establishing strong root systems. However, with proper care and maintenance, you can expect a bountiful harvest in subsequent years.
The next step in the process is to learn about the ongoing care and maintenance of your strawberry plants during their growth phase.
Step 8: Caring for Strawberry Plants during Growth
Proper care and maintenance are essential for the healthy growth and abundant harvest of your strawberry plants. Here are some important steps to follow during the growth phase:
1. Watering:
- Provide consistent moisture to your strawberry plants, especially during dry spells. Keep the soil evenly moist, but not waterlogged, as excessive moisture can lead to root rot.
- Water at the base of the plants to avoid wetting the leaves and promote better disease resistance.
- Consider using drip irrigation systems to deliver water directly to the roots, reducing water loss through evaporation.
2. Weed Control:
- Regularly check your strawberry patch for weeds and remove them promptly. Weeds compete with the plants for nutrients and water.
- Mulch around the plants to suppress weed growth and maintain consistent soil moisture. Replenish the mulch layer as needed throughout the growing season.
3. Runners and Daughter Plants:
- Strawberries produce runners, which are long stems that develop new daughter plants. Allow some runners to root and establish new plants if you want to expand your strawberry patch.
- To maintain plant vigor and encourage fruit production, it’s recommended to limit the number of daughter plants per mother plant to around 3-4.
- Regularly remove any excess runners or daughter plants to prevent overcrowding and competition for resources.
4. Fertilization:
- Continue fertilizing your strawberry plants throughout the growing season, following the guidelines outlined in Step 5.
- Monitor the plants for any signs of nutrient deficiencies, such as yellowing leaves, and adjust the fertilization routine accordingly.
5. Disease and Pest Control:
- Regularly inspect your strawberry plants for any signs of diseases or pests.
- If you notice any issues, promptly take appropriate measures, such as removing infected plants or using organic pest control methods.
- Encourage beneficial insects, like ladybugs and predatory mites, to naturally control pests.
Regular monitoring, attention to watering and feeding, and timely disease and pest control are vital in nurturing strong and productive strawberry plants. By following these care guidelines, you will set the stage for a successful and delicious harvest.
The next step in the process is to learn about the proper techniques for harvesting your ripe and juicy strawberries.
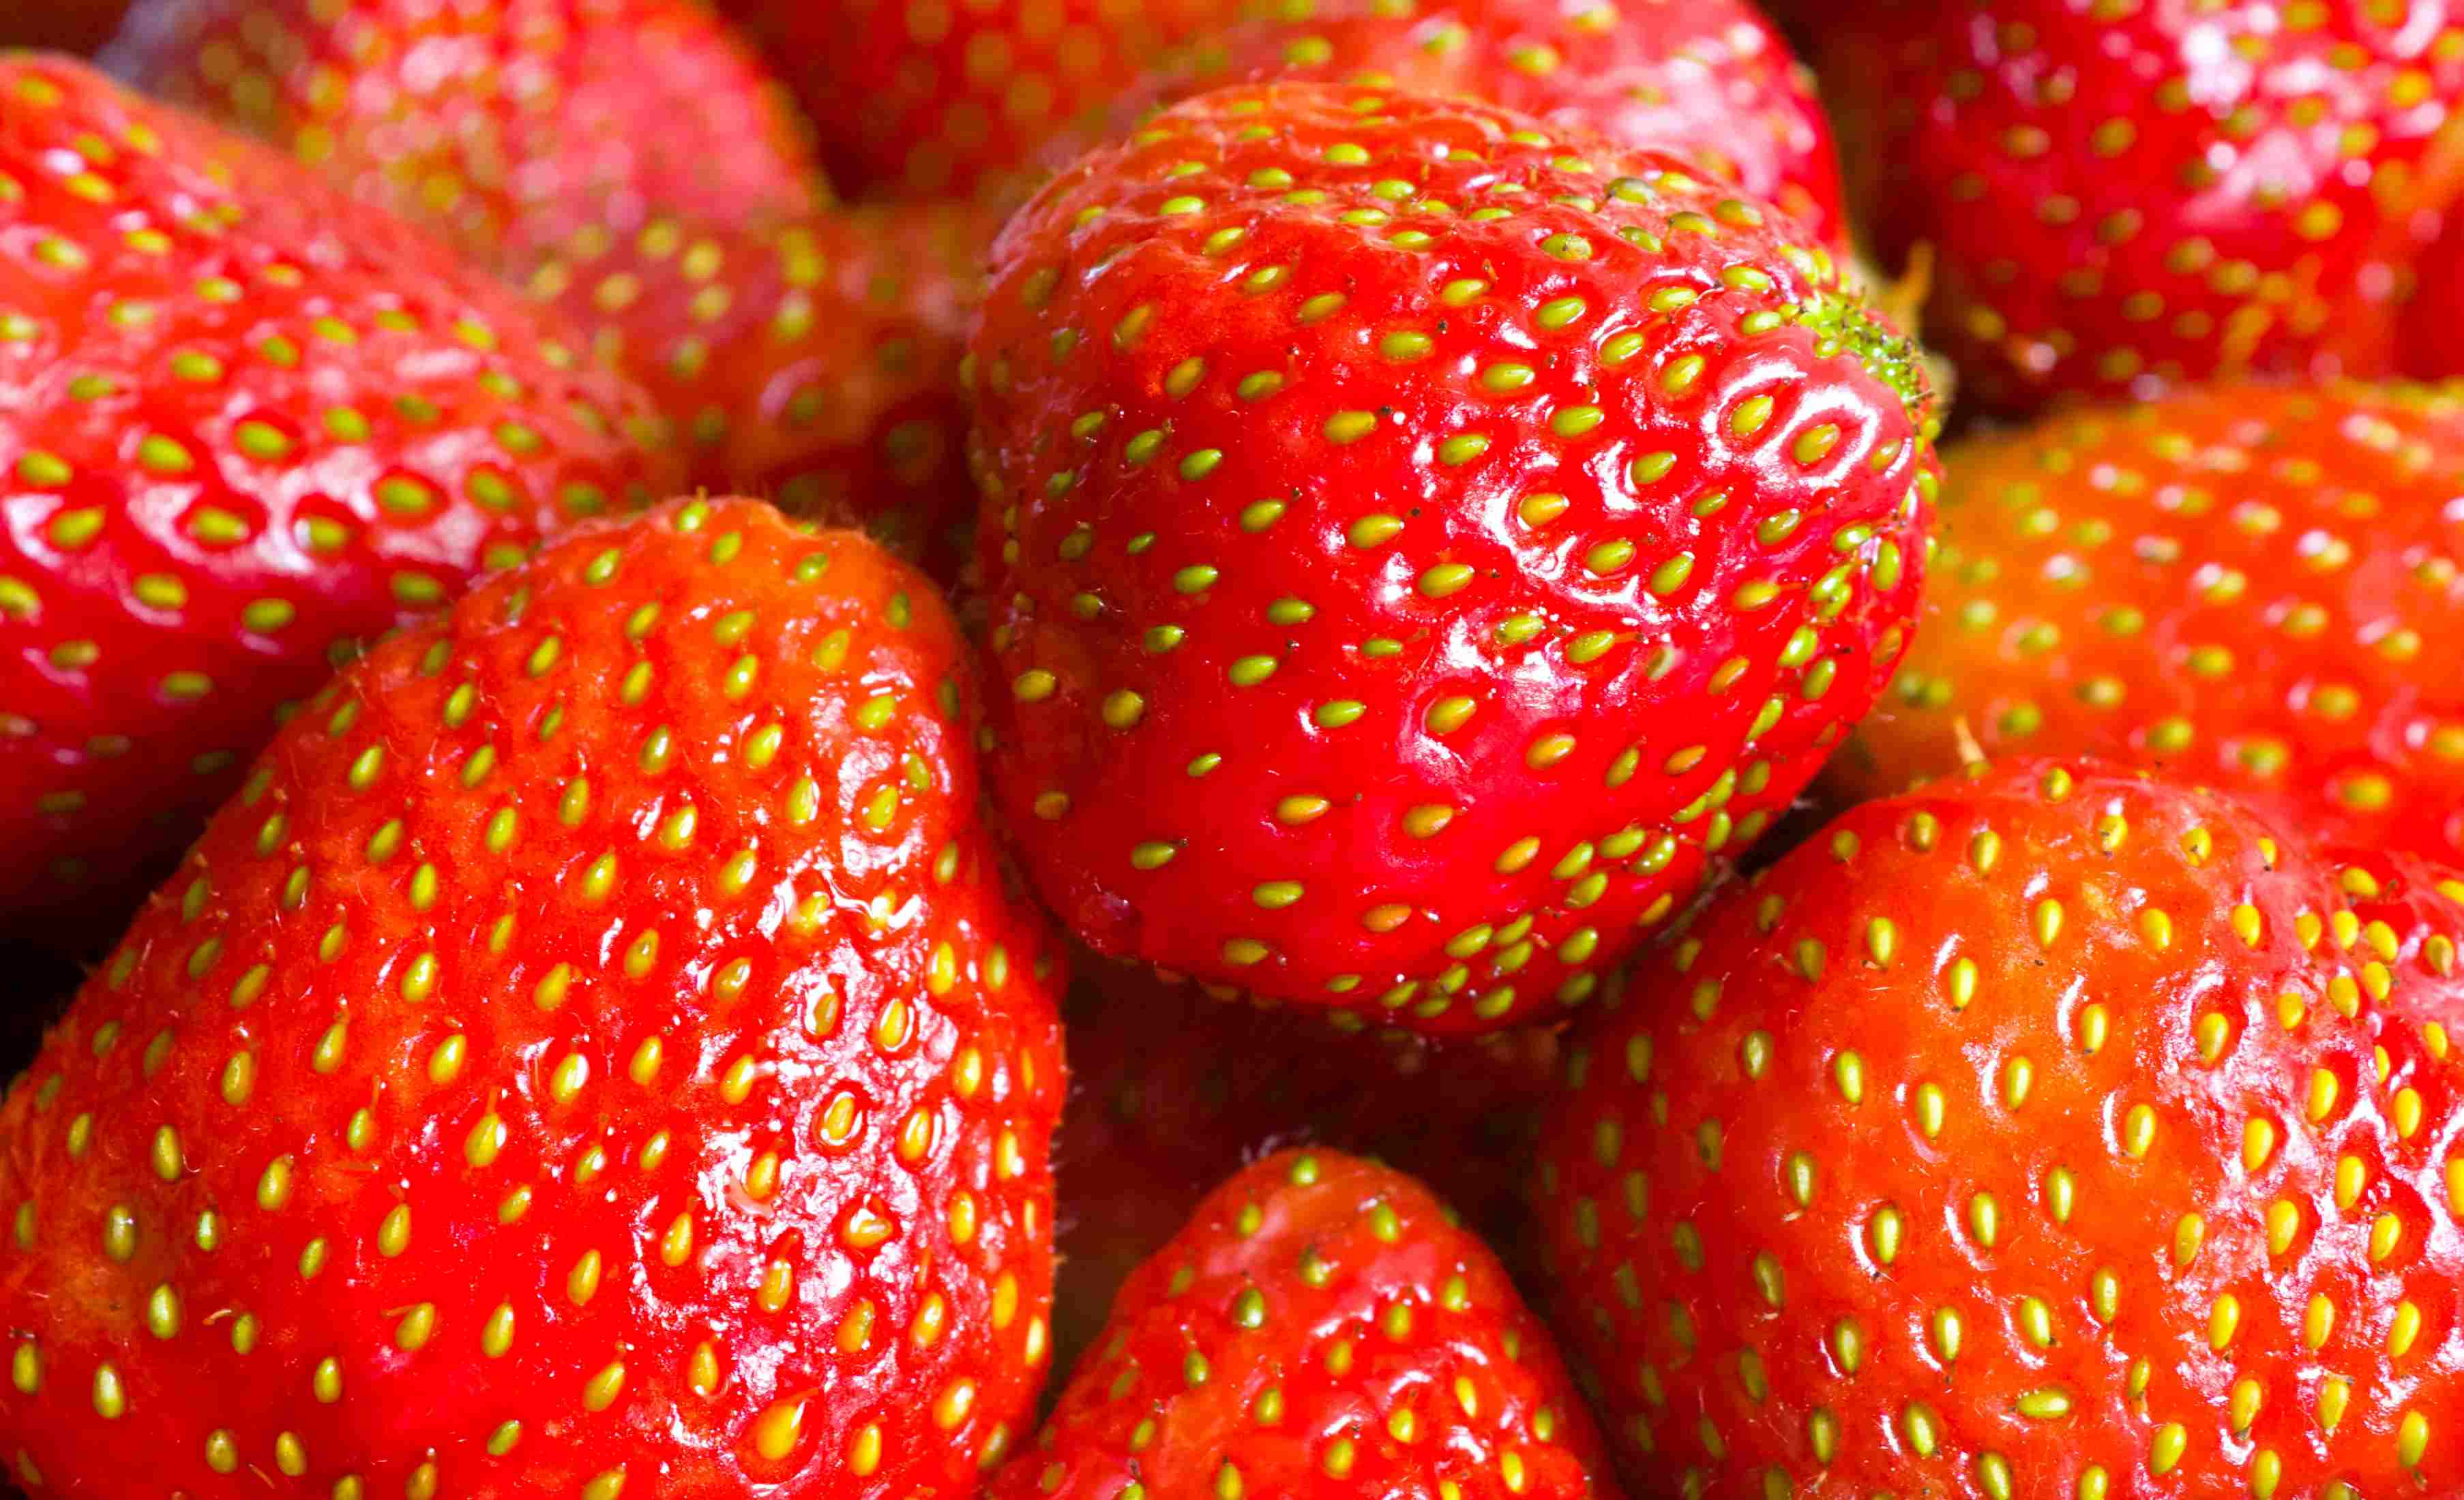
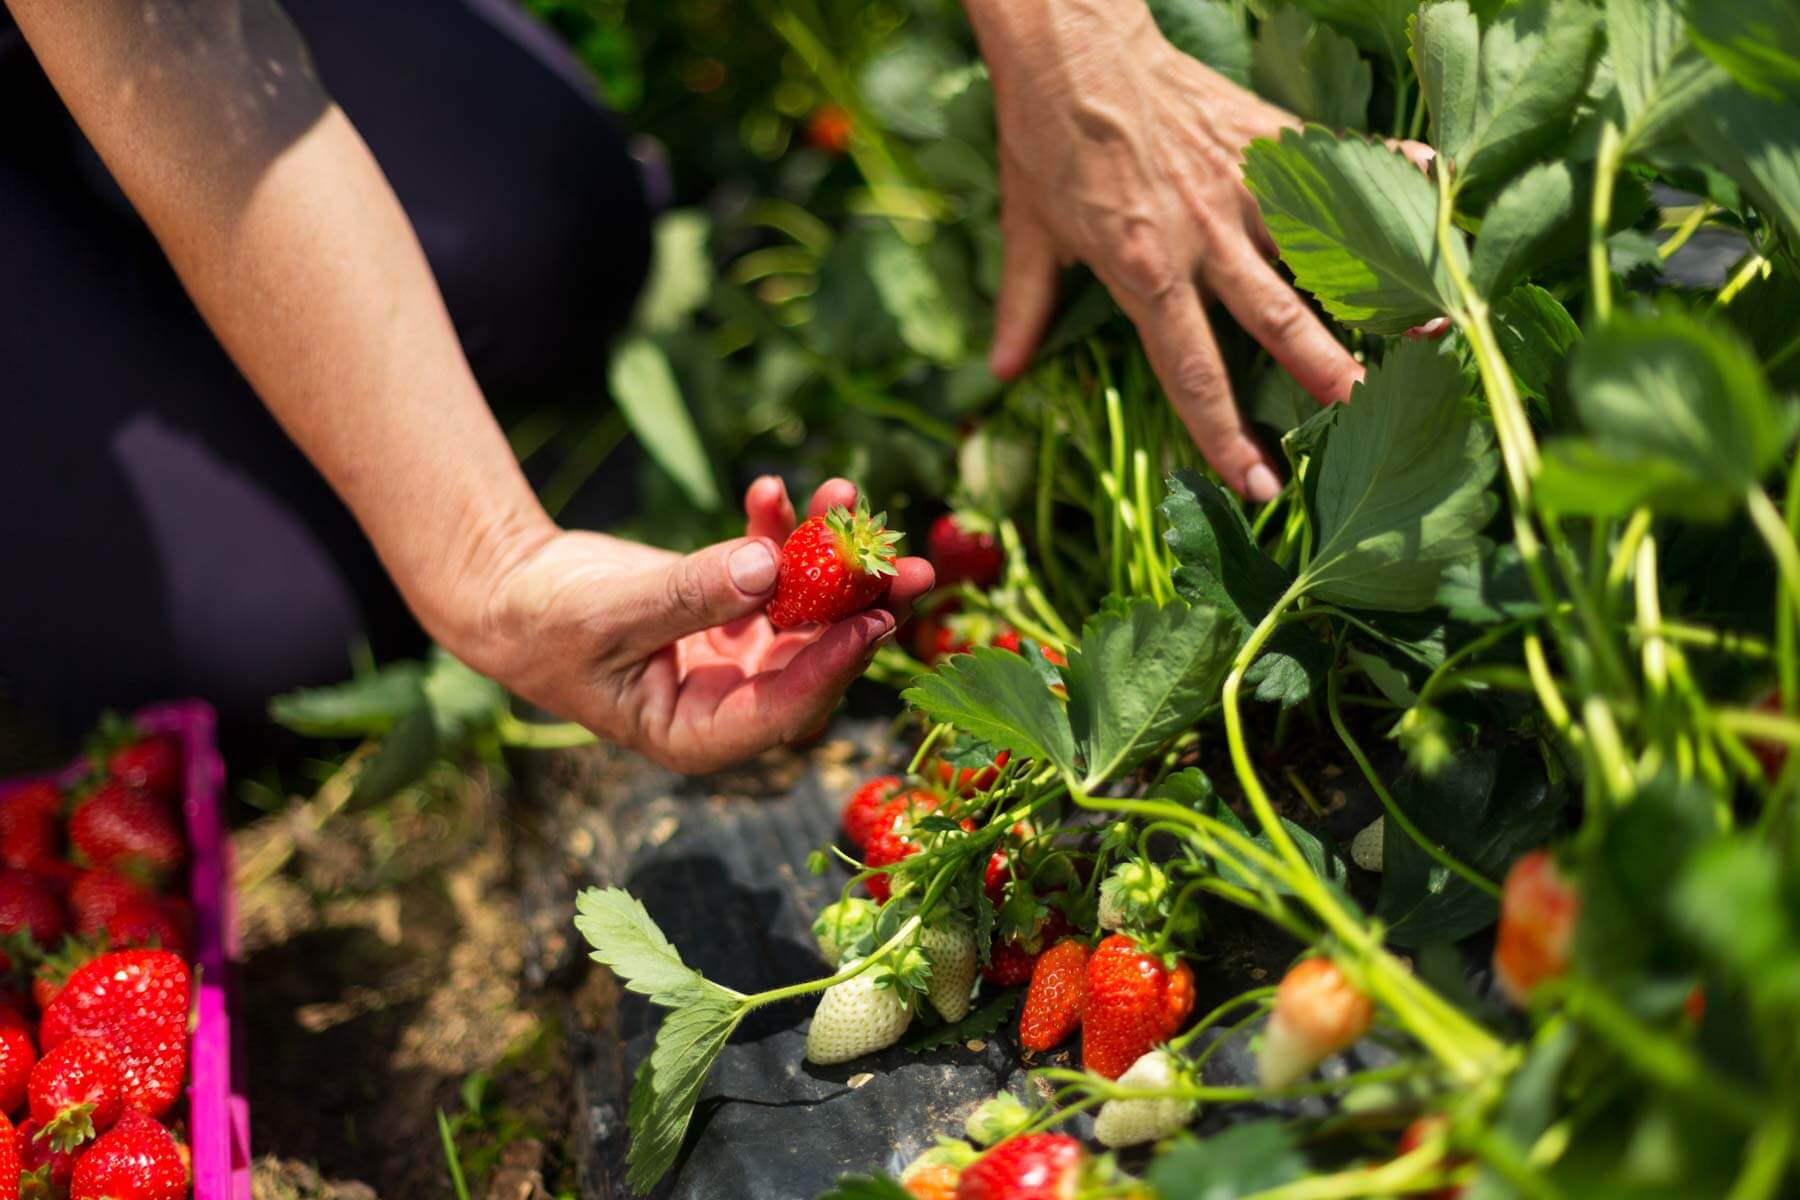
Step 9: Harvesting Strawberries
Harvesting strawberries is an exciting and rewarding moment in your edible gardening journey. Here’s how to properly harvest your ripe and juicy strawberries:
1. Watch for Ripeness: Monitor your strawberry plants closely, as the fruits can ripen quickly. Look for fully red strawberries with a glossy appearance. They should be firm to the touch but not overly soft or mushy. Be patient and wait for the berries to reach their optimal ripeness before picking.
2. Choose the Right Time: Harvest strawberries in the morning, when the temperatures are cooler. This helps retain the fruit’s quality and flavor.
3. Use Proper Technique: Gently hold the stem just above the fruit and pull the strawberry with a slight twisting motion. Be careful not to tug too forcefully, as this can damage the plant or leave the stem in the fruit.
4. Harvest Regularly: As the strawberry plants continue to produce ripe fruit, harvest them regularly every few days. This allows you to enjoy the peak flavor and sweetness of the strawberries and helps promote further fruit production.
5. Handle with Care: Handle the harvested strawberries delicately to avoid bruising or damaging the fruit. Place them in a shallow basket or container to prevent them from getting crushed or squished.
6. Enjoy Fresh or Store Properly: Freshly harvested strawberries are best enjoyed immediately after picking while they are still at their peak flavor. If you have more strawberries than you can eat right away, store them in a cool place, such as the refrigerator, for up to a few days. Avoid washing or removing the caps until you are ready to consume them to maintain their freshness.
Strawberries can be enjoyed in a variety of ways, from eating them fresh to incorporating them into delicious recipes such as jams, cakes, smoothies, and more. The joy of harvesting your own strawberries is that you can savor the fruits of your labor with every bite.
Congratulations on successfully growing and harvesting your own strawberries! By following the steps outlined in this guide, you have learned how to plant strawberries from seeds, care for the plants, and enjoy a bountiful harvest. May your future strawberry gardens continue to delight you and your taste buds!
Conclusion
Congratulations on completing your journey of growing strawberries from seeds! By following the step-by-step guide outlined in this article, you have learned how to select the right seeds, prepare the seedbed, plant the seeds, provide proper watering and sunlight, fertilize the plants, manage weeds and pests, transplant seedlings, care for the plants during growth, and harvest the ripe strawberries.
Growing your own strawberries from seeds is a rewarding and enjoyable experience. Not only do you get to savor the delicious flavors of homegrown strawberries, but you also have the satisfaction of nurturing a plant from its early stages to a fruitful harvest. The process may require patience and effort, but the end result is definitely worth it.
Remember to continue caring for your strawberry plants even after harvesting. Regular maintenance, including watering, fertilization, and pest control, will help ensure the longevity and productivity of your plants. By providing the proper care and attention, your strawberry plants will continue to bless you with sweet and juicy fruits for years to come.
Now that you have learned the art of growing strawberries from seeds, don’t be afraid to experiment with different varieties and techniques. Each growing season provides an opportunity to learn and improve upon your previous experiences.
So gather your gardening tools, select the finest strawberry seeds, and get ready to embark on another fruitful journey. Growing your own strawberries from seeds is not only a way to connect with nature, but also a way to add a burst of freshness and flavor to your meals. Enjoy the process and bask in the satisfaction of growing your own delicious strawberries!