Home>Types of Gardening>Ornamental Gardening>How To Grow A Bonsai From A Seed

Ornamental Gardening
How To Grow A Bonsai From A Seed
Modified: February 9, 2024
Learn the art of ornamental gardening with our guide on how to grow a bonsai from a seed. Cultivate your own miniature masterpiece with these step-by-step instructions.
(Many of the links in this article redirect to a specific reviewed product. Your purchase of these products through affiliate links helps to generate commission for Chicagolandgardening.com, at no extra cost. Learn more)
Table of Contents
- Introduction
- Step 1: Choosing the Right Bonsai Seed
- Step 2: Preparing the Seed for Germination
- Step 3: Germinating the Bonsai Seed
- Step 4: Transferring the Seedling to a Pot
- Step 5: Proper Care and Maintenance of the Bonsai Seedling
- Step 6: Shaping and Pruning the Bonsai Seedling
- Step 7: Repotting the Bonsai Seedling
- Step 8: Continued Care and Training of the Bonsai Tree
- Conclusion
Introduction
Welcome to the captivating world of ornamental gardening! If you’re looking to add a touch of natural beauty and tranquility to your surroundings, growing a bonsai tree from a seed is a rewarding and fulfilling journey to embark on. Bonsai trees have been revered for centuries as miniature works of art, symbolizing harmony between nature and humans.
While the art of bonsai may seem intricate and daunting, it is an incredibly enriching experience that allows you to foster patience, creativity, and a deep connection with nature. The process of growing a bonsai from a seed grants you full control over the tree’s growth and development, enabling you to shape and nurture it according to your artistic vision.
In this comprehensive guide, we will walk you through the step-by-step process of growing a bonsai tree from a seed. From selecting the right seed to caring for and shaping the bonsai tree, we will provide you with all the information you need for a successful journey.
Before we dive into the practical aspects, it’s important to understand the essence of bonsai. Bonsai is not merely a tree in a miniature form; it is an emotional expression and a reflection of our appreciation for the natural world. By cultivating a bonsai tree, you become a custodian of nature’s beauty and a storyteller of its history.
So, let’s embark on this beautiful journey together. With patience, dedication, and a touch of creativity, you can create a miniature masterpiece that will be admired for generations to come. Let’s begin by choosing the right bonsai seed to nurture and watch it flourish into a magnificent work of art.
Step 1: Choosing the Right Bonsai Seed
The first step in growing a bonsai tree from a seed is selecting the right seed for your desired tree species. The choice of seed will determine the characteristics and overall appearance of your future bonsai tree. Here are a few factors to consider when choosing a bonsai seed:
- Species: Research different tree species commonly used for bonsai, such as Juniper, Maple, Pine, or Elm, and choose one that appeals to your aesthetic preferences. Each species has its own unique growth habits, leaf shapes, and colors, so consider which one aligns with the vision you have for your bonsai tree.
- Climate Suitability: Take into account your climate conditions when selecting a bonsai seed. Some tree species thrive in specific climates, while others are more adaptable. Ensure that the species you choose is well-suited to your region’s temperature, humidity, and sunlight levels to support healthy growth.
- Seed Quality: Opt for fresh, viable seeds from reputable suppliers. Check for seeds that are plump, without any signs of mold or damage. High-quality seeds have a higher chance of germination, ensuring a strong start to your bonsai tree’s life.
- Growth Rate: Consider the growth rate of the tree species you choose. If you’re a beginner, it’s advisable to start with a species that has a moderate growth rate. Slower-growing trees are more forgiving and easier to shape and maintain as bonsai.
- Personal Preference: Ultimately, choose a bonsai seed that resonates with you personally. The process of growing and caring for a bonsai tree requires time and dedication. Select a species that you feel a connection with and that you can envision nurturing and shaping into a beautiful bonsai tree.
Once you have chosen the perfect bonsai seed that meets your criteria, you are ready to move on to the next step: preparing the seed for germination. This is a crucial stage that sets the foundation for successful bonsai cultivation. Take your time to ensure that you have made an informed decision and are confident in the choice of seed. Now, let’s start bringing your bonsai tree to life!
Step 2: Preparing the Seed for Germination
Preparing the seed for germination is a vital step in the process of growing a bonsai tree from a seed. It involves creating the optimal conditions for the seed to sprout and begin its journey towards becoming a beautiful bonsai tree. Follow these steps to prepare your seed for germination:
- Seed Scarification: Some bonsai tree species have hard seed coats that can inhibit germination. To overcome this, you can scarify the seed by gently nicking or scratching the seed coat. This allows water to penetrate and softens the seed for sprouting.
- Seed Soaking: Soaking the seed in water before sowing helps to kick-start the germination process. Place the seed in a bowl of water and let it soak for a few hours or overnight. This helps to hydrate the seed and encourages germination.
- Stratification: Many bonsai tree species require a period of stratification to simulate winter conditions and break dormancy. Stratification involves exposing the seed to a period of cold and moist conditions. You can achieve this by placing the seed in a sealed bag with a damp paper towel and refrigerating it for several weeks, following the specific stratification requirements for your chosen species.
- Seedling Trays: Once the stratification period is complete, it’s time to transfer the seed to a seedling tray. Fill the tray with a well-draining bonsai soil mix. Make sure to moisten the soil before sowing the seed. Gently press the seed into the soil, ensuring that it is not buried too deep, as this can hinder germination.
- Provide Optimal Conditions: To facilitate germination, create a suitable environment for the seedling tray. Place it in a warm location with indirect sunlight or use a seedling heat mat to maintain a consistent temperature around 70-75°F (21-24°C). Ensure the soil remains evenly moist but not waterlogged.
- Patience: Germination can take varying amounts of time depending on the bonsai species. Some seeds may sprout within days, while others may take several weeks or even months. Be patient and maintain consistent care and conditions, checking regularly for signs of germination.
Preparing the seed for germination sets the stage for the exciting journey ahead. It is an important step that allows you to establish a strong foundation for your bonsai tree’s growth. With the seed now prepared, we can move on to the next step: germinating the bonsai seed and witnessing the first signs of life!
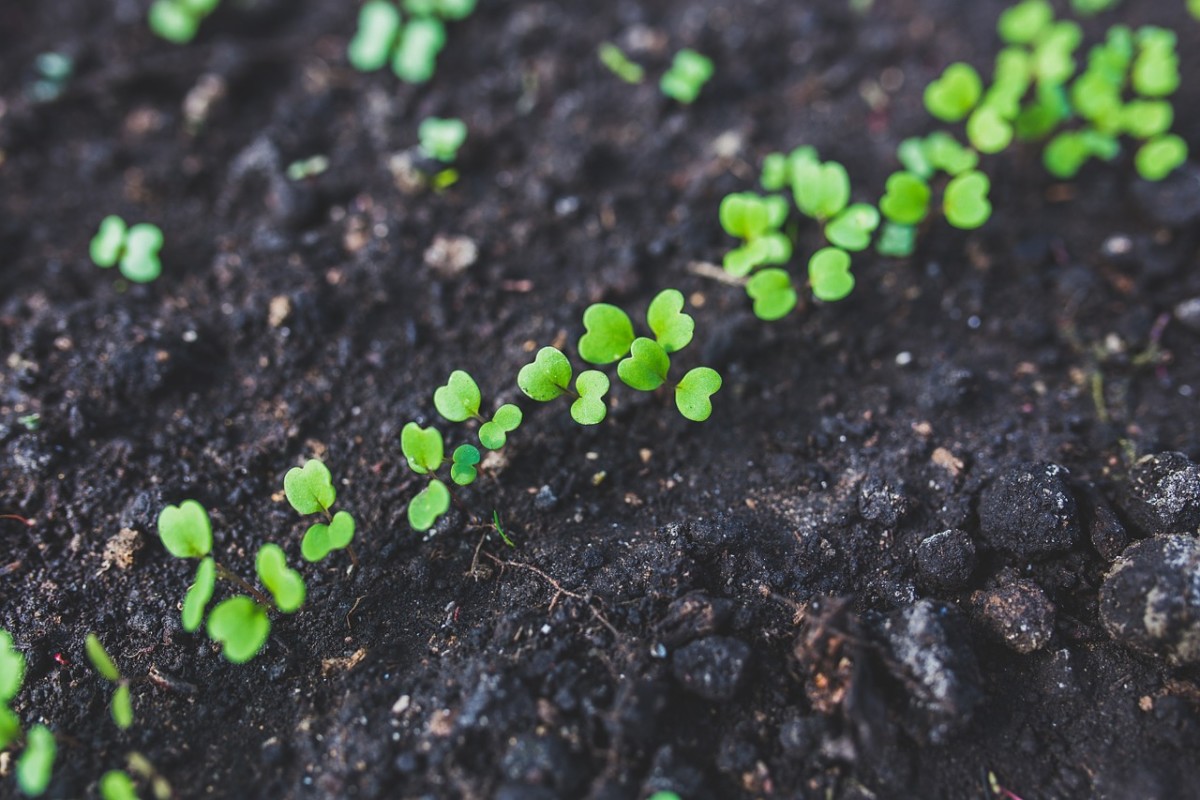
Step 3: Germinating the Bonsai Seed
Now that you have prepared the seed for germination, it’s time to move on to the exciting stage of actually germinating the bonsai seed. This process involves providing the ideal conditions for the seed to sprout and develop into a seedling. Follow these steps to germinate your bonsai seed:
- Optimal Temperature: Maintain a consistent temperature for germination. Depending on the species, most bonsai seeds germinate best at temperatures between 70-75°F (21-24°C). Use a seedling heat mat or place the tray in a warm area, away from drafts, to provide a stable and warm environment for the seed.
- Indirect Sunlight: Place the seedling tray in a location with bright, indirect sunlight. Avoid direct sunlight, as it can dry out the soil and damage the delicate seedling. If natural lighting is insufficient, you can use grow lights to provide the necessary light intensity for germination.
- Consistent Moisture: Ensure that the soil in the seedling tray is consistently moist. Monitor the moisture levels and water the tray gently whenever the top layer of soil begins to dry out. Avoid overwatering, as excessive moisture can lead to rot or fungal issues.
- Patience and Observation: Germination times can vary significantly depending on the bonsai species. Some seeds may sprout within a week, while others may take several weeks or even months. Be patient and continue to provide the ideal conditions for germination. Monitor the tray regularly, looking for signs of the seedling emerging from the soil.
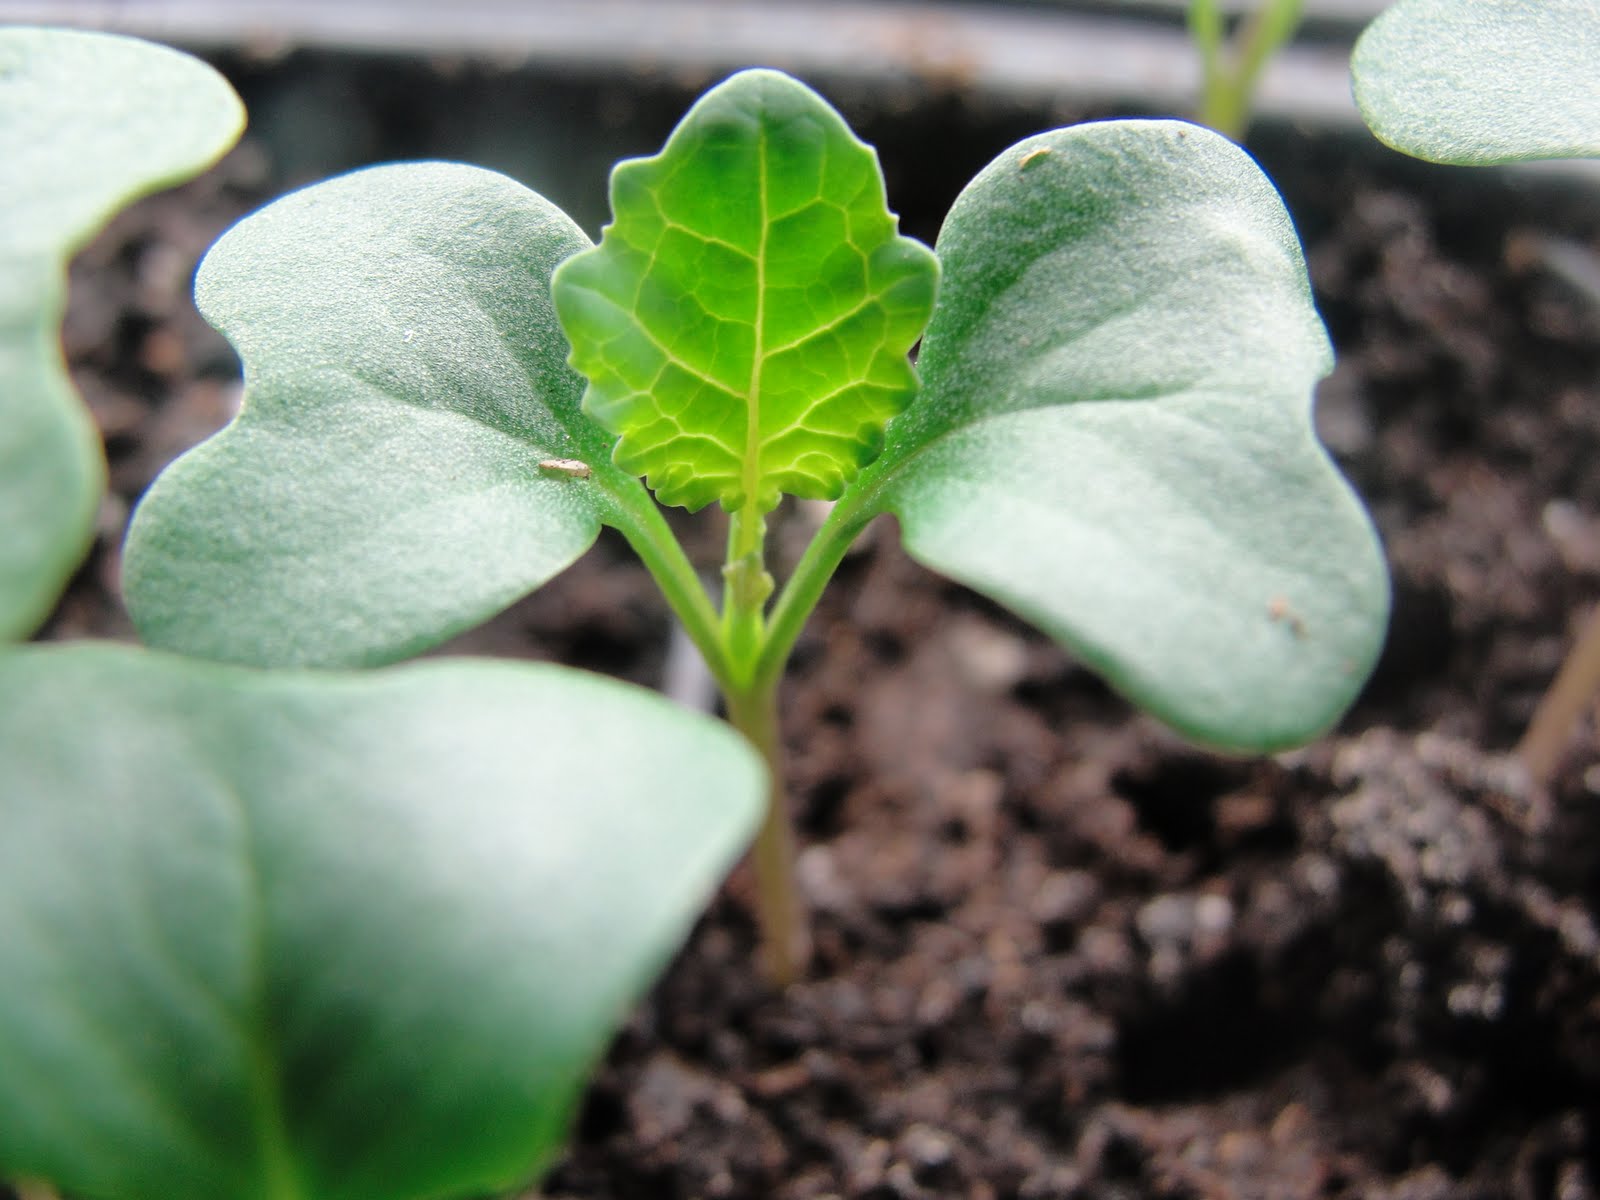
- Transplanting Seedlings: Once the seedling has sprouted and gained a few sets of true leaves, it is ready to be transplanted into individual pots. Gently remove the seedling from the tray, taking care not to damage its delicate roots. Plant it in a bonsai pot filled with well-draining soil, ensuring the roots are placed evenly and cover them with soil.
- Careful Watering: After transplanting, water the seedling thoroughly and keep the soil evenly moist. Avoid overwatering, as it can cause root rot. Regularly monitor the moisture levels and adjust your watering routine accordingly.
Germinating the bonsai seed marks the beginning of your seedling’s journey towards becoming a well-established bonsai tree. It’s an exciting phase where you get to witness tangible growth and see your efforts come to life. With patience, attentive care, and a little bit of luck, your bonsai seedling will thrive and progress to the next stage of development: transferring it to a pot. So keep nurturing your seedling and get ready for the next step in the process!
Step 4: Transferring the Seedling to a Pot
Once your bonsai seedling has grown and developed a few sets of true leaves, it’s time to transfer it to a bonsai pot. Transplanting the seedling into a pot allows for better root development and provides the tree with a suitable environment for further growth. Follow these steps to successfully transfer your seedling into a pot:
- Choose the Right Pot: Select a bonsai pot that suits the size and style of your developing tree. Bonsai pots come in various materials and designs, such as ceramic or clay. Ensure the pot has drainage holes to prevent waterlogging, which can lead to root rot.
- Prepare the Potting Mix: Use a well-draining soil mix specifically formulated for bonsai cultivation. Avoid using regular garden soil, as it can become compacted and hinder root growth. The mix should have good water retention while allowing excess water to drain away.
- Remove the Seedling: Carefully remove the seedling from its current container, gently loosening the soil around the roots. Take care not to damage the delicate roots as you do this. If the roots have become tangled or circling the container, tease them apart to encourage outward growth.
- Prepare the Pot: Place a layer of bonsai soil in the bottom of the pot, creating a small mound in the center. Position the seedling in the pot, ensuring that the roots are spread evenly over the mound of soil. Fill in the remaining space with the potting mix, gently firming it around the roots.
- Watering and Settling: After transplanting, water the newly potted seedling thoroughly. This will help settle the soil and remove any air pockets around the roots. Avoid overwatering, but ensure the soil is evenly moist. You may also choose to cover the pot with a humidity dome or plastic bag to create a humid microclimate to support root recovery.
- Placement and Maintenance: Choose a well-lit location for the potted seedling, avoiding direct sunlight during the hottest part of the day. Monitor the moisture levels in the soil and water appropriately. As the seedling grows, make sure to adjust its position to encourage balanced development and prevent the tree from leaning in one direction.
Transferring your bonsai seedling to a pot allows it to continue its growth and development in a suitable environment. The pot provides better root control and allows you to create the ideal conditions for a thriving bonsai tree. With the seedling now placed in its new home, it’s time to shift your focus to the crucial step of caring for and maintaining your bonsai tree.
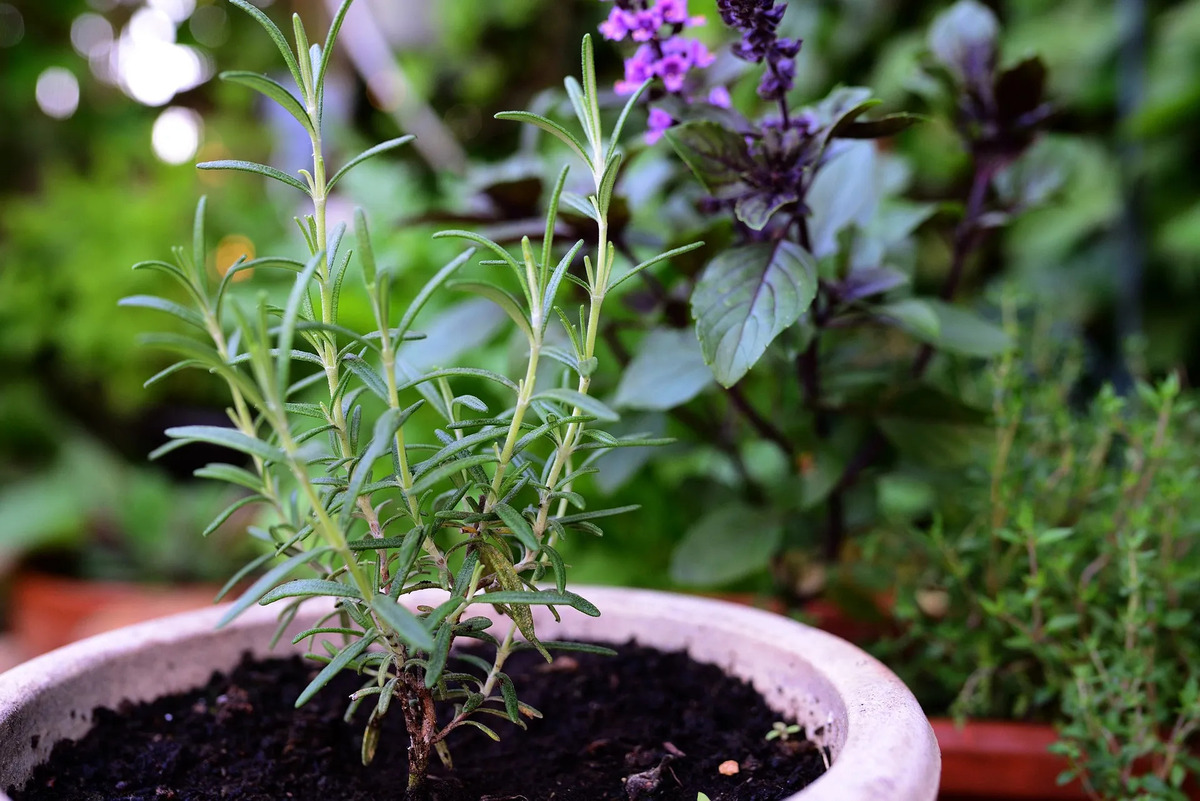
Step 5: Proper Care and Maintenance of the Bonsai Seedling
Proper care and maintenance are essential for the healthy and sustained growth of your bonsai seedling. By providing the necessary elements of water, sunlight, and nutrients, you can ensure that your bonsai tree thrives and develops into a stunning work of art. Here’s how to care for your bonsai seedling:
- Watering: Watering is a critical aspect of bonsai tree care. Monitor the moisture level of the soil daily, and water the seedling when the top layer of soil feels slightly dry. Use a gentle watering technique to prevent soil erosion and ensure thorough saturation of the root zone. Avoid both overwatering, which can lead to root rot, and underwatering, which can stress the tree.
- Sunlight: Bonsai trees require ample sunlight for healthy growth. Place your seedling in a location that receives adequate sunlight, preferably in a spot with morning sun and filtered afternoon shade. Rotate the pot occasionally to ensure even exposure to sunlight and promote balanced growth.
- Humidity: Bonsai trees generally prefer higher humidity levels. To increase humidity around your seedling, you can mist the leaves with water or place the pot on a humidity tray filled with water and pebbles. Ensure the bottom of the pot is above the waterline to avoid waterlogging.
- Fertilization: Fertilizing your bonsai seedling provides it with essential nutrients for healthy growth. Use a balanced liquid or slow-release bonsai fertilizer, following the instructions on the packaging. Apply fertilizer during the growing season, usually from spring to autumn, and reduce or stop fertilization during winter when the tree is dormant.
- Pruning and Shaping: Regular pruning is crucial for shaping and maintaining your bonsai seedling’s desired form. Trim any unwanted branches or excessive growth to maintain the tree’s aesthetic appeal. Pruning promotes ramification (branching) and directs growth in the desired direction. Additionally, wiring can be used to shape and train the branches into graceful curves and bends.
- Pest and Disease Control: Inspect your bonsai seedling regularly for signs of pests or diseases, such as aphids, spider mites, or fungal infections. Treat any issues promptly with appropriate organic or chemical treatments to prevent further damage and ensure the health of your tree.
Caring for and maintaining your bonsai seedling requires constant attention and observation. By providing proper watering, sunlight, nutrients, and maintenance, you will create an environment that fosters healthy growth and allows your bonsai tree to flourish. With dedicated care and ongoing maintenance, your seedling will continue to thrive and mature, bringing you joy and satisfaction as you witness its transformation into a majestic bonsai tree.
Step 6: Shaping and Pruning the Bonsai Seedling
Shaping and pruning are fundamental practices in bonsai cultivation that allow you to sculpt your bonsai seedling into a miniature tree of aesthetic beauty. Through careful pruning and shaping techniques, you can create the desired form and achieve a balanced and harmonious appearance for your bonsai tree. Follow these steps to shape and prune your bonsai seedling:
- Identify the Design: Start by envisioning the design or style you want to achieve for your bonsai tree. Styles can range from formal upright, informal upright, slanting, cascade, and many more. Study references and examples of bonsai trees in your desired style to gain inspiration and insight.
- Primary Branch Selection: Look for the strongest and most prominent branches to serve as the primary branches of your bonsai tree. These branches will form the backbone of the tree’s structure and dictate its overall shape and silhouette. Select branches that emerge at different heights and angles to create a sense of movement and visual interest.
- Pruning: Use sharp and clean pruning shears or scissors to remove unwanted branches or shoots. Prune with precision, taking care to make clean cuts just above a leaf node or bud. Remove any branches that disrupt the desired vision for your bonsai tree. Regular pruning will help maintain the tree’s shape and encourage more refined growth.
- Branch Wiring: Wiring is a technique used to shape and direct the growth of branches. Carefully wrap anodized or annealed aluminum bonsai wire around the branches, following their natural curves. Adjust the wire tension to guide the branches in the desired direction without causing damage. Regularly check the wire to ensure it does not cut into the bark as the tree grows.
- Secondary Branch Selection: Once the primary branches have been established, focus on selecting and shaping the secondary branches. These branches provide depth and intricacy to the bonsai tree’s overall structure. Choose branches that harmonize with the primary branches and contribute to the desired artistic vision for your bonsai tree.
- Leaf Pruning: Leaf pruning is essential to maintain a compact and refined appearance for your bonsai tree. Remove excess or large leaves to encourage better ramification (branching) and create a more visually pleasing foliage mass. Do this regularly throughout the growing season, ensuring that you do not remove all the leaves at once, as the tree still needs them to photosynthesize and store energy.
Shaping and pruning your bonsai seedling requires an artistic eye and attention to detail. Remember that shaping a bonsai is a continuous process, as the tree grows and matures over time. Regularly evaluate and adjust the shape of your bonsai tree as it develops, allowing it to evolve into a masterpiece that reflects your artistic vision. Enjoy the transformative journey of shaping and pruning your bonsai seedling, and watch as it gradually becomes a stunning testament to your dedication and creativity.
Step 7: Repotting the Bonsai Seedling
Repotting is a crucial step in the ongoing care and development of your bonsai seedling. It aids in maintaining the health of the tree, promoting optimal root growth, and preventing root-bound conditions. Repotting allows you to refresh the soil, provide space for root expansion, and improve overall aesthetics. Follow these steps to successfully repot your bonsai seedling:
- Timing: Repot your bonsai seedling in early spring, just before the growing season begins when the tree is actively growing. This allows the tree to recover quickly from the repotting process and take advantage of the increased root space and fresh soil for new growth.
- Choose the Right Pot: Select a slightly larger pot than the current one to accommodate the growing root system. Consider the style and proportions of your bonsai tree when choosing a pot, ensuring it complements the tree’s overall aesthetics. Make sure the pot has proper drainage holes to prevent overwatering.
- Remove the Tree from the Pot: Carefully remove the bonsai seedling from its current pot, being gentle with the roots. To facilitate removal, slip a chopstick or root hook along the sides of the pot to loosen the root ball. Hold the base of the tree and gently lift it out, taking care not to damage the delicate roots.
- Inspect and Prune Roots: Examine the root system and trim away any circling or overly long roots. Use sharp and clean pruning shears or scissors to make clean cuts. This helps encourage new root growth and prevent the roots from becoming tangled or oxygen-deprived.
- Prepare the New Pot: Place a layer of fresh bonsai soil mix in the bottom of the new pot. Create a small mound or cone of soil at the center and position the seedling on top of it, spreading the roots evenly over the soil. Fill in the gaps with the bonsai soil mix, ensuring the roots are covered but not buried too deeply.
- Water and Settle: After repotting, water the freshly potted seedling thoroughly. This helps settle the soil and remove air pockets around the roots. Ensure proper drainage by allowing excess water to flow out from the drainage holes. Keep the newly repotted tree in a shaded area for a few weeks to minimize stress and allow the roots to regenerate.
- Monitor and Maintain: After repotting, closely monitor the moisture level of the soil to ensure proper hydration. Avoid fertilizing immediately after repotting, as the tree needs time to recover. Resume regular care and maintenance, adapting to the new pot size, and continue shaping and pruning as necessary.
Repotting your bonsai seedling is a significant step towards its long-term health and development. The process allows you to refresh the soil, promote root growth, and ensure the tree has adequate space to flourish. As your bonsai tree matures, regular repotting every 2-3 years will be necessary to maintain its vitality and promote its continued growth and refinement. With proper repotting techniques, your bonsai seedling will thrive and begin to showcase its true potential.
Step 8: Continued Care and Training of the Bonsai Tree
Congratulations on successfully growing and nurturing your bonsai tree from a seed! However, the journey doesn’t end here. Continued care and training are essential for the long-term health and development of your bonsai tree. By providing ongoing maintenance, you can shape, refine, and maintain the beauty of your bonsai tree for years to come. Here’s what you need to know about the continued care and training of your bonsai tree:
- Watering: Pay close attention to the moisture level of the soil and water your bonsai tree regularly. Seek balance by ensuring the soil is evenly moist without being waterlogged. Adjust your watering schedule according to the specific needs of your tree and the environmental conditions.
- Fertilization: Continuously feed your bonsai tree with a suitable bonsai fertilizer to provide it with essential nutrients. Use a balanced, slow-release fertilizer during the growing season. Monitor the tree’s response to the fertilizer and adjust the frequency and strength of application accordingly.
- Pruning and Shaping: Regular pruning is essential to refine the shape and maintain the overall aesthetics of your bonsai tree. Thin out dense foliage, remove unwanted branches, and wire and shape new growth. Continuously evaluate the tree’s structure and make maintenance adjustments to guide its growth in the desired direction.
- Pest and Disease Control: Regularly inspect your bonsai tree for signs of pests, such as aphids or spider mites, as well as diseases like fungal infections. Take immediate action if you notice any issues, employing appropriate organic or chemical treatments to protect the health of your tree.
- Wiring and Training: As your bonsai tree grows, continue to wire and train its branches to maintain the desired shape. Adjust existing wires to accommodate growth and remove wires that have begun to cut into the bark. Be patient and gentle when wiring, ensuring you don’t damage or stress the tree.
- Seasonal Considerations: Recognize the changing needs of your bonsai tree throughout the seasons. Adjust your care routine accordingly, providing extra protection during extreme weather conditions. Consider seasonal tasks such as repotting during the appropriate times to promote healthy root growth.
Continued care and training are crucial for the maintenance and development of your bonsai tree. By dedicating time and attention to its needs, you can shape and refine it into a stunning work of art. Remember to enjoy the process and embrace the evolving beauty of your bonsai tree as it grows and matures over the years. With consistent care and training, your bonsai tree will become a remarkable testament to your dedication, patience, and the artistry of ornamental gardening.
Conclusion
Congratulations on completing this comprehensive guide to growing a bonsai tree from a seed! You have learned the step-by-step process of selecting the right seed, preparing it for germination, and watching it grow into a seedling. We explored the importance of proper care and maintenance, shaping and pruning techniques, repotting, and continued training for the long-term health and development of your bonsai tree.
Growing and nurturing a bonsai tree is a unique and rewarding journey that requires patience, dedication, and a connection with nature. As you embark on this pursuit, keep in mind that every bonsai tree is a living work of art, reflecting your vision and creativity. Through careful pruning and shaping, you can transform a seedling into a bonsai masterpiece, capturing the essence of nature in a miniature form.
Remember to provide your bonsai tree with the essentials it needs to thrive: water, sunlight, nutrients, and proper care. Regularly monitor its health, adjusting your care routine accordingly. Embrace the art of bonsai as a constant learning experience, allowing you to refine your skills and deepen your understanding of this ancient and revered art form.
As you continue on your bonsai journey, seek inspiration from the beauty of nature and the wisdom of seasoned bonsai enthusiasts. Connect with bonsai communities, attend workshops, and explore exhibitions to enrich your knowledge and expand your horizons. Share your passion with others, as bonsai is not only a personal journey but also a way to bring people together and foster a love for the natural world.
Now, armed with the knowledge and understanding gained from this guide, it’s time to put it into practice. Select your bonsai seed, prepare it for germination, and watch as it grows into a magnificent tree that will be admired for generations to come. Embrace the artistry of bonsai, and may your journey be filled with joy, creativity, and a deep appreciation for the beauty of nature.