Home>Gardening Techniques>Plant Care>How To Grow Pine Trees From Seed
Plant Care
How To Grow Pine Trees From Seed
Modified: February 7, 2024
Learn the essential steps of plant care to successfully grow pine trees from seed. Discover expert tips and techniques for optimal germination and growth.
(Many of the links in this article redirect to a specific reviewed product. Your purchase of these products through affiliate links helps to generate commission for Chicagolandgardening.com, at no extra cost. Learn more)
Table of Contents
Introduction
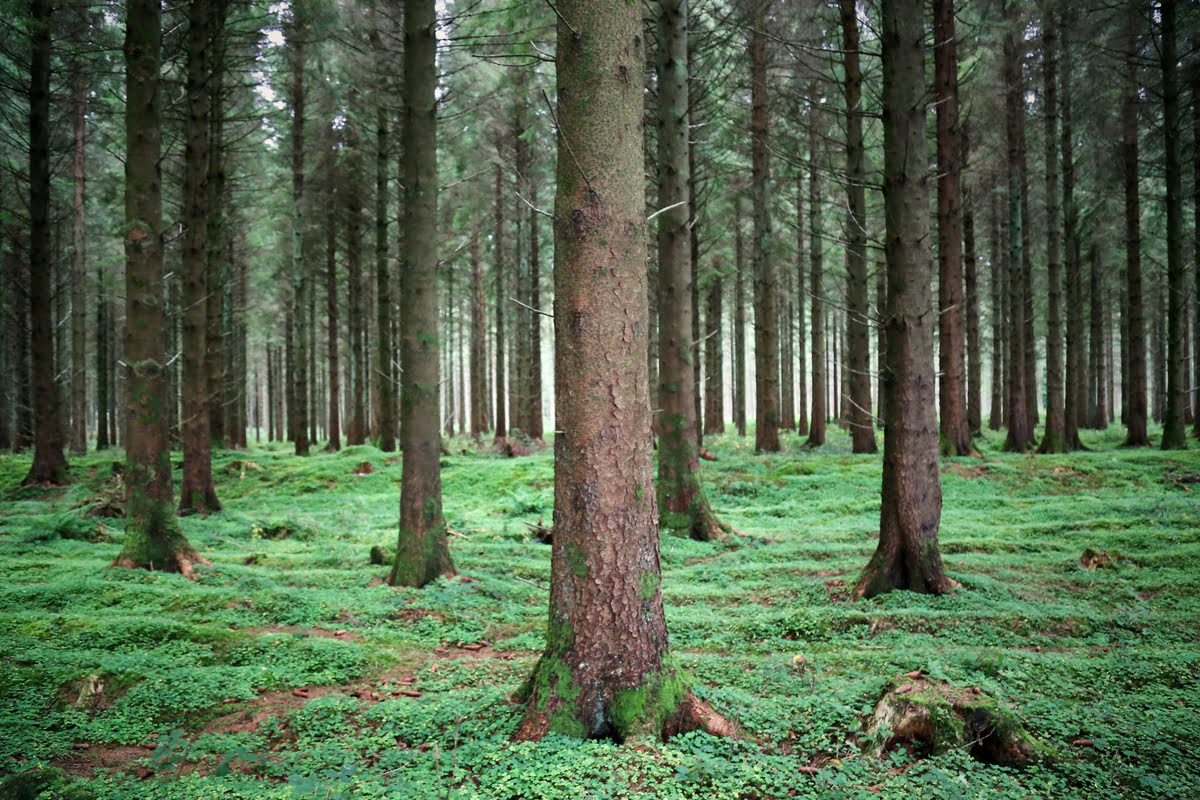
Welcome to the wonderful world of pine tree gardening! Growing pine trees from seeds can be a rewarding and fulfilling experience. Not only do these majestic trees make a stunning addition to any landscape, but they also provide shade, improve air quality, and contribute to the overall health of the environment. Whether you’re a seasoned gardener or new to the world of plant care, this article will guide you through the process of growing pine trees from seeds.
Before we dive into the details, it’s important to understand that growing pine trees from seeds requires patience and commitment. Unlike some fast-growing plants, pine trees have a slow growth rate, but the end result is well worth the wait. While it may take several years for your seedlings to develop into full-grown trees, the sense of accomplishment and satisfaction you’ll experience as you watch them grow will make it all worthwhile.
In this article, we’ll cover everything you need to know to successfully grow pine trees from seeds. We’ll start by discussing the selection of the right seeds, followed by the necessary preparation and planting techniques. We’ll also provide valuable tips on caring for your young pine trees and eventually transplanting them to their permanent location. So, let’s get started on this exciting journey of nurturing and cultivating your very own pine tree garden.
Selecting the Pine Tree Seeds
The first step in growing pine trees from seeds is to select the right seeds for your desired tree species. There are various types of pine trees to choose from, each with its own unique characteristics and growth requirements. It’s important to consider factors such as climate, soil conditions, and the overall aesthetic you want to achieve in your garden.
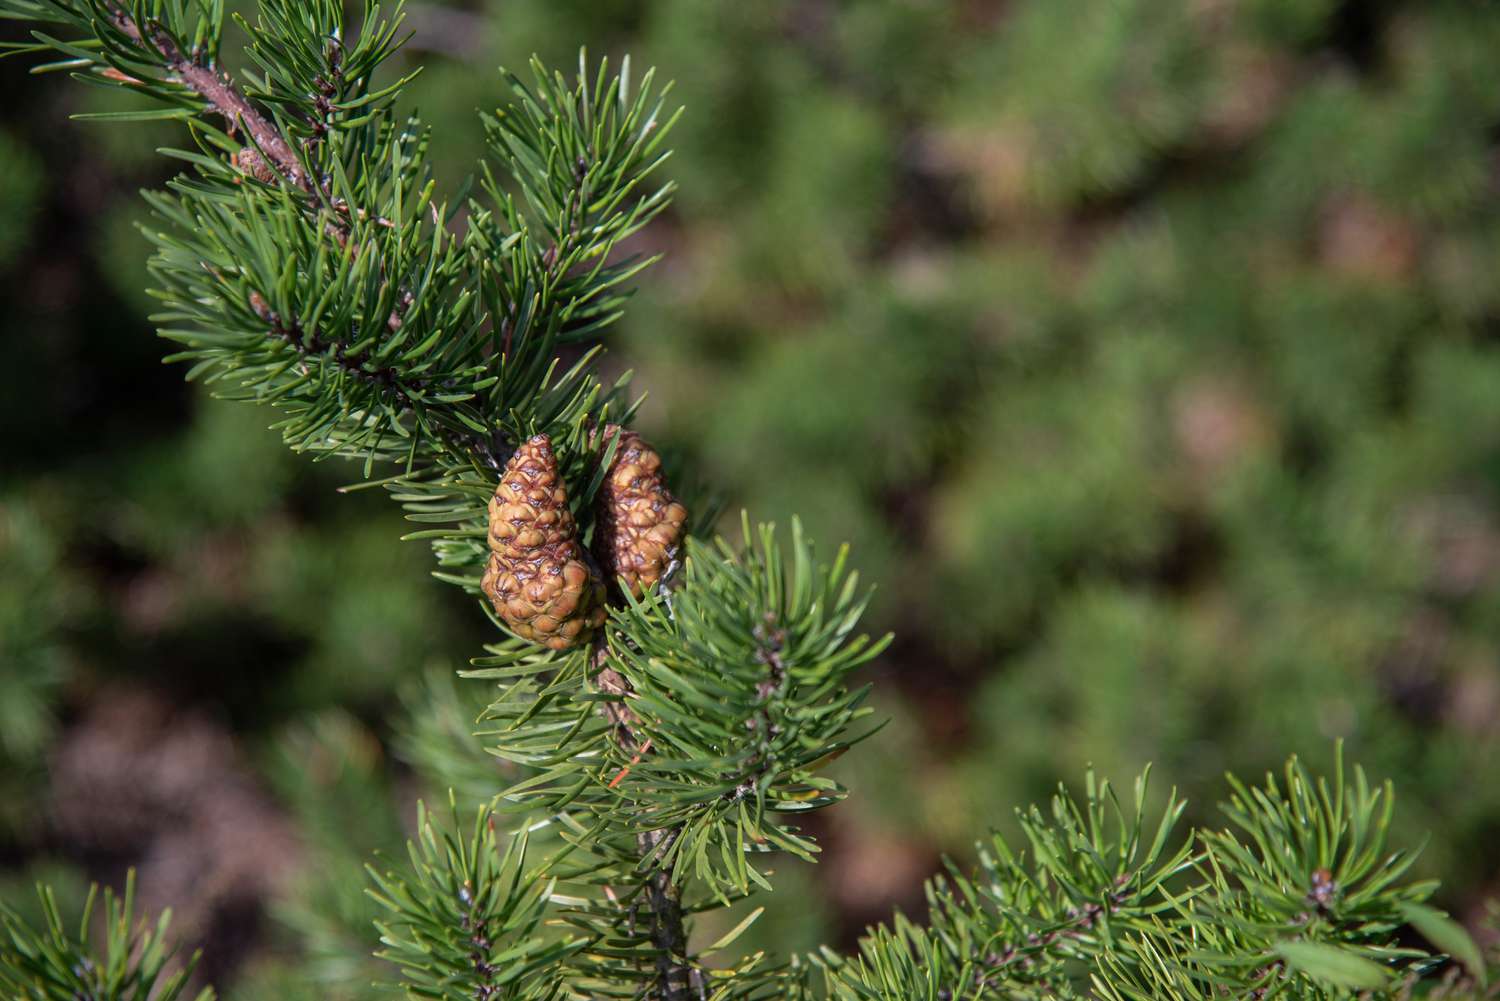
One option is to collect pine cones directly from mature trees in your area. Look for cones that are fully formed and have started to turn brown. This indicates that the seeds inside are mature and ready for harvesting. Gently remove the cones from the tree and place them in a paper bag to allow them to dry further.
If you don’t have access to mature pine trees, you can also purchase pine tree seeds from reputable nurseries or online seed suppliers. When buying seeds, make sure they come from a reliable source to ensure their quality and viability. Look for seeds that are plump, firm, and free from any signs of damage or disease.
Additionally, consider the specific requirements of the pine tree species you’re interested in. Some pine trees prefer sunny locations, while others thrive in shaded areas. Certain species may also have specific soil pH preferences or require well-draining soil. Research the characteristics and needs of the particular pine tree species you’re considering to ensure a successful growing experience.
It’s also worth noting that some pine tree species have longer germination periods than others. If you’re looking for quicker results, consider choosing a species with a shorter germination time. However, if you’re willing to wait for the beauty of a specific pine tree species, be prepared for a lengthier germination process.
Remember, selecting the right pine tree seeds is the foundation of successful growth and development. Take the time to research different species, evaluate your gardening conditions, and choose seeds that are well-suited to your specific needs and preferences. By doing so, you’ll set yourself up for a fulfilling and rewarding pine tree gardening experience.
Preparing the Seeds for Planting
Once you have obtained the pine tree seeds, it’s essential to prepare them properly before planting. This preparation process helps to maximize their germination rate and increase the chances of successful growth.
The first step in preparing the seeds is to remove them from the pine cones. This can be done by gently crushing the cones or using a pair of pliers to extract the seeds. Be careful not to damage the seeds in the process, as their viability can be compromised.
After separating the seeds from the cones, it’s recommended to perform a viability test. This test helps determine the percentage of seeds that are likely to germinate. To conduct the viability test, place the seeds in a container of water and let them soak overnight. The following day, discard any seeds that float as these are likely to be non-viable. Use only the seeds that sink to the bottom, as these have a higher chance of germinating.
Once you have selected the viable seeds, it’s important to stratify them before planting. Stratification is a process of simulating natural winter conditions, which helps break the dormancy of the seeds. To stratify the pine tree seeds, place them in a sealed plastic bag with a damp paper towel or some moist sand. Label the bag with the date and the seed species, and then store it in the refrigerator for a period of 30 to 60 days.
During the stratification process, check the seeds regularly to ensure they remain moist but not overly wet. This mimics the natural cold and moist conditions that the seeds would experience during winter. This cold stratification period is crucial for triggering germination once the seeds are planted.
After the stratification period is complete, it’s time to remove the seeds from the refrigerator and allow them to reach room temperature. This helps them adjust to the warmer conditions and prepares them for planting.
By properly preparing the pine tree seeds through viability testing and stratification, you are setting the stage for successful germination and plant growth. Taking the time to ensure the seeds are in optimal condition before planting will greatly increase the chances of a thriving and healthy pine tree garden.
Choosing the Planting Location
Once you have prepared your pine tree seeds for planting, it’s important to choose the right location in your garden. The success of your pine trees depends on selecting a suitable site that meets their specific requirements.
One crucial factor to consider is the amount of sunlight the planting location receives. Most pine tree species thrive in full sun, which means they require at least six hours of direct sunlight each day. Choose a spot in your garden that is not obstructed by tall buildings or trees, ensuring that your pine trees will receive ample sunlight to promote healthy growth.
Another aspect to consider is the soil quality and drainage. Pine trees generally prefer well-draining soil with a slightly acidic pH level. Sandy or loamy soil types are typically ideal for pine tree growth. If your soil tends to be heavy and clay-like, consider amending it with organic matter, such as compost or peat moss, to improve drainage and provide essential nutrients.
In terms of space, pine trees have the potential to grow quite tall and wide. Ensure that you choose a location that allows sufficient room for the tree to reach its full maturity without any obstructions. This prevents the need for future pruning or potential damage to nearby structures. Consider the potential height and spread of the pine tree species you’re planting to determine adequate spacing.
Additionally, consider the climate and hardiness zone of your region. Pine trees have varying cold hardiness levels, and selecting a species that is well-suited to your climate will increase the chances of successful growth. Consult local gardening resources or nurseries to determine which pine tree species are best suited for your specific geographic area.
Lastly, it’s important to consider the overall aesthetic and purpose of your pine tree garden. Some pine tree species have ornamental value with unique foliage color or interesting bark patterns. Others are more suited for windbreaks or privacy screens. Determine the desired function and appearance of your pine trees to guide your selection and planting location.
By carefully considering the sunlight, soil conditions, space requirements, climate, and intended purpose, you can select the perfect planting location for your pine trees. This thoughtful decision-making process sets the foundation for healthy growth, ensuring that your pine trees will thrive for years to come.
Planting the Pine Tree Seeds
Now that you have chosen the ideal location, it’s time to plant your pine tree seeds. Follow these steps to ensure successful planting and germination:
1. Prepare the soil: Start by loosening the soil in the planting area using a garden fork or tiller. Remove any weeds or grass from the area to reduce competition for nutrients and water.
2. Dig the planting hole: Dig a small hole in the prepared soil, approximately twice the depth of the seed. The hole should be wide enough to accommodate the seed and allow for proper root development.
3. Place the seeds: Gently place one or two seeds into the hole, making sure they are positioned with the pointed end facing upwards. If you’re planting multiple seeds, space them evenly apart to allow room for growth.
4. Cover and mulch: Carefully cover the seeds with soil and lightly tamp it down to ensure good soil-to-seed contact. Mulch around the seedlings with a layer of organic mulch, such as wood chips or straw, to help retain moisture and suppress weed growth.
5. Water the seeds: After planting, thoroughly water the area to ensure the soil is evenly moist. Avoid overwatering, as this can lead to rot or fungal issues. Maintain consistent moisture as the seedlings germinate and establish their root systems.
6. Provide protection: Protect the newly planted seeds from birds, animals, and harsh weather conditions. Consider using a protective barrier, such as netting or a temporary fence, to prevent damage or disturbance to the planting area.
7. Monitor and care: Regularly monitor the planting area for any signs of growth or potential issues. Remove any weeds that may compete for nutrients and attention. Also, watch out for pests or diseases and take appropriate action if necessary.
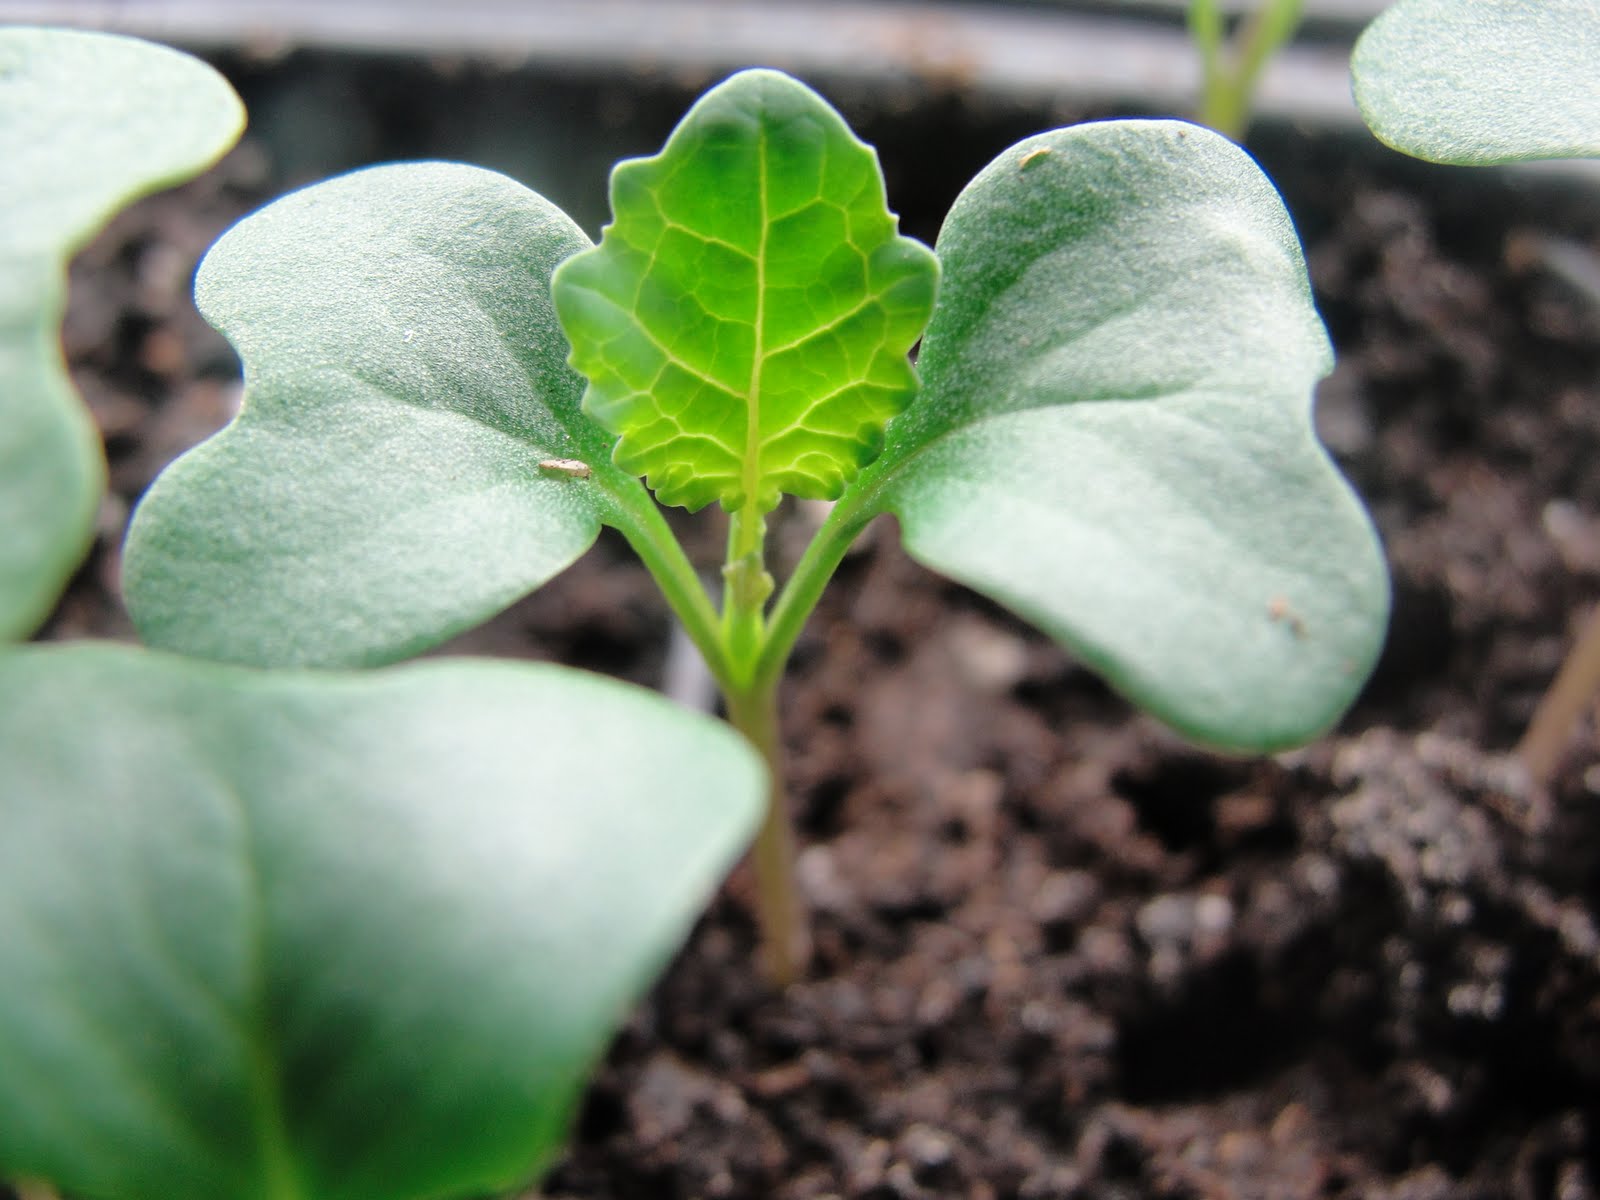
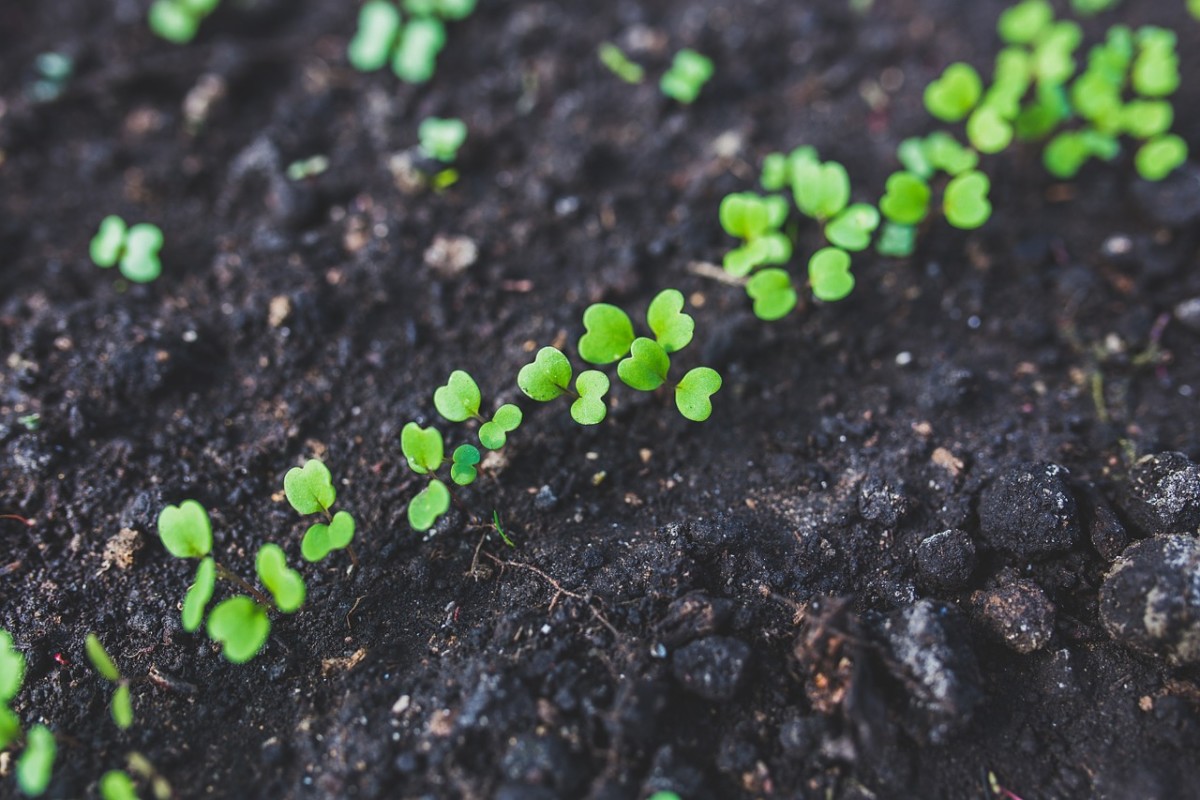
As the pine tree seeds germinate and the seedlings begin to emerge, continue providing proper care, including adequate water, sunlight, and protection. Be patient, as it may take several weeks or even months for the seedlings to emerge from the soil.
By following these planting guidelines and providing the necessary care, you’ll give your pine tree seeds the best chance of successfully germinating and growing into healthy seedlings.
Caring for the Young Pine Trees
Once your pine tree seeds have germinated and grown into young seedlings, it’s essential to provide them with proper care to ensure healthy growth and development. Follow these tips to care for your young pine trees:
1. Watering: Young pine trees have shallow root systems, so it’s crucial to water them regularly. Provide deep, thorough watering sessions rather than frequent light watering. This encourages the roots to grow deeper into the soil. Monitor the moisture level of the soil and water when it becomes dry, ensuring the trees receive about 1 inch of water per week.
2. Mulching: Apply a layer of organic mulch around the base of the trees, extending it a few inches from the trunk. This helps retain moisture, suppress weed growth, and regulate soil temperature. Maintain a depth of 2-4 inches of mulch, being careful not to push it against the trunk to avoid moisture buildup and potential rot.
3. Fertilizing: Young pine trees typically do not require regular fertilization. However, if the soil is poor in nutrients, you can apply a slow-release, balanced fertilizer designed for trees. Follow the manufacturer’s instructions for application rates and timing, and avoid over-fertilizing, as this can lead to excessive growth and weaken the trees.
4. Pruning: Minimal pruning is necessary for young pine trees. Remove any damaged or diseased branches, as well as any crossing or rubbing branches. This helps maintain good airflow and prevents the spread of pests and diseases. Avoid heavy pruning during the early stages of growth to allow the tree to establish a strong framework.
5. Protecting from pests: Monitor the young pine trees for any signs of pest infestations, such as aphids, caterpillars, or pine beetles. Inspect the trees regularly, paying close attention to the underside of the needles and the trunk. Use organic pest control methods if necessary, such as insecticidal soaps or horticultural oils, following the instructions carefully.
6. Monitoring and support: Keep a close eye on the growth and development of the young pine trees. Monitor them for any signs of stress, such as yellowing or browning needles, drooping branches, or stunted growth. Provide support, such as staking, if necessary, to protect the trees from strong winds or heavy snow loads.
7. Regular maintenance: Perform regular maintenance tasks, such as removing weeds, keeping the area around the trees clean, and maintaining a clear space around the trunk to reduce competition and potential disease issues.
With proper care and attention to these factors, your young pine trees will establish strong roots and grow into healthy, beautiful specimens. Remember to adjust the care regimen based on the specific pine tree species you’re growing, as their requirements may vary slightly.
Transplanting the Pine Trees
As your young pine trees continue to grow and develop, there may come a time when they need to be transplanted to a new location. Transplanting pine trees should be done with care to minimize stress and ensure their successful establishment in their new environment. Here are the necessary steps for transplanting pine trees:
1. Timing: Choose the right time to transplant your pine trees. The optimal time is typically during the dormant season in late winter or early spring before new growth begins. This allows the trees to recover and establish their roots before facing the stresses of summer heat.
2. Prepare the new location: Prior to transplanting, prepare the new planting location. Ensure the soil is well-draining and amended with organic matter if necessary. Dig a hole that is wider and slightly shallower than the root ball of the tree.
3. Carefully remove the tree: Start by thoroughly watering the tree a day before transplanting to hydrate the roots. Gently dig around the root ball, trying to minimize disturbances to the roots. Lift the tree from the ground, supporting the root ball to prevent it from breaking apart.
4. Trim the roots and branches: Once the tree is out of the ground, inspect the root system and trim any damaged or excessively long roots. Prune the branches to balance the root-to-shoot ratio, removing any dead or crossing branches.
5. Place the tree in the new hole: Lower the tree into the prepared hole, making sure it is level and positioned at the same depth as it was previously planted. Backfill the hole with soil, gently firming it around the roots to eliminate air pockets.
6. Water and mulch: After transplanting, thoroughly water the tree to settle the soil around the roots. Apply a layer of organic mulch around the base of the tree, leaving space around the trunk to avoid moisture buildup. Mulching helps retain moisture, suppress weed growth, and regulate soil temperature.
7. Provide post-transplant care: After transplanting, monitor the tree closely for the first year. Water regularly, especially during dry periods, to ensure the tree’s hydration. Avoid over-fertilizing during the first growing season, as the tree needs time to adjust to its new surroundings.
Transplant shock is common after moving a tree, so it’s important to provide extra care and attention during the recovery period. Be patient and allow the tree time to establish its roots in the new location.
By following these transplanting steps and providing proper care, your pine trees will have the best chance of thriving in their new home and continuing to beautify your landscape for years to come.
Conclusion
Congratulations on embarking on the journey of growing pine trees from seeds! With the right knowledge and care, you can successfully nurture these magnificent trees and create a beautiful and sustainable garden. From selecting the right seeds to transplanting the young trees, every step in the process is crucial for their healthy growth and development.
Remember that pine trees have unique requirements, including ample sunlight, well-draining soil, and proper spacing. Understanding the specific needs of your chosen species and providing the necessary care, such as watering appropriately and protecting against pests, will ensure their success.
It’s important to be patient, as growing pine trees from seeds is a long-term commitment that requires time and dedication. However, the reward of watching your pine trees grow and thrive is well worth the wait. Their majestic presence, shade-providing benefits, and positive impact on the environment will bring joy and satisfaction for years to come.
Enjoy the process of nurturing your pine trees and take pride in creating a sustainable garden that not only enhances the beauty of your surroundings but also contributes to the overall health of the ecosystem. Gardening with pine trees is a fulfilling and enriching experience, allowing you to connect with nature and appreciate the wonders of plant life.
So, roll up your sleeves, gather those pine tree seeds, and embark on this exciting journey of growing your very own pine tree garden. With the right knowledge, care, and love, you will transform your space into a thriving haven of majestic pine trees.