Home>Gardening Techniques>Plant Care>How To Plant Pear Trees
Plant Care
How To Plant Pear Trees
Modified: January 22, 2024
Learn the essential plant care tips for successfully planting pear trees. Discover the best techniques for ensuring optimal growth and fruit production.
(Many of the links in this article redirect to a specific reviewed product. Your purchase of these products through affiliate links helps to generate commission for Chicagolandgardening.com, at no extra cost. Learn more)
Table of Contents
- Introduction
- Choosing the Right Pear Tree Variety
- Selecting the Ideal Planting Location
- Preparing the Soil
- Digging the Planting Hole
- Planting the Pear Tree
- Mulching and Watering
- Pruning and Training the Tree
- Fertilizing the Pear Tree
- Protecting Against Pests and Diseases
- Harvesting and Enjoying Fresh Pears
- Conclusion
Introduction
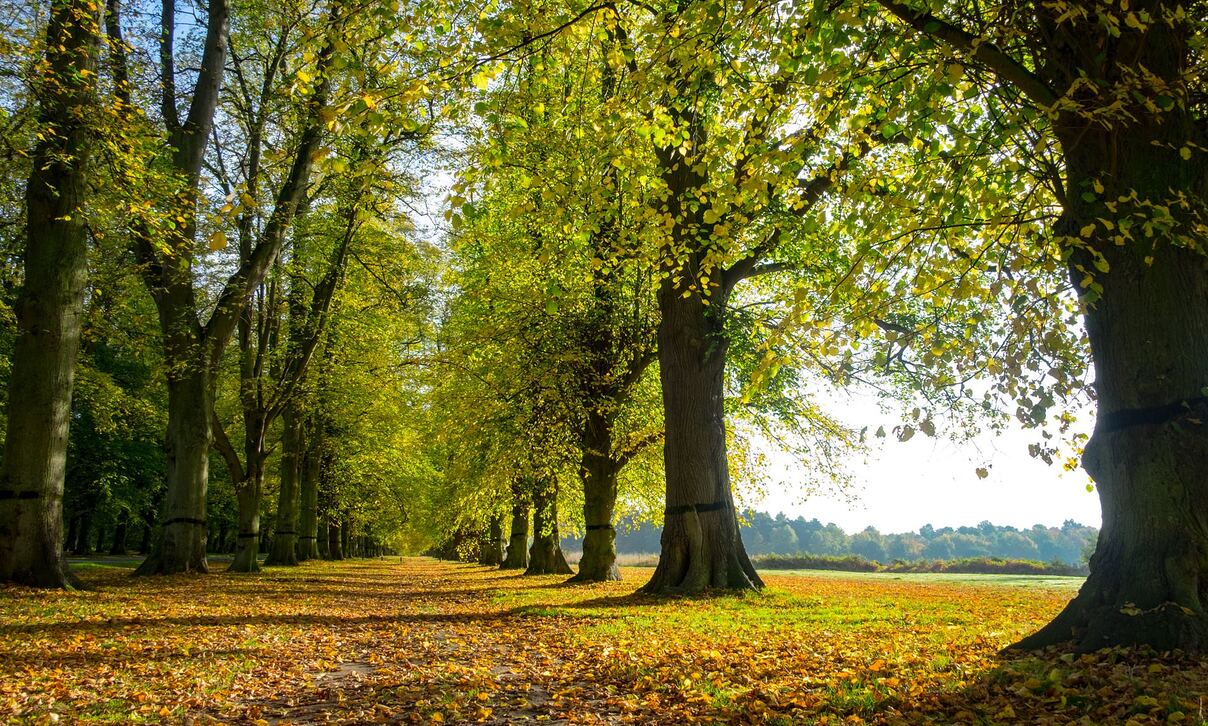
Welcome to the wonderful world of growing pear trees! Whether you’re a seasoned gardener or a beginner, planting and caring for pear trees can be a rewarding experience. Pear trees not only provide shade and beauty to your garden, but they also yield a delectable fruit that can be enjoyed fresh or used in various culinary creations.
In this article, we will guide you through the process of planting and caring for pear trees, from selecting the right variety to protecting against pests and diseases. Whether you have a spacious backyard or a small balcony, there is a pear tree variety suitable for your space.
Pear trees belong to the Rosaceae family, which also includes other fruit-bearing trees such as apples and cherries. They thrive in temperate regions with mild winters and cool summers. When properly cared for, they can live for many years, providing you with a bountiful harvest season after season.
Before we dive into the nitty-gritty of planting and caring for pear trees, let’s take a moment to appreciate the beauty and versatility of this fruit. Pears come in various shapes, sizes, and flavors, ranging from the classic green Bartlett pears to the elegant red Anjou pears. Their juicy and sweet flesh can be enjoyed fresh, sliced into salads, baked into pies, or transformed into delicious preserves and jams.
Not only are pears a tasty treat, but they also offer numerous health benefits. They are low in calories and rich in fiber, making them a perfect addition to a healthy diet. Pears also contain vitamins C and K, as well as minerals like potassium and copper, which contribute to overall well-being.
So, if you’re ready to embark on a journey of planting and caring for pear trees, let’s get started! Select your favorite variety, find the perfect spot in your garden, and get your hands dirty. In no time, you’ll be reaping the rewards of your efforts with a bountiful pear harvest that will delight your taste buds for years to come.
Choosing the Right Pear Tree Variety
When it comes to choosing the right pear tree variety for your garden, several factors need to be considered. From taste preference to climate compatibility, selecting the right variety is crucial for a successful and fruitful harvest. Here are some key considerations to keep in mind as you make your selection:
- Climate: Different pear tree varieties have specific climate requirements. Some are more suitable for colder regions, while others thrive in warmer climates. Before choosing a variety, research its hardiness zone compatibility to ensure it can withstand the temperatures in your area.
- Taste and Texture: Pears come in a range of flavors and textures. Some varieties have a crisp and juicy texture, while others are buttery and tender. Determine which taste and texture profile you prefer and select a variety that matches your preference.
- Pollination: Most pear tree varieties require cross-pollination with another variety to produce fruit. Be sure to choose varieties that are compatible and bloom at the same time for successful pollination. Alternatively, you can select self-pollinating varieties that do not require a pollination partner.
- Size: Consider the mature size of the pear tree variety you choose. Some varieties are smaller and more suitable for smaller spaces or container gardening, while others can grow quite large and require ample room to spread out.
- Disease Resistance: Pear trees are susceptible to certain diseases, such as fire blight and pear scab. Selecting disease-resistant varieties can help mitigate these issues and ensure a healthier tree.
Some popular pear tree varieties include:
- Bartlett: Known for its sweet and juicy flavor, Bartlett pears are a classic favorite and are suitable for a wide range of climates. They require cross-pollination with another variety.
- Anjou: Anjou pears have a mild and slightly sweet flavor. They are known for their green color and retain their texture even when cooked. They are self-pollinating.
- Bosc: Bosc pears have a distinct brown skin and a sweet flavor with hints of spice. They are known for their firm texture, making them ideal for baking and poaching. They require cross-pollination with another variety.
- Comice: Comice pears have a buttery and smooth texture, with a sweet and slightly tangy flavor. They are often enjoyed fresh and make a delightful addition to cheese plates. They require cross-pollination with another variety.
- Asian Pears: Asian pears have a crisp and juicy texture, similar to apples. They come in various flavors and colors and are often enjoyed fresh or used in salads. They require cross-pollination with another Asian pear variety.
Consider your preferences and the specific conditions of your garden when selecting the right pear tree variety. Experiment with different varieties to savor the unique flavors and textures that each one offers. By choosing the right variety, you’re setting the foundation for a successful and fruitful pear tree journey.
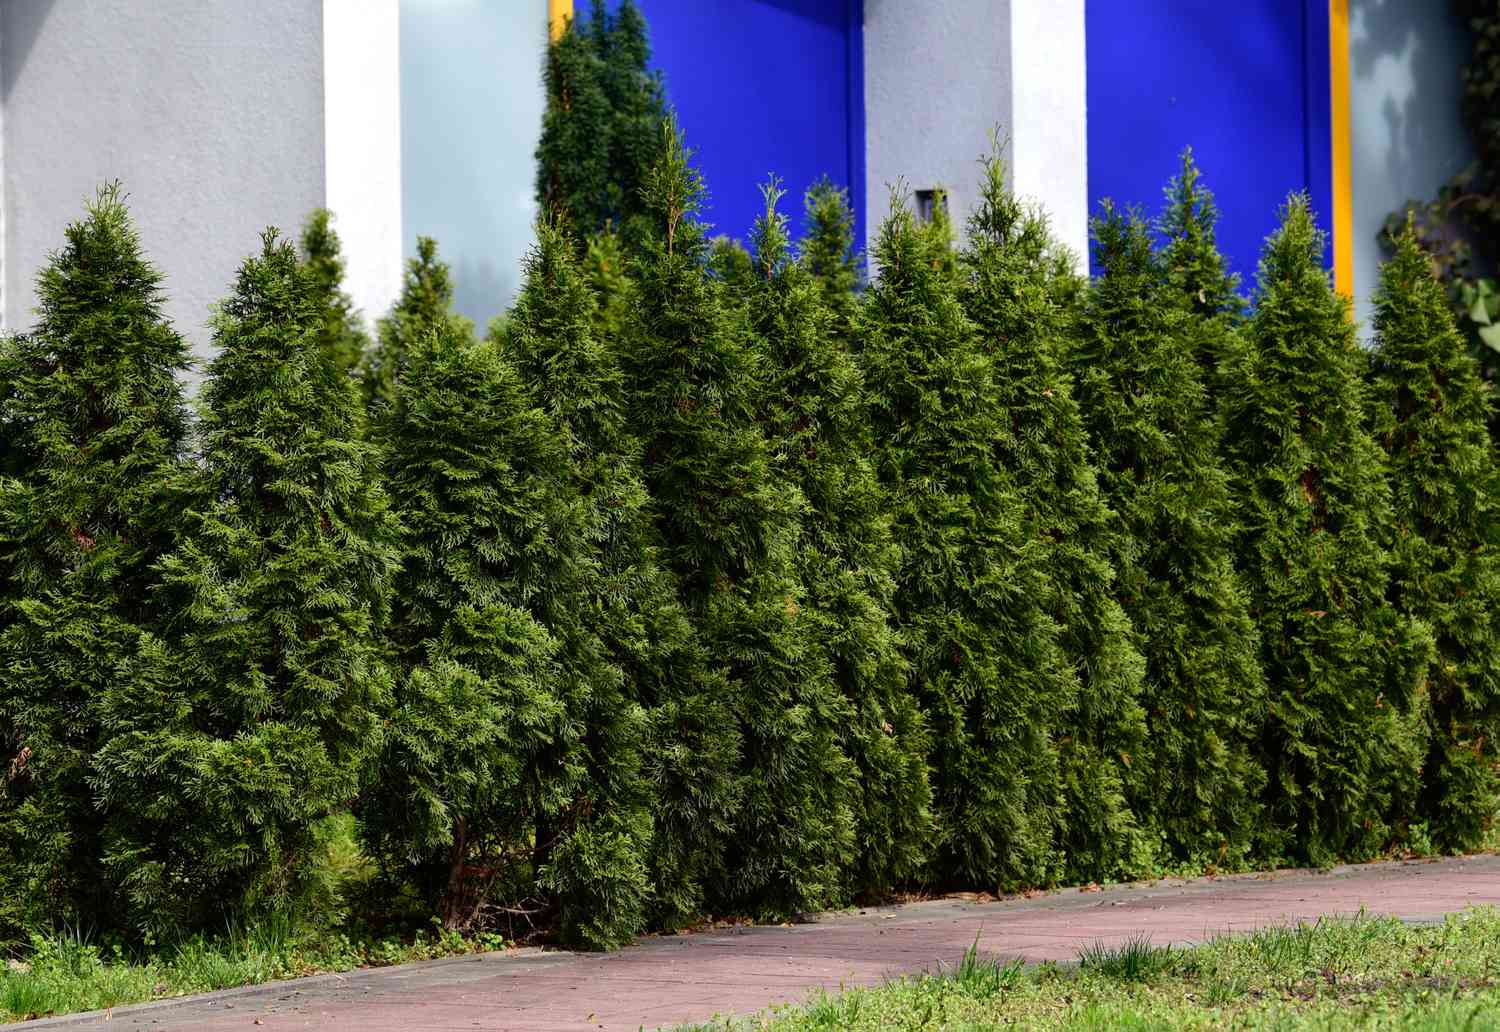
Selecting the Ideal Planting Location
Selecting the right planting location is crucial for the health and growth of your pear tree. The location should provide optimal conditions for the tree to thrive and produce abundant fruit. Consider the following factors when choosing the ideal planting location:
- Sunlight: Pear trees require at least 6 to 8 hours of direct sunlight each day. Choose a location that receives abundant sunlight throughout the day. Avoid areas shaded by buildings or large trees, as this can hinder the tree’s growth and fruiting.
- Soil Drainage: Pear trees prefer well-draining soil. Avoid areas with heavy clay soil that tends to hold water, as this can lead to root rot and other issues. If your soil is heavy or poorly draining, consider amending it with organic matter or creating raised beds to improve drainage.
- Soil pH: Pear trees thrive in slightly acidic to neutral soil with a pH range of 6.0 to 7.5. Test your soil’s pH using a soil testing kit and make any necessary adjustments to achieve the optimal pH level for pear tree growth.
- Wind Exposure: Choose a location that offers some protection from strong winds. Strong winds can damage the tree, particularly during blossom and fruiting periods. If your area experiences strong winds, consider planting the tree near a fence, building, or windbreak to provide some shelter.
- Space: Pear trees require adequate space to grow and spread their branches. Ensure the planting location has enough room for the tree to reach its mature size without being overcrowded or competing with other plants. Consider the mature height and spread of the pear tree variety you have chosen.
- Proximity to Other Trees: Avoid planting pear trees too close to other trees or large shrubs. Competition for resources such as sunlight, water, and nutrients can hinder the growth of both plants. Leave enough space between trees to allow for proper air circulation and minimize the risk of disease transfer.
Once you have identified a suitable planting location, prepare the soil and ensure it is well-loosened and free of weeds. This will provide the pear tree with a good foundation for root growth and establishment.
Remember that selecting the ideal planting location is essential for the long-term health and productivity of your pear tree. Take the time to evaluate different areas of your garden and choose a location that meets the specific needs of the tree. By providing the right growing conditions, you are setting your pear tree up for success and a bountiful harvest in the years to come.
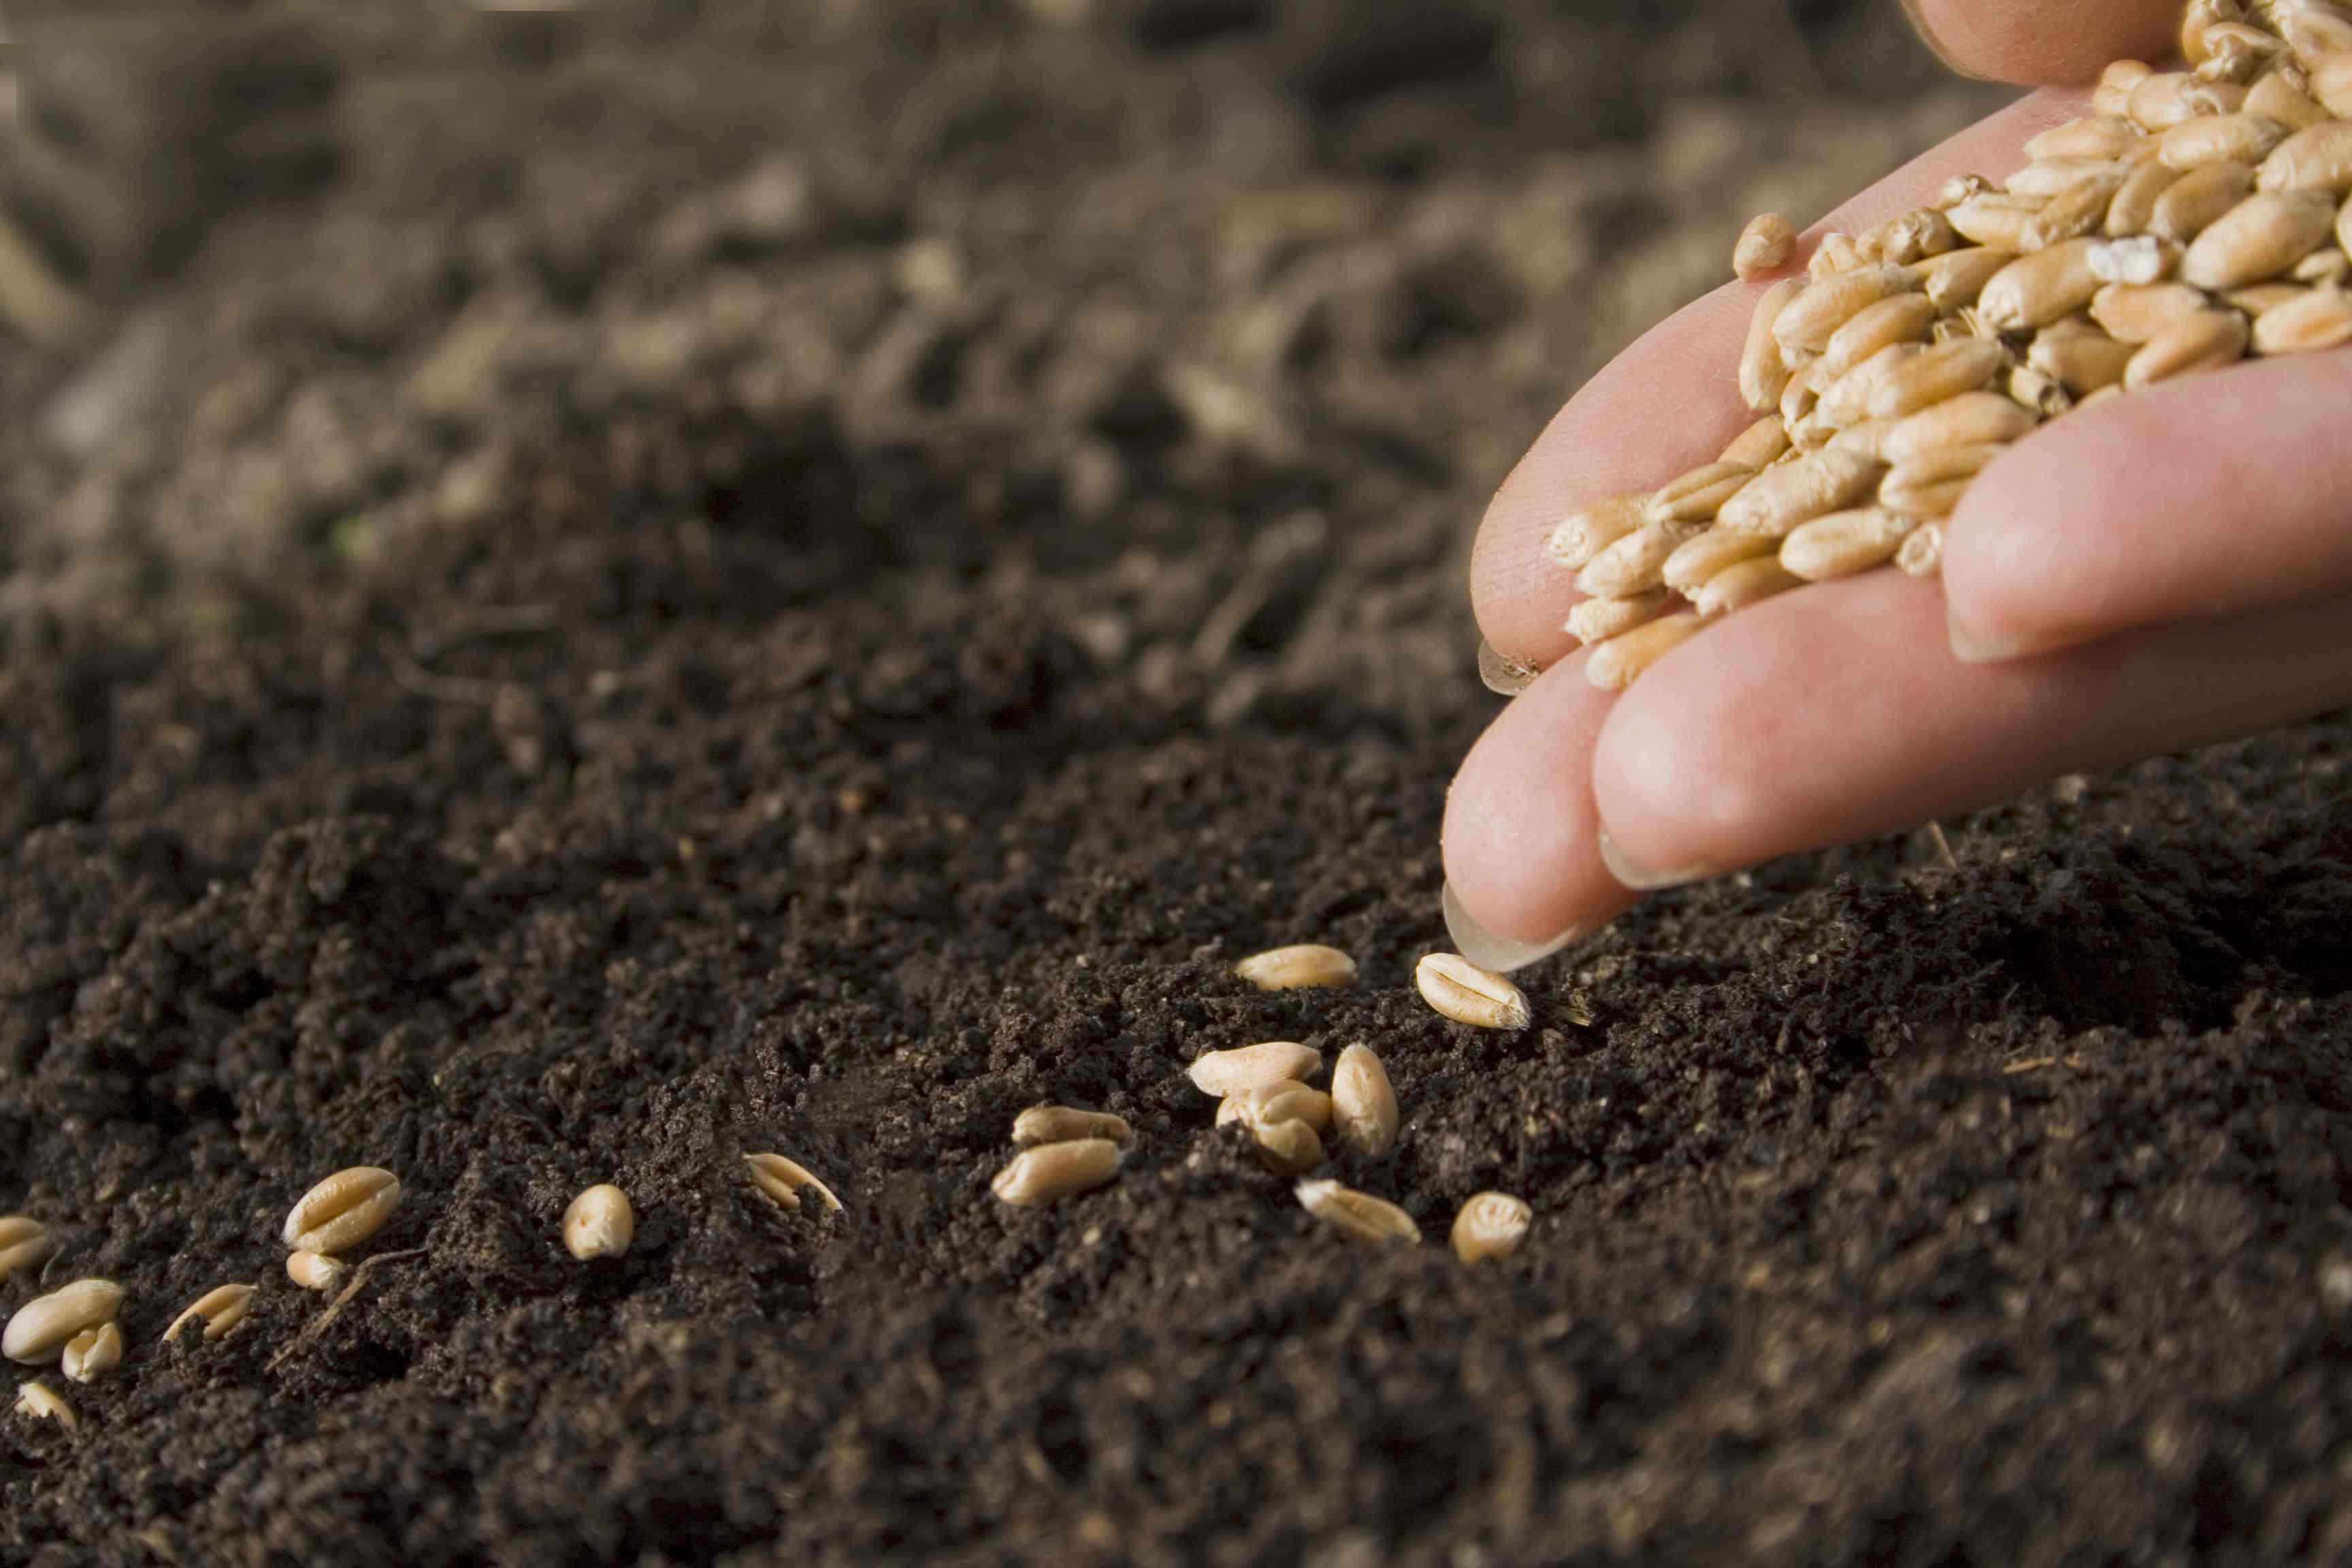
Preparing the Soil
Before planting your pear tree, it’s important to prepare the soil to provide an optimal growing environment. Proper soil preparation allows for good root development, nutrient uptake, and overall plant health. Follow these steps to prepare the soil for your pear tree:
- Clear the Area: Start by clearing the planting area of any weeds, grass, or debris. Remove any rocks or large clumps of soil that may hinder the tree’s root growth.
- Test the Soil: Conduct a soil test to determine its nutrient content and pH level. This will help you understand the soil’s deficiencies and make appropriate amendments. Soil testing kits are available at garden centers or through agricultural extension offices.
- Amend the Soil: Based on the soil test results, amend the soil to improve its fertility and structure. Organic matter, such as compost or well-rotted manure, can be added to enrich the soil and enhance its water-holding capacity. Incorporate the organic matter into the top 12 to 18 inches of soil.
- Adjust pH if Necessary: If the soil pH is outside the ideal range of 6.0 to 7.5, make the necessary adjustments. Add lime to raise the pH if the soil is too acidic, or sulfur to lower the pH if the soil is too alkaline. Follow the recommendations provided by the soil test results to achieve the desired pH.
- Loosen the Soil: Use a garden fork or a tiller to loosen the soil in the planting area. This will break up compacted soil and improve its aeration and drainage. Avoid over-tilling, as it can disrupt beneficial soil organisms and structure.
By taking the time to properly prepare the soil, you are creating a favorable environment for your pear tree to establish its roots and grow. The enriched and well-drained soil will provide the tree with the necessary nutrients and water, promoting healthy growth and development.
It’s important to note that soil preparation should be done prior to planting. Once the pear tree is in the ground, deep cultivation can damage the tree’s delicate roots. So, take the time to prepare the soil beforehand, and your pear tree will thank you with abundant foliage and a fruitful harvest!
Digging the Planting Hole
When it comes to planting your pear tree, digging the planting hole properly is crucial for the tree’s successful establishment. A well-prepared planting hole provides the tree with sufficient space for root growth and ensures proper nutrient and water uptake. Follow these steps to dig the perfect planting hole for your pear tree:
- Measure the Rootball: Before digging the hole, measure the height and width of the rootball of your pear tree. The width of the hole should be at least twice the width of the rootball to allow room for the roots to spread.
- Mark the Spot: Use stakes or markers to mark the precise spot where you will dig the planting hole. Ensure it is centered and aligned with the tree’s desired position in your garden.
- Size of the Hole: Dig the hole approximately one and a half times the depth of the rootball. The hole should be deep enough to accommodate the roots without bending or crowding. The width of the hole should be wider than the rootball to allow room for soil amendments.
- Soil Amendments: If your soil lacks nutrients or has poor drainage, now is the time to add soil amendments. Consider incorporating compost, well-rotted manure, or other organic matter into the soil as you backfill the hole. This will provide the tree with a nutrient-rich environment.
- Backfilling the Hole: As you backfill the hole, ensure the tree is centered and upright. Gently spread the roots out within the hole, being careful not to bend or twist them. Gradually fill the hole with soil, firming it gently to eliminate any air pockets. Avoid compacting the soil too tightly, as this can inhibit root growth.
- Watering: After planting, thoroughly water the tree to settle the soil and ensure proper hydration. Watering deeply after planting helps to eliminate air gaps and promotes root establishment.
Remember to take into account the size of your pear tree when digging the planting hole. Smaller trees may require less extensive holes, while larger trees may need deeper and wider holes to accommodate their size.
By digging the planting hole with care and attention, you are creating an ideal environment for your pear tree to establish its roots and thrive. This step is crucial in providing a strong foundation for the tree’s growth and ensuring its long-term health and productivity.
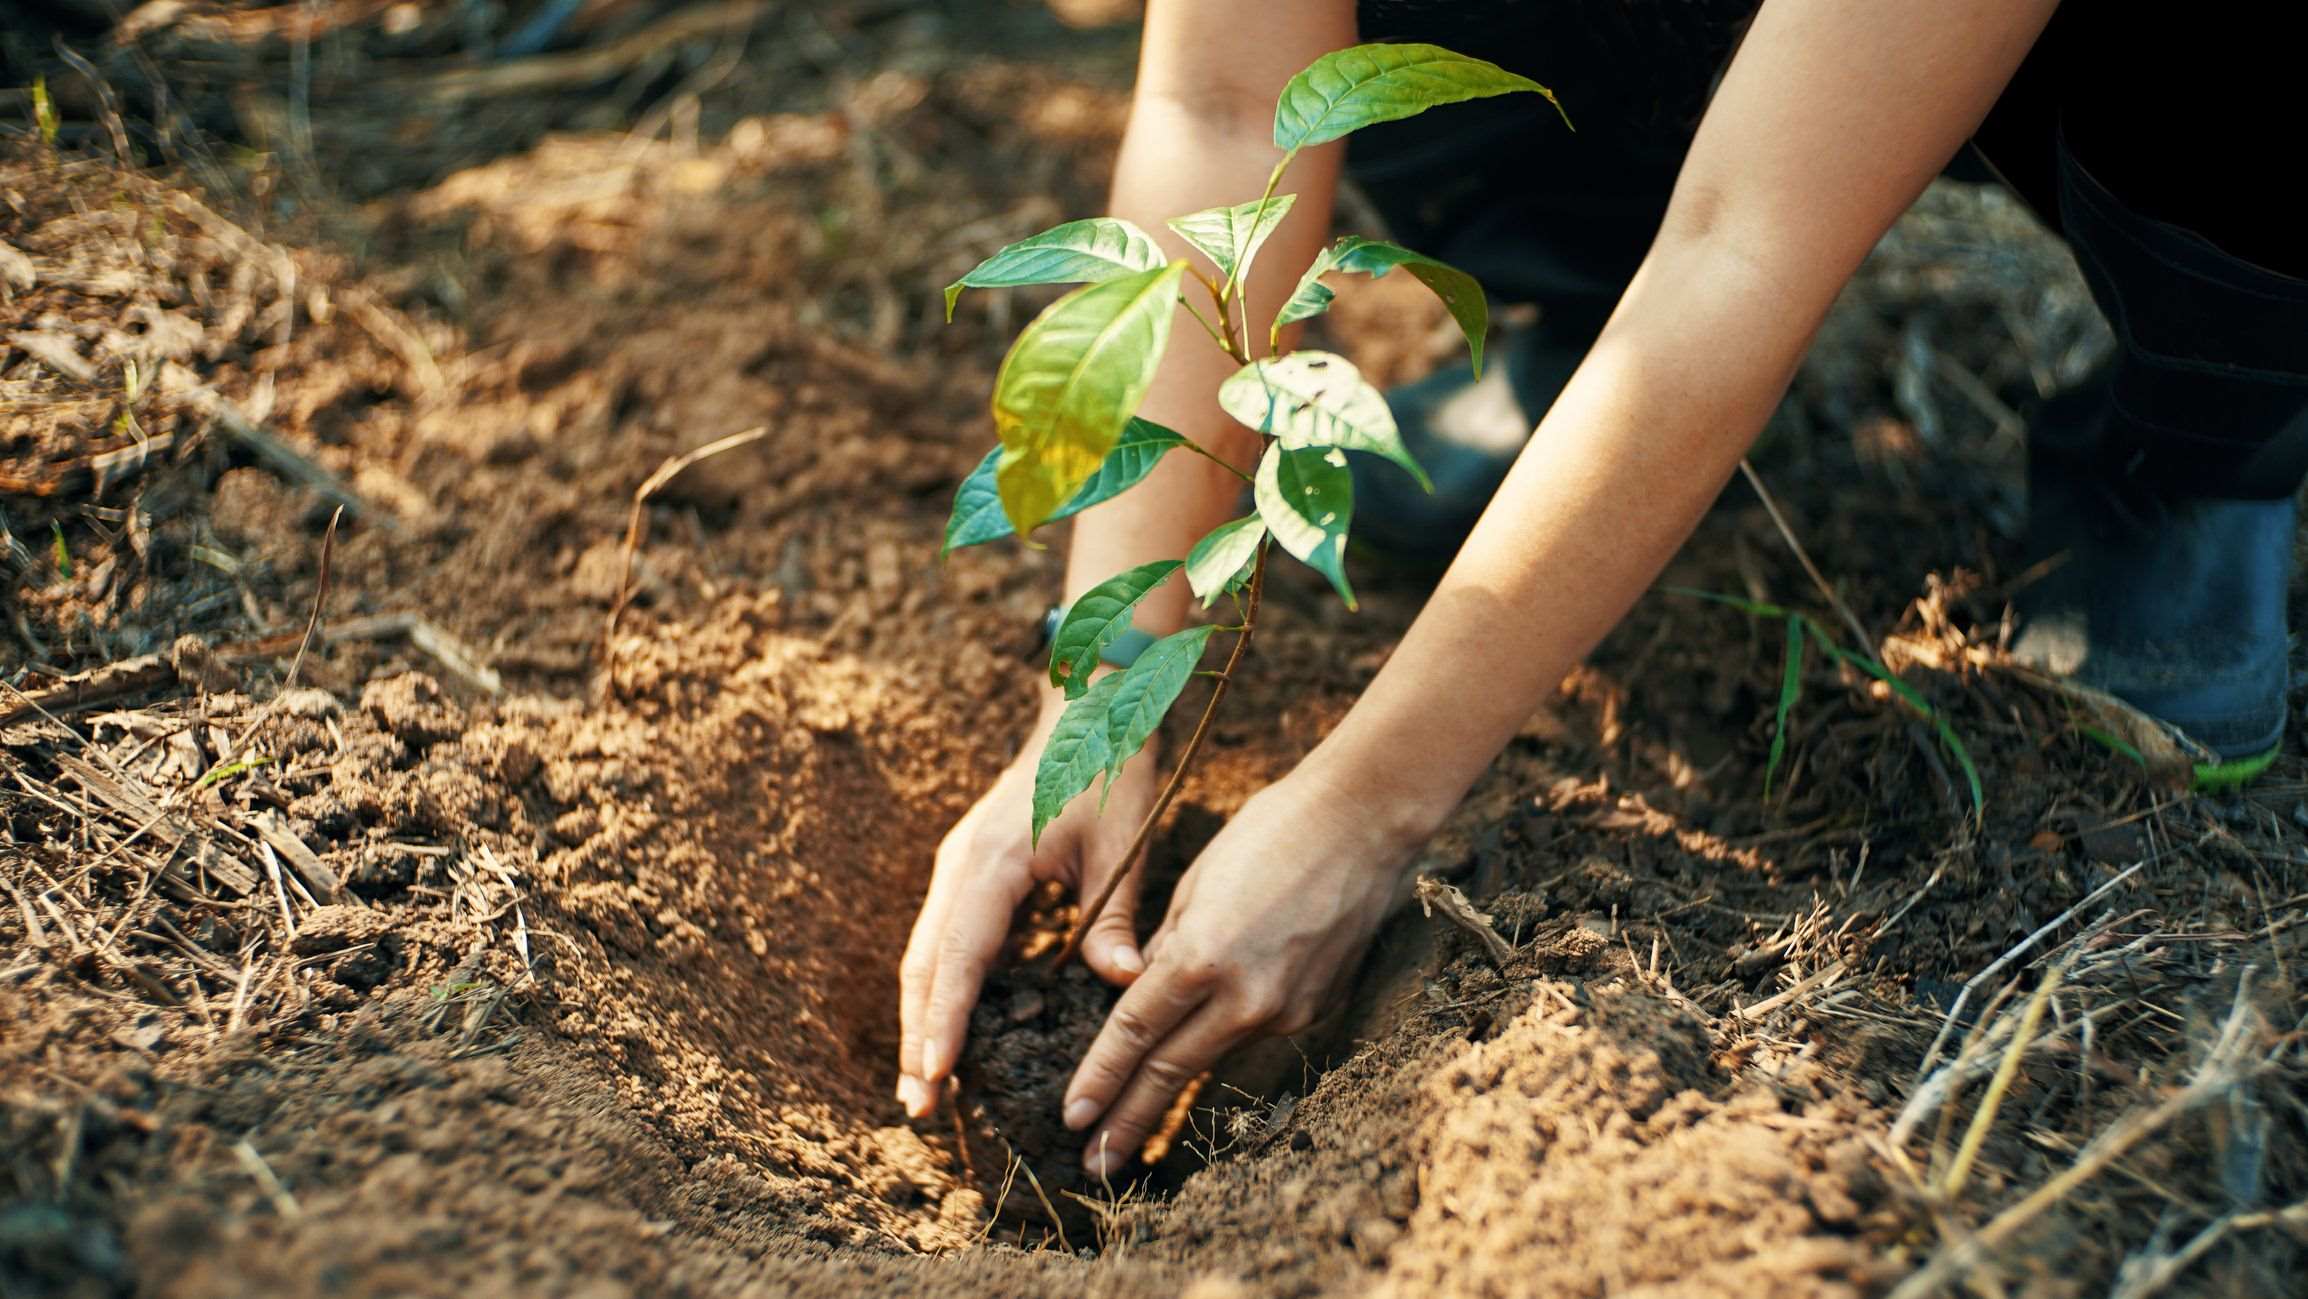
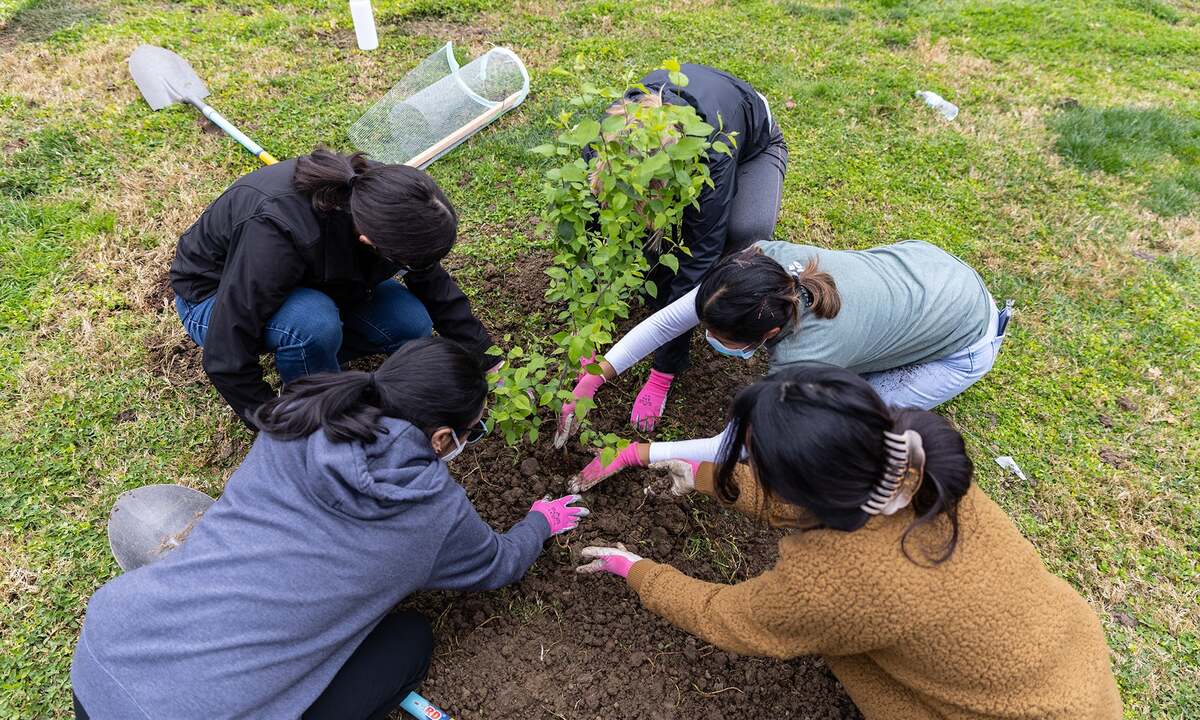
Planting the Pear Tree
Now that you have prepared the soil and dug the perfect planting hole, it’s time to plant your pear tree. Follow these steps to ensure a successful planting process:
- Inspect the Tree: Before planting, carefully inspect the pear tree for any signs of damage or disease. Look for broken branches, discolored leaves, or pests. Select a healthy and vigorous tree for planting.
- Positioning the Tree: Place the pear tree in the center of the planting hole, ensuring it is upright and at the same depth as it was in the container or nursery. The tree’s graft union, where the scion meets the rootstock, should be 2 to 3 inches above the soil line.
- Backfill the Hole: Gently backfill the hole with soil, taking care not to disturb the position of the tree. Gradually fill the hole, firming the soil gently to eliminate air pockets. Avoid compacting the soil too tightly, as it can hinder root growth.
- Watering: Give your newly planted pear tree a thorough watering immediately after planting. This helps to settle the soil and provide moisture to the roots. Continue to water regularly, especially during the first year of growth, to ensure the tree remains well-hydrated.
- Staking: If your pear tree is tall or has a weak trunk, consider staking it to provide support. Use soft materials, such as tree ties or cloth strips, to secure the trunk to the stake. Be sure to leave enough slack to allow for some natural movement and growth.
- Apply Mulch: Apply a layer of organic mulch, such as wood chips or straw, around the base of the tree. This helps to conserve moisture, suppress weed growth, and regulate soil temperature. Keep the mulch a few inches away from the trunk to prevent rot.
- Pruning: While not essential at planting time, pruning can help shape the young tree and encourage proper branching. Trim any broken or damaged branches, and consider removing competing branches or ones that grow inward. Consult pruning guides or seek advice from a local expert for specific pruning recommendations.
Proper planting techniques establish a strong foundation for your pear tree’s growth and development. By following these steps, you are ensuring that your tree gets a good start in its new home and has the best chance of flourishing for years to come.
Mulching and Watering
Mulching and watering are essential components of caring for your newly planted pear tree. These practices help maintain soil moisture, control weeds, and provide the tree with the necessary hydration for healthy growth. Here’s how to effectively mulch and water your pear tree:
- Mulching: Apply a layer of organic mulch around the base of the tree, extending it to the drip line. Wood chips, straw, or compost are excellent choices for mulch. The mulch should be about 2 to 4 inches deep, but be sure to keep it a few inches away from the trunk to prevent rot. Mulching helps retain soil moisture, regulate soil temperature, and suppress weed growth.
- Watering: Proper watering is crucial for the health and growth of your pear tree. Newly planted trees require regular, deep watering to help their roots establish. Water deeply at the base of the tree, ensuring the water reaches the root zone. A slow, steady flow is recommended to allow the water to penetrate deeply into the soil. Watering frequency will vary depending on climate, soil conditions, and tree size, but as a general guideline, aim to water deeply once or twice a week, especially during dry periods.
- Monitoring: Keep a close eye on the moisture level of the soil. Too much water can lead to root rot, while too little can cause stress and hinder growth. Check the soil moisture by inserting your finger into the soil near the tree’s roots. If it feels dry, it’s time to water. If it feels moist, hold off on watering until the soil dries out a bit.
- Watering Tips: When watering, focus on the soil around the tree’s root zone rather than spraying the foliage. This ensures that the water directly reaches the roots. Watering in the early morning or late evening is ideal, as it reduces water loss due to evaporation. Avoid overwatering, as it can lead to shallow root growth and susceptibility to diseases.
- Adapting to Weather Conditions: Adjust your watering schedule based on weather conditions. During periods of heavy rainfall, you may need to reduce watering frequency. In hot and dry conditions, you may need to increase watering to compensate for increased evaporation.
Mulching and watering are ongoing practices that require attention and monitoring. As your pear tree grows, continue to mulch regularly to maintain soil moisture and prevent weed competition. Adjust your watering schedule as the tree matures, ensuring it receives adequate hydration during all stages of growth.
By providing proper mulching and regular watering, you are creating the ideal conditions for your pear tree to thrive and produce a bountiful harvest.
Pruning and Training the Tree
Pruning and training are important practices for shaping and maintaining the health of your pear tree. Pruning helps remove dead, damaged, or diseased branches, improves air circulation, and encourages strong structure and fruit production. Training involves guiding the tree’s growth pattern to ensure proper branch distribution and overall form. Here are some key considerations when pruning and training your pear tree:
- Timing: Pruning your pear tree is best done during the dormant season, typically in late winter or early spring before new growth begins. This allows the tree to focus its energy on healing and regrowth.
- Sanitization: Before pruning, ensure your pruning tools are clean and sharp. Disinfect the tools with a solution of 10% bleach or rubbing alcohol to prevent the spread of diseases. This is especially important if you’re removing diseased branches.
- Remove Dead, Damaged, or Diseased Branches: Start by inspecting the tree for any dead, broken, or diseased branches. These should be pruned back to healthy wood, cutting just outside the branch collar. Removing such branches helps prevent the spread of diseases and promotes overall tree health.
- Thinning and Shaping: Thin out crowded branches to improve air circulation and sunlight penetration. Remove any branches that cross or rub against each other. Aim for an open and well-spaced framework of branches, which will improve fruit production and allow sunlight to reach the inner parts of the tree.
- Central Leader or Open Center: Decide on the desired growth form for your pear tree. The central leader system involves maintaining a central main trunk, while the open center system involves allowing multiple main branches to develop from the trunk. Choose the training system that suits your preference and the tree’s structure.
- Establishing Scaffold Branches: If using the open center system, select three to four strong and well-spaced branches to serve as scaffold branches. These will form the main framework of the tree. Ideally, these branches should have wide angles of attachment to the trunk, promoting strength and stability.
- Prune for Size Control: Pruning can also help manage the size of your pear tree. If necessary, selectively remove branches to maintain the desired height and width of the tree. Regular pruning can prevent the tree from becoming overly dense and facilitate easier maintenance.
- Summer Pruning: In addition to dormant-season pruning, some light pruning during summer may be necessary. This can include removing water sprouts or excessive growth, as well as light shaping to maintain tree structure.
Remember that each pear tree is unique, so pruning techniques may vary depending on its specific growth patterns and training goals. If you’re unsure about how to prune your pear tree, consult pruning guides or seek advice from a local horticultural expert for guidance specific to your tree variety.
Proper pruning and training practices will promote the health, shape, and productivity of your pear tree. By investing time and effort into pruning and training, you are setting the stage for a strong and beautifully-formed tree that will reward you with a bountiful harvest.
Fertilizing the Pear Tree
Fertilizing your pear tree is essential for providing it with the necessary nutrients to support healthy growth, development, and fruit production. While pear trees generally don’t require excessive fertilization, supplying the right nutrients at the right time can help maximize their potential. Keep the following considerations in mind when fertilizing your pear tree:
- Soil Testing: Before applying fertilizer, it’s beneficial to conduct a soil test to determine the nutrient composition and pH level of your soil. This will help you understand any deficiencies and guide you in selecting the appropriate fertilizer.
- Timing: It’s best to apply fertilizer in early spring, just before the tree breaks dormancy. This allows the nutrients to be readily available for new growth. Avoid fertilizing during late summer or fall, as it may encourage late-season growth that is susceptible to frost damage.
- Nitrogen, Phosphorus, and Potassium: These three macronutrients are crucial for pear tree health. Nitrogen promotes leaf and stem growth, phosphorus aids in root development and fruit production, and potassium strengthens overall tree vitality. Select a balanced fertilizer with these nutrients in a ratio appropriate for pear trees, such as a 10-10-10 or 14-14-14 formulation.
- Amount: The exact amount of fertilizer to apply depends on various factors, including the age and size of the tree, soil fertility, and nutrient deficiencies identified in the soil test. Follow the instructions on the fertilizer package for specific application rates, or consult a local horticultural expert for guidance tailored to your specific pear tree variety.
- Application Method: Scatter the fertilizer evenly around the drip line of the tree, which is the area where the branches extend. Avoid applying the fertilizer directly against the trunk. To prevent nutrient burn, water the area well after applying the fertilizer to help it penetrate the soil.
- Organic Fertilizers: If you prefer to use organic fertilizers, options such as compost, well-rotted manure, or organic-based fertilizers can provide a slow-release source of nutrients. These organic options also help improve soil structure and promote microbial activity.
- Mulching: Applying a layer of organic mulch around the base of the tree helps retain moisture, suppress weeds, and gradually release nutrients into the soil as it decomposes. This acts as a natural fertilization method, supporting the growth of your pear tree.
- Monitoring and Adjusting: Regularly observe your pear tree for signs of nutrient deficiencies, such as yellowing leaves or stunted growth. Adjust the fertilization program accordingly to address any deficiencies or excesses.
Remember that each pear tree’s nutrient requirements may vary, so it’s essential to consider the specific needs of your tree. Following proper fertilization practices will promote healthy growth, vigor, and optimal fruit production, ensuring a thriving and productive pear tree in your garden.
Protecting Against Pests and Diseases
Protecting your pear tree from pests and diseases is crucial for maintaining its health and ensuring a successful harvest. Common pests and diseases that affect pear trees include aphids, codling moths, pear psylla, fire blight, and pear scab. Implement the following practices to protect your pear tree:
- Inspect Regularly: Regularly inspect your pear tree, paying attention to the leaves, branches, and trunk. Look for any signs of pest infestation, such as distorted growth, webs, or discoloration. Check for disease symptoms like discolored leaves, cankers, or lesions. Early detection allows for timely intervention.
- Prune Properly: Pruning can help remove and prevent the spread of diseases. Remove any dead, damaged, or diseased branches, and promptly dispose of them away from the tree. Prune in dry weather to minimize the risk of infection.
- Practice Sanitation: Rake up and remove fallen leaves and fruit, as they can harbor pests and diseases. Keep the area around the tree clean and free from debris, reducing potential pest and disease breeding grounds.
- Beneficial Insects: Encourage the presence of beneficial insects, such as ladybugs and lacewings, which feed on common pear tree pests like aphids. Plant companion plants that attract beneficial insects to help naturally control pests.
- Use Organic Pest Control Methods: Consider organic pest control methods, such as insecticidal soaps or neem oil, to manage pest infestations. These methods are less harmful to beneficial insects and the environment.
- Apply Pesticides judiciously: If necessary, use chemical pesticides as a last resort and only when absolutely needed. Follow the instructions carefully and apply them sparingly according to the manufacturer’s guidelines. Avoid applying pesticides during bloom to protect pollinators.
- Preventative Sprays: Apply preventative sprays, such as copper-based fungicides or horticultural oils, during the dormant season to help control fungal diseases like fire blight and pear scab. These sprays help protect the tree before infections occur.
- Monitor and Rotate: Regularly monitor your pear tree for signs of resistance to specific pesticides. Rotate between different classes or active ingredients to prevent the development of pesticide resistance in pests.
- Learn and Seek Expert Advice: Stay informed about common pests and diseases that affect pear trees in your region. Attend workshops, consult local gardening experts, or contact your local agricultural extension office for specialized advice to effectively manage pests and diseases in your specific area.
Remember that prevention is key when it comes to managing pests and diseases. Regular monitoring, proper pruning, good sanitation practices, and the use of environmentally friendly control methods will help protect your pear tree and ensure a healthy and productive growing season.
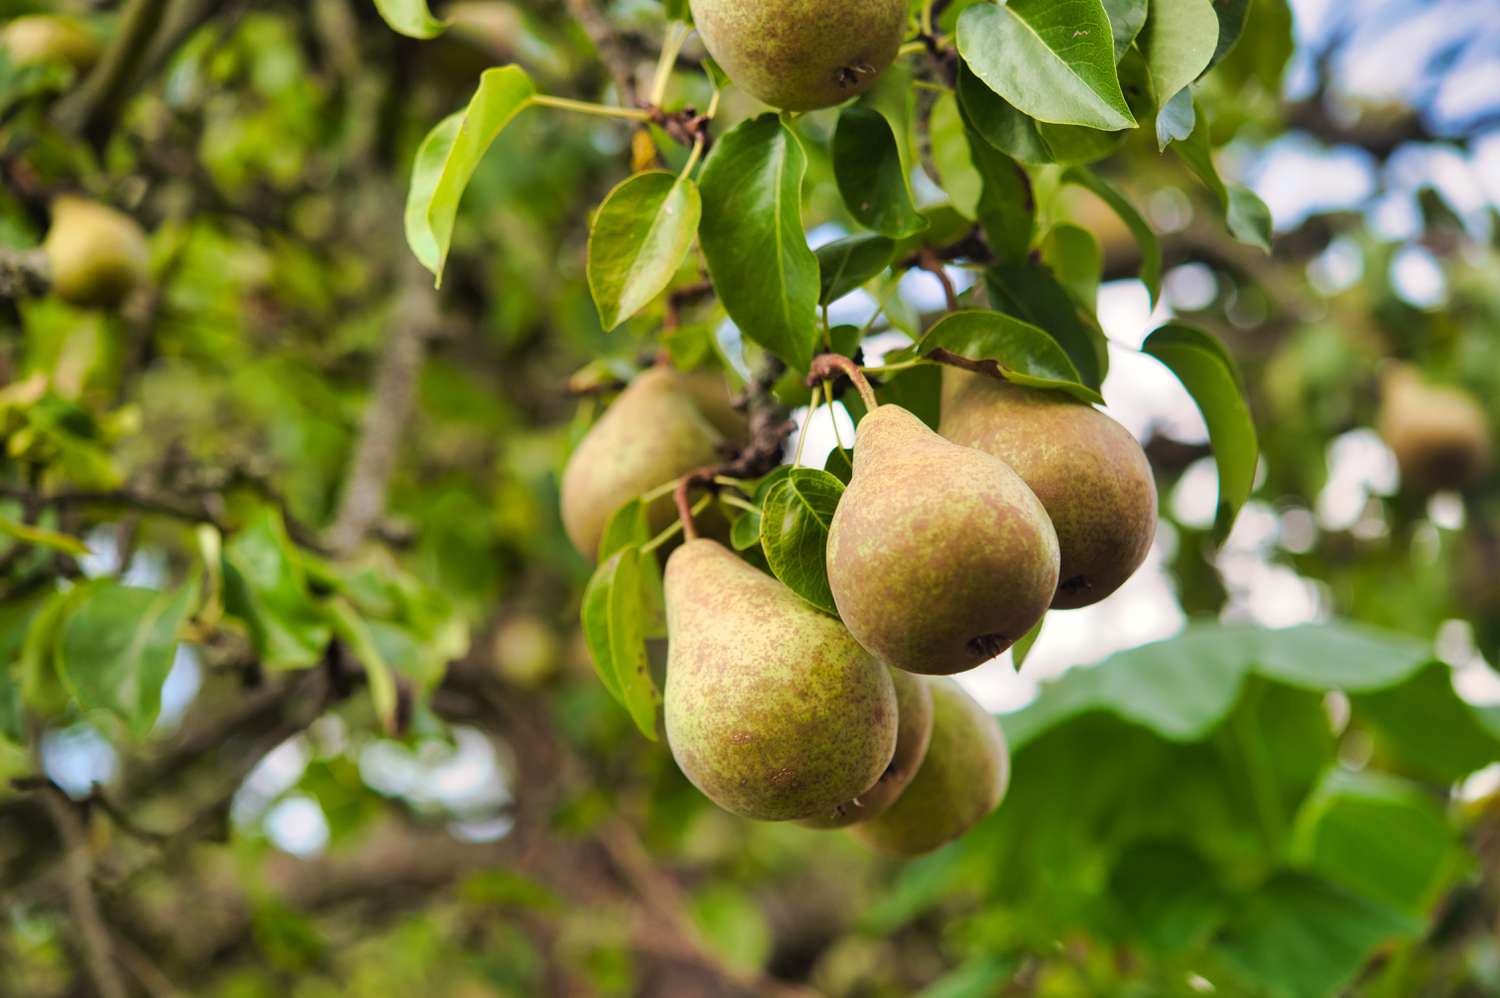
Harvesting and Enjoying Fresh Pears
After patiently tending to your pear tree, the time for harvest finally arrives. Harvesting pears at the right moment ensures optimal flavor and texture. Here are some tips to help you harvest and enjoy fresh pears:
- Timing: Pears are typically harvested before they are fully ripened on the tree. Unlike some other fruits, pears ripen best off the tree. Harvesting time varies depending on the variety, but generally, pears are ready for harvest when they have reached their mature size, have a solid color, and easily separate from the tree when gently twisted upwards.
- Harvesting: To harvest pears, gently twist and lift each fruit upwards to detach it from the tree. Avoid pulling or yanking, as this can damage the branches. Handle the pears carefully to prevent bruising.
- Ripening: Place the harvested pears in a cool, well-ventilated area, away from direct sunlight. Allow them to ripen at room temperature for a few days to one week, depending on the desired ripeness. Check the pears daily, as they can quickly transition from underripe to overripe.
- Storage: If you have an abundance of pears, and you don’t plan on consuming them all immediately, you can store them in a cool and dry location. Wrap each pear individually in newspaper or place them in a single layer in a shallow box or crate lined with newspaper. Check them regularly to remove any pears that may be spoiling to prevent the spread of rot.
- Enjoying: Once your pears are perfectly ripe, savor their delicious flavor and aroma. Pears can be enjoyed fresh as a healthy snack, sliced into salads, or paired with cheese for a delightful combination of flavors. They also make a fantastic addition to desserts and baked goods, such as pies, tarts, and crumbles.
- Pear Preservation: If you have an abundance of pears and want to prolong their enjoyment, consider preserving them. Pears can be canned, made into jams and jellies, or even turned into delectable pear butter. Freezing sliced pears is another way to preserve them for use in smoothies or baking projects.
- Giving and Sharing: Pears make wonderful gifts for friends, family, and neighbors. Share the bounty of your harvest with loved ones or donate any excess pears to local food banks or community centers.
Remember, the joy of growing your own pear tree extends beyond the harvest. It is the culmination of your efforts and the reward of enjoying fresh, delicious pears that you have nurtured from tree to table. So, sit back, savor the unique flavors, and relish the satisfaction of enjoying the fruits of your labor.
Conclusion
Cultivating and caring for pear trees can be a fulfilling and rewarding gardening experience. With the right knowledge and practices, you can enjoy the beauty of these trees and the delectable fruits they produce. From selecting the right pear tree variety to planting it in the ideal location, preparing the soil, and providing proper mulching, watering, pruning, and fertilization, every step plays a crucial role in the health and productivity of your tree.
Protecting against pests and diseases helps ensure that your pear tree remains strong and vibrant. Regular inspections, sanitation practices, and employing organic pest control methods can go a long way in maintaining a healthy tree. Finally, the joy of harvesting your own pears and indulging in their flavor is a truly satisfying experience.
So, whether you have a sprawling garden or a small balcony, consider planting a pear tree. With patience, care, and a little gardening know-how, you can cultivate a thriving pear tree that provides you with years of beauty, shade, and luscious fruits. As you embark on this journey, relish in the process, enjoy the process of nurturing and growing your pear tree, and celebrate the reward of enjoying the fresh and delightful flavors of homegrown pears.