Home>Gardening Techniques>Plant Care>How To Plant Plum Trees
Plant Care
How To Plant Plum Trees
Modified: January 22, 2024
Learn the essential plant care tips for successfully planting plum trees in your garden. Find expert advice on soil preparation, watering, pruning, and more to ensure healthy growth and abundant harvests.
(Many of the links in this article redirect to a specific reviewed product. Your purchase of these products through affiliate links helps to generate commission for Chicagolandgardening.com, at no extra cost. Learn more)
Table of Contents
Introduction
Welcome to the world of plant care, where we delve into the art and science of nurturing and maintaining beautiful and thriving plants. In this article, we will focus specifically on the topic of planting and caring for plum trees.
Plum trees are not only visually appealing with their delicate blossoms and lush green foliage, but they also provide a bountiful harvest of delicious and nutritious fruits. Whether you are a seasoned gardener or a novice looking to add some variety to your garden, this guide will provide you with valuable insights and tips on how to successfully plant and care for plum trees.
Plum trees, scientifically known as Prunus domestica, are deciduous trees that belong to the Rosaceae family. They are native to various regions around the world and are known for their ability to adapt to different climates and soil conditions.
In addition to their aesthetic appeal, plum trees have numerous benefits. They provide shade, attract pollinators such as bees, and offer a source of fresh and flavorful fruits for your family and friends to enjoy.
Planting a plum tree requires careful consideration of various factors, including selecting the right tree variety, choosing the suitable planting location, preparing the soil, and providing proper care and maintenance throughout the tree’s lifecycle.
Throughout this article, we will guide you through each step, offering valuable tips and best practices to ensure that your plum tree thrives and produces abundant fruits for years to come.
So, let’s get started on this exciting journey of planting and caring for plum trees!
Choosing the Right Plum Tree
When it comes to selecting a plum tree for your garden, there are several factors to consider to ensure the success of your planting endeavor. Here are some essential considerations to keep in mind:
- Climate: Plum trees thrive in various climate zones, but it’s important to choose a variety that is well-suited to your specific region. Consider the average winter temperatures, frost dates, and growing season length in your area.
- Space: Evaluate the available space in your garden and choose a plum tree variety that fits well within that area. Consider both the height and spread of the tree at maturity.
- Pollination: Some plum tree varieties require cross-pollination with another compatible variety to bear fruit. If this is the case, ensure that you have adequate space to plant multiple trees or choose a self-pollinating variety.
- Taste and Use: Different plum tree varieties offer a range of fruit flavors, colors, and textures. Consider your personal preference for eating, cooking, or preserving plums.
- Disease Resistance: Check for disease-resistant varieties that will help minimize the risk of common plum tree ailments, such as bacterial canker or brown rot.
It’s important to do some research and consult with local gardening experts or nurseries to determine which plum tree varieties are best suited for your specific area. Consider factors such as chill hour requirements and disease resistance specific to your region.
Some popular plum tree varieties include ‘Santa Rosa’ known for its sweet and juicy fruit, ‘Burbank’ with its rich and flavorful plums, and ‘Stanley’ which is excellent for canning and baking.
Once you have identified the suitable plum tree variety, it’s time to move on to the next step: selecting the ideal planting location.
Selecting the Planting Location
Choosing the right planting location for your plum tree is crucial for its growth and overall health. Here are some key factors to consider when selecting the ideal spot:
- Sunlight: Plum trees thrive in full sun, so choose a location that receives at least 6-8 hours of direct sunlight each day. Avoid areas that are constantly shaded or susceptible to strong winds.
- Soil Drainage: Plum trees prefer well-draining soil to prevent waterlogged roots. Ensure that the chosen location has good drainage to avoid standing water or overly compacted soil. If your soil is heavy clay, consider amending it with organic matter to improve drainage.
- Space: Plum trees need sufficient space for their root systems to spread out and for air circulation around the branches. Plant your plum tree at least 15-20 feet away from other trees, structures, or fences.
- Avoiding Frost Pockets: Cold air tends to settle in low-lying areas, leading to potential frost damage. Avoid planting your plum tree in frost pockets or low-lying areas where cold air may accumulate.
- Pollenizers: If your chosen plum tree requires cross-pollination, consider planting another compatible plum tree variety in close proximity to ensure proper fruit set.
Additionally, it’s essential to consider any potential obstructions, such as power lines, that may hinder the growth and development of your plum tree. Choose a location that allows the tree to grow to its full potential without any obstacles.
Before planting, it’s also a good idea to test the soil pH and fertility level. Plum trees prefer slightly acidic to neutral soil with a pH range of 6.0-7.0. If necessary, amend the soil accordingly to create an optimal growing environment for your tree.
Remember, proper placement plays a vital role in the long-term success of your plum tree. Taking the time to choose the right location will greatly contribute to its overall health and productivity.
Preparing the Soil
Before planting your plum tree, it’s crucial to prepare the soil properly to provide the best possible growing conditions. Follow these steps to ensure that your tree has a healthy foundation:
- Clear the area: Start by removing any weeds, rocks, or debris from the planting area. These can compete for nutrients and hinder the growth of your plum tree.
- Loosen the soil: Using a garden fork or tiller, loosen the soil in the planting area to a depth of at least 12-18 inches. This helps improve soil aeration, drainage, and root penetration.
- Amend the soil: Assess the soil composition and make any necessary amendments to improve its fertility and structure. Incorporate organic matter, such as compost or well-rotted manure, to enhance the soil’s nutrient content and moisture-retaining capabilities.
- Test the soil: Consider conducting a soil test to determine its pH level and nutrient deficiencies. This will help you adjust the soil accordingly to create an optimal growing environment for your plum tree. Follow the recommendations provided by the soil test results.
- Level the planting area: After soil amendments, ensure that the planting area is leveled to avoid water pooling or drainage issues. Gently firm the soil with your hands or a garden rake.
It’s important to note that plum trees prefer slightly acidic to neutral soil with a pH range of 6.0-7.0. If your soil pH is outside this range, adjust it using the appropriate soil amendments or fertilizers recommended for your specific situation.
By properly preparing the soil, you create an optimal environment for your plum tree’s roots to establish themselves and access the necessary nutrients. This will significantly contribute to the overall health and productivity of your tree in the long run.
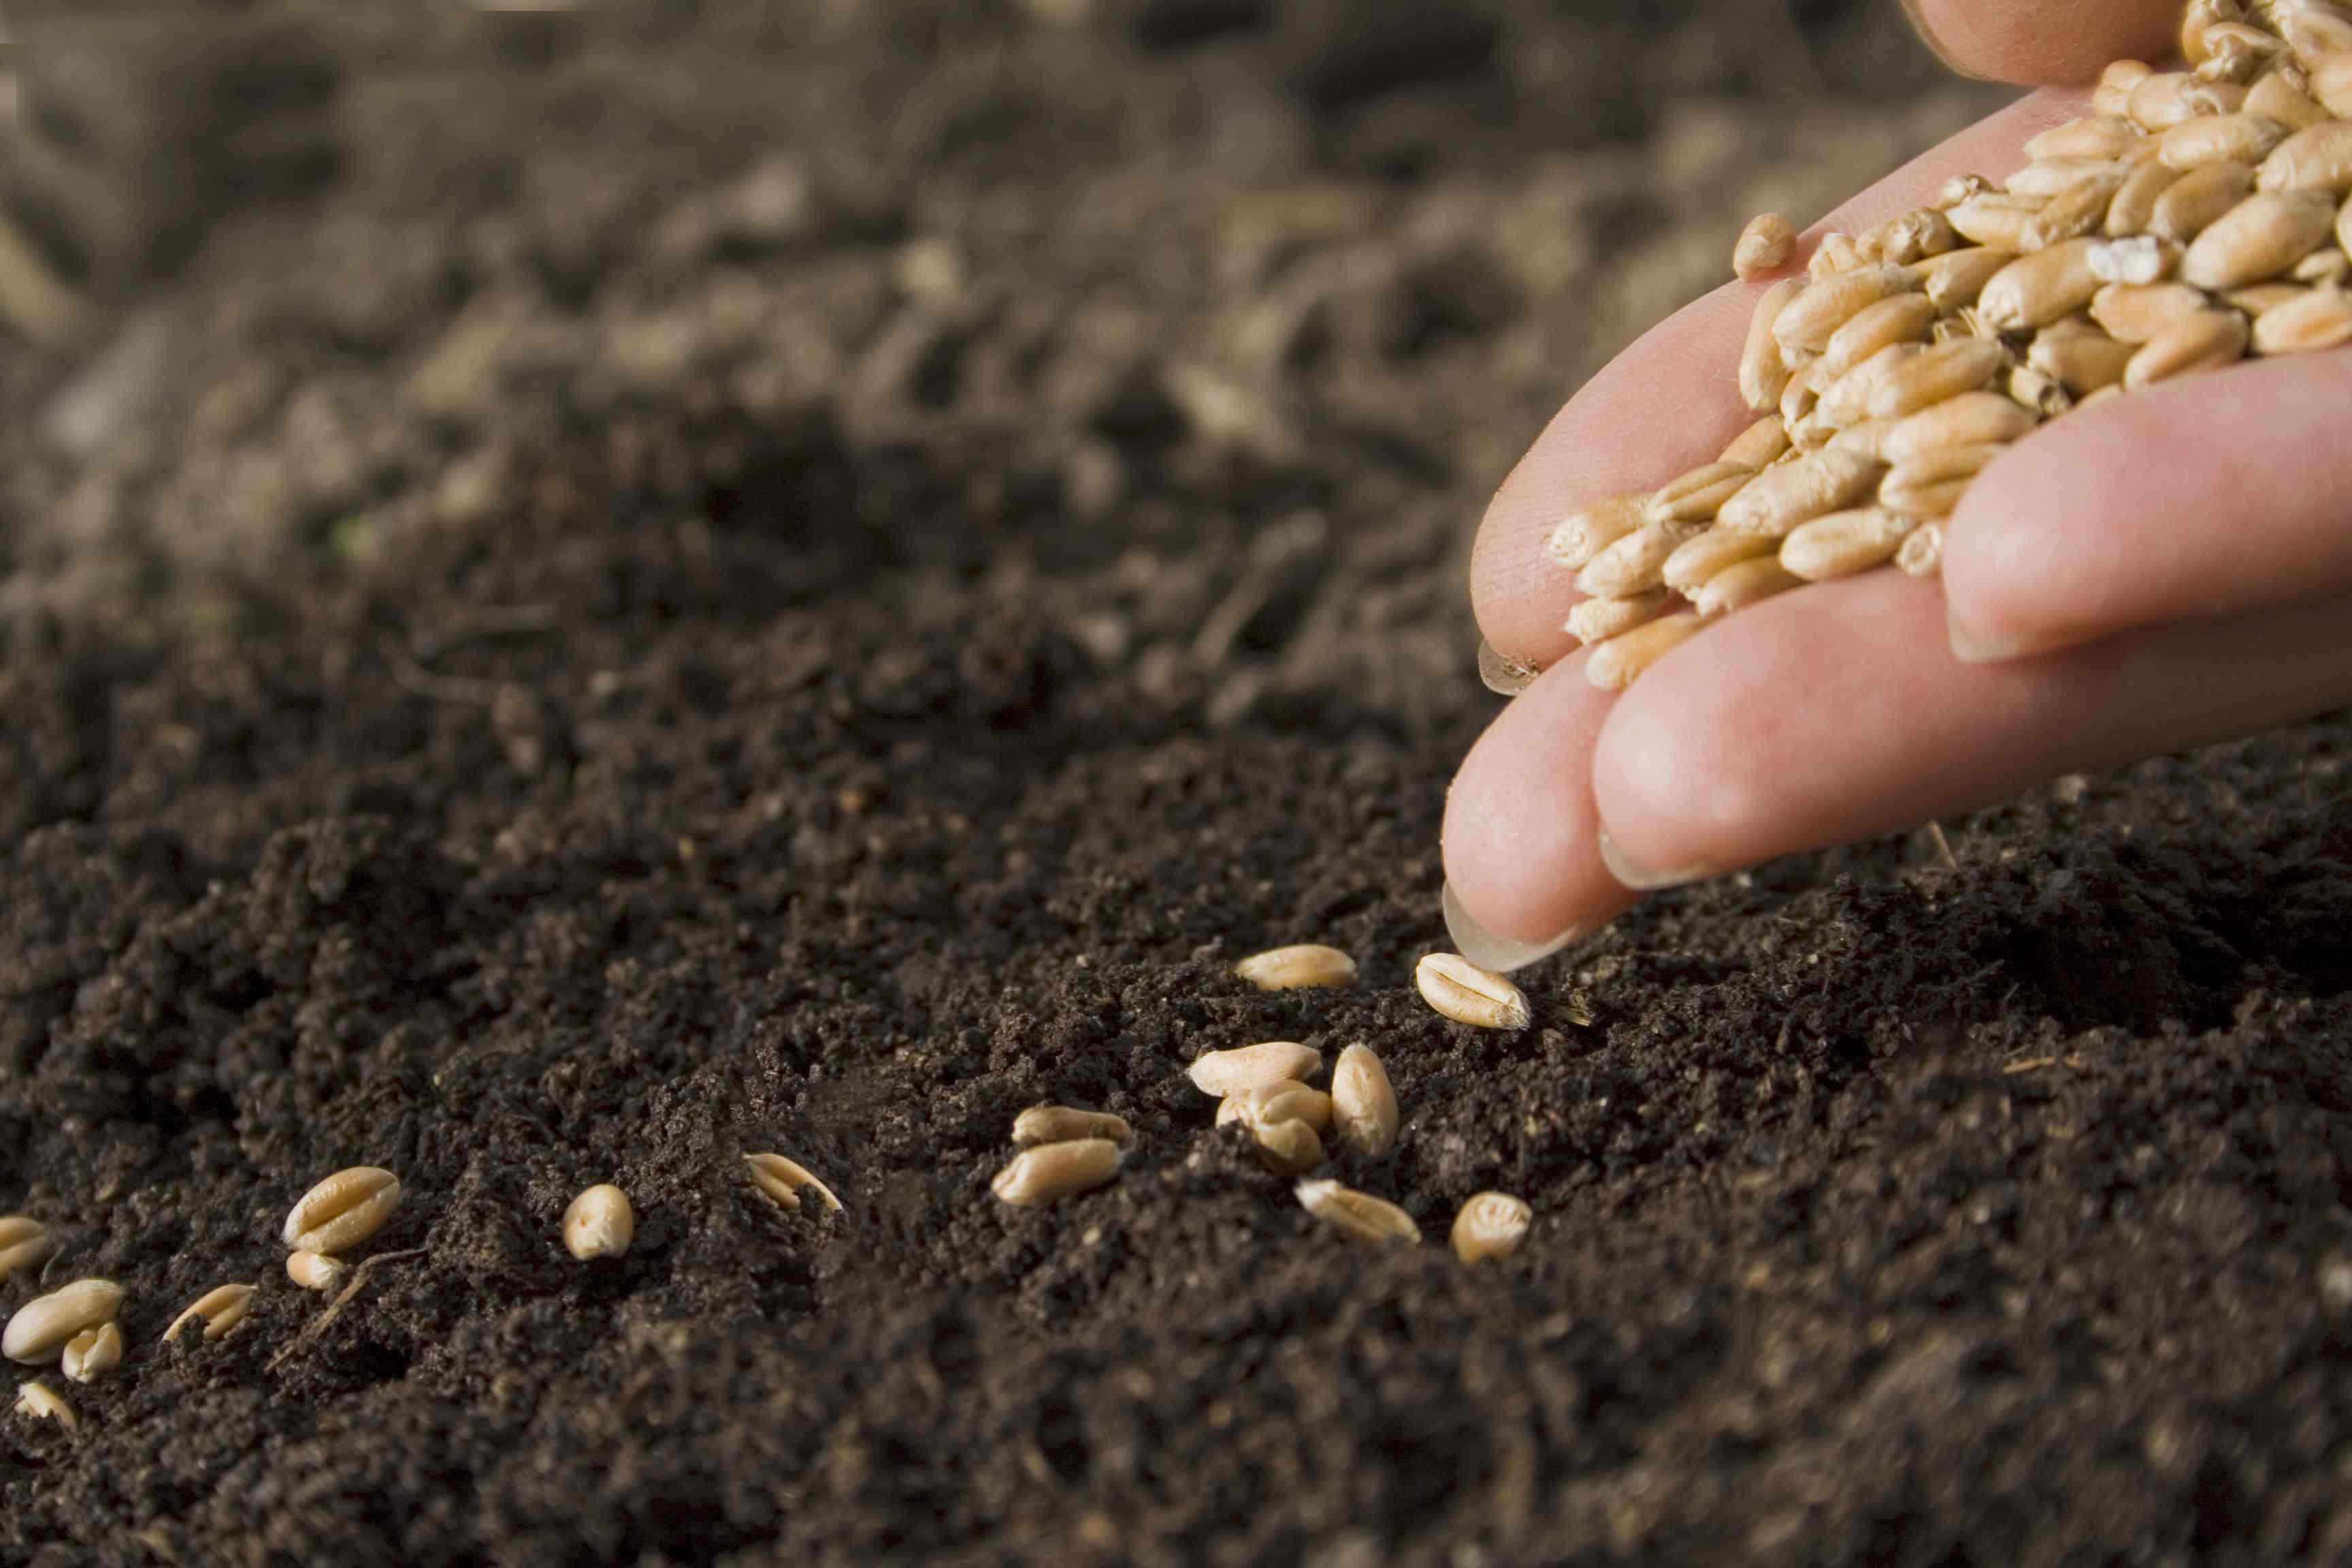
Digging the Planting Hole
Once you have prepared the soil, it’s time to dig the planting hole for your plum tree. Proper hole preparation is essential for the successful establishment of the tree’s root system. Follow these steps to ensure you dig the perfect planting hole:
- Measure the root ball: Determine the size of the root ball of your plum tree. Generally, the planting hole should be two to three times wider and slightly shallower than the root ball.
- Mark the location: Use a garden stake or marker to mark the center of the planting hole. This will help you maintain the correct positioning of the tree during planting.
- Dig the hole: With a shovel or spade, start digging the hole, removing the soil from the center towards the sides. Keep the removed soil in a separate pile for later use.
- Check depth and width: Periodically check the depth of the hole as you dig. The depth should be such that the tree’s crown (where the roots meet the trunk) is level with or slightly above the soil surface. Ensure that the width of the hole is appropriate for the root ball to fit comfortably without crowding or bending the roots.
- Loosen the sides: Using a garden fork or shovel, loosen the sides of the hole to encourage root penetration into the surrounding soil.
While digging the hole, you may encounter rocks, hard clay, or other obstructions. It’s important to remove these as they can impede root growth and cause long-term damage to the tree.
As you dig, periodically place the tree’s root ball into the hole to check the fit and make any necessary adjustments. The goal is to create a hole that provides enough space for the roots to spread out without being cramped.
By taking the time to dig a properly-sized and well-prepared planting hole, you provide the plum tree with a strong foundation for healthy root growth and overall development.
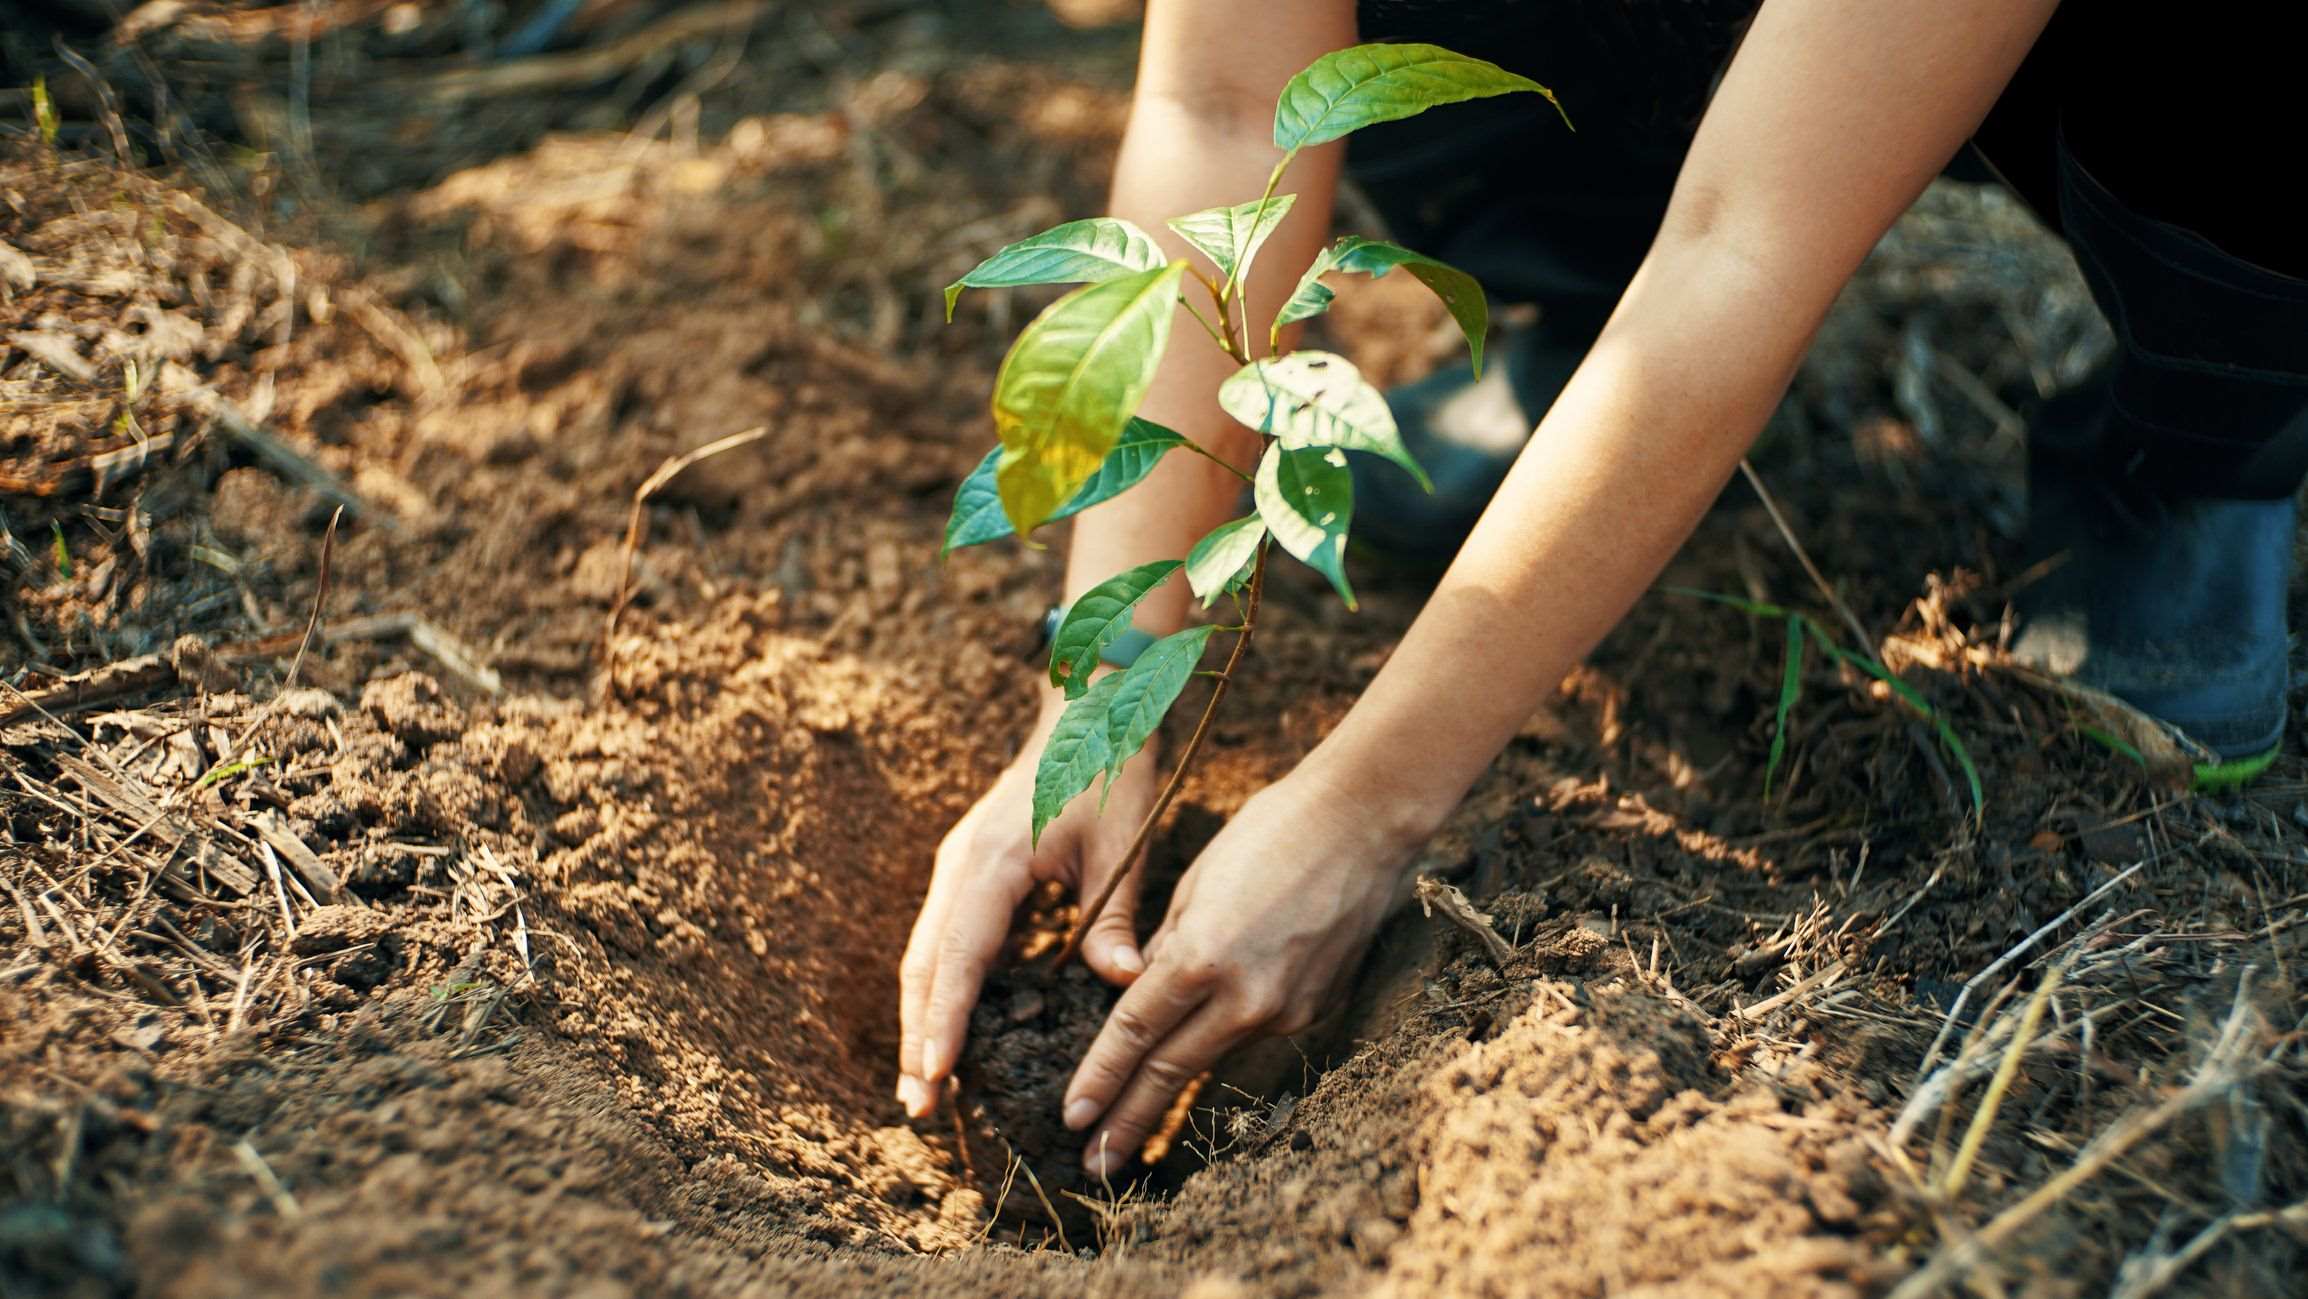
Planting the Plum Tree
Now that you have your planting hole ready, it’s time to proceed with planting your plum tree. Follow these steps to ensure a successful planting process:
- Inspect the roots: Before placing the tree in the hole, carefully examine the roots. Prune any damaged or broken roots using clean garden shears or pruning scissors.
- Position the tree: Lower the plum tree into the planting hole, making sure that the crown (where the roots meet the trunk) is level with or slightly above the surrounding soil surface. Take a step back and assess the tree’s vertical positioning to ensure it is straight.
- Backfill the hole: Begin backfilling the hole with the soil you initially removed, gently firming it around the roots as you go. Take care not to compact the soil too tightly, as this can restrict root growth and airflow.
- Water thoroughly: After backfilling, water the newly planted plum tree thoroughly. This helps settle the soil and eliminates any air pockets around the roots.
- Create a watering basin: Form a shallow basin or ring around the base of the tree to help retain water during irrigation. This directs the water to the root zone and encourages deep root penetration.
It’s important to avoid planting the tree too deep, as this can suffocate the roots. Planting too shallow, on the other hand, can expose the roots and cause them to dry out. Finding the right balance is crucial for the tree’s establishment and long-term health.
As you backfill the hole, periodically firm the soil gently with your hands to eliminate any large air pockets. Take care not to over-compact the soil, as this can hinder root development.
Watering immediately after planting is vital to ensure the soil is adequately hydrated. Provide enough water to moisten the entire root ball and the surrounding soil. Then, monitor the tree’s water needs and adjust your watering schedule accordingly.
By following these steps, you set the stage for the plum tree to establish itself successfully in its new home, promoting healthy growth and development.
Watering and Mulching
Proper watering and mulching are essential for the overall health and success of your newly planted plum tree. Here are some important tips to ensure optimal water management:
- Watering frequency: After planting, your plum tree will need regular watering to establish its root system. Water deeply and thoroughly, ensuring the soil is moistened to the depth of the root ball. During the first year, water once or twice a week, depending on the weather conditions and soil moisture levels.
- Watering technique: Use a slow and deep watering technique rather than light, frequent sprinkling. This encourages the roots to grow deeper into the soil, promoting a stronger and more drought-resistant tree.
- Moisture monitoring: Regularly check the soil moisture by inserting your finger about an inch into the soil. If it feels dry, it’s time to water. If it feels moist, wait a few more days before watering again.
- Mulching benefits: Apply a layer of organic mulch around the base of the plum tree, leaving a gap around the trunk to prevent moisture buildup. Mulching helps conserve soil moisture, regulate soil temperature, suppress weeds, and provide organic matter as it breaks down.
- Proper mulching technique: Apply a 2-4 inch layer of mulch, such as wood chips, straw, or compost, around the base of the tree. Ensure that the mulch is spread evenly and does not touch the trunk, as this can promote rot and pest issues.
When it comes to watering, it’s important to strike a balance. Avoid overwatering, as excessively wet soil can suffocate the roots and lead to root rot. On the other hand, underwatering can cause stress and hinder the tree’s growth. Regularly monitor the soil moisture and adjust your watering schedule accordingly.
Mulching is a beneficial practice that helps conserve moisture in the soil. It also reduces weed competition, which can otherwise steal nutrients and water from your plum tree. Make sure to refresh the mulch layer annually to maintain its effectiveness.
By following these practices, you provide your plum tree with adequate moisture and create an optimal growing environment, ensuring its continued health and vitality.
Pruning and Training
Pruning and training your plum tree is essential to promote its overall structure, health, and fruit production. Follow these guidelines to ensure proper pruning and training:
- Early pruning: Shortly after planting, prune your plum tree by removing any broken, dead, or crossing branches. This helps create a strong framework and encourages the growth of healthy branches.
- Formative pruning: In the first few years of growth, focus on shaping the tree’s structure. Prune to create an open and balanced canopy, allowing airflow and sunlight penetration. Aim for a central leader or modified central leader shape, with well-spaced lateral branches.
- Renewal pruning: As your plum tree matures, periodically remove older, unproductive wood to make room for new growth. This encourages the development of fresh, fruitful branches.
- Pruning cuts: Make clean cuts with sharp pruning shears, slightly angled and just above a bud or lateral branch. Avoid leaving stubs or cutting too close to the trunk.
- Winter pruning: Plum trees are typically pruned during the dormant season, preferably in late winter or early spring before bud break. This allows the tree to heal quickly and reduces the risk of disease transmission.
- Training techniques: Use training techniques such as tying, staking, or using trellises to guide the growth of branches in the desired direction. This helps create a balanced and manageable tree structure.
- Regular maintenance: Periodically inspect your plum tree for broken or diseased branches and promptly prune them to maintain tree health and prevent further spreading of diseases.
It’s important to note that plum trees have different pruning requirements based on the specific variety and growth habits. Consult pruning guides or seek advice from local experts to ensure you are following the appropriate pruning practices for your particular plum tree.
Pruning and training your plum tree not only contribute to its overall shape and health but also help maximize fruit production. By following proper techniques and maintaining regular pruning practices, you are setting the stage for a thriving and productive plum tree in your garden.
Fertilizing the Tree
Fertilizing your plum tree is crucial for providing it with the necessary nutrients to support healthy growth and fruit production. Follow these guidelines to ensure proper fertilization:
- Soil testing: Before applying any fertilizer, consider conducting a soil test to determine its nutrient content and pH level. This will help you identify any deficiencies or imbalances that need to be addressed.
- Timing: Apply fertilizer to your plum tree during the early spring, before the start of the growing season. This allows the tree to absorb the nutrients as it begins active growth.
- Choosing the right fertilizer: Select a balanced fertilizer specifically formulated for fruit trees. Look for a formulation with an NPK ratio (nitrogen, phosphorus, potassium) that matches the needs of your plum tree. Generally, a ratio of 10-10-10 or 14-14-14 is suitable.
- Application rates: Follow the instructions provided on the fertilizer packaging for the recommended application rates. Avoid over-fertilizing, as excessive amounts can lead to nutrient imbalances and environmental pollution.
- Application method: Sprinkle the fertilizer evenly around the drip line of the tree, which is the outer edge of the canopy. Scratch or lightly cultivate the soil surface to incorporate the fertilizer and water it thoroughly to help nutrients reach the root zone.
- Organic alternatives: Consider using organic fertilizers, such as compost, well-rotted manure, or fish emulsion, as alternatives to synthetic fertilizers. These organic options provide slow-release nutrients and improve soil fertility over time.
- Maintenance fertilization: Repeat the fertilization process annually, preferably in early spring, to provide continuous nourishment for the plum tree. Adjust the application rates and frequency based on the tree’s growth and nutrient requirements.
Remember, fertilization alone cannot compensate for poor soil conditions or other cultural practices. It should be complemented by proper watering, soil maintenance, and overall care to ensure the best results for your plum tree.
By following these guidelines and providing your plum tree with the necessary nutrients, you are promoting healthy growth, strong root development, and optimal fruit production.
Pest and Disease Control
Keeping your plum tree healthy and free from pests and diseases is crucial for its overall well-being and productivity. Here are some important tips for effective pest and disease control:
- Maintain tree health: Healthy trees are better equipped to resist pests and diseases. Provide your plum tree with proper care, including regular watering, adequate sunlight, and nutrient-rich soil.
- Monitor for pests: Regularly inspect your plum tree for signs of pest infestation, such as holes in leaves, chewed fruits, or webbing. Early detection allows for prompt action and minimizes damage.
- Practice cultural control: Implement cultural practices, such as pruning, proper watering, and regular removal of fallen leaves and debris, to create an unfavorable environment for pests and diseases.
- Natural predators: Encourage beneficial insects, birds, and other natural predators that feed on common tree pests, like aphids or caterpillars. Planting flowers or installing birdhouses can attract these helpful organisms.
- Organic pest control: Use organic pest control methods, such as insecticidal soaps, neem oil, or horticultural oils, to target specific pests while minimizing harm to beneficial insects and the environment.
- Chemical control: Consider chemical control options, such as insecticides or fungicides, as a last resort when other methods have failed. Always read and follow the instructions on the product label carefully.
- Common diseases: Be vigilant for common plum tree diseases like bacterial canker, brown rot, and plum pox virus. Follow proper sanitation practices, such as removing infected plant parts and disinfecting tools, to prevent the spread of diseases.
- Preventive sprays: Apply preventive sprays, such as copper-based fungicides, during the dormant season to protect against certain diseases. However, be cautious with spraying during the flowering season to avoid harming beneficial insects and bees.
It’s important to identify the specific pests and diseases that are prevalent in your area and tailor your management practices accordingly. Local nurseries or agricultural extension offices can provide valuable guidance and information to help you tackle specific issues.
By adopting a proactive approach and implementing appropriate pest and disease control measures, you can protect your plum tree from potential threats and ensure its health and productivity for years to come.
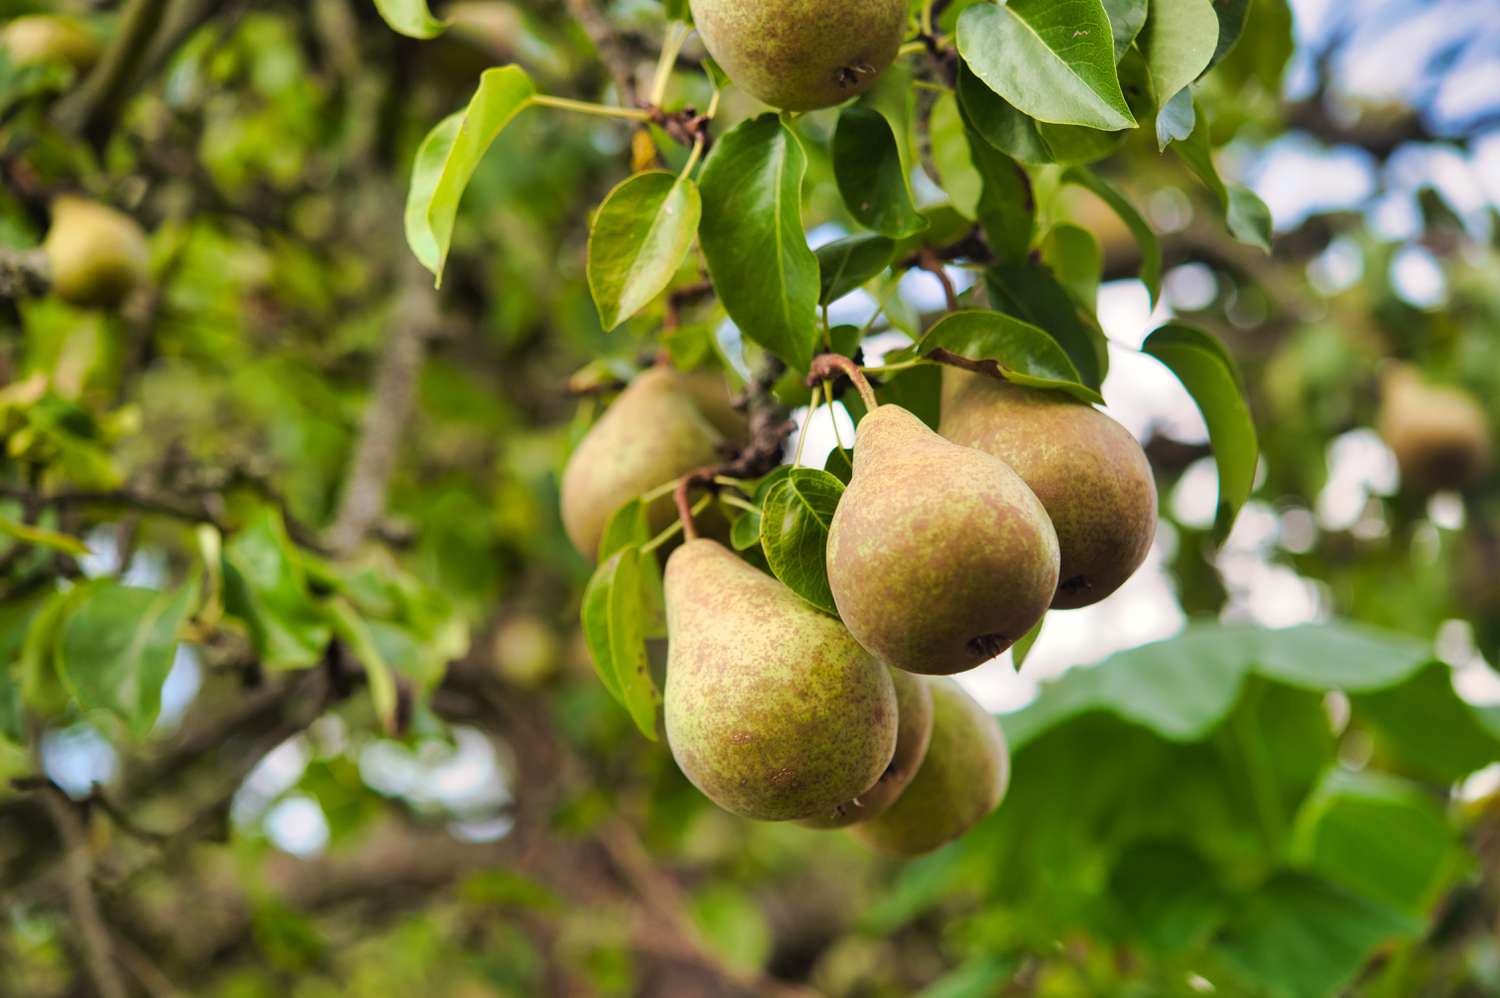
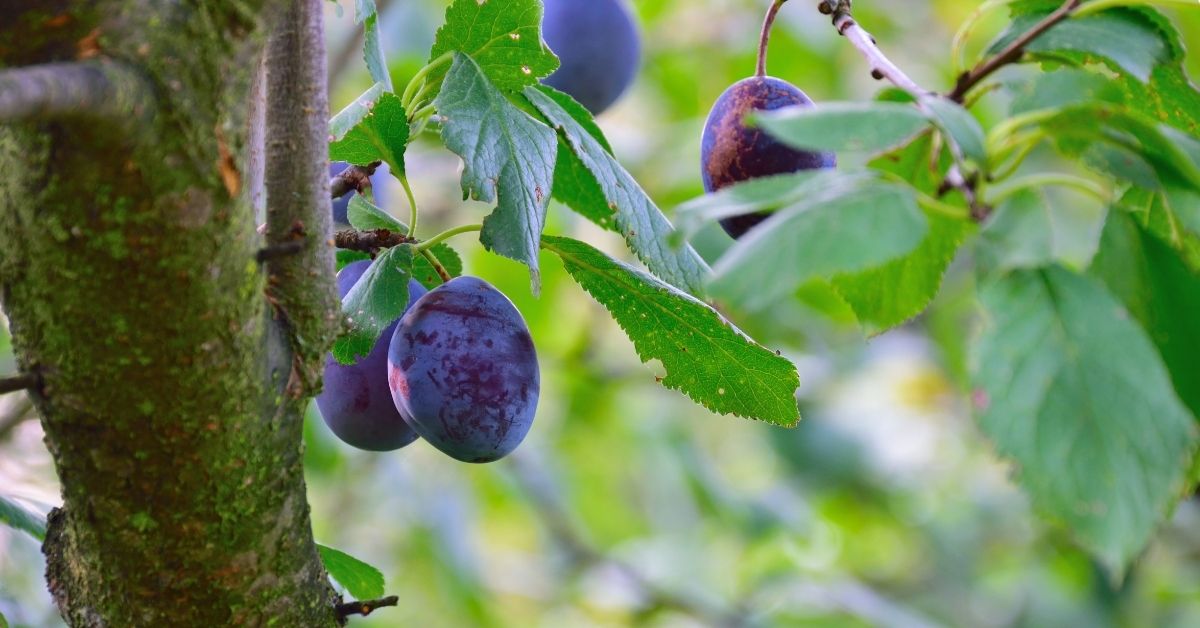
Harvesting the Plums
Harvesting plums is an exciting time that rewards you for your patience and care throughout the growing season. Here are some important tips to ensure a successful plum harvest:
- Timing: Plums are ready to be harvested when they are fully colored, slightly soft to the touch, and easily release from the tree with a gentle twist. Different plum varieties have varying ripening times, so consult the specific variety’s guidelines.
- Harvesting technique: Use your hand to gently twist and pull the ripe plums from the tree. Avoid using excessive force, as it may damage the branches or unripe fruits. Alternatively, use pruning shears to cut the stems just above the fruit.
- Regular checks: Monitor your plum tree regularly during the ripening period. Harvest the fruits as they reach their peak ripeness to prevent over-ripening or being consumed by pests or birds.
- Storage considerations: Plums continue to ripen after being harvested, so if you prefer slightly firmer fruits, harvest them just before they fully ripen. Store ripe plums in the refrigerator for up to a week, but consume them at room temperature for the best flavor.
- Harvesting methods: Depending on the size of your tree, you can either pick plums by hand or place a tarp or blanket beneath the tree and gently shake the branches to encourage ripe fruits to fall onto the fabric.
- Post-harvest care: After the harvest is complete, remove fallen fruits and clean the area beneath the tree to prevent pests or diseases from lingering. Prune any broken or damaged branches to maintain tree health and shape.
When harvesting plums, it’s essential to handle the delicate fruits with care to avoid bruising or damage. Place harvested plums in a single layer in shallow containers or baskets to prevent them from being crushed and to allow for better air circulation.
Enjoy the fruits of your labor by savoring plums fresh, incorporating them into delicious recipes, or preserving them through canning, freezing, or making jams and jellies.
Remember, each plum variety has its own unique flavor profile and texture, so experiment and discover your favorite way to enjoy the delectable fruits from your plum tree.
Conclusion
Congratulations on becoming well-versed in the art of planting and caring for plum trees! By following the steps outlined in this comprehensive guide, you are equipped with the knowledge to successfully grow and maintain healthy and productive plum trees in your garden.
From selecting the right plum tree variety and choosing the perfect planting location to preparing the soil, digging the planting hole, and providing essential care such as watering, mulching, pruning, fertilizing, and pest control, you have gained the tools to ensure your plum tree thrives.
Remember, gardening is not an exact science, and each plum tree may have unique requirements based on its variety, climate, and soil conditions. Stay observant and adaptable, making adjustments as needed to optimize your tree’s growth and productivity.
As your plum tree matures and bears fruit, relish the joy of harvesting plums at their peak ripeness. Whether enjoying them fresh or preserving them for future delights, the fruits of your labor will provide tasteful rewards.
Continue to expand your plant care knowledge, experiment with different pruning techniques, and stay vigilant against pests and diseases. With time and experience, you will become an even more proficient caretaker of your plum trees.
Remember to seek advice from local experts, nurseries, or gardening communities for region-specific tips and guidance. Gardening is a continuous learning journey, and every new season brings new opportunities and challenges.
So, roll up your sleeves, grab your gardening tools, and embark on the fulfilling journey of planting and caring for plum trees. Enjoy the beauty of the blossoms, the bounty of the fruits, and the satisfaction of nurturing life through your green thumb.
Happy gardening!