Home>Types of Gardening>Edible Gardening>How To Prepare A Plum Seed For Planting
Edible Gardening
How To Prepare A Plum Seed For Planting
Modified: February 9, 2024
Learn how to prepare a plum seed for planting in your own edible garden. Discover the essential steps and techniques for successful cultivation.
(Many of the links in this article redirect to a specific reviewed product. Your purchase of these products through affiliate links helps to generate commission for Chicagolandgardening.com, at no extra cost. Learn more)
Table of Contents
Introduction
Welcome to the wonderful world of edible gardening! If you have a passion for growing your own food and want to embark on a rewarding gardening journey, then learning how to prepare a plum seed for planting is a great place to start. Growing plum trees from seeds allows you to witness the entire lifecycle of the plant, from a tiny seed to a beautiful fruit-bearing tree.
Plums are not only delicious and nutritious, but they also add a touch of beauty to your garden with their vibrant colors and delicate blossoms. And the best part? With some patience and a little bit of know-how, you can easily grow your own plum trees right in your backyard.
In this article, we will guide you through the step-by-step process of preparing a plum seed for planting. From gathering the necessary supplies to caring for the seedling, we will cover all the essential steps to ensure the success of your plum tree project. So, roll up your sleeves, grab your gardening tools, and let’s get started on this exciting and fulfilling adventure!
Step 1: Gathering the Supplies
Before you begin preparing your plum seed for planting, it’s important to gather all the necessary supplies. Having everything ready from the start will make the process much smoother and ensure that you have everything you need at hand.
Here’s a list of supplies you’ll need:
- Plum Seeds: Start by obtaining ripe plum fruits from which you can extract the seeds. Make sure the plums are fully ripe, as this will increase the chances of successful germination.
- Knife or Spoon: You’ll need a small knife or spoon to extract the seeds from the plum. Be careful when cutting into the fruit to avoid injuring yourself.
- Paper Towels or Newspaper: You’ll need paper towels or newspaper to dry the extracted seeds. This will help remove any excess moisture and prepare them for the next step.
- Plastic Ziplock Bag: Use a resealable plastic bag to hold the moistened seeds during the stratification process. Make sure the bag is properly labeled with the date and type of seed.
- Seed starting mix or Potting soil: This will be used to plant the germinated seeds. Choose a high-quality seed starting mix or potting soil that is well-draining and nutrient-rich.
- Seedling trays or Pots: You’ll need containers to plant the seeds in. Seedling trays or small pots with drainage holes are ideal for providing the necessary conditions for growth.
- Watering Can or Spray Bottle: A watering can or spray bottle will be needed to provide moisture to the seeds and seedlings without causing excessive saturation.
- Grow Lights or Natural Sunlight: Plums require ample sunlight to thrive. If you’re growing them indoors, invest in suitable grow lights that mimic natural sunlight. If you have access to a sunny outdoor spot, that’s even better!
Once you have gathered all the necessary supplies, you’re ready to move on to the next step: preparing the plum seed for planting.
Step 2: Preparing the Plum Seed
Now that you have all the supplies ready, it’s time to prepare the plum seed for planting. This step involves extracting the seed from the fruit and ensuring it is in optimal condition for germination.
Here’s how you can prepare the plum seed:
- Choose a ripe plum: Select a ripe plum that is at its peak of maturity. Look for plums that are firm, evenly colored, and free from any signs of damage or disease.
- Extracting the seed: Carefully cut the plum in half using a knife or gently scoop out the seed using a spoon. Be cautious not to damage the seed during the process.
- Cleaning the seed: Rinse the extracted seed under running water to remove any fruit residue. Use your fingers to gently rub off any remaining fruit flesh. Avoid using soap or any harsh chemicals as they can harm the seed.
- Drying the seed: Place the cleaned seed on a paper towel or newspaper and pat it dry. Ensure that the seed is completely dry before proceeding to the next step.
- Inspecting the seed: Examine the seed for any signs of damage or deformities. Discard any seeds that appear shriveled, moldy, or discolored, as they are unlikely to germinate successfully.
By following these steps, you will have a clean and intact plum seed that is ready for the next stage of the planting process. Remember to handle the seed with care to prevent any damage that may negatively impact germination.
Step 3: Soaking the Seed
After preparing the plum seed, the next step is to soak it. Soaking helps to soften the seed coat and jump-start the germination process. This is especially important for plum seeds, as they have a hard outer shell that can delay germination if not properly treated.
Here’s how to soak the plum seed:
- Moisten a paper towel: Take a paper towel and dampen it with water. Make sure it is moist but not soaking wet.
- Place the seed on the towel: Put the prepared plum seed onto the moist paper towel.
- Fold the towel: Gently fold the towel to cover the seed, creating a small package.
- Transfer to a plastic bag: Put the towel with the seed inside a resealable plastic bag. Seal the bag to create a humid environment for the seed.
- Label the bag: Use a permanent marker to label the bag with the date and type of seed. This will help you keep track of the soaking time.
- Place in a warm location: Find a warm spot in your home, such as on top of the refrigerator or near a heat vent. Avoid placing the bag in direct sunlight as it can overheat the seed.
- Allow for soaking time: Let the seed soak for a period of 24 to 48 hours. During this time, check the moisture level of the towel and add a bit of water if needed to maintain the dampness.
Soaking the plum seed helps to break down the seed coat and initiate the germination process. This method mimics the natural process where seeds are exposed to moisture in the soil. After the soaking period, you will be ready to move on to the next step: stratification.
Step 4: Stratification Process
The stratification process is a crucial step in successfully germinating plum seeds. It involves subjecting the seeds to a period of cold temperature to simulate winter conditions. This mimics nature’s way of breaking seed dormancy and prepares the seeds for sprouting when spring arrives.
Follow these steps to stratify your plum seeds:
- Prepare the seeds: Remove the soaking towel from the plastic bag and take out the damp plum seeds.
- Transfer to a new ziplock bag: Place the seeds in a new resealable plastic bag. Make sure the bag is clean and labeled with the date and type of seed.
- Add a moisture-retaining medium: Add a small amount of moisture-retaining medium to the bag, such as damp vermiculite or peat moss. This will help maintain the humidity levels around the seeds.
- Seal the bag: Seal the bag securely to create a closed and moist environment for the seeds.
- Place in the refrigerator: Put the bagged seeds in the refrigerator. The ideal temperature for stratifying plum seeds is around 32 to 40 degrees Fahrenheit (0 to 4 degrees Celsius).
- Allow for stratification period: Let the seeds stratify for a period of 6 to 8 weeks. This extended exposure to cold temperatures will improve the germination rate.
- Check moisture levels: Check the bag periodically to ensure that the moisture-retaining medium is still damp. If it has dried out, add a small amount of water to maintain the humidity.
During the stratification period, chemical changes occur within the seed, breaking down dormancy barriers and preparing it for germination. Once the stratification period is complete, it’s time to move on to the next step: planting the seeds.
Step 5: Planting the Seed
Now that your plum seeds have undergone stratification and are ready to sprout, it’s time to plant them and give them the proper conditions for growth. Follow these steps to plant your stratified plum seeds:
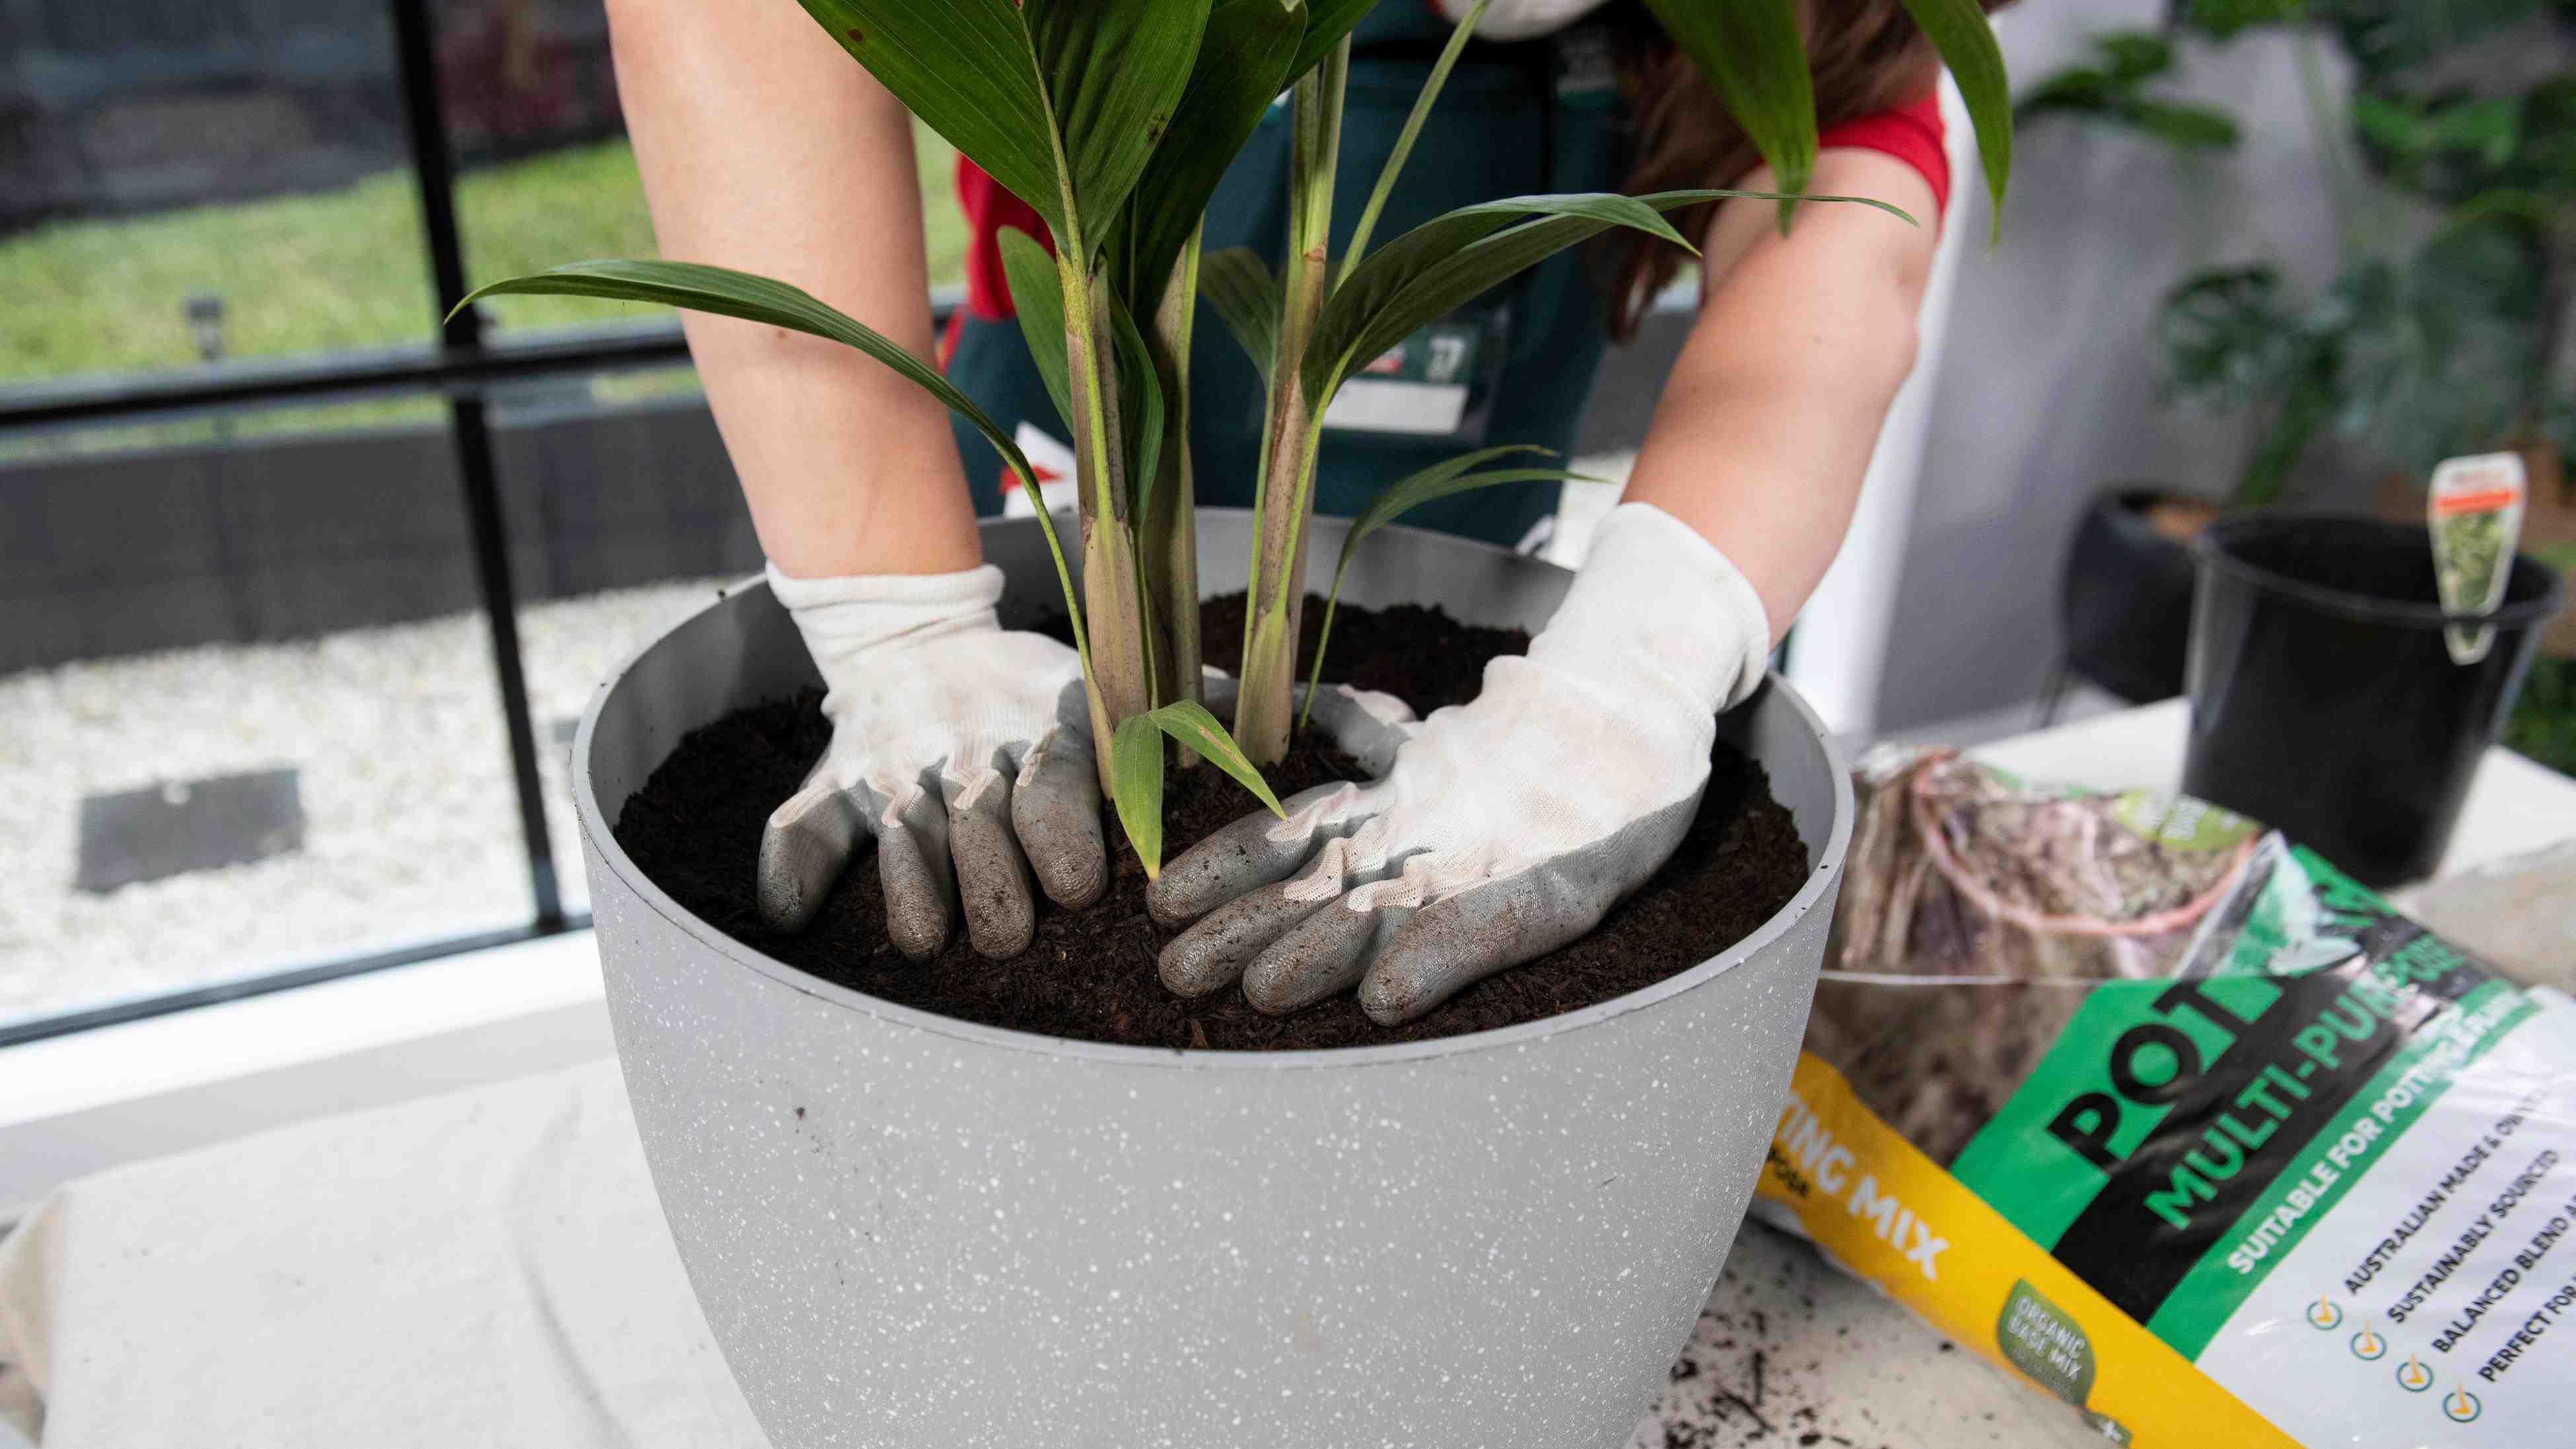
- Prepare the planting containers: Fill seedling trays or small pots with a high-quality seed starting mix or potting soil. Ensure that the containers have drainage holes to prevent waterlogging.
- Plant the seeds: Make a small indentation in the soil, around 1 inch deep. Place a single seed in each indentation and cover it with soil. Gently press the soil down to ensure good seed-to-soil contact.
- Water the seeds: Give the newly planted seeds a thorough watering, ensuring the soil is evenly moist. Avoid overwatering as it can lead to rotting of the seeds. Maintain soil moisture throughout the germination period.
- Provide warmth and light: Place the containers in a warm and well-lit area. If growing indoors, consider using grow lights to provide the necessary light intensity for optimal seedling development.
- Monitor and care for the seedlings: Keep an eye on the seedlings as they emerge. Once the seedlings have at least 2 sets of true leaves, thin them out if more than one seedling has sprouted in a single container. This will allow the remaining seedling to grow stronger.
- Continue to care for the seedlings: Water the seedlings regularly, keeping the soil consistently moist but not waterlogged. Provide adequate light and moderate temperatures to promote healthy growth.
- Prepare for transplanting: As the seedlings grow, they will eventually outgrow their temporary containers. Prepare larger pots or select a suitable planting location in your garden for transplanting once the seedlings are strong enough.
By following these steps, your plum seeds should germinate and develop into healthy seedlings. Remember to provide proper care and attention as they grow, ensuring they have adequate water, light, and nutrients.
Step 6: Caring for the Seedling
Once your plum seedlings have sprouted and are growing, it’s crucial to provide them with the necessary care to ensure their healthy and robust development. Here are some important tips for caring for your plum seedlings:
- Watering: Proper watering is essential for seedling growth. Keep the soil evenly moist, but be cautious not to overwater, as excessive moisture can lead to root rot. Water the seedlings at the base of the plant to avoid wetting the leaves.
- Sunlight: Plum trees thrive in full sun, so ensure that your seedlings receive at least 6 to 8 hours of direct sunlight each day. If growing indoors, place them near a sunny window or provide supplemental grow lights to mimic natural sunlight.
- Temperature: Plum trees prefer moderate temperatures. Maintain a temperature range of 60 to 75 degrees Fahrenheit (15 to 24 degrees Celsius) during the day and slightly cooler temperatures at night.
- Fertilization: Once your seedlings have developed a few sets of true leaves, you can start fertilizing them. Use a balanced organic fertilizer and follow the manufacturer’s instructions for application rates and frequencies.
- Pruning: As your plum seedlings continue to grow, you may need to prune them to promote proper shape and structure. Remove any damaged or diseased branches, and thin out any crowded areas to improve air circulation and light penetration.
- Transplanting: When your seedlings have grown sturdy and have a good root system, they can be transplanted into larger pots or into the garden. Choose a well-draining location with fertile soil and adequate sunlight.
- Pest and disease control: Keep a close eye on your seedlings for any signs of pests or diseases. Common plum tree pests include aphids, scale insects, and plum fruit moths. Use organic pest control methods or seek professional guidance if necessary.
- Support: As your plum tree grows taller, it may require support to prevent bending or breaking. Consider staking or tying the trunk to a support structure to ensure it grows straight and strong.
Caring for your plum seedlings requires attention and diligence. Regular monitoring, proper watering, adequate sunlight, and appropriate fertilization will contribute to their healthy growth and increase their chances of yielding delicious plums in the future.
Conclusion
Congratulations! You have now learned how to prepare a plum seed for planting and care for the seedlings as they grow. Starting from a tiny seed, you have embarked on a fulfilling journey of growing your very own plum trees. With patience, attention, and the right techniques, you can enjoy the delight of harvesting fresh, juicy plums from your very own backyard.
Remember, the process begins with gathering the necessary supplies, including plum seeds, a knife or spoon for extraction, and containers for planting. Preparing the plum seed involves cleaning and drying it thoroughly. Soaking the seed and subjecting it to stratification mimic nature’s way of breaking down dormancy barriers and preparing the seed for germination.
Once your plum seeds have been stratified, it’s time to plant them in seedling trays or pots filled with well-draining soil. Proper care for the seedlings includes regular watering, ensuring adequate sunlight, and providing optimal temperature conditions. Fertilizing, pruning, transplanting, and pest control are all important aspects of tending to your growing plum trees.
By following these steps, you can enjoy the beauty of plum blossoms and the satisfaction of harvesting delicious fruits. Experiment with different plum varieties and explore the joy of growing your own unique fruit trees. Edible gardening is not only rewarding, but it also connects you with nature and allows you to savor the flavors of homegrown produce.
So, get your gardening tools ready, put on your gloves, and dive into the world of edible gardening with plum trees. From the excitement of planting the seed to the exhilaration of enjoying your first homegrown plum, you are now equipped with the knowledge and skills to cultivate and nurture your own delightful plum orchard. Happy gardening!