Home>Gardening Techniques>DIY Projects>How To Prepare Flower Beds For Planting
DIY Projects
How To Prepare Flower Beds For Planting
Modified: January 22, 2024
Learn how to prepare flower beds for planting with this DIY project guide. Create beautiful and thriving gardens with our step-by-step instructions and tips.
(Many of the links in this article redirect to a specific reviewed product. Your purchase of these products through affiliate links helps to generate commission for Chicagolandgardening.com, at no extra cost. Learn more)
Table of Contents
- Introduction
- Assessing and planning the flower bed area
- Clearing the flower bed area
- Removing weeds and grass
- Loosening the soil
- Adding organic matter
- Leveling the flower bed
- Choosing and purchasing plants
- Arranging the plants
- Planting the flowers
- Mulching the flower bed
- Providing proper care and maintenance
- Conclusion
Introduction
Welcome to the wonderful world of DIY projects! If you’re looking to add some beauty and color to your outdoor space, creating a flower bed is a fantastic way to do it. Whether you’re a seasoned gardener or just starting out, preparing the flower bed area properly is essential for successful planting.
Before you dive in and start digging, take some time to assess and plan your flower bed. Consider factors such as sunlight, soil quality, and the overall aesthetic you want to achieve. By doing this, you can ensure that the plants you choose will thrive in the designated area.
In this article, we’ll guide you through the step-by-step process of preparing your flower bed for planting. From clearing the area to adding organic matter and arranging the plants, we’ll cover all the necessary steps to help you create a stunning and healthy flower bed.
But before we get into the nitty-gritty details, it’s important to note that every flower bed is unique, and the specific requirements may vary based on your location, climate, and personal preferences. However, the general principles and techniques discussed here will serve as a solid foundation for any DIY enthusiast.
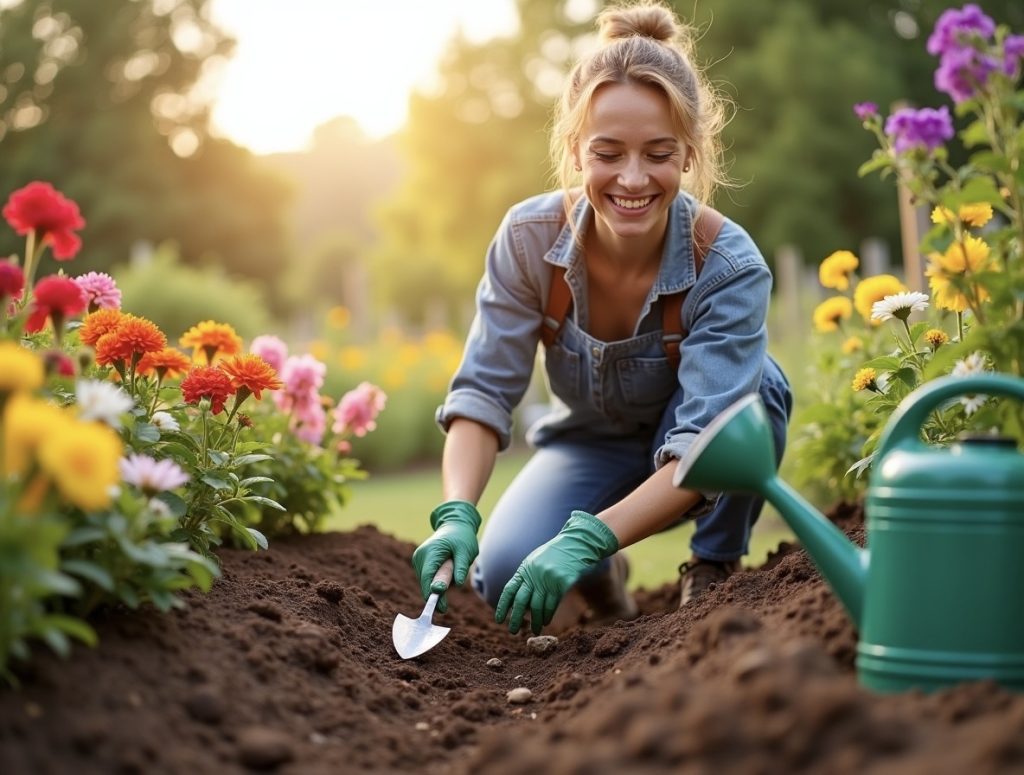
So, grab your gardening gloves and let’s get started on transforming that empty patch of land into a blooming paradise!
Assessing and planning the flower bed area
Before you begin any DIY project, it’s important to assess the area and plan accordingly. This applies to creating a flower bed as well. By taking the time to evaluate the space, you can ensure the best possible conditions for your plants to thrive.
Start by examining the sunlight exposure in the area. Different plants have different light requirements, so it’s crucial to determine whether your flower bed will receive full sun, partial sun, or shade throughout the day. This will help you select the right plants that can thrive in the given lighting conditions.
Next, consider the soil quality. Dig a small hole in the area and examine the texture and composition of the soil. Ideally, you want well-draining soil that is rich in organic matter. If the soil is heavy and clay-like, you may need to amend it with compost or other organic materials to improve its structure.
Additionally, think about the overall size and shape of the flower bed. Take into account the surrounding landscape and any existing structures or features that you want to complement or highlight. Remember, a well-designed flower bed can enhance the overall aesthetics of your outdoor space.
As you plan your flower bed, think about the color scheme and the desired height and growth habit of the plants. Consider creating focal points and layers of different heights for visual interest. Mixing annuals, perennials, and ornamental grasses can create a dynamic and ever-changing display.
It’s also important to choose plants that are appropriate for your hardiness zone. Check with your local nursery or gardening center for recommendations on plants that are suitable for your specific region and climate.
By assessing and planning the flower bed area meticulously, you can ensure that your plants will have the best chance to thrive and create a beautiful and sustainable garden.
Clearing the flower bed area
Before you can start preparing the soil for your flower bed, you need to clear the area of any existing vegetation, weeds, and debris. This step is crucial to create a clean and blank canvas for your new plants to flourish.
Start by removing any large rocks, branches, or other debris that may be present in the flower bed. This will give you a clear view of the area and prevent any obstacles from impeding the growth of your plants.
Next, it’s time to tackle the weeds. Depending on the severity of the weed infestation, you can either pull them out manually or use a garden tool like a hoe to loosen their roots and remove them. Be thorough in this process to prevent weed growth from hindering the growth of your flowers in the future.
If the area is heavily overgrown with vegetation, you may consider using a weed killer. However, it’s important to select a herbicide that specifically targets weeds and avoid spraying it on desirable plants or near water sources to minimize environmental impact.
Once you have cleared the area of weeds and debris, take a moment to evaluate the quality of the topsoil. If it is compacted or lacks organic matter, you may need to take additional steps to improve its structure before proceeding to the next stage of preparation.
Clearing the flower bed area may require some physical effort and time, but it is an essential step to create the ideal conditions for your new plants. By ensuring a clean and weed-free bed, you can give your flowers the best start for healthy and vigorous growth.
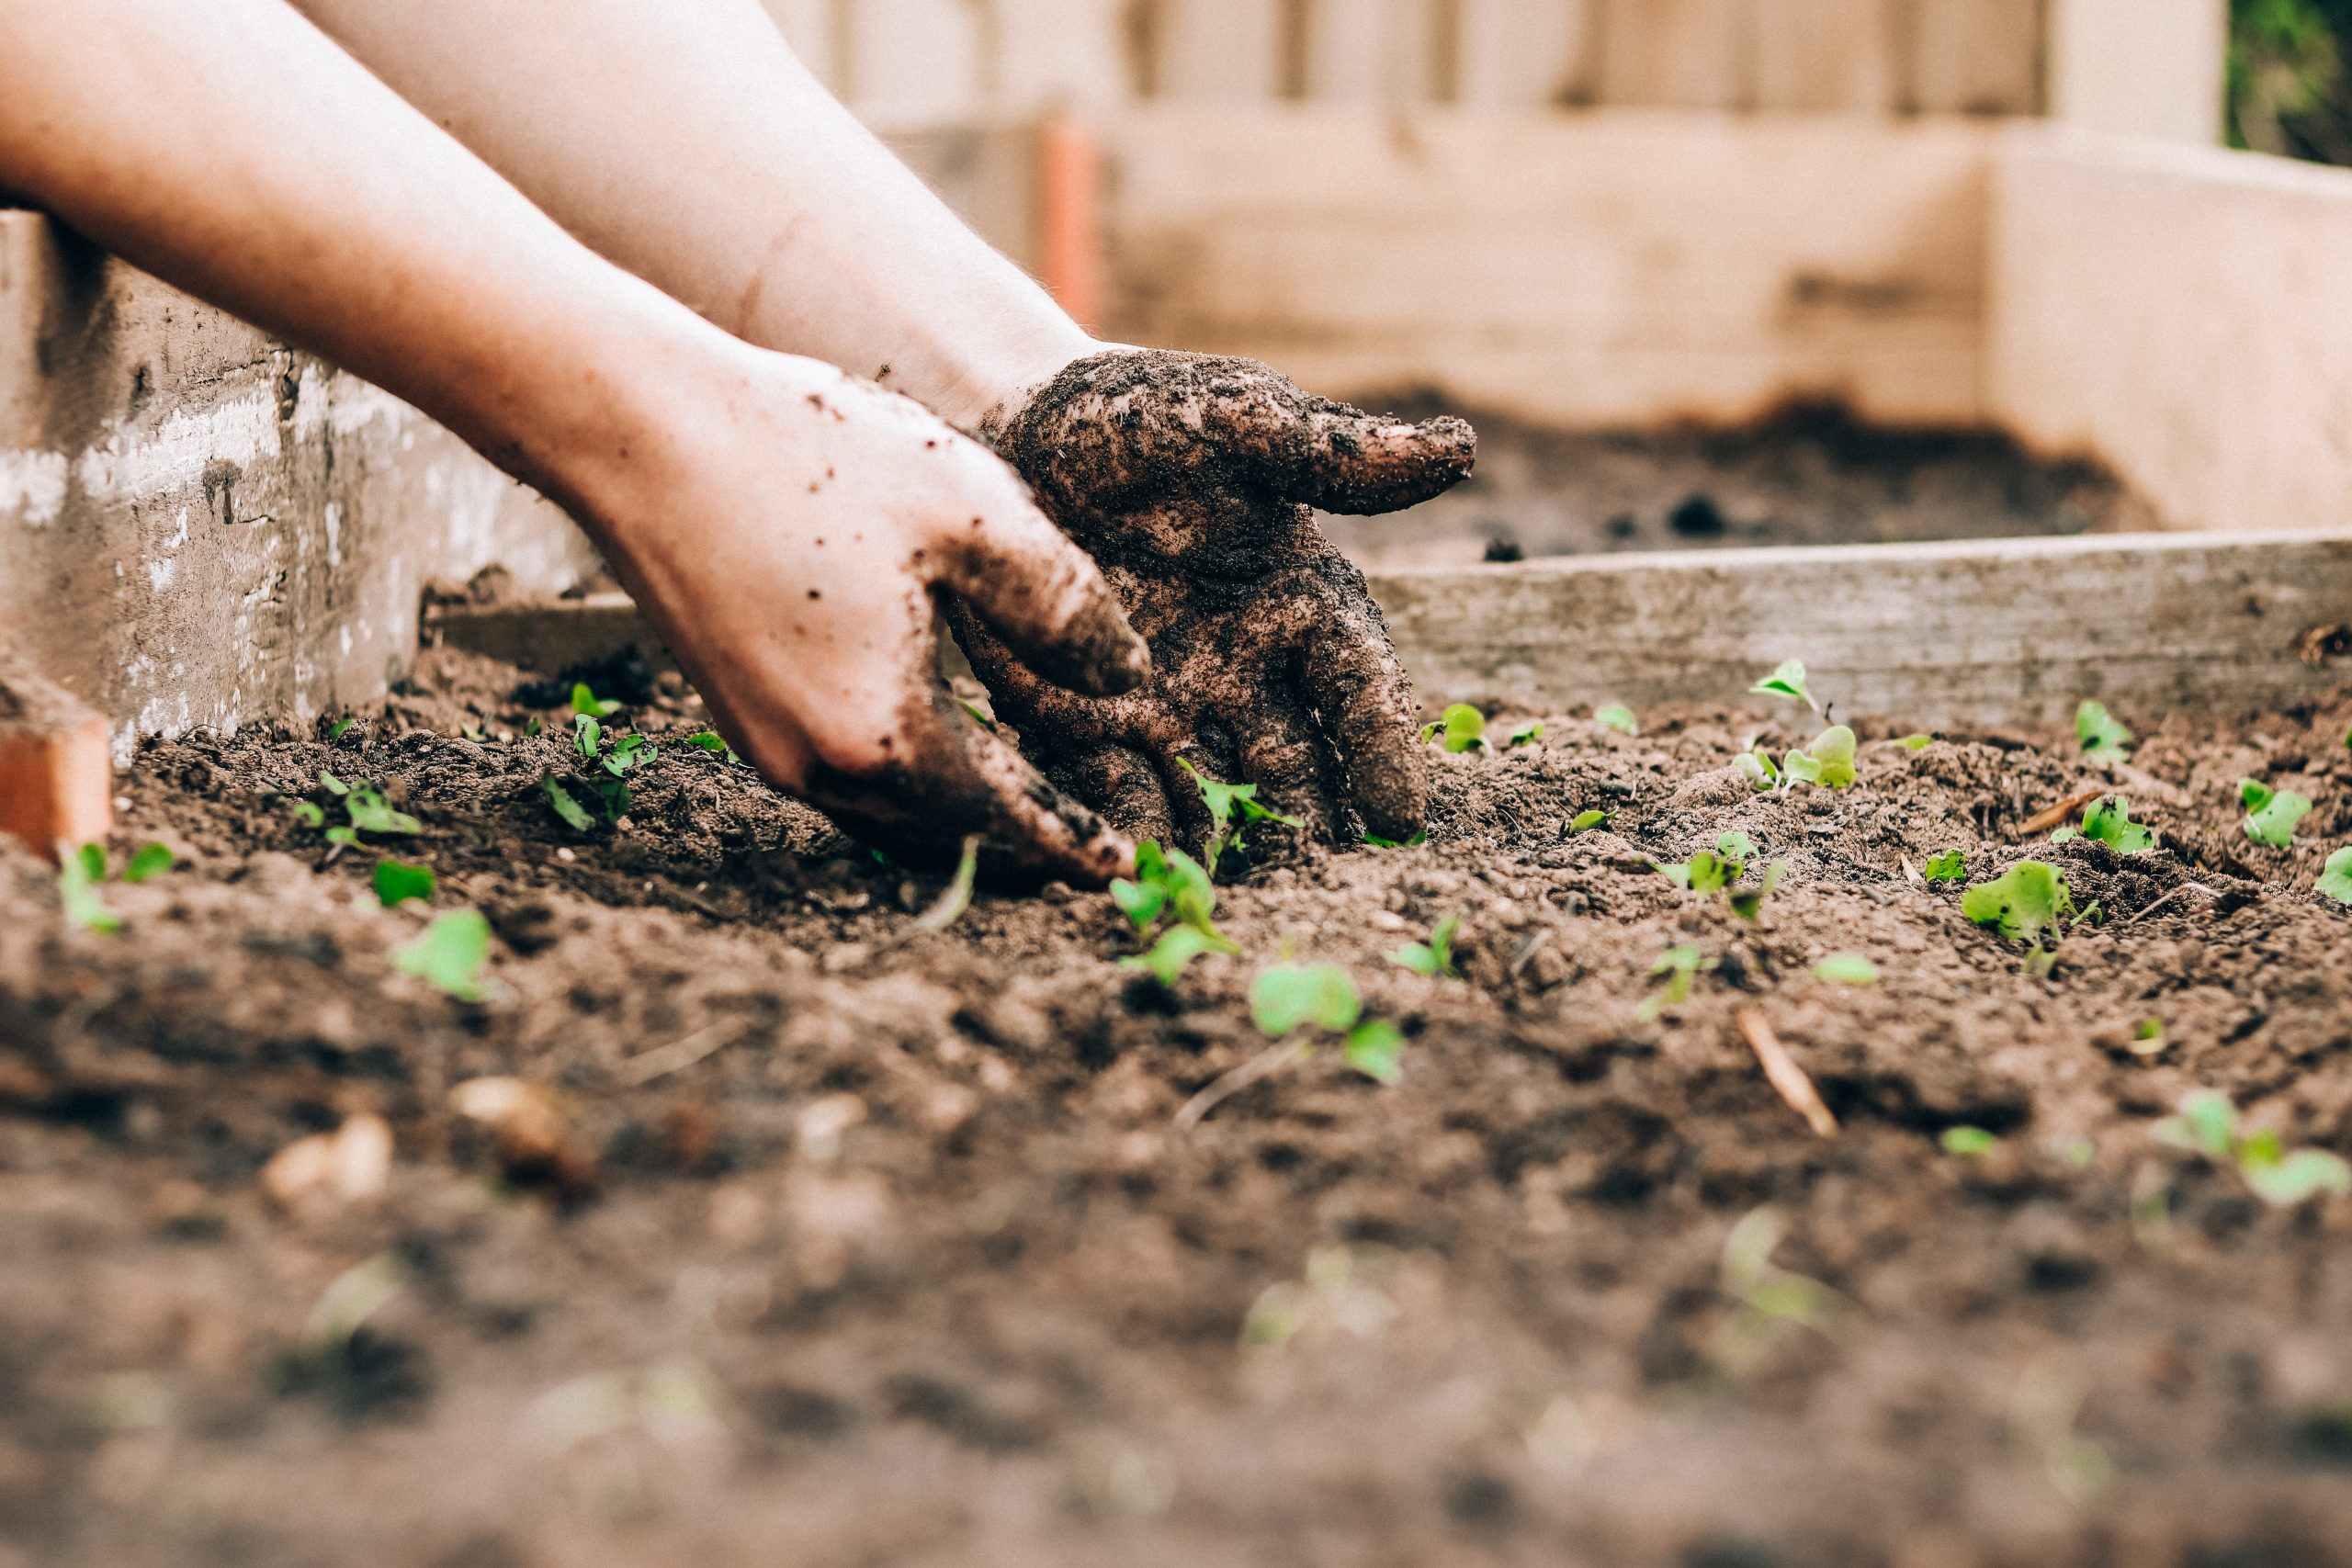
Removing weeds and grass
One of the key steps in preparing a flower bed is removing weeds and grass that can compete with your new plants for nutrients, water, and sunlight. Weeds can quickly take over a flower bed if left unchecked, so it’s important to thoroughly address this issue before proceeding.
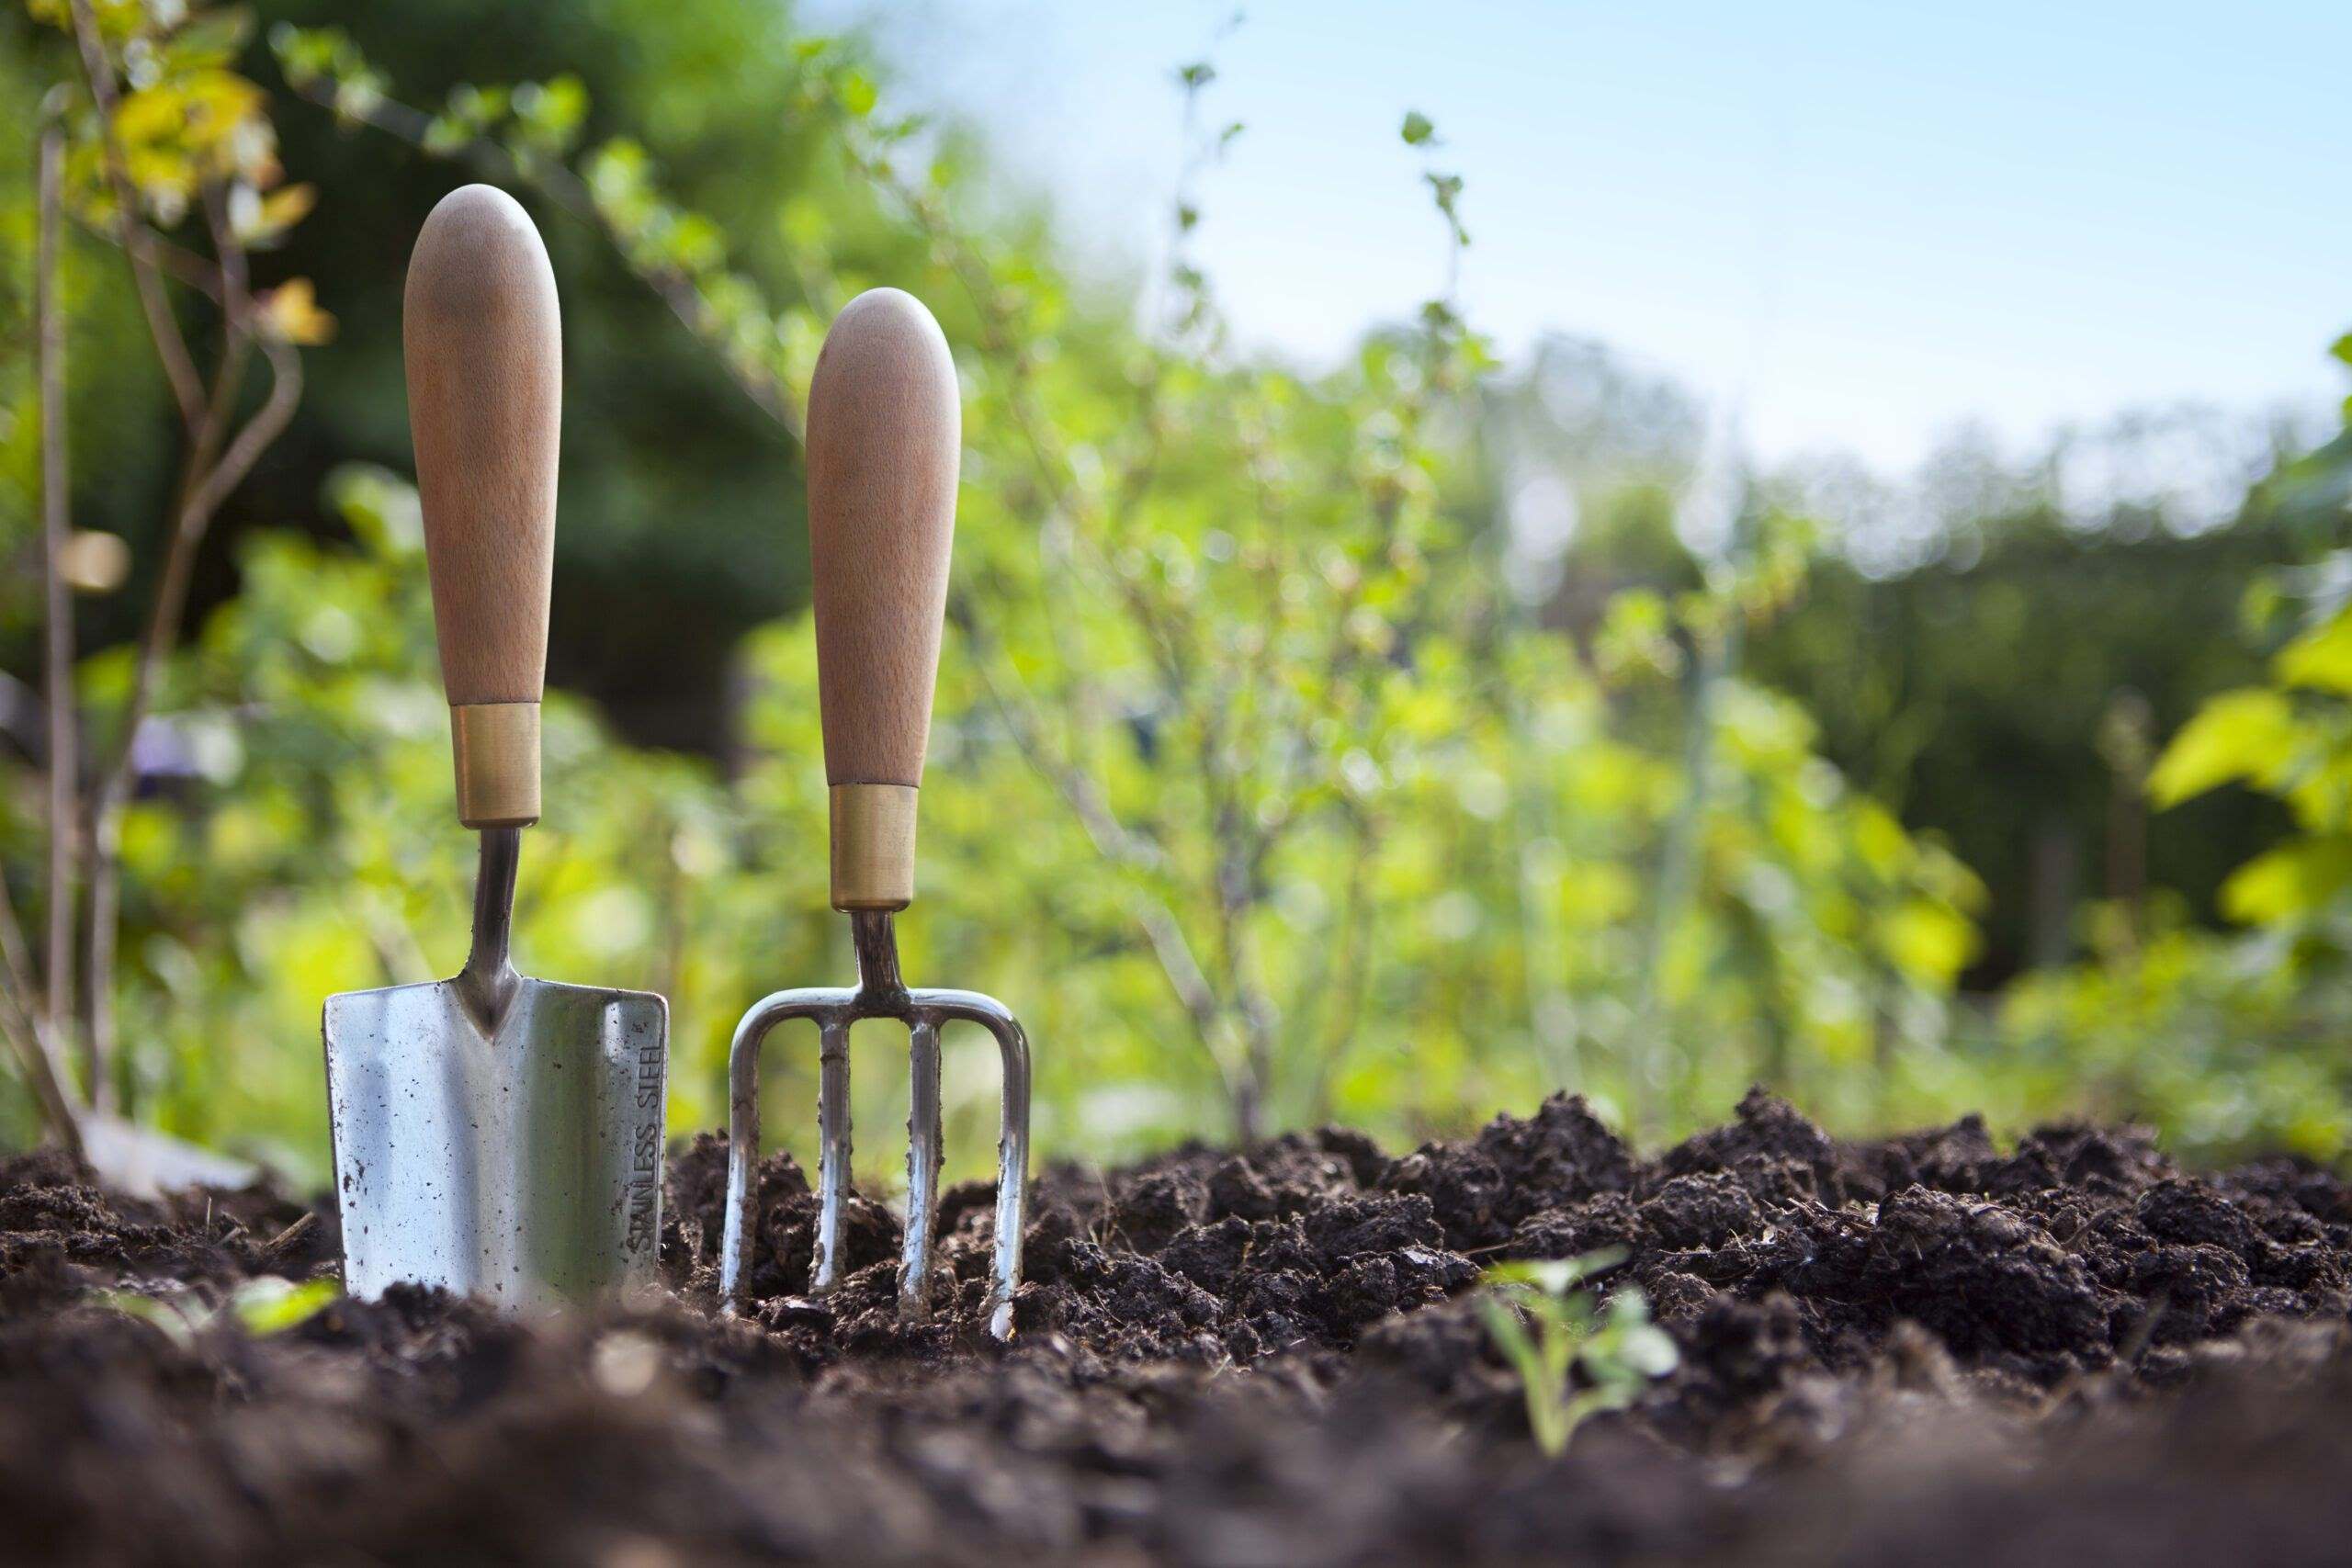
Start by manually pulling out any visible weeds from the flower bed area. Be sure to remove them from the root to prevent regrowth. Use a garden trowel or hand fork to loosen the soil around the weeds, making it easier to extract them completely.
If you’re dealing with a large number of stubborn or deep-rooted weeds, you may need to use a weed digger or weed control tool to help remove them effectively. These tools allow you to target the roots of the weeds and minimize the chances of regrowth.
In some cases, the flower bed area may also have grass that needs to be removed. Grass can quickly invade your flower bed and compete with your plants for resources. To get rid of grass, start by cutting it down to a manageable height with a lawn mower or grass trimmer. Then, using a shovel or garden fork, carefully lift and remove the grass turf, including the roots.
For a more thorough approach, you can use a grass and weed killer. Select a herbicide specifically designed to target grass and apply it according to the manufacturer’s instructions. Be cautious when using herbicides near desirable plants and follow safety guidelines to protect yourself and the environment.
Remember to dispose of the weeds and grass properly to prevent them from regrowing or spreading to other areas of your garden. You can either bag them up for municipal waste collection or create a compost pile if they are free from seeds and chemicals.
By taking the time to remove weeds and grass before planting, you provide your flowers with a clean and weed-free environment to thrive. This will minimize competition and give your plants the best chance to grow and flourish.
Loosening the soil
Once you have cleared the flower bed area of weeds and grass, the next step in preparing the soil is to loosen it. Loosening the soil helps improve drainage, aeration, and root penetration, creating a healthy environment for your plants to grow.
Using a garden fork or a tiller, gently work the soil, breaking up any compacted areas. Start at one end of the flower bed and work your way across, ensuring the entire area is thoroughly loosened. Avoid overworking the soil, as excessive tilling can disrupt the soil structure and negatively affect the soil’s ability to hold nutrients and water.
If the soil is particularly heavy or compacted, you may need to incorporate organic matter to improve its texture. This can be done by adding compost, aged manure, or other organic materials to the soil. Spread a layer of the organic matter over the flower bed and mix it in using a garden fork or tiller. This will help introduce nutrients, improve drainage, and enhance the overall fertility of the soil.
While loosening the soil, take the opportunity to remove any rocks, roots, or clumps that may hinder the growth of your plants. These obstacles can impede root development and affect the overall health of your flowers.
Remember to work gently and avoid excessive compaction of the soil as you move around the flower bed. Walking on the loosened soil or using heavy machinery can compress it, defeating the purpose of loosening in the first place.
Loosening the soil is a crucial step in preparing a flower bed as it creates an optimal environment for plant growth. By ensuring loose and well-aerated soil, you provide the roots with the space they need to establish and access essential nutrients and moisture.
Adding organic matter
Now that you’ve loosened the soil in your flower bed, it’s time to enrich it by adding organic matter. Organic matter provides essential nutrients, improves soil structure, and enhances moisture retention, all of which contribute to the health and vitality of your plants.
There are several types of organic matter that you can incorporate into your flower bed, including compost, aged manure, leaf mold, or shredded leaves. These materials are rich in organic nutrients and beneficial microorganisms that promote plant growth.
Start by spreading a layer of organic matter over the loosened soil. Aim for a thickness of about 2-3 inches. Then, use a garden fork or tiller to mix the organic matter into the soil, ensuring it is evenly distributed throughout the bed.
If you don’t have access to pre-made compost or aged manure, you can create your own compost pile using kitchen scraps, yard waste, and other organic materials. Composting not only provides you with nutrient-rich soil amendment but also helps reduce waste and promotes sustainability in your garden.
Incorporating organic matter into your flower bed has numerous benefits. It improves soil fertility, enhances water retention, and encourages beneficial soil organisms like earthworms to thrive. Over time, the organic matter will further break down and improve the overall health and structure of your soil.
Remember to replenish organic matter periodically, as it will naturally decompose over time. Adding a layer of compost or mulch each year can help maintain the nutrient levels in your flower bed and ensure the continued success of your plants.
By adding organic matter, you’re enhancing the nutrient content and overall quality of your soil, providing the ideal foundation for your new plants to thrive.
Leveling the flower bed
After adding organic matter to the soil, the next step in preparing your flower bed is to level the surface. Leveling ensures an even distribution of soil and provides a smooth and aesthetically pleasing base for planting.
Start by using a garden rake or a flat-edged shovel to spread the soil evenly across the flower bed. Smooth out any noticeable bumps or uneven areas, paying attention to the edges and corners of the bed.
As you level the soil, keep in mind the desired grade and slope of your flower bed. Ideally, the bed should have a slight slope to facilitate proper drainage. This slope should be directed away from any nearby structures or buildings to prevent water runoff issues.
Use a level or a long, straight board to check the overall evenness of the bed. Place the level or board on different sections of the bed and adjust the soil as needed to achieve a consistent level surface.
If you encounter any low spots during the leveling process, add additional soil and gently compact it to fill those areas. Conversely, if you come across any high spots, carefully remove excess soil and redistribute it to ensure an even bed.
Leveling the flower bed is especially important when it comes to planting and watering. A level surface allows for uniform water distribution and prevents pooling in certain areas, which can lead to waterlogging and root rot.
Take your time during this step to ensure a properly leveled flower bed. A well-leveled bed not only enhances the overall appearance of your garden but also contributes to the long-term health and success of your plants.
Choosing and purchasing plants
Now that you have prepared your flower bed, it’s time to choose and purchase the plants that will bring color and beauty to your garden. Selecting the right plants is crucial for a successful and visually appealing flower bed.
Consider the growing conditions specific to your flower bed, including sunlight exposure, soil type, and drainage. Different plants have different requirements, so choose varieties that are well-suited to the conditions of your garden.
Think about the desired height, color, and blooming season of the plants. Do you want a combination of annuals and perennials for continuous blooms throughout the season, or do you prefer a specific color scheme? Visualize the overall look and feel you want to achieve in your flower bed.
Research plant varieties that are suitable for your hardiness zone. This ensures that the plants you select will be able to withstand the typical weather conditions in your area. Consult gardening guides, visit local nurseries, or seek advice from experienced gardeners to get recommendations for plants that thrive in your region.
Visit local nurseries, gardening centers, or online plant retailers to purchase your chosen plants. Pay attention to the condition of the plants – look for healthy foliage, well-developed roots, and no signs of disease or pests. Consider supporting local businesses and nurseries whenever possible.
While shopping for plants, make sure to read the labels or descriptions carefully. The information provided will often include details about the plant’s ideal growing conditions, sunlight requirements, watering needs, and anticipated size at maturity. This will help you determine if the plant is suitable for your flower bed.
Remember to consider the long-term maintenance requirements of the plants you choose. Some plants may require regular pruning, deadheading, or specific care instructions. Be realistic about the amount of time and effort you can devote to maintaining your flower bed.
By thoughtfully selecting and purchasing plants, you can create a flower bed that not only looks stunning but also thrives in its designated environment. Take the time to choose plants that will bring joy and beauty to your garden for seasons to come.
Arranging the plants
With your chosen plants in hand, it’s time to arrange them in your flower bed. The way you arrange your plants can create visual interest, balance, and harmony in your garden. Here are some tips to help you create a well-designed arrangement:
1. Consider the height and growth habit of each plant. Place taller plants towards the back of the flower bed to create a backdrop, while shorter plants can be positioned towards the front. This layering effect adds depth and dimension to your garden.
2. Pay attention to the plant’s spacing requirements. Each plant needs enough space to grow and spread, so make sure to maintain appropriate distances between them. Overcrowding can lead to poor air circulation and increased risk of disease.
3. Group plants with similar water and sunlight requirements together. This makes it easier to provide proper care and ensures that each plant receives the necessary conditions for optimal growth.
4. Create focal points and focal plants. Choose a standout plant or a group of plants that will draw attention and serve as a focal point. This can be done by selecting plants with bold colors, unique shapes, or interesting textures.
5. Think about color combinations and contrast. Consider the color wheel and complementary colors to create visually striking combinations. Blending warm and cool colors can create a harmonious and balanced look in your flower bed.
6. Experiment with different plant arrangements. Try out different layouts before planting to see what arrangement looks best. Rearrange plants as needed until you’re satisfied with the overall look and feel of the flower bed.
Remember that plant arrangements can be flexible and evolve over time. As your plants grow and mature, you may need to adjust their positions to maintain a balanced and well-proportioned design.
By thoughtfully arranging your plants, you can create a visually pleasing and cohesive flower bed that showcases the beauty of each plant. Take your time during this step to create a garden that reflects your personal style and vision.
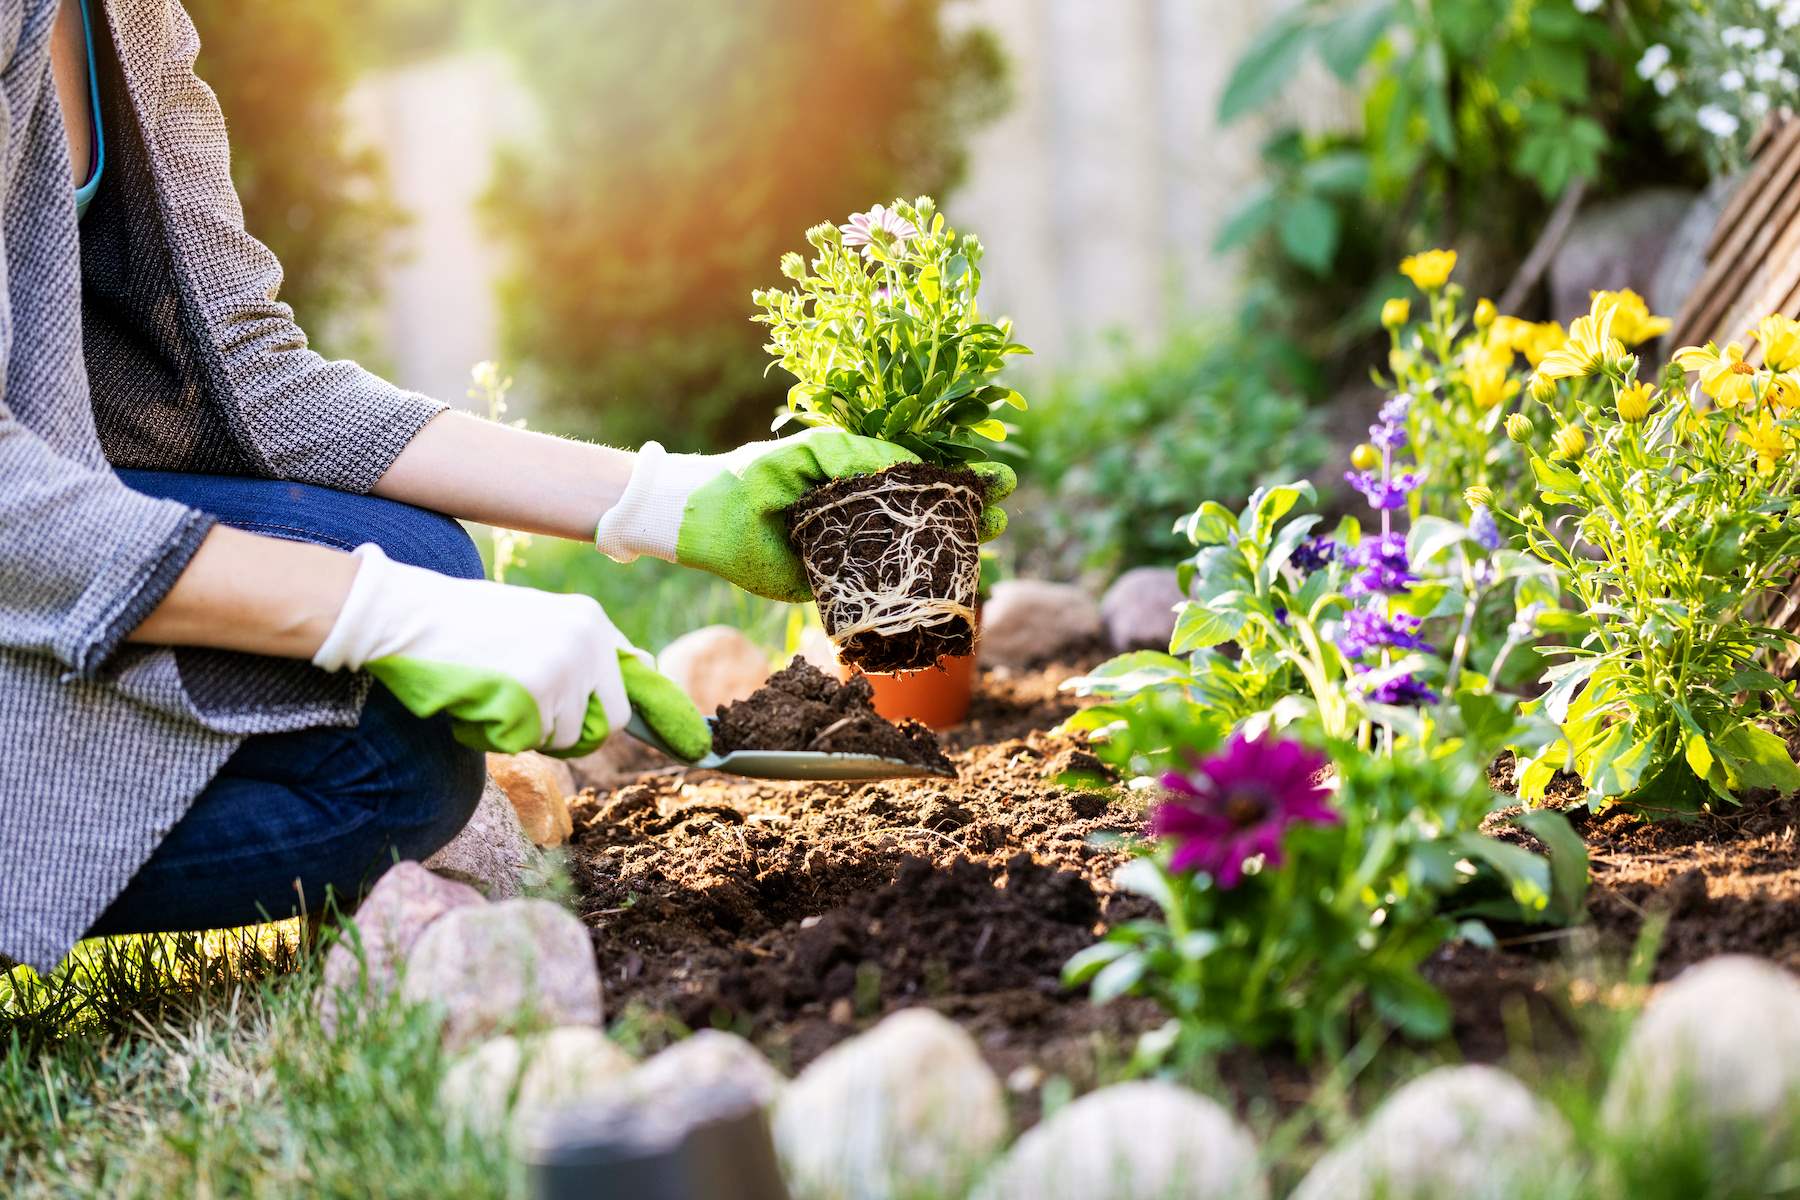
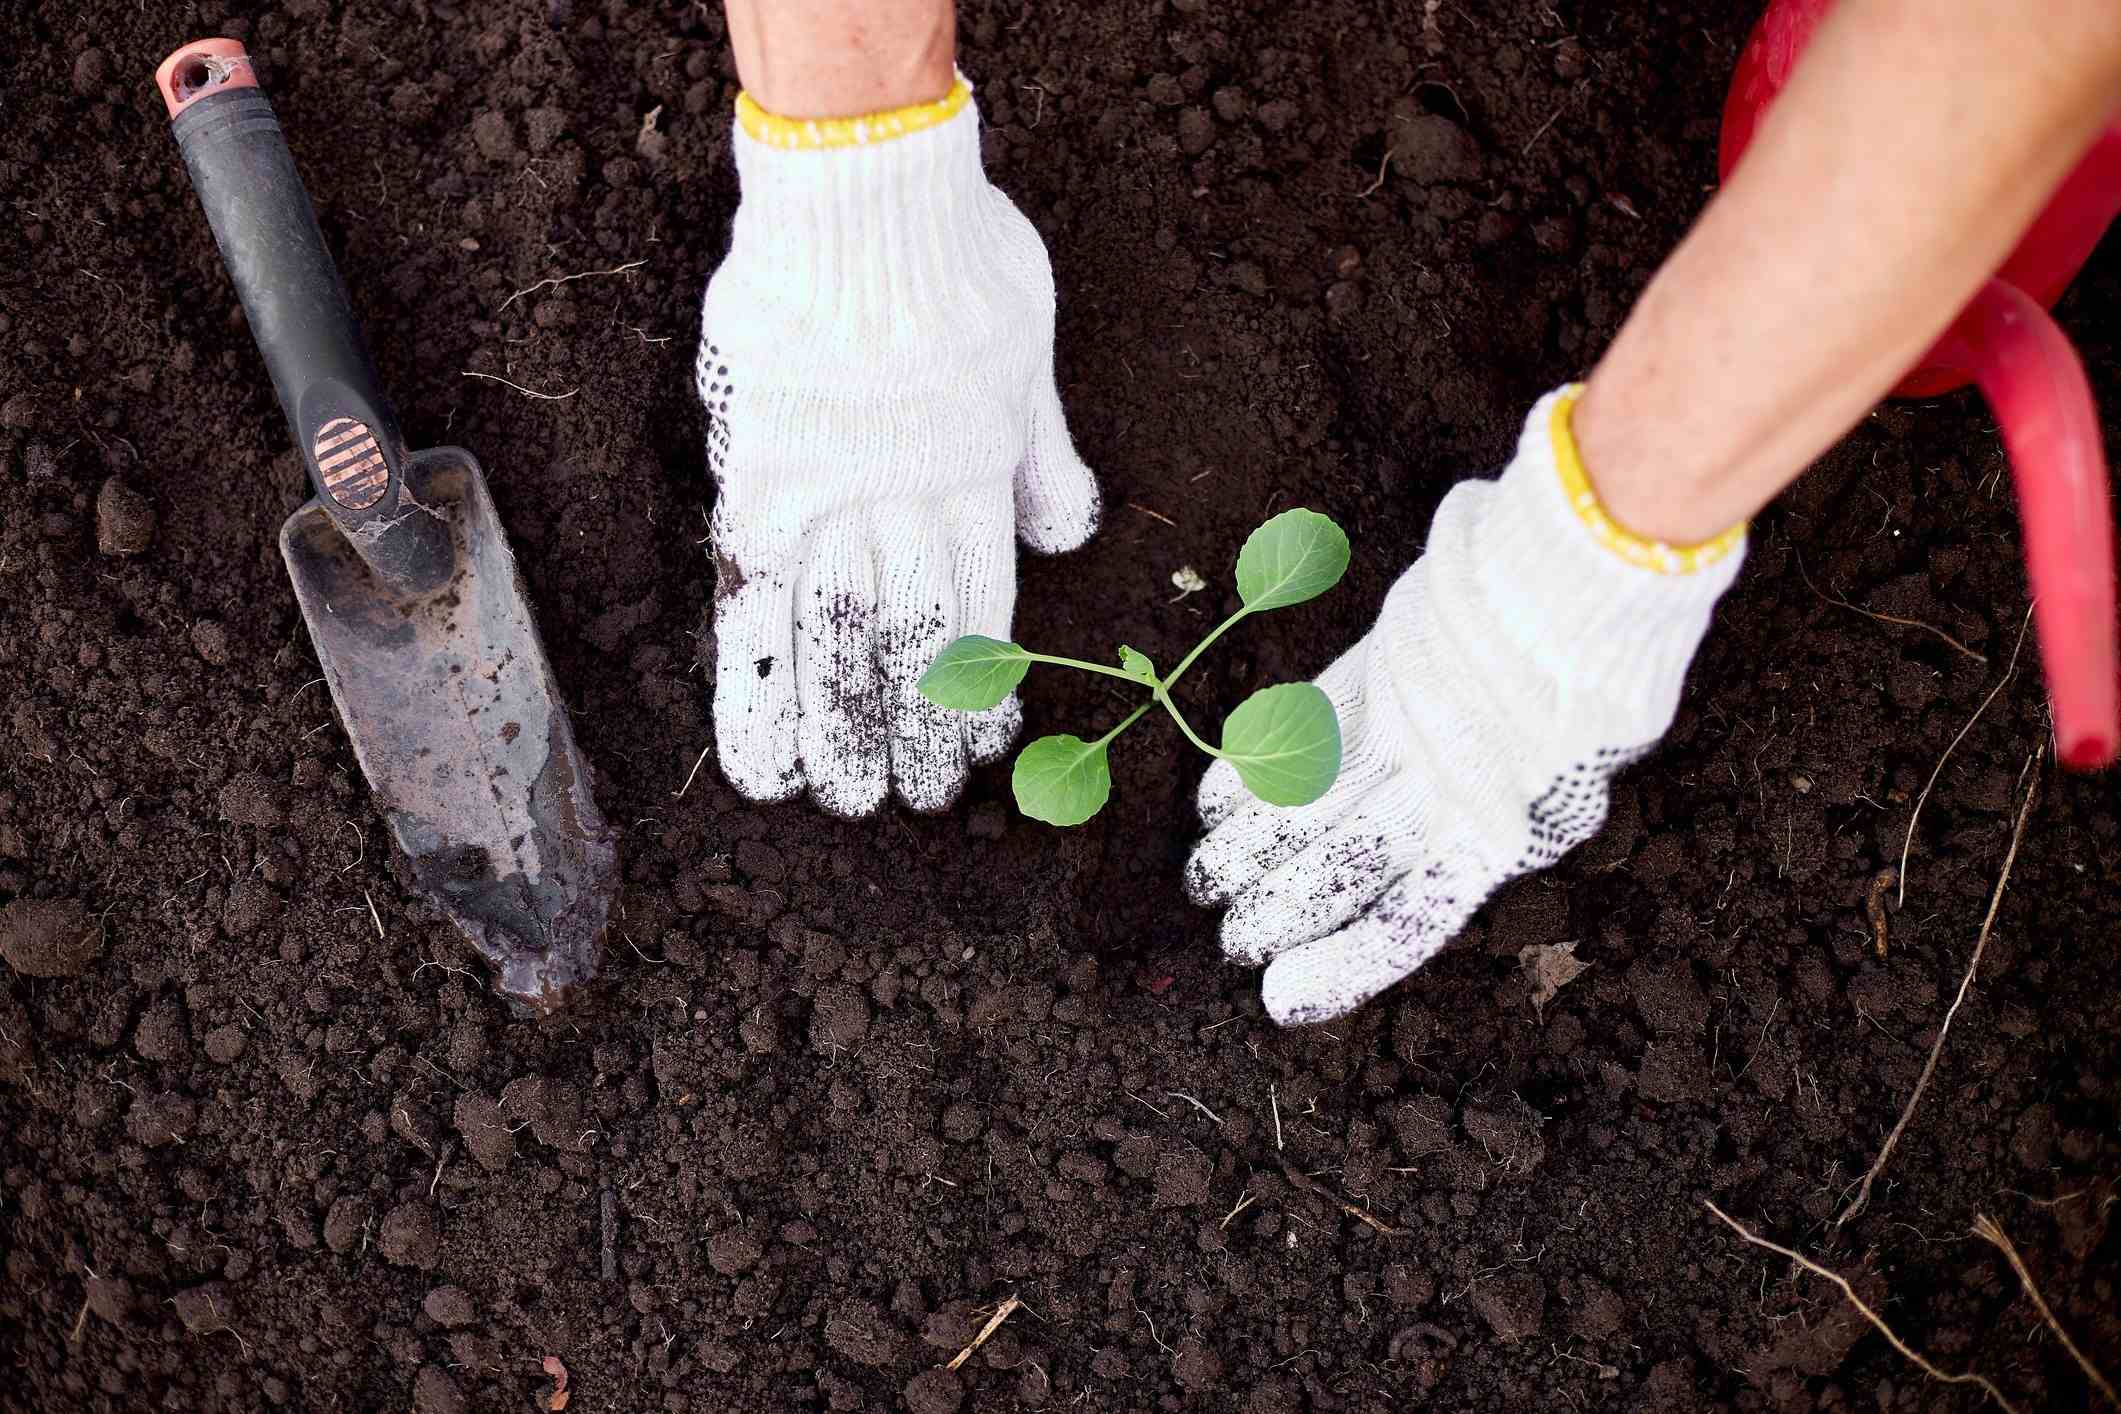
Planting the flowers
Now that you have arranged your plants in the desired layout, it’s time to start planting them in your prepared flower bed. Proper planting techniques are important to ensure the health and success of your flowers. Here are the steps to follow:
1. Dig appropriate holes: Dig holes that are slightly wider and deeper than the root ball of each plant. This will provide enough space for the roots to spread out and establish themselves properly.
2. Remove the plant from its container: Gently tap or squeeze the sides of the container to loosen the root ball. Carefully slide the plant out of the container, holding it by the base of the stem or the root ball to avoid damaging the plant.
3. Loosen the root ball: If the roots are tightly packed or circling around the root ball, gently loosen them with your fingers or a small garden tool. This will encourage the roots to grow outwards into the surrounding soil.
4. Place the plant in the hole: Set the plant into the hole, making sure it is at the same depth as it was in the container. The top of the root ball should be level with or slightly above the soil surface.
5. Backfill the hole: Fill the hole with the soil mixture, gently firming it around the roots. Avoid compacting the soil too tightly as it can hinder root growth and water penetration. Ensure that the plant is secure and upright in the hole.
6. Water thoroughly: After planting each flower, water it deeply and thoroughly. This helps settle the soil, eliminates air pockets around the roots, and ensures that the plant receives adequate moisture for its initial growth.
7. Repeat the process: Repeat the planting process for each flower, following the same steps of digging holes, removing plants from their containers, loosening the root balls, placing them in the holes, backfilling with soil, and watering.
8. Provide appropriate care: Once all the plants are planted, assess their specific care needs regarding water, fertilization, and sunlight. Follow the recommended guidelines for each plant to promote healthy growth.
By properly planting your flowers, you give them the best start for establishing and thriving in your flower bed. Taking the time to ensure proper planting techniques will contribute to the long-term success and beauty of your garden.
Mulching the flower bed
After planting your flowers, it’s important to mulch the flower bed. Mulching provides numerous benefits, including moisture retention, weed suppression, temperature regulation, and the improvement of soil fertility. Here’s how to effectively mulch your flower bed:
1. Clear the area: Before applying mulch, remove any remaining debris, rocks, or weeds from the flower bed. This will ensure a clean surface for the mulch to be spread evenly.
2. Choose the right mulch: There are various types of mulch available, including organic options like wood chips, shredded bark, straw, or compost, as well as inorganic options like gravel or rubber mulch. Consider factors such as your desired aesthetic, the plants’ preferences, and the local climate when selecting the best mulch for your flower bed.
3. Apply a layer of mulch: Spread a layer of mulch around the base of the plants, creating a depth of 2-4 inches. Be sure to keep the mulch slightly away from the stems of the plants to prevent moisture-related issues or the risk of rot.
4. Maintain a consistent thickness: As the mulch decomposes over time, it may thin out. Check the mulch layer periodically and add more as needed to maintain a consistent thickness. This will ensure its effectiveness in providing insulation, weed suppression, and moisture retention.
5. Consider additional benefits: Organic mulches, such as wood chips or bark, break down over time and contribute to the improvement of soil fertility. As they decompose, they release nutrients into the soil, further enriching it to support plant growth. This natural process enhances the long-term health and vitality of your flower bed.
6. Reapply mulch as necessary: Over time, the mulch may break down or get displaced due to weather conditions or gardening activities. It’s important to periodically check your flower bed and replenish the mulch layer as needed to maintain its effectiveness.
Remember that mulching is not only beneficial for the plants but also adds a visually appealing aspect to your flower bed. The layer of mulch creates a clean and cohesive look, highlighting the vibrant colors of your flowers and providing a polished appearance to your garden.
By mulching your flower bed, you create a favorable environment for plant growth while reducing the maintenance requirements. This simple step can make a significant difference in the overall health and beauty of your garden.
Providing proper care and maintenance
Creating a flower bed is just the beginning – providing proper care and maintenance is crucial for the long-term health and beauty of your garden. Here are some essential care and maintenance practices to keep in mind:
1. Watering: Consistent and appropriate watering is essential to keep your plants hydrated. Monitor the moisture levels in the soil and adjust your watering schedule according to the specific needs of the plants. Water deeply at the base of the plants to encourage deep root growth and avoid overhead watering, which can promote disease.
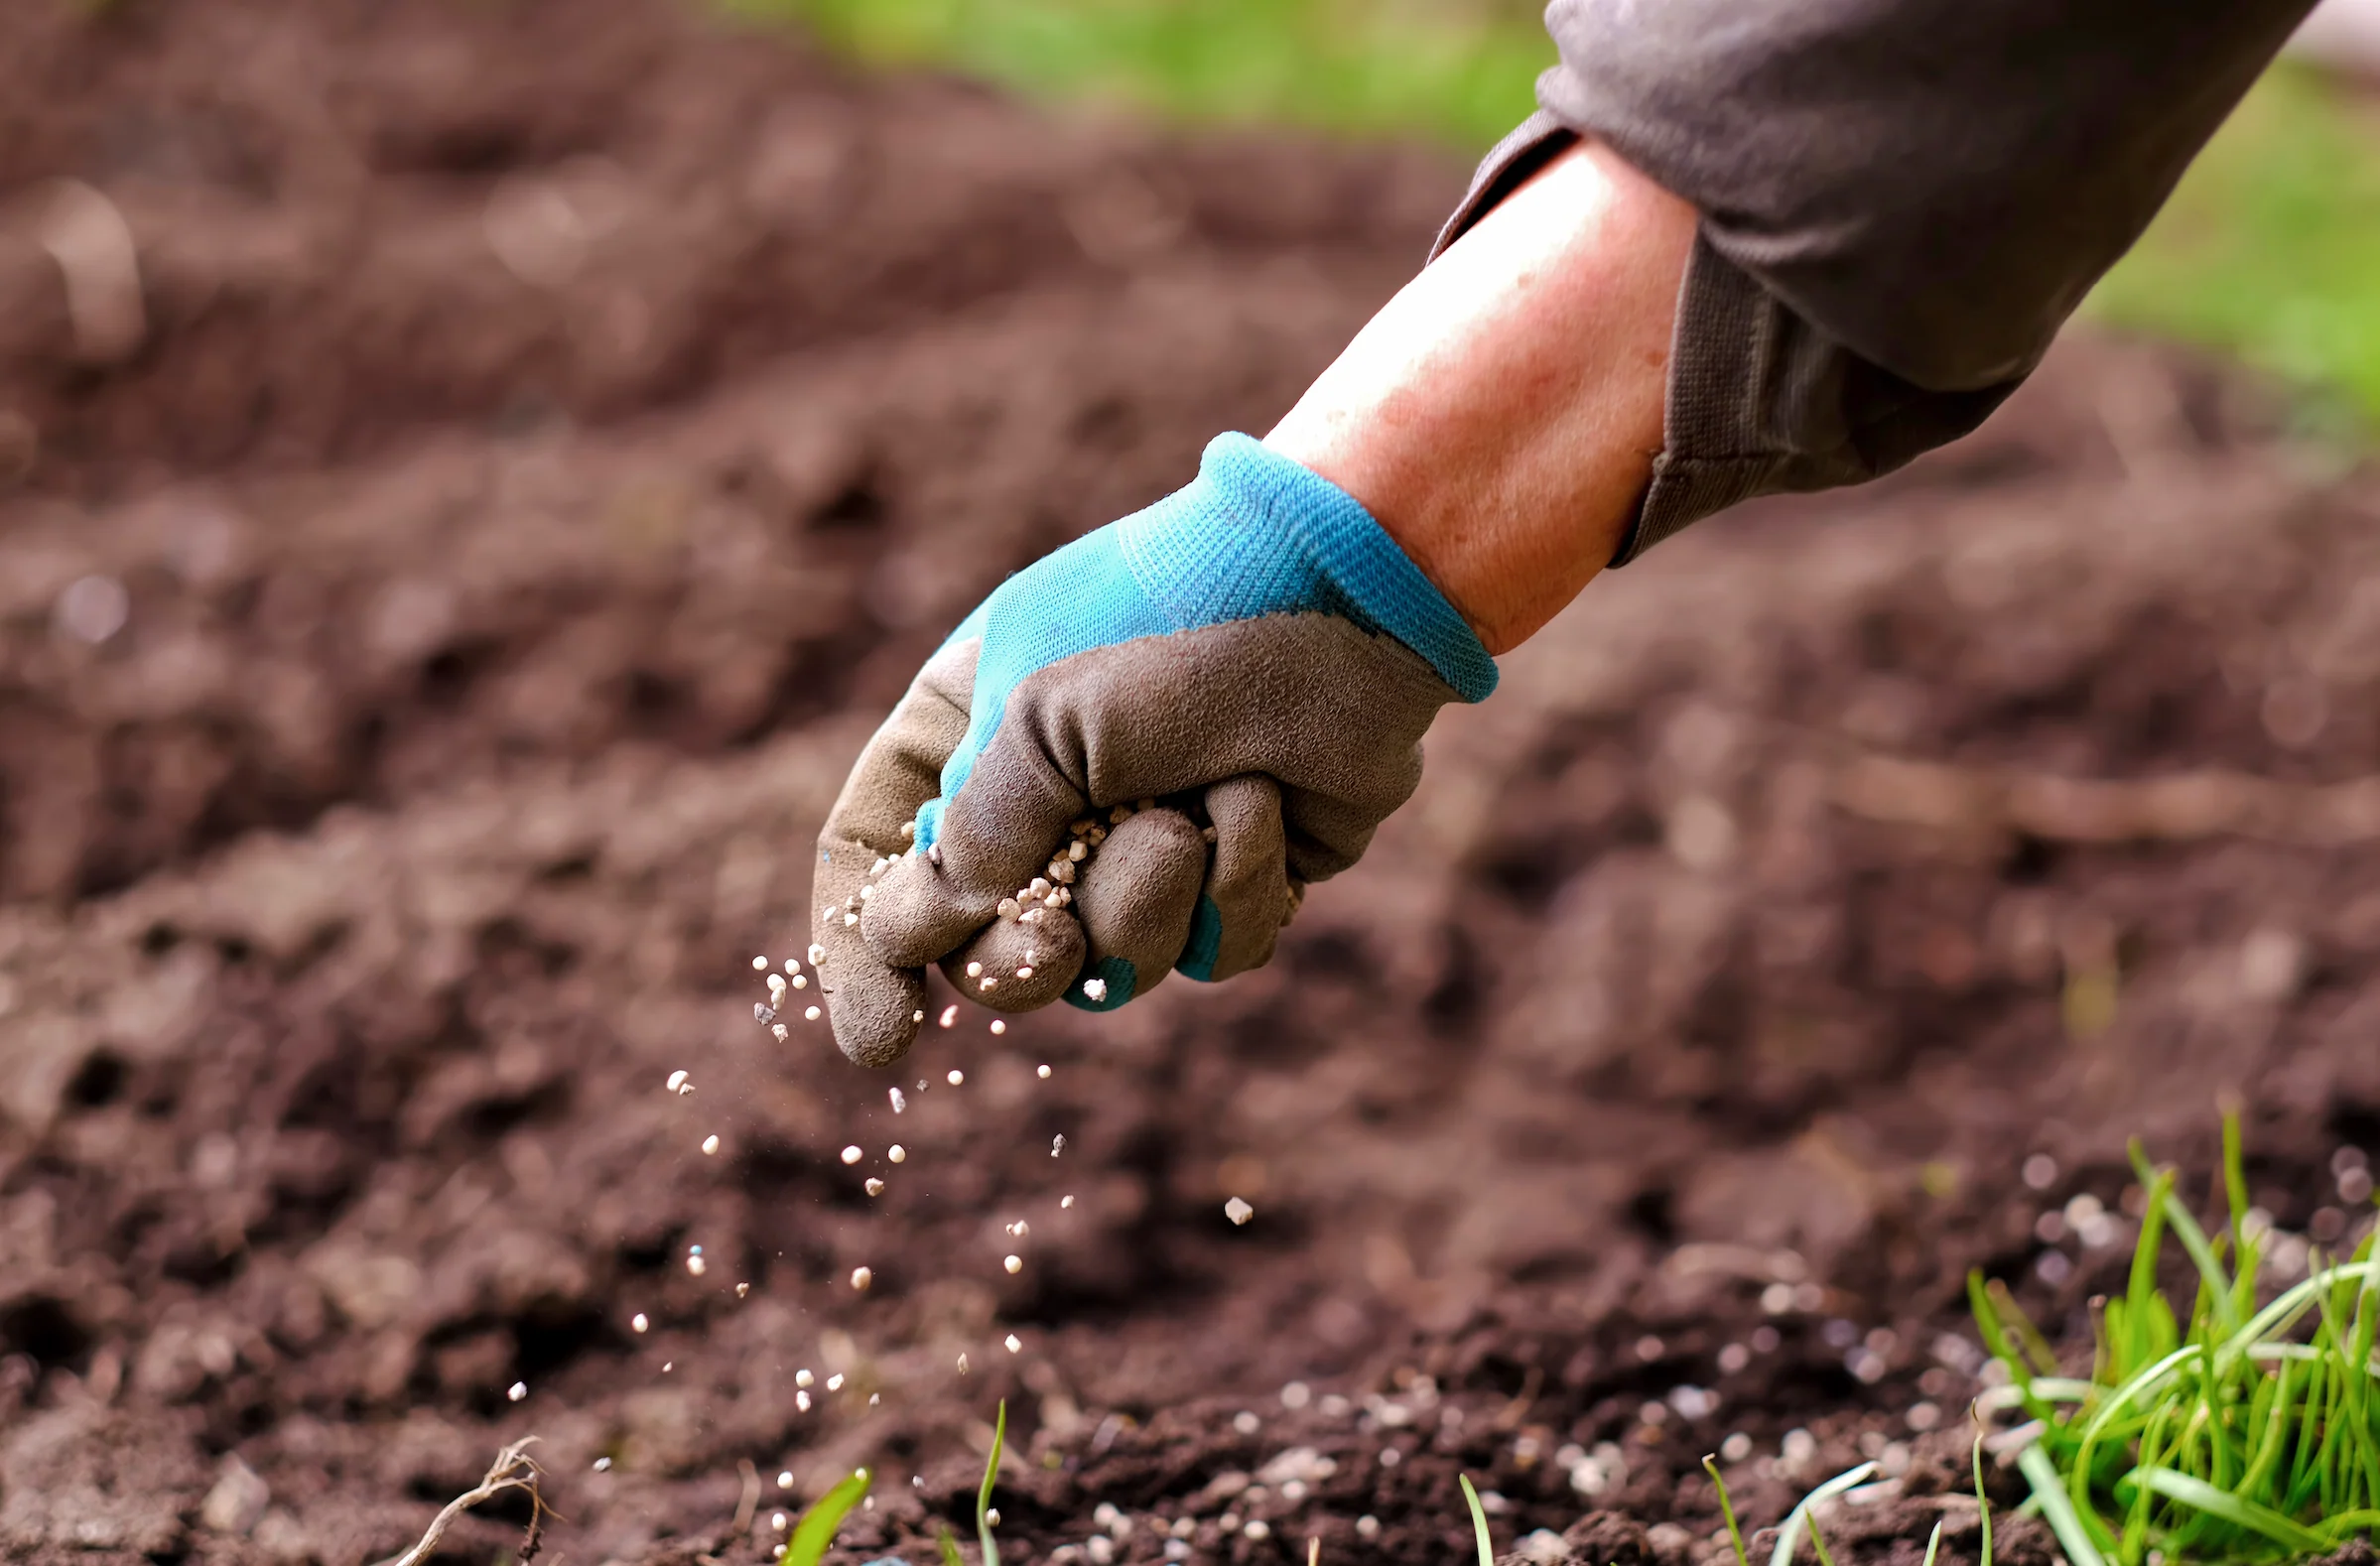
2. Fertilizing: Regular fertilization provides essential nutrients for healthy plant growth. Use a balanced fertilizer or organic compost to provide the necessary nutrients. Follow the recommended application rates and timing for your specific plants and be careful not to over-fertilize, as it may lead to burnt roots or excessive foliage growth at the expense of blooms.
3. Pruning: Regular pruning helps maintain the shape, size, and overall health of your plants. Remove dead or damaged branches, spent flowers, and any diseased or pest-infested parts. Prune back overgrown plants to promote better airflow and prevent overcrowding.
4. Weeding: Stay vigilant against the growth of weeds in your flower bed. Regularly inspect and remove any weeds that emerge. This will prevent them from competing with your plants for nutrients, water, and sunlight. Applying a layer of mulch can also help suppress weed growth.
5. Pest and disease management: Keep an eye out for any signs of pests or diseases in your flower bed. Take proactive measures to identify and address potential issues early on. This may include using organic pest control methods or seeking advice from a local nursery or gardening professional.
6. Deadheading: Remove spent flowers by deadheading. This encourages continuous blooming and redirects the energy of the plant towards new growth rather than seed production. Regular deadheading keeps your flower bed vibrant and encourages a longer flowering period.
7. Winter protection: Consider the specific needs of your plants during the winter months. Some plants may benefit from extra protection to survive harsh temperatures. Apply a layer of mulch around the base of plants to insulate the roots and consider covering tender plants with burlap or other protective materials if necessary.
8. Regular monitoring: Regularly observe your flowers for any signs of stress, nutrient deficiencies, or pest/disease problems. Early detection allows for prompt treatment and prevents any issues from worsening.
By providing proper care and maintenance, you can ensure the continued health and beauty of your flower bed. Taking the time to nurture and tend to your plants will reward you with a stunning garden that blooms and flourishes year after year.
Conclusion
Creating and maintaining a flower bed is a rewarding DIY project that allows you to add beauty and charm to your outdoor space. By following the proper steps outlined in this guide, you can ensure a successful and vibrant flower bed that will bring you joy for seasons to come.
From assessing and planning the flower bed area to clearing, loosening the soil, adding organic matter, and leveling the surface, each step of the preparation process is essential for creating the ideal environment for your plants to thrive.
Choosing and purchasing the right plants is key to the success of your flower bed. Consider the growing conditions, color scheme, and desired height of the plants to create a visually cohesive and balanced design. Arranging the plants thoughtfully adds depth and interest to your garden, while planting them properly and providing the necessary care and maintenance ensure their health and longevity.
Remember to water, fertilize, prune, and monitor your flower bed regularly. Keep an eye out for weeds, pests, and diseases, addressing them promptly to prevent any damage. Mulching the flower bed provides added benefits such as moisture retention and weed suppression.
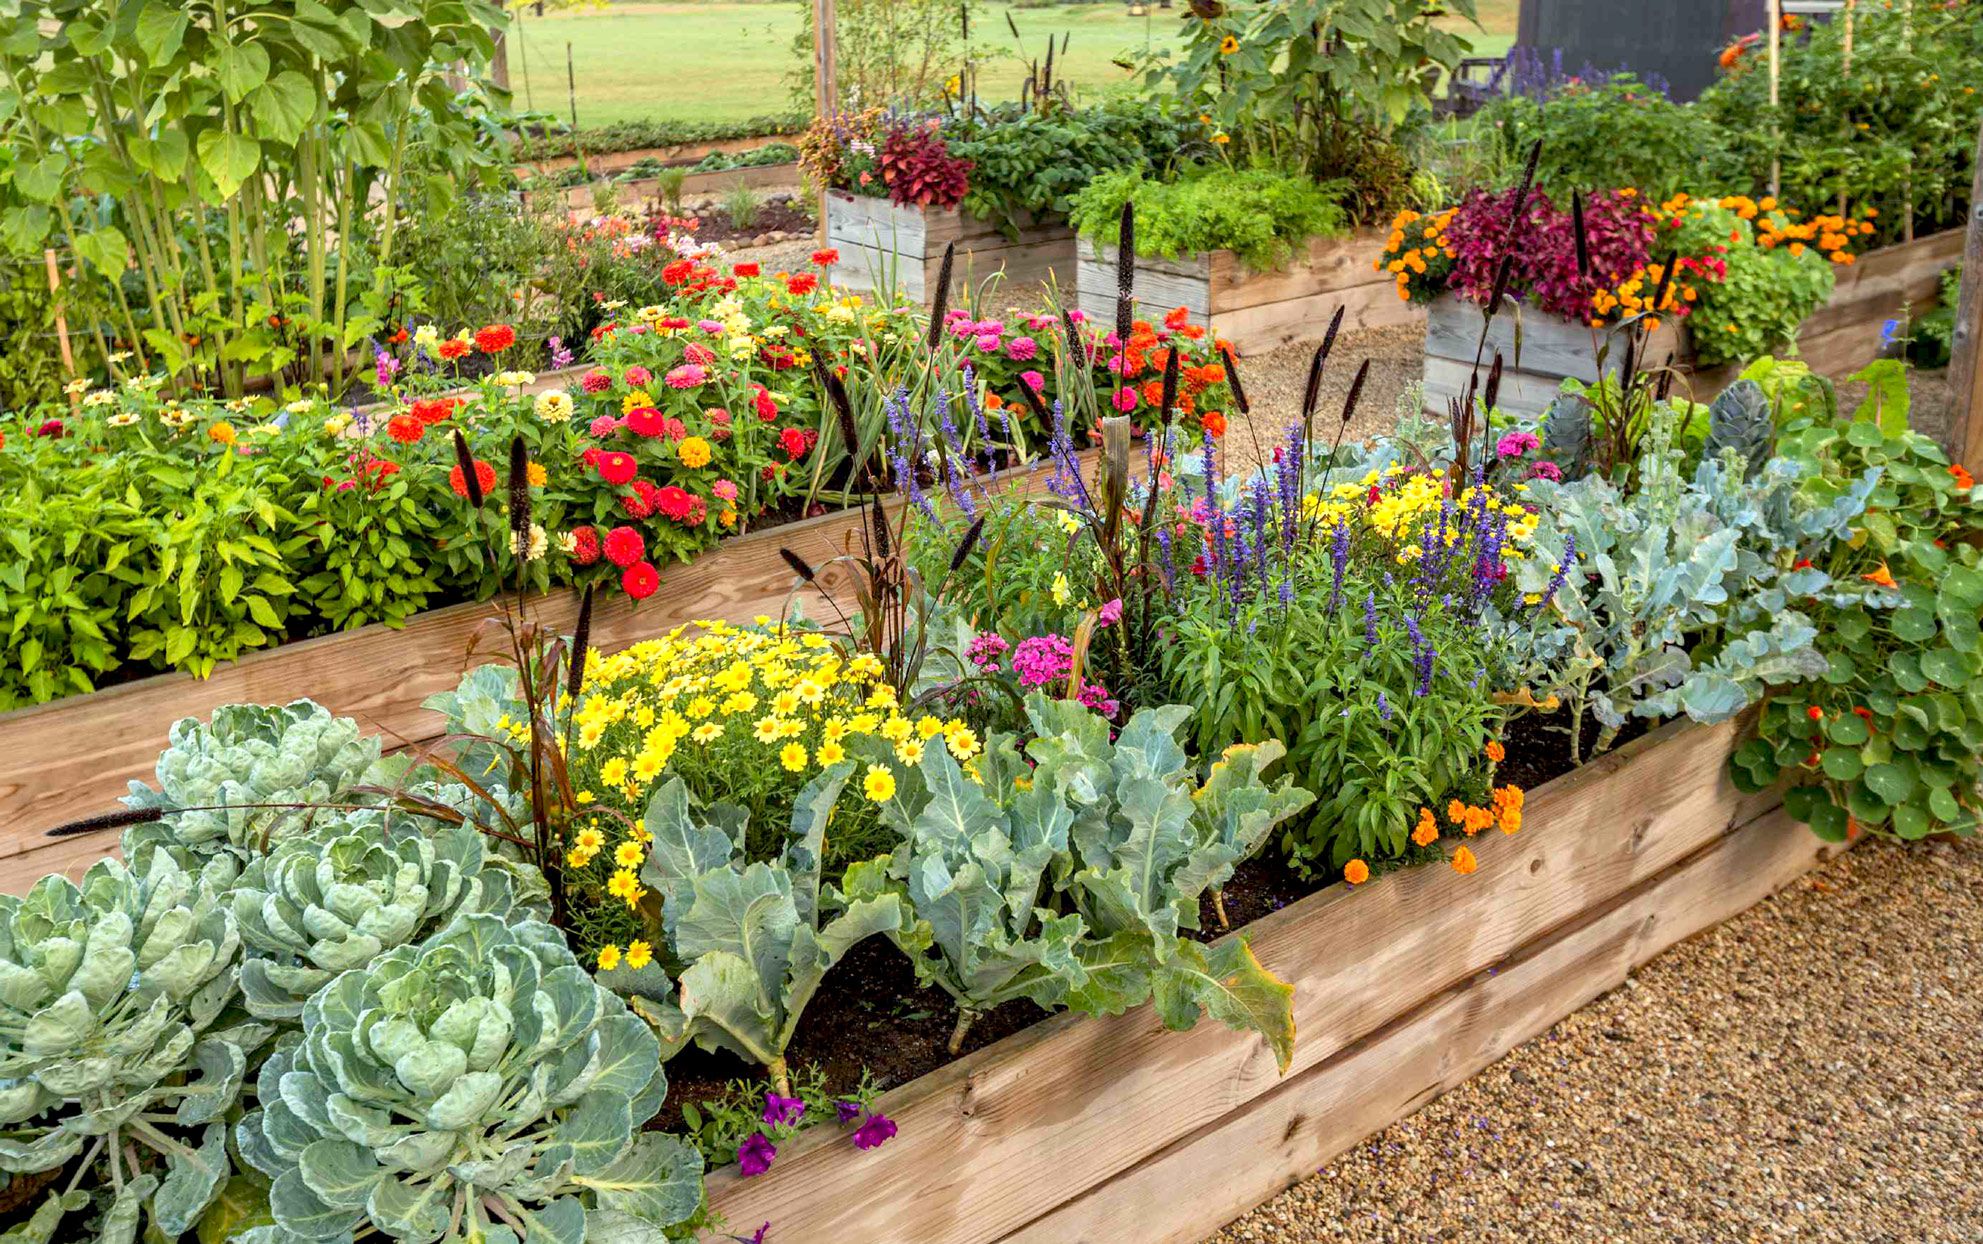
Through attention to detail and regular care, your flower bed will transform into a flourishing oasis filled with the vibrant colors, delightful fragrances, and the beauty of nature.
So, roll up your sleeves, put on your gardening gloves, and embark on the journey of creating your own stunning flower bed. With dedication and proper care, your efforts will be rewarded with a beautiful and thriving garden that becomes a source of pride and joy.