Home>Types of Gardening>Edible Gardening>How To Prepare Sweet Potatoes For Planting

Edible Gardening
How To Prepare Sweet Potatoes For Planting
Modified: February 9, 2024
Learn how to prepare sweet potatoes for planting in your edible garden. Get expert tips and tricks for successful sweet potato cultivation.
(Many of the links in this article redirect to a specific reviewed product. Your purchase of these products through affiliate links helps to generate commission for Chicagolandgardening.com, at no extra cost. Learn more)
Table of Contents
Introduction
Welcome to the world of edible gardening! Growing your own food can be a rewarding and sustainable endeavor, and one plant that deserves a coveted spot in your garden is the sweet potato. Sweet potatoes not only provide a delicious and nutritious addition to your meals but are also relatively easy to cultivate. Whether you have a spacious backyard, a small patio, or even just a sunny windowsill, you can enjoy the satisfaction of harvesting your very own sweet potatoes.
Before you embark on your sweet potato gardening journey, it’s important to understand the steps involved in preparing the sweet potatoes for planting. This crucial stage sets the foundation for healthy plants and a bountiful harvest. In this article, we will guide you through the process of choosing sweet potato varieties, preparing the planting area, selecting and preparing sweet potato slips, curing them, planting, caring for the plants, harvesting, and storing your sweet potatoes.
Whether you’re a seasoned gardener or just getting started, this comprehensive guide will equip you with the knowledge and confidence to successfully grow sweet potatoes. So, let’s dive in and learn how to prepare sweet potatoes for planting!
Choosing Sweet Potato Varieties
When it comes to choosing sweet potato varieties for your garden, there are a few factors to consider. The first and most important is to select a variety that is well-suited to your climate. Sweet potatoes thrive in warm, tropical or subtropical regions, so be sure to choose a variety that can withstand the temperature and growing conditions in your area.
Another consideration when choosing sweet potato varieties is the flavor and texture. Some varieties have a sweeter taste, while others have a more savory or earthy flavor. Additionally, some varieties are better suited for baking, while others are ideal for mashing or frying. Research different varieties and read reviews to find one that suits your taste preferences and culinary needs.
The final factor to consider is the yield and growth habit of the variety. Some sweet potato varieties produce large tubers, while others may have smaller, more prolific yields. Additionally, some varieties have a vining growth habit, while others are more bushy. Consider the space you have available in your garden and choose a variety that fits your needs.
Here are a few popular sweet potato varieties to consider:
- Beauregard: This is one of the most widely grown sweet potato varieties and is known for its high yield and disease resistance. It has a deep orange color and a sweet, moist flesh.
- Jewel: Jewel sweet potatoes have a copper-colored skin and a deep orange flesh. They are known for their sweetness and are excellent for baking or roasting.
- Garnet: Garnet sweet potatoes have a vibrant red skin and a deep orange flesh. They have a slightly sweeter flavor and are great for mashing or frying.
- Hannah: If you prefer a white-fleshed sweet potato, Hannah is a popular choice. It has a creamy texture and a slightly nutty flavor.
Remember to choose a variety that suits your climate, taste preferences, and available space. By taking these factors into consideration, you’ll set yourself up for success in growing sweet potatoes that will delight your taste buds and provide a satisfying harvest.
Preparing the Planting Area
Before you start planting sweet potatoes, it’s important to prepare the planting area to create the ideal environment for their growth. Here are the steps to follow:
1. Choose a sunny location: Sweet potatoes thrive in full sun, so select a spot in your garden that receives at least 6-8 hours of direct sunlight each day.
2. Clear the area: Remove any weeds, rocks, or other debris from the planting area. It’s essential to have a clean and clear space for the sweet potato vines to spread and grow.
3. Improve soil drainage: Sweet potatoes prefer well-draining soil to prevent waterlogging, which can lead to rot. If your soil tends to be heavy or compacted, consider adding compost, aged manure, or sand to improve drainage.
4. Test and adjust soil pH: Sweet potatoes prefer a slightly acidic soil with a pH range of 5.8-6.2. Use a soil testing kit to determine the pH of your soil and make any necessary adjustments by adding lime to raise the pH or sulfur to lower it.
5. Prepare raised beds or mounds: Sweet potatoes thrive in loose, well-aerated soil. Consider creating raised beds or mounds to improve soil structure and help with drainage. Mounds should be about 8-12 inches high and 36 inches wide, with spacing of 3-4 feet between each mound.
6. Incorporate organic matter: Mix in well-rotted compost or organic matter into the soil before planting. This will provide essential nutrients and improve soil fertility, promoting healthy growth and development of the sweet potato plants.
7. Install a drip irrigation system: Sweet potatoes require consistent moisture throughout the growing season. Installing a drip irrigation system will ensure that the plants receive an adequate water supply without wetting the foliage, which can lead to disease.
By taking the time to properly prepare the planting area, you will create an optimal growing environment for your sweet potato plants. This will increase their chances of thriving and producing a bountiful harvest for you to enjoy.
Selecting and Preparing Sweet Potato Slips
Sweet potatoes are typically grown from slips, which are small rooted sections of the mother sweet potato plant. Here are the steps to select and prepare sweet potato slips:
1. Choosing the right sweet potato: Start by selecting a healthy, organic sweet potato of the desired variety. Look for a specimen with no signs of rot, disease, or damage.
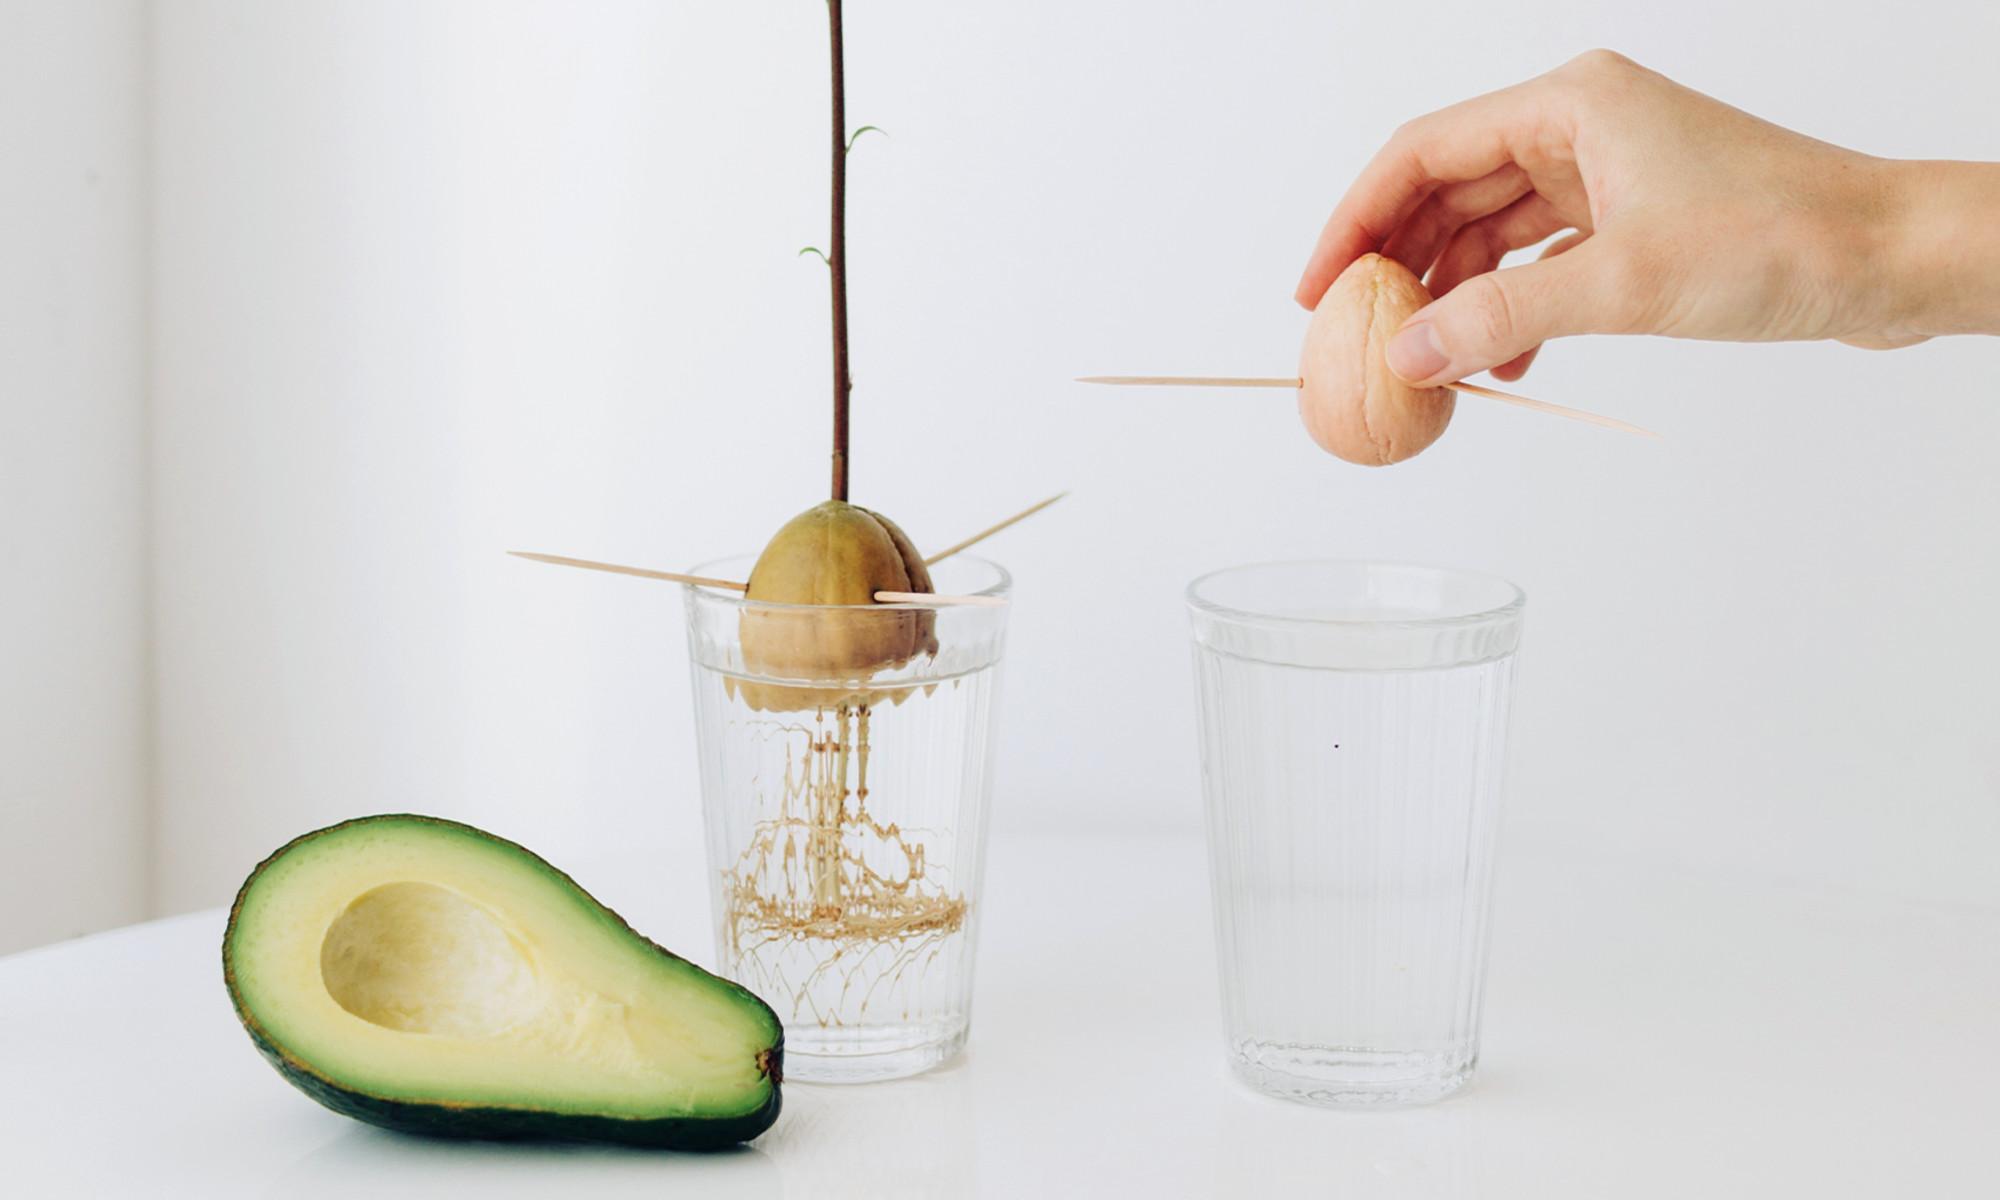
2. Preparing the sweet potato: To encourage the growth of slips, place the sweet potato in a warm and humid environment. This can be achieved by suspending it partially submerged in a jar of water or by utilizing a seedling tray filled with moist potting soil. Keep the sweet potato in a warm area, around 75-85°F (24-29°C), and ensure that it receives adequate light.
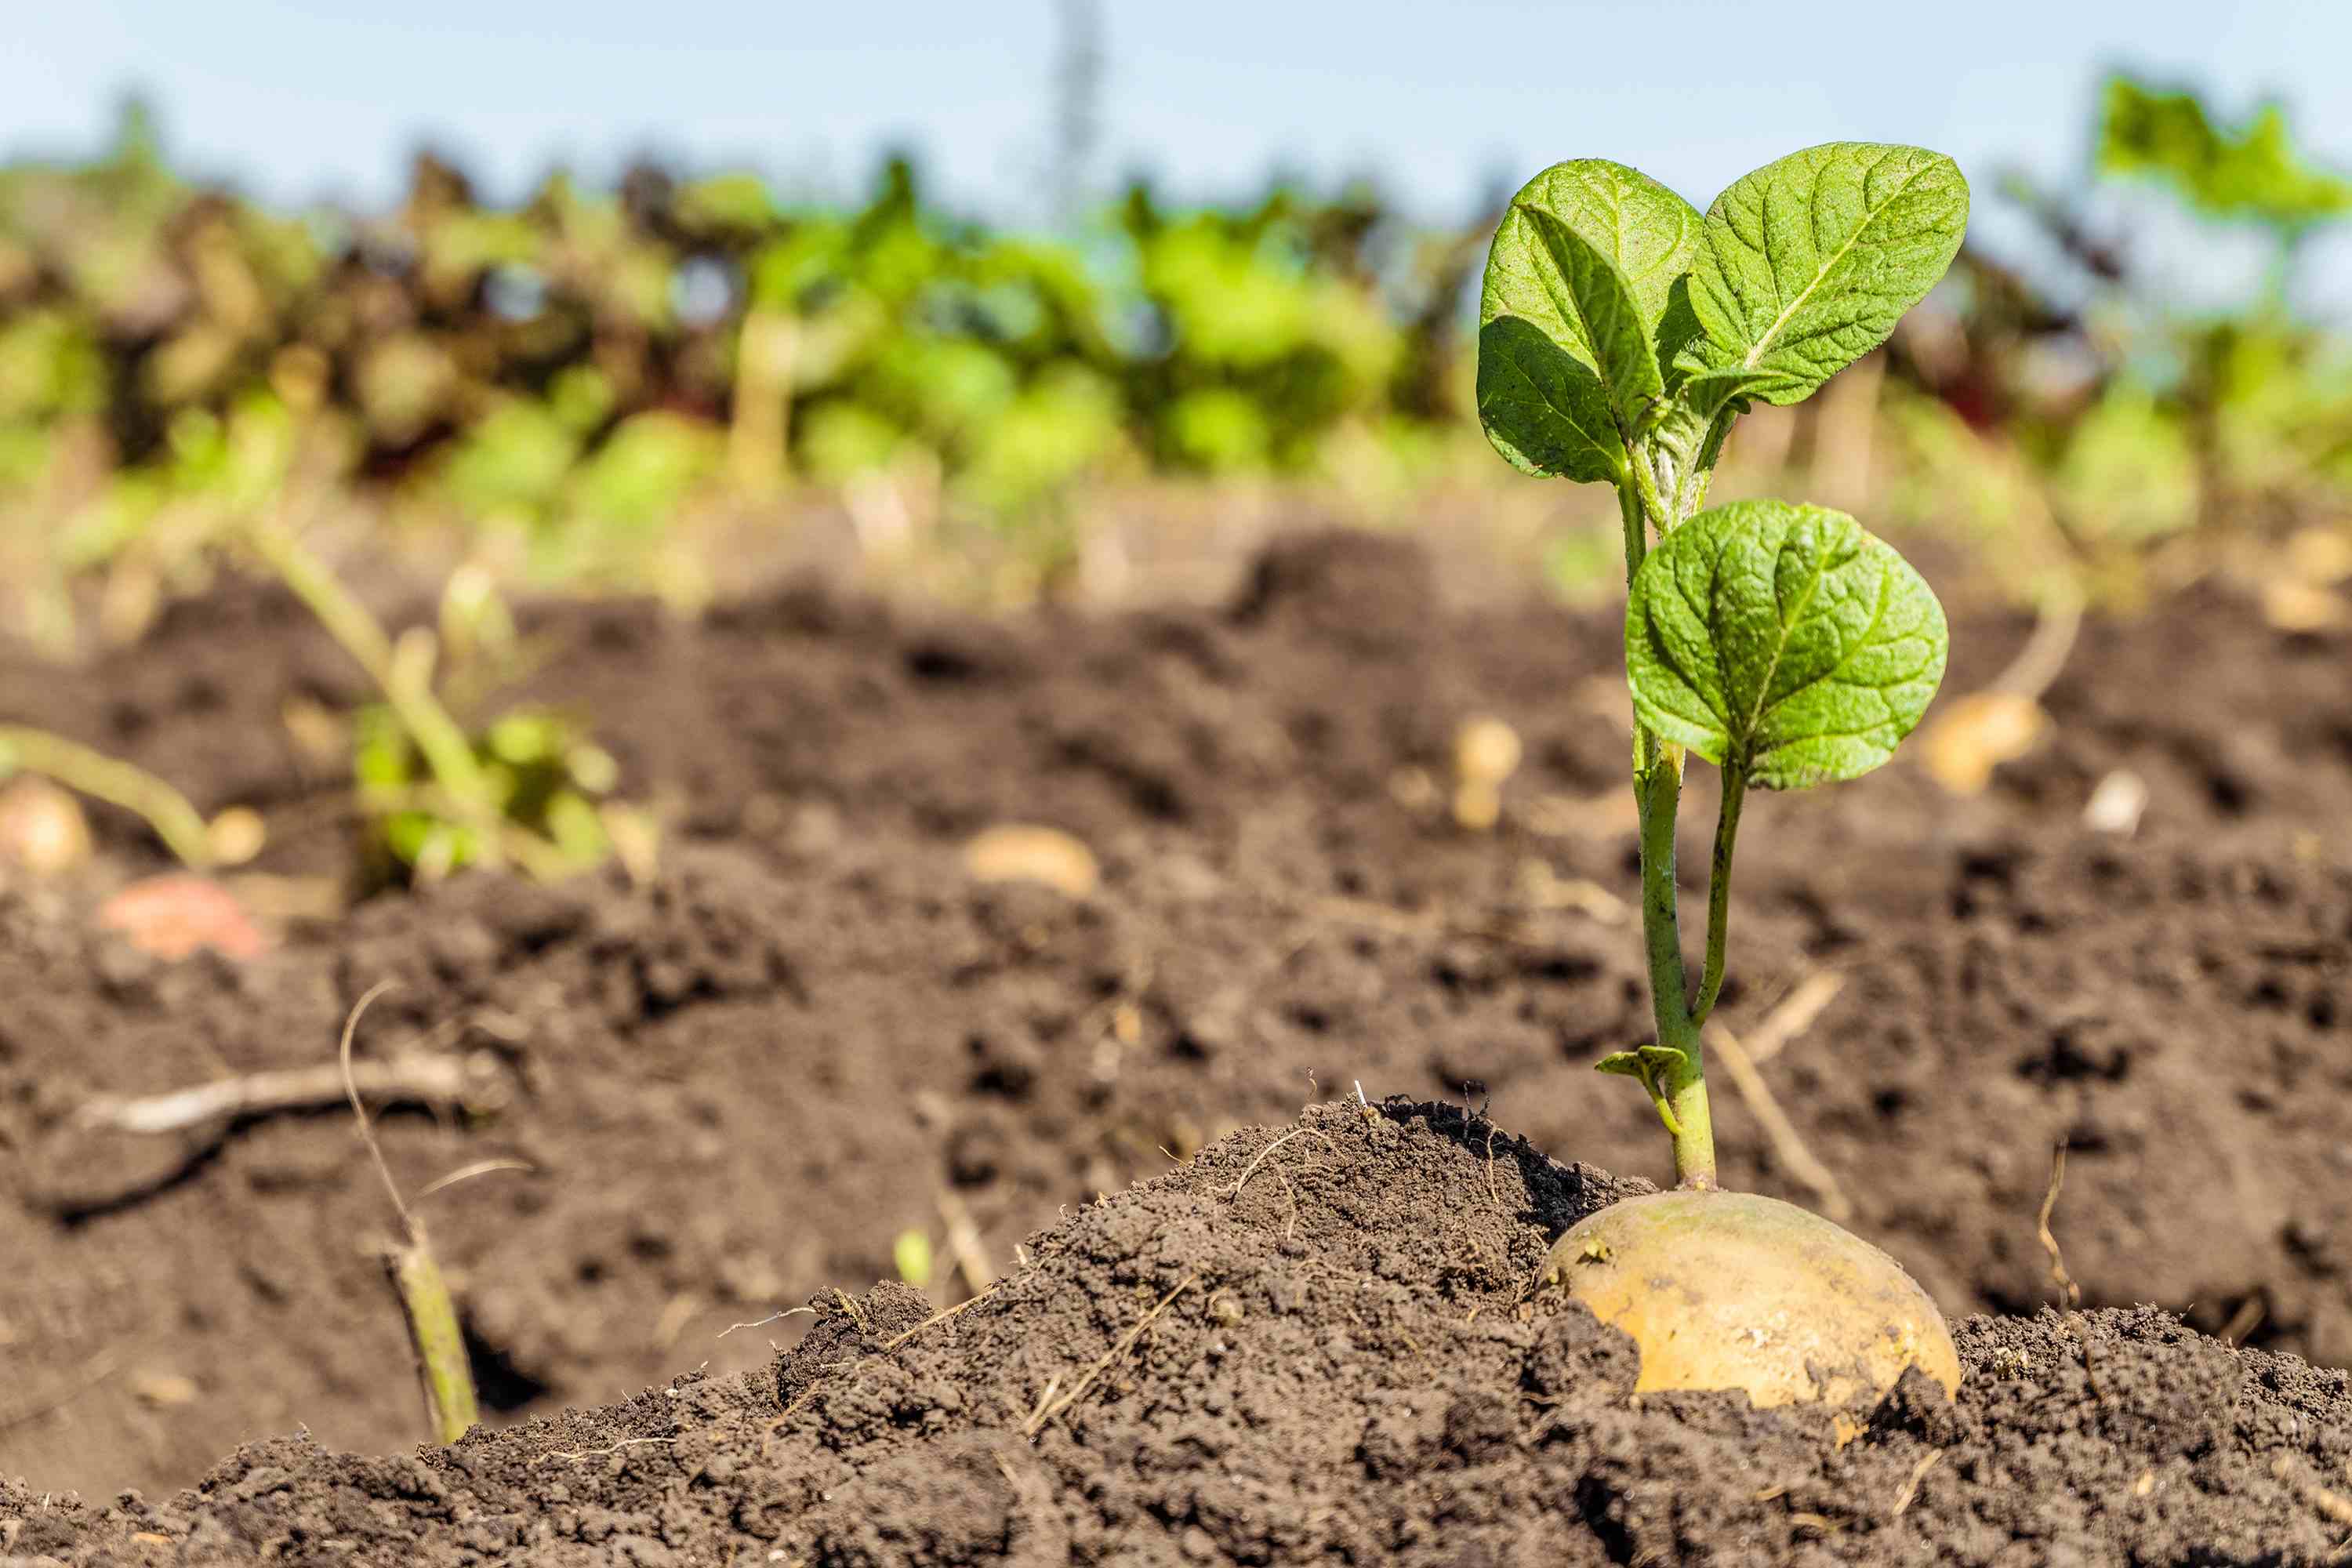
3. Sprouting slips: Over the course of a few weeks, the sweet potato will start producing sprouts or shoots, known as slips. These slips can vary in size and appearance. Once they reach a height of around 4-6 inches (10-15 cm) and have well-formed leaves, they are ready to be harvested and prepared for planting.
4. Separating the slips: Gently remove the slips from the sweet potato by carefully twisting or cutting them at the base. It’s important to handle the slips with care to avoid damaging them.
5. Preparing the slips for planting: Prior to planting, it’s recommended to trim the slips to a length of around 3-4 inches (7-10 cm) to encourage stronger root development. Remove any excess leaves, leaving a few at the top to aid photosynthesis.
6. Harden off the slips: To acclimate the slips to outdoor conditions, it’s crucial to harden them off before transplanting. Gradually expose the slips to outdoor conditions, starting with a few hours of sunlight and gradually increasing the duration and intensity over the course of a week.
7. Prepare a rooting medium: If you wish to root the slips further before planting, you can dip their cut ends in a rooting hormone and place them in a tray of moist soil or water until roots form. This step is optional but can promote stronger root growth.
By selecting healthy sweet potatoes and properly preparing the slips, you will ensure a successful start to your sweet potato plants. These well-prepared slips will go on to develop robust root systems and ultimately contribute to a fruitful harvest.
Curing Sweet Potato Slips
Curing is a crucial step in the process of preparing sweet potato slips for planting. Curing allows the slips to develop stronger roots and increases their chances of survival once transplanted. Here’s how to properly cure sweet potato slips:
1. Timing: Once you have harvested the slips from the sweet potatoes, it’s important to allow them to dry and callus for a couple of days. This will prevent rotting and promote better root development.
2. Temperature and humidity: Create an environment with a temperature of around 80°F (27°C) and high humidity, ideally 85-90%. You can achieve this by using a humidifier or placing the slips in a greenhouse or enclosed area. Maintaining the proper temperature and humidity levels ensures that the slips receive the ideal conditions to form roots.
3. Ventilation: While it’s important to maintain high humidity, adequate airflow is crucial to prevent the growth of mold or fungus. Make sure to provide good ventilation by opening vents or slightly cracking windows in the curing area.
4. Storage method: Place the sweet potato slips in a tray or container with damp sphagnum moss, vermiculite, or perlite. Gently push the slips into the medium, making sure they are secure but not tightly packed. The medium helps retain moisture and promotes root development.
5. Curing duration: Allow the sweet potato slips to cure for about 7-10 days. During this time, monitor the humidity levels and adjust as needed to maintain the proper environment.
6. Inspecting the slips: Regularly check the slips for any signs of rot, disease, or insect damage. Remove any slips that show signs of deterioration to prevent the spread of potential problems to healthy slips.
7. Transplanting: Once the sweet potato slips have completed the curing process and have developed robust roots, they are ready to be transplanted into the prepared planting area.
Curing sweet potato slips prepares them for the challenges of transplanting and promotes their survival and growth. By following these steps, you’ll give your sweet potato slips the best start possible, resulting in healthy plants that will yield a plentiful harvest.
Planting Sweet Potatoes
Once you have prepared the planting area and cured your sweet potato slips, it’s time to transplant them into the garden. Here are the steps to successfully plant sweet potatoes:
1. Timing: Plant sweet potatoes outdoors after the last frost date in your region, when the soil temperature has reached at least 60°F (15°C). Sweet potatoes are warm-weather crops, and planting them too early in cool soil can lead to poor growth and yield.
2. Spacing: Sweet potato plants require ample space to spread and grow. Dig trenches or holes in the prepared planting area, spacing them about 12-18 inches (30-45 cm) apart. Rows should be spaced around 3-4 feet (90-120 cm) apart to allow for good airflow and access for maintenance.
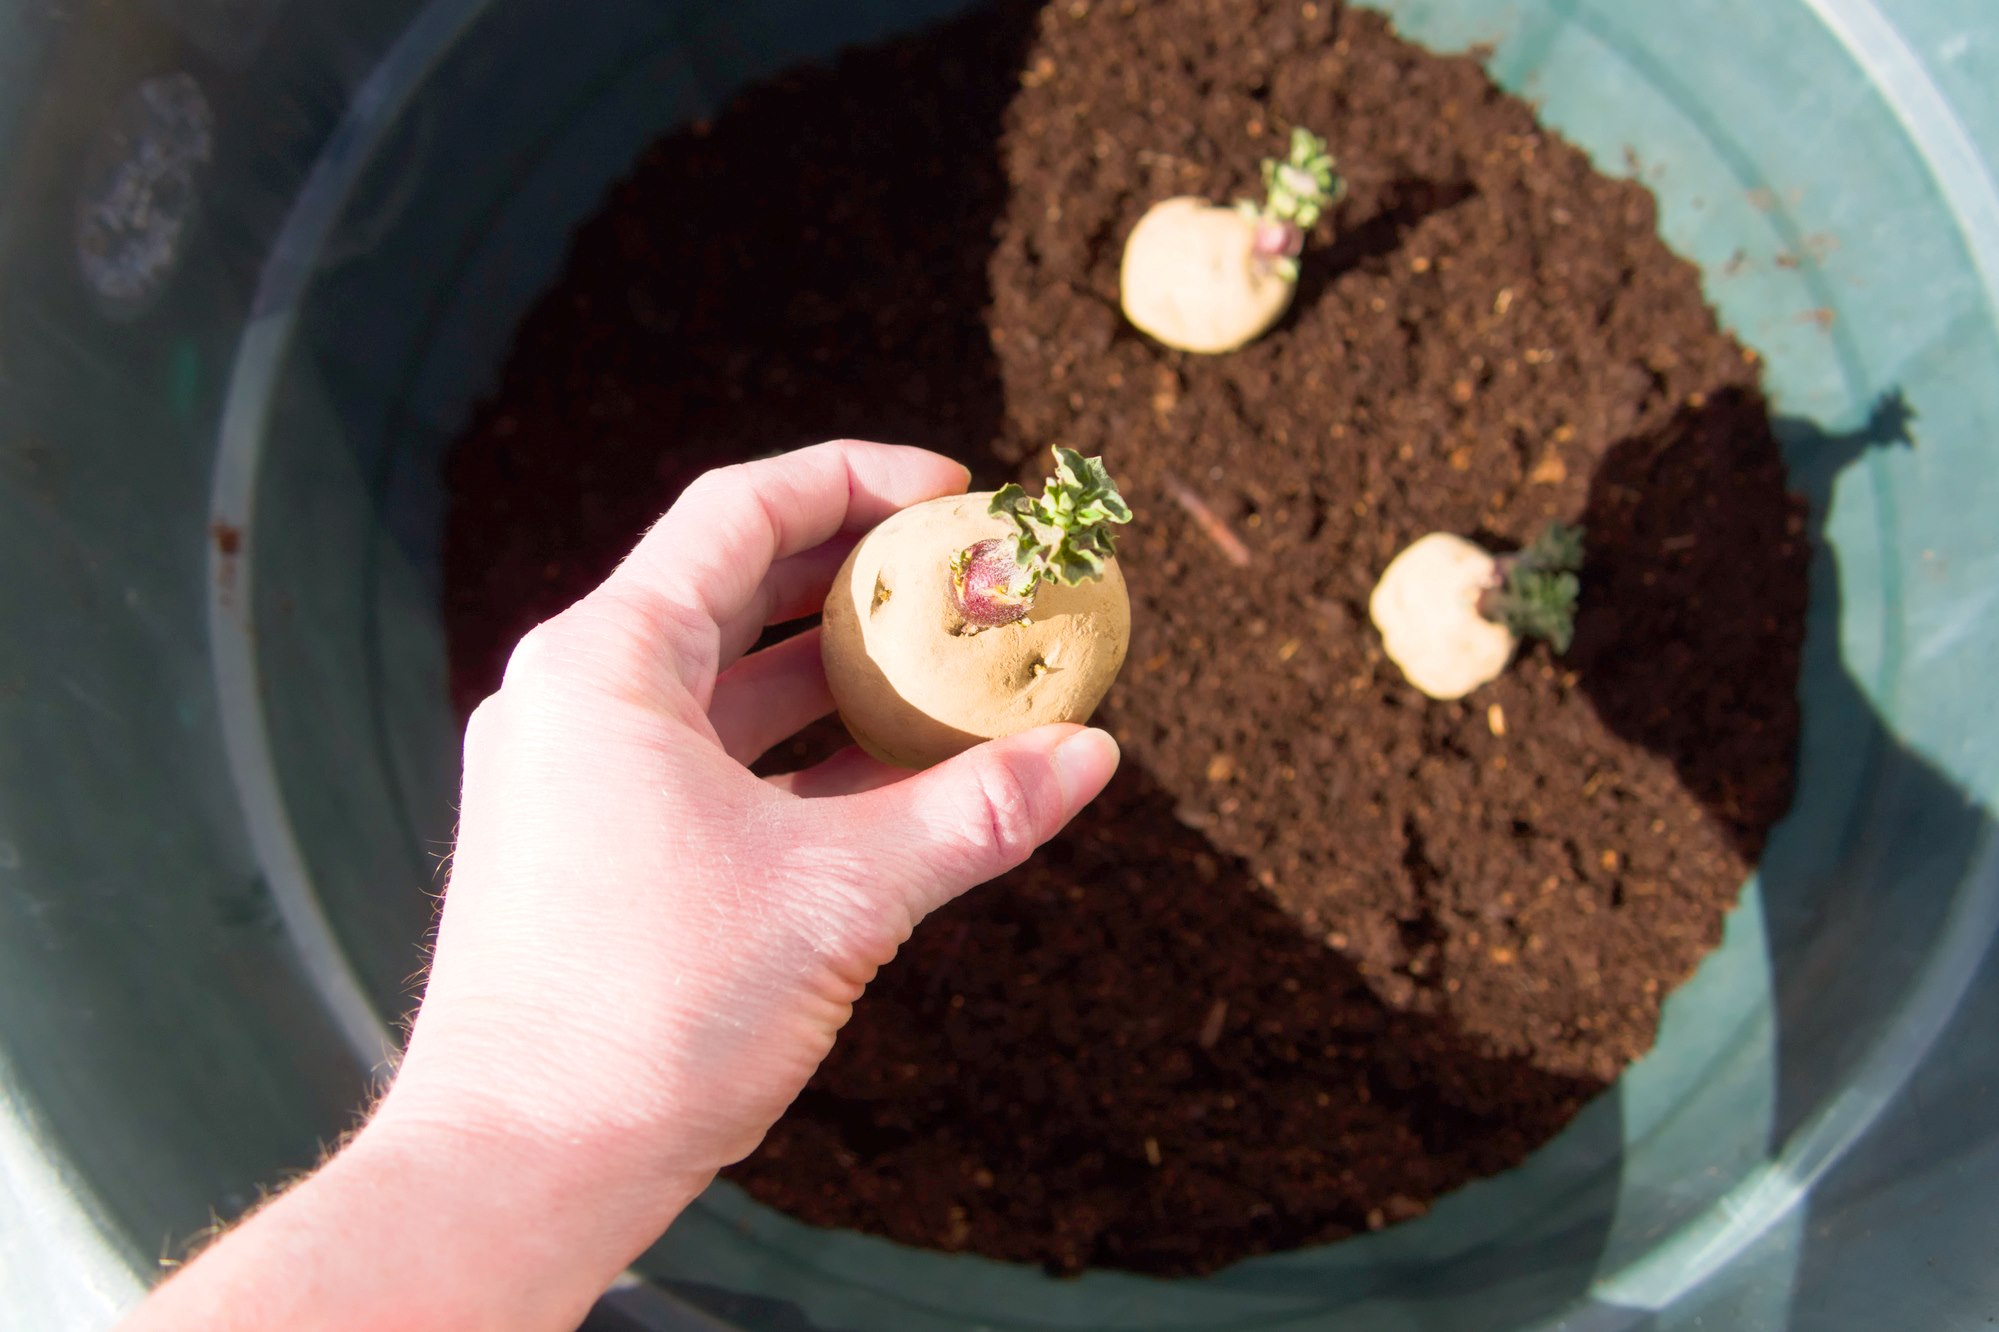
3. Planting depth: Gently place each sweet potato slip into the trench or hole, burying it up to the top set of leaves. You can plant them horizontally or at a slight angle, being careful not to bend or break the slips.
4. Soil preparation: Cover the slips with soil, firming it gently to eliminate air pockets around the roots. The soil should be loose and well-draining to promote root development and prevent waterlogged conditions.
5. Mulching: Apply a layer of organic mulch, such as straw or shredded leaves, around the plants. Mulching helps conserve moisture, suppresses weeds, and maintains a more stable soil temperature.
6. Watering: After planting, thoroughly water the sweet potato plants to help them establish their roots. Provide regular irrigation throughout the growing season, keeping the soil consistently moist but not overly saturated. Drip irrigation or a soaker hose is recommended to deliver water directly to the roots and minimize foliage wetting.
7. Support: If you’re growing a vining variety, consider providing support such as trellises or stakes for the sweet potato vines to climb. This will help keep the plants upright, maximize space utilization, and facilitate harvesting.
By following these steps, you’ll ensure that your sweet potato slips are planted properly, giving them the best chance to thrive and produce an abundant harvest. So, roll up your sleeves and get ready to enjoy the fruitful journey of growing sweet potatoes!
Caring for Sweet Potato Plants
Once you have planted your sweet potato slips, it’s important to provide them with proper care to ensure healthy growth and a bountiful harvest. Here are some essential care guidelines for sweet potato plants:
1. Watering: Sweet potatoes require consistent moisture throughout the growing season. Keep the soil evenly moist, but avoid overwatering, as this can lead to rot. Monitor moisture levels and adjust irrigation accordingly, especially during dry periods.
2. Fertilization: Sweet potatoes benefit from regular fertilization to promote strong growth. Apply a balanced organic fertilizer, such as compost or well-rotted manure, at planting time. Additionally, side-dress the plants with a nitrogen-rich fertilizer or a balanced organic fertilizer every 4-6 weeks throughout the growing season.
3. Weed control: Keep the planting area free of weeds, as they can compete with sweet potato plants for nutrients and water. Regularly inspect the area and remove any weeds by pulling them out carefully, taking care not to disturb the sweet potato plants.
4. Soil maintenance: Sweet potato plants prefer loose soil, so it’s important to regularly cultivate the soil around the plants. Gently loosen the soil to improve aeration and help the roots access nutrients and water more easily.
5. Pruning: Sweet potato plants tend to produce vines that can become unruly. Consider pruning the vines to manage their growth and prevent them from overtaking nearby plants or spaces. Trim back any excessively long or tangled vines, but be careful not to damage the main plant.
6. Pest and disease control: Monitor your sweet potato plants for common pests such as aphids, flea beetles, and sweet potato weevils. Use organic pest control methods or insecticidal soaps to manage pest infestations. Additionally, be vigilant for signs of diseases such as fungal rot or viral infections and promptly remove and destroy affected plants to prevent spreading.
7. Monitoring: Regularly check your sweet potato plants for any signs of nutrient deficiencies, pests, diseases, or stress. Early detection and intervention can prevent further damage and ensure the health of your plants.
With proper care and attention, your sweet potato plants will thrive and reward you with a rich harvest. By following these care guidelines, you’ll be well on your way to growing delicious and nutritious sweet potatoes in your own garden.
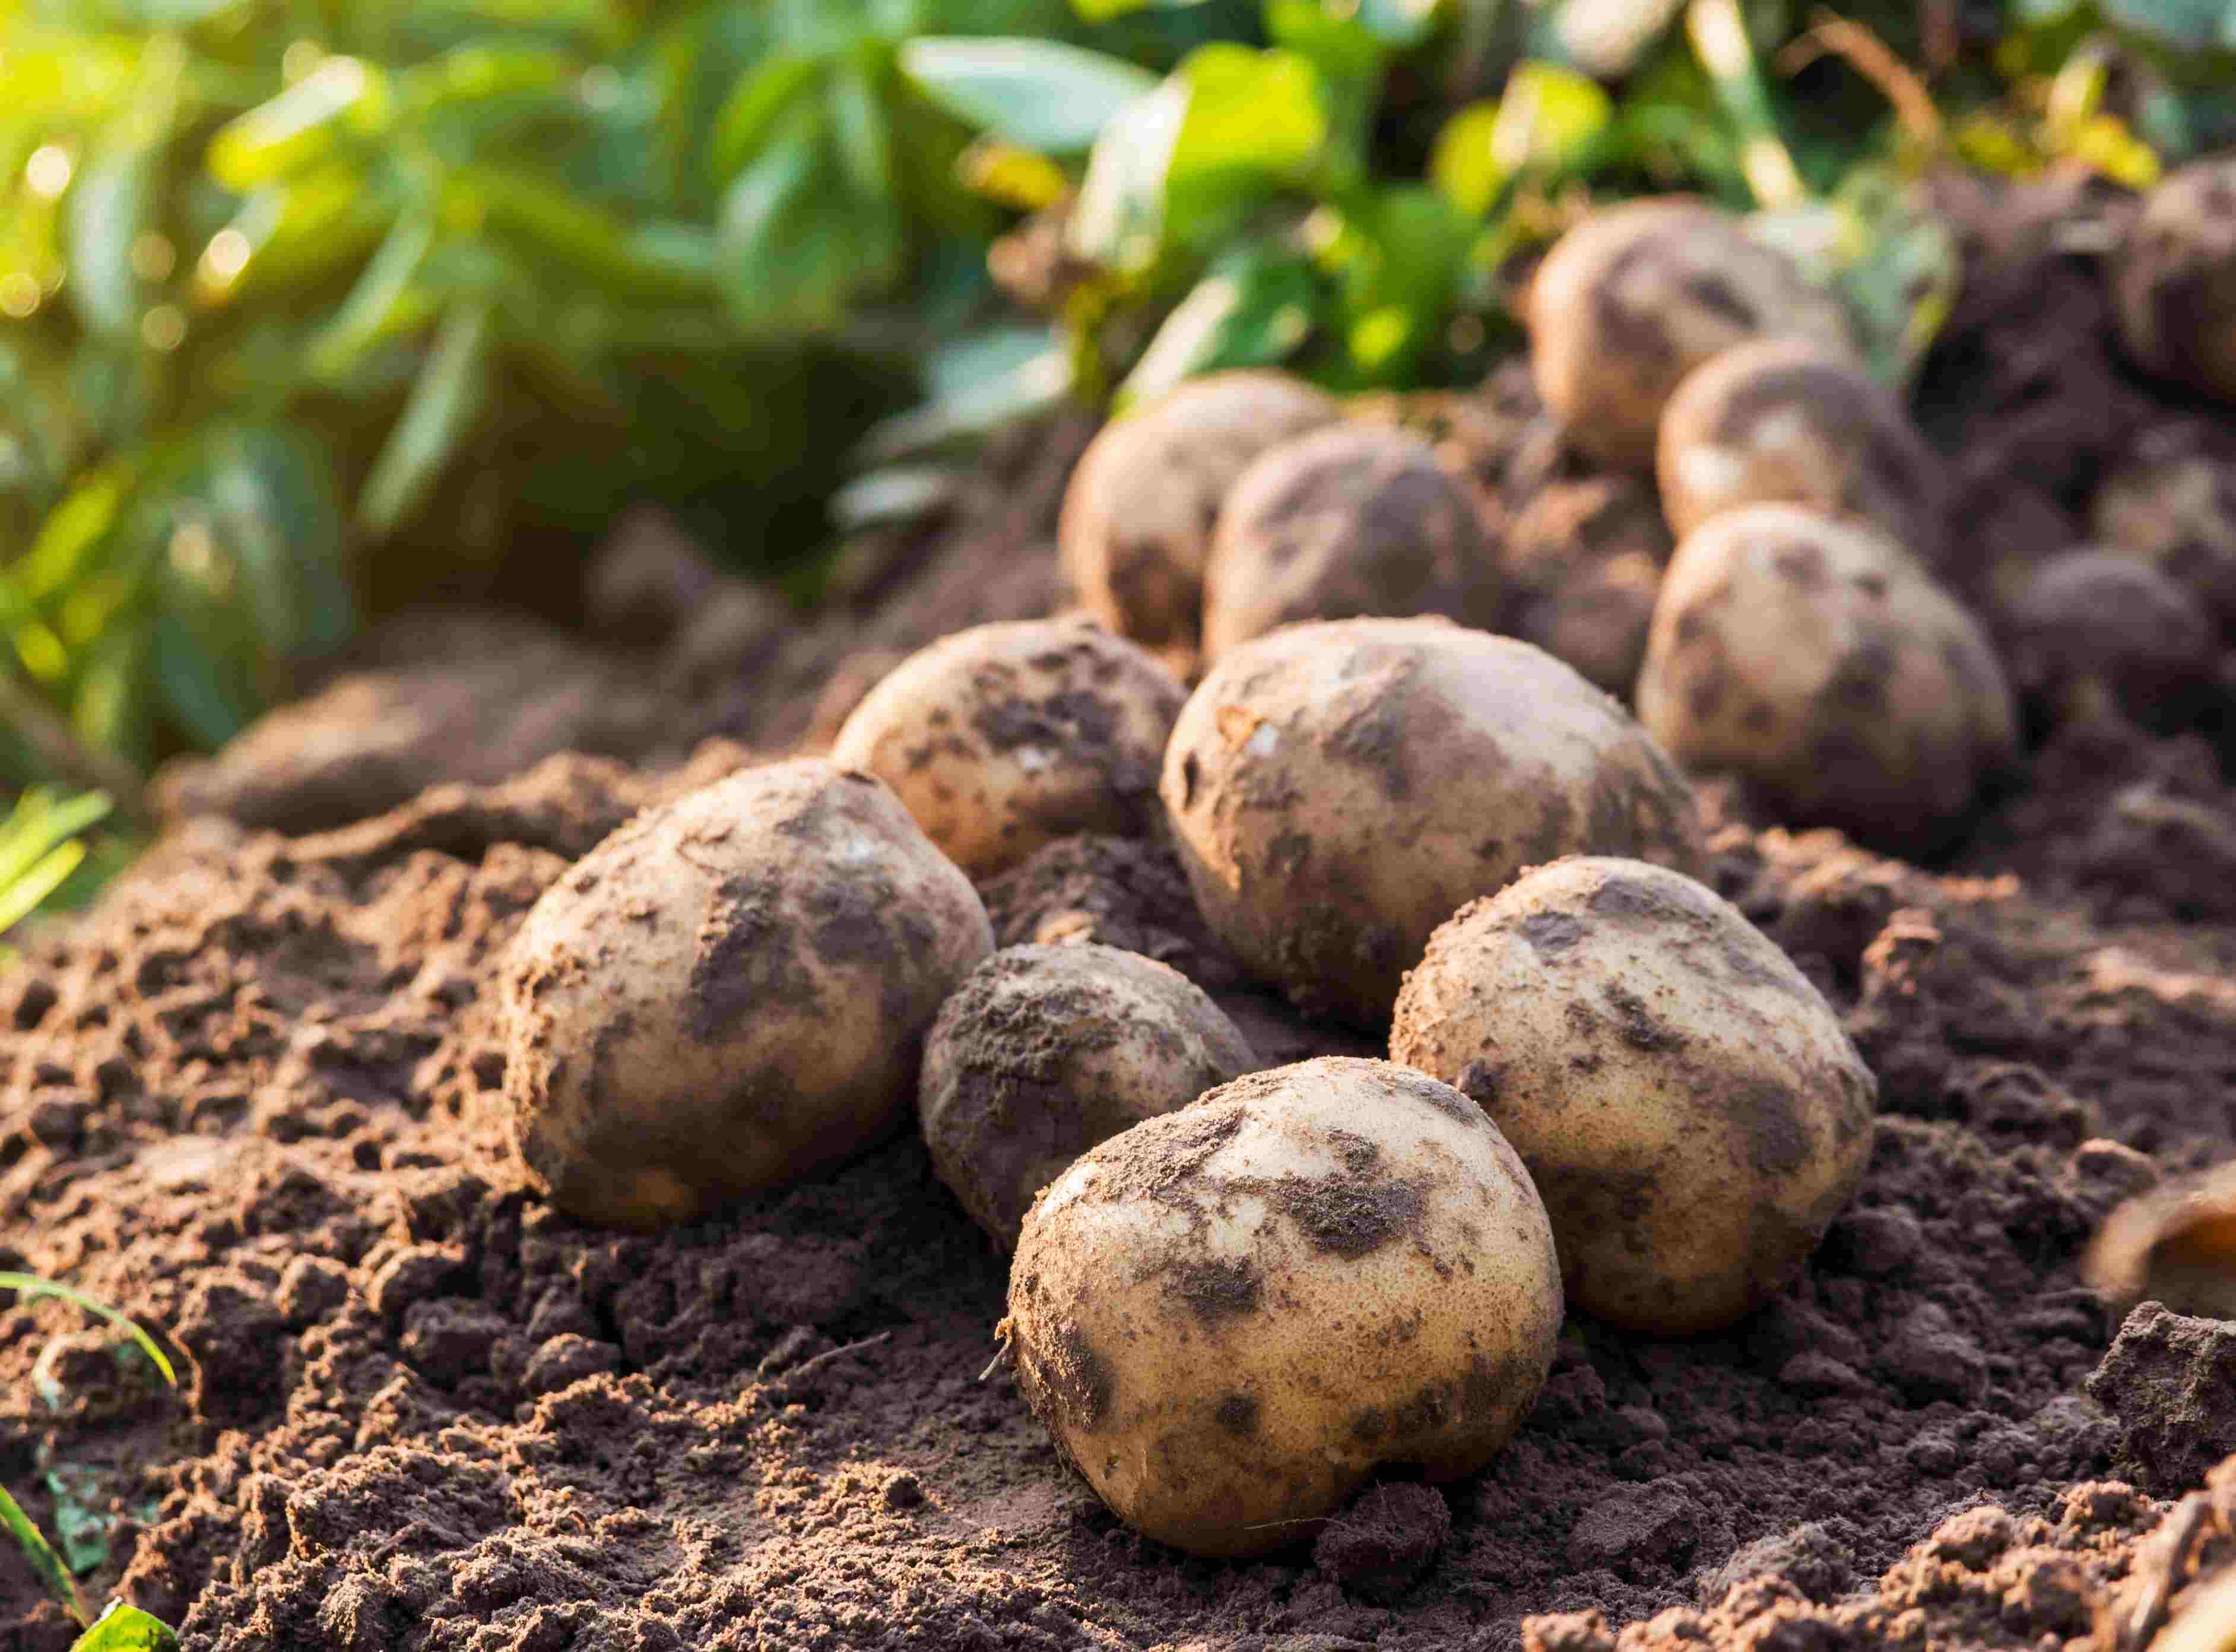
Harvesting Sweet Potatoes
After months of tending to your sweet potato plants, it’s time to reap the rewards of your hard work. Harvesting sweet potatoes at the right time ensures optimal flavor and a satisfying yield. Here are the steps to successfully harvest sweet potatoes:
1. Timing: Sweet potatoes are typically ready for harvest when the foliage begins to turn yellow or die back. This usually occurs around 100-120 days after planting, but can vary depending on the variety and growing conditions. Check the specific information for your chosen variety to determine the ideal harvest time.
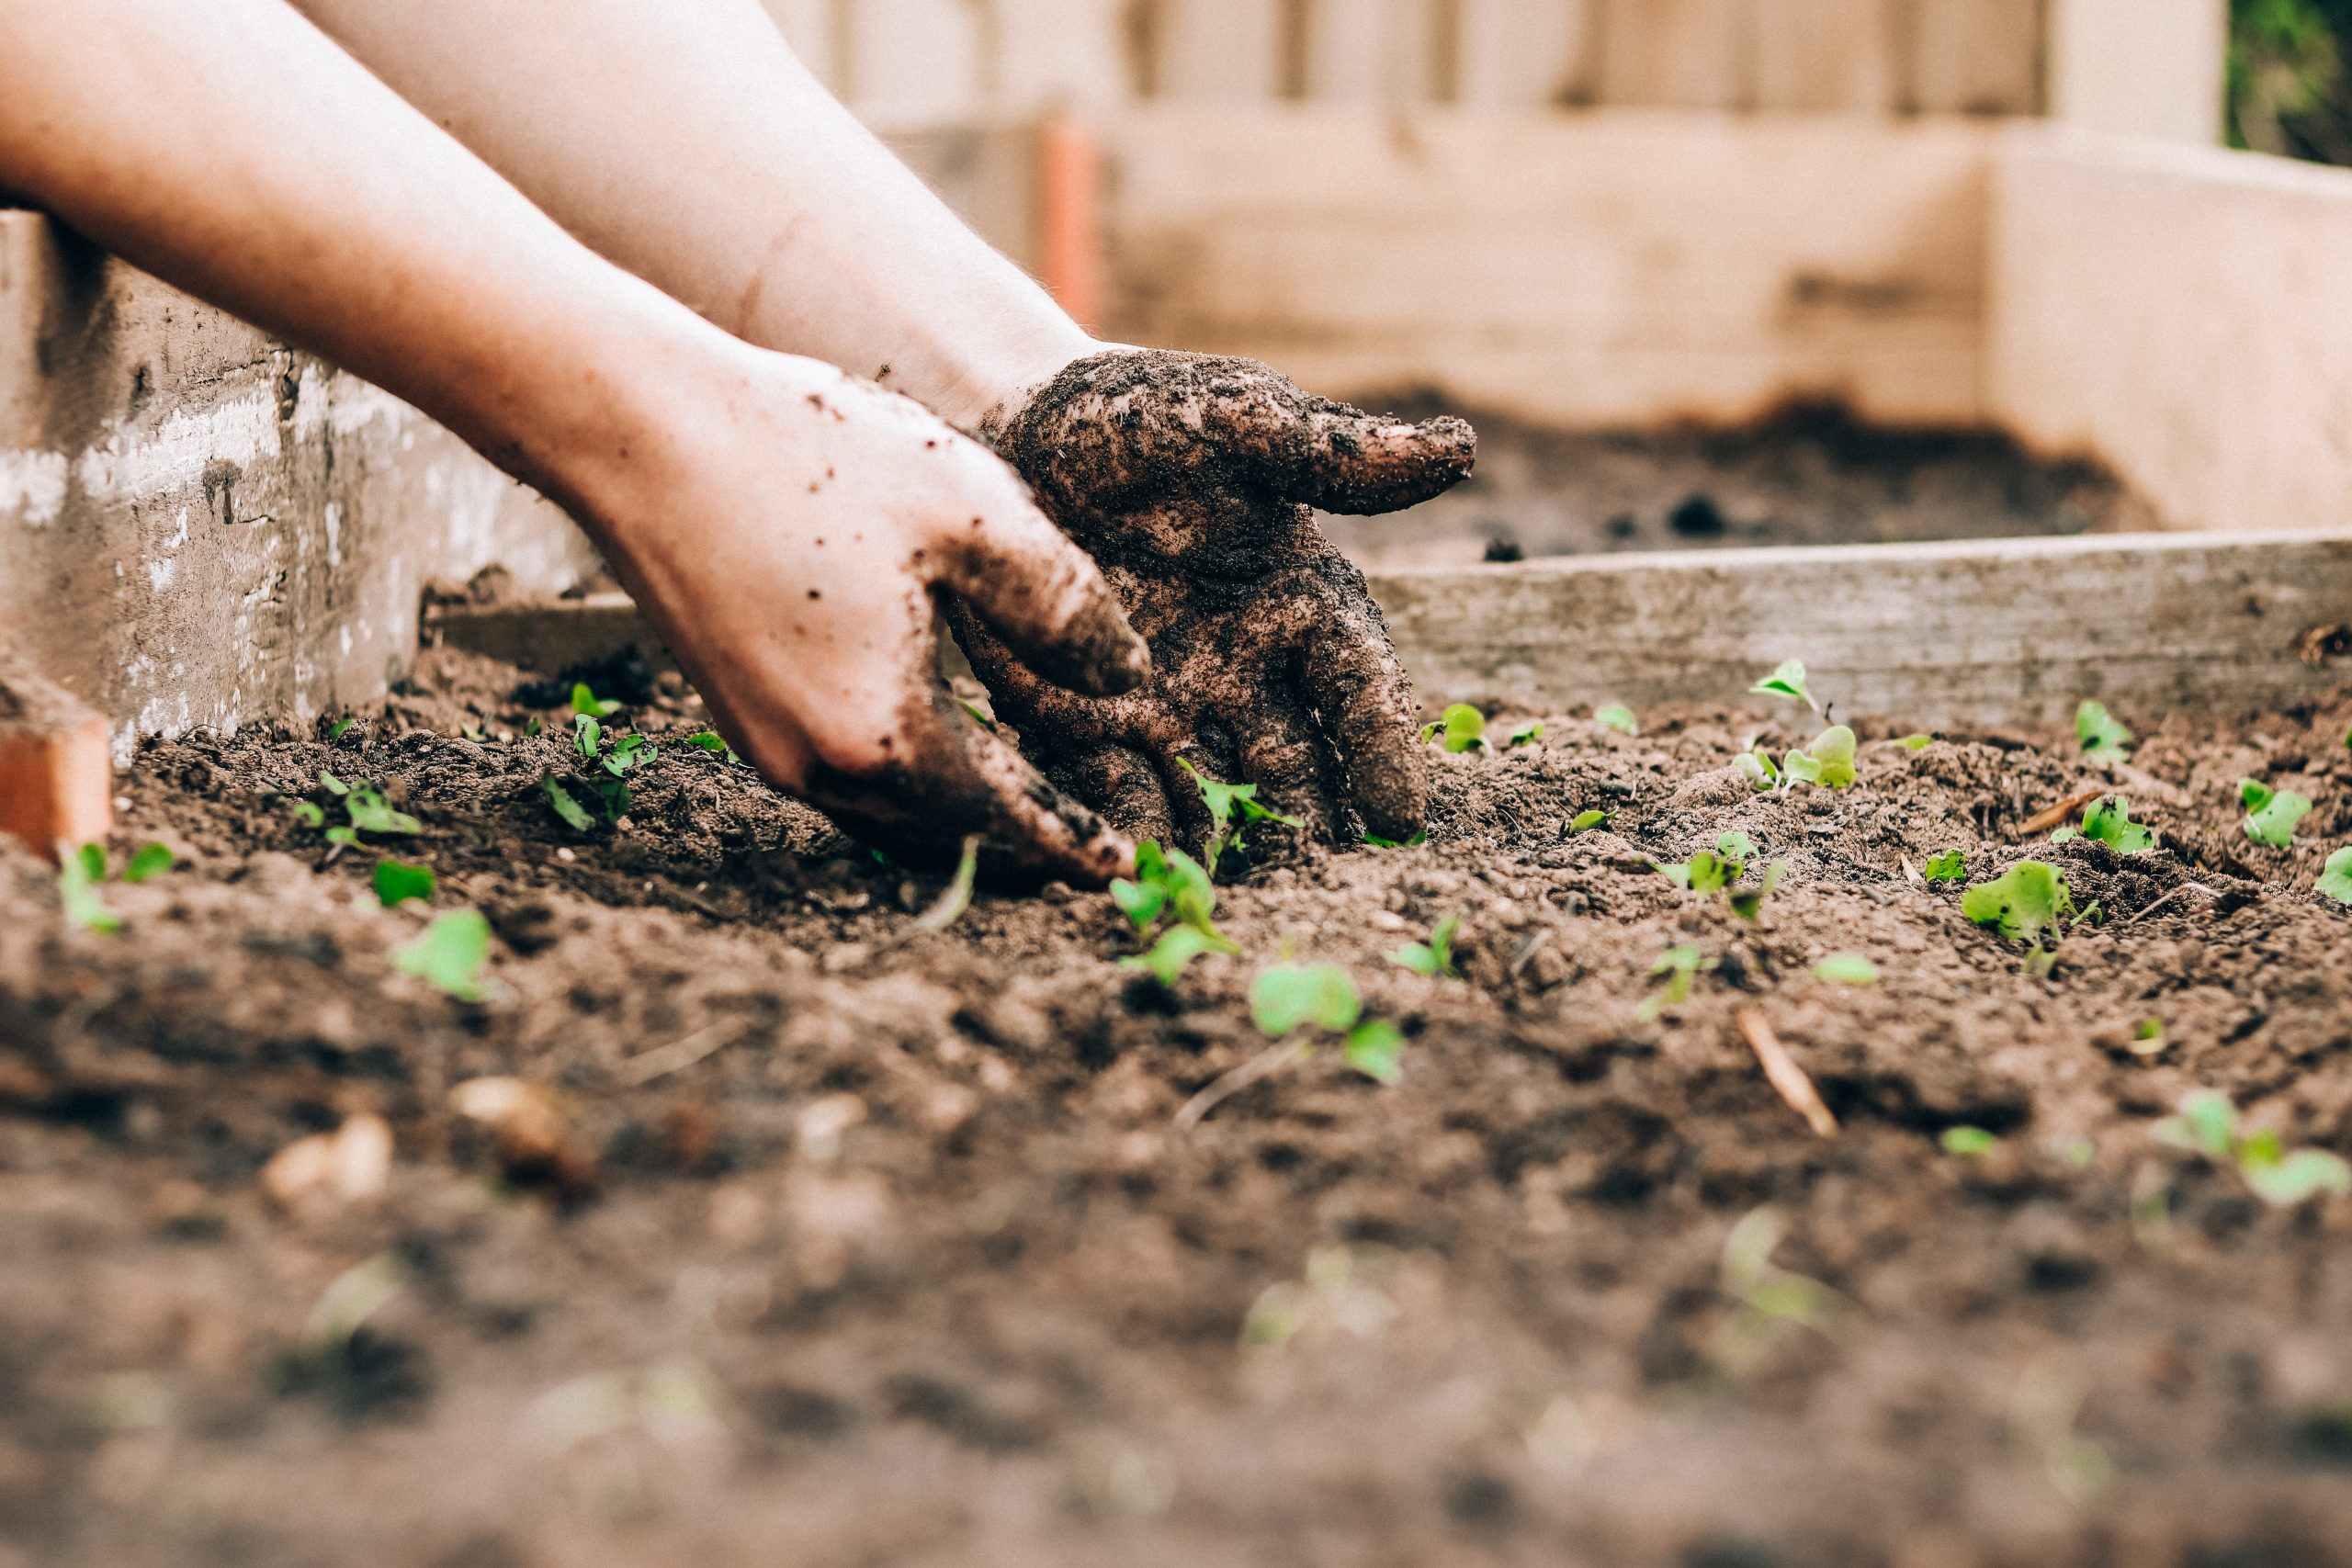
2. Prepare the soil: Before harvesting, gently loosen the soil around the base of the plants using a garden fork or shovel. This will make it easier to harvest the sweet potatoes without causing damage.
3. Carefully dig: Use your hands or a garden fork to carefully dig around the base of the plant and lift the tubers out of the soil. Take care not to puncture or bruise the sweet potatoes, as this can lead to spoilage during storage.
4. Handle with care: Once harvested, handle the sweet potatoes with care to avoid bruising or damaging the skin. Even minor damage can shorten their shelf life and make them more prone to rot.
5. Cure the sweet potatoes: After harvesting, it’s important to cure the sweet potatoes to enhance their flavor, sweetness, and storage ability. Place them in a warm and humid environment (around 85°F/29°C and 85-90% humidity) for a period of 10-14 days.
6. Store properly: Once properly cured, store the sweet potatoes in a cool, dark, and well-ventilated area. Ideal storage conditions are around 55-60°F (13-15°C) with moderate humidity. Avoid storing them in the refrigerator, as the cold temperatures can alter their taste and texture.
7. Enjoy and share: Now that your sweet potatoes are harvested and properly stored, it’s time to enjoy the fruits of your labor. Use them in a variety of delicious recipes, share them with friends and family, or even consider preserving them for later use.
By following these steps, you’ll be able to harvest your sweet potatoes at the right time, ensuring their flavor and quality. Enjoy the satisfaction of knowing that you’ve grown your own bountiful supply of this versatile and nutritious root vegetable.
Storing Sweet Potatoes
After harvesting your sweet potatoes, proper storage is essential to maintain their quality and extend their shelf life. By following the right storage techniques, you can enjoy a steady supply of sweet potatoes throughout the year. Here’s how to store sweet potatoes:
1. Curing: As mentioned earlier, curing is an important step in preparing sweet potatoes for storage. Curing helps toughen the skin, heal minor injuries, and convert some of the starches into sugars. After harvesting, place the sweet potatoes in a warm and humid environment (85°F/29°C and 85-90% humidity) for about 10-14 days.
2. Cleaning and drying: Before storing, gently brush off any excess dirt or debris from the sweet potatoes. Do not wash them as moisture can lead to rot. Allow them to air dry completely before storage.
3. Dark and cool storage area: Sweet potatoes are best stored in a cool, dark, and well-ventilated place. The ideal temperature range for sweet potato storage is between 55-60°F (13-15°C). Avoid storing them in direct sunlight or areas that experience extreme temperature fluctuations, such as near heating vents or windows.
4. Proper storage containers: Use breathable containers or materials for storing sweet potatoes. Avoid plastic bags or airtight containers, as they can trap moisture and promote rot. Instead, opt for boxes, crates, or mesh bags that allow for air circulation.
5. Avoiding moisture: Sweet potatoes should be stored in a dry environment to prevent spoilage. Avoid storing them in damp or humid areas, as excess moisture can lead to rot. Check regularly for any signs of moisture buildup and discard any sweet potatoes that show signs of decay.
6. Regular checks: Periodically inspect your stored sweet potatoes for any signs of decay, mold, or soft spots. Remove any affected sweet potatoes promptly to prevent the spread of spoilage.
7. Rotation: Consume your sweet potatoes in the order of their storage to ensure freshness. Use the older ones first to minimize waste and enjoy their optimal flavor and texture.
With proper storage, sweet potatoes can last for several months. Enjoy the convenience of having your homegrown sweet potatoes readily available for soups, stews, roasts, or any dish that calls for their delicious flavor.
Conclusion
Congratulations! You’ve now learned the essential steps to prepare sweet potatoes for planting and cultivate them successfully in your garden. From choosing the right variety to harvesting and storing your harvest, each phase of the process contributes to a rewarding and fruitful experience.
By carefully selecting sweet potato varieties suited to your climate, providing proper care, and following the recommended planting and harvesting techniques, you can enjoy the satisfaction of growing your own delicious and nutritious sweet potatoes. Remember to provide adequate sunlight, well-draining soil, and regular watering to ensure optimal growth.
From preparing the planting area and selecting healthy sweet potato slips to curing, planting, and caring for the plants, every step plays a vital role in the success of your sweet potato garden. The joy of watching your plants grow, the anticipation of the harvest, and the pleasure of savoring the flavorful fruits of your labor make edible gardening a fulfilling and sustainable hobby.
Whether you use your sweet potatoes in savory dishes, scrumptious desserts, or even as a healthy snack, the versatility of this root vegetable is truly remarkable. Plus, knowing that you’ve nurtured them from start to finish adds an extra layer of satisfaction to each bite.
So, roll up your sleeves, gather your gardening tools, and embark on the journey of growing your own sweet potatoes. With proper knowledge and hands-on experience, the world of edible gardening will open up to you, allowing you to enjoy the benefits of fresh, homegrown produce for years to come.