Home>Garden Design>Planning Your Garden>How To Prepare My Garden For Planting
Planning Your Garden
How To Prepare My Garden For Planting
Modified: January 22, 2024
Learn how to prepare your garden for planting and get expert tips on planning your garden for a successful and fruitful growing season.
(Many of the links in this article redirect to a specific reviewed product. Your purchase of these products through affiliate links helps to generate commission for Chicagolandgardening.com, at no extra cost. Learn more)
Table of Contents
- Introduction
- Clearing the Garden Area
- Soil Preparation
- Testing and Adjusting Soil pH
- Adding Organic Matter
- Removing Weeds and Debris
- Planning Planting Areas
- Choosing the Right Plants
- Starting Seeds Indoors
- Transplanting Seedlings
- Proper Spacing and Planting Depths
- Watering Techniques
- Mulching the Garden
- Protecting Young Plants from Pests
- Maintaining and Caring for the Garden
Introduction
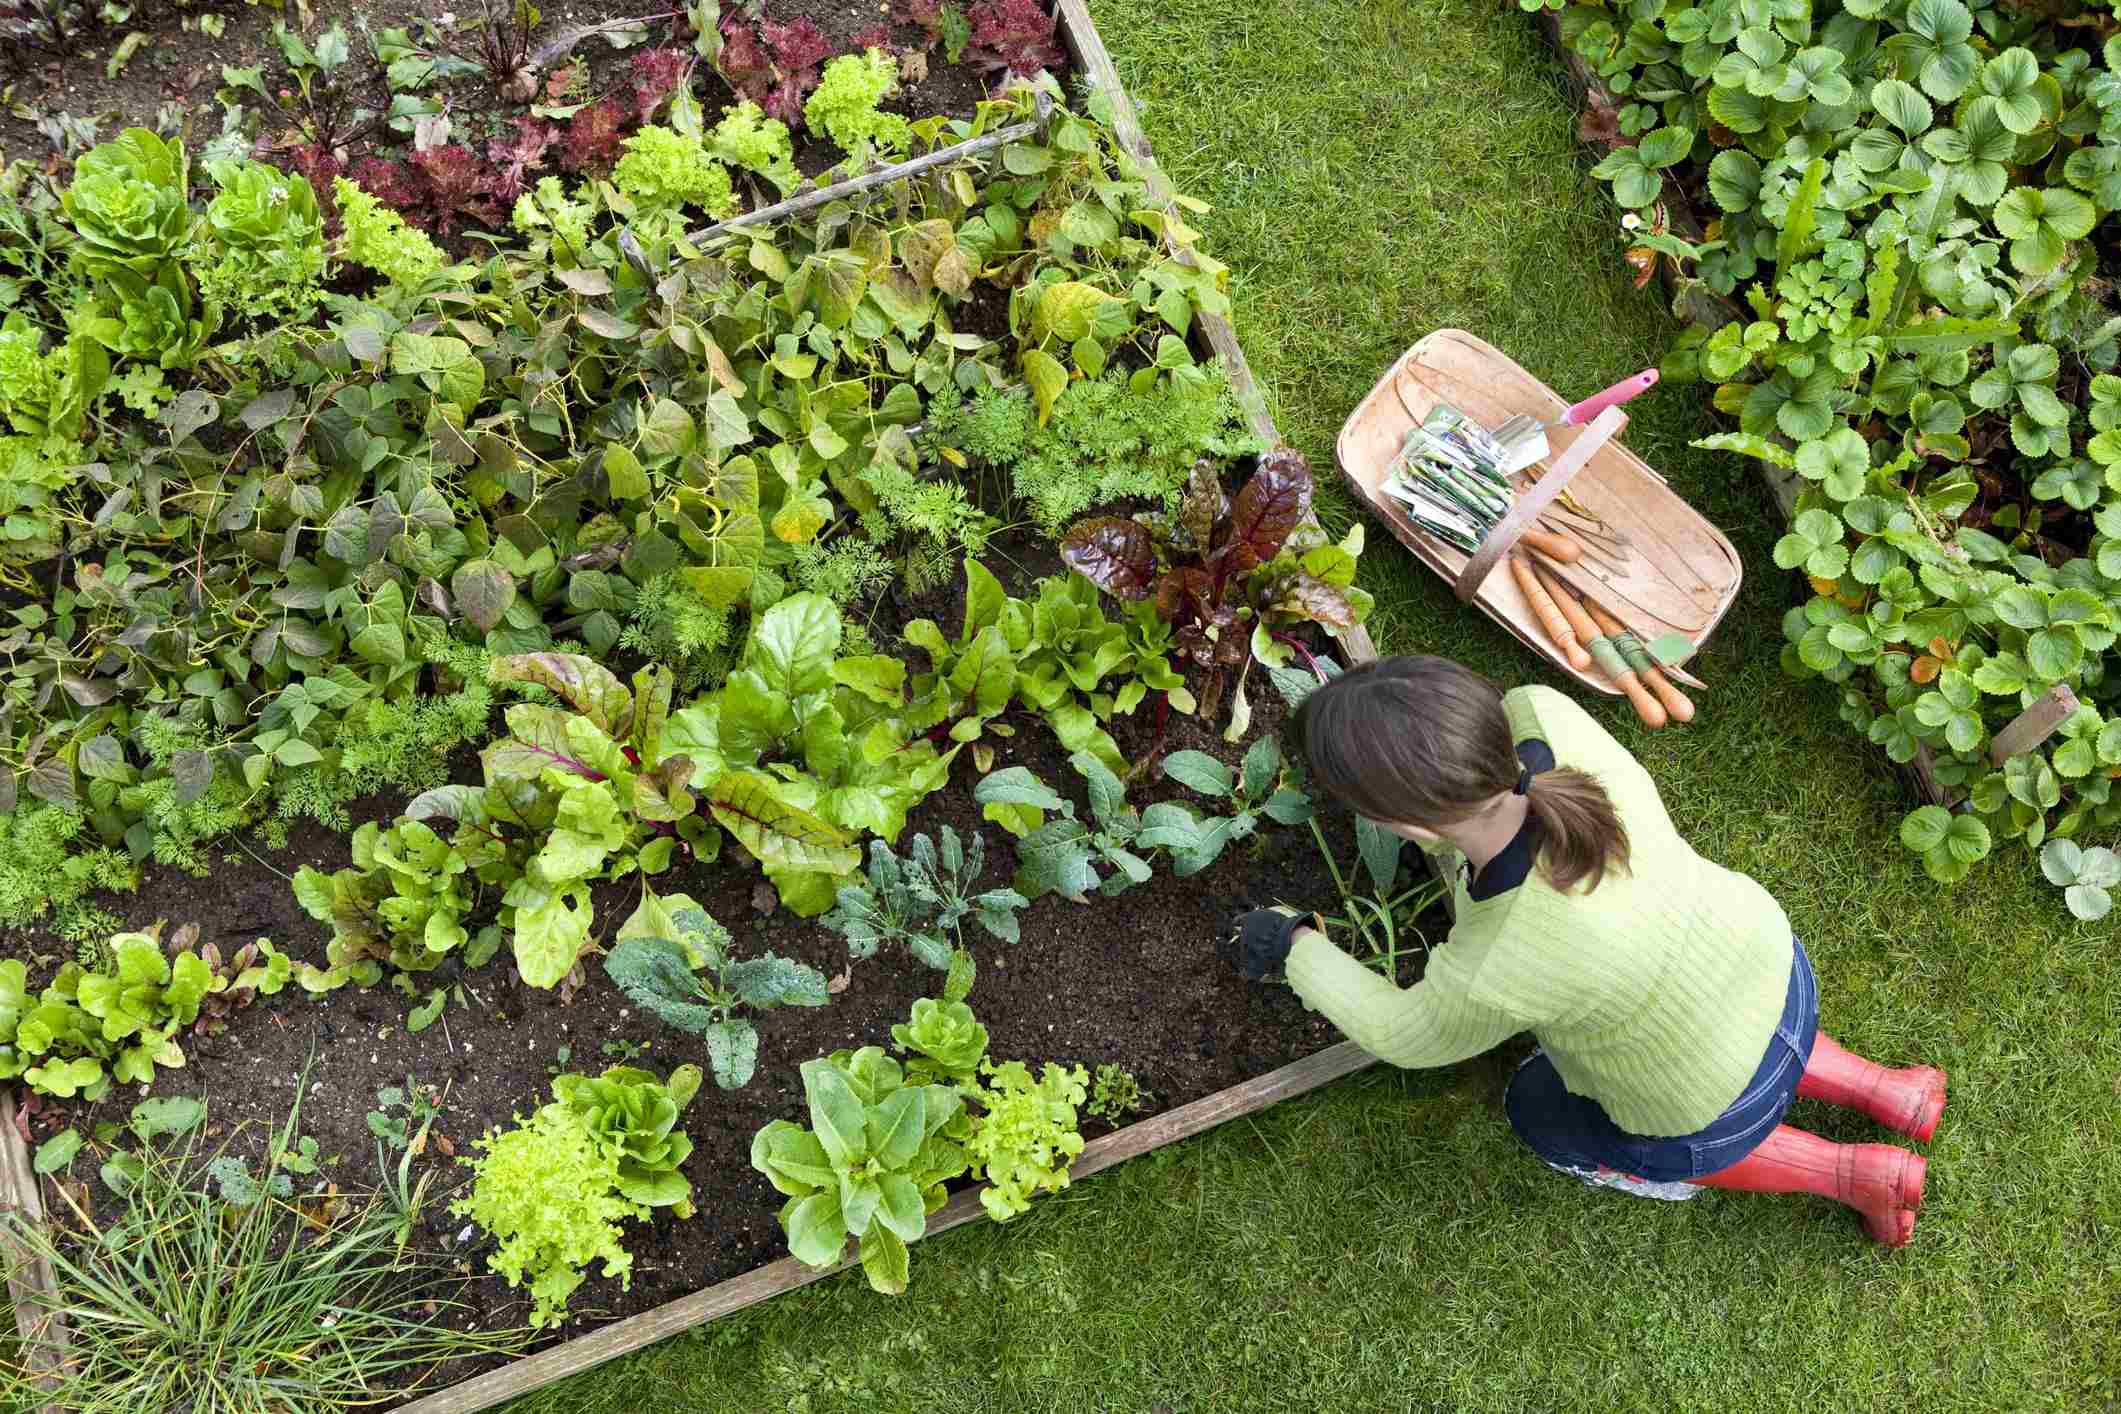
Welcome to the world of gardening! Planning your garden can be an exciting and rewarding experience. Whether you have a small backyard or a large plot of land, creating a garden can provide a space for relaxation, enjoyment, and the opportunity to grow your own fresh produce.
Before you dive into the world of planting, it’s important to take some time to prepare your garden area. This will ensure that your plants have the best chance of thriving and producing a bountiful harvest. From clearing the area to selecting the right plants, there are several essential steps to consider.
In this article, we will guide you through the necessary preparations to get your garden off to a strong start. We will cover soil preparation, testing and adjusting soil pH, removing weeds and debris, planning planting areas, choosing the right plants, starting seeds indoors, transplanting seedlings, proper spacing and planting depths, watering techniques, mulching the garden, and protecting young plants from pests.
By following these steps and implementing proper gardening practices, you will be well on your way to a flourishing and beautiful garden.
So let’s roll up our sleeves and start preparing your garden for planting!
Clearing the Garden Area
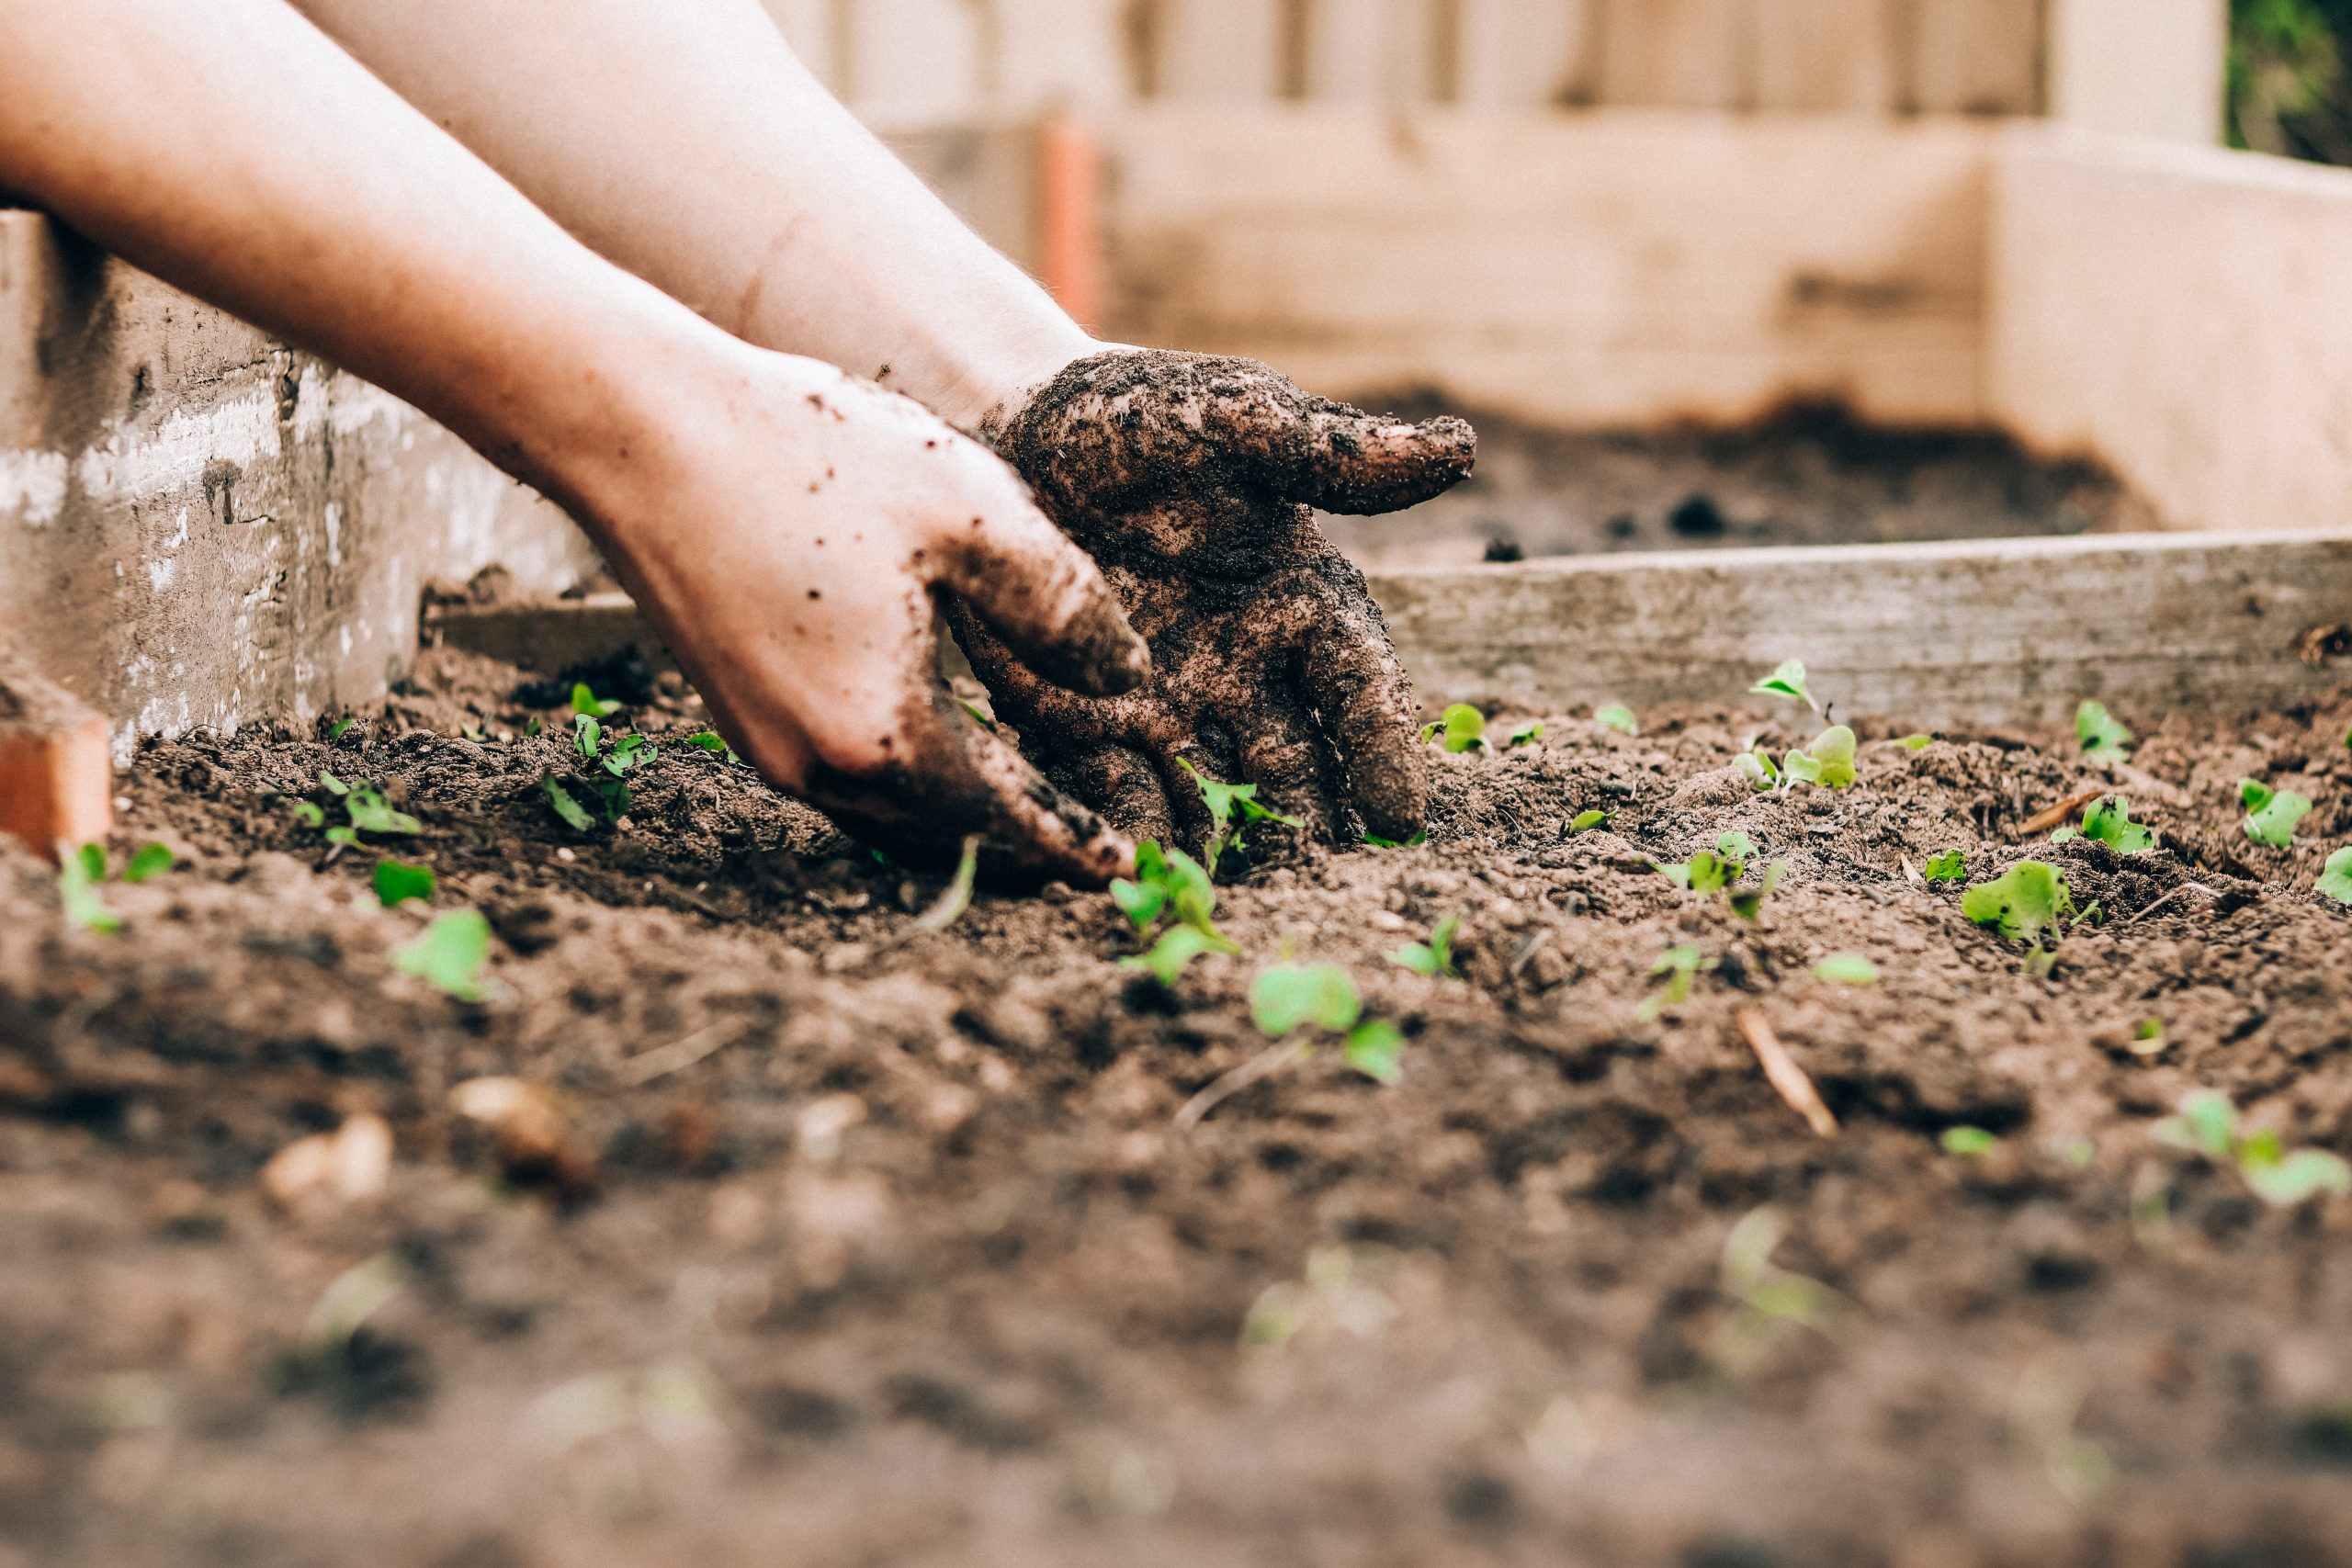
Before you begin any gardening activities, it’s essential to clear the garden area of any existing vegetation, debris, or unwanted materials. Clearing the garden area allows you to start with a clean slate and reduces competition for resources among your new plants.
Start by removing any large rocks, branches, or other debris from the garden. These can obstruct plant growth and make it difficult to work the soil. You can use a rake, shovel, or a wheelbarrow to gather and remove the debris.
Next, tackle any existing weeds in the garden area. Weeds compete with your desired plants for nutrients, water, and sunlight, so it’s important to remove them. Pull out weeds by hand or use a gardening tool like a hand trowel or hoe to make the task easier.
If you have a larger garden area or a lot of weeds, you may consider using an organic weed killer. These products are made from natural ingredients and can help control weeds without harmful chemicals. Be sure to follow the instructions on the product label for safe and effective use.
After clearing the garden area of debris and weeds, take a moment to assess the soil. Look for any compacted areas or areas with poor drainage. Compacted soil can hinder root growth and prevent plants from accessing necessary nutrients. To alleviate compaction, use a garden fork or tiller to loosen the soil.
Once you have cleared and assessed the garden area, you are ready to move on to the next step in preparing your garden for planting. Remember, a clean and well-prepared garden area sets the stage for healthy plant growth and a successful gardening experience.
Soil Preparation
Now that you have cleared the garden area, it’s time to focus on preparing the soil. Soil preparation is a crucial step in creating the optimal growing environment for your plants.
Start by testing the pH level of your soil. pH is a measurement of how acidic or alkaline the soil is and can greatly impact plant health. You can purchase a soil testing kit from a garden center or send a sample to a local agricultural extension office for analysis.
Once you know the pH level of your soil, you can make any necessary adjustments. Most plants prefer a slightly acidic to neutral pH range of 6.0 to 7.0. If your soil is too acidic, you can raise the pH by adding lime. If it is too alkaline, you can lower the pH by adding sulfur or peat moss. Follow the instructions on the product packaging for proper application rates.
In addition to adjusting the pH, it’s important to improve the overall quality of your soil by adding organic matter. Organic matter, such as compost or well-rotted manure, helps improve soil structure, fertility, and moisture retention.
Spread a layer of organic matter over the garden area and use a shovel or garden fork to work it into the soil to a depth of around 6 to 8 inches. This will ensure that the organic matter is evenly distributed and incorporated into the soil.
As you work the organic matter into the soil, you may come across any remaining clumps or large debris. Remove these, as they can hinder root growth and nutrient uptake by plants.
By preparing the soil properly, you provide a healthy and nutrient-rich foundation for your plants to grow. Healthy soil promotes strong root development, better nutrient absorption, and overall plant vigor.
Now that you have prepared the soil, it’s time to move on to the next steps of removing weeds and debris, planning planting areas, and selecting the right plants for your garden.
Testing and Adjusting Soil pH
Testing and adjusting the pH level of your soil is an important step in soil preparation. The pH level determines the acidity or alkalinity of the soil and can significantly affect the growth and health of your plants.
To test the pH level of your soil, you can use a soil testing kit available at garden centers or send a soil sample to a local agricultural extension office for more accurate results. The kit will provide you with a pH reading, which is typically on a scale of 1 to 14, with 7 being neutral. pH levels below 7 indicate acidic soil, while levels above 7 indicate alkaline soil.
Once you have determined the pH level of your soil, you can make adjustments to bring it into the optimal range for most plants, which is slightly acidic to neutral. If your soil is too acidic, you can raise the pH by adding lime. Lime is commonly available in powdered or pellet form and can be applied according to the package instructions.
On the other hand, if your soil is too alkaline, you can lower the pH by adding organic materials such as elemental sulfur or peat moss. These materials help to acidify the soil over time and create a more suitable environment for plant growth.
It is important to note that adjusting soil pH is a gradual process, and it may take time for the changes to take effect. It is recommended to retest the soil after making adjustments to ensure that the desired pH range has been achieved.
Keep in mind that certain plants have specific pH requirements. For example, acid-loving plants like azaleas and blueberries prefer a lower pH, while alkaline-loving plants like lavender and clematis thrive in higher pH soils. Understanding the pH preferences of the plants you intend to grow can help guide your soil pH adjustments.
In addition to adjusting soil pH, it is important to maintain the soil’s pH balance over time. Regular soil testing, usually once every year or two, can help you monitor the pH level and make any necessary adjustments as needed.
By testing and adjusting the soil pH, you are creating an optimal growing environment for your plants. This will promote healthy root development, nutrient uptake, and overall plant growth and productivity.
With the soil pH properly adjusted, you are ready to move on to the next steps in preparing your garden, such as adding organic matter, removing weeds and debris, and planning the planting areas.
Adding Organic Matter
One of the key steps in soil preparation is adding organic matter to improve the overall quality and fertility of the soil. Organic matter provides a host of benefits, including enhanced soil structure, increased water retention, improved nutrient availability, and a thriving ecosystem for beneficial organisms.
There are various sources of organic matter that you can add to your garden soil, such as compost, well-rotted manure, leaf mold, and grass clippings. These materials are rich in nutrients and organic compounds that nourish the soil and support plant growth.
To add organic matter, start by spreading a layer of compost or well-rotted manure over the garden area. Aim for a thickness of about 2 to 3 inches. If you don’t have access to compost or manure, you can consider making your own compost pile using kitchen scraps, yard waste, and other organic materials.
Next, use a shovel or garden fork to work the organic matter into the soil. This will help incorporate the nutrients and organic compounds throughout the soil profile. Aim to incorporate the organic matter to a depth of about 6 to 8 inches.
As you work the organic matter into the soil, you will notice that it helps improve soil structure by loosening compacted areas and promoting better drainage. It also aids in retaining moisture, which is essential for plant growth, especially during dry periods. Moreover, organic matter acts as a natural fertilizer, slowly releasing nutrients to nourish your plants over time.
In addition, organic matter supports the growth and activity of beneficial organisms such as earthworms, bacteria, and fungi. These organisms help break down organic materials further, decompose plant debris, and enhance nutrient cycling in the soil.
It is important to note that adding organic matter is an ongoing process. You can continue to incorporate organic matter into your garden each year to maintain soil fertility and structure. Regular applications of compost or organic mulch can help replenish nutrients and improve soil health over time.
By adding organic matter to your soil, you are creating a thriving and nutrient-rich environment for your plants. This will contribute to healthier plant growth, increased yields, and overall garden success.
With the organic matter incorporated into the soil, you are now ready to move forward with the next steps in preparing your garden, such as removing weeds and debris, planning the planting areas, and selecting the right plants for your garden.
Removing Weeds and Debris
As you prepare your garden for planting, it is crucial to remove any weeds and debris from the area. Weeds not only compete with your desired plants for nutrients, water, and sunlight but they can also harbor pests and diseases that can harm your garden.
Start by identifying the weeds in your garden. Different types of weeds may require different methods of removal. Some weeds have deep roots and may need to be dug out with a shovel or garden fork. Others have shallow roots and can be easily pulled out by hand.
Make sure to remove weeds before they have a chance to flower and produce seeds. This will help prevent the spread of weeds and reduce the workload in the future. Dispose of the weed roots and plant material in a compost bin or discard them if they are invasive or diseased.
After removing the weeds, take the time to clear any debris from the garden area. Dead leaves, branches, and other organic matter can provide a breeding ground for pests and diseases. Rake up the debris and dispose of it properly.
Additionally, it’s essential to check for any rocks, stones, or other large objects in the soil. These can hinder root growth, damage garden tools, and make it difficult to cultivate the soil. Remove any rocks or stones you encounter to ensure a smooth planting surface.
By removing weeds and debris, you create a cleaner and healthier environment for your plants. Removing weeds reduces competition for resources and minimizes the risk of diseases and pests in your garden. Clearing debris not only improves aesthetics but also reduces potential hiding spots for unwanted critters.
After completing the weed and debris removal process, your garden area will be ready for the next steps of planning the planting areas, selecting the right plants, and getting closer to the joy of seeing your garden come to life.
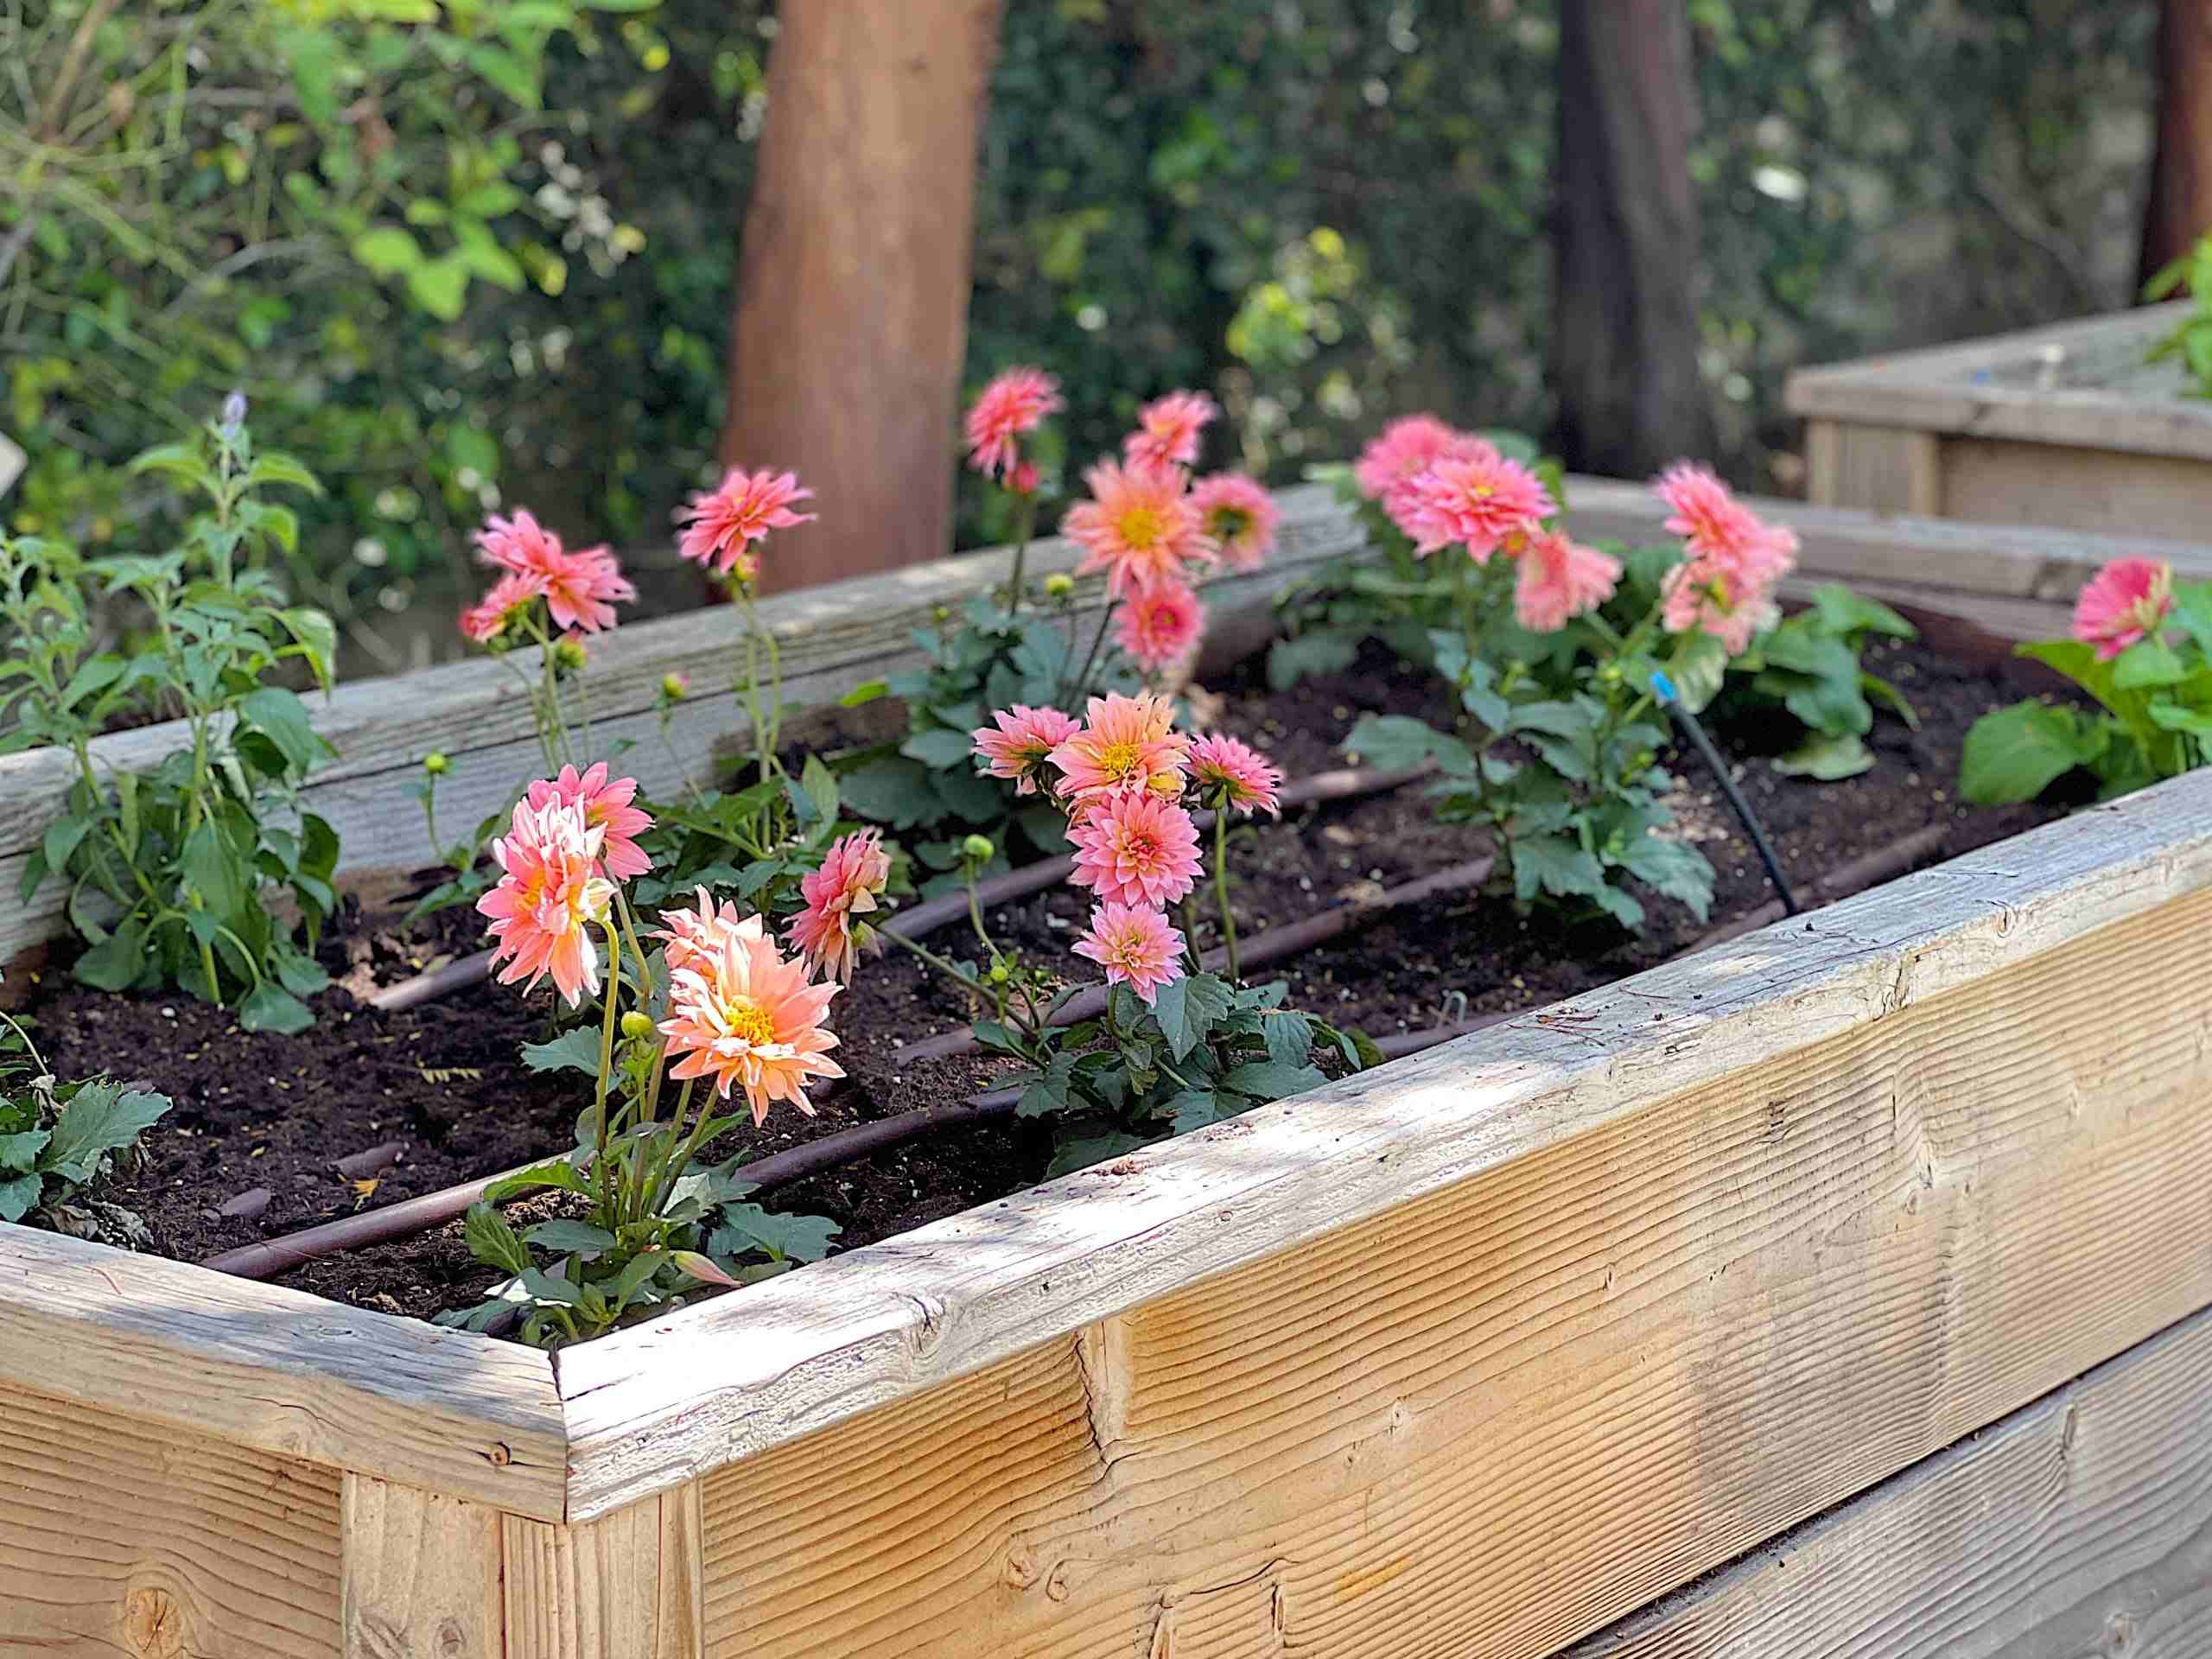
Planning Planting Areas
Once you have cleared the garden area and prepared the soil, it’s time to plan where you will plant your flowers, vegetables, or herbs. Proper planning of your planting areas is essential for maximizing space, ensuring good airflow, and creating an aesthetically pleasing garden.
Start by considering the sunlight requirements of different plants. Some plants thrive in full sun, while others prefer partial shade or shade. Observe the sun patterns in your garden throughout the day and identify areas with different levels of sunlight. This will help you determine which plants should be placed in different sections of the garden.
Take note of any existing structures, such as fences or walls, that can provide support for climbing plants. Utilizing vertical space can help maximize your planting area and add dimension to your garden. Plan for taller plants to be placed at the back or center of the garden, while shorter plants can be placed towards the front or along the edges.
Consider grouping plants with similar water requirements together. This will make it easier for watering and help avoid over or under irrigation of certain plants. Remember to take into account any irrigation systems you may use, such as drip lines or sprinklers, and plan accordingly.
Think about the aesthetics of your garden and choose a cohesive color palette or theme. Group plants with complementary colors or contrasting textures to create visually appealing combinations. Also, consider the bloom times of different plants to ensure a continuous display of flowers throughout the season.
Utilize companion planting principles to maximize the health and productivity of your garden. Some plants have natural affinities and can benefit from being grown together, while others may inhibit each other’s growth. For example, planting marigolds alongside tomatoes can help deter pests.
Consider the mature sizes of your plants and space them out accordingly. Proper spacing allows for better airflow, reduces the risk of diseases, and avoids overcrowding. Consult seed packets, plant labels, or gardening resources for recommended spacing guidelines.
Lastly, don’t forget to leave space for pathways or access points to easily navigate and care for your garden. Well-planned pathways will make it more convenient to tend to your plants, harvest produce, and perform maintenance tasks.
By carefully planning your planting areas, you can maximize the functionality and aesthetics of your garden. Well-organized plantings will make it easier to care for your plants, promote healthy growth, and create an inviting space for you to enjoy.
With the planting areas planned, you are ready to move forward with selecting the right plants for your garden and preparing for the exciting task of planting and nurturing your new green companions.
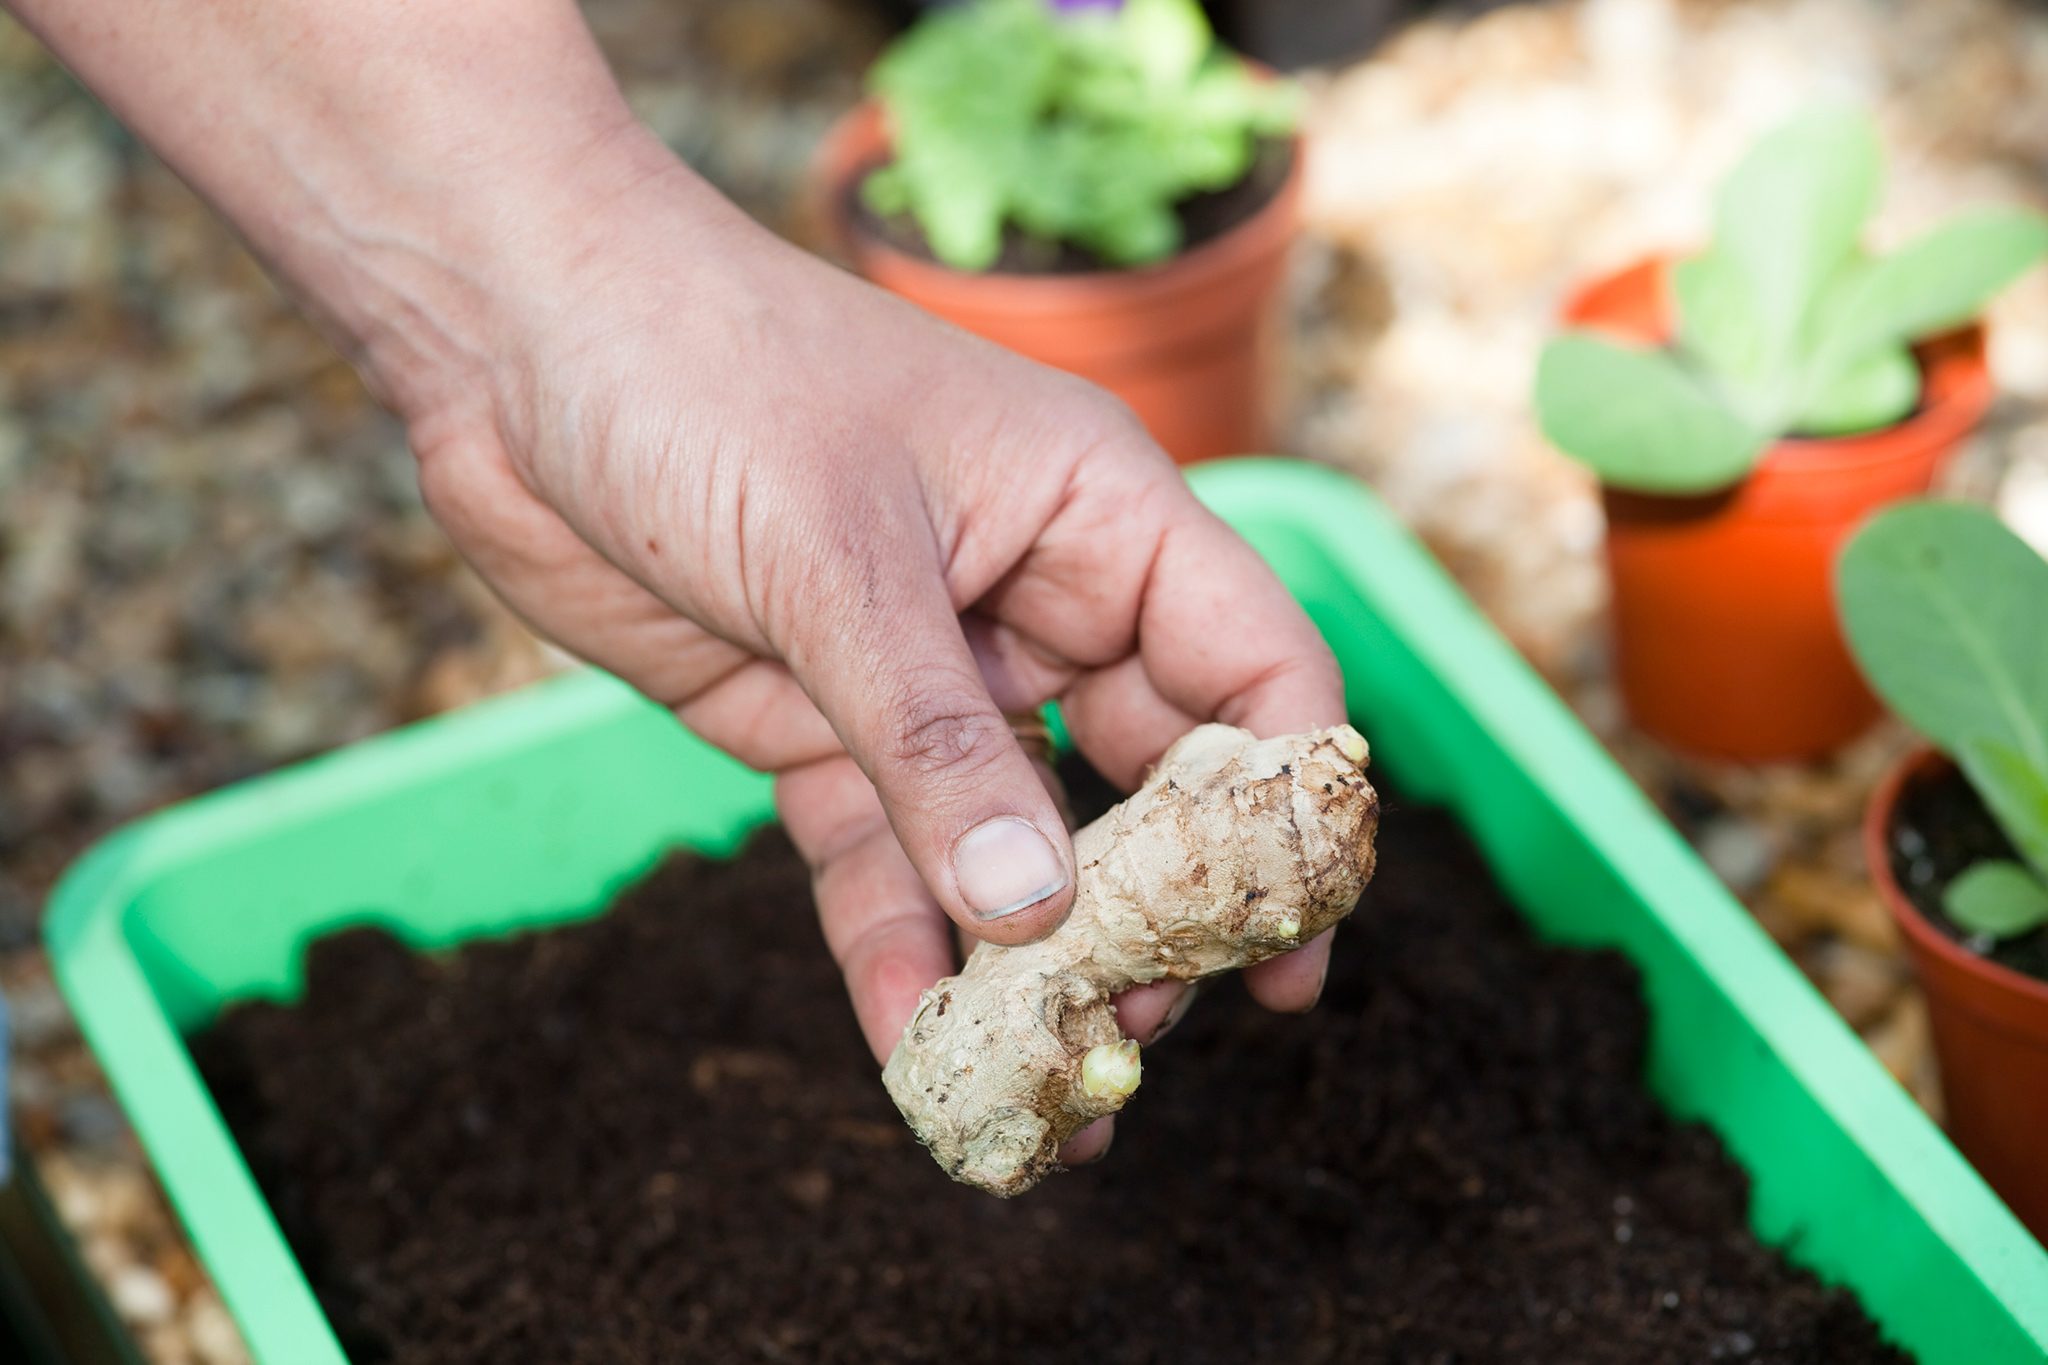
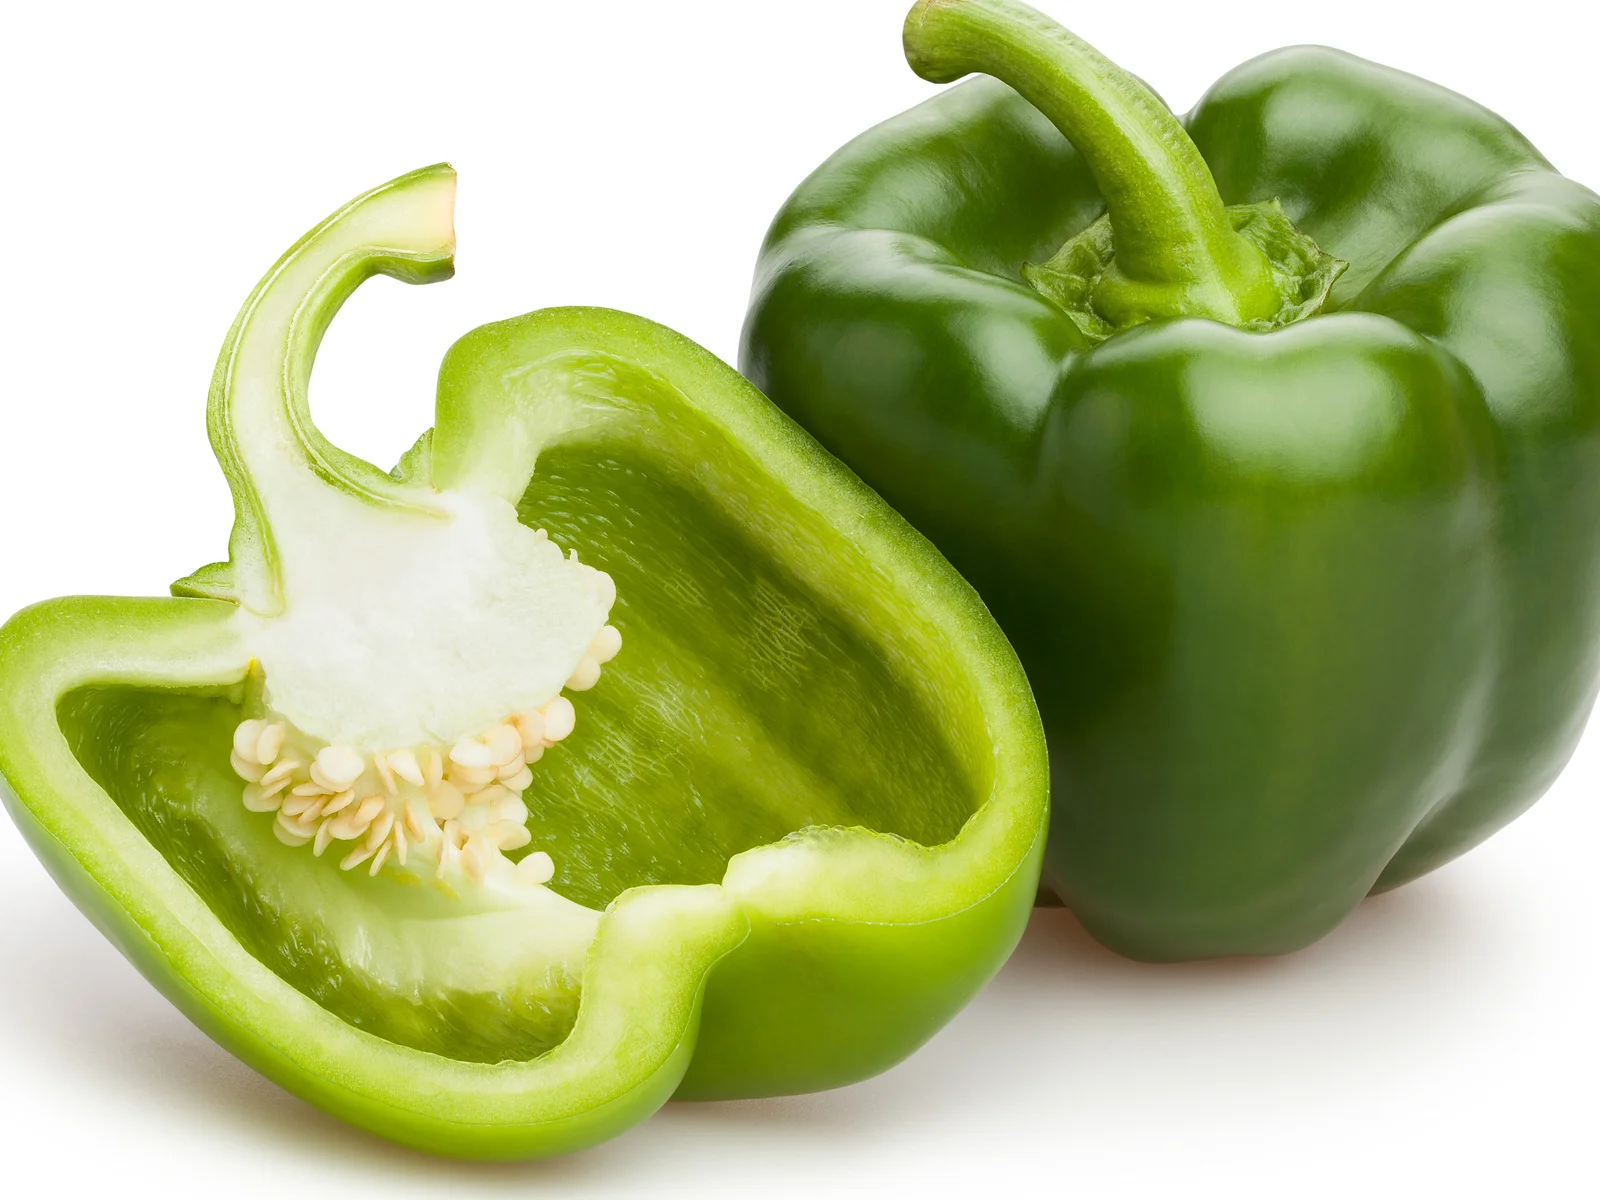
Choosing the Right Plants
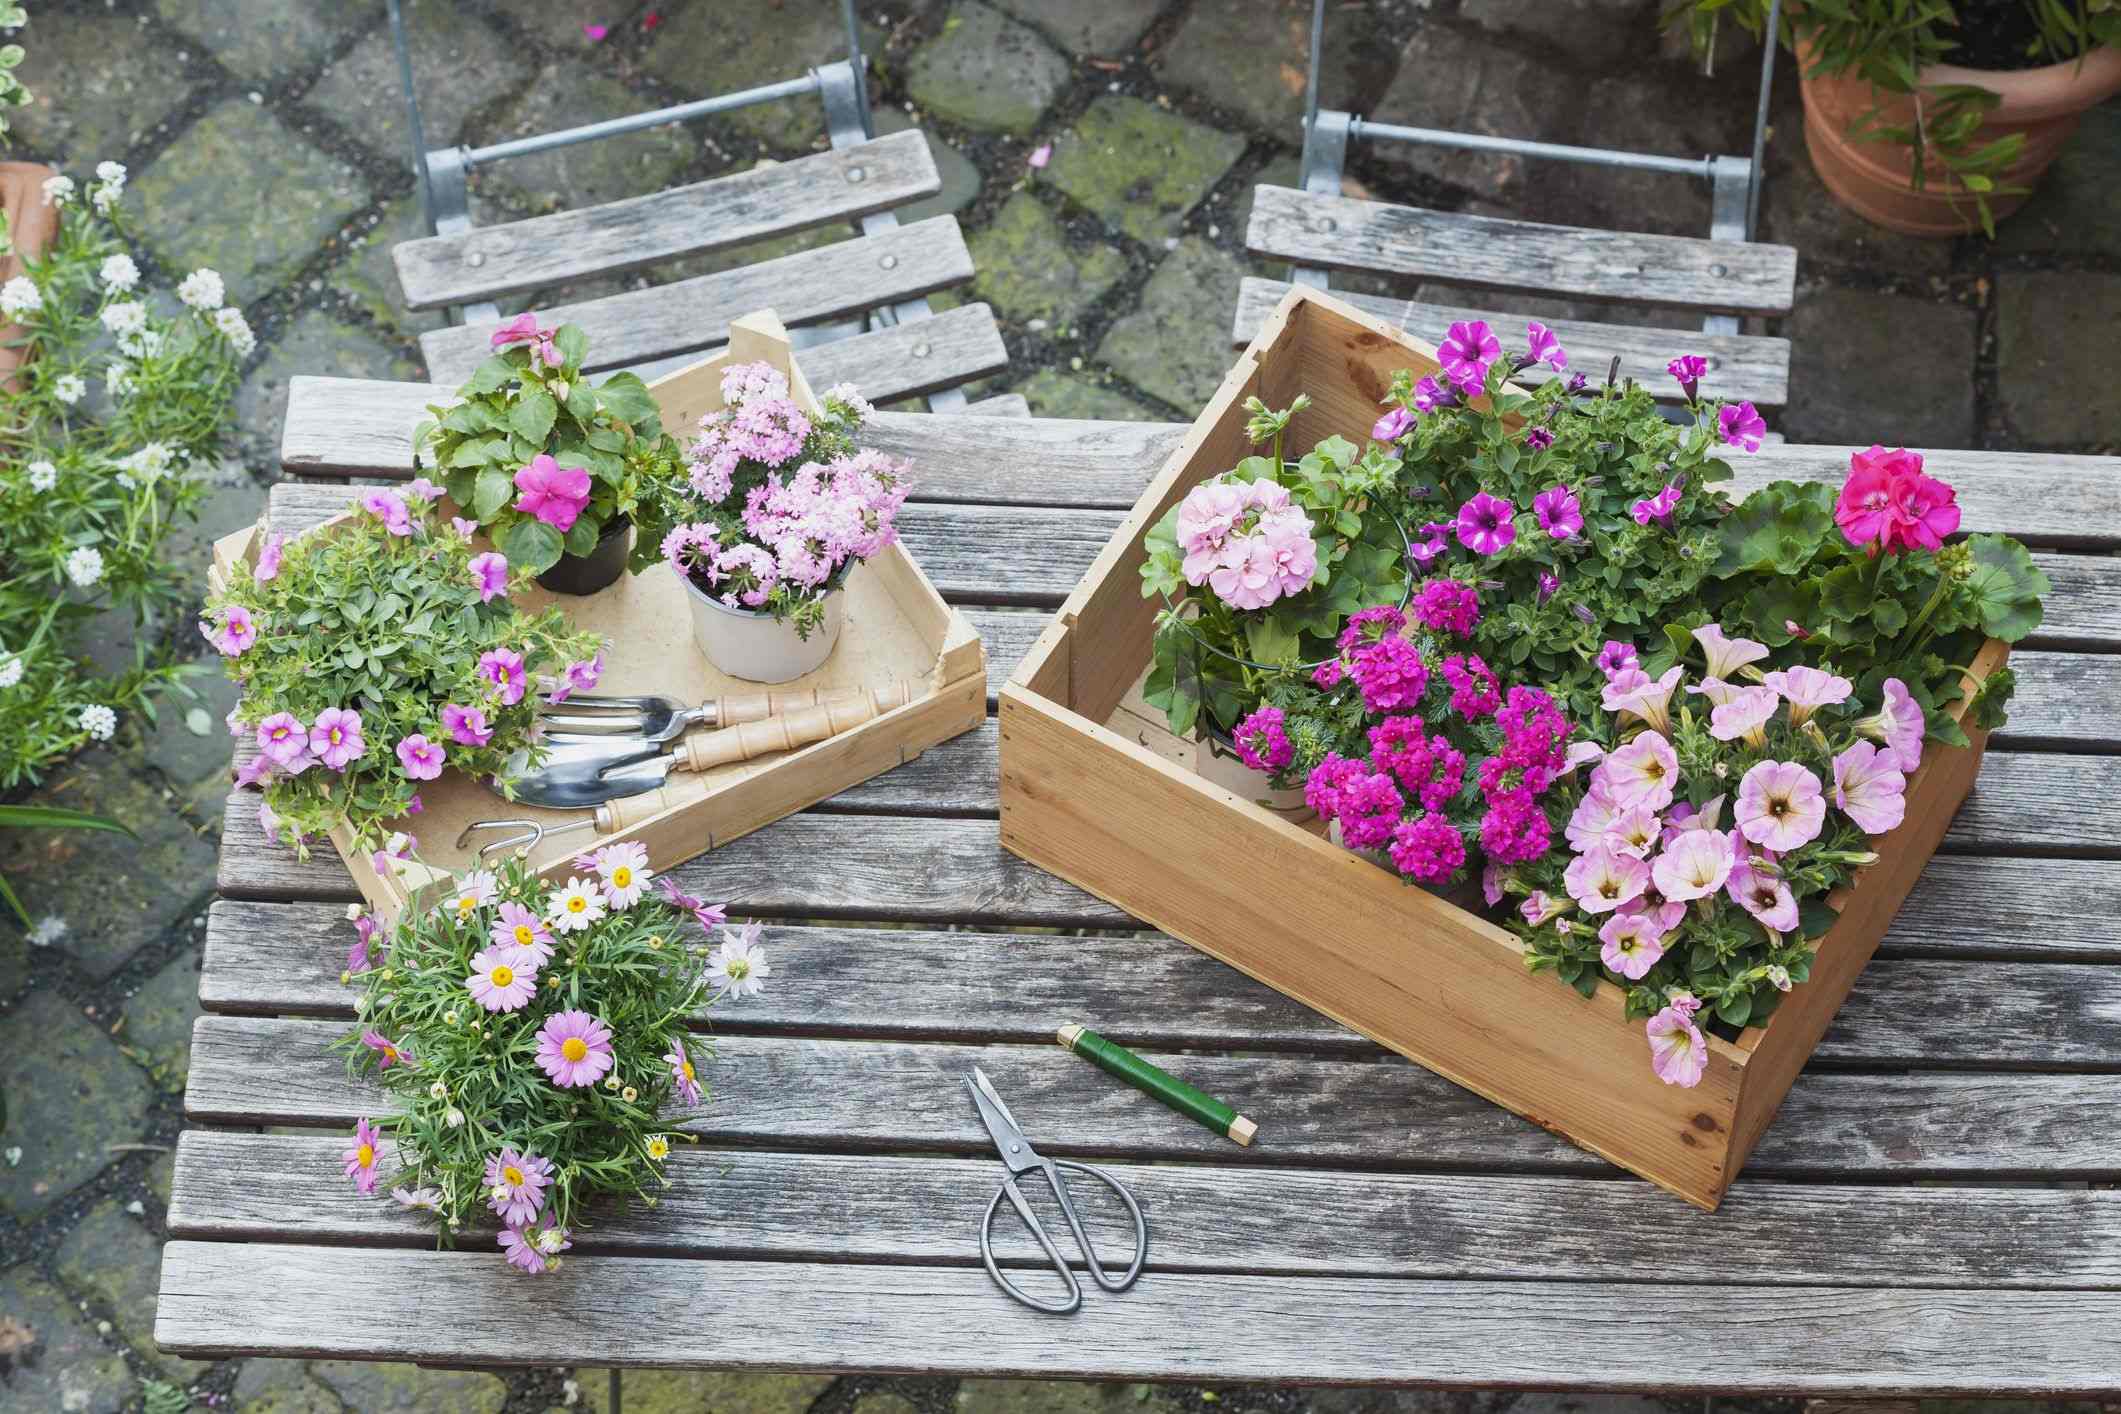
Choosing the right plants for your garden is essential for creating a thriving and successful garden. Whether you have a preference for flowers, vegetables, or herbs, selecting the right plants involves considering factors such as climate, soil conditions, available space, and personal preferences.
Start by considering the climate in your area. Different plants have specific temperature and growing condition requirements. Research which plants are suitable for your region and choose varieties that can thrive in your local climate.
Take note of your soil type and conditions. Some plants prefer well-drained soil, while others can tolerate heavier clay or sandy soil. Consider the pH level of your soil as well, as some plants have specific pH preferences. Understanding your soil conditions will help you select plants that are most likely to thrive in your garden.
Consider the available space in your garden. Take measurements and think about the mature size of the plants you are interested in. Ensure that there is sufficient room for the plants to grow and spread without overcrowding each other.
Think about the purpose of your garden. Are you looking to create a beautiful flower garden, grow your own vegetables, or cultivate a herb garden? Determine your priorities and choose plants that align with your goals.
Consider the maintenance requirements of the plants you are considering. Some plants require frequent pruning, deadheading, or fertilizing, while others are more low-maintenance. Choose plants that fit your level of commitment and the time you can dedicate to caring for your garden.
Take into account your personal preferences and aesthetics. Do you prefer vibrant and colorful flowers, or do you lean towards more subtle and calming shades? Consider the overall look and feel you want to create in your garden and choose plants that align with your taste.
Don’t be afraid to experiment and try new varieties of plants. Gardening is a learning process, and trying different plants will not only add diversity to your garden but also provide valuable knowledge and experience.
Seek advice from local gardening centers, nurseries, or experienced gardeners in your area. They can provide valuable insights, recommend plant varieties that perform well locally, and offer tips on care and maintenance.
By choosing the right plants for your garden, you are setting yourself up for a successful and enjoyable gardening experience. Careful selection ensures that your plants have the best chance of thriving and fulfilling your gardening goals.
With the plants selected, you are ready for the exciting task of planting and tending to your new garden. Soon, you will be able to enjoy the beauty, fragrance, and abundance that your chosen plants will bring to your garden space.
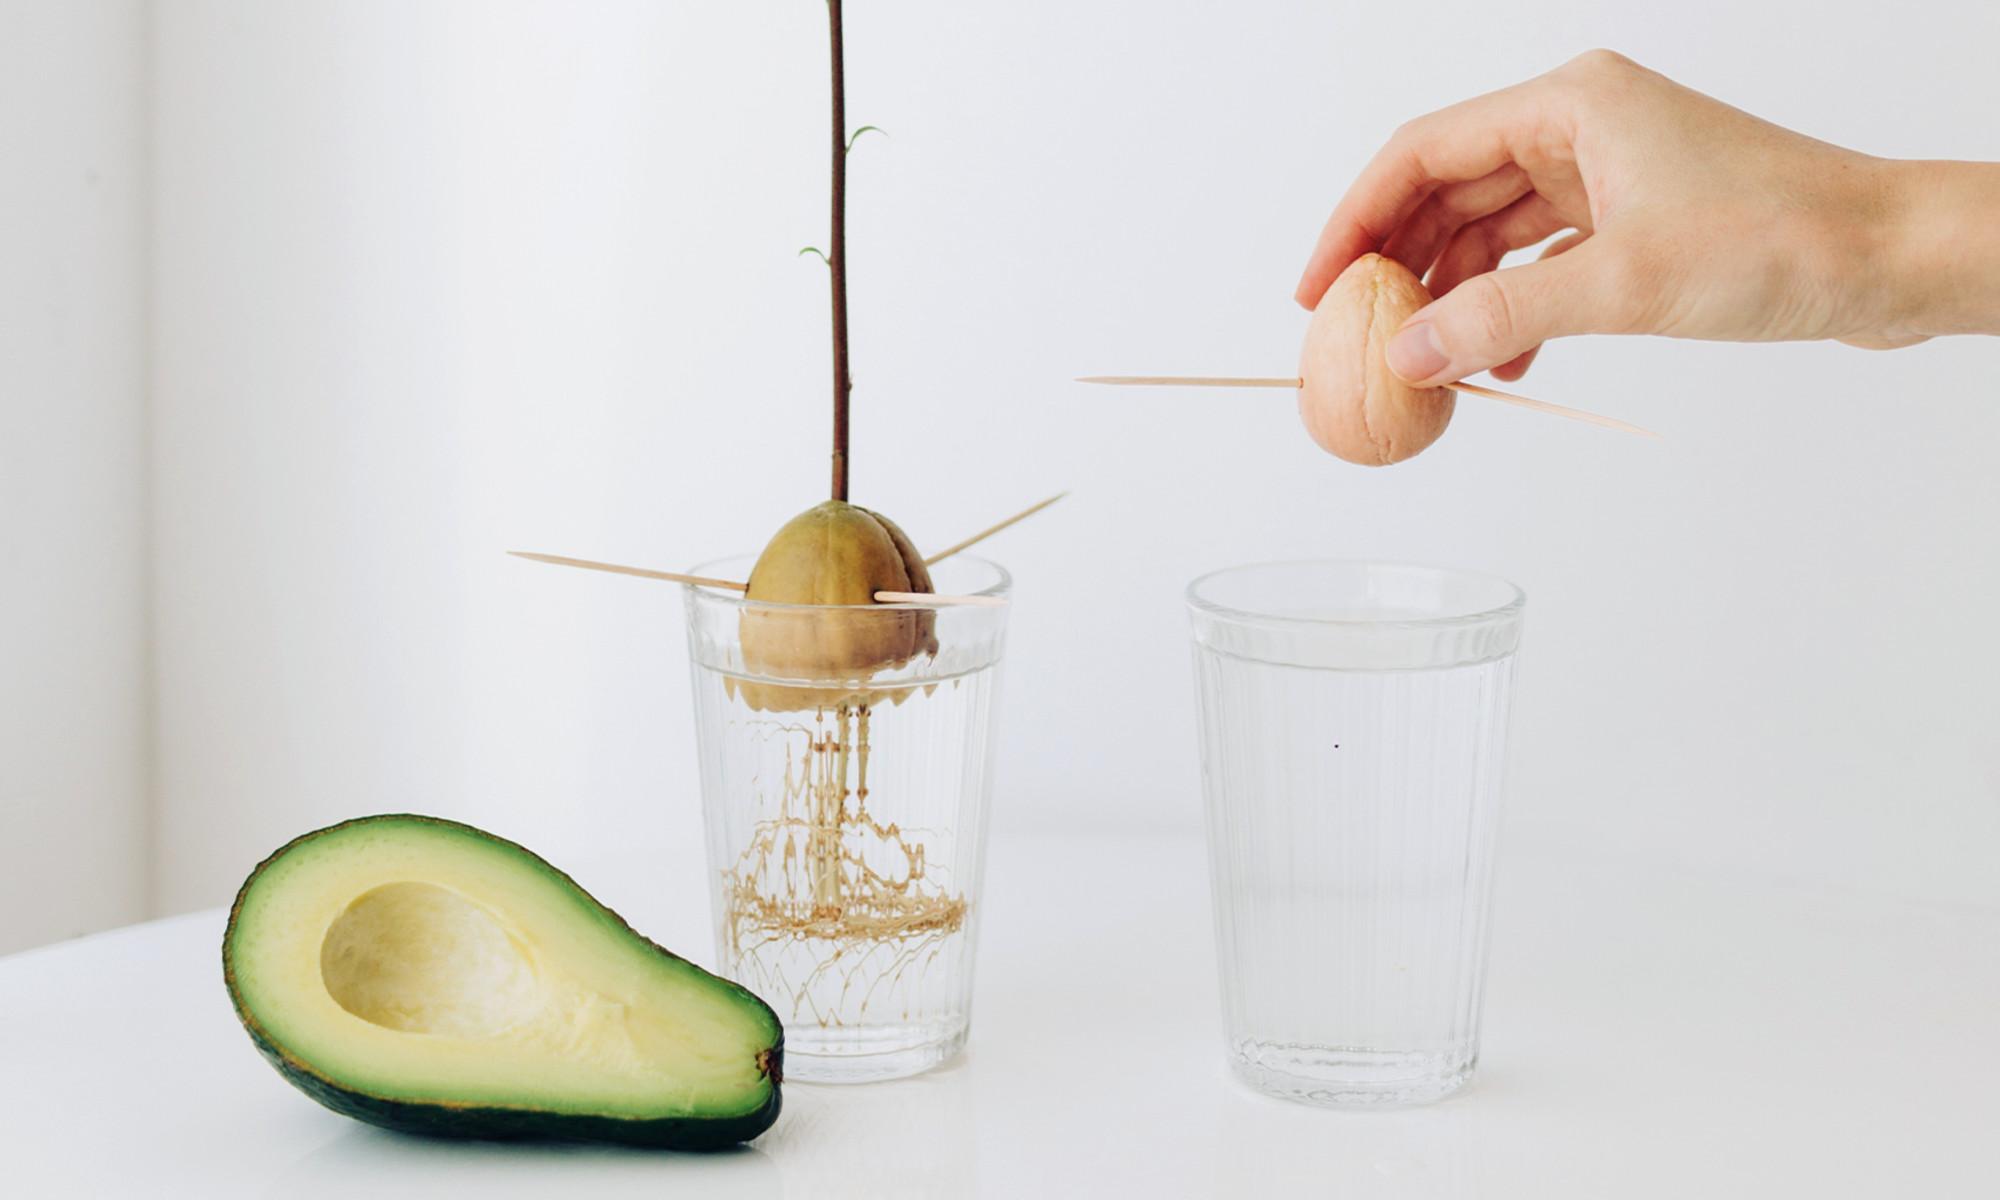
Starting Seeds Indoors
Starting your seeds indoors is a great way to get a head start on the growing season and ensure healthy and robust plants. It allows you to control the growing conditions and extend the growing season, especially if you live in a region with a shorter growing season.
Begin by selecting high-quality seeds from reputable sources. Look for seeds that are fresh, disease-free, and suitable for indoor starting. Consider the specific requirements of each plant, such as temperature and light needs, to ensure successful germination.
Choose containers or trays that are clean and have drainage holes to prevent waterlogging. You can use seed trays, peat pots, or recycled containers. Fill the containers with a good quality seed starting mix that is light, well-draining, and sterile.
Sow the seeds according to the depth and spacing recommendations provided on the seed packet. Gently press the seeds into the soil and cover them with a thin layer of seed starting mix. Mist the soil surface with water to provide moisture without disturbing the seeds.
Place the seeded trays in a warm and brightly lit location. A temperature range of 65-75°F (18-24°C) is generally suitable for most seeds to germinate. You can use a heating mat underneath the trays to provide consistent warmth if needed.
Monitor the moisture levels in the soil and ensure it remains consistently moist but not soggy. Use a spray bottle or a misting nozzle on a watering can to avoid overwatering, which can lead to damping-off disease.
Once the seeds have germinated and sprouted, provide them with adequate light. If you don’t have enough natural light, you can use fluorescent grow lights or LED lights positioned a few inches above the plants. Keep the lights on for around 14-16 hours per day.
As the seedlings grow, provide proper airflow and ventilation to prevent fungal diseases. You can gently fan the plants or use a small fan to simulate natural breezes. Proper airflow helps strengthen the stems and reduces the risk of leggy or weak seedlings.
As the seedlings develop their second set of leaves, it is time to start thinning them out. Choose the strongest and healthiest seedlings and remove the weaker ones to avoid overcrowding and competition for resources.
Before transplanting the seedlings outdoors, gradually acclimate them to outdoor conditions through a process called hardening off. Place the seedlings outside for a few hours each day, gradually increasing the time and intensity of exposure to sunlight and outdoor elements.
Starting seeds indoors gives you a jumpstart on the growing season and allows you to nurture and monitor your plants from the very beginning. With proper care and attention to the specific needs of each plant, you will enjoy healthy and vigorous seedlings ready for transplantation into your garden.
With your seedlings well underway, it’s time to move on to the next step of transplanting them into your prepared garden beds or containers.
Transplanting Seedlings
Transplanting seedlings from their indoor containers to the garden is a crucial step in the gardening process. It is important to time the transplantation properly and handle the seedlings with care to ensure a successful transition and promote healthy growth.
Before transplanting, choose an appropriate time when the seedlings are strong enough to handle outdoor conditions. This is typically when the seedlings have developed a few sets of true leaves and the threat of frost has passed in your area. Consult seed packets or gardening resources for specific timing recommendations for each plant.
Water the seedlings thoroughly a few hours before transplanting. Well-hydrated seedlings are less stressed during the transplantation process.
Select the planting location in your garden that matches the specific sunlight and soil requirements of your seedlings. Prepare the soil by loosening it and removing any weeds or debris. Ensure the soil is moist but not waterlogged.
Gently remove the seedlings from their containers, being careful not to damage the delicate roots. You can use a small garden trowel, your fingers, or squeeze the bottom of the container to release the seedling. If using biodegradable pots, there is no need to remove them; they can be planted directly into the soil.
Create a hole in the garden soil that is slightly larger than the root ball of the seedling. Carefully place the seedling into the hole, ensuring that it is level with the soil surface. Backfill the hole with soil, gently pressing it around the base of the seedling to secure it.
Water the transplanted seedlings immediately after planting. This helps settle the soil around the roots and provides moisture to the newly transplanted seedlings. Continue to water regularly, ensuring that the soil remains evenly moist during the establishment period.
Consider placing protective measures, such as garden fabric or cloches, to shield the seedlings from harsh weather conditions or pests during their early growth stages.
Monitor the seedlings closely during the first few weeks after transplantation. Watch for any signs of stress, such as wilting or yellowing leaves, and take appropriate actions to address any issues. Provide regular care, such as watering, fertilizing, and staking if needed.
As the seedlings continue to grow and establish themselves in the garden, it is important to maintain proper spacing between plants. This allows for adequate airflow, reduces the risk of diseases, and ensures healthy growth and development.
By transplanting your seedlings properly, you give them the opportunity to flourish and thrive in their new outdoor environment. With time, care, and attention, you will be rewarded with strong and productive plants that bring beauty and abundance to your garden.
With the seedlings successfully transplanted, it’s time to focus on other aspects of garden care, such as proper spacing, watering techniques, and mulching to promote optimal growth for your plants.
Proper Spacing and Planting Depths
Proper spacing and planting depths are crucial considerations when it comes to planting your garden. By following the recommended spacing guidelines and planting depths for each plant, you ensure that your plants have enough room to grow, access essential resources, and thrive.
When it comes to spacing, it is important to consider the mature size of each plant. Crowded plants can lead to competition for nutrients, water, and sunlight, resulting in reduced growth and an increased risk of diseases. It is generally recommended to give plants enough space to allow for good airflow and to prevent shading of neighboring plants.
Consult seed packets, plant labels, or gardening resources for specific spacing recommendations for each type of plant. Some plants require more space than others, so it’s essential to follow the guidelines provided for optimal growth and productivity.
Planting depths are equally important for the health and development of your plants. Planting too shallowly can cause the roots to dry out, while planting too deeply can suffocate the roots and impede proper growth.
The key is to plant the seedlings at the proper depth, ensuring that the base of the stem is at the recommended level. For transplants, loosen the soil around the root ball and plant it at the same depth it was growing in its original container. Avoid burying the stem or leaves of the plant, as this can lead to rotting or disease.
For seeds, planting depths vary depending on the size of the seed. As a general rule, plant larger seeds deeper and smaller seeds shallower. The seed packet will provide specific instructions on the recommended planting depth for each type of seed.
When planting in rows, ensure that the spacing between each plant is consistent. This will create a more uniform and organized garden, making it easier to tend to and harvest your plants.
As your plants grow, it’s important to monitor and maintain proper spacing. If plants start to crowd each other, it may be necessary to thin them out or transplant them to another location to ensure adequate space for their growth.
By adhering to proper spacing and planting depths, you create an environment that allows each plant to reach its full potential. Ample space ensures efficient nutrient uptake, good airflow, and reduces the risk of diseases, resulting in healthy and thriving plants.
With the proper spacing and planting depths taken care of, you can now shift your focus to other essential aspects of gardening, such as watering techniques, mulching, and pest control.
Watering Techniques
Proper watering is crucial for the health and vitality of your garden plants. Water is essential for nutrient uptake, photosynthesis, and overall plant growth. By adopting proper watering techniques, you can ensure that your plants receive the right amount of water and thrive.
Water your plants deeply and infrequently rather than shallowly and frequently. This encourages the development of deep roots, which in turn helps the plant become more resilient and tolerant to drought conditions.
Check the moisture level in the soil before watering. Stick your finger or a moisture meter into the soil to a depth of a few inches. If the soil feels dry at that depth, it’s time to water. If it still feels moist, hold off on watering for a little longer.
Water your plants early in the morning or in the evening. This allows the plants to absorb water more efficiently before the heat of the day causes evaporation. Avoid watering during the hottest part of the day, as the water may evaporate before it has a chance to penetrate the soil.
Avoid overhead watering if possible, especially for plants prone to fungal diseases. Watering the foliage can create a damp environment, promoting the growth of fungi. Instead, focus the water at the base of the plants, directing it to the root zone.
Consider using drip irrigation or soaker hoses to provide water directly to the roots. This method helps conserve water by delivering it precisely where it is needed, minimizing evaporation and runoff. It also keeps the foliage dry, reducing the risk of diseases.
Apply water slowly and evenly to allow it to penetrate the soil deeply. Watering too quickly can result in runoff, which wastes water and doesn’t adequately hydrate the plants. If you notice runoff occurring, pause watering, and resume once the soil has absorbed the initial water.
Young plants and newly transplanted seedlings require more frequent watering until their roots become established. Once established, adjust the watering schedule to water deeply and less frequently, allowing the top layer of the soil to dry out slightly between watering sessions.
Take into account seasonal changes and weather conditions when determining your watering schedule. Hot and dry weather may require more frequent and longer watering sessions, while cool and rainy periods may necessitate less frequent watering.
Monitor your plants regularly for signs of overwatering or under watering. Wilting, yellowing leaves, and waterlogged soil are signs of overwatering, while dry and brittle leaves indicate under watering. Adjust your watering practices accordingly to ensure the health of your plants.
Remember, each plant has unique water requirements, so it’s important to familiarize yourself with the specific needs of your garden plants. Observe your plants closely and make adjustments as needed to maintain optimal moisture levels.
By adopting proper watering techniques, you can provide your plants with the right amount of water they need to thrive. Efficient watering promotes healthy growth, prevents water wastage, and ensures a flourishing and beautiful garden.
With watering techniques mastered, move on to other important aspects of garden care, such as mulching, protecting plants from pests, and ongoing maintenance.
Mulching the Garden
Mulching is an essential practice that offers numerous benefits for your garden. It involves covering the soil surface around your plants with a layer of organic or inorganic material. Mulch provides a variety of advantages, including weed suppression, moisture retention, temperature regulation, and improved soil health.
Mulching helps to suppress the growth of weeds by blocking sunlight and preventing weed seeds from germinating. It creates a barrier that inhibits weed growth, minimizing competition for water, nutrients, and sunlight among your desired plants.
In addition to weed control, mulch helps retain moisture in the soil by reducing evaporation. It acts as a protective layer that slows down water loss from the soil surface, helping to maintain consistent moisture levels. This is particularly beneficial during periods of hot weather or drought conditions.
Mulch also helps regulate soil temperature, providing insulation and protecting plant roots from extreme heat or cold. In the summer, it helps to keep the soil cool, while in the winter, it acts as a protective layer against freezing temperatures, reducing the risk of damage to plant roots.
The layer of mulch on the soil surface also improves soil health. As it breaks down over time, organic mulch enriches the soil with organic matter, adding valuable nutrients and improving soil structure. This enhances soil fertility and promotes beneficial microbial activity.
There are various materials that can be used for mulching, such as organic options like compost, straw, wood chips, or leaves, as well as inorganic options like rubber mulch or landscape fabric. Choose a mulch material based on your specific needs and preferences.
Apply a layer of mulch around your plants, ensuring that you leave a small gap around the stems or trunks to prevent moisture buildup that can lead to rot. The thickness of the mulch layer should be around 2-4 inches, depending on the material used. Avoid piling mulch up against the plant stems, as it can create a moist environment that encourages disease.
Be mindful of the aesthetics when selecting mulch materials, as it can contribute to the overall look of your garden. Organic mulches like wood chips or straw add a natural and rustic feel, while inorganic mulches like rubber mulch provide a clean and uniform appearance.
Regularly inspect the mulch layer and refresh as needed. Over time, organic mulches break down and may need replenishment. Add a new layer of mulch annually or as necessary to maintain its effectiveness.
Mulching your garden provides a range of benefits that promote healthy plant growth and reduce the need for excessive watering and weeding. It improves soil quality, saves water, and helps protect plants from extreme temperatures. With proper mulching, your garden will thrive and flourish, creating a beautiful and productive outdoor space.
With the garden properly mulched, you can now focus on other aspects of garden care, such as protecting young plants from pests and ongoing maintenance to ensure the long-term success of your garden.
Protecting Young Plants from Pests
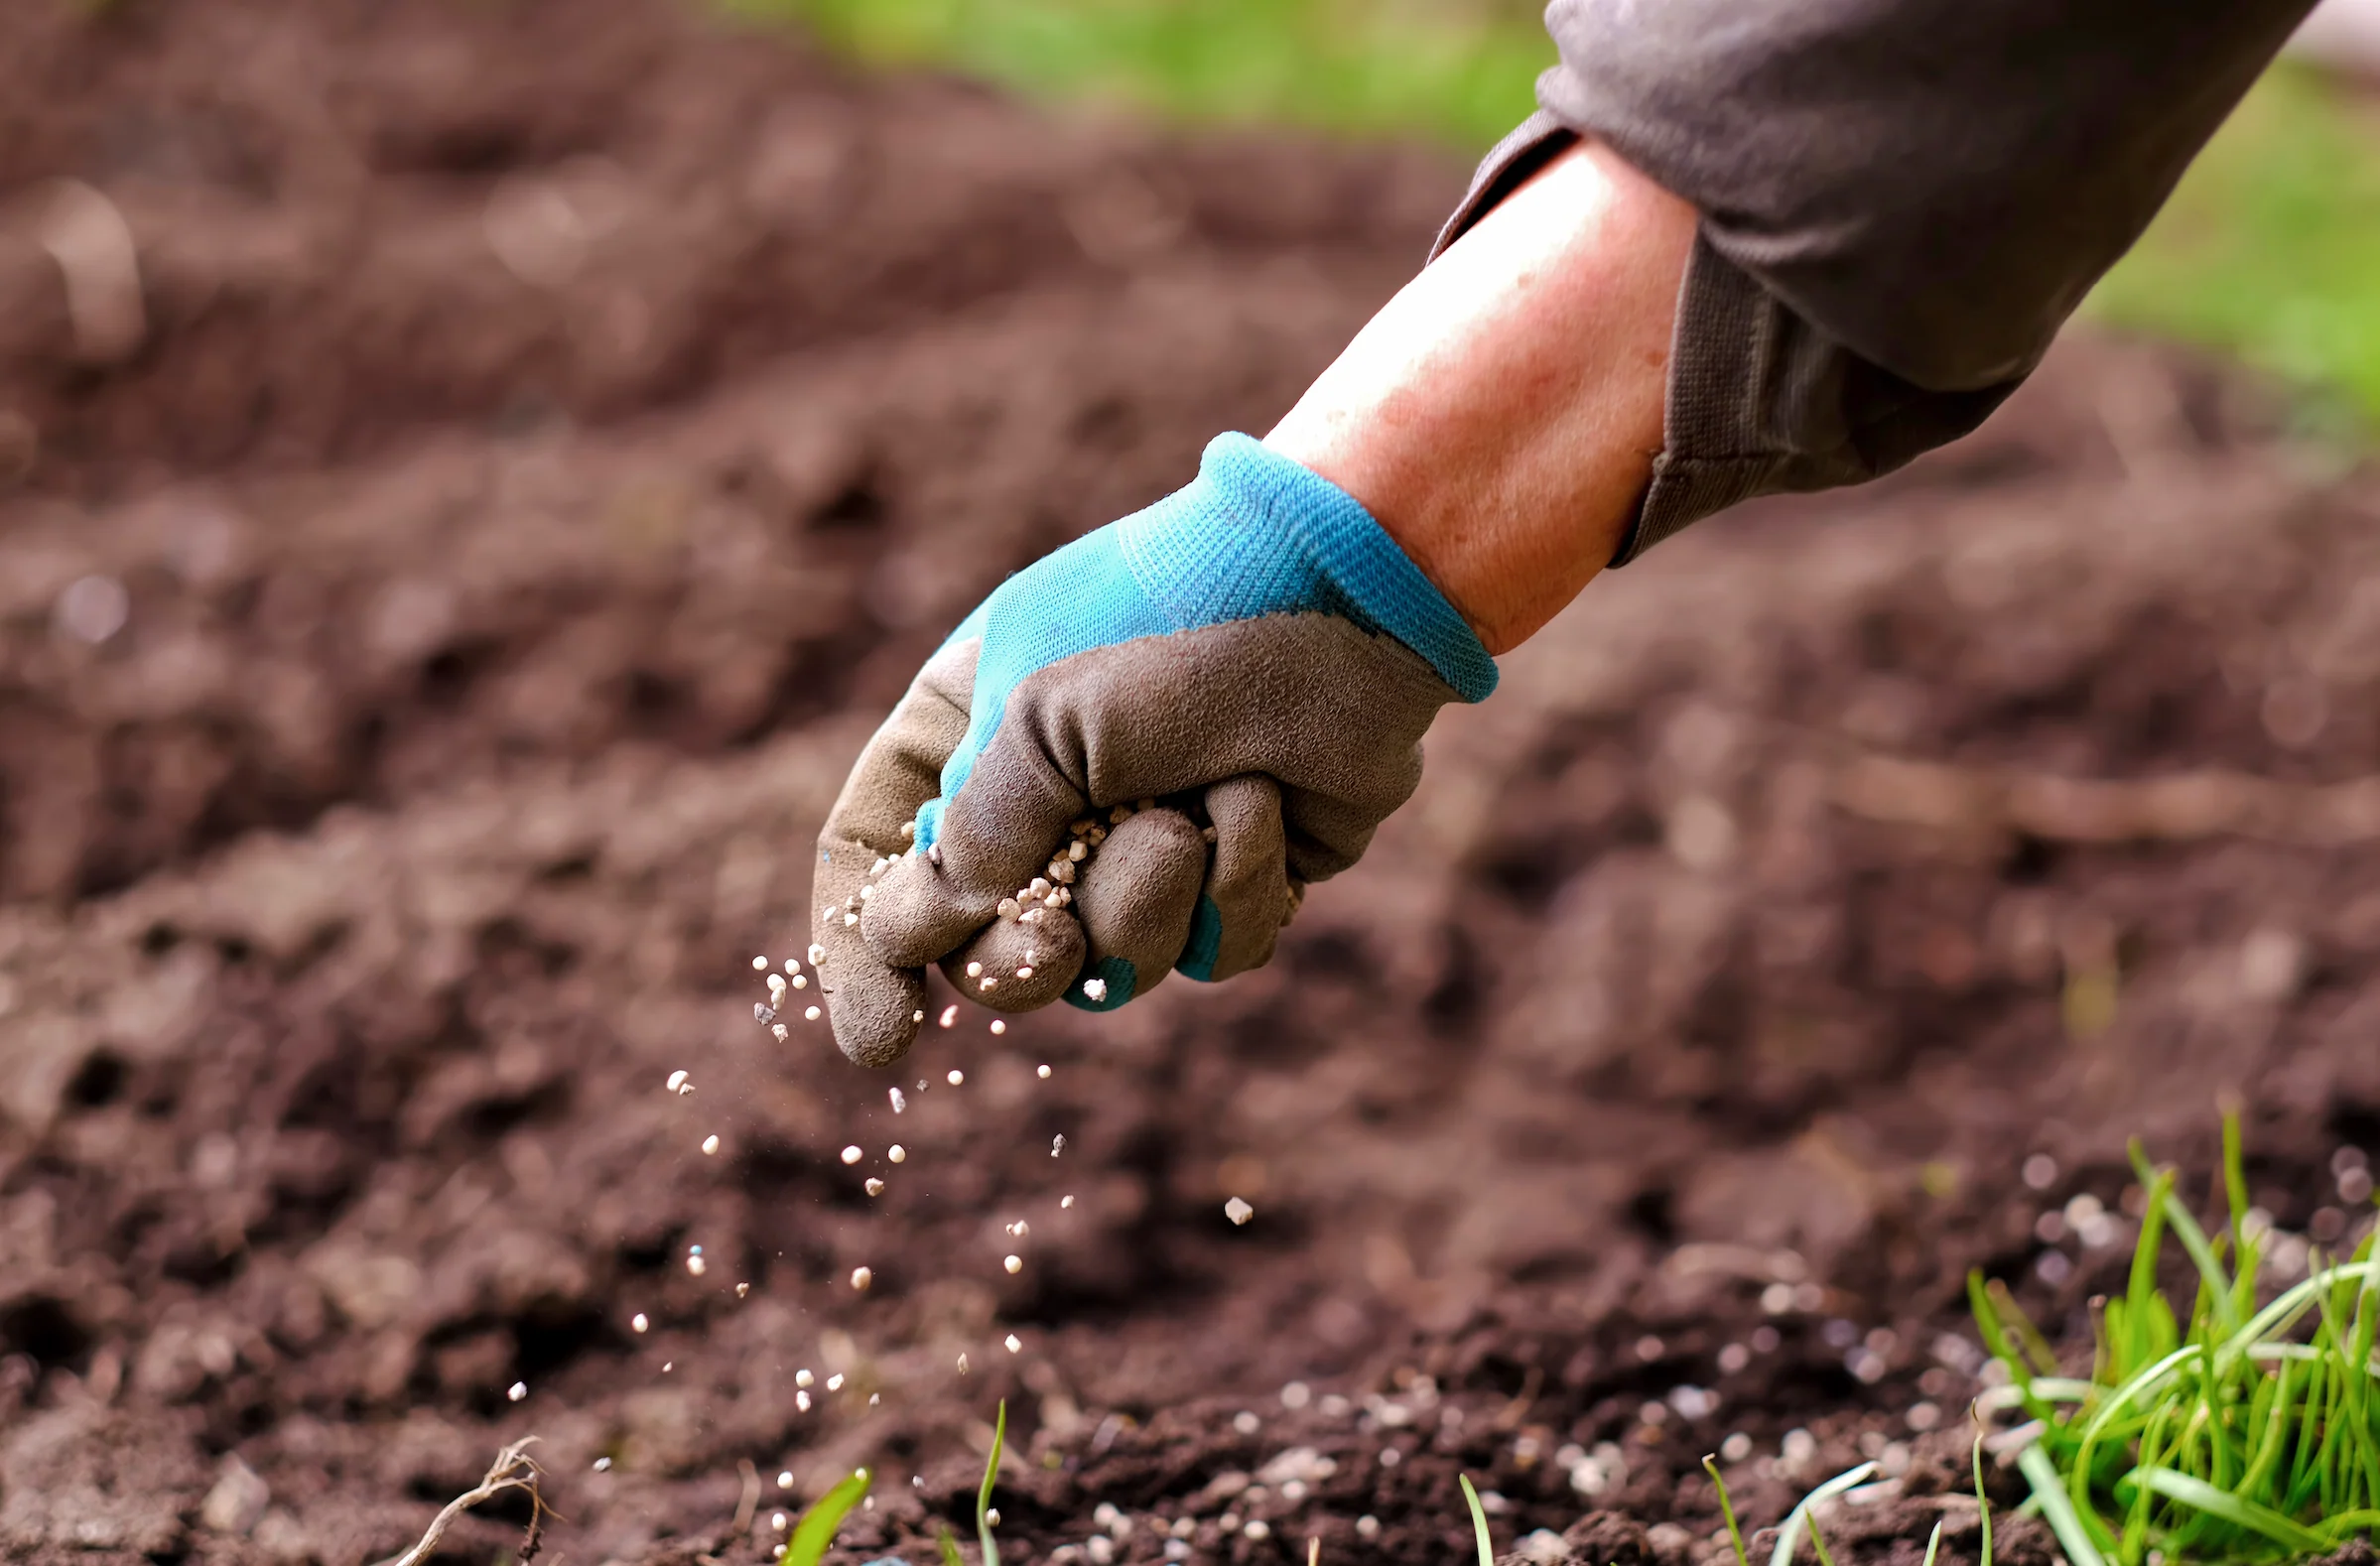
Protecting young plants from pests is crucial to ensure their healthy development and productivity. Pests can damage or destroy plants, hinder growth, and reduce yields. By implementing preventive measures and taking proactive steps, you can safeguard your young plants from common garden pests.
Start by promoting a healthy garden ecosystem. Healthy plants are more resilient and less susceptible to pest attacks. Maintain proper soil fertility by regularly adding organic matter and providing appropriate nutrients. Avoid over-fertilization, as excessive nitrogen can attract certain pests.
Encourage beneficial insects, such as ladybugs, lacewings, and parasitic wasps, to populate your garden. These insects feed on pests and help maintain a natural balance. Plant pollen and nectar-rich flowers to attract beneficial insects and provide them with a food source.
Inspect your plants regularly for signs of pest damage. Look for chewed leaves, discolored foliage, stunted growth, or visible pests. Early detection allows for prompt action and minimizes potential damage.
Use physical barriers such as netting, row covers, or fences to prevent pests from accessing your young plants. This is especially effective in safeguarding plants against larger pests like rabbits, deer, or birds.
Implement companion planting by interplanting pest-repellent plants or using companion plants that naturally deter pests. For example, marigolds are known to repel aphids, while planting basil near tomatoes can help repel hornworms.
Consider using organic and natural pest control methods, such as hand-picking pests off plants or using insecticidal soaps or horticultural oils. These options are environmentally friendly and pose minimal risk to beneficial insects, animals, and humans.
Encourage biodiversity in your garden. A diverse array of plant species and habitats can attract predator insects that feed on common garden pests. Create a welcoming environment by incorporating flowering plants, providing water sources, and adding shelters, such as birdhouses or insect hotels.
Practice proper sanitation by removing any plant debris or fallen fruit from the garden. This minimizes hiding spots and breeding grounds for pests, reducing their population and preventing future infestations.
Consider using organic pest control products as a last resort if pest problems persist. Organic insecticides, like neem oil or pyrethrin, can be effective in controlling certain pests while minimizing harm to beneficial insects.
Follow the recommended planting times to avoid periods when specific pests are most active. Adjusting your planting schedule can help reduce the incidence of pest attacks.
Constant vigilance is key to pest prevention. Regularly monitor your plants, especially during vulnerable growth stages, and take immediate action if pest problems arise. Timely intervention helps prevent pests from establishing and causing severe damage to your young plants.
With proper protection in place, your young plants will have the best chance to flourish and reach their full potential. By cultivating a healthy and pest-resistant garden, you can enjoy the beauty and productivity of your plants without the interference of pests.
With your young plants protected, you can now focus on the ongoing maintenance and care of your garden, including watering, fertilizing, and maintaining proper garden hygiene.
Maintaining and Caring for the Garden
Maintaining and caring for your garden is an ongoing process that involves various tasks to ensure the health and productivity of your plants. By following proper maintenance practices, you can enjoy a vibrant and thriving garden throughout the growing season.
Regularly water your plants, providing them with the appropriate amount of moisture based on their specific needs. Monitor soil moisture levels and adjust your watering schedule accordingly, considering factors such as weather conditions and plant growth stage.
Fertilize your plants to provide them with necessary nutrients. Use a balanced fertilizer or organic alternatives to promote healthy growth. Follow the recommended application rates and timing for each plant variety, and avoid over-fertilizing, as it can lead to excessive foliage growth and reduced flowering or fruiting.
Keep an eye out for nutrient deficiencies or imbalances, such as yellowing leaves or stunted growth. Adjust your fertilization practices or consult a local garden expert for guidance on resolving nutrient-related issues.
Regularly remove weeds that emerge in your garden beds. Weeds compete for resources and can hinder the growth of your desired plants. Use hand tools or carefully apply herbicides if necessary, taking care to avoid contact with your desirable plants.
Monitor your plants for signs of pests or diseases. Insect pests or fungal and bacterial infections can quickly spread and cause damage to your plants. Take immediate action if you notice any signs of infestation or disease, applying appropriate organic pest control methods or seeking advice from a gardening professional.
Prune your plants as needed to maintain their shape, encourage branching, and remove dead or diseased branches. Pruning also helps improve airflow, reducing the risk of fungal diseases. Use clean and sharp pruning tools to make clean cuts and minimize damage to the plants.
Regularly harvest ripe fruits, vegetables, or herbs from your garden. Harvesting promotes further production and prevents overcrowding. Enjoy the fruits of your labor and share the harvest with family and friends.
Mulch your garden regularly to help conserve moisture, suppress weed growth, and improve soil health. Follow the recommended mulching guidelines, maintaining a layer of mulch around your plants. Refresh the mulch layer as needed to maintain its effectiveness.
Monitor your garden’s overall health and make adjustments as necessary. Reflect on the successes and challenges you have experienced, learning from each growing season. Keep records of planting dates, varieties, and observations to inform your future gardening endeavors.
Regularly clean and maintain your gardening tools to keep them in good working condition. This includes washing, drying, and lubricating them to prevent rusting and ensuring that they are sharp and ready for use.
Enjoy spending time in your garden, observing its beauty, and nurturing its growth. Listen to the needs of your plants, and take pleasure in the connection between yourself and nature as you tend to your garden.
By maintaining and caring for your garden with attentiveness and diligence, you create an environment where your plants can thrive. With proper watering, fertilizing, pest control, and ongoing maintenance, your garden will reward you with beauty, bounty, and a sense of fulfillment.