Home>Gardening Techniques>DIY Projects>How To Prepare A Raised Garden Bed For Planting Vegetables
DIY Projects
How To Prepare A Raised Garden Bed For Planting Vegetables
Modified: February 9, 2024
Learn how to prepare a raised garden bed for planting vegetables with this informative DIY project guide. Create a thriving vegetable garden with our step-by-step instructions.
(Many of the links in this article redirect to a specific reviewed product. Your purchase of these products through affiliate links helps to generate commission for Chicagolandgardening.com, at no extra cost. Learn more)
Table of Contents
- Introduction
- Choosing the Location
- Clearing the Area
- Building the Raised Garden Bed
- Filling the Bed with Soil
- Testing the Soil
- Adding Compost and Organic Matter
- Leveling and Smoothing the Soil
- Mulching the Bed
- Watering the Bed
- Preparing the Plants for Transplanting
- Planting the Vegetables
- Caring for the Raised Garden Bed
- Conclusion
Introduction
Creating a raised garden bed for planting vegetables is a rewarding and satisfying DIY project that allows you to have complete control over your garden and grow your own fresh and organic produce. Whether you’re a seasoned gardener or a beginner, preparing a raised garden bed is a great way to optimize growing conditions and maximize your yield.
A raised garden bed offers numerous advantages over traditional in-ground planting. It provides better drainage, prevents soil compaction, reduces weed growth, and allows for easier maintenance and harvesting. Additionally, raised beds can be more accessible and convenient, especially for individuals with physical limitations or those who prefer to garden at waist height.
In this guide, we will take you through the step-by-step process of preparing a raised garden bed for planting vegetables. We will cover everything from choosing the right location to caring for your garden beds once they are planted. So put on your gloves and grab your tools, as we dive into the exciting world of DIY vegetable gardening!
Choosing the Location
The first step in preparing a raised garden bed is selecting the right location. Choosing an appropriate site is essential for the success of your vegetable garden.
When choosing a location, consider the following factors:
- Sunlight: Most vegetables require at least 6 hours of direct sunlight per day. Choose a spot that receives ample sunlight to ensure healthy plant growth and high yields.
- Soil Drainage: Avoid areas with poor drainage, as excess water can cause root rot and hinder plant growth. It’s crucial to choose a spot with well-draining soil to prevent waterlogged conditions.
- Proximity to Water Source: Ensure that your chosen location is within reach of a water source, such as a hose or irrigation system. This will make watering your garden more convenient.
- Accessibility: Consider the proximity of your raised bed to your house or a pathway. A location that is easily accessible will make it more convenient to tend to your plants and harvest your vegetables.
- Protection from Wind: Strong winds can damage plants and affect their growth. Select a spot that offers some protection from strong gusts, such as a fence or building.
- Space: Determine how much space you have available for your raised garden bed. Take into account the size and number of beds you plan to build, as well as any other structures or plants in the area.
Once you have considered these factors, assess your options and choose the most suitable location. It’s important to plan and allocate your space wisely to optimize your garden’s productivity.
Clearing the Area
Before you can start building your raised garden bed, you need to clear the area of any existing vegetation, debris, or obstacles. This step ensures a clean and well-prepared space for your garden.
Here’s how you can clear the area effectively:
- Remove weeds: Start by pulling out any weeds or grass that may be growing in the designated area. It’s important to remove the entire root system to prevent regrowth.
- Clear debris: Remove rocks, sticks, or any other debris that may hinder the construction or development of your raised garden bed.
- Level the ground: Use a rake or shovel to level the ground where your raised bed will be placed. This will provide a stable foundation for the construction process.
- Consider installing a weed barrier: To further prevent weed growth, you may opt to install a weed barrier fabric or lay down several layers of newspaper or cardboard over the cleared area. This will help suppress weed growth and keep your garden bed clean and tidy.
Clearing the area is a crucial step in preparing your raised garden bed. By removing weeds and obstacles, you create a clean canvas for your vegetable garden. This process ensures that your plants have the best chance of thriving without competition from unwanted vegetation.
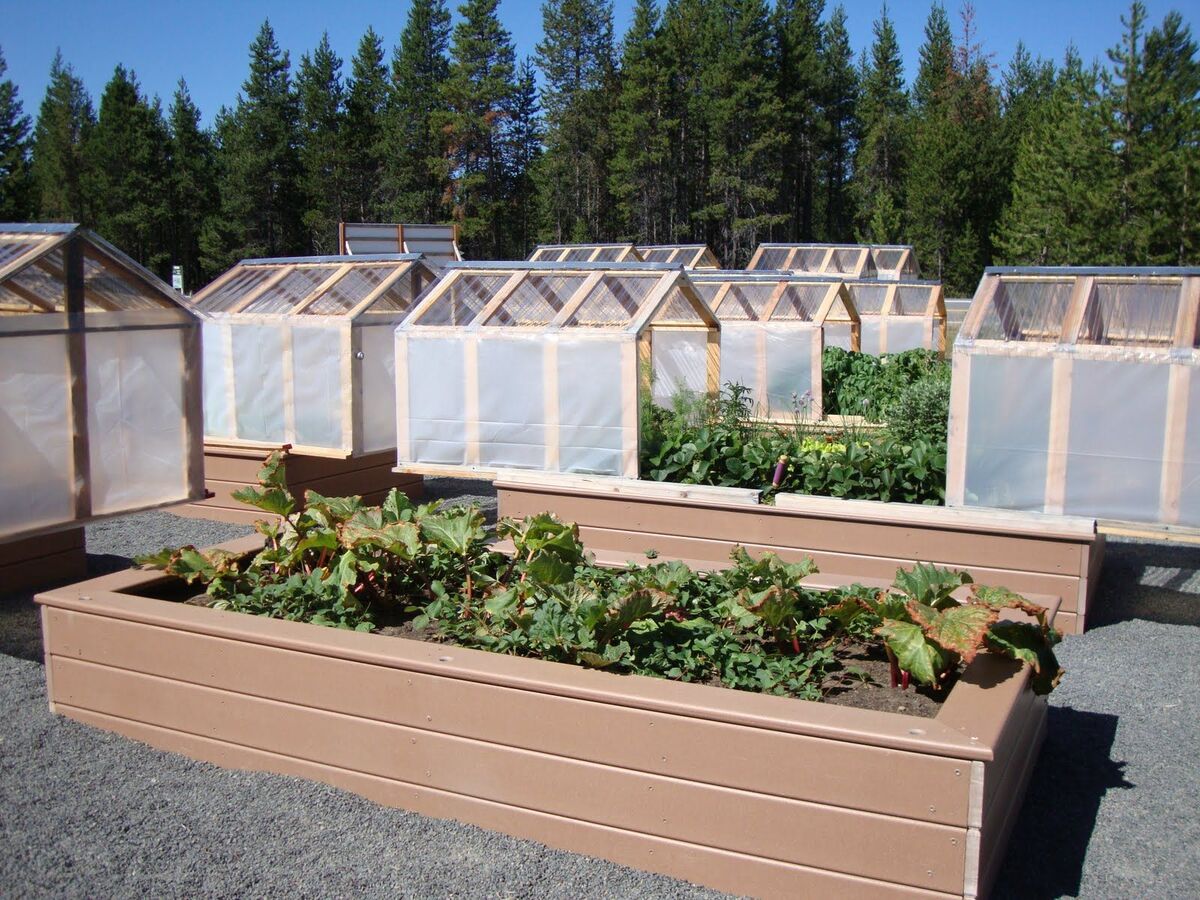
Building the Raised Garden Bed
Now that you have cleared the area, it’s time to start building your raised garden bed. This step is crucial as it provides the structure and containment necessary for optimal vegetable growth.
Here’s a step-by-step guide on how to build a raised garden bed:
- Measure and mark the dimensions: Determine the size and shape of your raised bed. Use a measuring tape and stakes to mark the corners and edges of the bed.
- Prepare the materials: Gather the necessary materials, such as wood, cinder blocks, or bricks, to construct the walls of your raised bed. Choose materials that are durable, rot-resistant, and safe for food gardening.
- Start with the base: Lay a foundation for your raised bed by placing a layer of gravel or crushed stone at the bottom. This will aid in drainage and prevent waterlogging.
- Assemble the walls: If using wood, connect the boards at the corners to form a rectangular or square shape. Secure the boards with screws or nails. If using cinder blocks or bricks, stack them securely to form the walls.
- Level the bed: Use a level to ensure that the walls of the raised bed are straight and even. Adjust as necessary to achieve a level surface.
- Secure the corners: To provide additional stability, reinforce the corners of the raised bed with brackets or corner braces. This will prevent the walls from shifting over time.
- Consider adding a protective layer: As an optional step, you can line the inside of the raised bed with landscape fabric or plastic to further protect the wood from moisture and prolong its lifespan.
Once your raised garden bed is built, take a moment to admire your handiwork. You now have a sturdy and well-defined space to fill with nutrient-rich soil and grow your favorite vegetables.
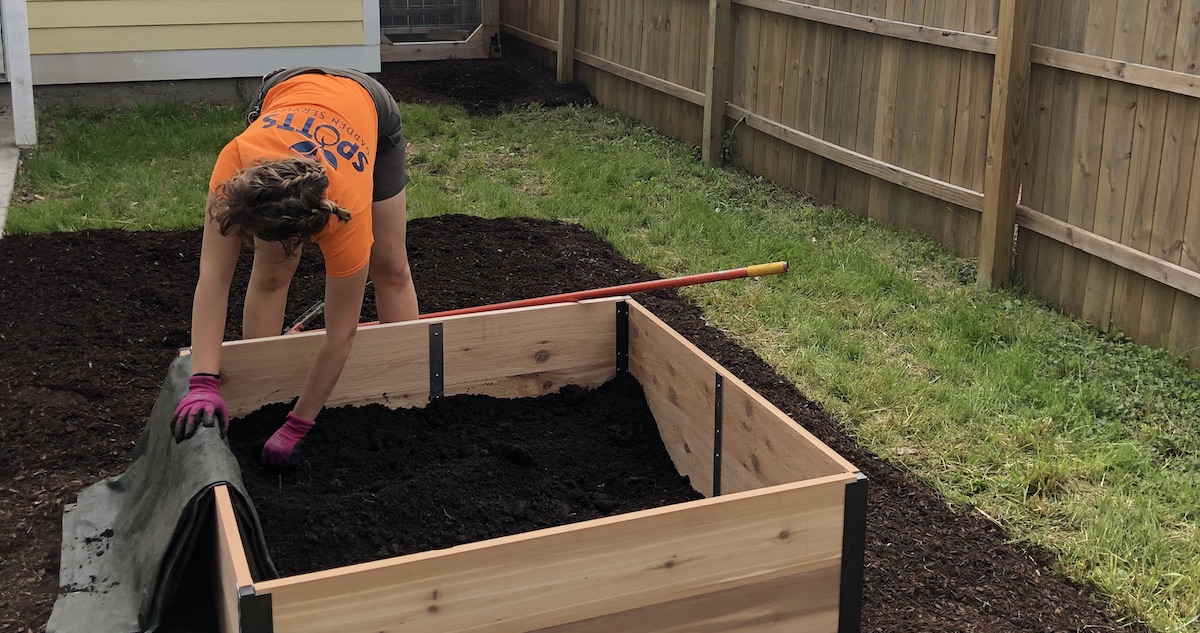
Filling the Bed with Soil
After building the raised garden bed, it’s time to fill it with soil. The soil you choose plays a critical role in providing the necessary nutrients for your plants to thrive.
Here’s how to fill your raised garden bed with soil:
- Choose the right soil mixture: Opt for a high-quality soil mixture that is rich in organic matter and well-draining. You can purchase pre-mixed soil blends from a garden center or create your own by combining equal parts of compost, garden soil, and peat moss.
- Add a layer of gravel or small rocks: Before filling the bed with soil, layer the bottom with a few inches of small rocks or gravel. This will facilitate drainage and prevent waterlogging.
- Fill the bed with soil mixture: Start by adding a layer of soil mixture on top of the rocks, ensuring that it is evenly spread throughout the bed. Continue adding soil until the bed is filled to the desired depth, leaving a few inches of space from the top for mulching.
- Level the soil: Use a rake or garden tool to level the soil surface, ensuring it is evenly distributed across the bed. This will provide a uniform planting area for your vegetables.
Filling the bed with nutrient-rich soil is a crucial step in creating a healthy growing environment for your plants. The quality of the soil will directly impact the growth and productivity of your vegetable garden. Ensure that the soil is well-draining and packed with organic matter to provide the best conditions for your plants to thrive.
Testing the Soil
Before you start planting, it’s important to test the soil in your raised garden bed. Soil testing helps you understand its composition, pH level, and nutrient content. By knowing the condition of your soil, you can make informed decisions about fertilization and amendments to ensure optimal plant growth.
Here’s how to test the soil in your raised garden bed:
- Collect soil samples: Using a garden trowel or shovel, collect soil samples from several places in your raised garden bed. Take samples from different depths and mix them together in a clean container. Make sure to remove any stones, roots, or debris.
- Choose a soil testing method: There are various options for soil testing, including DIY kits, sending samples to a laboratory, or utilizing the services of an agricultural extension agency. Each method has its own instructions, so follow the recommended procedures accordingly.
- Follow the instructions: If you choose a DIY kit, carefully read and follow the instructions provided. It usually involves mixing the soil sample with a testing solution and comparing the color change to a color chart. If you send the samples to a lab or use an extension agency, follow their guidelines for sample submission and result interpretation.
- Interpret the results: Once you have the soil test results, pay attention to the pH level and nutrient content. pH level determines soil acidity or alkalinity, with most vegetables preferring a slightly acidic range of 6.0 to 7.0. Nutrient deficiencies or excesses can be addressed by adding appropriate fertilizers or amendments.
Testing the soil in your raised garden bed gives you valuable insight into its characteristics and allows you to make informed decisions when it comes to fertilizing and amending the soil. By providing the ideal growing conditions, you ensure the success and productivity of your vegetable garden.
Adding Compost and Organic Matter
To enrich the soil in your raised garden bed and enhance its fertility, it is crucial to add compost and organic matter. These additions provide valuable nutrients, improve soil structure, and promote microorganism activity.
Here’s how you can add compost and organic matter to your raised garden bed:
- Prepare the compost: If you have a compost bin or pile, ensure it is properly decomposed and ready to use. Compost should be dark, crumbly, and have an earthy smell. If you don’t have compost, you can purchase it from a garden center or consider making your own in the future.
- Apply the compost: Spread a layer of compost evenly over the soil surface in your raised garden bed. Aim for a thickness of 2 to 4 inches. Use a rake or garden fork to gently incorporate the compost into the top 6 to 8 inches of soil.
- Introduce other organic matter: In addition to compost, you can further improve the soil by incorporating other organic matter such as well-rotted manure, leaf mold, or straw. These materials contribute to soil moisture retention, aeration, and nutrient availability. Mix them thoroughly into the top layers of soil.
- Consider cover cropping: If your raised garden bed is not in use for planting immediately, you can plant cover crops to provide additional organic matter. Cover crops such as clover or vetch help prevent soil erosion, fix nitrogen, and add nutrient-rich biomass to the soil when tilled in before planting.
Adding compost and organic matter to your raised garden bed improves soil fertility and provides a nutrient-rich foundation for your plants. It enhances the soil’s ability to retain moisture, improves its structure, and promotes a healthy ecosystem of beneficial microorganisms. With these additions, you are well on your way to creating a thriving vegetable garden.
Leveling and Smoothing the Soil
After adding compost and organic matter, it is essential to level and smooth the soil in your raised garden bed. This step ensures an even planting surface and promotes proper water distribution.
Here are the steps to level and smooth the soil in your raised garden bed:
- Remove any large debris: Check the soil surface for any remaining rocks, sticks, or clumps of organic matter. Remove them to create a uniform and debris-free surface.
- Use a rake: Begin by using a garden rake to break up any large clumps and distribute the compost and organic matter evenly throughout the bed. Rake the soil surface to create a smooth and level base.
- Check for indentations: Walk over the soil surface to identify any low spots or indentations. Use the rake or your hands to fill in these areas with additional soil mixture, ensuring an even and level surface.
- Remove excess soil: If there are any areas where the soil is too high, gently remove excess soil to match the level of the surrounding bed. This will prevent water from pooling in certain areas and ensure consistent moisture distribution.
- Soil moisture check: Before proceeding with planting, check the moisture level of the soil. Ensure that it is moist but not waterlogged. If the soil is too dry, lightly water the bed before proceeding.
Leveling and smoothing the soil in your raised garden bed creates an optimal planting surface for your vegetables. It promotes even water distribution and helps prevent water pooling or drainage issues. By taking the time to ensure a level and smooth soil surface, you set the stage for healthy plant growth and successful vegetable gardening.
Mulching the Bed
Mulching is an essential step in preparing a raised garden bed for planting vegetables. Mulch acts as a protective layer on top of the soil, providing numerous benefits to your plants and garden.
Here’s how to properly mulch your raised garden bed:
- Choose the right mulch: Select a suitable mulch material such as straw, wood chips, shredded leaves, or compost. Avoid materials that may contain weed seeds or pathogens, as they can hinder plant growth.
- Apply a layer of mulch: Spread a 2 to 4-inch thick layer of mulch evenly over the surface of the soil in your raised garden bed. Maintain a gap of a few inches around the base of your plants to avoid stem rot.
- Avoid piling mulch against stems: Be cautious not to pile mulch directly against the stems of plants. This can create a moist and sheltered environment for pests and diseases to thrive. Keep the mulch a few inches away from plant stems.
- Replenish mulch as needed: Over time, the mulch will naturally decompose and break down. Periodically replenish the mulch layer to maintain a consistent thickness and ensure effective weed suppression and moisture retention.
Mulching offers several advantages in a raised garden bed. It helps to:
- Conserve soil moisture by reducing evaporation, keeping the soil consistently moist.
- Suppress weed growth by preventing sunlight from reaching weed seeds, minimizing competition for nutrients and water.
- Moderate soil temperature by insulating the soil, keeping it cooler in hot weather and warmer during cooler periods.
- Improve soil structure as the mulch breaks down, adding organic matter and nutrients to the soil.
- Enhance the overall appearance of your garden by providing a neat and uniform surface.
By mulching your raised garden bed, you create a beneficial environment for your vegetables to grow and thrive. The mulch helps to conserve moisture, reduce weed growth, moderate soil temperature, and improve overall soil health—ultimately contributing to more successful and productive vegetable gardening.
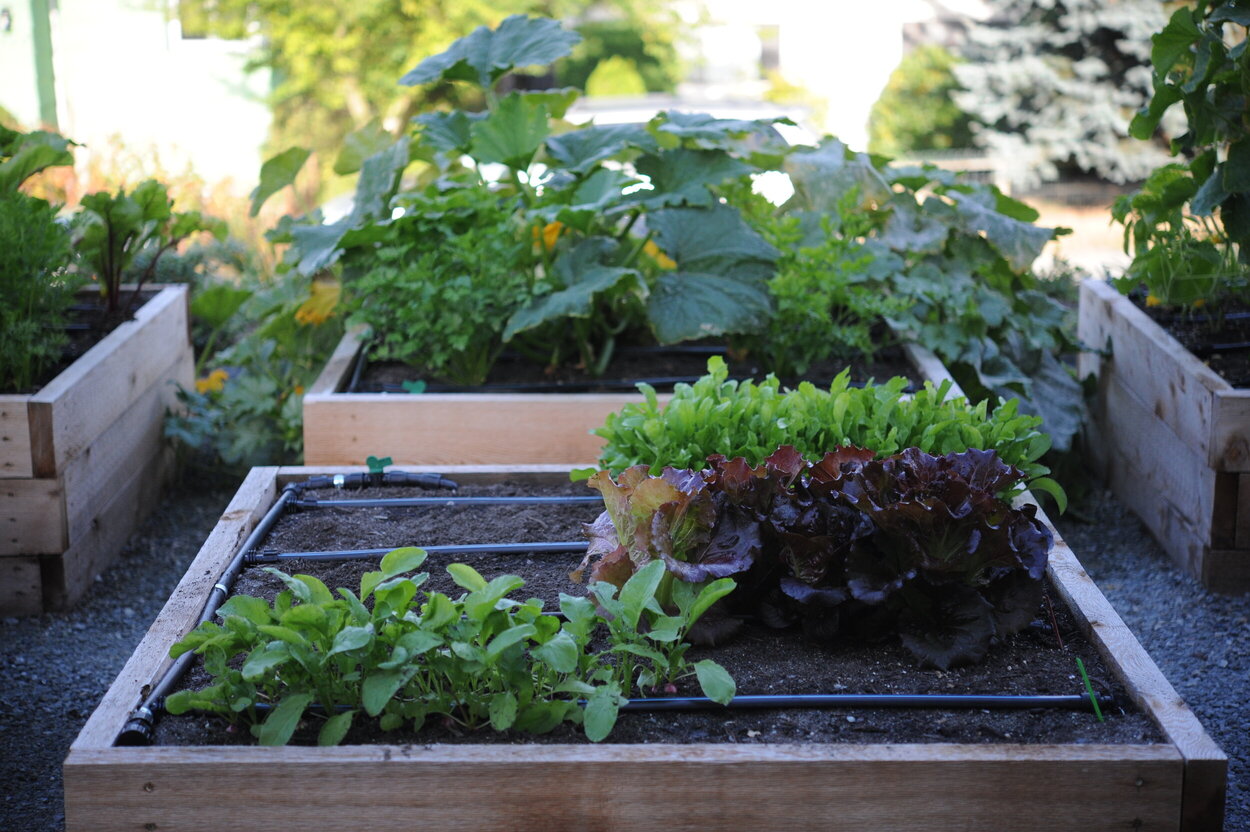
Watering the Bed
Proper watering is vital for the health and growth of your vegetables in a raised garden bed. Understanding when and how to water effectively can make a big difference in your garden’s success.
Here are some key considerations for watering your raised garden bed:
- Monitor soil moisture: Regularly check the moisture level of the soil by inserting your finger about an inch deep. If it feels dry, it’s time to water. Avoid overwatering, as it can lead to root rot and other plant diseases.
- Water deeply and infrequently: When you water, aim to deeply saturate the soil. This encourages the plants’ roots to grow deeper in search of water, making them more resilient. Watering deeply also helps prevent shallow root growth and makes your plants better equipped to endure dry periods.
- Water in the morning: Watering early in the morning allows the plants to absorb the moisture before the heat of the day. This reduces the risk of fungal diseases and allows the foliage to dry off quickly, minimizing the chances of pests and diseases taking hold.
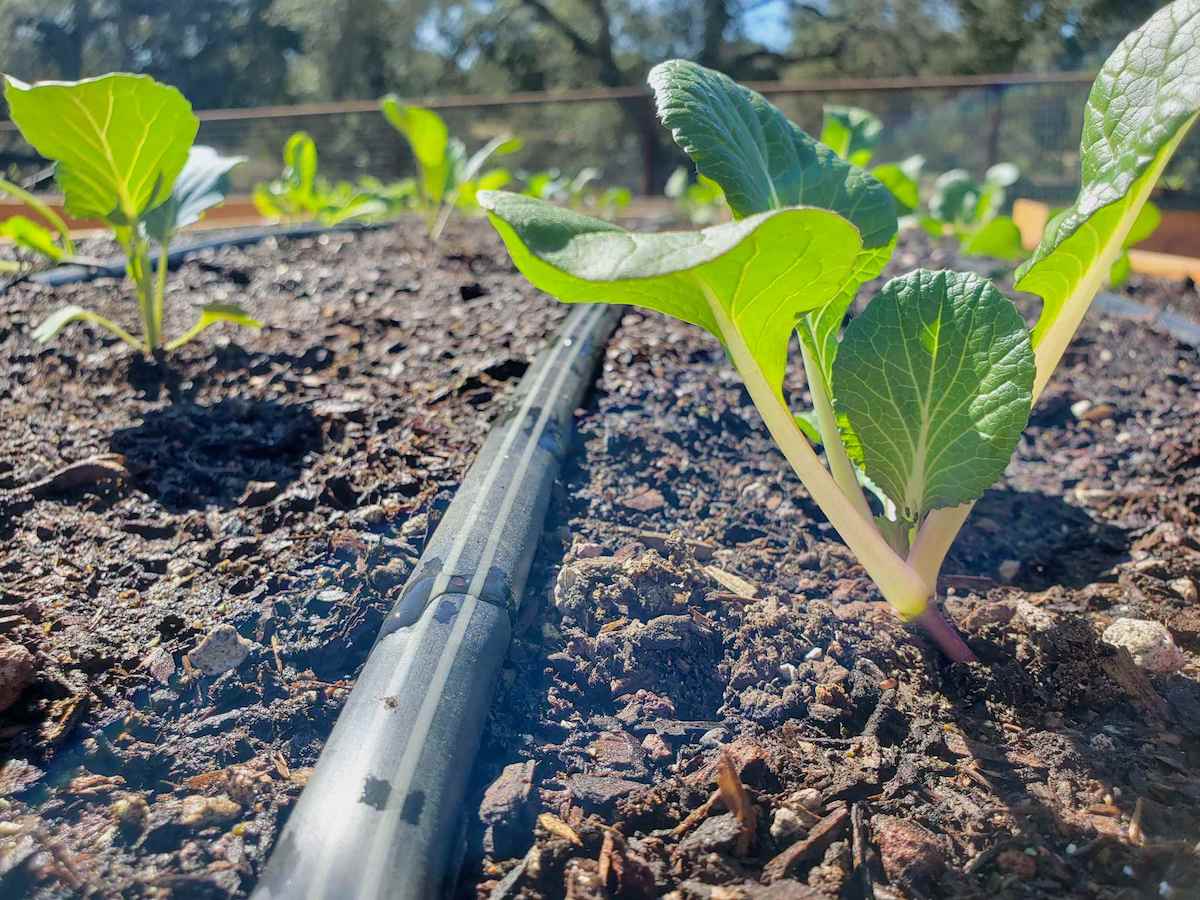
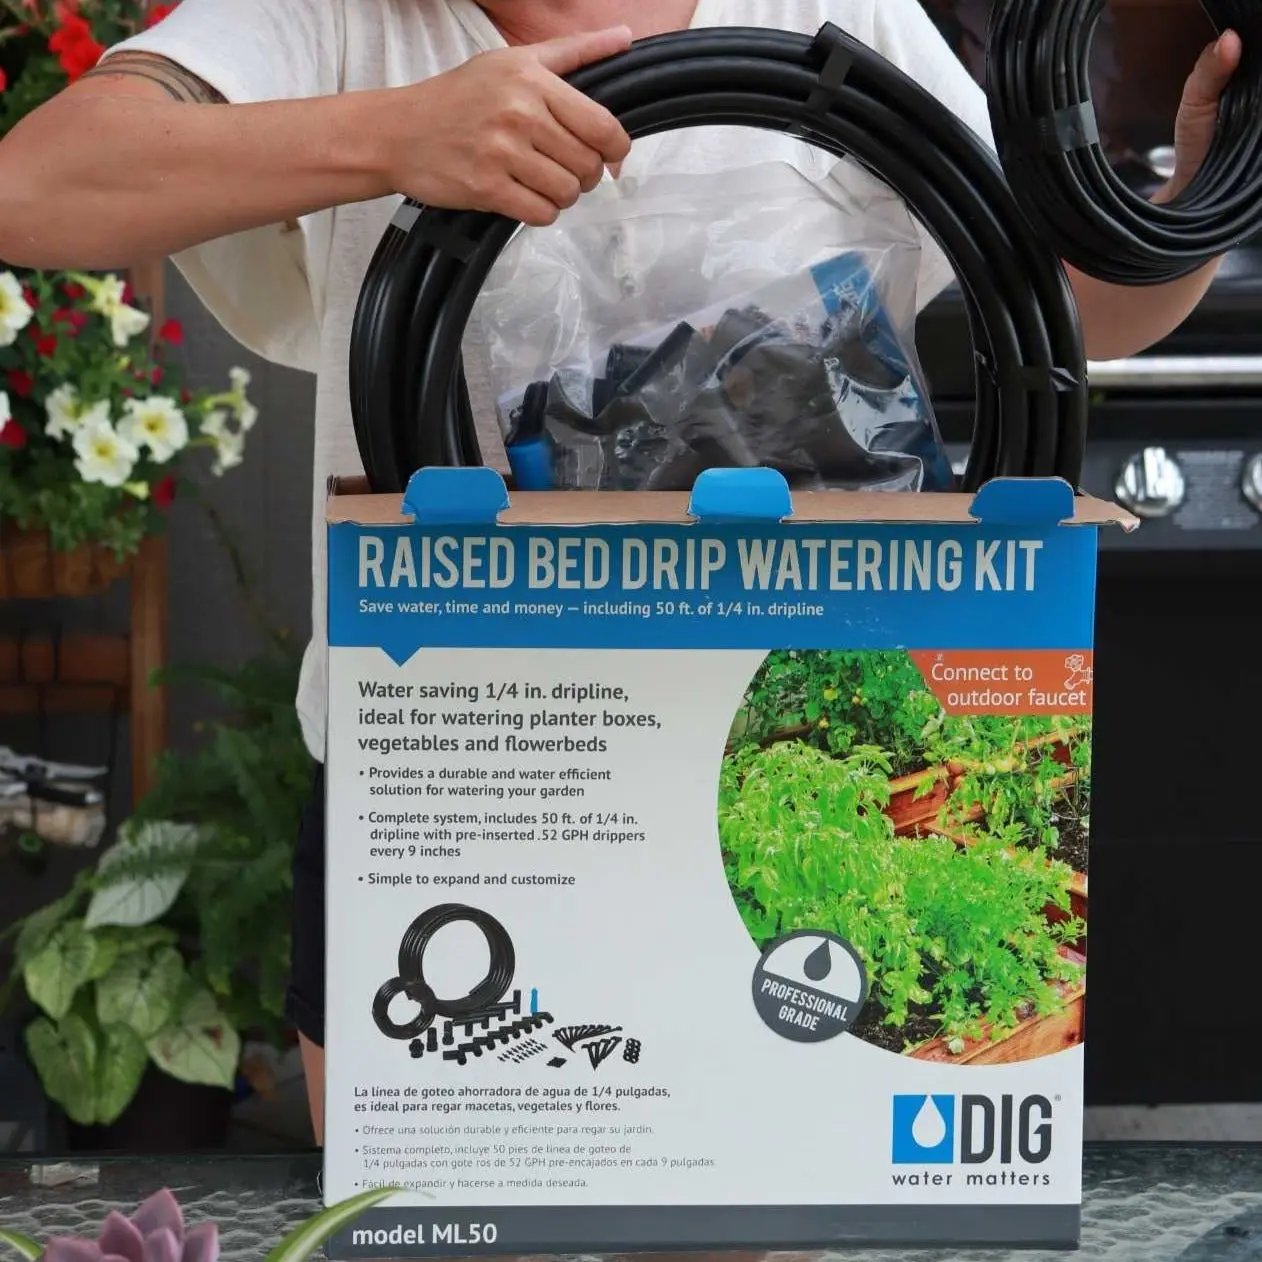
- Use a soaker hose or drip irrigation: To ensure efficient water distribution, consider using a soaker hose or drip irrigation system. These methods apply water directly to the root zone, reducing evaporation and water waste.
- Mulch to retain moisture: Mulch plays a crucial role in conserving soil moisture. It acts as a barrier, preventing water from evaporating quickly and reducing the need for frequent watering.
- Adjust watering frequency based on weather conditions: During hot and dry weather, you may need to water more frequently to compensate for increased water evaporation. Conversely, during cooler and rainy periods, you may need to water less often to avoid waterlogged conditions.
Remember that the watering needs of your raised garden bed will depend on various factors such as plant types, soil composition, and climate. Pay attention to your plants’ moisture requirements and adjust your watering schedule accordingly.
By practicing proper watering techniques, your vegetables will thrive and flourish, leading to a bountiful harvest in your raised garden bed.
Preparing the Plants for Transplanting
Before transplanting your vegetable seedlings into the raised garden bed, it’s essential to properly prepare them for the transition. Preparing the plants ensures they have the best chance of thriving in their new environment and establishing healthy root systems.
Follow these steps to prepare your plants for transplanting:
- Harden off seedlings: If you have been growing your vegetable seedlings indoors or in a greenhouse, they will need to acclimate to outdoor conditions gradually. Start by placing them outdoors in a sheltered location for a few hours each day, gradually increasing exposure over the course of a week to toughen them up before transplanting.
- Provide adequate moisture: Water the seedlings a day or two before transplanting to ensure they are well-hydrated. This helps minimize transplant shock and ensures the plants are in peak condition for the move.
- Choose the right time: Transplant seedlings on a cloudy or overcast day, or in the evening when temperatures are cooler. This reduces the stress on the plants caused by heat and excessive sunlight.
- Prepare the planting holes: Dig holes in the raised garden bed that are slightly larger than the root balls of the seedlings. Space the holes appropriately based on the recommended spacing for each type of vegetable.
- Transplant the seedlings: Gently remove the seedlings from their containers or seed trays, being careful not to damage the delicate roots. Place each seedling in a prepared hole, ensuring it is at the same depth as it was in its previous container. Fill the hole with soil mixture, gently firming it around the base of the plant.
- Water after transplanting: Immediately after transplanting, thoroughly water the bed to settle the soil and help the roots establish. Keep an eye on the moisture levels in the following days and water as needed to keep the soil consistently moist but not overly saturated.
By taking the time to properly prepare your plants for transplanting, you give them the best chance of success in their new home. This transition period allows the seedlings to adapt to their new surroundings, minimizing stress and ensuring a healthy start to their growth in the raised garden bed.
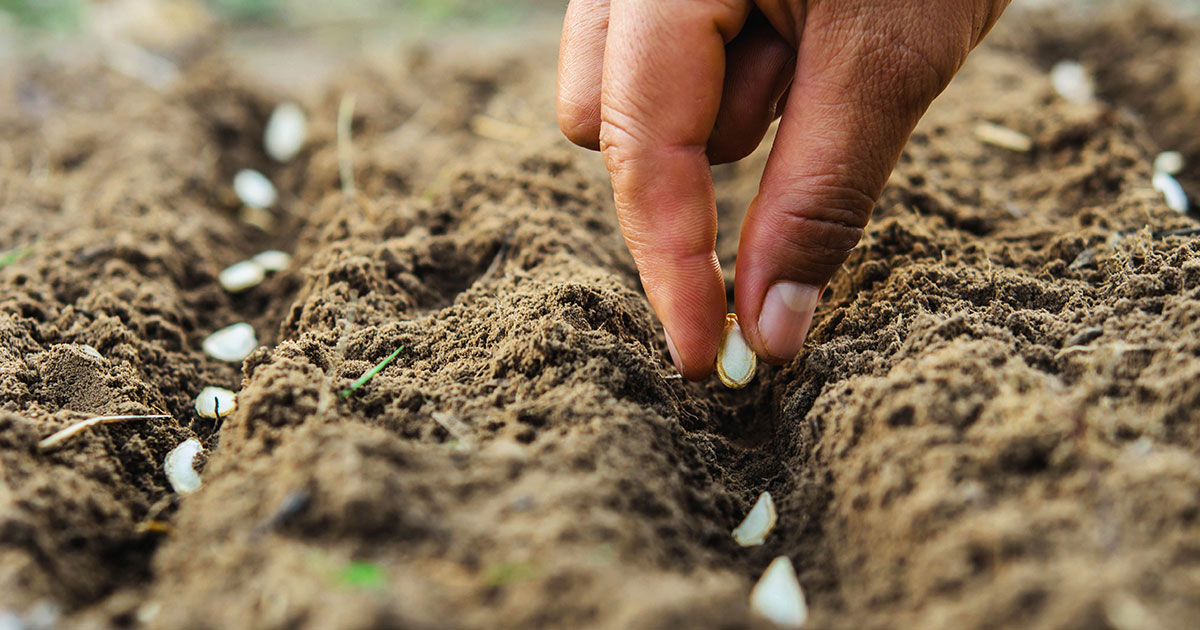
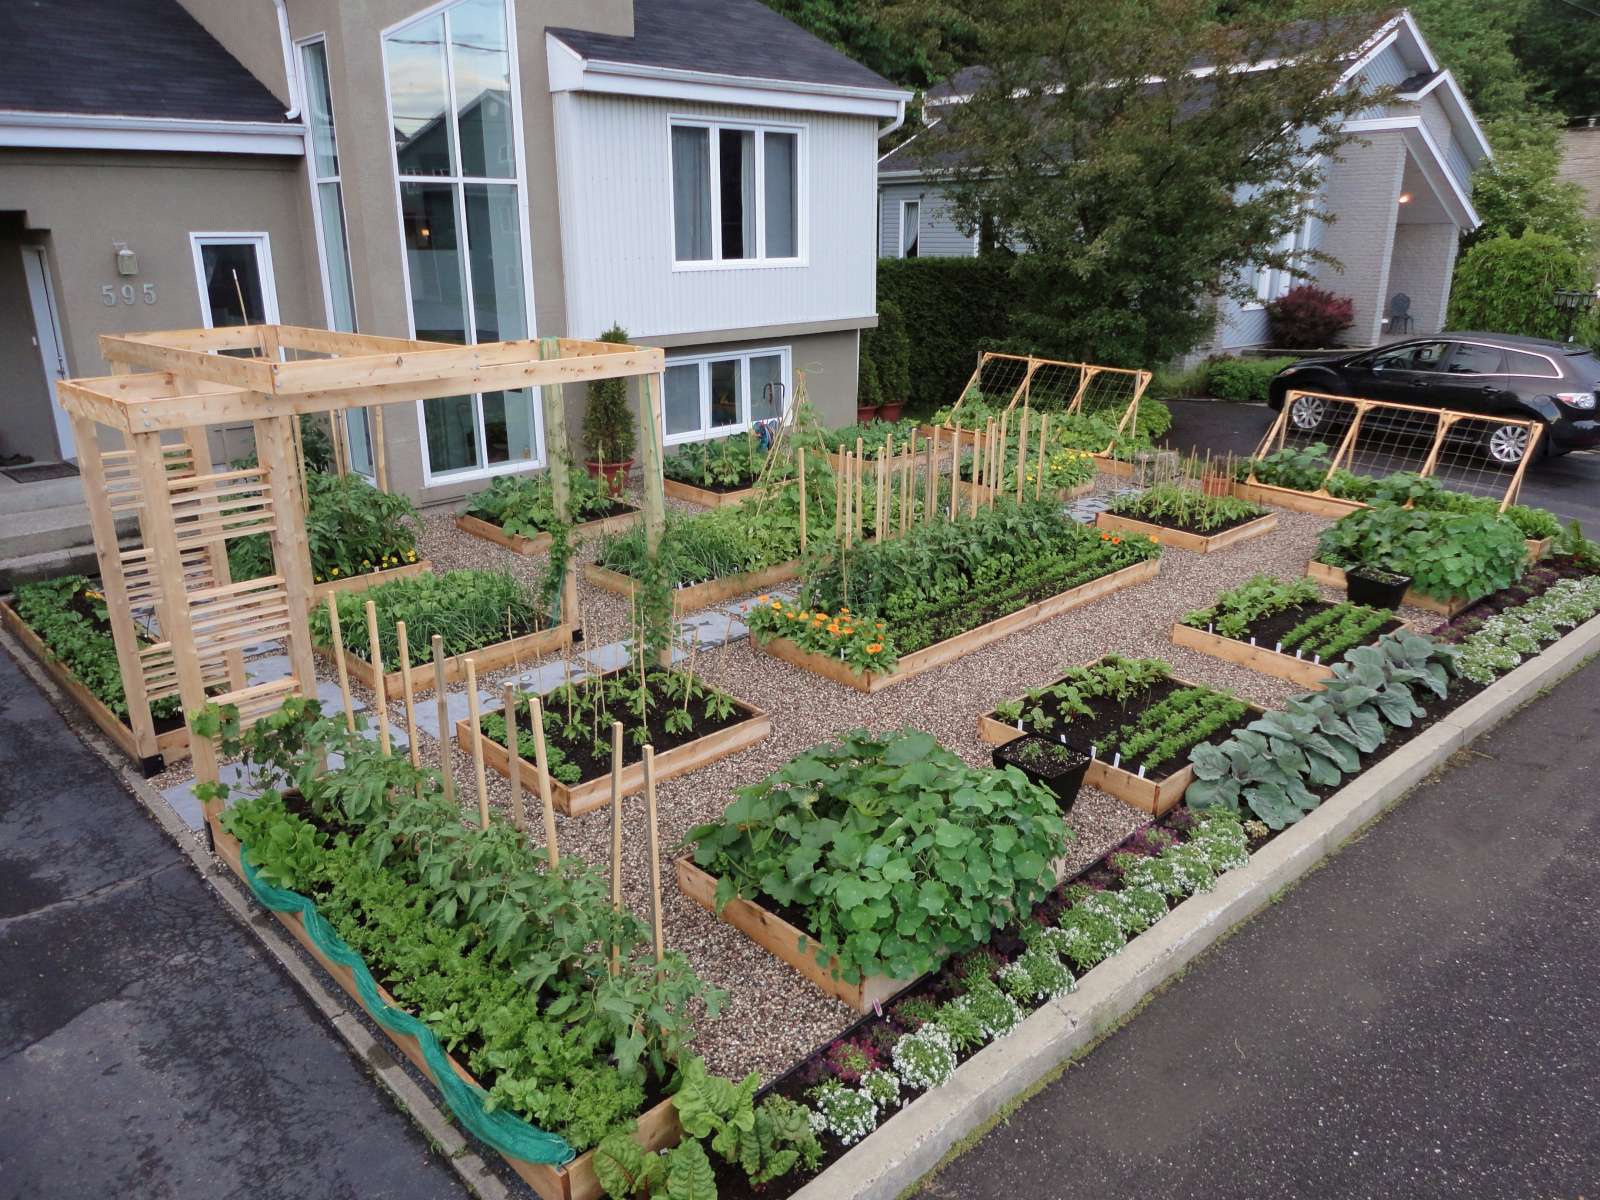
Planting the Vegetables
With your raised garden bed prepared, it’s time to plant your vegetables. Proper planting techniques will help promote healthy growth and maximize your harvest.
Here’s how to plant your vegetables in the raised garden bed:
- Refer to seed packet instructions: Each type of vegetable has specific planting requirements. Refer to the seed packet or plant label for information on planting depth, spacing, and any other special considerations.
- Prepare the planting holes: Dig holes in the prepared raised bed that are appropriate for the size of each vegetable plant. Make sure to space them according to the recommended guidelines to allow for adequate growth and airflow.
- Remove seedlings from containers: Gently remove the seedlings from their containers, being careful not to disturb their roots. If the plants are root-bound, gently tease out the roots to encourage outward growth.
- Plant seedlings: Place each seedling in a planting hole, ensuring it is positioned at the proper depth according to the recommended planting instructions. Backfill the hole with soil mixture and lightly firm the soil around the base of the plant.
- Water after planting: Immediately after planting, give the beds a thorough watering to settle the soil and help establish the new plants. Pay attention to the moisture levels in the following days and water as needed to keep the soil consistently moist.
- Provide support if necessary: Some vegetable plants, such as tomatoes or cucumbers, may require support as they grow. Install trellises, stakes, or cages when planting these crops to provide necessary support and prevent sprawling.
- Maintain proper spacing: Ensure that you leave enough space between each plant to allow for proper airflow and prevent overcrowding. Proper spacing reduces the risk of disease spread and competition for nutrients.
As you plant your vegetables, consider companion planting to maximize growth and deter pests. Pairing compatible plants together can help improve the overall health of your garden.
Remember to keep a gardening journal to track planting dates, spacing, and any observations. This will help you monitor the progress of your vegetables and make adjustments as needed throughout the growing season.
With your vegetables planted, your raised garden bed will come to life. Regularly monitor their progress, provide necessary care, and soon you’ll be enjoying a bountiful harvest of homegrown, fresh vegetables from your very own garden.
Caring for the Raised Garden Bed
Proper care and maintenance are essential for the health and productivity of your raised garden bed. By staying on top of regular tasks, you can ensure that your vegetables flourish and enjoy a successful growing season.
Here are some important aspects to consider when caring for your raised garden bed:
- Watering: Regular and consistent watering is crucial for the well-being of your plants. Monitor the moisture levels in the soil and water deeply when necessary, ensuring that the soil is evenly moist but not waterlogged. Adjust your watering schedule based on weather conditions.
- Weeding: Keep an eye out for weeds and remove them promptly. Weeds compete with your vegetables for nutrients, water, and sunlight. Regularly inspect your garden bed and pull weeds by hand or use gardening tools for larger or stubborn weeds.
- Fertilization: Provide proper nutrition to your plants by regularly feeding them with organic fertilizers or compost. Follow the recommended dosage and application instructions for the specific vegetables you are growing. Apply fertilizers around the base of the plants and avoid direct contact with leaves or stems.
- Pruning and training: Some vegetable plants, such as tomatoes or vining plants, may require pruning or training for proper growth and productivity. Remove any dead or damaged leaves, and use stakes, cages, or trellises to support and guide the plants’ growth.
- Pest and disease control: Monitor your plants for signs of pests or diseases. Inspect both the leaves and the soil regularly, and take immediate action if you notice any issues. Use organic and environmentally friendly methods to control pests, such as handpicking, using insecticidal soap, or introducing beneficial insects.
- Harvesting: Regularly harvest your vegetables when they reach maturity. This promotes continuous production and prevents over-ripening or wasted crops. Follow the recommended guidelines for each vegetable to ensure the best flavor and quality.
- Maintain cleanliness: Keep your garden bed clean and tidy by removing fallen leaves, fruits, or debris. This helps prevent the development of pests, diseases, and fungal issues that may arise from decaying organic matter.
Maintaining a well-cared-for raised garden bed will promote the health and productivity of your plants. Regular attention and diligence will ensure that your vegetables thrive and provide you with a bountiful and rewarding harvest.
Conclusion
Congratulations! You have now learned the essential steps for preparing a raised garden bed for planting vegetables. By following these guidelines and taking the time to properly prepare your bed, you are setting the stage for a successful and bountiful vegetable garden.
From choosing the right location and clearing the area to building the raised bed, filling it with nutrient-rich soil, and planting your vegetables, each step is crucial for creating an optimal growing environment. Caring for your raised garden bed by providing proper watering, regular maintenance, and vigilant pest control ensures the health and productivity of your plants.
Remember, gardening is a continuous learning process, and each season brings new experiences and challenges. Pay attention to the specific needs of your plants, adapt your care routine accordingly, and learn from your successes and failures along the way. Don’t be afraid to experiment and try different vegetable varieties or planting techniques.
As you tend to your raised garden bed, take the time to enjoy the beauty and satisfaction of growing your own fresh and organic vegetables. The process of nurturing seeds or seedlings and witnessing them grow into mature plants is incredibly rewarding.
So, roll up your sleeves, grab your tools, and embark on the journey of DIY vegetable gardening. With passion, patience, and a touch of creativity, your raised garden bed will become a flourishing oasis, providing you with nourishing and delicious produce to enjoy throughout the seasons. Happy gardening!