Home>Gardening Techniques>DIY Projects>How To Build Raised Planting Beds

DIY Projects
How To Build Raised Planting Beds
Modified: January 22, 2024
Learn how to build raised planting beds with our step-by-step DIY project guide. Create your own garden oasis and grow plants easily with this practical tutorial!
(Many of the links in this article redirect to a specific reviewed product. Your purchase of these products through affiliate links helps to generate commission for Chicagolandgardening.com, at no extra cost. Learn more)
Table of Contents
- Introduction
- Benefits of Raised Planting Beds
- Choosing the Right Location
- Selecting Materials for Building Raised Beds
- Determining the Size and Shape of the Beds
- Preparing the Site for Construction
- Building the Raised Planting Beds
- Filling the Beds with Soil
- Planting in Raised Beds
- Maintaining and Caring for Raised Beds
- Conclusion
Introduction
Welcome to the exciting world of DIY projects! For all the green thumbs out there, building raised planting beds is an excellent way to enhance your gardening experience. Whether you have limited space, poor soil quality, or simply want to add a touch of elegance to your garden, raised beds offer a practical and aesthetically pleasing solution.
Raised planting beds, as the name suggests, are elevated structures that provide a contained space for your plants to thrive. By elevating the planting surface, you have better control over the soil quality, drainage, and weed management. Plus, they make gardening more accessible, especially for those with mobility issues.
In this article, we will guide you through the process of building raised planting beds from start to finish. You’ll learn about the benefits, choosing the right location, selecting materials, determining the size and shape, site preparation, construction, filling the beds with soil, and tips for planting and maintenance.
So, if you’re ready to roll up your sleeves and get your hands dirty, let’s dive into the wonderful world of raised planting beds!
Benefits of Raised Planting Beds
Raised planting beds offer a multitude of advantages for gardeners of all skill levels. Let’s explore some of the key benefits that make them a popular choice among gardening enthusiasts:
- Improved Soil Quality: One of the primary benefits of raised beds is that you have full control over the soil composition. You can customize the soil to suit the specific needs of your plants, ensuring optimal nutrition and drainage. This is particularly beneficial if you have poor-quality soil in your garden.
- Enhanced Drainage: Raised beds allow excess water to drain more efficiently, preventing waterlogging and root rot. By providing adequate drainage, you can create an ideal environment for your plants to flourish.
- Reduced Weed Growth: By elevating your plants, you minimize weed intrusion. Raised beds provide a barrier that inhibits weed seeds from infiltrating the soil, making weed management much easier and reducing competition for nutrients.
- Better Pest Control: Raised beds offer better protection against common garden pests. You can add a physical barrier, such as wire mesh or netting, to prevent critters from accessing your plants. Additionally, elevated beds make it easier to monitor and control pests, allowing you to catch infestations early.
- Extended Growing Season: Raised beds warm up more quickly in the spring, which means you can start planting earlier. Additionally, the elevated structure provides better air circulation, reducing the risk of frost damage. This allows you to extend your growing season and enjoy fresh produce for a longer period.
- Easier Access and Maintenance: The raised height of the beds eliminates the need for constant bending and kneeling, making gardening more comfortable, especially for those with physical limitations. It also minimizes the strain on your back and knees, allowing you to spend more time enjoying your garden.
- Improved Aesthetics: Raised beds add structure and beauty to your garden. You can choose from various materials, such as wood, stone, or even recycled materials, to create a visually appealing and cohesive look that complements your outdoor space.
These are just a few of the many benefits that come with building raised planting beds. Now that you understand why they are so popular, let’s move on to the next step – choosing the right location.
Choosing the Right Location
When it comes to building raised planting beds, selecting the right location is crucial for the success of your garden. Here are some factors to consider when choosing a spot for your beds:
- Sunlight: Most plants require at least 6-8 hours of direct sunlight per day. Observe your potential garden area throughout the day to determine which spots receive the most sunlight. Ideally, choose a location that gets ample sunlight to ensure healthy plant growth.
- Accessibility: Consider the accessibility of your raised beds. Choose a location that is easily accessible for planting, watering, and maintenance. This is especially important if you have physical limitations or use gardening tools that require maneuvering space.
- Drainage: Adequate drainage is essential for the health of your plants. Avoid areas prone to waterlogging, as this can lead to root rot and other issues. If your chosen spot doesn’t have good natural drainage, consider incorporating drainage solutions like adding gravel or creating a slight slope.
- Proximity to Water Source: It’s convenient to have your raised beds located near a water source. This ensures easy access to water when irrigating your plants. Consider the distance to your nearest outdoor faucet or, if necessary, plan for a water collection and storage system.
- Protection from Strong Winds: Wind can damage and stress your plants. Look for a location that offers some natural protection from strong winds, such as a fence or existing structures. Alternatively, you can create windbreaks using trellises, wooden panels, or tall plants.
- Space Considerations: Determine the available space you have for your raised beds. Consider the dimensions and layout of the area to ensure there is adequate room for the desired number and size of your beds. Avoid overcrowding the space, as this can hinder air circulation and plant growth.
- Aesthetics: Consider the visual appeal of your chosen location. If your raised beds will be a focal point of your garden, choose a spot that enhances the overall aesthetics of your outdoor space. You can also consider factors such as views, landscape features, and how the beds will fit in with the surrounding environment.
By carefully considering these factors, you can choose the perfect location for your raised planting beds. Once you have identified the ideal spot, it’s time to move on to the next step – selecting materials for building the beds.
Selecting Materials for Building Raised Beds
When it comes to building raised beds, selecting the right materials is essential for durability, functionality, and aesthetics. Here are some common materials to consider:
- Wood: Wood is a popular choice for building raised beds due to its versatility, availability, and affordability. Cedar and redwood are highly recommended for their natural resistance to rot and insects. However, avoid using treated lumber, as it may contain chemicals that can leach into the soil.
- Stone: Stone offers a more permanent and visually appealing option for raised beds. It can give a classic and elegant look to your garden. While more expensive, stone beds are durable and can withstand the test of time. Options include natural stone, such as limestone or granite, or concrete blocks for a modern touch.
- Bricks or Pavers: Bricks or pavers provide a similar look to stone but at a more affordable price. They are easy to work with and can be stacked or arranged in various patterns to create a unique design. Ensure the bricks are suitable for outdoor use and resistant to freezing and thawing if you live in a colder climate.
- Recycled Materials: For an eco-friendly and budget-friendly option, consider using recycled materials. Old pallets, reclaimed lumber, or even repurposed containers can be transformed into raised beds with a little creativity and DIY skills. Just make sure to properly clean and prepare the materials before use.
- Composite Lumber: Composite lumber is a blend of wood fibers and recycled plastic. It offers the durability of plastic while still maintaining the look and feel of natural wood. Composite lumber is resistant to rot, decay, and pests, making it a low-maintenance choice for raised beds.
- Metal: Metal, such as galvanized steel or corrugated iron, provides a sleek and modern appearance to your raised beds. Metal beds are highly durable and can last for many years. However, be cautious with using galvanized steel, as it may release small amounts of zinc into the soil over time.
Consider your budget, desired aesthetics, and longevity when choosing materials for your raised beds. Keep in mind that the material you select should be safe for growing food, especially if you plan to cultivate edible plants.
Now that you have an understanding of the different materials available, the next step is to determine the size and shape of your raised beds. We will explore this step further in the following section.
Determining the Size and Shape of the Beds
The size and shape of your raised beds will depend on several factors, including the available space, your gardening goals, and personal preference. Here are some considerations to help you determine the size and shape of your beds:
- Available Space: Measure the area where you plan to install your raised beds to determine the maximum dimensions. Take into account any existing features, such as trees, structures, or walkways, and plan around them. It’s important to leave enough space between beds for easy access and maintenance.
- Gardening Goals: Consider your gardening goals and what you plan to grow in the beds. Different plants have varying space requirements, so assess the types of plants you want to cultivate and their recommended spacing. This will help determine the ideal size and number of beds needed.
- Accessibility: Ensure your beds are accessible from all sides for easy planting, watering, and harvesting. If you have limited mobility, consider constructing narrower beds or incorporating accessibility features, such as raised bed platforms or ramps.
- Layout and Design: Think about the overall design aesthetic you want to achieve. Rectangular beds are common and practical, as they maximize growing space and are easy to build. However, consider incorporating curved or shaped beds to add visual interest and create an appealing focal point in your garden.
- Height: Decide on the desired height of your beds. The standard height for raised beds is around 10-12 inches, which provides sufficient depth for most plants’ root systems. However, you can adjust the height based on your needs, such as if you want to accommodate deep-rooted crops or if you prefer a more elevated gardening experience.
- Pathways: Plan pathways between your raised beds to allow easy movement and access. Consider the width of the pathways, particularly if you use gardening equipment or need wheelchair accessibility. A width of at least 2-3 feet is recommended to ensure comfortable maneuvering.
Take some time to sketch out different layout options and experiment with bed sizes and shapes on paper or using a virtual garden planner. This will help you visualize how the beds will fit into your garden and ensure efficient use of space.
By considering these factors, you can determine the optimal size and shape for your raised beds. The next step is preparing the site for construction, which we will explore in the following section.
Preparing the Site for Construction
Before you start building your raised beds, it’s essential to properly prepare the site to ensure a sturdy and long-lasting structure. Here are the steps involved in preparing the site for construction:
- Clear the Area: Begin by removing any existing vegetation, rocks, or debris from the site. Clearing the area will provide a clean canvas for constructing your raised beds. Ensure that the ground is level and free from obstructions that may hinder the placement of your beds.
- Remove Sod or Weeds: If the site is covered with grass or weeds, you may need to remove the sod or take measures to prevent weed growth. Depending on the size of the area, you can manually remove the sod using a shovel or use a weed barrier like cardboard or landscape fabric to smother the vegetation.
- Level the Ground: It’s important to have a level base for your raised beds. Use a garden rake or shovel to even out the ground and remove any bumps or depressions. This will ensure stability and proper alignment when constructing the beds.
- Consider Weed Barrier: To further prevent weed growth, you can lay down a weed barrier, such as landscape fabric, on the bottom of your raised beds. This will help suppress weeds from growing up through the soil and ensure easier maintenance in the future.
- Mark the Layout: Use stakes and string or spray paint to mark the layout of your raised beds. This will provide a visual guide for the placement and alignment of the beds. Ensure that the string lines are straight and the distances between the beds are consistent.
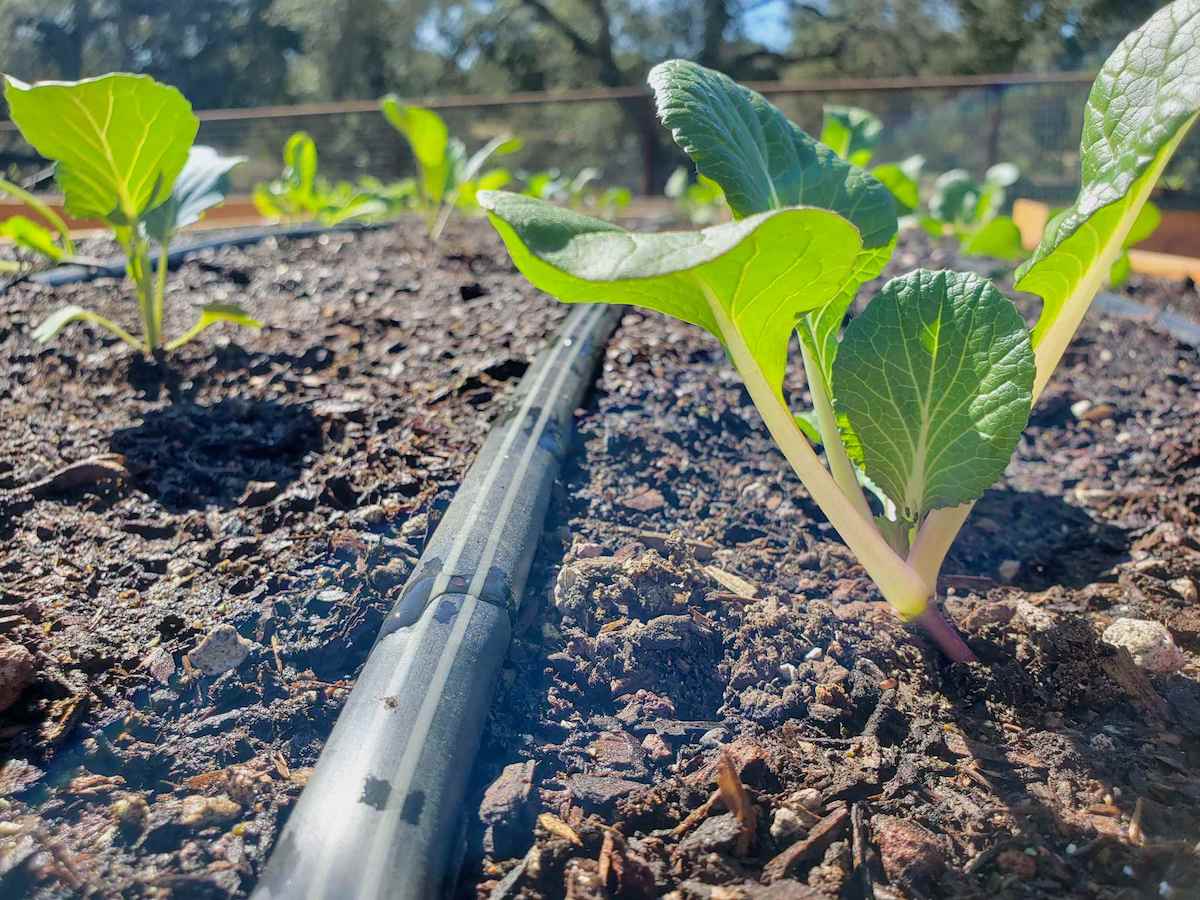
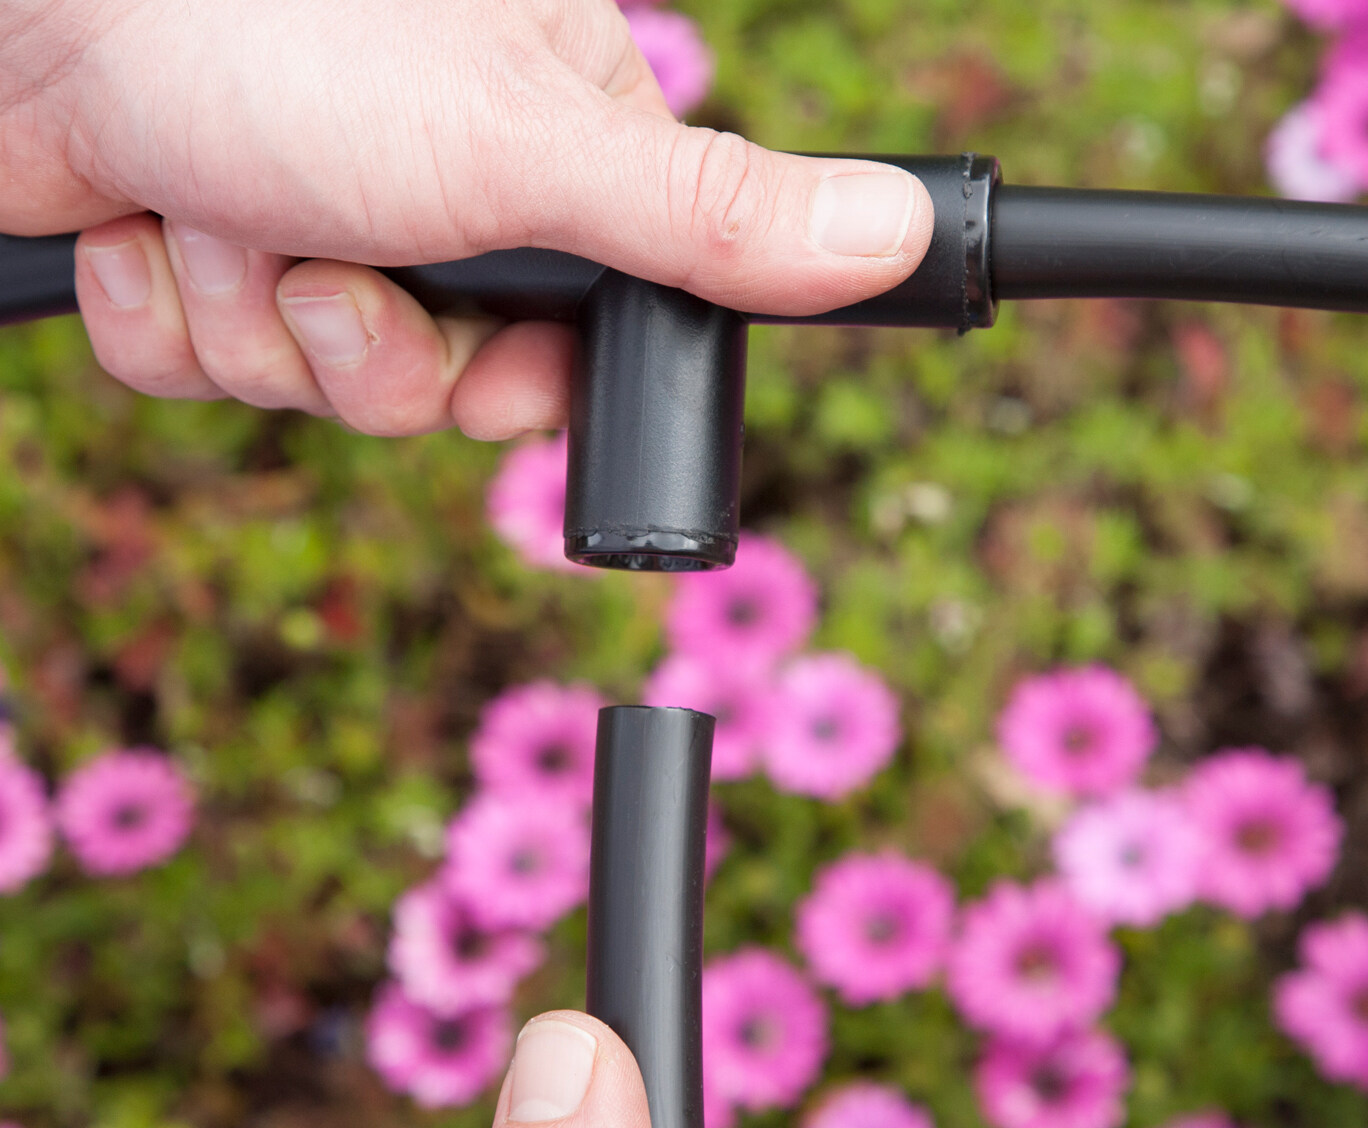
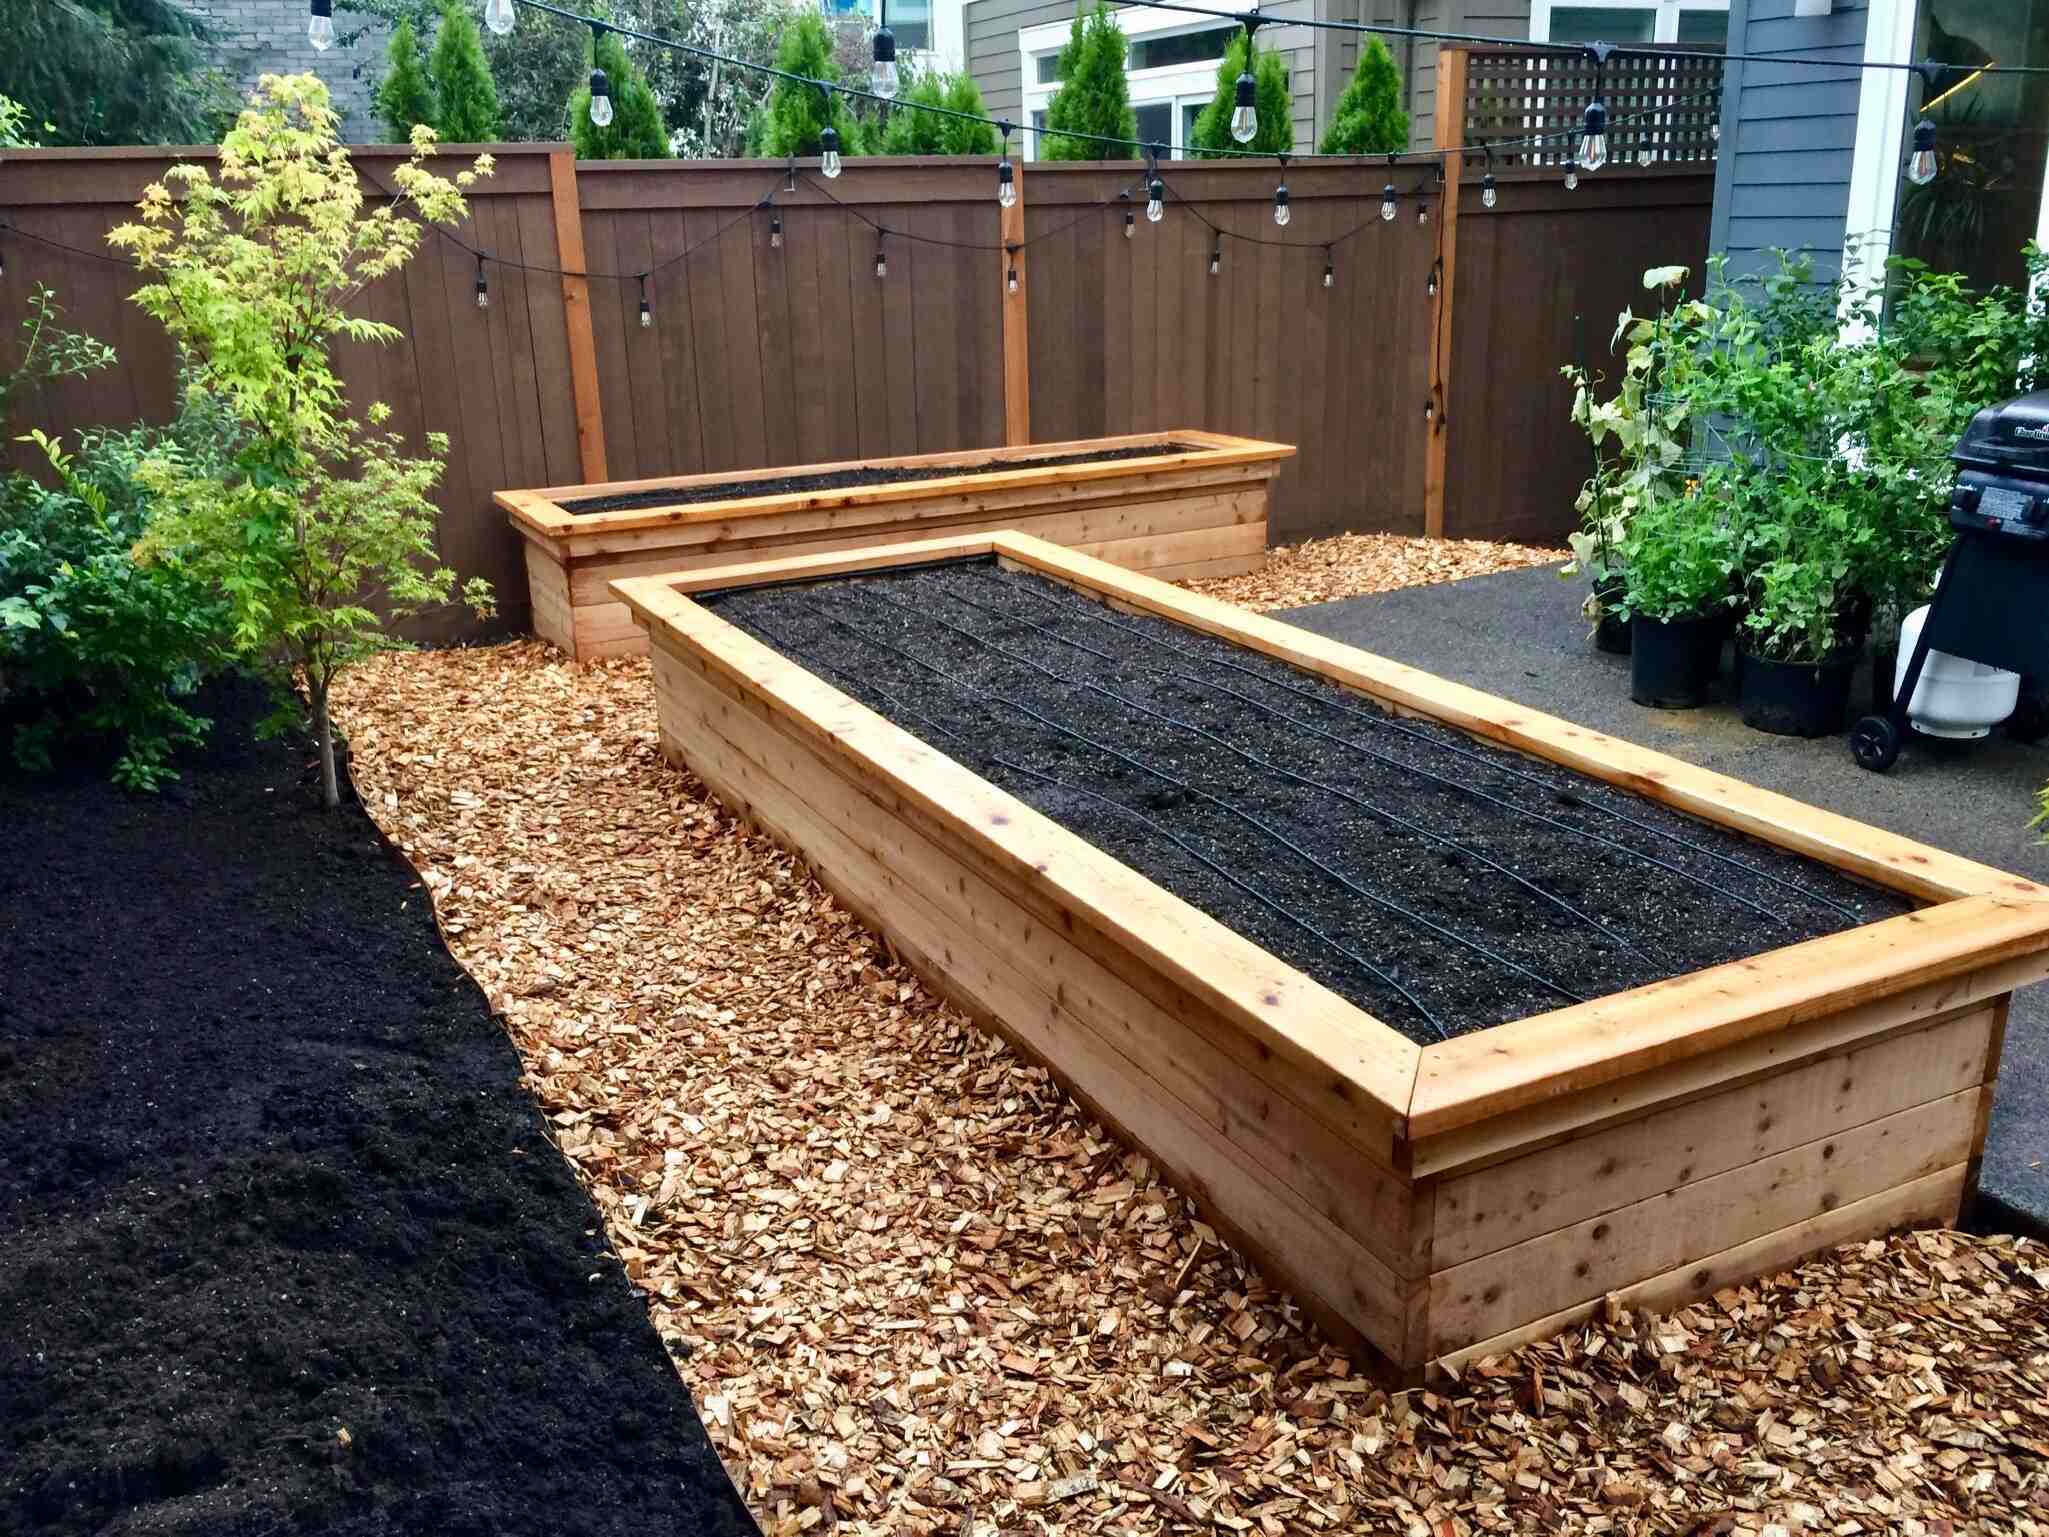
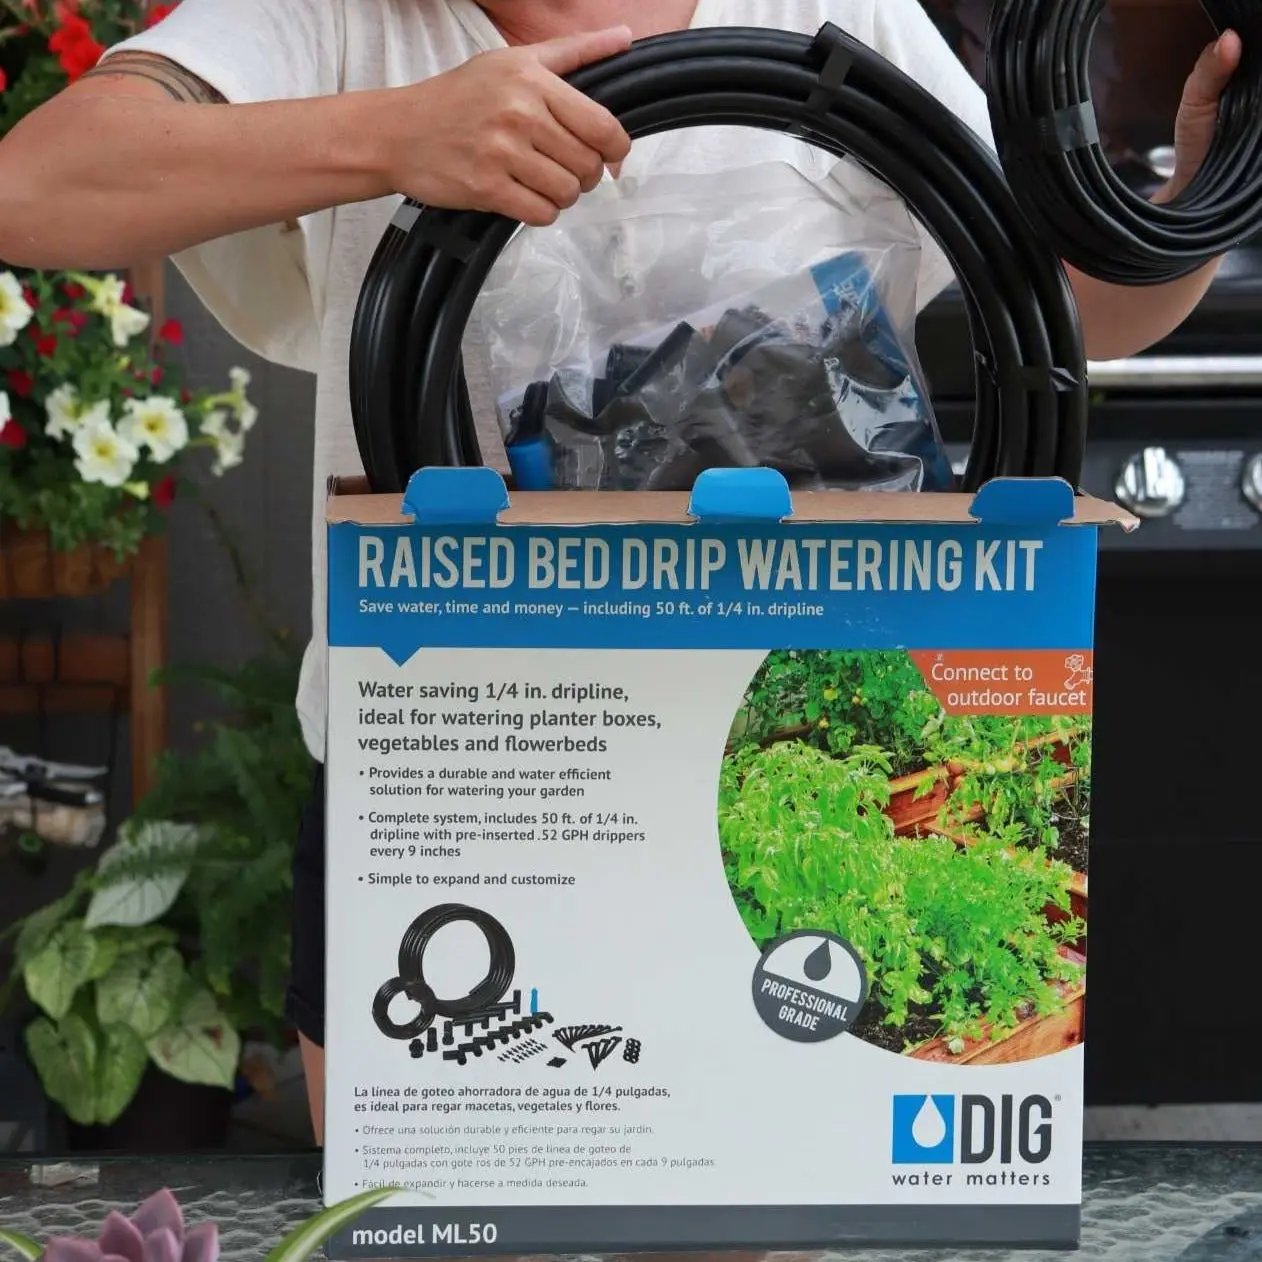
- Consider Irrigation: Before construction, assess your irrigation needs. If you plan to install a drip irrigation system or lay down soaker hoses, now is the time to plan for it and make the necessary arrangements. Proper irrigation is crucial for the health and growth of your plants.
By following these steps, you will have a well-prepared site ready for the construction of your raised beds. Taking the time to properly prepare the site will ensure a stable and functional gardening space.
Now that the site is prepared, it’s time to move on to the exciting part – building your raised planting beds!
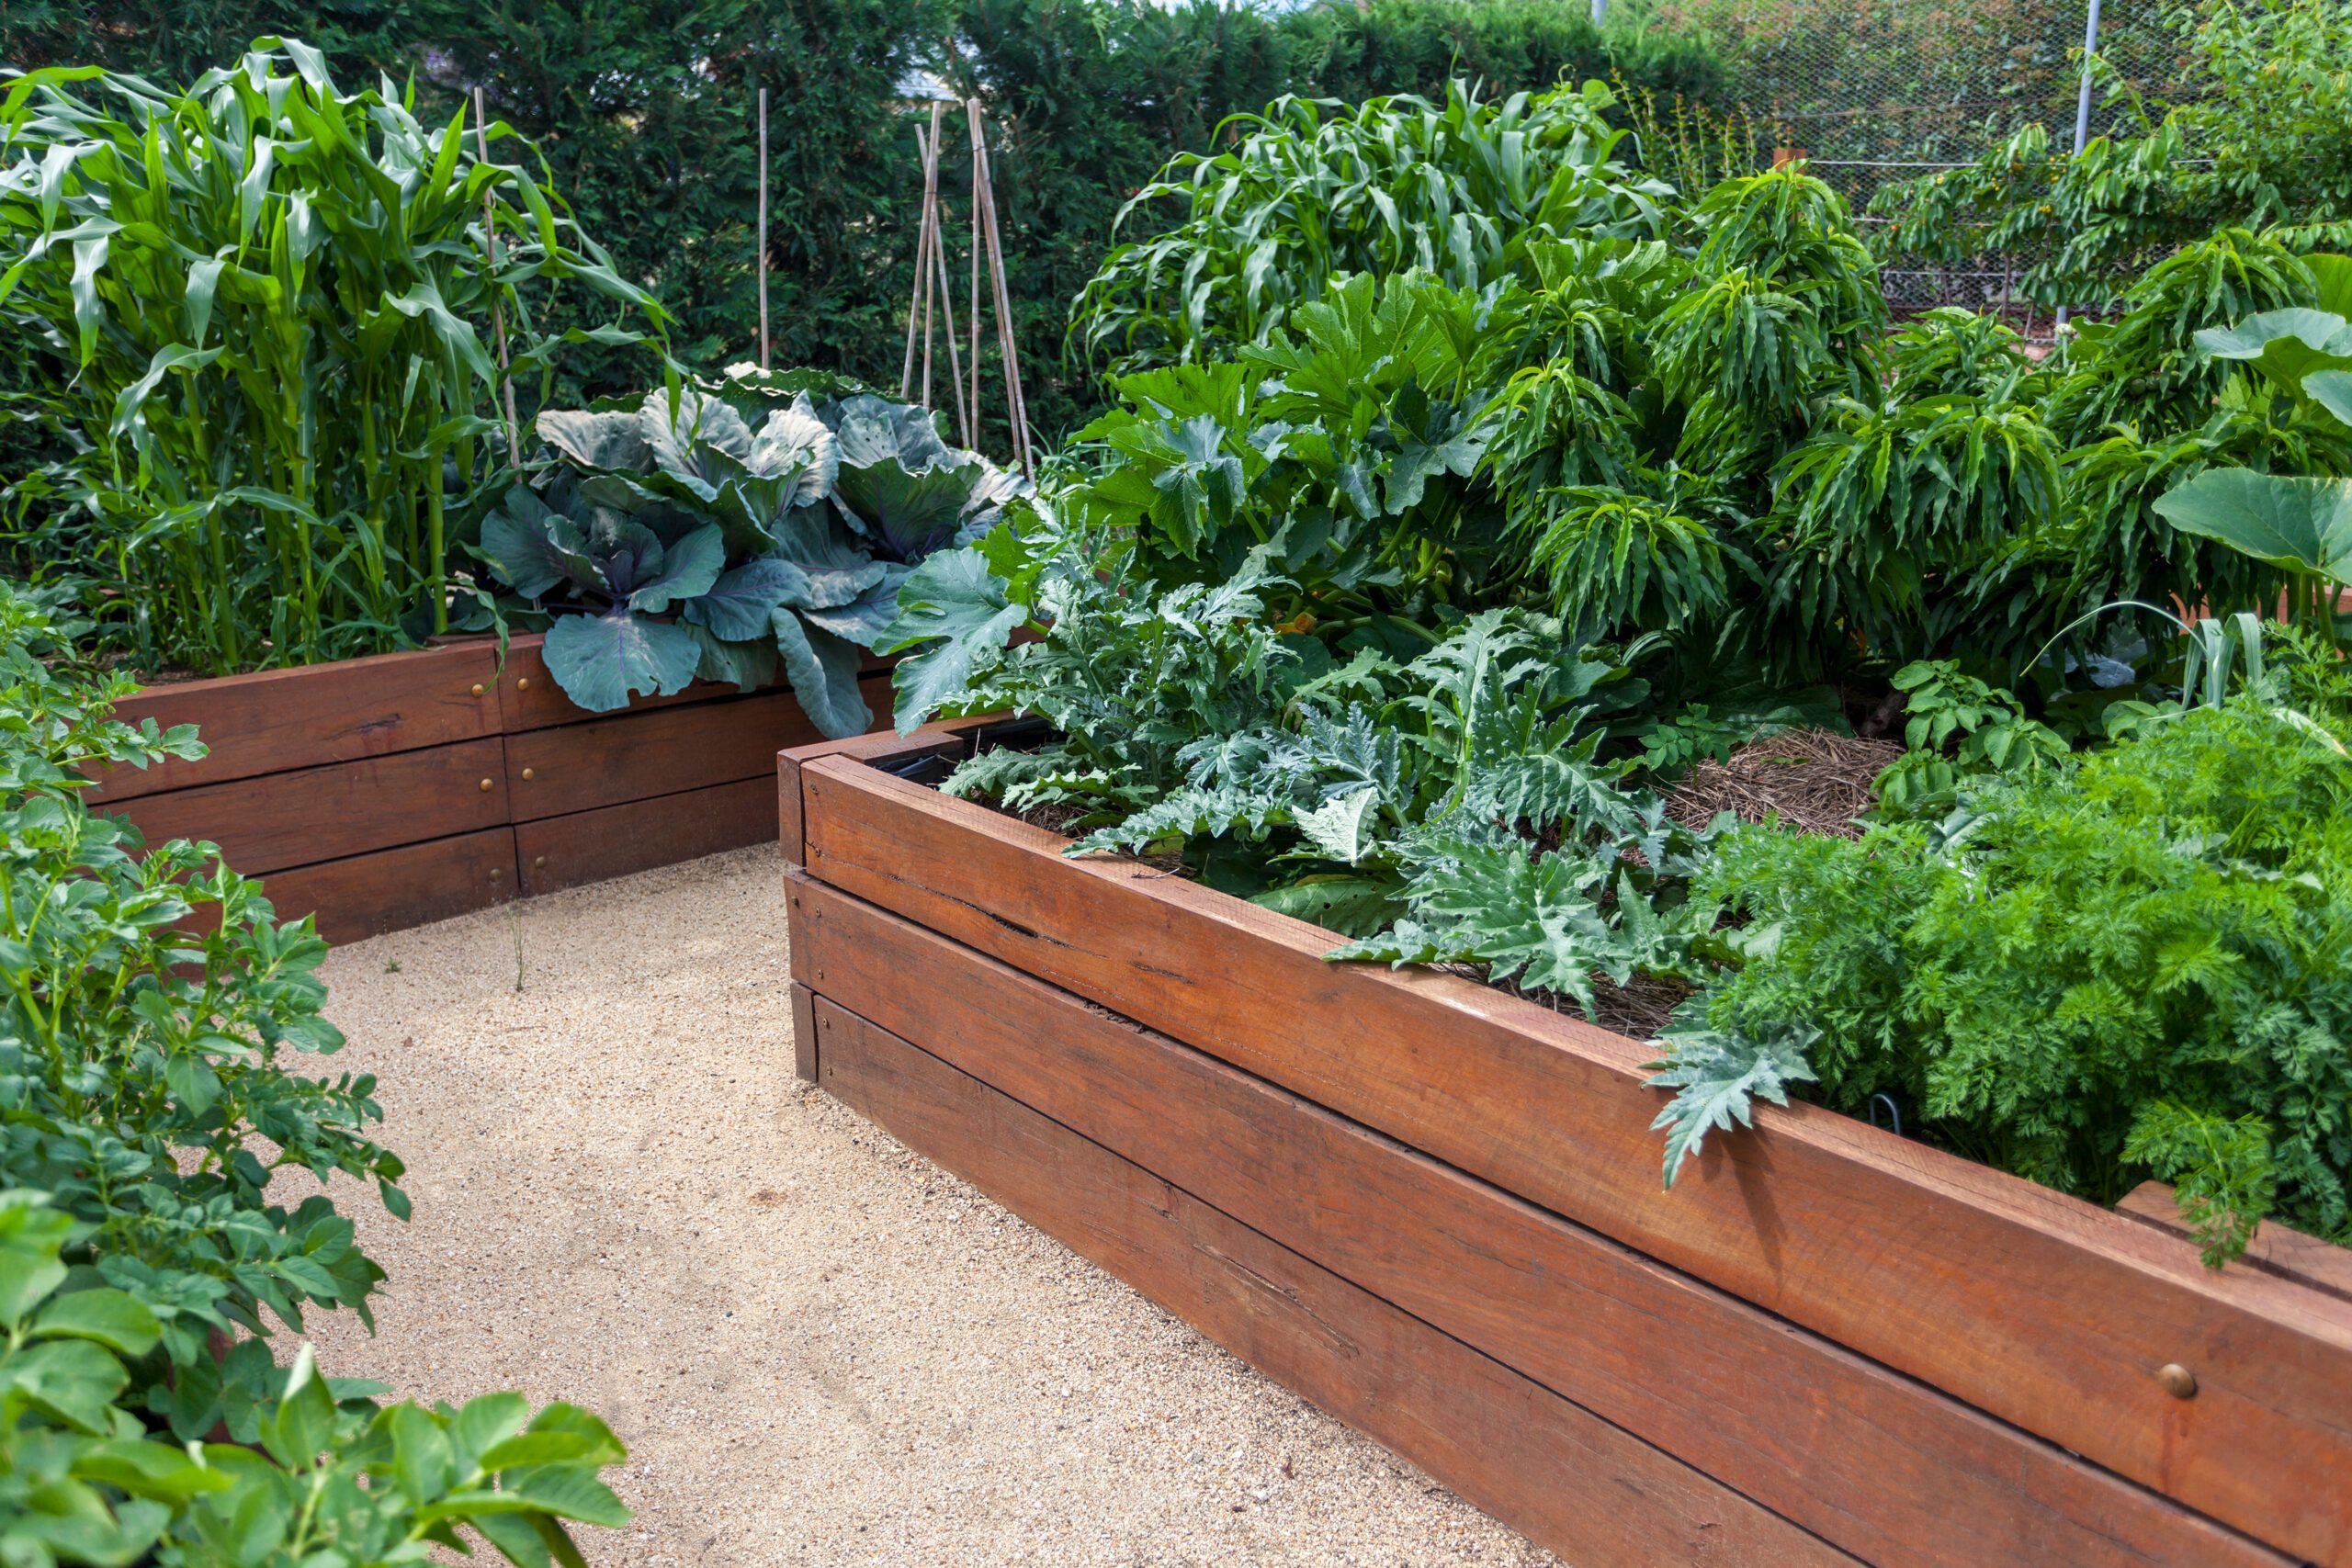
Building the Raised Planting Beds
Now that you have prepared the site, it’s time to start building your raised planting beds. Follow these steps to construct sturdy and functional beds:
- Measure and Mark: Measure and mark the dimensions of your beds on the ground using stakes and string or spray paint. Double-check your measurements to ensure accuracy.
- Set the Corner Posts: If you are using wood or composite lumber, begin by setting the corner posts at each corner of the marked area. Dig holes for the corner posts, ensuring they are level and plumb. Place the posts in the holes and backfill with soil to secure them in place. Alternatively, you can use metal brackets or connectors to join the pieces of lumber together.
- Construct the Bed Walls: Attach the side boards or planks to the corner posts, creating the walls of the bed. Use screws or nails to secure the boards in place. Ensure that the boards are level and aligned correctly.
- Secure the Corners: Install additional support for the corners, such as metal brackets or corner braces, to ensure stability and strength. This will prevent the beds from shifting or warping over time.
- Repeat for Multiple Beds: If you are building multiple beds, repeat the same process for each bed, ensuring consistent height and alignment.
- Sand and Seal (Optional): If you are using wood, it’s recommended to sand the surfaces and apply a protective sealant to prolong the lifespan of the beds. This will help prevent rot and weather damage.
Remember to refer to your chosen materials’ specific instructions and follow any recommended guidelines for construction. This will ensure that your raised beds are durable and built to last.
Once your raised beds are constructed, take a moment to step back and admire your hard work. You are now ready to move on to the next step – filling the beds with soil.
Filling the Beds with Soil
With your raised beds constructed, it’s time to fill them with soil. Filling the beds properly is crucial for providing nutrients, promoting healthy plant growth, and ensuring proper drainage. Here are the steps to follow when filling your raised beds:
- Add a Layer of Gravel: To enhance drainage, especially if your soil is heavy or has poor drainage, you can start by adding a layer of gravel or small rocks at the bottom of the beds. This will prevent water from pooling around the roots.
- Layer Organic Matter: Next, add a layer of organic matter such as compost, well-rotted manure, or leaf mold. This will enrich the soil with nutrients and improve its structure and fertility. Aim for a layer that is about 2-3 inches thick.
- Add soil mix: Fill the rest of the bed with a mixture of high-quality topsoil and compost or other organic matter. Aim for a soil mix that is well-draining, loose, and rich in nutrients. Fill the bed to the desired level, leaving enough space for planting.
- Level and Smoothen: Use a garden rake or shovel to level and smoothen the soil surface. Ensure that it is evenly distributed and free from any lumps or clumps. This will provide a uniform bed for planting.
- Water and Settle: After filling the beds, water the soil thoroughly to settle it and remove any air pockets. This will ensure good contact between the soil and roots of your plants.
- Consider Soil Amendments: Depending on the specific needs of your plants, you may need to add additional soil amendments such as lime, sulfur, or specific fertilizers to adjust the pH levels or provide specific nutrients. Conduct a soil test to determine any necessary amendments.
By following these steps, you will have a well-filled and nutrient-rich raised bed ready for planting. Remember to regularly add compost or organic matter to replenish the nutrients and maintain soil health.
Now that your beds are filled, it’s time to move on to the exciting part – planting in your raised beds!
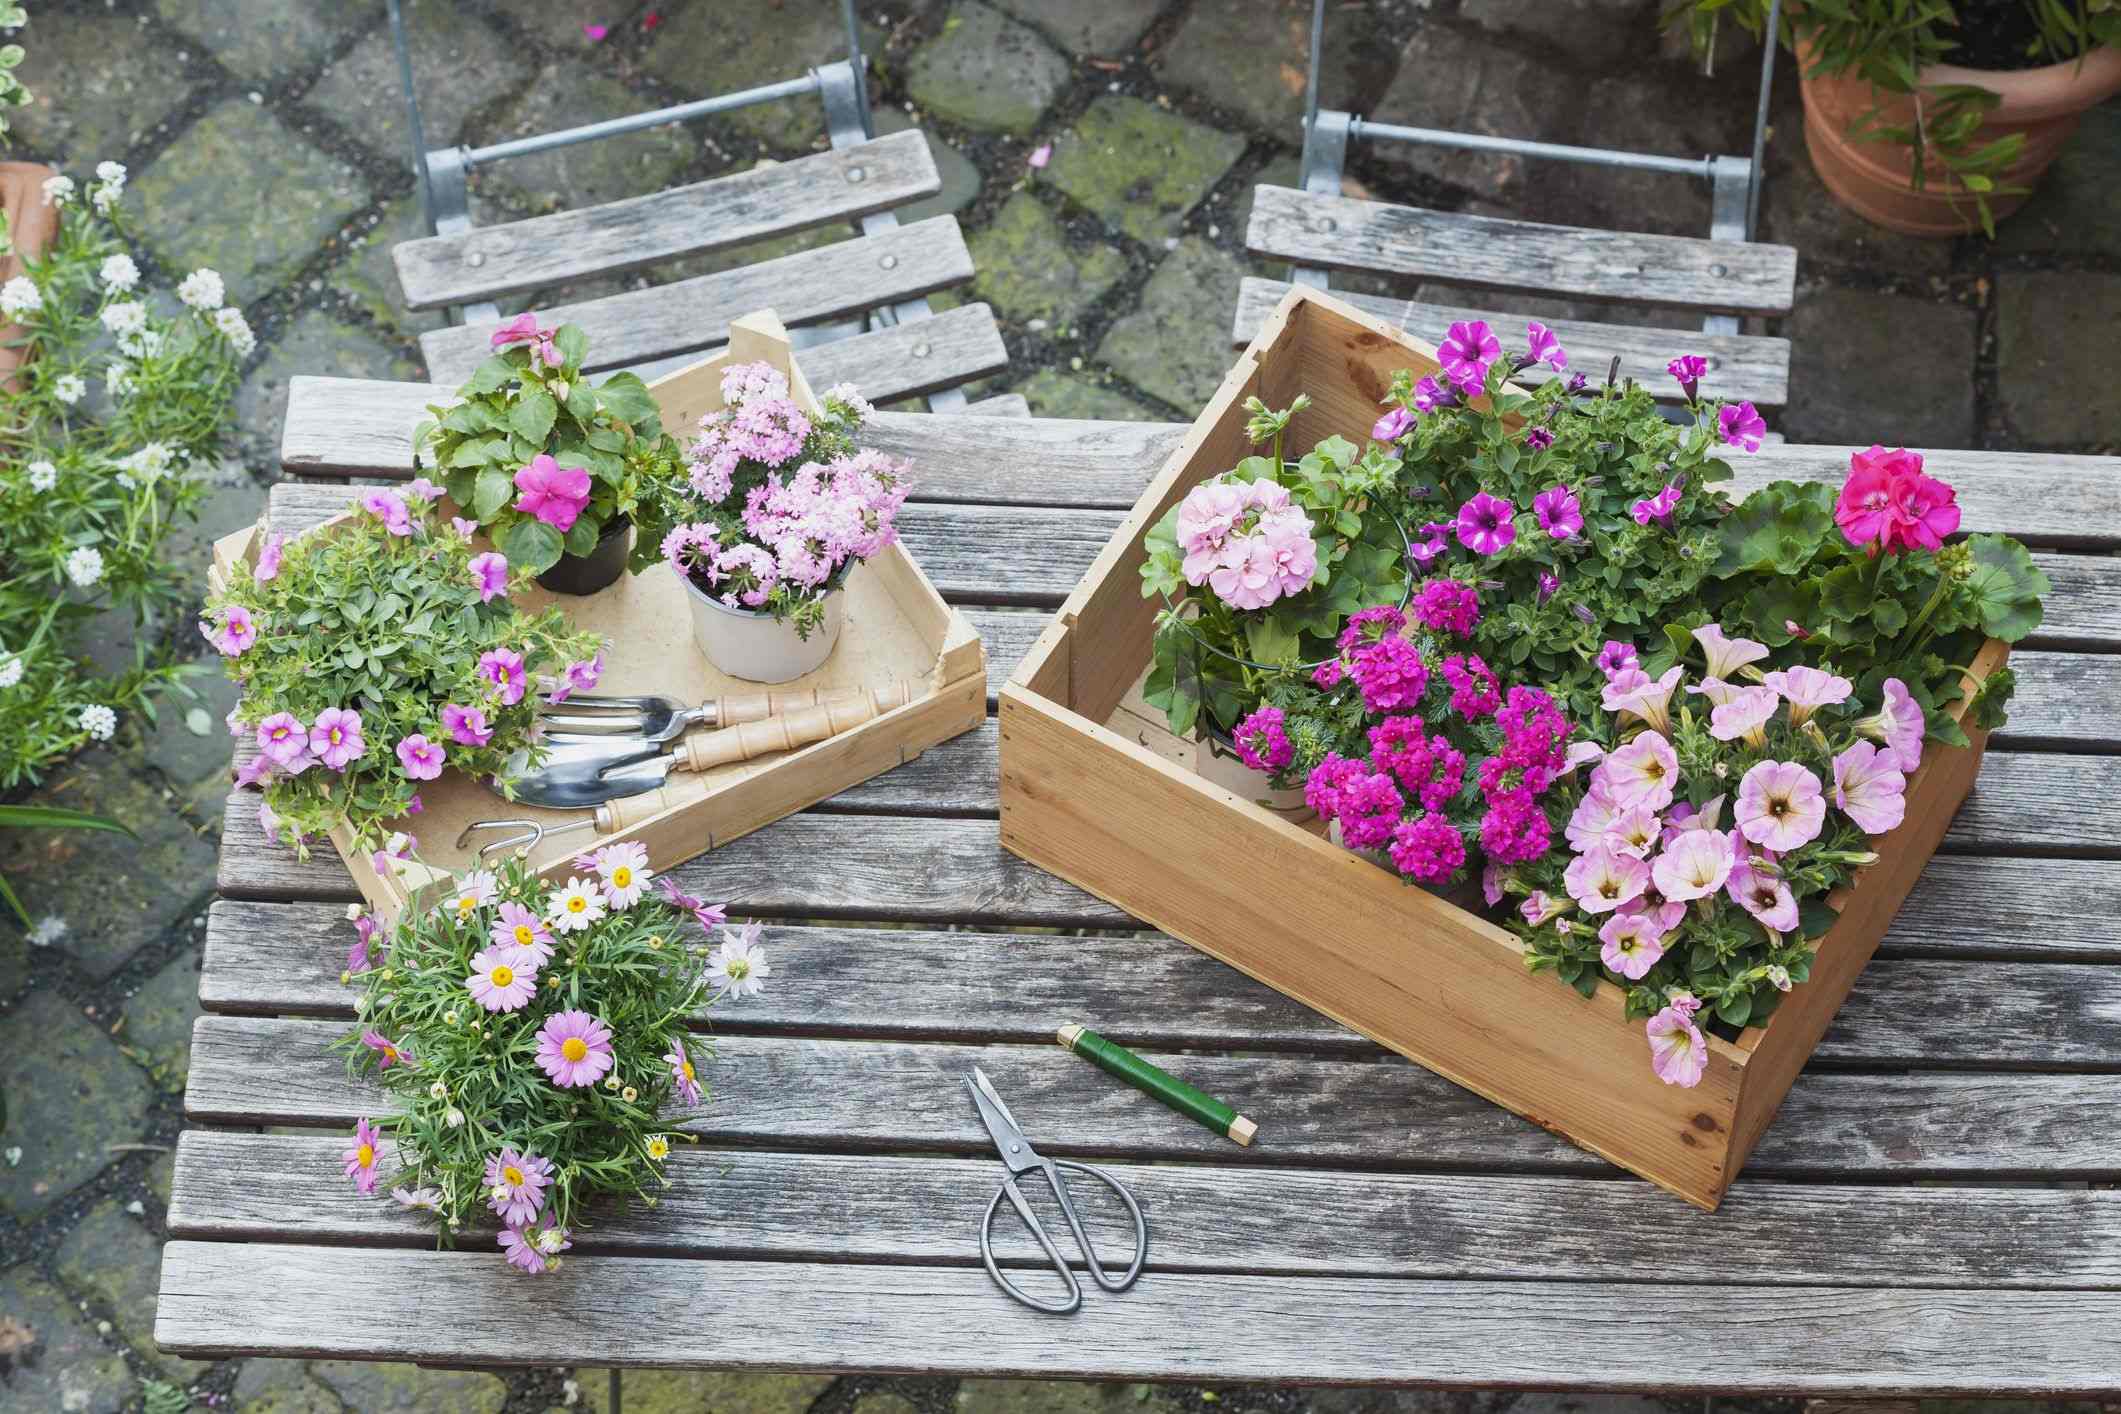
Planting in Raised Beds
Now that your raised beds are ready, it’s time to bring them to life by planting your favorite flowers, herbs, vegetables, or fruits. Here are some steps to follow when planting in your raised beds:
- Plan Your Layout: Before you start planting, plan out the layout of your beds. Consider factors such as plant spacing, companion planting, and the height and growth habits of the plants. Arrange them in a way that optimizes space and promotes healthy growth.
- Prepare the Soil: Before planting, make sure the soil is moist but not waterlogged. If needed, water the beds a day or two before planting to ensure proper moisture levels. This will provide an ideal environment for your plants’ roots to establish and grow.
- Planting Depth and Spacing: When planting, follow the instructions specific to the plants you are growing. Dig holes or furrows of the appropriate depth, ensuring that plants are planted at the correct soil level. Space the plants according to their growth requirements to avoid overcrowding.
- Watering: After planting, water the beds thoroughly. This will help settle the soil around the roots and provide much-needed moisture for the plants to establish themselves. Be mindful of the watering needs of different plants and adjust accordingly.
- Mulching: Consider applying a layer of mulch around your plants. Mulch helps retain moisture, suppresses weed growth, and regulates soil temperature. Use organic mulch such as straw, wood chips, or shredded leaves, and apply a layer that is about 2-3 inches thick.
- Support for Climbing Plants: If you are growing climbing plants such as tomatoes or cucumbers, provide adequate support such as trellises, stakes, or cages. This will ensure that the plants have the necessary support as they grow, preventing them from sprawling across the ground.
- Maintain and Monitor: Regularly monitor your plants for any signs of pests, diseases, or nutrient deficiencies. Take appropriate measures to address any issues promptly. Regularly water, weed, and feed your plants to keep them healthy and thriving.
- Rotate Crops: To maintain soil fertility and minimize disease and pest problems, practice crop rotation. Avoid planting the same type of crop in the same bed year after year. Rotate your plants to different beds or areas of your garden to prevent nutrient depletion and buildup of pests or diseases.
Remember to refer to plant-specific guidelines and recommendations for optimal planting and care. With proper maintenance and attention, your raised beds will provide a productive and vibrant garden.
Now that your plants are in the ground, it’s time to move forward and learn about maintaining and caring for your raised beds.
Maintaining and Caring for Raised Beds
Maintaining and caring for your raised beds is essential to ensure the health and productivity of your plants. Here are some tips to help you keep your beds in optimal condition:
- Watering: Regularly monitor the moisture levels in your raised beds and provide enough water to keep the soil evenly moist. The frequency of watering will depend on factors such as weather conditions and the water retention capability of your soil. Water at the base of the plants to avoid wetting the foliage, which can lead to disease.
- Weeding: Regularly inspect your raised beds for any weeds and promptly remove them. Weeds compete for nutrients and space, so it’s important to keep them under control. Consider using a shallow hoe or hand pulling to stay on top of weed management.
- Fertilizing: Supplement the nutrient needs of your plants by regularly applying organic fertilizers or amendments. This will help replenish nutrients in the soil and promote healthy growth. Follow the specific fertilizer recommendations for the plants you are growing.
- Pest Control: Keep an eye out for common garden pests and take appropriate measures to control them. Use natural remedies, such as companion planting, insect-repellent plants, or organic pest controls if needed. Regularly inspect your plants for any signs of pest damage or disease and address them promptly.
- Mulching: Maintain a layer of mulch around your plants to suppress weed growth, retain moisture, and regulate soil temperature. Replenish the mulch as needed to maintain the desired thickness.
- Pruning and Training: Prune and train your plants as needed to encourage healthy growth and prevent overcrowding. Remove any dead or damaged plant parts to maintain overall plant health.
- Soil Maintenance: Over time, the soil in your raised beds may become compacted or depleted of nutrients. Regularly add compost or organic matter to replenish nutrients and improve soil structure. Consider conducting a soil test to monitor the pH levels and nutrient deficiencies.
- Seasonal Cleanup: At the end of each growing season, clean up your raised beds by removing any spent plants, weeds, and debris. This will help prevent the buildup of pests and diseases and ensure a fresh start for the next growing season.
Regular maintenance and care will go a long way in ensuring the success of your raised beds. By following these practices, you can enjoy a bountiful and thriving garden throughout the seasons.
Now that you have learned how to maintain and care for your raised beds, it’s time to conclude this comprehensive guide. Happy gardening!
Conclusion
Congratulations! You have reached the end of this comprehensive guide to building and maintaining raised planting beds. By now, you should have a good understanding of the benefits of raised beds, how to choose the right location, select materials, determine the size, and shape, prepare the site, construct the beds, fill them with soil, plant, and care for your plants.
Raised beds offer numerous advantages for gardeners, such as improved soil quality, controlled drainage, reduced weed growth, better pest control, extended growing seasons, easier access, and enhanced aesthetics. By following the provided steps and tips, you can create a beautiful and productive garden space, no matter how small or limited your available area may be.
Remember to continually monitor your raised beds, paying attention to watering, weeding, fertilizing, and pest control. Regular maintenance and care will ensure the health and productivity of your plants, providing you with a vibrant and flourishing garden.
So, grab your gardening tools, get creative with your bed design, and start building your raised planting beds. Enjoy the process of nurturing your plants and reaping the rewards of your labor as you witness your garden thrive.
Happy gardening!