Home>Gardening Techniques>DIY Projects>How To Clean Rusty Pruning Shears
DIY Projects
How To Clean Rusty Pruning Shears
Modified: January 22, 2024
Learn how to clean rusty pruning shears with this easy DIY project. Transform your gardening tools and keep them in top condition for long-lasting use.
(Many of the links in this article redirect to a specific reviewed product. Your purchase of these products through affiliate links helps to generate commission for Chicagolandgardening.com, at no extra cost. Learn more)
Table of Contents
Introduction
Welcome to the world of DIY projects! If you’re an avid gardener or someone who enjoys working with tools, you’ve probably encountered rusty pruning shears at some point. Rust not only affects the appearance of your shears, but it can also hinder their performance. However, fret not! In this article, we will guide you through the process of cleaning rusty pruning shears and restoring them to their former glory.
Rusty pruning shears are a common problem for gardeners, especially if they are exposed to moisture or not properly maintained. Rust can interfere with the smooth movement of the shears, making them difficult to operate and potentially damaging the blades. However, with a little bit of time and effort, you can easily clean and remove rust from your shears, ensuring they stay in good condition for years to come.
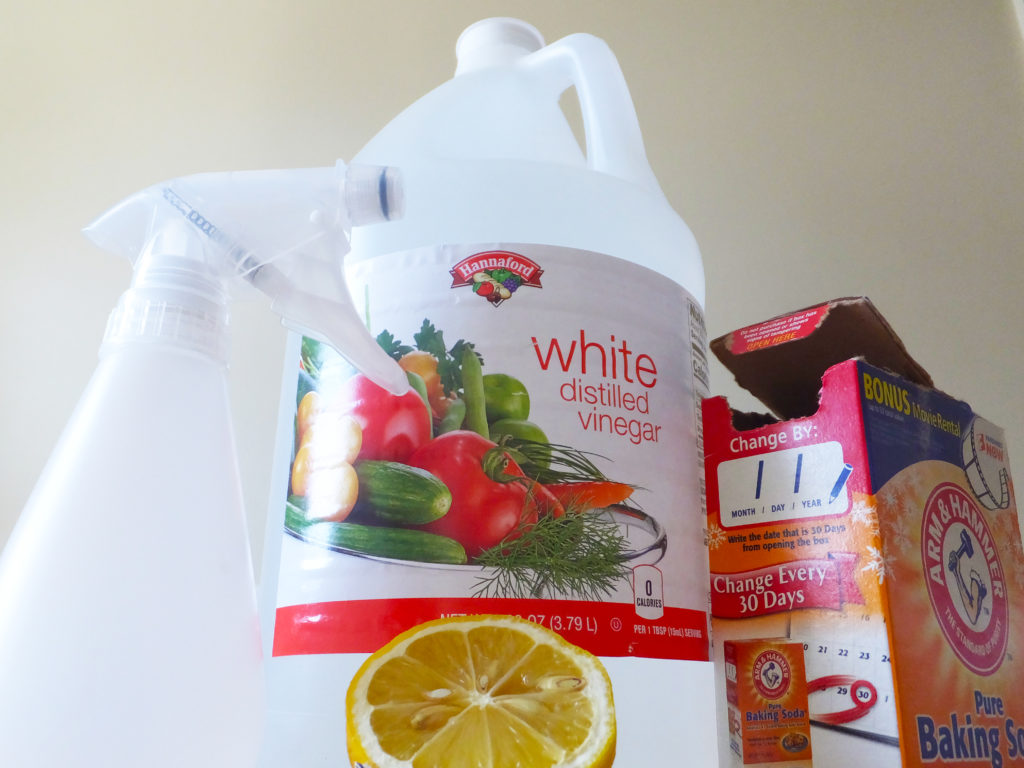
To effectively clean rusty pruning shears, you will need some basic tools and materials. Don’t worry, you won’t need a ton of expensive equipment. Most of the items can be found in your home or easily purchased at a local store. The materials include vinegar, steel wool, rust remover solution, and lubricating oil.
Now that you understand the importance of cleaning rusty pruning shears and have gathered the necessary tools and materials, let’s dive into the step-by-step process. Remember, patience is key during this process, as it may take a little time and effort to completely remove the rust and restore the shears to their original condition. But trust me, the end result will be well worth it!
Tools and Materials Needed
Before you begin cleaning your rusty pruning shears, it’s important to gather the necessary tools and materials. Here’s what you’ll need:
- Vinegar: This kitchen staple is an excellent natural cleaner and rust remover. Make sure to use white vinegar for best results.
- Steel Wool: You’ll need fine-grade steel wool to scrub away the rust from the shears. Avoid using coarse steel wool, as it can scratch the blades.
- Rust Remover Solution: In addition to vinegar, you may choose to use a commercial rust remover solution. These products are specifically designed to dissolve rust and make the cleaning process easier.
- Lubricating Oil: Once you’ve removed the rust and cleaned the shears, it’s important to lubricate the moving parts to keep them in good working condition. You can use a small amount of lightweight oil, such as mineral oil or sewing machine oil.
- Clean Cloth or Paper Towels: These will be handy for wiping away rust residue, excess oil, and ensuring a clean finish.
- Protective Gloves: Rust and cleaning solutions can be harsh on your hands, so it’s a good idea to wear protective gloves to keep your skin safe.
Now that you have all the necessary tools and materials ready, you’re one step closer to rejuvenating your rusty pruning shears. It’s important to gather everything before you start, as it will save you time and ensure a smoother cleaning process.
Step 1: Removing the Dirt and Debris
The first step in cleaning rusty pruning shears is to remove any dirt, debris, or plant sap that may have accumulated on the blades. This will ensure an easier and more effective rust removal process. Here’s how to do it:
- Start by wiping the blades with a clean cloth or paper towel to remove any loose dirt or debris.
- If there are stubborn residues or sap on the blades, you can use a soft brush or an old toothbrush to gently scrub them away.
- For harder-to-reach areas, you can use a toothpick or cotton swab dipped in vinegar to loosen and wipe away the dirt.
- Once you’ve removed as much dirt and debris as possible, rinse the shears under warm water to ensure they’re clean and ready for the next steps.
By starting with a clean surface, you’ll have an easier time removing the rust from your pruning shears. Plus, it’s always a good idea to keep your tools clean and free from dirt and debris to maintain their longevity and performance.
Step 2: Soaking the Shears in Vinegar
Now that you’ve cleared away the dirt and debris from your rusty pruning shears, it’s time to move on to the next step: soaking them in vinegar. Vinegar is an excellent natural rust remover and can help loosen the rust from the blades. Here’s how to do it:
- Fill a container or bucket with enough white vinegar to submerge the blades of your pruning shears completely. Make sure the vinegar is at room temperature.
- Immerse the shears in the vinegar, ensuring that the blades are fully covered. If the shears are too large to submerge entirely, you can soak a cloth or paper towel in vinegar and wrap it around the rusty areas.
- Let the shears soak in the vinegar for about 30 minutes to an hour. This will give the vinegar enough time to work and start loosening the rust.
- After the soaking period, use a clean cloth or sponge to wipe away any loose rust or residue from the shears. You may notice that some of the rust has already started to dissolve.
Remember, vinegar is a mild acid that can help break down the rust, but it may take some time to fully remove stubborn rust stains. Once you’ve completed this step, you’re one step closer to restoring your pruning shears to their former glory!
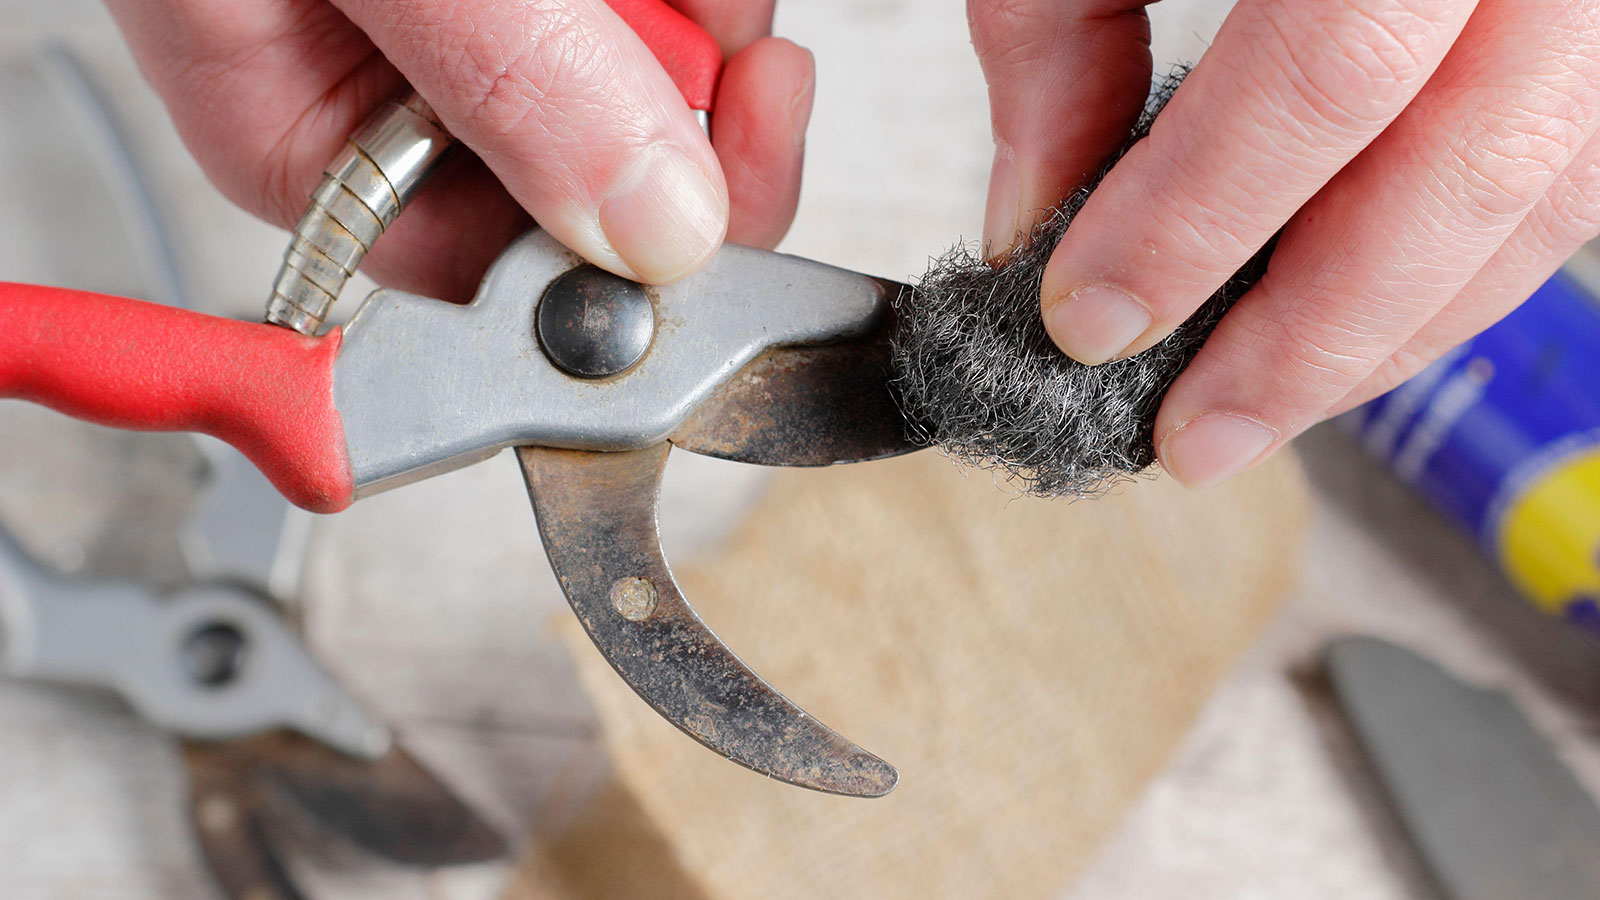
Step 3: Scrubbing the Rust with Steel Wool
After soaking your pruning shears in vinegar to loosen the rust, it’s time to move on to step 3: scrubbing the rust with steel wool. Steel wool is a great abrasive tool that can effectively remove stubborn rust stains from the blades. Here’s how to do it:
- Take a piece of fine-grade steel wool and gently scrub the rusted areas on the pruning shears. Use a back-and-forth motion and apply light pressure to avoid scratching the blades.
- Continue scrubbing until you’ve removed as much rust as possible. You may have to repeat this step several times, especially if the rust is deeply embedded.
- Periodically check your progress by wiping away any debris or residue from the shears with a clean cloth or paper towel.
- If the rust is particularly stubborn, you can dampen the steel wool with vinegar or rust remover solution for added effectiveness.
Be patient and persistent while scrubbing the rusted areas. It may take some time and effort, but with each scrubbing session, you’ll notice the rust gradually disappearing and revealing the clean metal beneath.
Remember to also pay attention to the smaller components of the pruning shears, such as the pivot point and locking mechanisms. These areas can also accumulate rust and hinder the shears’ functionality. Make sure to scrub them thoroughly with the steel wool, using a toothpick or cotton swab if needed for precision.
Once you’re satisfied with the removal of the rust, proceed to the next step to continue the restoration process!
Step 4: Applying Rust Remover Solution
Now that you’ve scrubbed away the majority of the rust from your pruning shears, it’s time to tackle any remaining stubborn rust stains. Step 4 involves applying a rust remover solution to further dissolve and remove the remaining rust. Here’s how to do it:
- Ensure the blades of the shears are dry before proceeding with this step.
- Apply a rust remover solution directly to the remaining rusted areas. You can use a small brush or a cloth soaked in the solution.
- Allow the rust remover solution to sit on the blades for the recommended amount of time, as specified on the product label.
- Gently scrub the rusted areas again using a soft brush or steel wool, focusing on those spots where the rust is still visible.
- Continue scrubbing until the rust is completely removed, periodically wiping away any residue with a clean cloth or paper towel.
Rust remover solutions are specifically designed to break down and dissolve rust. They contain ingredients that chemically react with the rust, making it easier to remove. By applying this solution, you can ensure a more thorough rust removal process and achieve cleaner, rust-free blades.
Be cautious when using rust remover solutions, as some products may be harsh or contain strong chemicals. Always read and follow the instructions provided by the manufacturer to ensure your safety and achieve the best results.
Once you’ve completed this step, you’re almost there! Only one more step remains to fully restore your pruning shears.
Step 5: Lubricating the Shears
Congratulations! You’ve successfully removed the rust from your pruning shears. Now, it’s time to give them some much-needed lubrication to ensure smooth operation and prevent future rust formation. Follow these steps to lubricate your pruning shears:
- Start by wiping the blades and other metal parts with a clean cloth or paper towel to remove any residual rust remover solution or debris.
- Apply a small amount of lubricating oil to the pivot point and other moving parts of the shears. You can use a lightweight oil like mineral oil or sewing machine oil.
- Open and close the shears a few times to distribute the oil evenly and ensure it reaches all the necessary areas.
- If you notice any excess oil, wipe it away with a clean cloth to prevent it from attracting dust or debris.
Lubricating your shears not only improves their performance but also helps protect them from future rust formation. The oil creates a protective barrier on the metal surfaces, reducing friction and preventing moisture from seeping in.
You may find it helpful to periodically apply a small amount of lubricating oil to your pruning shears, particularly before storing them for a prolonged period. This will help maintain their functionality and prolong their lifespan.
With proper lubrication, your pruning shears are now ready to be used and will serve you well in your gardening endeavors.
Remember to always keep your tools clean and dry after each use to prevent rust formation and maintain their quality.
By following these steps, you’ve successfully restored your rusty pruning shears to their former glory. Give yourself a pat on the back for your dedication and effort in preserving and maintaining your garden tools!
Conclusion
Congratulations on successfully cleaning and restoring your rusty pruning shears! By following the step-by-step process outlined in this article, you were able to remove the rust, eliminate debris, and lubricate the shears, ensuring their optimal performance and longevity.
Remember, rusty pruning shears not only impact the appearance of your tools but also hinder their functionality. Regular maintenance and cleaning are essential to keep them in top condition and ready for use whenever you need them. By taking the time to clean and care for your tools, you are investing in their longevity and improving your overall gardening experience.
Keep in mind that prevention is key when it comes to rust formation. To avoid future rust issues, always store your pruning shears in a dry place and keep them clean after each use. Regularly inspect the shears for any signs of rust or damage, and address any issues promptly to prevent further deterioration.
We hope this article has provided you with valuable insights and guidance on how to clean and maintain your rusty pruning shears. By utilizing the tools and materials mentioned, such as vinegar, steel wool, rust remover solution, and lubricating oil, you can effectively combat rust and keep your shears in excellent working condition.
So, go ahead and put your newly restored pruning shears to work in your garden. Enjoy the ease of use and precision they provide as you prune, trim, and shape your plants. With your revitalized tools, you’ll be well-equipped to embark on your gardening adventures with confidence and success!