Home>Gardening Techniques>DIY Projects>How To Clean Fresh Rosemary
DIY Projects
How To Clean Fresh Rosemary
Modified: January 29, 2024
Learn how to clean fresh rosemary in this easy step-by-step DIY project. Discover effective methods to make your rosemary clean and ready to use.
(Many of the links in this article redirect to a specific reviewed product. Your purchase of these products through affiliate links helps to generate commission for Chicagolandgardening.com, at no extra cost. Learn more)
Table of Contents
Introduction
Welcome to the world of DIY projects! If you’re a fan of handmade crafts, renovations, or just enjoy getting your hands dirty with creative endeavors, you’ve come to the right place. In this article, we’ll dive into the exciting world of DIY projects and explore the endless possibilities and rewards they offer.
Whether you’re a seasoned DIY enthusiast or a beginner looking to explore your creative side, DIY projects provide a fantastic outlet to unleash your imagination and bring your ideas to life. From crafting personalized home decor to tackling home improvement tasks, the world of DIY projects is full of opportunities to express yourself and create something truly unique.
The beauty of DIY projects lies in their flexibility and affordability. You can take on simple projects using materials you already have at home, or you can dive into more complex endeavors that require specific tools and techniques. The choice is yours! DIY projects not only allow you to create something with your own two hands, but they also offer a sense of fulfillment and pride when you see the final result.
Furthermore, DIY projects are not only a creative outlet but can also save you money. Rather than buying expensive items or hiring professionals to do the work for you, you can learn new skills and complete tasks on your own. This not only reduces costs but also gives you a sense of accomplishment and self-sufficiency.
From woodworking and home decor to gardening and upcycling, the DIY world is vast and diverse. It’s a place where you can experiment, learn, and grow as you develop new skills and expand your knowledge. Whether you’re looking to revamp your living space, create personalized gifts, or simply enjoy the satisfaction of making something from scratch, DIY projects offer endless possibilities.
In this article, we’ll explore a variety of DIY projects, providing step-by-step instructions, tips, and tricks to help you successfully complete each project. We’ll also cover various techniques, tools, and materials commonly used in DIY projects, ensuring you have all the information you need to get started.
So, get ready to embark on a journey of creativity, inspiration, and fulfillment. No matter your skill level or previous experience, there’s a DIY project out there waiting for you. Let’s dive in and discover the wonderful world of DIY projects!
Supplies Needed
Before you embark on any DIY project, it’s essential to gather the necessary supplies. Having the right tools and materials on hand will not only make your project go smoothly but also ensure that you achieve the desired results. Here is a list of commonly used supplies for DIY projects:
- Basic hand tools: A set of screwdrivers, pliers, a hammer, measuring tape, and a utility knife are essential for tackling a wide range of DIY projects.
- Power tools: Depending on the scope of your projects, you may need power tools such as a drill, a circular saw, a jigsaw, or a sander. These tools can significantly speed up your work and provide more precise results.
- Protective gear: Safety should always be a priority when working on DIY projects. Make sure to have safety glasses, gloves, and a dust mask to protect yourself from potential hazards.
- Materials: The specific materials will vary depending on the nature of your project. For woodworking projects, you’ll need lumber, screws, nails, and wood glue. If you’re working on home decor, you may require paint, brushes, and stencils. Research your project thoroughly to determine the materials you’ll need.
- Finishing supplies: If you’re looking to achieve a polished look, consider adding finishing touches. These can include varnish, paint sealant, wax, or other decorative elements like fabric or ribbon.
- Safety equipment: For certain projects, such as woodworking or home improvement tasks, you may need additional safety equipment, such as goggles, ear protection, or a dust collector. Assess the potential risks involved and equip yourself accordingly.
Remember, this list is not exhaustive, and the supplies you need will vary depending on the specific project you’re tackling. It’s always a good idea to research and plan ahead to ensure you have everything you need before you start.
The quality of your supplies is also crucial. Investing in good-quality tools and materials will not only make your work easier but also ensure that your finished product is durable and long-lasting. Look for reputable brands and read reviews to make informed choices.
Now that you have gathered all the necessary supplies, it’s time to move on to the next step in your DIY journey. In the following sections, we’ll guide you through the process of various DIY projects, offering detailed instructions and helpful tips along the way. So roll up your sleeves and get ready to unleash your creativity!
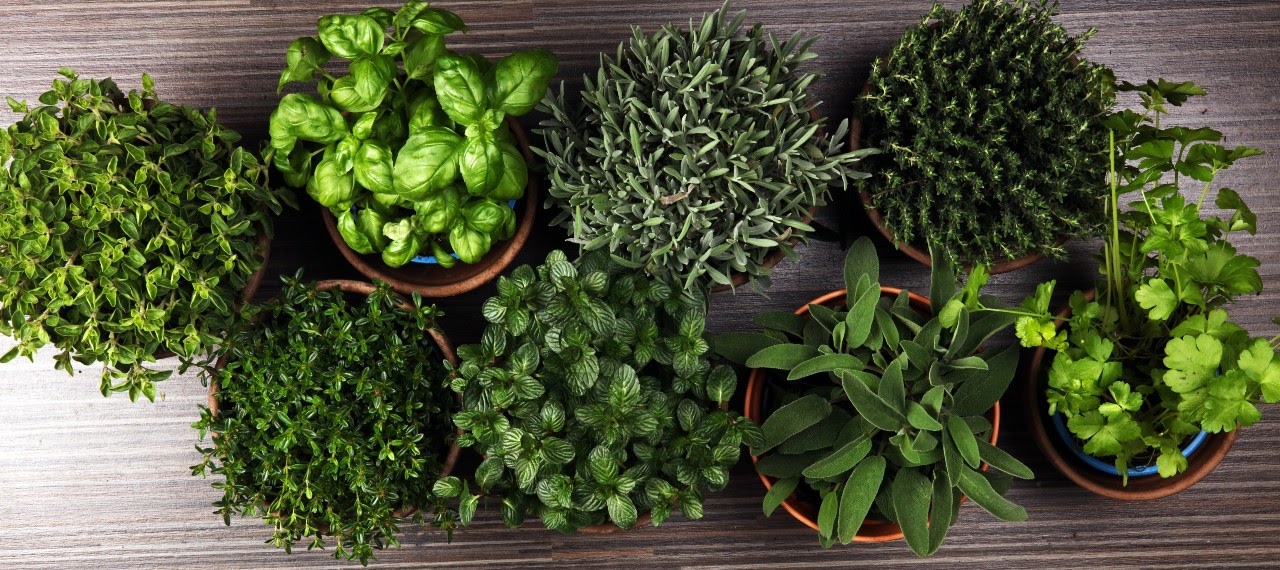
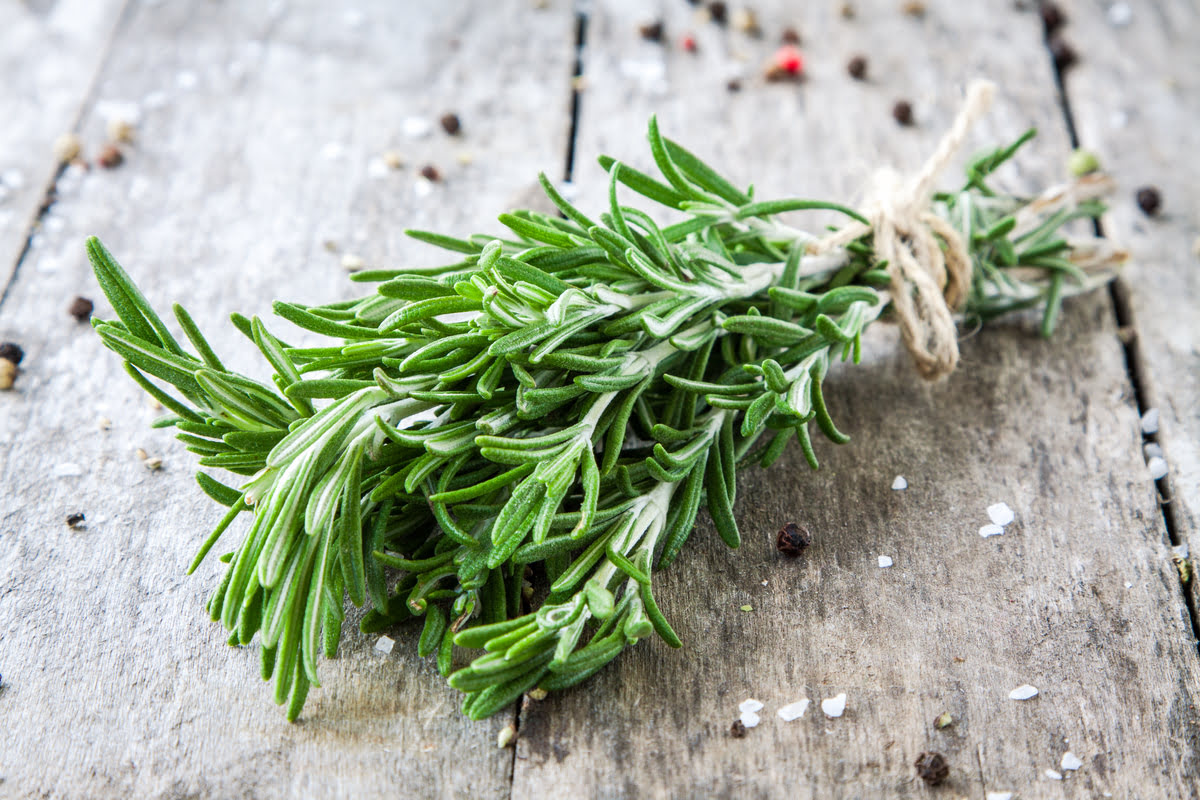
Step 1: Harvesting Fresh Rosemary
There’s nothing quite like the fragrance and flavor of freshly harvested rosemary. Whether you’re planning to use it in your cooking or for other DIY projects, harvesting fresh rosemary is a simple and rewarding process. Follow these steps to ensure you gather the best quality rosemary:
- Choose the right time: The ideal time to harvest rosemary is in the morning when the aromatic oils have had a chance to develop overnight. Avoid harvesting during the hottest part of the day, as the plant may be stressed and the oils may have evaporated.
- Gather the necessary tools: To harvest fresh rosemary, you’ll need a pair of sharp pruning shears or gardening scissors. Make sure your tools are clean and sterilized to prevent the spread of disease.
- Select the branches: Look for healthy branches that are at least 4-6 inches long. These will provide enough rosemary for various projects without harming the overall plant.
- Cut the branches: Position your pruning shears or scissors close to the main stem and make a clean cut, avoiding any damage to the plant. Aim to cut just above a leaf node, as this will encourage new growth.
- Trim excess leaves: Remove any leaves from the lower 2/3 of the branch, leaving only the top portion intact. This will help the plant focus its energy on developing new growth.
It’s important to note that rosemary is a perennial herb, meaning it will regrow after being harvested. By following these steps and being mindful of the plant’s needs, you can continue to enjoy fresh rosemary while ensuring the health and longevity of the plant.
Now that you’ve successfully harvested fresh rosemary, it’s time to move on to the next step: cleaning and preparing the rosemary for use. In the following section, we’ll guide you through the process of removing dirt and debris from your freshly harvested rosemary. So let’s get started!
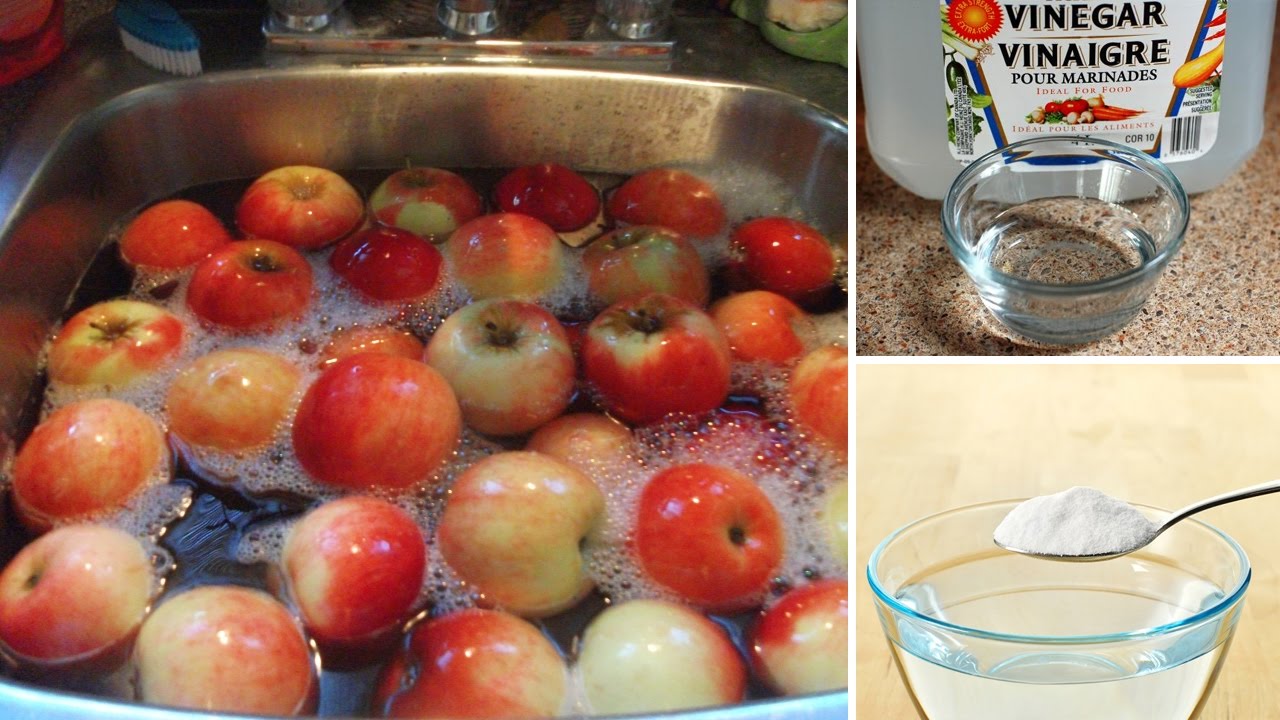
Step 2: Removing Dirt and Debris
After harvesting fresh rosemary, it’s important to clean it thoroughly to remove any dirt, debris, or bugs that may have found their way onto the branches. Follow these simple steps to ensure your rosemary is clean and ready to use:
- Gently shake the branches outdoors: Take your harvested rosemary branches outside and give them a gentle shake. This will help dislodge any loose dirt or debris that may be clinging to the leaves.
- Inspect the branches: Take a close look at the branches and leaves of your rosemary. Remove any visible dirt or debris by brushing it off using your fingers or a soft brush.
- Rinse the rosemary: Fill a bowl or sink with cool water. Hold the rosemary branches by the stem and submerge them in the water. Gently swish the branches around to help dislodge any remaining dirt or debris.
- Pat dry: Once the rosemary is clean, remove it from the water and gently pat it dry with a clean kitchen towel or paper towels. Avoid rubbing the leaves too vigorously, as this can cause them to bruise or break.
It’s important to note that rosemary leaves have a natural waxy coating, which helps to protect the plant and preserve its flavor. By following these steps, you can remove any external dirt or debris without compromising the quality of the rosemary.
Now that your rosemary is clean and free from dirt and debris, you can proceed to the next step: rinsing the rosemary to ensure it’s thoroughly clean. In the next section, we’ll guide you through the process of rinsing your rosemary properly. So let’s move on!
Step 3: Rinsing Rosemary
After removing dirt and debris from your freshly harvested rosemary, it’s time to give it a thorough rinse to ensure it’s clean and ready for use. Follow these steps to properly rinse your rosemary:
- Prepare a bowl of clean water: Fill a bowl or sink with cool water. Make sure the water is clean and free from any contaminants.
- Submerge the rosemary: Take your clean rosemary branches and submerge them in the water. Gently swish the branches around to ensure all the leaves come into contact with the water.
- Rub the leaves: As you rinse the rosemary, take the opportunity to rub the leaves gently between your fingers. This will help remove any remaining dirt or residue.
- Inspect for cleanliness: Lift the rosemary branches out of the water and examine them for any signs of remaining dirt or debris. If necessary, repeat the rinsing process until the rosemary looks clean and free from contaminants.
- Pat dry: Once the rosemary is clean, remove it from the water and gently pat it dry with a clean kitchen towel or paper towels. Be careful not to bruise or damage the delicate leaves.
Rinsing your rosemary is an important step to ensure that it’s free from any dirt, bugs, or residue. By following these steps and paying attention to each branch, you can ensure the cleanliness of your rosemary harvest.
With your rosemary now clean and ready, you can move on to the next step: drying the rosemary. In the following section, we’ll guide you through the process of drying your rosemary to preserve its flavor and aroma. So let’s continue our journey!
Step 4: Drying Rosemary
Properly drying rosemary is essential for preserving its flavor, aroma, and overall quality. Whether you’re planning to use your rosemary for culinary purposes or for DIY projects, follow these steps to dry it effectively:
- Remove excess moisture: Before drying your rosemary, gently pat it dry with a clean kitchen towel or paper towels. This step helps remove any excess water that may hinder the drying process.
- Bundle the branches: Gather your rosemary branches together and tie them at the base using a string or a rubber band. Make sure the bundle is compact but not too tight, as adequate airflow is essential for proper drying.
- Hang the bundle: Find a suitable location for hanging your rosemary bundle. It should be a well-ventilated area away from direct sunlight and moisture. You can hang it upside down from a hook, a clothesline, or a drying rack.
- Avoid dust and debris: To prevent dust or debris from settling on the rosemary, consider placing a paper bag or a mesh cloth around the bundle. This protective layer allows for airflow while keeping the rosemary clean.
- Allow for sufficient drying time: The drying process usually takes about two to three weeks, depending on environmental conditions. Check on the rosemary periodically, making sure there’s no sign of mold or rot.
- Test for dryness: To determine if your rosemary is fully dry, pull a leaf from the stem and crush it between your fingers. If it crumbles easily, the rosemary is dry and ready for use. If it’s still moist or pliable, continue drying for longer.
Drying your rosemary allows you to preserve its flavor and aroma for an extended period. Once it’s fully dried, you can store it in airtight containers or use it immediately in your favorite recipes or DIY projects.
Now that your rosemary is properly dried, you’re ready for the final step: storing it to ensure its longevity. In the following section, we’ll guide you through the process of storing your freshly dried rosemary. Let’s keep the journey going!
Step 5: Storing Fresh Rosemary
Properly storing fresh rosemary is crucial to maintain its freshness, flavor, and aroma over an extended period. Whether you have freshly harvested rosemary or dried rosemary ready for storage, follow these steps to store it effectively:
- Remove any excess moisture: Before storing your rosemary, ensure that it’s completely dry. Any remaining moisture can lead to the growth of mold or bacteria, impacting the quality of the herb.
- Choose the right storage containers: Opt for airtight containers or resealable bags that provide a barrier against moisture, light, and air. Glass jars, plastic containers, or vacuum-sealed bags are all suitable options.
- Label your containers: Clearly label each container with the date of storage to keep track of the freshness of your rosemary. This will help you use the oldest rosemary first, ensuring optimal flavor.
- Store in a cool, dark place: Rosemary should be stored in a cool, dry, and dark location to maintain its quality. Avoid exposure to direct sunlight or heat, as this can cause the herb to lose its flavor and potency.
- Avoid crushing the leaves: To preserve the flavor and aroma of the rosemary, avoid crushing the leaves until you’re ready to use them. This will help retain the essential oils and ensure a more intense flavor when cooking or crafting.
By following these storage steps, you can extend the shelf life of your fresh or dried rosemary. Properly stored rosemary can last for several months, allowing you to enjoy its wonderful botanical qualities for an extended period.
Now that you know how to store your freshly dried or harvested rosemary, you’re ready to embark on your culinary or DIY adventures with this fragrant and versatile herb. Whether you’re infusing oils, flavoring dishes, or adding a touch of nature to your crafts, the possibilities are endless with fresh rosemary!
Congratulations! You’ve successfully completed all the steps for handling fresh rosemary. Now it’s time to put your newly acquired knowledge into action and start enjoying the perks of having fresh rosemary on hand whenever you need it. So go ahead and embrace the aromatic world of rosemary in your cooking and crafting endeavors!
Conclusion
Congratulations! You’ve completed the journey through the process of cleaning, harvesting, rinsing, drying, and storing fresh rosemary. By following these simple steps, you can ensure that your rosemary is clean, flavorful, and ready to enhance your culinary creations or DIY projects.
Fresh rosemary brings a delightful aroma, distinct flavor, and a touch of nature to your kitchen or crafting space. Whether you’re using it as a versatile herb in your favorite recipes, infusing its essence into oils, or incorporating it into homemade candles or beauty products, the possibilities are endless.
Remember, harvesting your own fresh rosemary not only provides you with a bountiful supply but also a sense of satisfaction and pride in using herbs straight from your garden. By taking the time to properly clean, rinse, dry, and store your rosemary, you can prolong its shelf life and ensure that it maintains its quality and potency.
Now that you’re equipped with the knowledge and skills to handle fresh rosemary, let your creativity soar. Experiment with different recipes, explore unique DIY projects, and savor the wonderful fragrance and taste of this versatile herb. Whether you’re a seasoned cook or an aspiring crafter, rosemary will add a special touch to your creations.
So go ahead, venture into the world of rosemary and discover all the amazing possibilities that await you. Embrace the joy of harvesting, preparing, and utilizing this aromatic herb in your culinary and DIY adventures. Enjoy the process, and let the aroma and flavor of rosemary elevate your cooking and crafting to new heights!