Home>Gardening Techniques>DIY Projects>How Do You Dry Rosemary

DIY Projects
How Do You Dry Rosemary
Modified: January 30, 2024
Learn how to dry rosemary at home with this easy DIY project. Discover the best methods and tips for preserving the flavor and fragrance of your favorite herb.
(Many of the links in this article redirect to a specific reviewed product. Your purchase of these products through affiliate links helps to generate commission for Chicagolandgardening.com, at no extra cost. Learn more)
Table of Contents
Introduction
Welcome to the world of DIY projects, where creativity meets practicality! One of the most satisfying and rewarding experiences is learning how to do things yourself, from fixing a leaky faucet to building your own furniture. DIY projects not only save you money but also allow you to unleash your inner handyman or handywoman.
In this article, we will delve into the fascinating world of drying rosemary. Rosemary is a versatile and aromatic herb that can elevate the flavor of various dishes. Whether you grow rosemary in your garden or purchase it from the store, knowing how to properly dry it will ensure that you have a readily available supply all year round.
So why should you bother drying rosemary instead of buying it dried from the store? Well, the answer is simple – homemade dried rosemary is fresher, more flavorful, and often more economical. By drying rosemary yourself, you have full control over the process, ensuring that you preserve its aroma, taste, and medicinal properties.
But before we jump into the drying methods, it’s important to understand the basics of harvesting rosemary. Harvesting at the right time and using the correct techniques will maximize the quality and quantity of your yield.
Join us on this DIY adventure as we explore the various methods of drying rosemary, from the traditional air drying method to more modern techniques such as oven drying and using a dehydrator. We’ll also discuss the best practices for storing dried rosemary to maintain its freshness and potency.
So, get your gardening gloves on and let’s embark on this aromatic journey together!
Why Dry Rosemary?
Rosemary is a delightful herb that adds a burst of flavor and fragrance to a wide range of dishes. However, fresh rosemary has a limited shelf life and may not be available year-round. By drying rosemary, you can preserve its aroma, flavor, and medicinal properties, ensuring a ready supply of this versatile herb whenever you need it.
One of the main reasons to dry rosemary is to extend its storage life. Fresh rosemary typically lasts for one to two weeks in the refrigerator, but dried rosemary can be stored for up to a year or even longer if properly stored. This means you can enjoy the taste and benefits of rosemary throughout the year, even during winter when fresh herbs may be scarce.
Drying rosemary also concentrates its flavor, making it more potent and intense. When rosemary is dried, the moisture content is removed, leaving behind the essential oils that give the herb its distinctive aroma and taste. As a result, dried rosemary can add a powerful punch of flavor to your recipes, enhancing everything from roasted meats to soups and stews.
Another advantage of dried rosemary is its convenience. Instead of needing to run to the store every time you require rosemary, having a stash of dried rosemary at home allows you to effortlessly sprinkle it onto your dishes whenever you desire. It saves time and money, and you can enjoy the convenience of having this versatile herb at your fingertips.
Dried rosemary is not only useful in the kitchen but also has various therapeutic properties. Rosemary is known for its anti-inflammatory, antioxidant, and antimicrobial properties, among others. Whether used in herbal teas, as an ingredient in skincare products, or in aromatherapy, dried rosemary can provide numerous health benefits.
By drying rosemary yourself, you have control over the quality and purity of the herb. Store-bought dried rosemary may contain preservatives or additives, but when you dry it at home, you can ensure that you are using pure rosemary without any unnecessary chemicals. Plus, it’s a great way to utilize fresh herbs from your own garden, reducing waste and maximizing the enjoyment of your harvest.
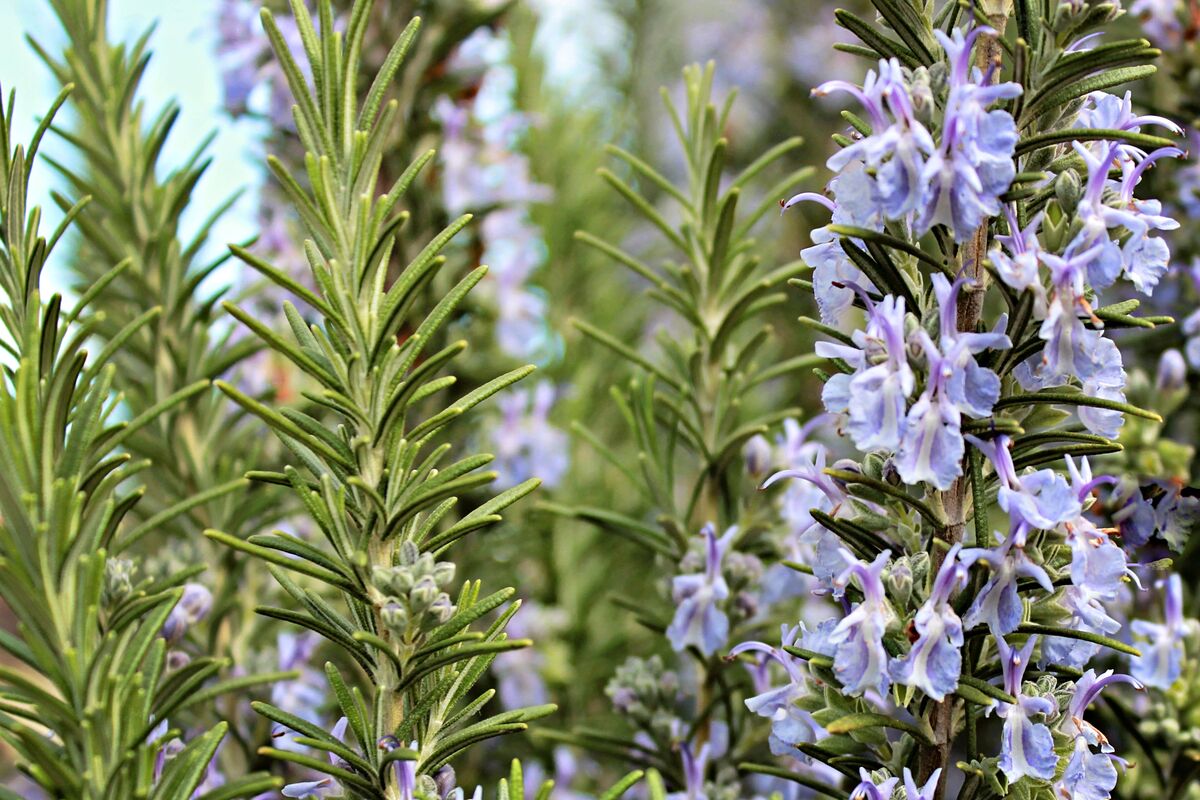
Harvesting Rosemary
Harvesting rosemary is an exciting part of the process as it allows you to enjoy the fruits of your labor and reap the benefits of this aromatic herb. Knowing when and how to harvest rosemary will ensure that you gather the best-quality sprigs for drying.
The ideal time to harvest rosemary is in the morning when the essential oils of the plant are at their peak. Choose a dry day to avoid any moisture on the leaves, which can affect the drying process. It’s best to wait until the plant is at least 6-12 inches tall before harvesting to allow for robust growth.
To harvest rosemary, simply locate the individual sprigs on the plant and carefully cut them with a sharp pair of scissors or pruning shears. It’s important to prune rosemary responsibly, ensuring you do not remove more than 1/3 of the plant to maintain its health and vitality.
When harvesting, aim to cut the sprigs near the base of the plant, close to where the stems emerge from the main branches. This promotes new growth and helps to shape the plant. If you only need a small amount of rosemary, you can simply remove individual leaves instead of cutting entire sprigs.
After harvesting, gently remove any dirt or debris from the sprigs by rinsing them under cool water. Pat them dry with a towel or allow them to air dry before proceeding with the drying process.
Remember, rosemary is a hardy plant, and regular harvesting actually encourages healthy growth. So don’t hesitate to harvest and enjoy the aromatic delights of this versatile herb!
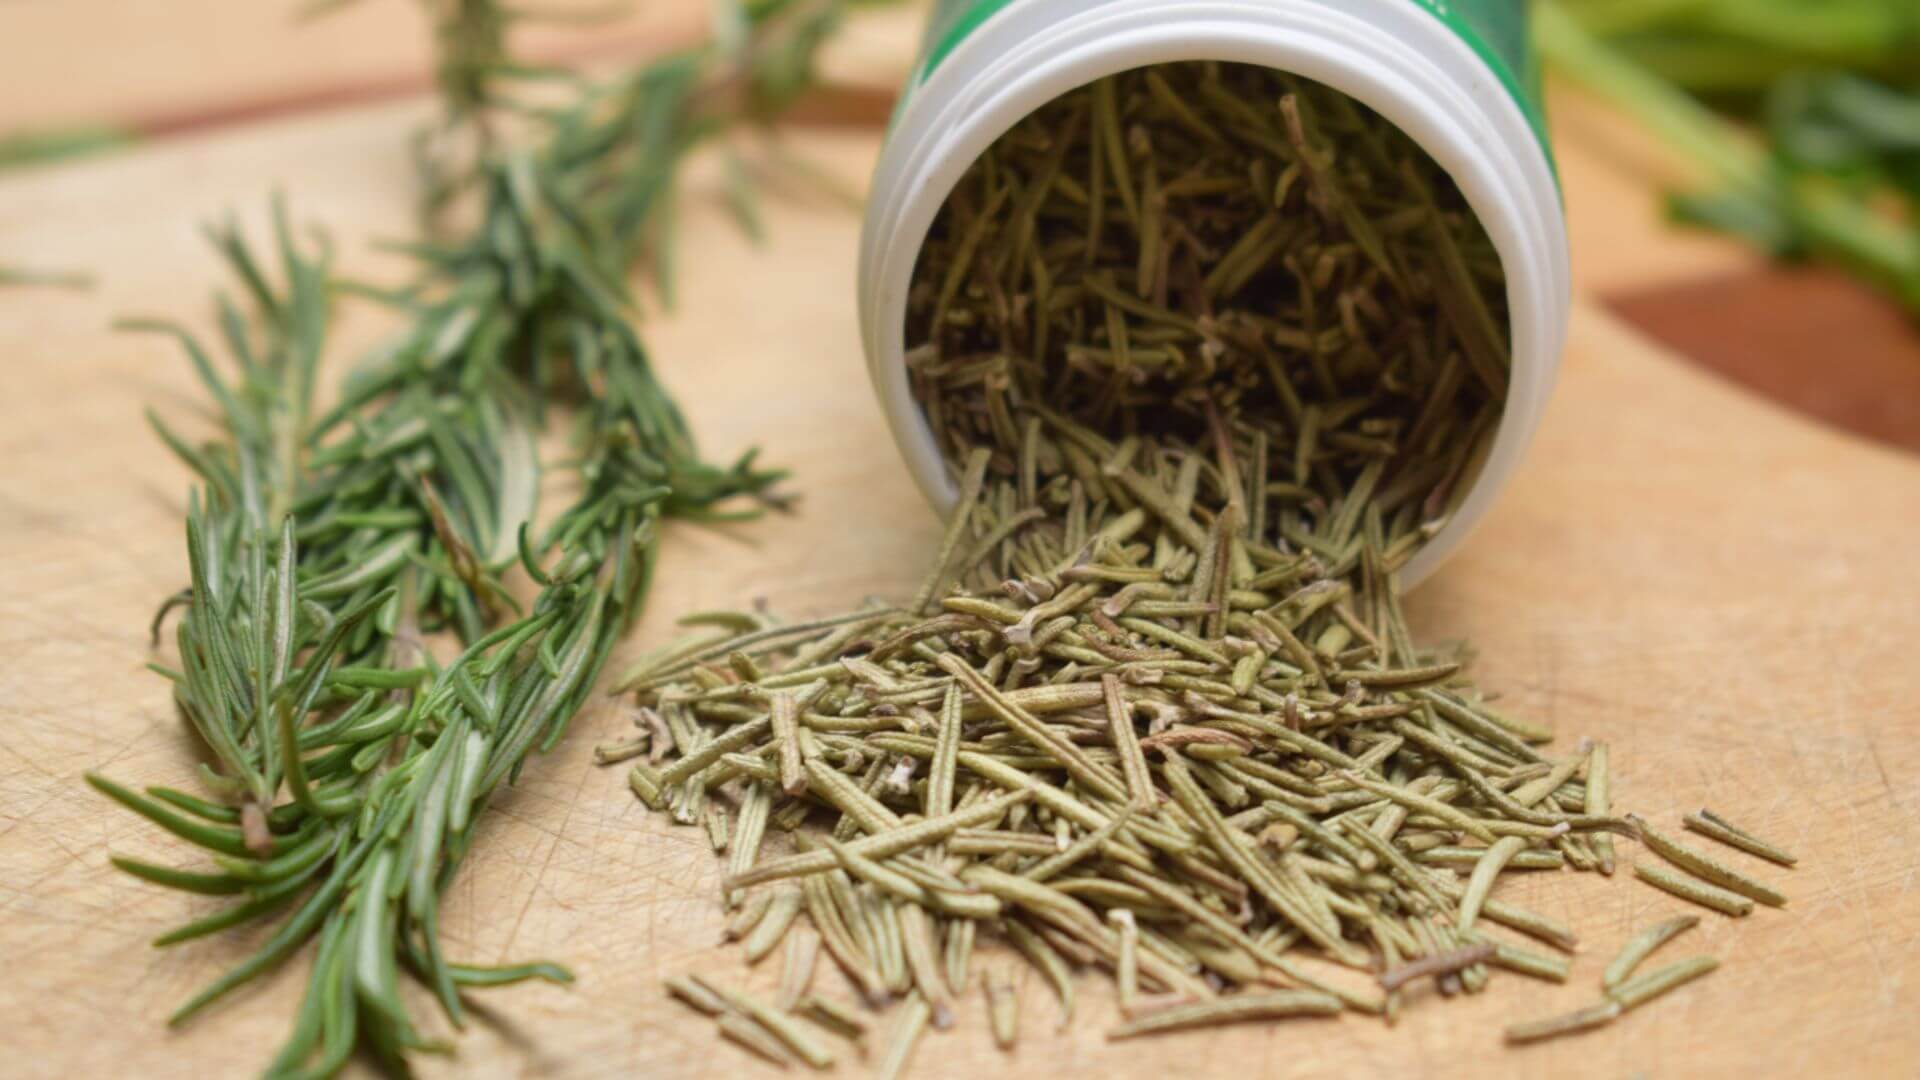
Preparing Rosemary for Drying
Before you begin the drying process, it’s important to properly prepare your rosemary sprigs. This step helps to ensure that the herb dries evenly and retains its flavor and aroma. Here are the key steps to prepare your rosemary for drying:
- Trim the sprigs: Start by removing any woody stems or damaged leaves from the rosemary sprigs. This will help to improve the overall quality of the dried herb.
- Rinse the sprigs: Give the rosemary a gentle rinse under cool water to remove any dirt or debris that may be clinging to the leaves. Be sure to pat them dry with a towel or allow them to air dry completely.
- Remove excess moisture: Moisture can impede the drying process, so it’s important to remove any excess water from the sprigs. You can gently shake them or use a clean towel to blot away any remaining moisture.
- Leave the leaves intact: To preserve the aromatic oils and flavor of the rosemary, it’s best to leave the leaves on the sprigs. However, you can remove some of the bottom leaves if they are close to the stem.
- Bundle the sprigs (optional): If you prefer, you can bundle the rosemary sprigs together using kitchen twine or a rubber band. This can make handling and hanging the herbs easier during the drying process.
By following these steps, you can ensure that your rosemary is clean, dry, and ready for the next stage of drying. Now that your rosemary is prepared, it’s time to move on to the drying methods.
Air Drying Method
Air drying is the traditional and simplest method of drying rosemary. It allows the herb to gradually dehydrate while preserving its natural oils and flavor. Here’s how you can air dry rosemary:
- Gather the prepared rosemary sprigs: Once you have prepared your rosemary sprigs, gather them together in small bunches. You can tie the stems together with a string or use a rubber band.
- Hang the bunches upside down: Find a well-ventilated area, away from direct sunlight, to hang the rosemary bunches. Ideally, you want a warm, dry spot with good airflow, such as a kitchen or pantry.
- Hang the bunches upside down: Find a well-ventilated area, away from direct sunlight, to hang the rosemary bunches. Ideally, you want a warm, dry spot with good airflow, such as a kitchen or pantry.
- Check for dryness: After a week or two, check the rosemary to see if it has dried completely. You can test this by gently crumbling a leaf. If it is dry and crumbles easily, then your rosemary is ready.
- Strip the leaves: Once the rosemary is dry, remove the leaves from the stems by gently sliding your fingers down the stem. Discard the stems and store the dried rosemary leaves in an airtight container.
Air drying rosemary can take anywhere from 1 to 3 weeks, depending on the humidity level in your area. Patience is key during this process, as rushing it may result in improper drying or loss of flavor. The end result will be beautifully dried rosemary sprigs that are ready to be used in your favorite recipes.
Note: Air drying works best when you have a small amount of rosemary. If you have a large harvest or want to expedite the drying process, consider using alternative methods such as oven drying or a food dehydrator.
Oven Drying Method
If you want to speed up the drying process or if you live in a humid climate, using an oven to dry your rosemary can be a convenient and effective method. Here’s how to dry rosemary using your oven:
- Preheat the oven: Start by preheating your oven to the lowest temperature setting, typically around 170°F (77°C). It’s important not to set the temperature too high to avoid burning or over-drying the rosemary.
- Prepare the rosemary: Spread the prepared rosemary sprigs in a single layer on a baking sheet lined with parchment paper. Make sure not to overcrowd the sprigs, as this can prevent proper airflow and even drying.
- Dry in the oven: Place the baking sheet with the rosemary in the preheated oven. Keep the oven door slightly ajar to allow moisture to escape and promote airflow.
- Check for dryness: After about 1 hour, start checking the rosemary for dryness. Gently pinch a leaf between your fingers – if it crumbles easily, the rosemary is dry and ready to be removed from the oven. If it’s not dry yet, continue checking every 10-15 minutes until it is.
- Cool and store: Once the rosemary is dry, remove it from the oven and let it cool completely on the baking sheet. Once cooled, strip the leaves from the stems and store them in an airtight container.
Oven drying typically takes around 1 to 2 hours, depending on the moisture content of the rosemary and the temperature of your oven. It’s important to keep a close eye on the rosemary to prevent it from burning or becoming too brittle.
The oven drying method provides a quicker alternative to air drying, allowing you to have dried rosemary ready to use within a few hours. It’s a great option if you need dried rosemary in a pinch or want to guarantee quicker drying during periods of high humidity.
Just remember to adjust the temperature and drying time accordingly if your oven has a higher temperature setting or if you’re working with a larger quantity of rosemary. With proper care, your oven-dried rosemary will retain its flavor and can be enjoyed in your favorite culinary creations.
Using a Dehydrator
If you have a dehydrator at your disposal, it provides an efficient and controlled method for drying rosemary. The dehydrator allows you to dry rosemary at a consistent low temperature, preserving its flavor and essential oils. Here’s how you can use a dehydrator to dry your rosemary:
- Prepare the rosemary: Start by preparing your rosemary sprigs by trimming off any woody stems or damaged leaves. Rinse the sprigs under cool water, pat them dry, and remove excess moisture.
- Arrange the sprigs: Lay the prepared rosemary sprigs in a single layer on the dehydrator trays. Make sure to leave enough space between them for proper airflow and even drying.
- Set the temperature: Set the dehydrator to a low temperature, typically around 95°F (35°C). This gentle heat will gradually dry the rosemary while preserving its flavor and beneficial properties.
- Allow the drying process: Depending on the moisture content and thickness of the rosemary sprigs, it can take anywhere from 1 to 4 hours to dry completely. Check the sprigs periodically to monitor their progress.
- Check for dryness: To test if the rosemary is fully dried, gently crumble a leaf between your fingers. If it easily crumbles, the rosemary is dry and ready to be removed from the dehydrator.
- Cool and store: Once the rosemary is dry, let it cool to room temperature before removing it from the dehydrator trays. Strip the leaves from the stems and store them in an airtight container for future use.
Using a dehydrator provides a convenient and efficient way to dry rosemary. The controlled temperature and consistent airflow ensure proper drying, resulting in flavorful and aromatic dried rosemary that can be used in a variety of recipes.
Additionally, a dehydrator is not limited to drying rosemary alone. It can also be used to dry other herbs, fruits, vegetables, and even make homemade jerky. Investing in a dehydrator can provide you with a versatile tool for all your drying needs.
Remember to read the manufacturer’s instructions for your specific dehydrator model and adjust the drying time if necessary. With a dehydrator, you can quickly and efficiently dry your rosemary while maintaining its exceptional quality and flavor.
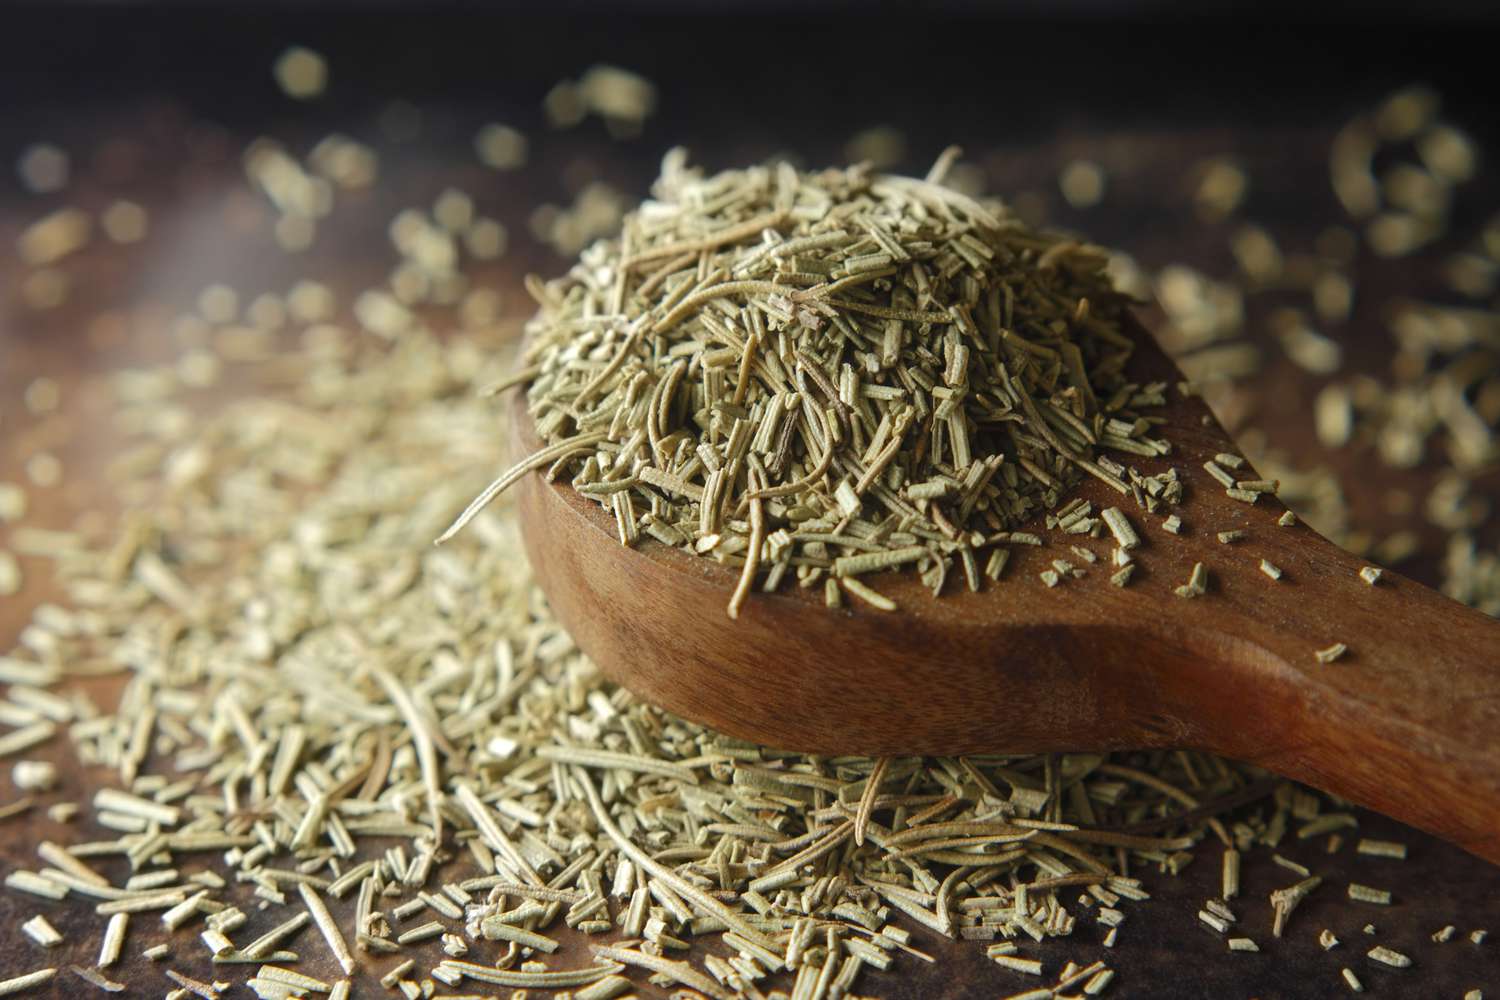
Storing Dried Rosemary
Proper storage is key to maintaining the flavor and potency of your dried rosemary. When stored correctly, dried rosemary can last for up to a year, allowing you to enjoy its aroma and taste long after the harvesting season. Here are some tips for storing dried rosemary:
- Choose the right container: Opt for an airtight container, such as glass jars with tight-fitting lids or resealable bags made for food storage. Make sure the container is clean and dry before adding your dried rosemary.
- Remove air and moisture: Ensure that the container is tightly sealed to prevent air and moisture from entering. Exposure to air and humidity can cause the rosemary to lose its flavor and aroma more quickly.
- Keep it in a cool, dark place: Store your dried rosemary in a cool, dark area, away from direct sunlight. Sunlight and heat can degrade the essential oils and flavor of the herb.
- Avoid storing near heat sources: Keep your dried rosemary away from heat sources like the stove, oven, or microwave as the heat can alter its flavor and texture.
- Avoid moisture-prone areas: Do not store dried rosemary near the sink, dishwasher, or any area prone to moisture or changes in humidity. Moisture can cause the herb to clump or develop mold.
- Label and date your containers: To help keep track of the age of your dried rosemary, label the containers with the date of drying. This will ensure that you use the oldest rosemary first and maintain freshness.
- Store in smaller portions: Consider dividing your dried rosemary into smaller portions or storing in separate containers. This will prevent exposing the entire supply to air and moisture each time you open the container.
By following these storage practices, you can prolong the shelf life of your dried rosemary and maintain its exceptional flavor and aroma. Remember, while dried rosemary can last for a long time, it’s always a good idea to periodically check for signs of deterioration, such as loss of fragrance or vibrant color.
For the freshest flavor, it’s best to use your dried rosemary within a year. As time passes, the potency may gradually decrease, but it can still be used in recipes if stored properly.
Now that you know how to store your dried rosemary, you can have a ready supply of this versatile herb on hand whenever you need it. It’s time to savor the flavors of your garden or store-bought rosemary all year long!
Tips for Preserving Flavor
Preserving the flavor of your dried rosemary is essential to ensure that it enhances your dishes with its aromatic and earthy notes. Here are some tips to help you preserve the flavor of your dried rosemary:
- Use whole sprigs or leaves: To preserve the flavor of your dried rosemary for a longer period, it’s best to keep the leaves whole. Crushing or grinding the leaves releases the essential oils, which can dissipate over time.
- Add during cooking: To maximize the flavor infusion, add dried rosemary to your recipes during the cooking process. This will allow the herb to release its aromatic oils, enhancing the taste of your dishes.
- Crush before use (if desired): If you prefer a more intense rosemary flavor, you can crush the dried leaves just before using them. This will release more of the herb’s essential oils and add an extra punch to your recipes.
- Measure accurately: Use the appropriate amount of dried rosemary as specified in your recipes. Too much rosemary can overpower the other flavors, while too little may not have a noticeable impact.
- Combine with other herbs: Rosemary pairs well with various other herbs, such as thyme, sage, and oregano. Experiment with different herb combinations to create unique flavor profiles in your dishes.
- Store away from strong odors: Dried rosemary can absorb odors from other spices or ingredients, potentially affecting its flavor. Store it in a separate airtight container away from pungent substances to maintain its distinct taste.
- Adjust seasoning as needed: Taste your dishes as you cook and adjust the seasoning, including dried rosemary, to suit your personal preference. This will ensure that the flavors are balanced and harmonious.
- Grind or crush dried rosemary for seasoning blends: If you’re creating seasoning blends or rubs, you can grind or crush your dried rosemary to incorporate it evenly into the mixture. This will distribute the flavor more uniformly throughout your dishes.
- Experiment with different cooking techniques: Dried rosemary is versatile and can be used in various cooking methods, including roasting, grilling, sautéing, and simmering. Explore different techniques to discover new and exciting flavor combinations.
- Harvest fresh rosemary when needed: For the freshest flavor, consider harvesting fresh rosemary from your garden or buying it from a local market when you’re ready to use it. Fresh rosemary has a more potent flavor compared to dried rosemary.
By following these tips, you can make the most of your dried rosemary and infuse your dishes with its delightful flavor. Remember to store your dried rosemary properly to maintain its potency and enjoy its aromatic and earthy notes in your culinary creations.
Conclusion
Congratulations on learning the art of drying rosemary! Mastering this DIY project opens up a world of flavor and convenience, allowing you to enjoy the aromatic herb in your cooking whenever you desire. Whether you choose to air dry, use an oven, or invest in a dehydrator, the end result will be wonderfully fragrant and flavorful dried rosemary that elevates your dishes to new heights.
By drying rosemary yourself, you have the advantage of using fresh herbs from your garden or knowing exactly what goes into the drying process. Homemade dried rosemary retains its potency, flavor, and aroma, making it a worthwhile endeavor for any culinary enthusiast.
Remember to harvest your rosemary at the right time, prepare it properly, and store it in airtight containers in a cool, dark place to preserve its quality. Whether you’re using dried rosemary as a seasoning for roasted meats, a fragrant addition to soups and stews, or incorporating it into herbal teas or skincare products, its versatility knows no bounds.
With the knowledge you’ve gained in this article, you can confidently embark on your own DIY rosemary drying journey. So, put on your gardening gloves, gather those fragrant sprigs, and experience the joy of having your own supply of dried rosemary at hand for all your culinary creations. Enjoy the flavors and aromas that this incredible herb brings to your homemade dishes, and let your creativity flourish as you experiment with new recipes and combinations. Happy drying and happy cooking!